88 posts

Day #27: Superstructure

2013 FRC Build SeasonFIRST Robotics


Wiring

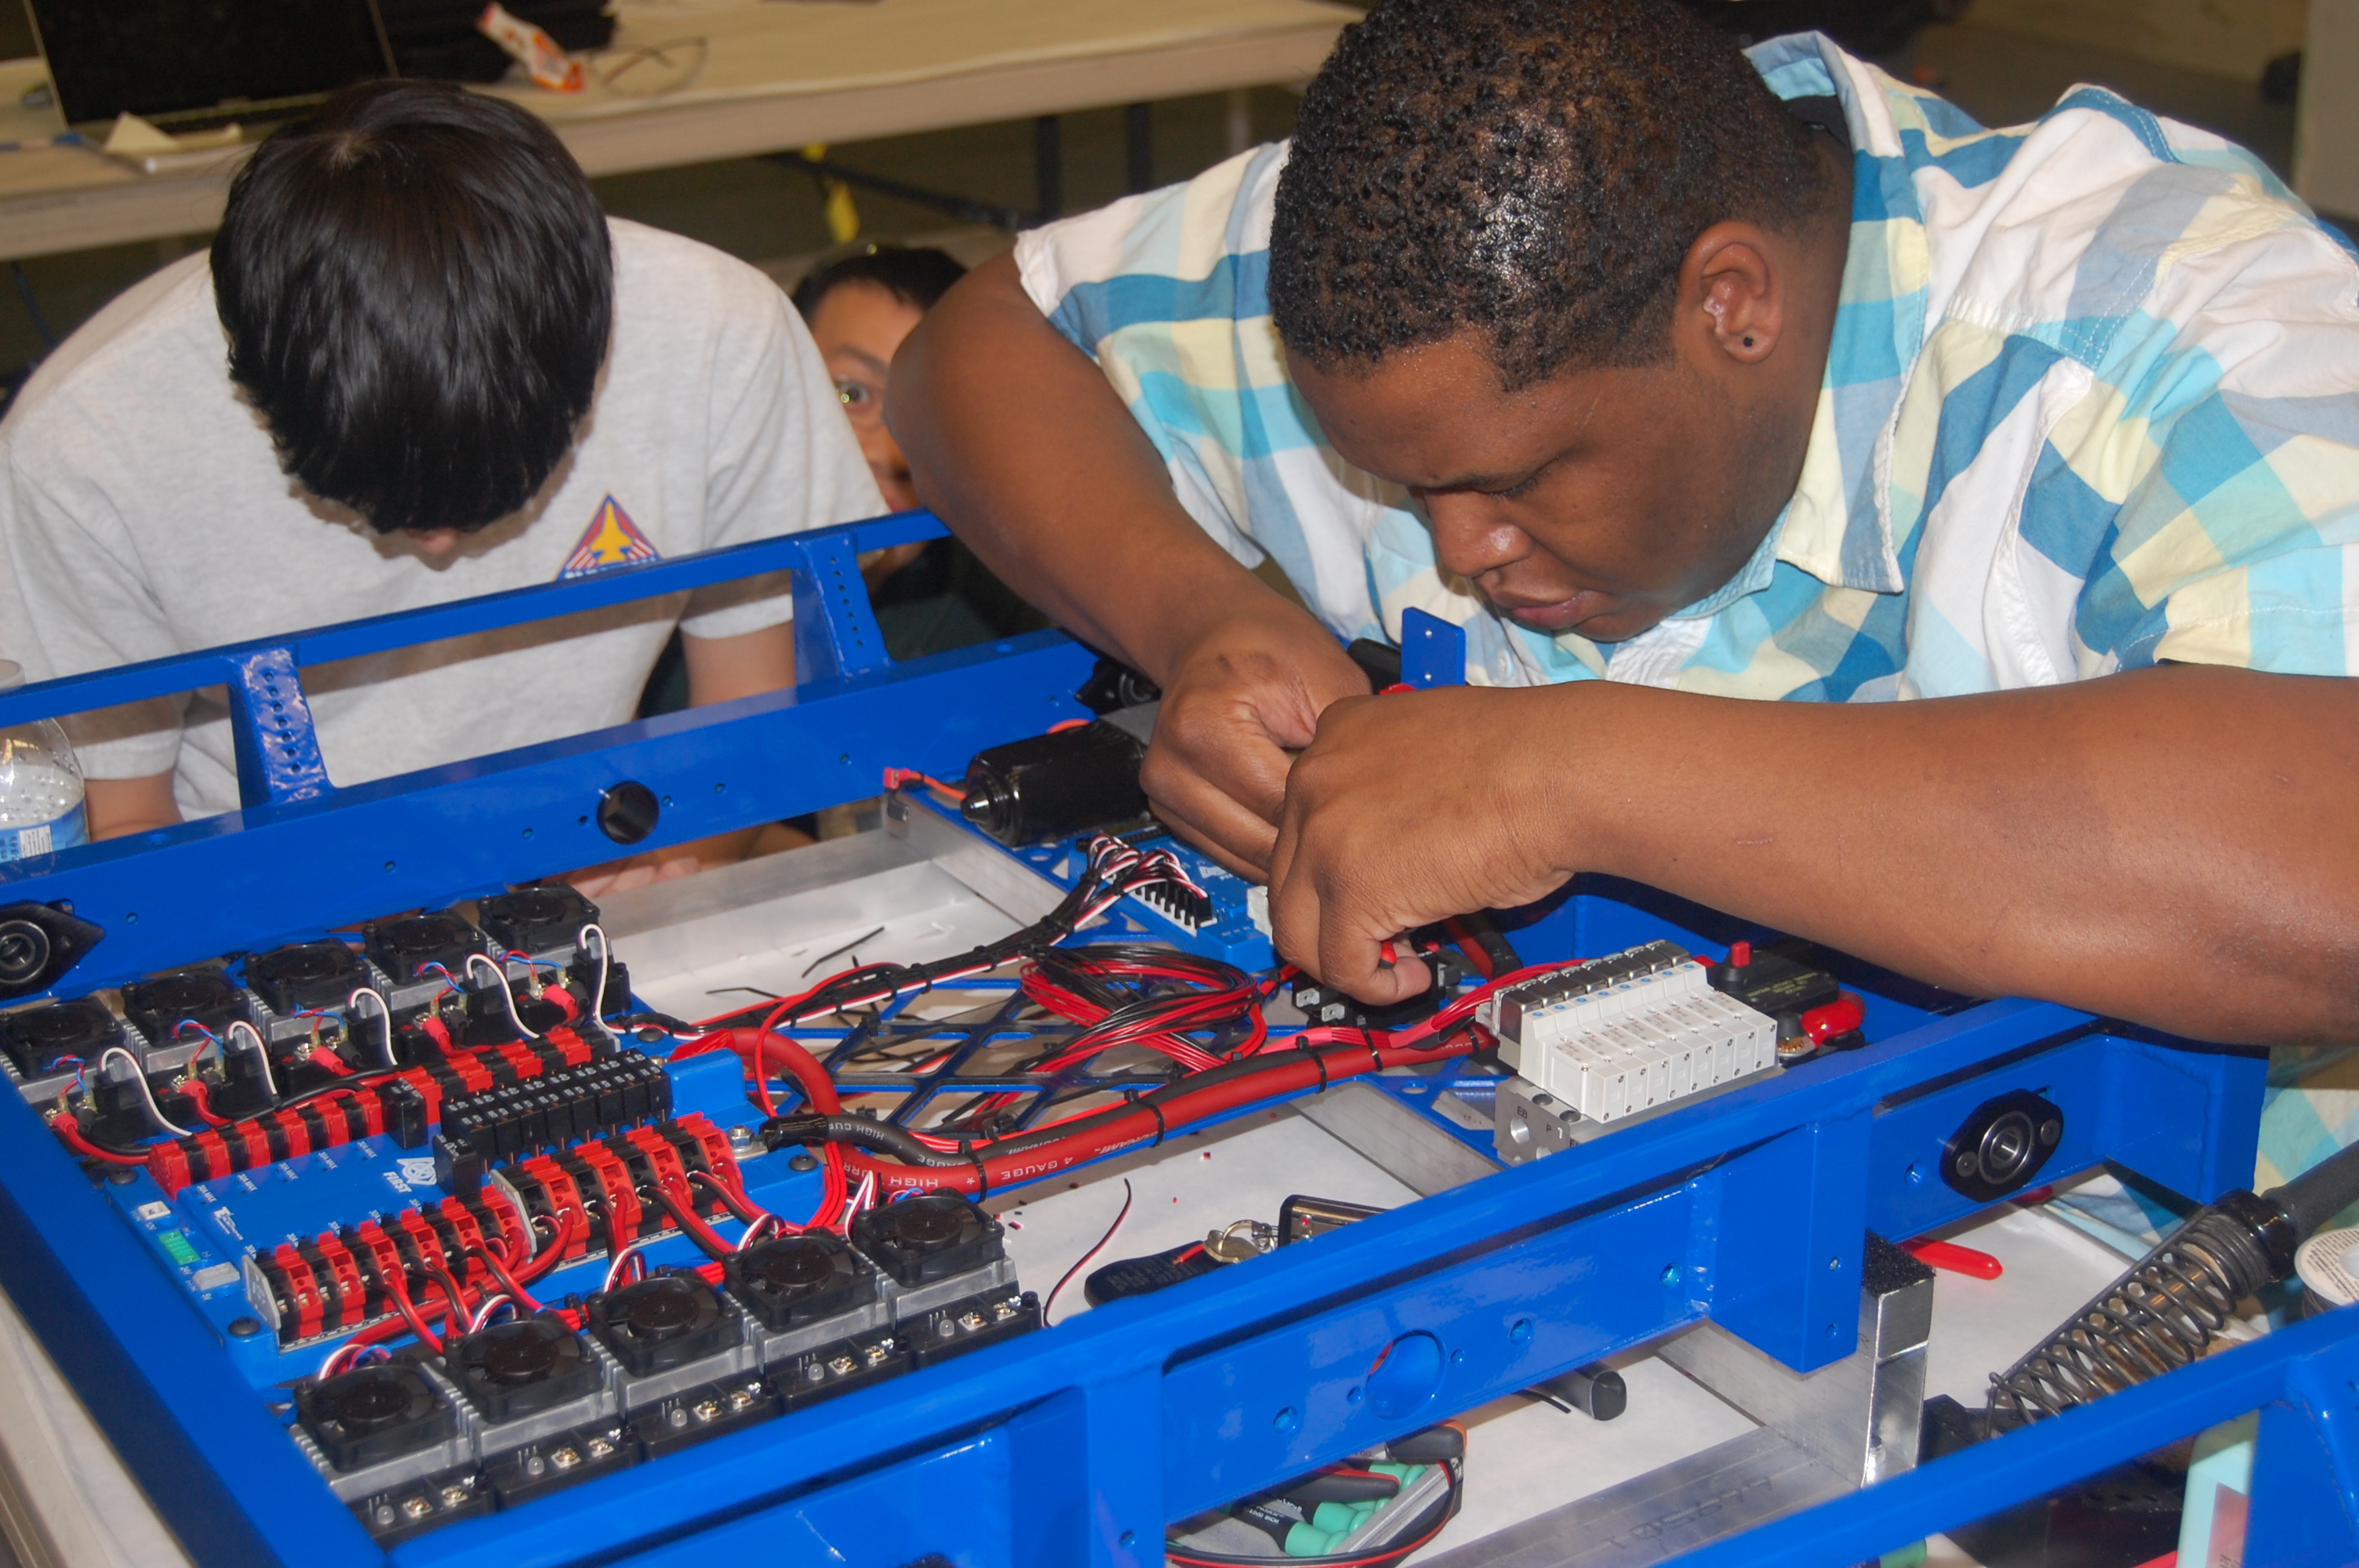
The wiring on the practice bot was fixed because it was routed incorrectly and they were in the wrong ports.

Manufacturing

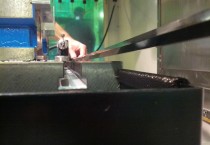
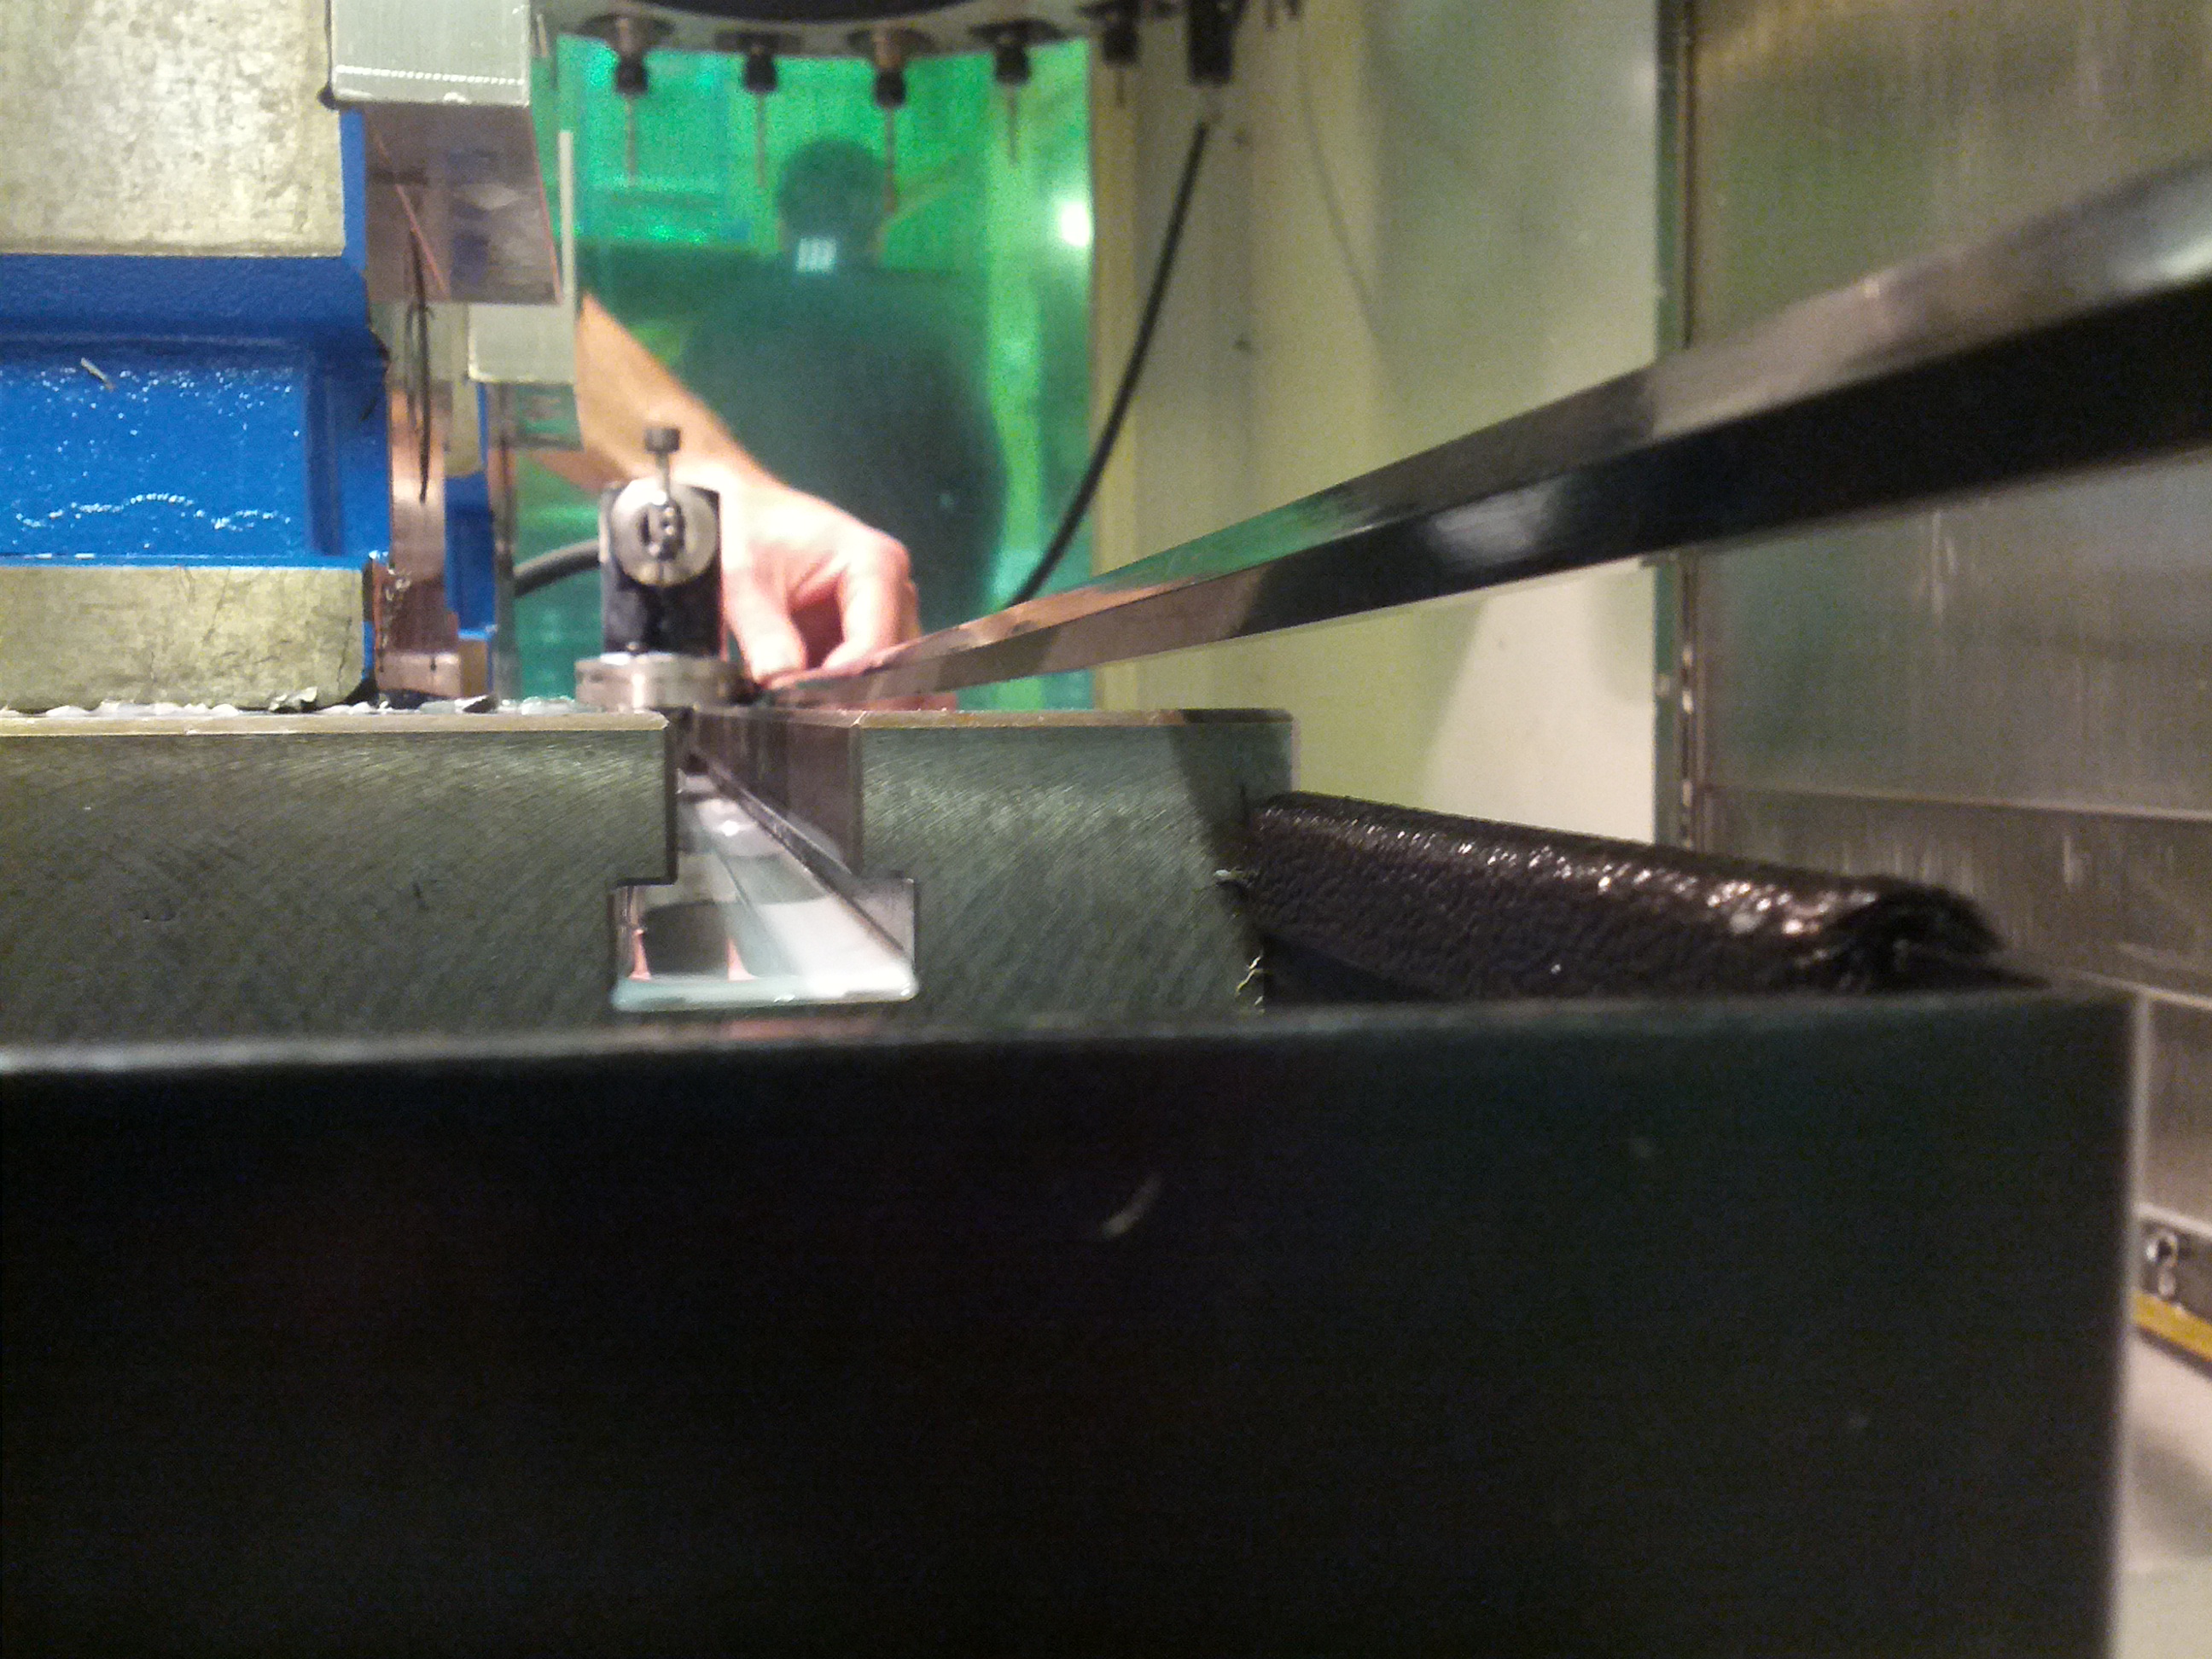
A large portion of the raw material for the superstructure was cut today. Some of the actual machining started which included drilling holes and tapping them so that they would be ready to attatch to the superstructer once it is ready. Some of the superstructure parts are being milled to length.

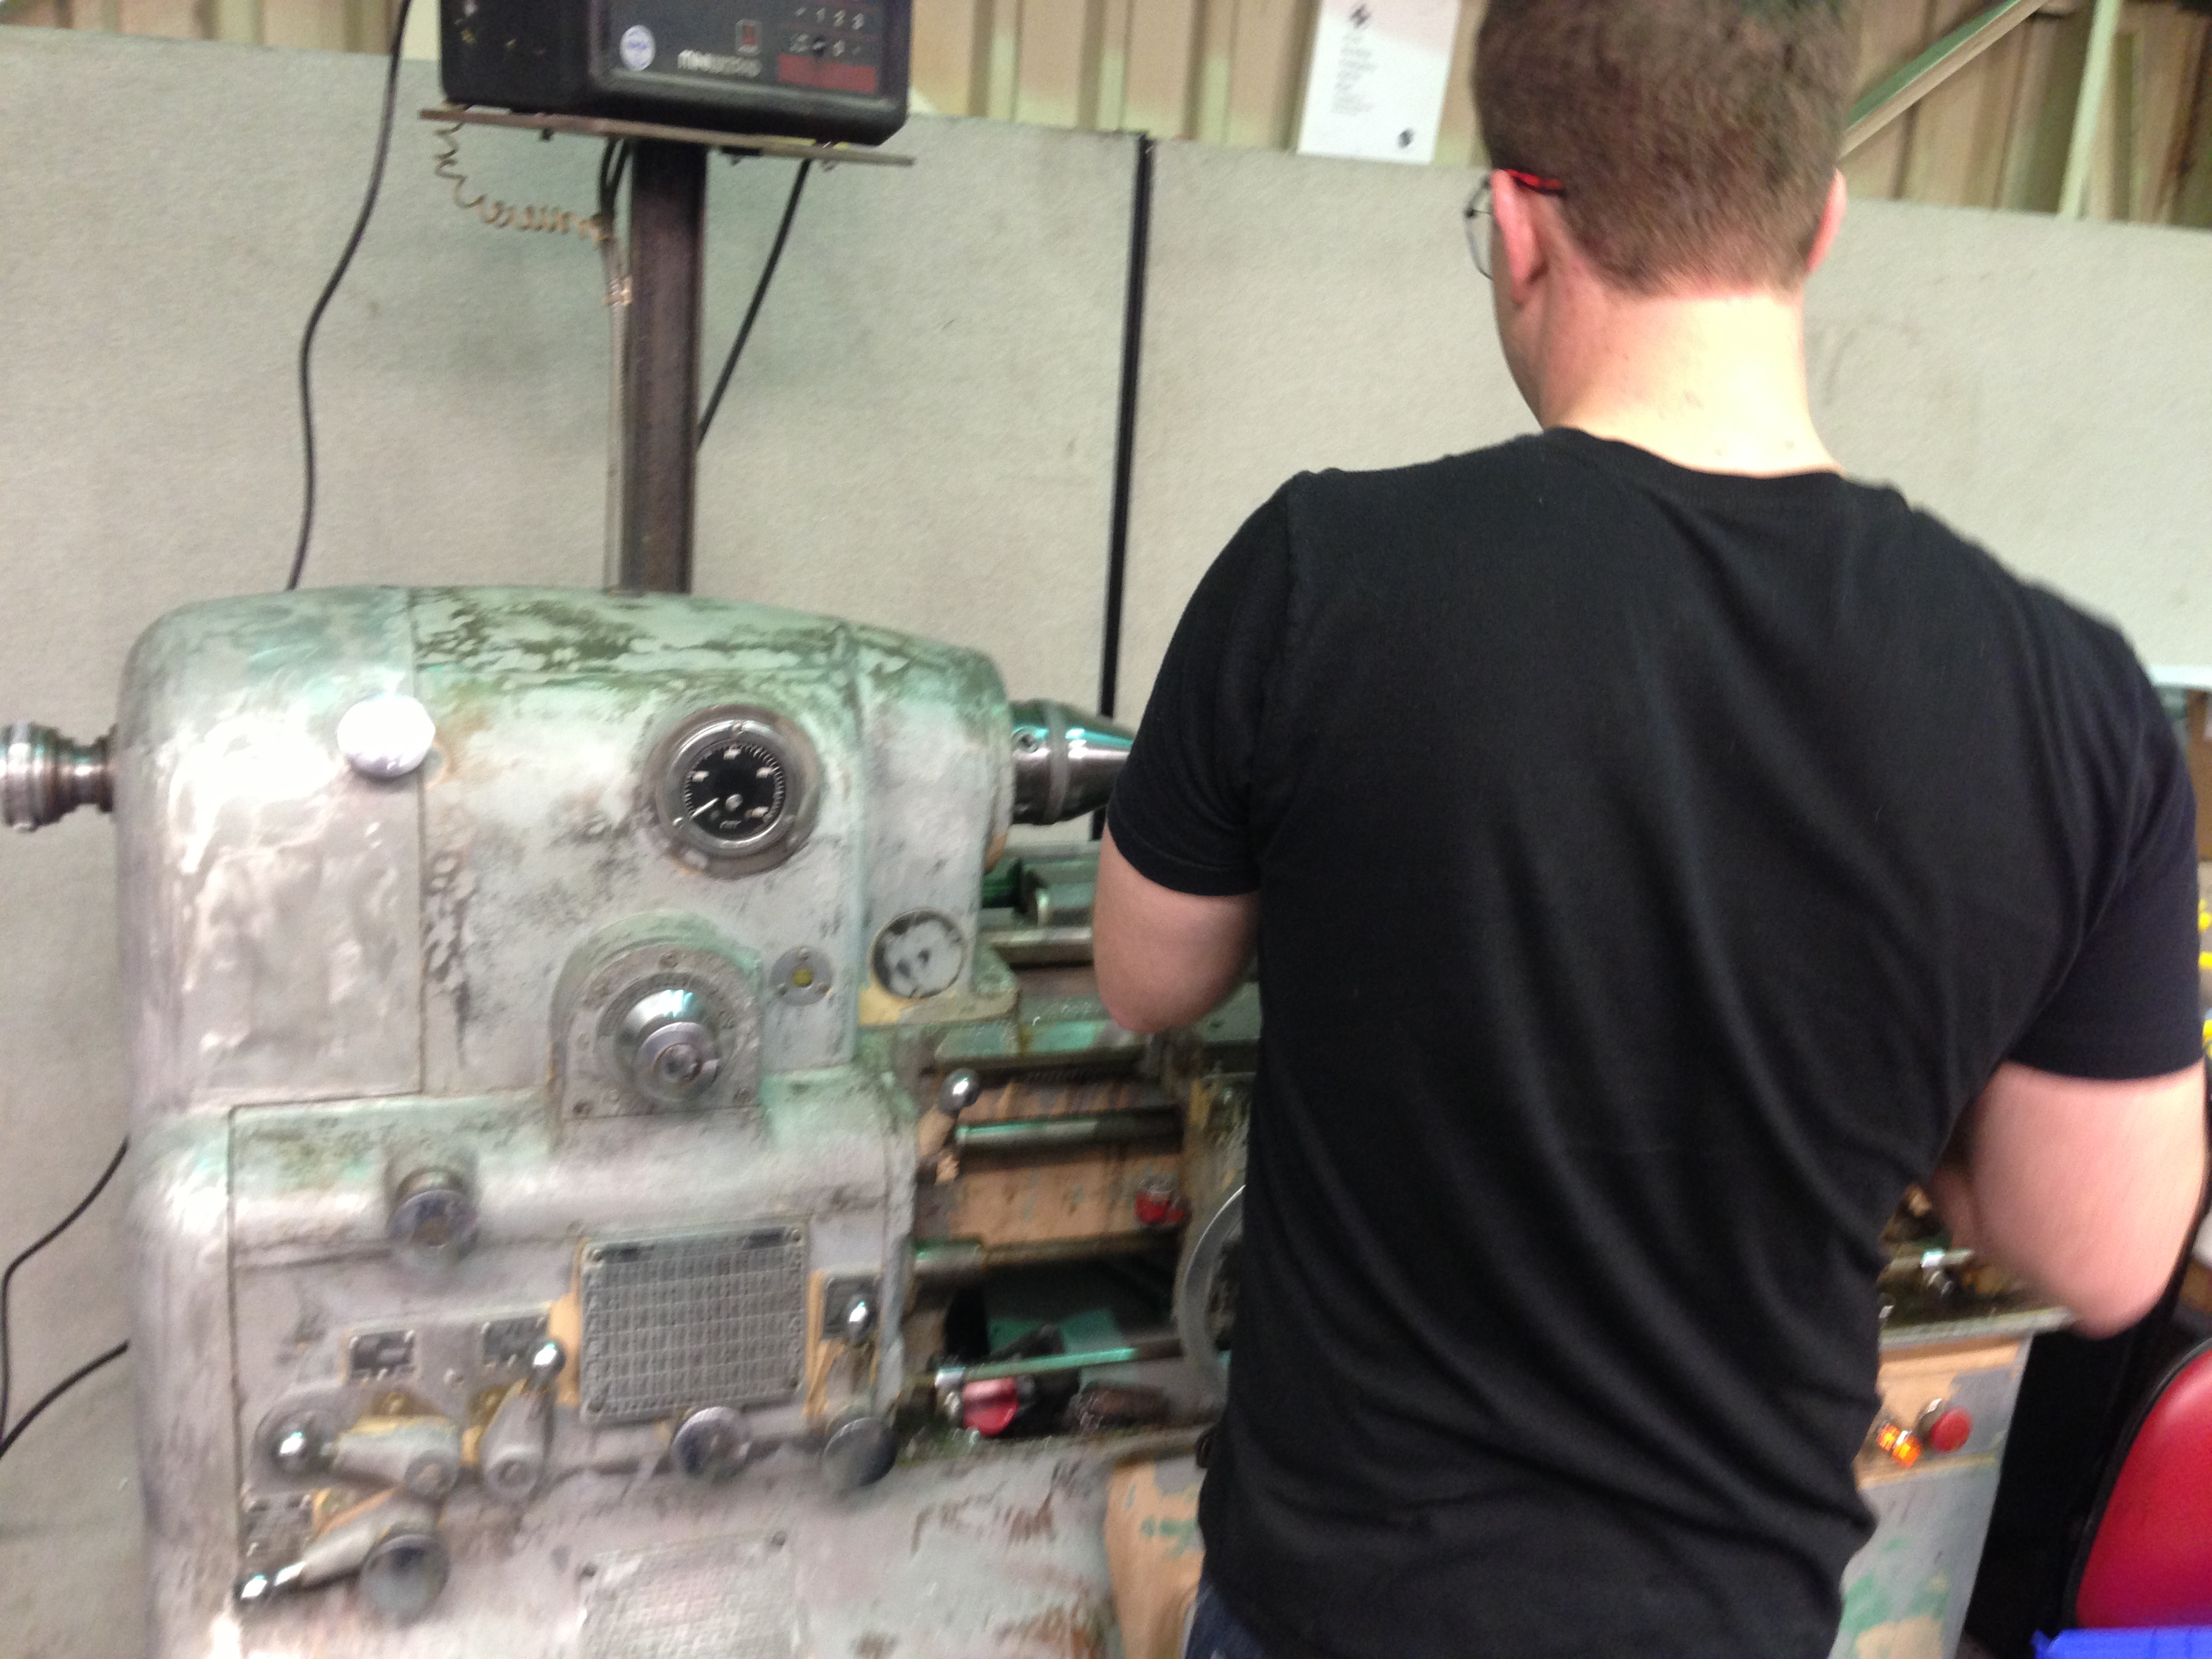
DSC_0229Team President Nagy Hakim, using his very own step stool labelled Stool of Nagy, to mill superstructure parts to a precise length.

DSC_0227 James Holden tapping some parts

DSC_0224
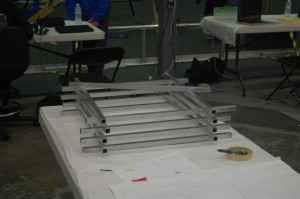
Completed super structure parts

Programming

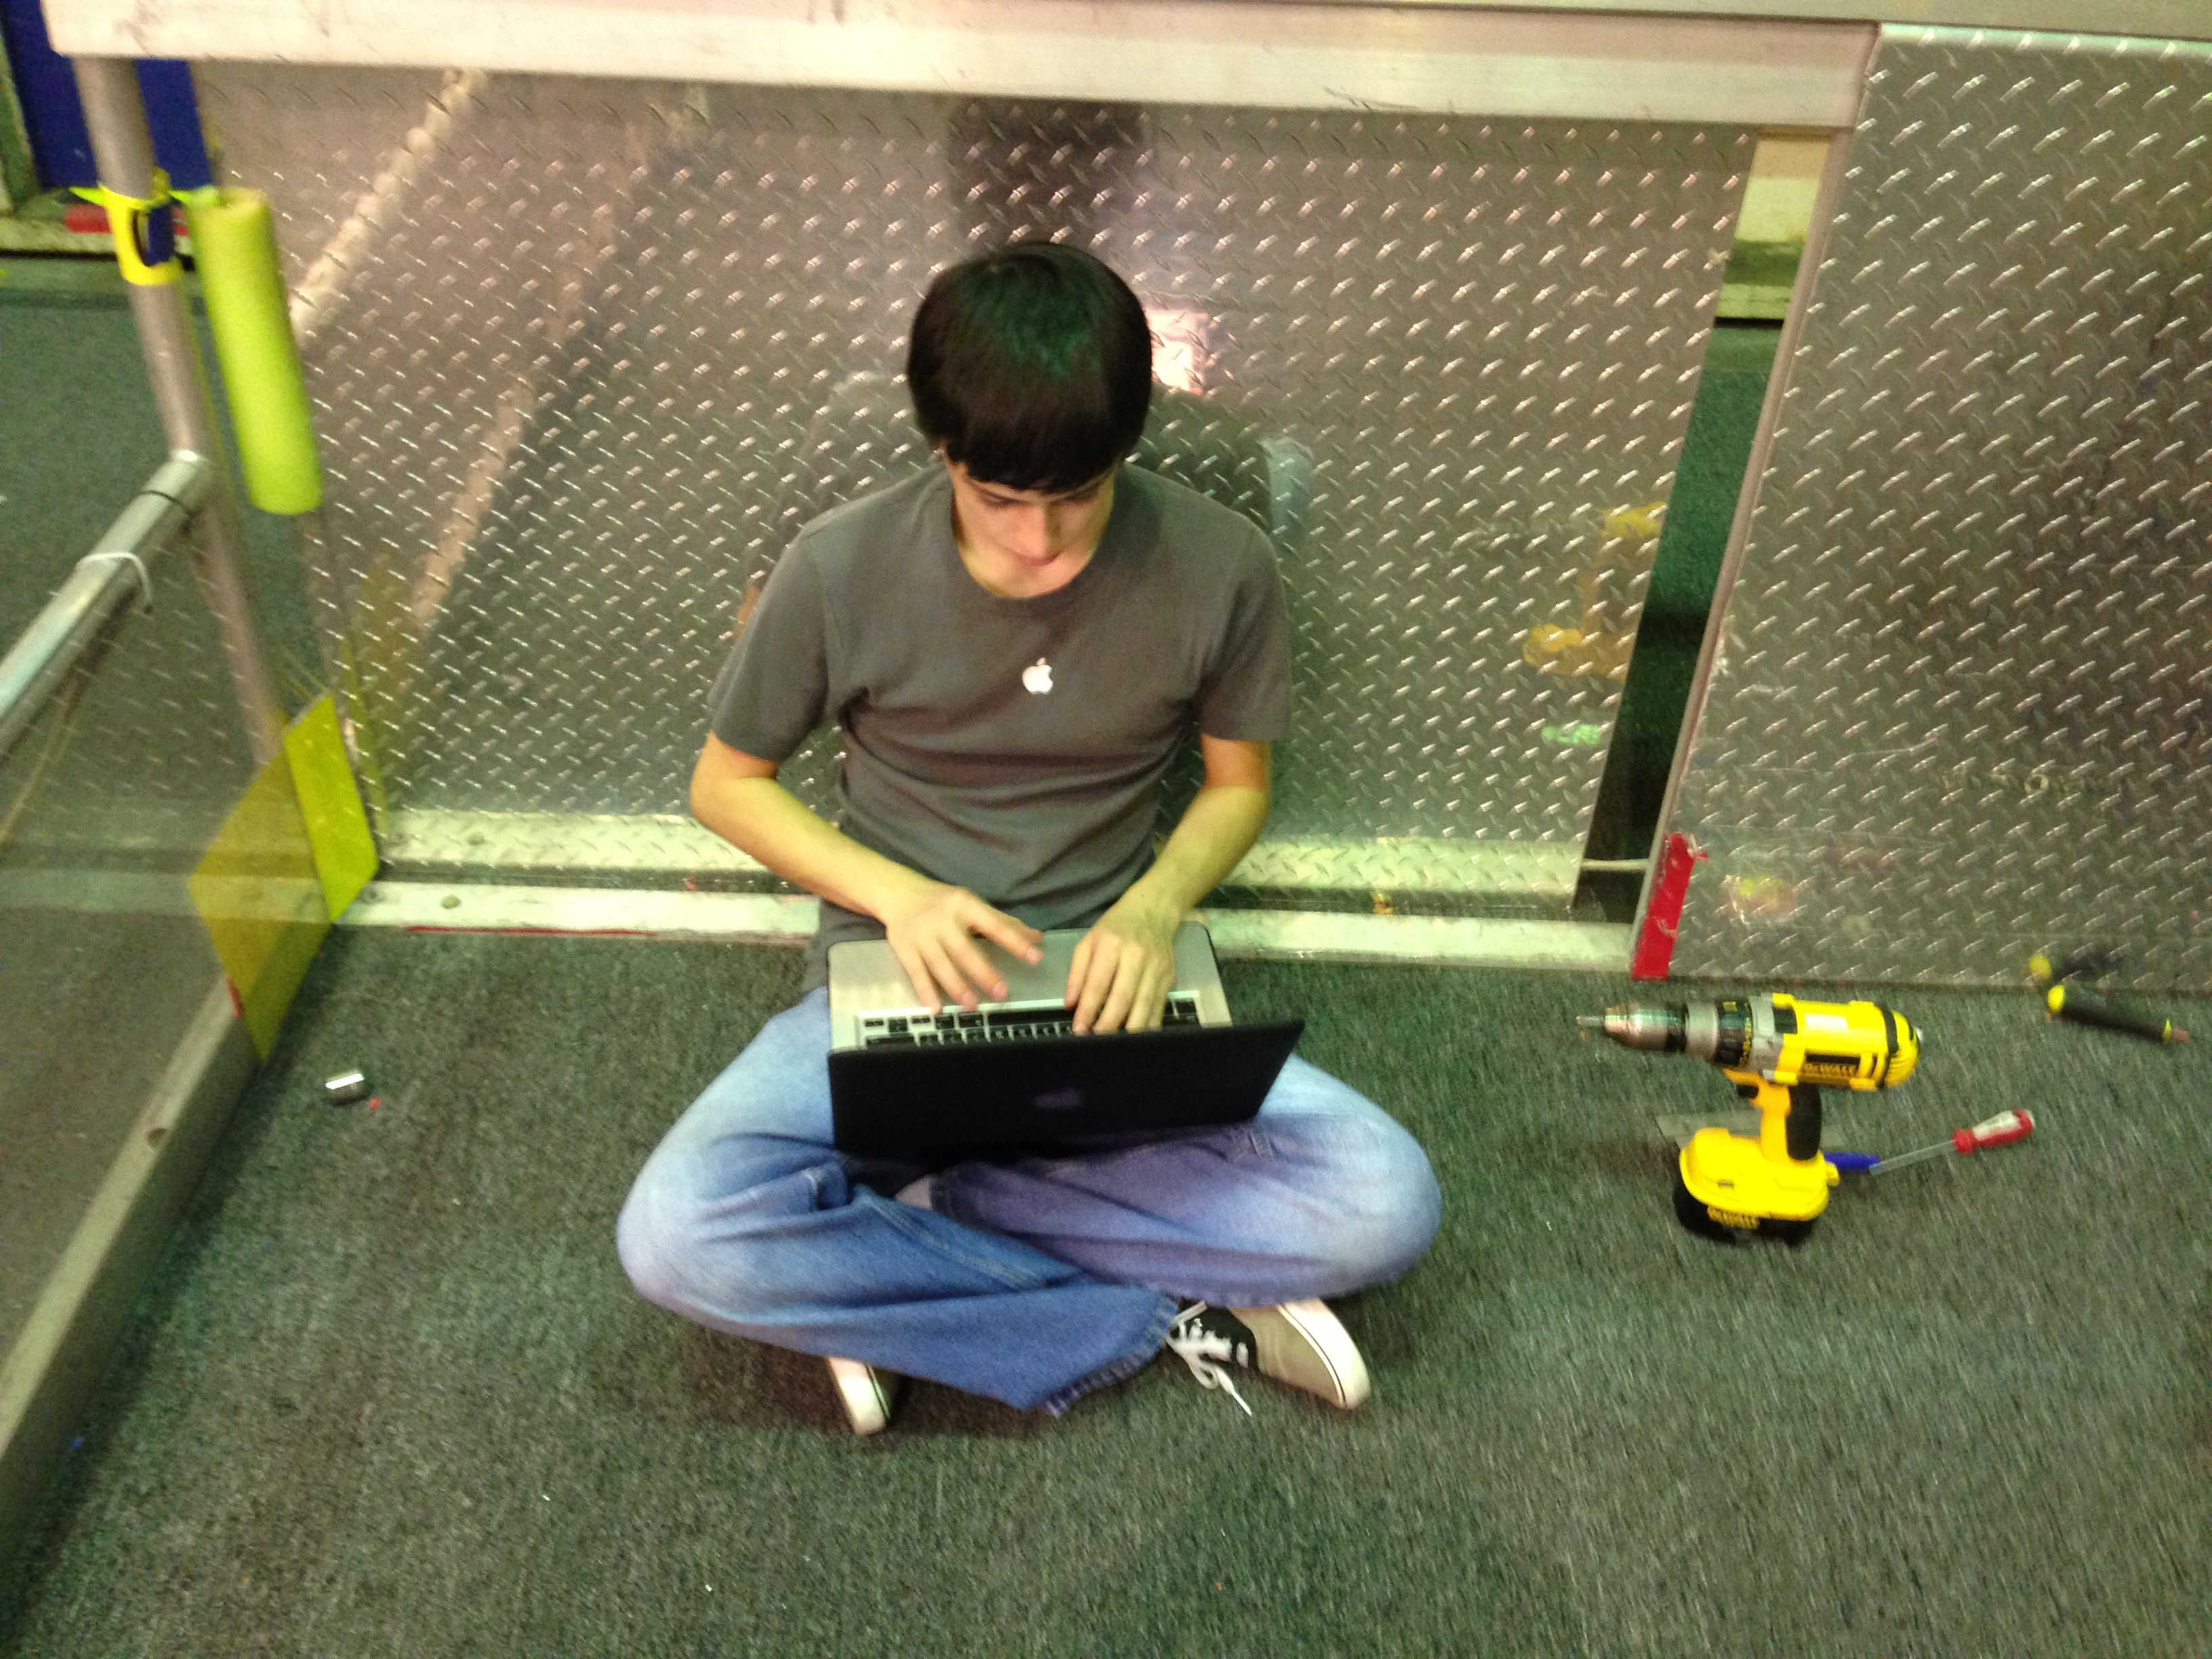
Today, the programmers made miscellaneous changes and fixes to the 2013 code.  The commands' timeout functionality was changed to use the built-in setTimeout and isTimedOut functions, rather than creating an instance of a Timer and calling get().  This was tested and worked quite nicely and as expected.  Additionally, the code was edited greatly to adhere to the style guide.

Day #26: Practice Robot is Driving

2013 FRC Build SeasonFIRST Robotics

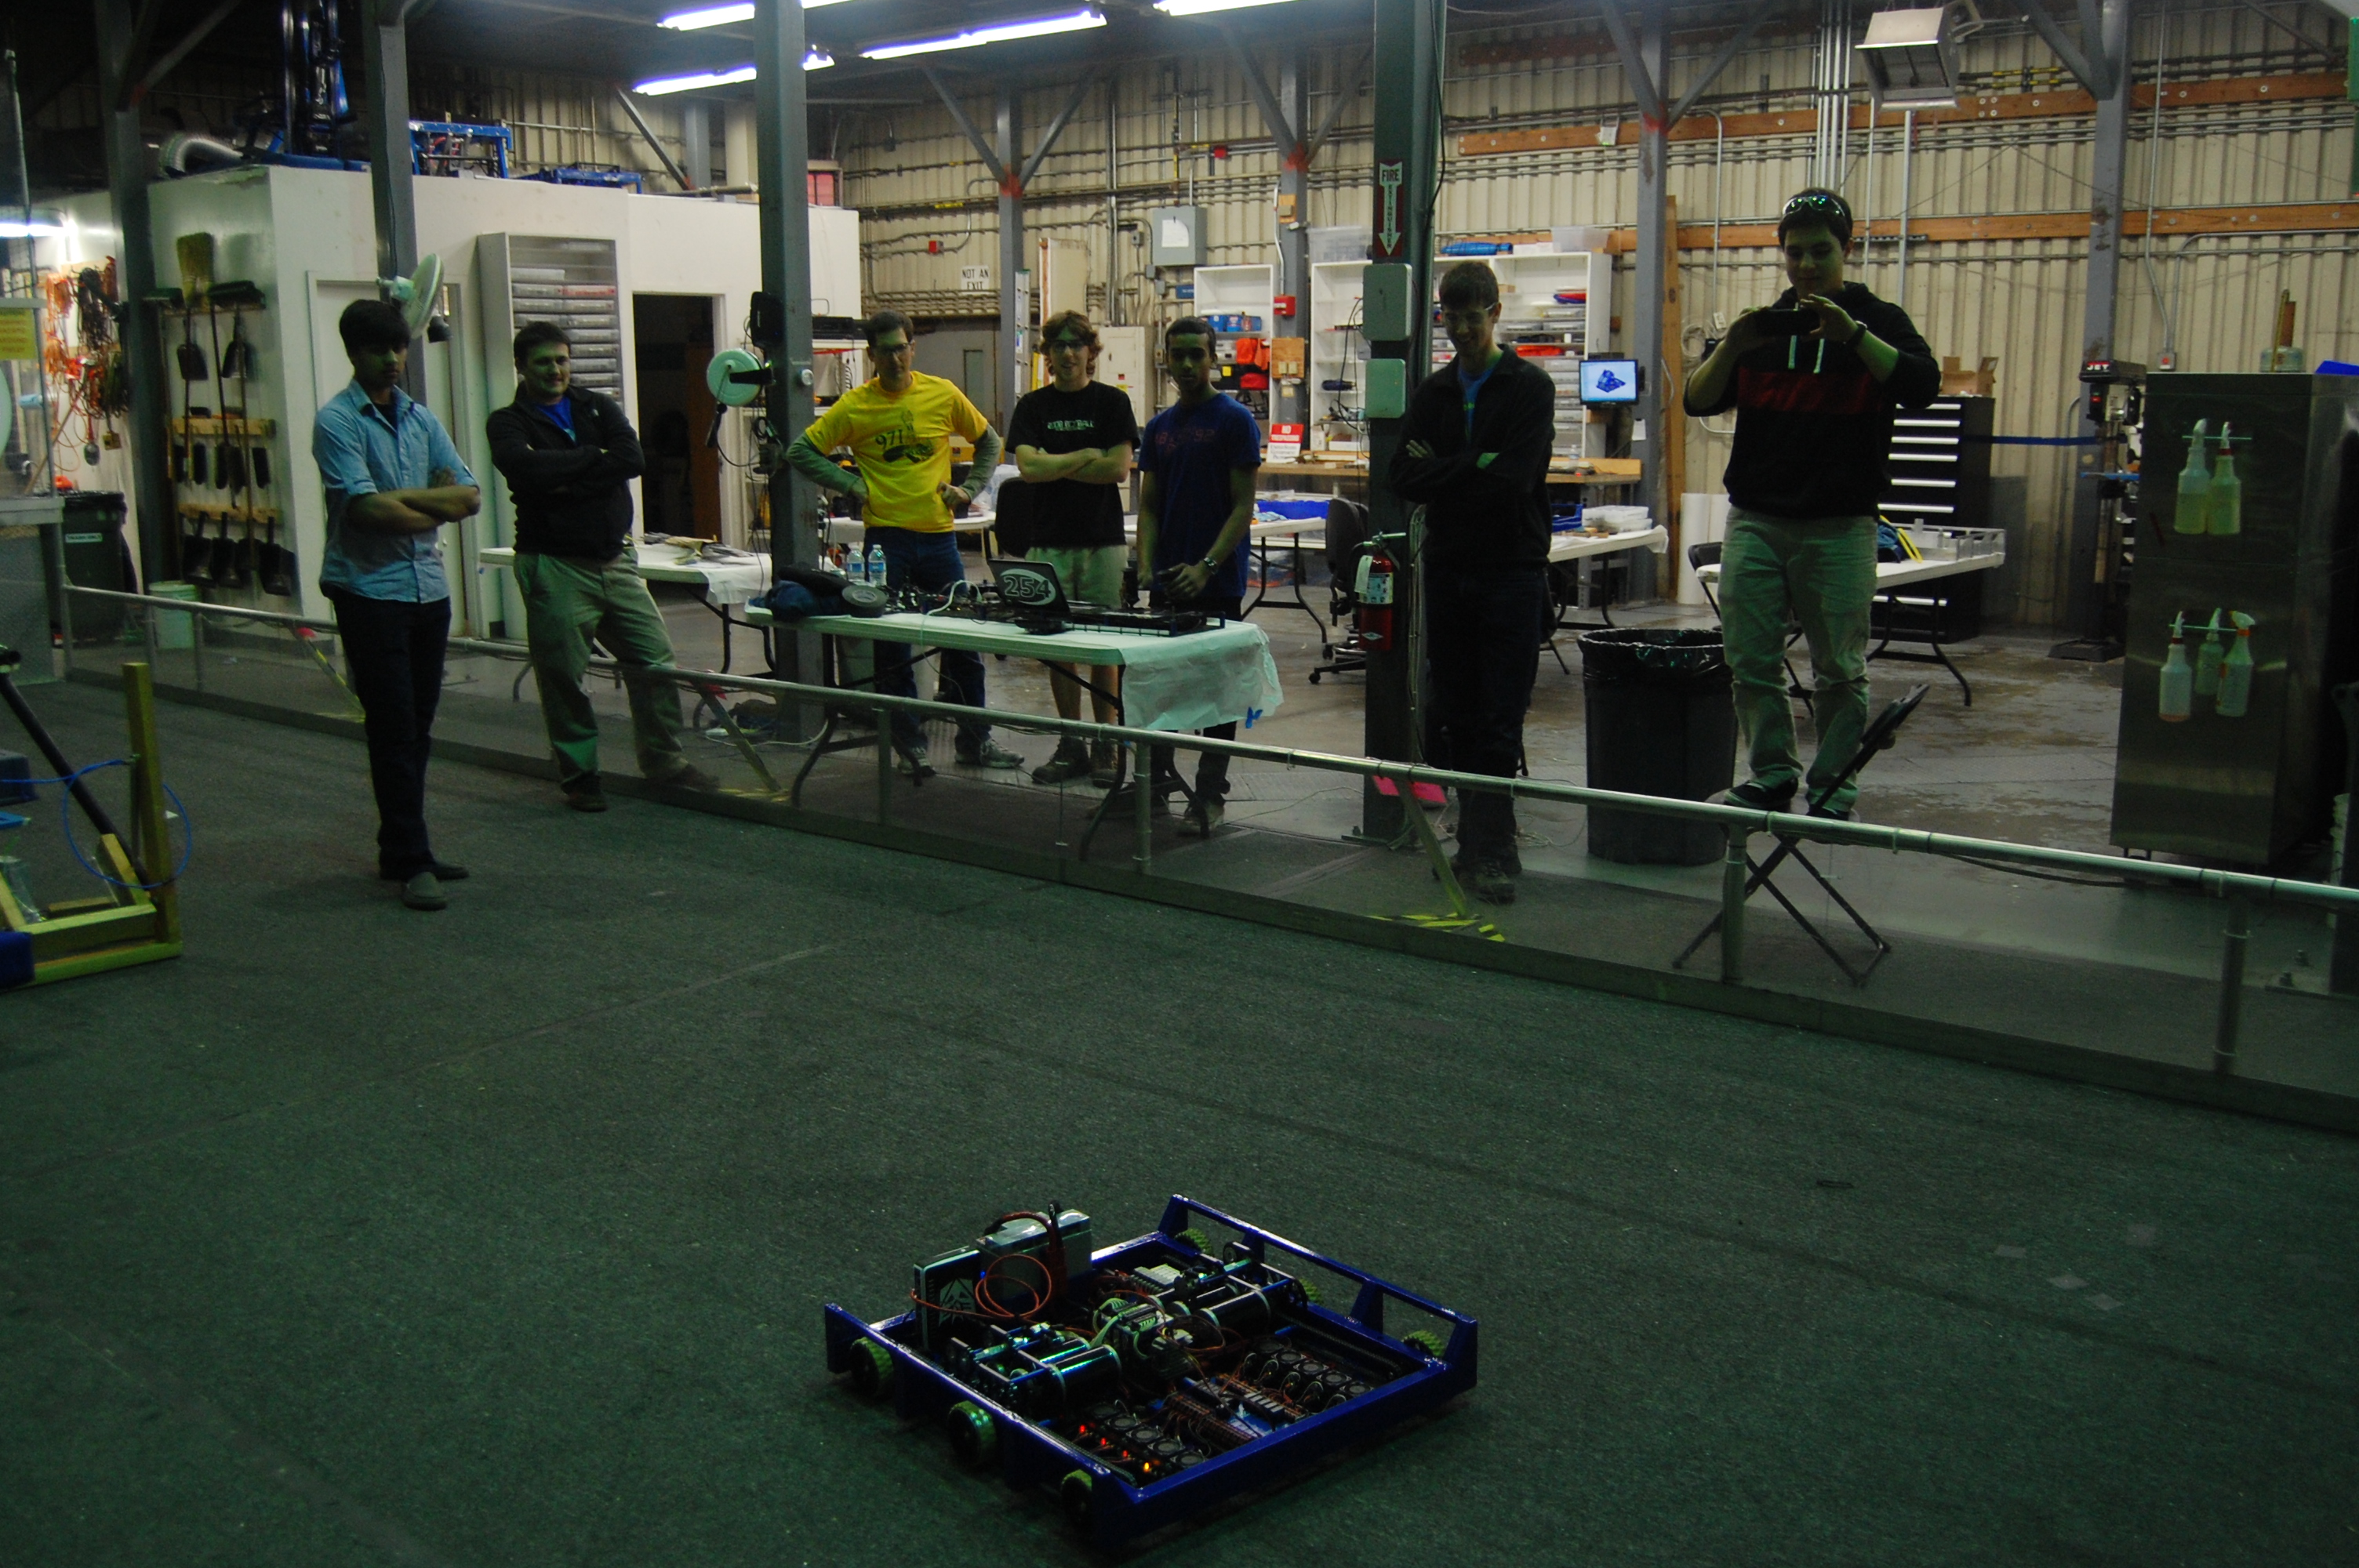
Much progress today was made in manufacturing and assembly, and near the end of the evening the practice robot was driving for the first time.

CAD

Abhi and Richard M worked on detailing the intake assembly, with the goal of releasing all parts for manufacture by the end of the weekend. The gearbox design is still in progress, but gear ratios have been finalized and gears and timing belt pulleys selected to yield surface speeds of 17 fps on the first (top) roller, and 18 fps on the second (bottom) roller and conveyor. The higher second roller speed is necessary to clear discs from the intake more quickly when multiple discs enter simultaneously, and the conveyor must move discs back through the robot as fast as the second roller feeds them in.

Manufacturing

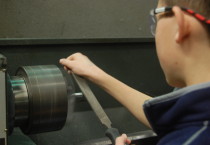
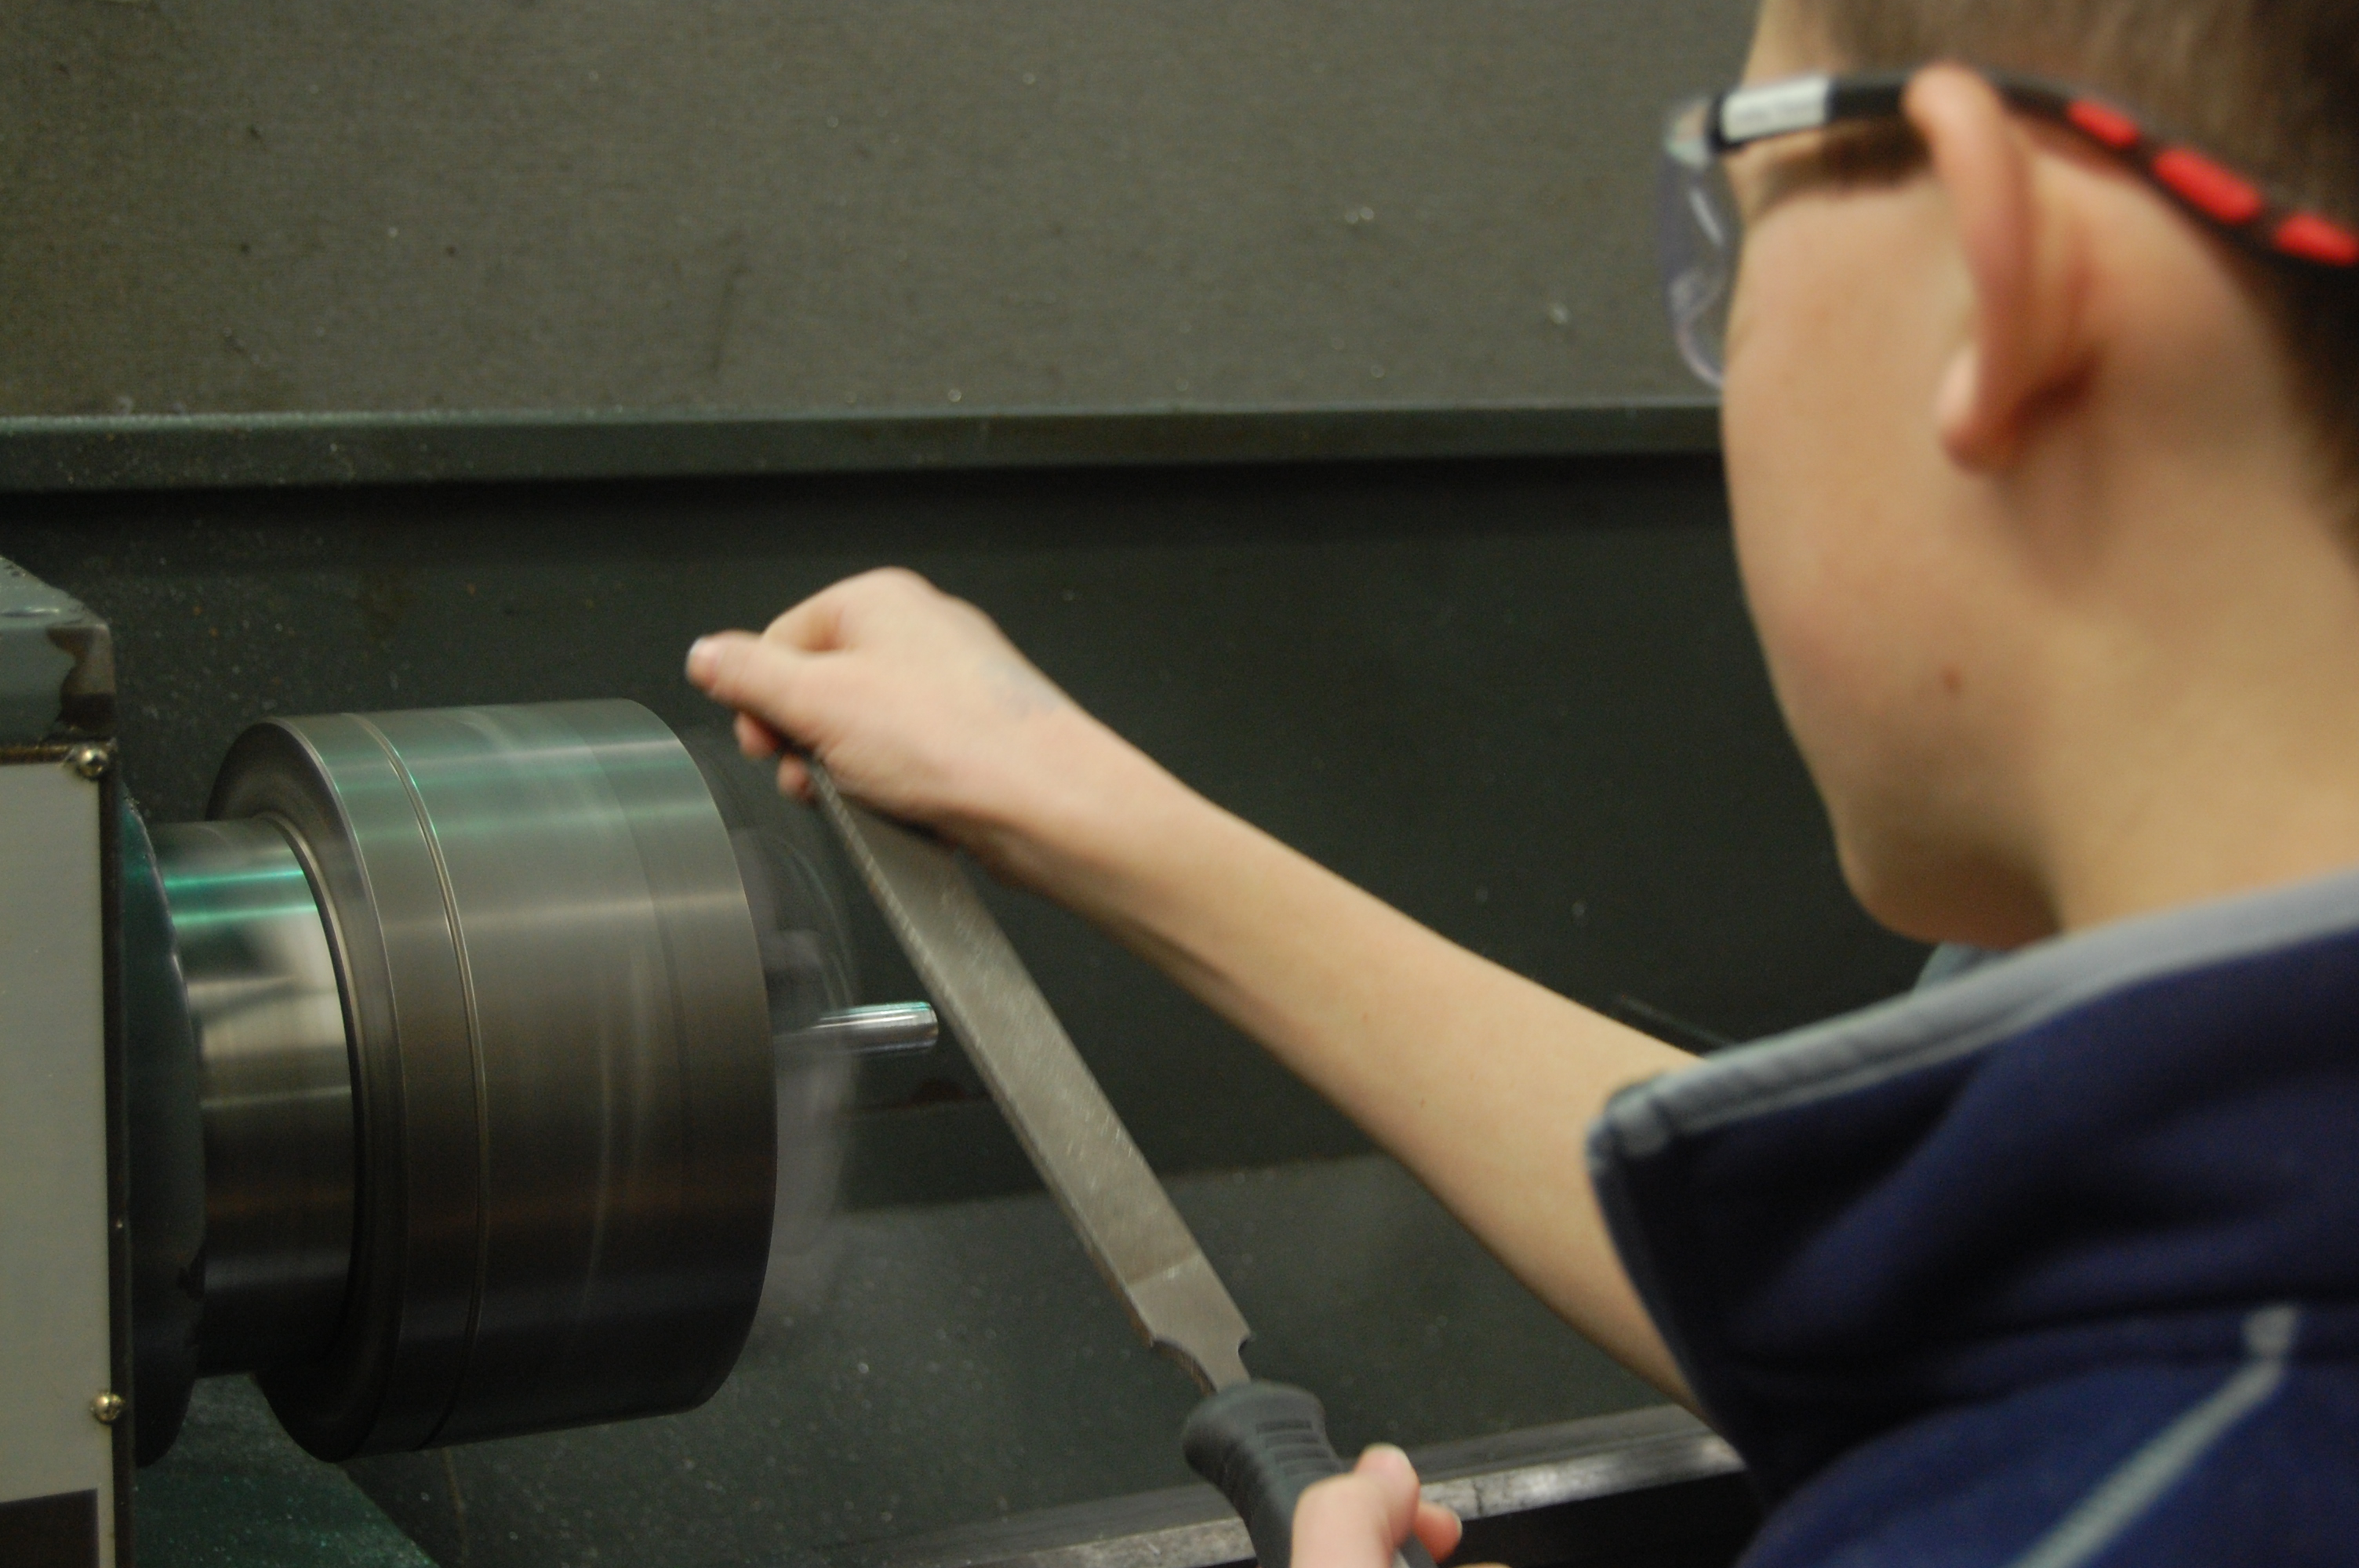
Students and mentors continued working on the shooter and conveyor parts that were released to manufacturing yesterday. Josh finished the conveyor frisbee back stop pins by adding a radius using the “CNC lathe file” technique. Connor, Chris and others started the conveyor middle hex shafts and conveyor bottom standoffs. Many other students cut stock material to rough lengths on the horizontal bandsaw throughout the day to keep the lathes and CNC supplied. Pat made the two different shooter shafts on the newly-functioning Monarch lathe, while Cory manufactured square plugs on the CNC to be inserted and welded into the square tubes that span the width of the intake.


DSC_0130
'CNC filing' on the lathe

DSC_0132

Conveyor frisbee backstop pin


An issue was discovered with the VEX ½” and ⅜” hex shafts received near the start of build season; many of them are visibly crooked, which is causing runout on the machined parts. E-mails exchanged about the issue with the President of VEX Robotics led to the conclusion that this was possibly an isolated incident due to the way the shafts were shipped (in a flat package instead of a round tube). More shafts are already incoming from VEX and the existing ones can be sent back for exchange.

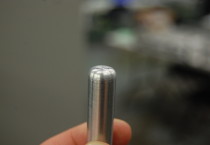
375 INCH HEX STRAIGHTNESS

Hex shaft held against a flat surface

Assembly

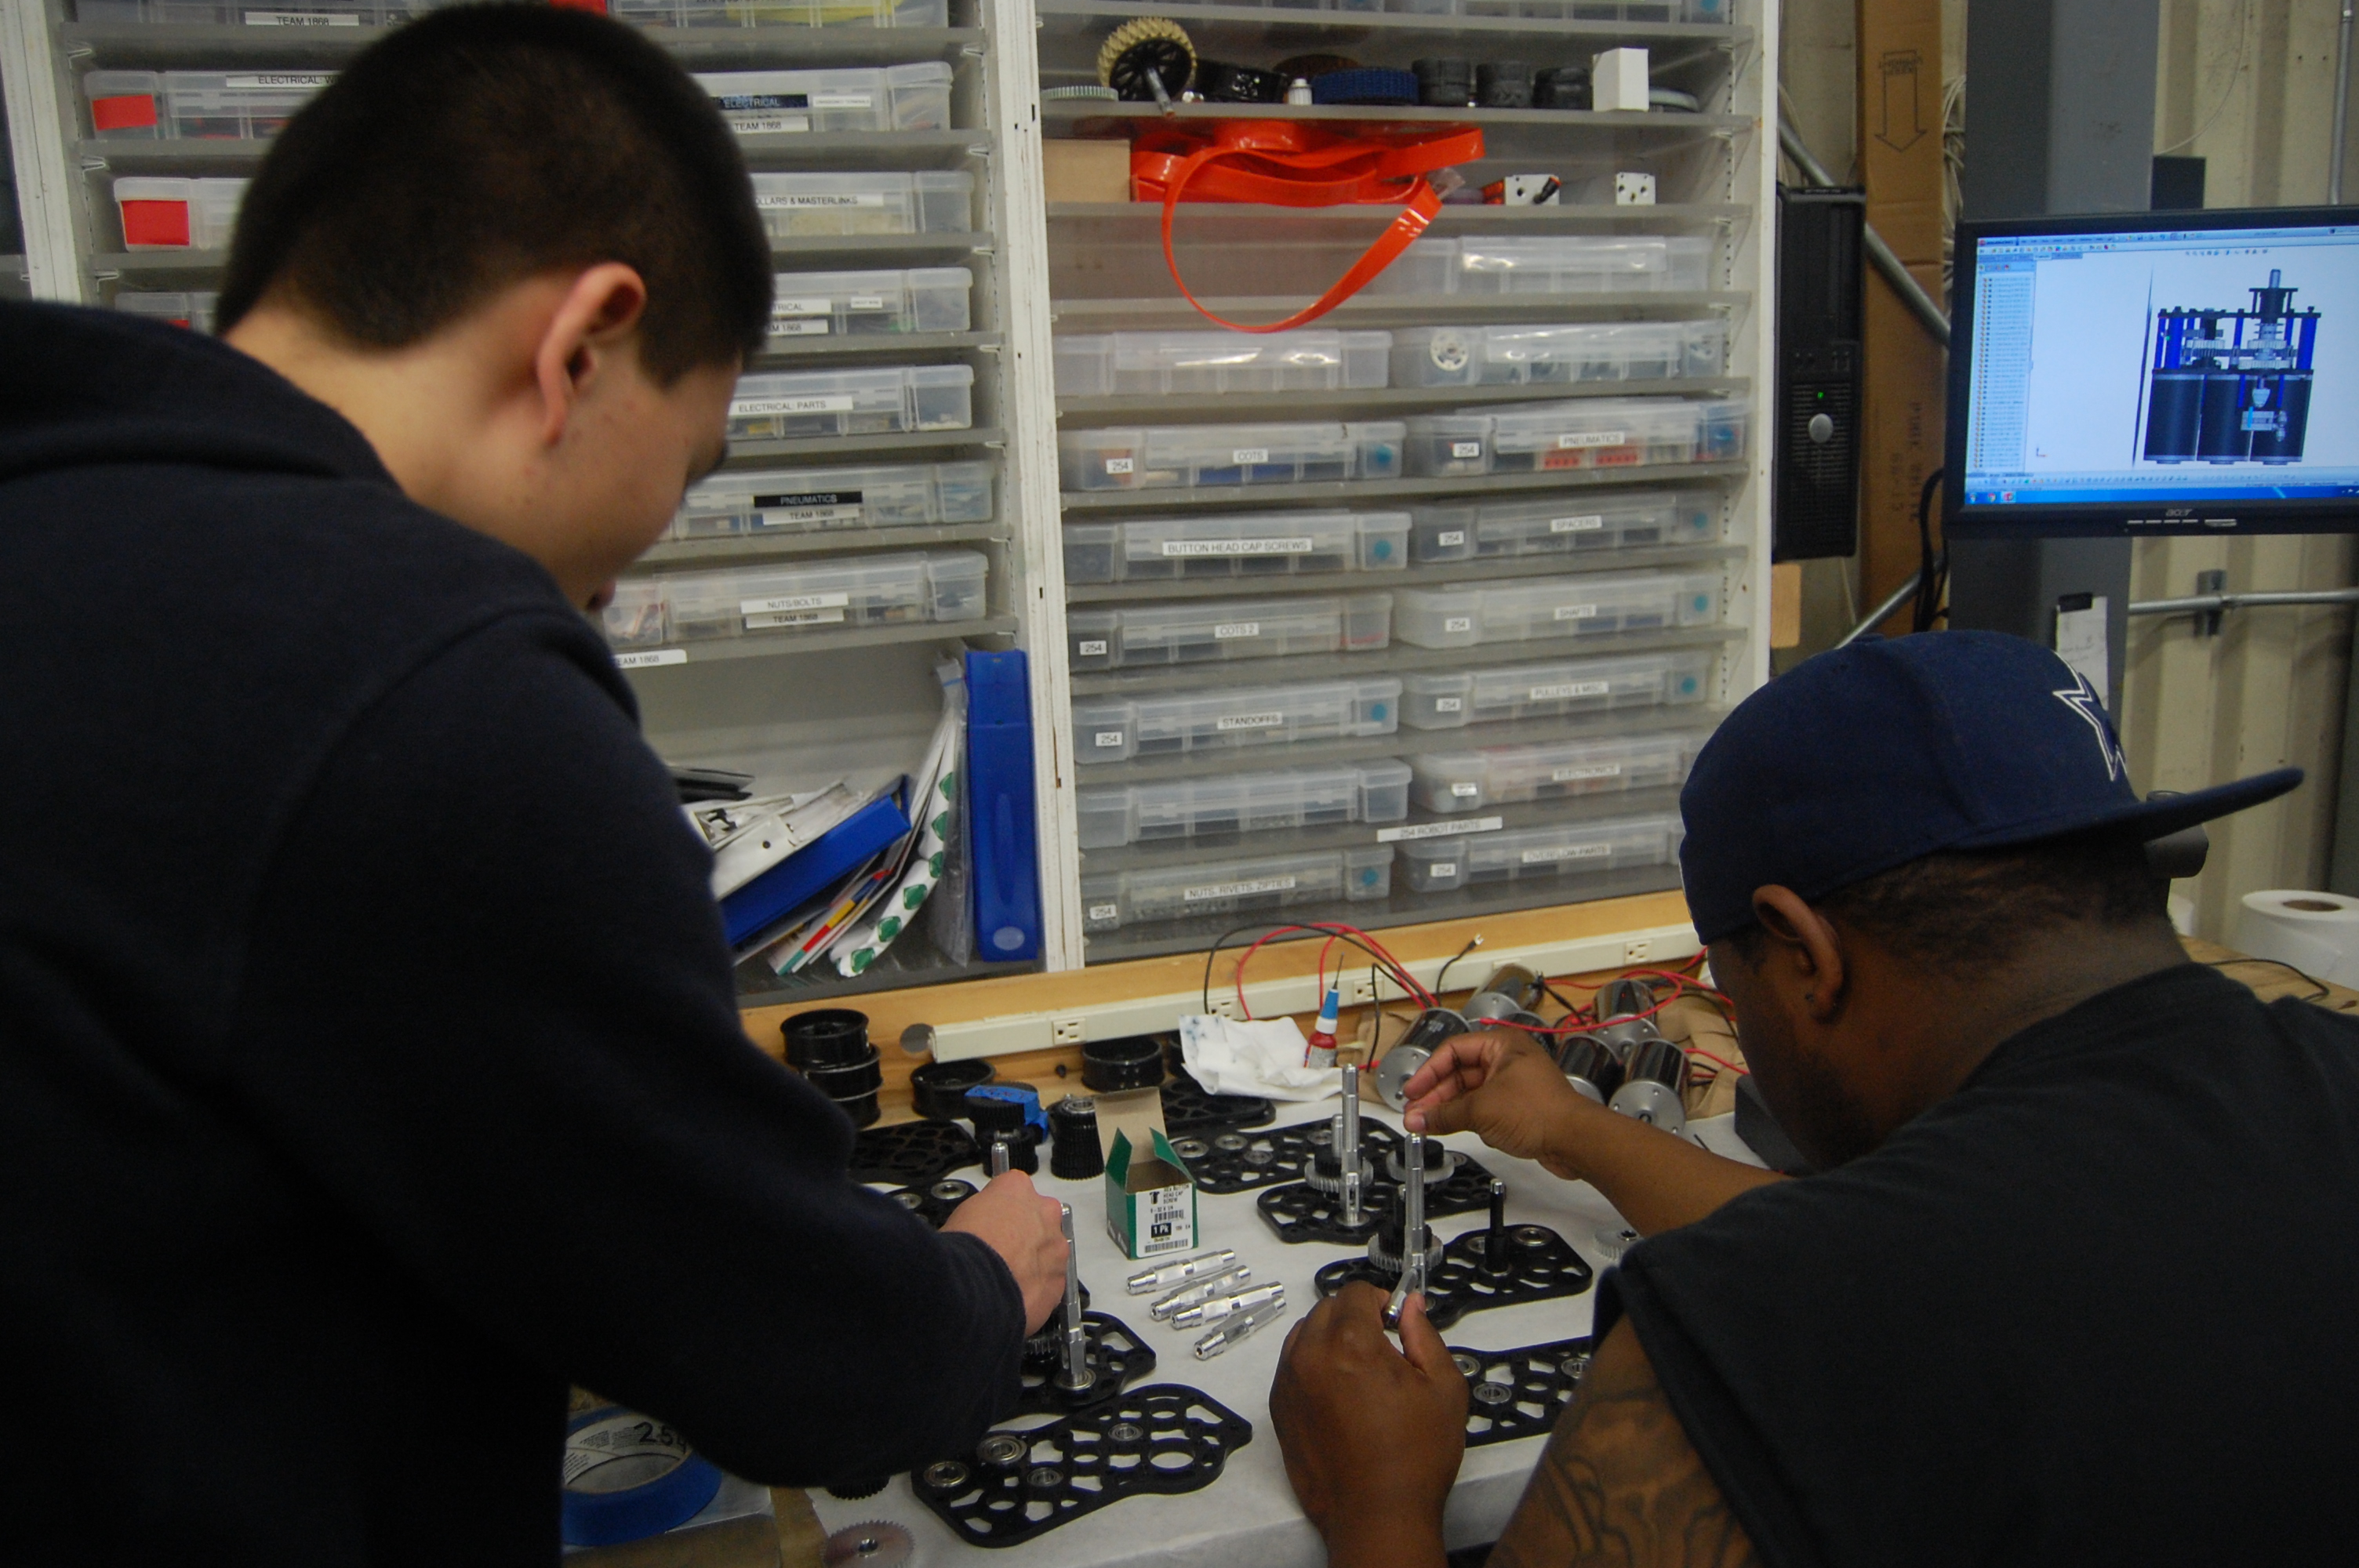
Although not all the parts that will be used in the competition gearboxes have been received yet (a few anodized gears are still missing), a few gearboxes were partially or fully assembled using substitute parts. It was discovered that the CIM output shaft spacers already made were not long enough as the WCP pinions do not have hubs like the steel pinions used in previous years, so new spacers were made.

DSC_0135

Robert and EJ assembling the gearboxes

New wheels have not been made yet, but as they will be the same size (3.5”) as last year, new tread was riveted to old wheels and they were installed in the practice robot to enable it to run. Once two gearboxes were assembled, they were installed into the practice robot and chain was run from them to the wheel shafts.


DSC_0138

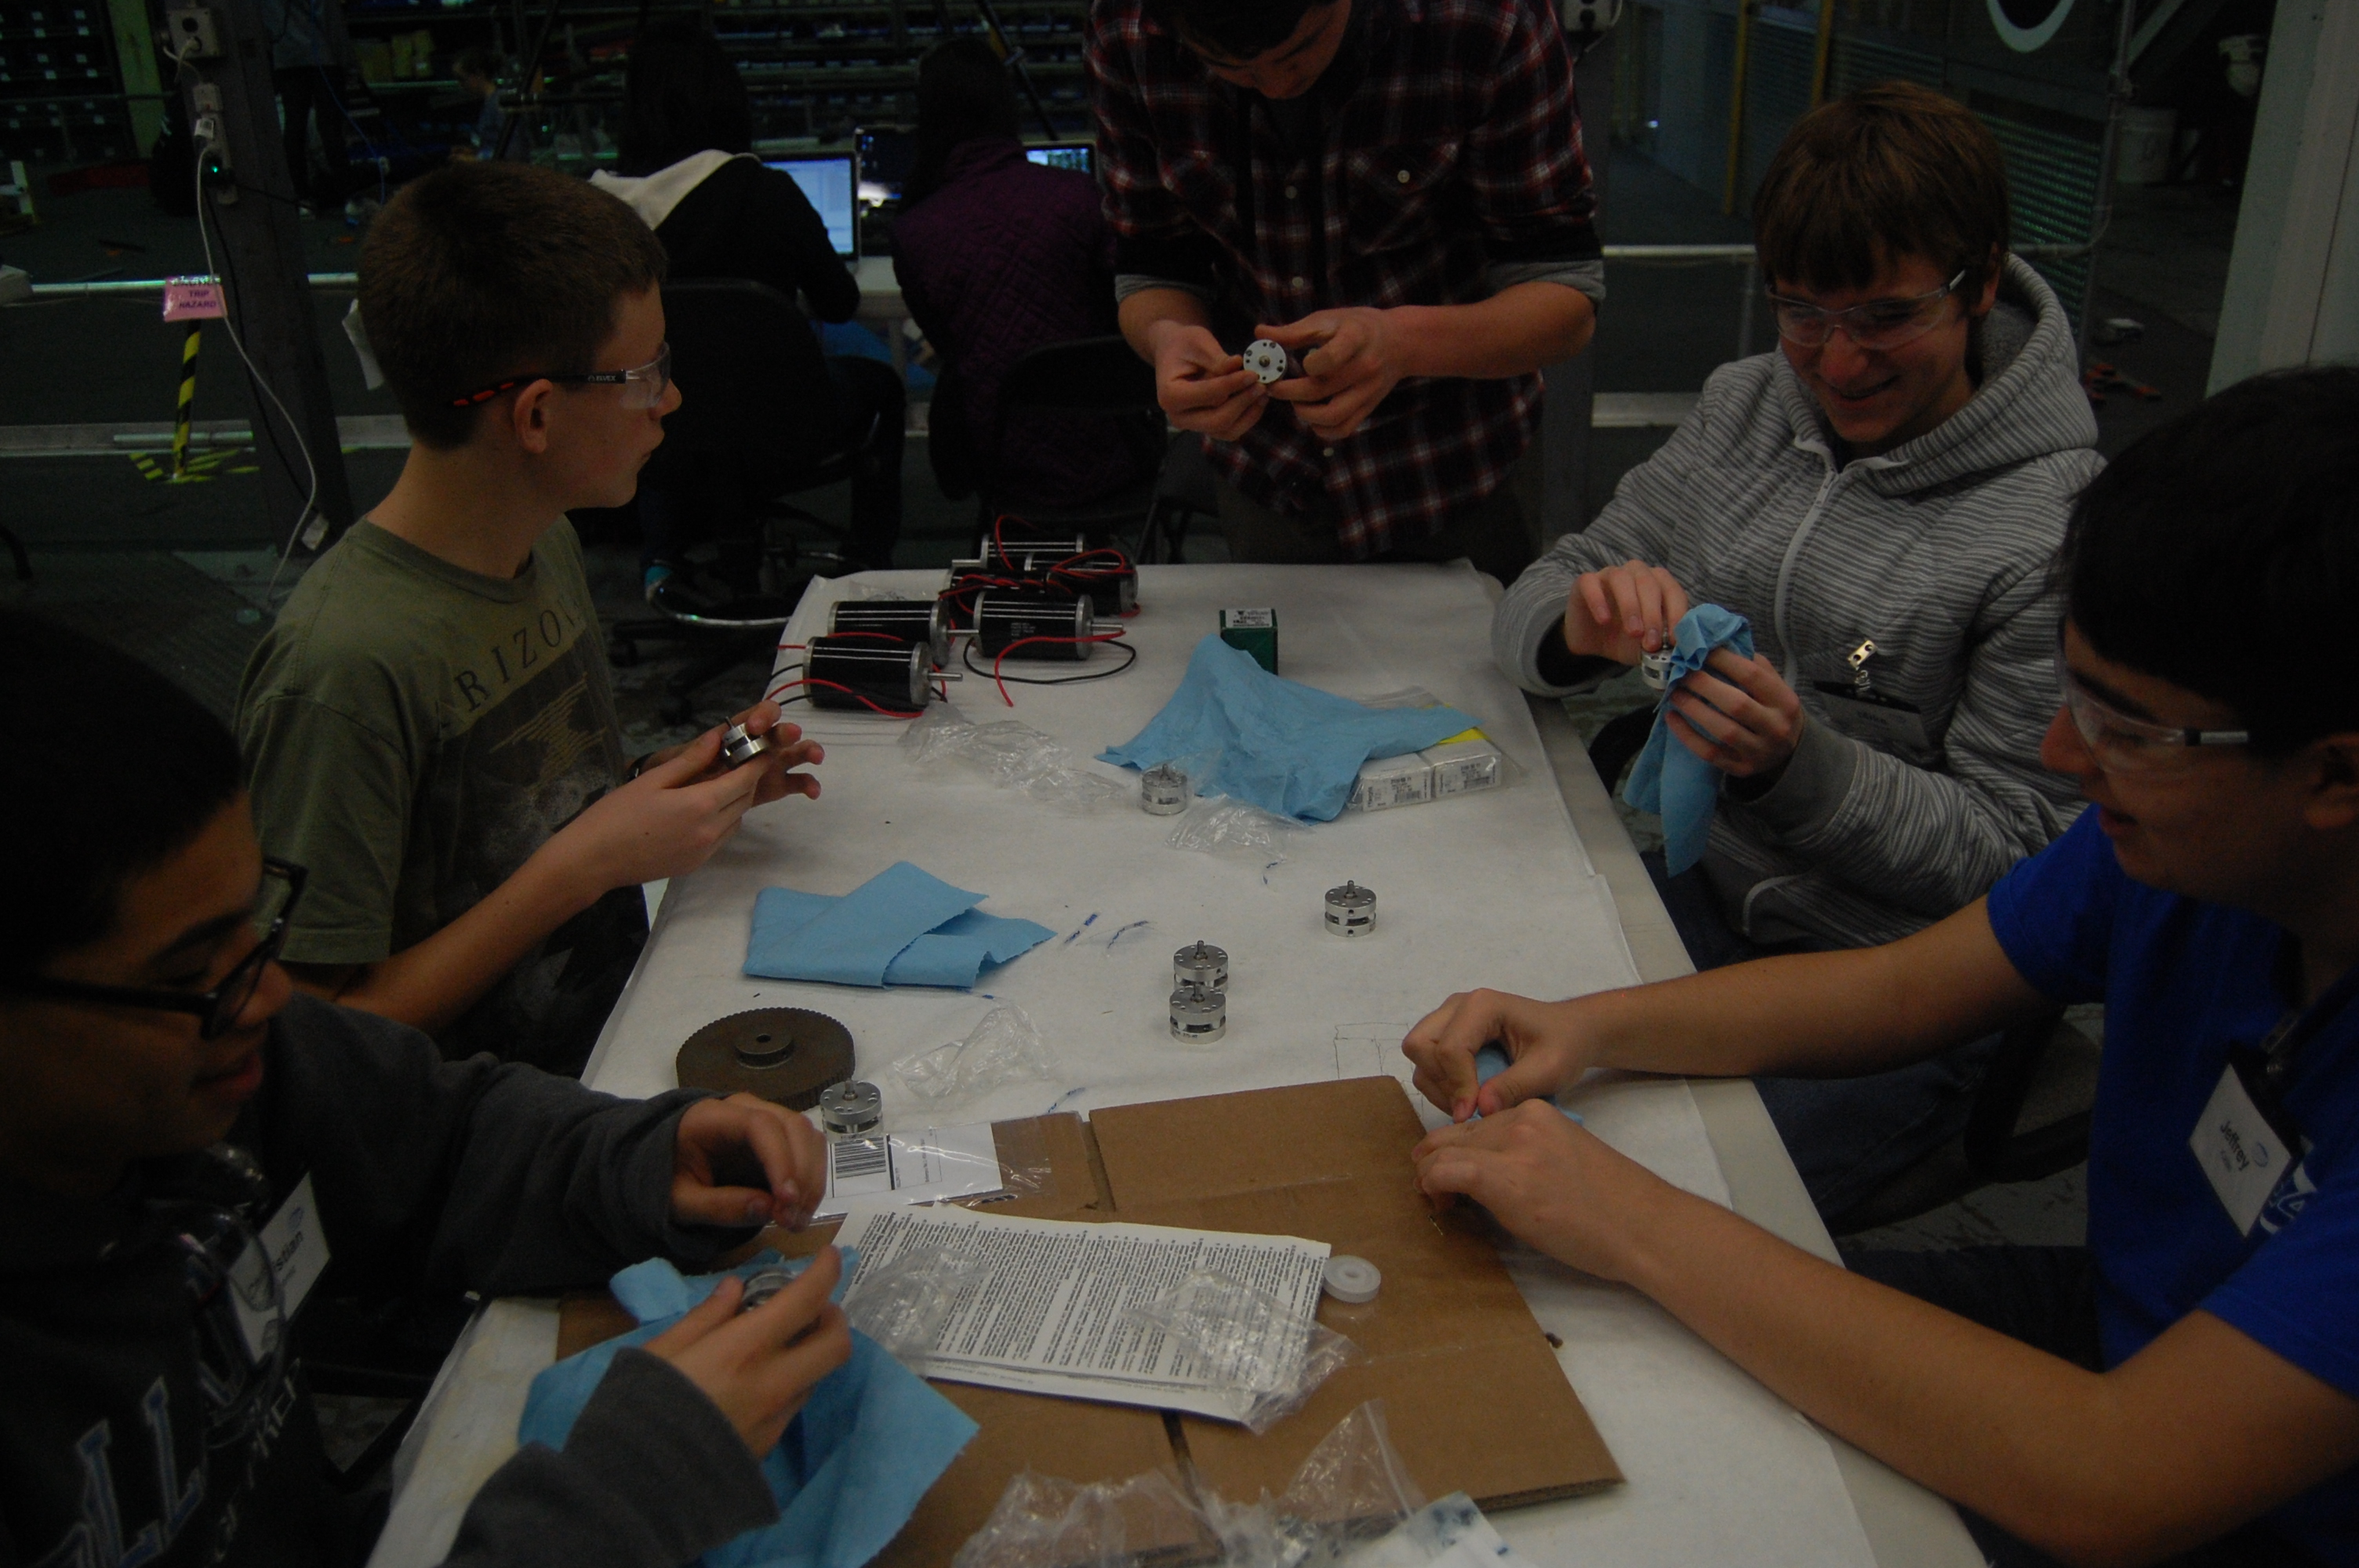
Students cleaning the gearbox shifting cylinders

DSC_0149

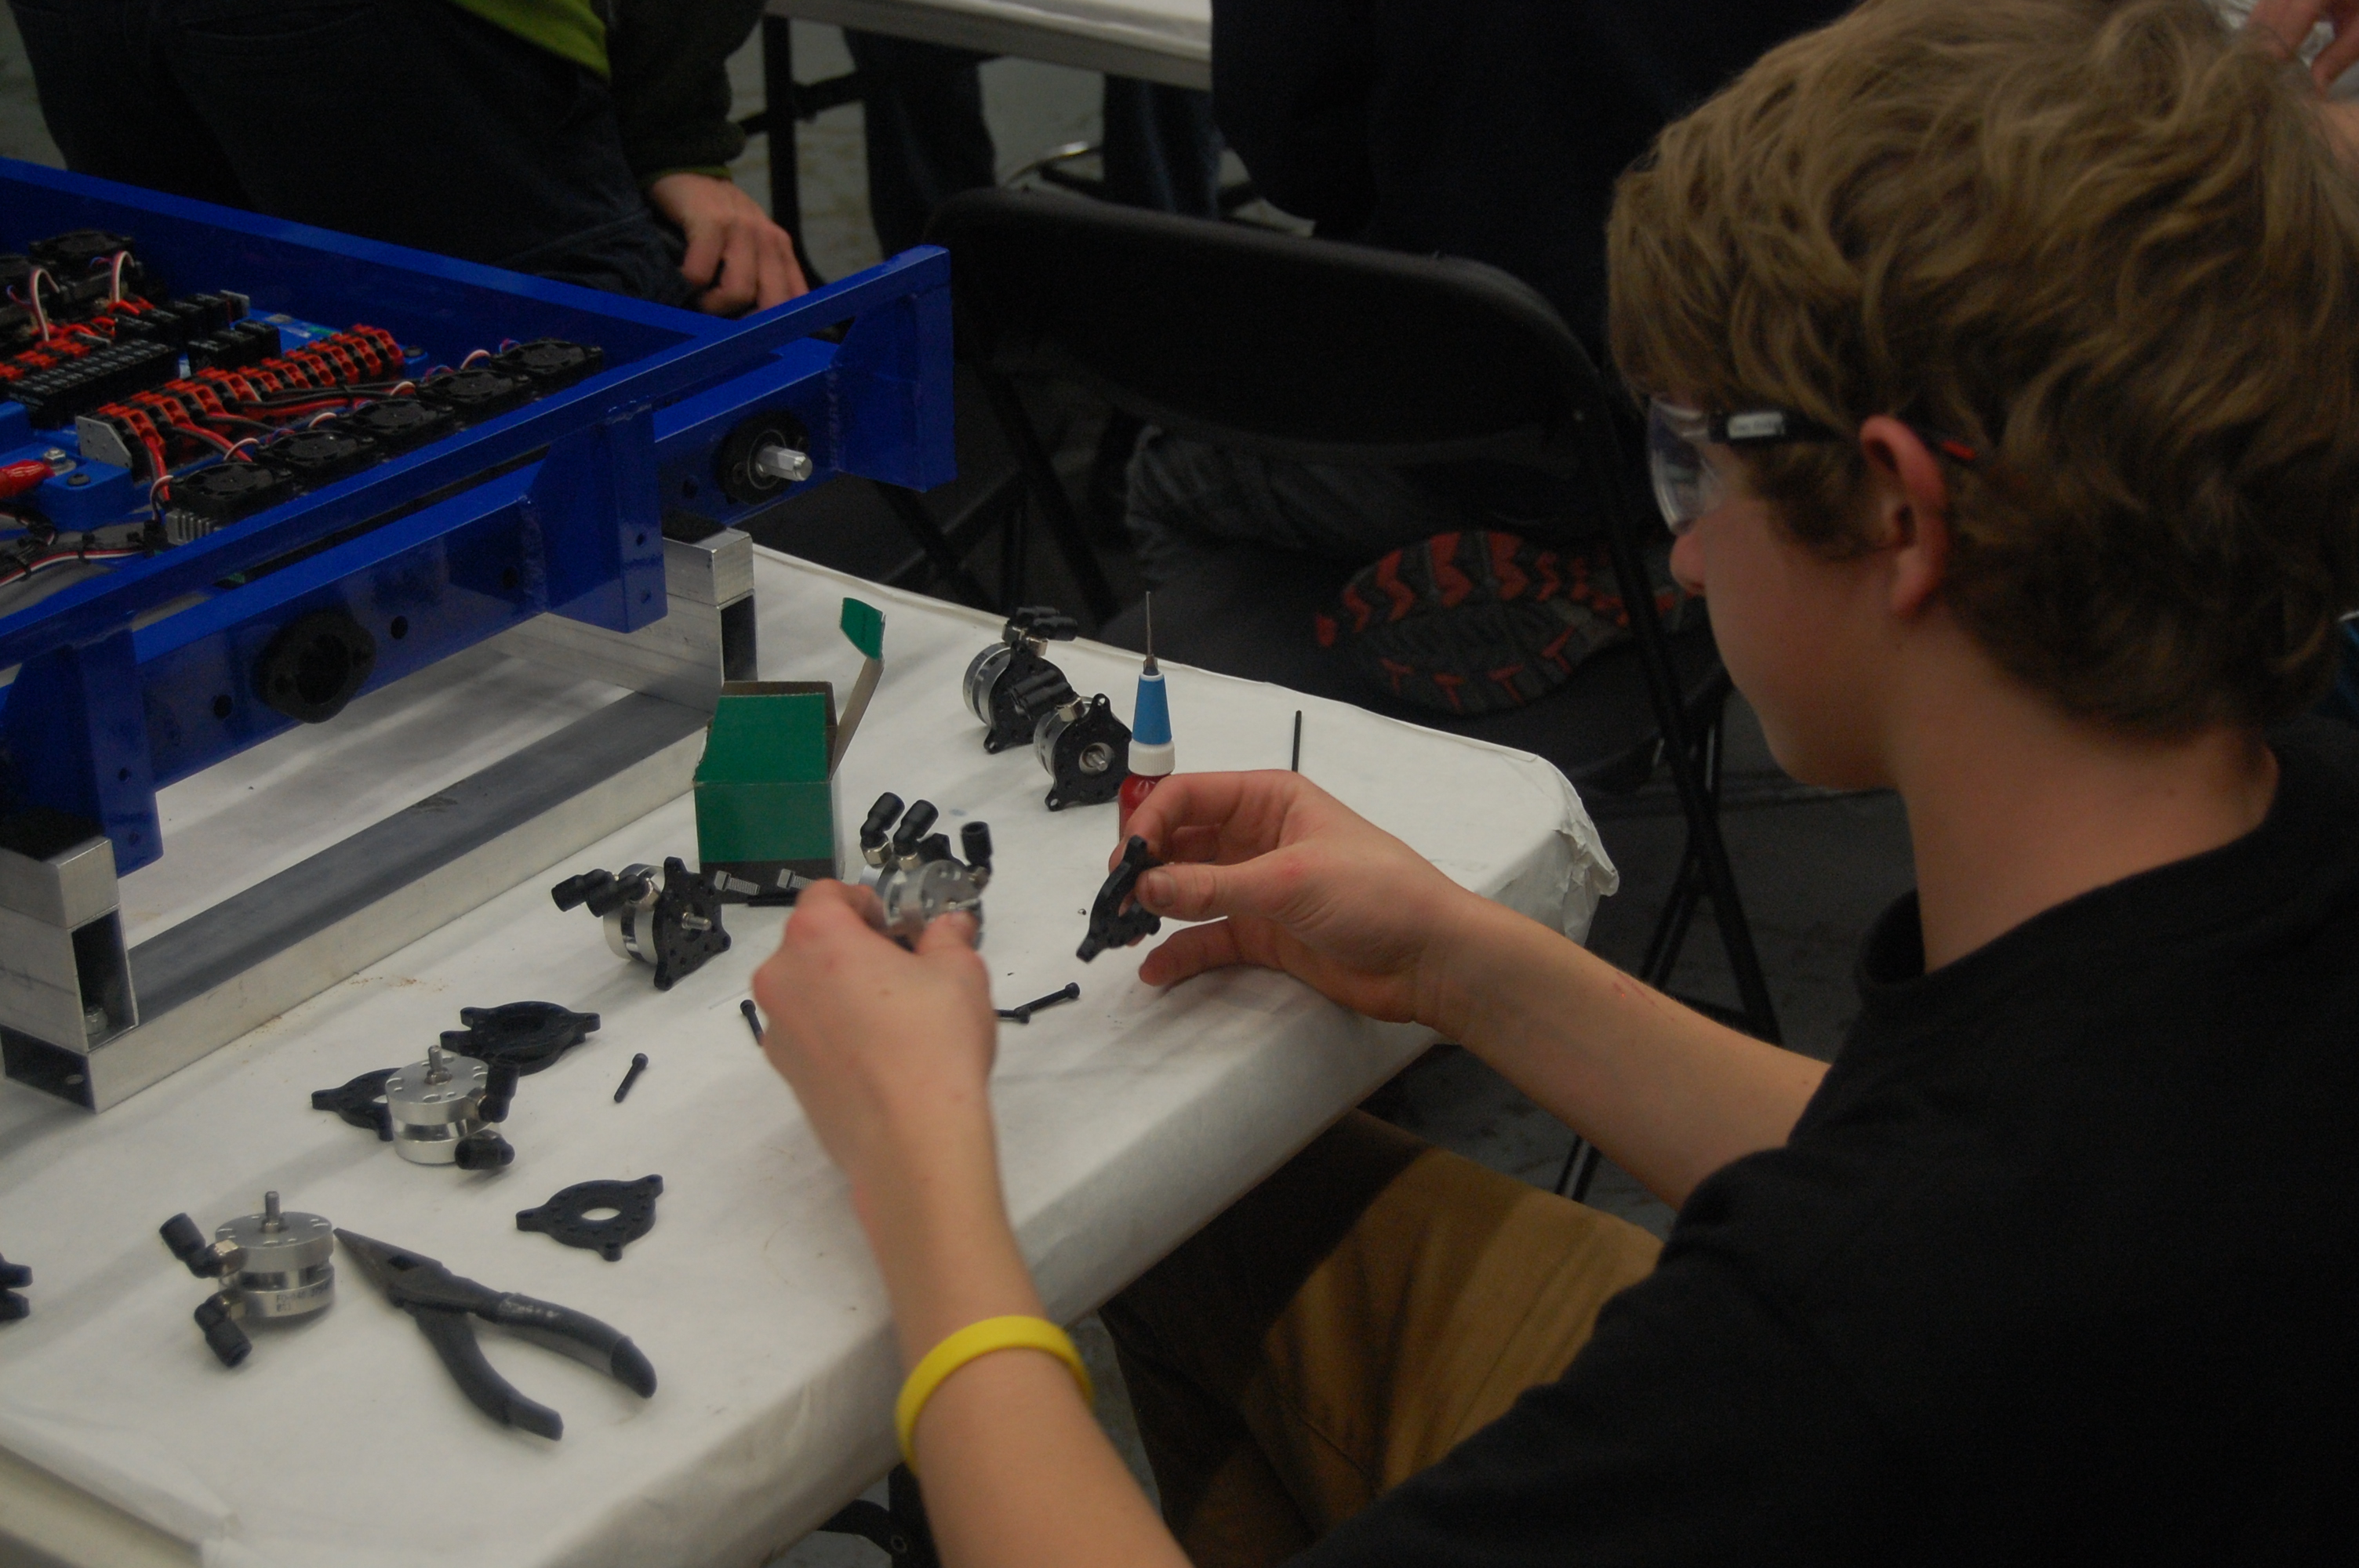
Joey attaching pistons to the spider plates with Loctite

DSC_0166

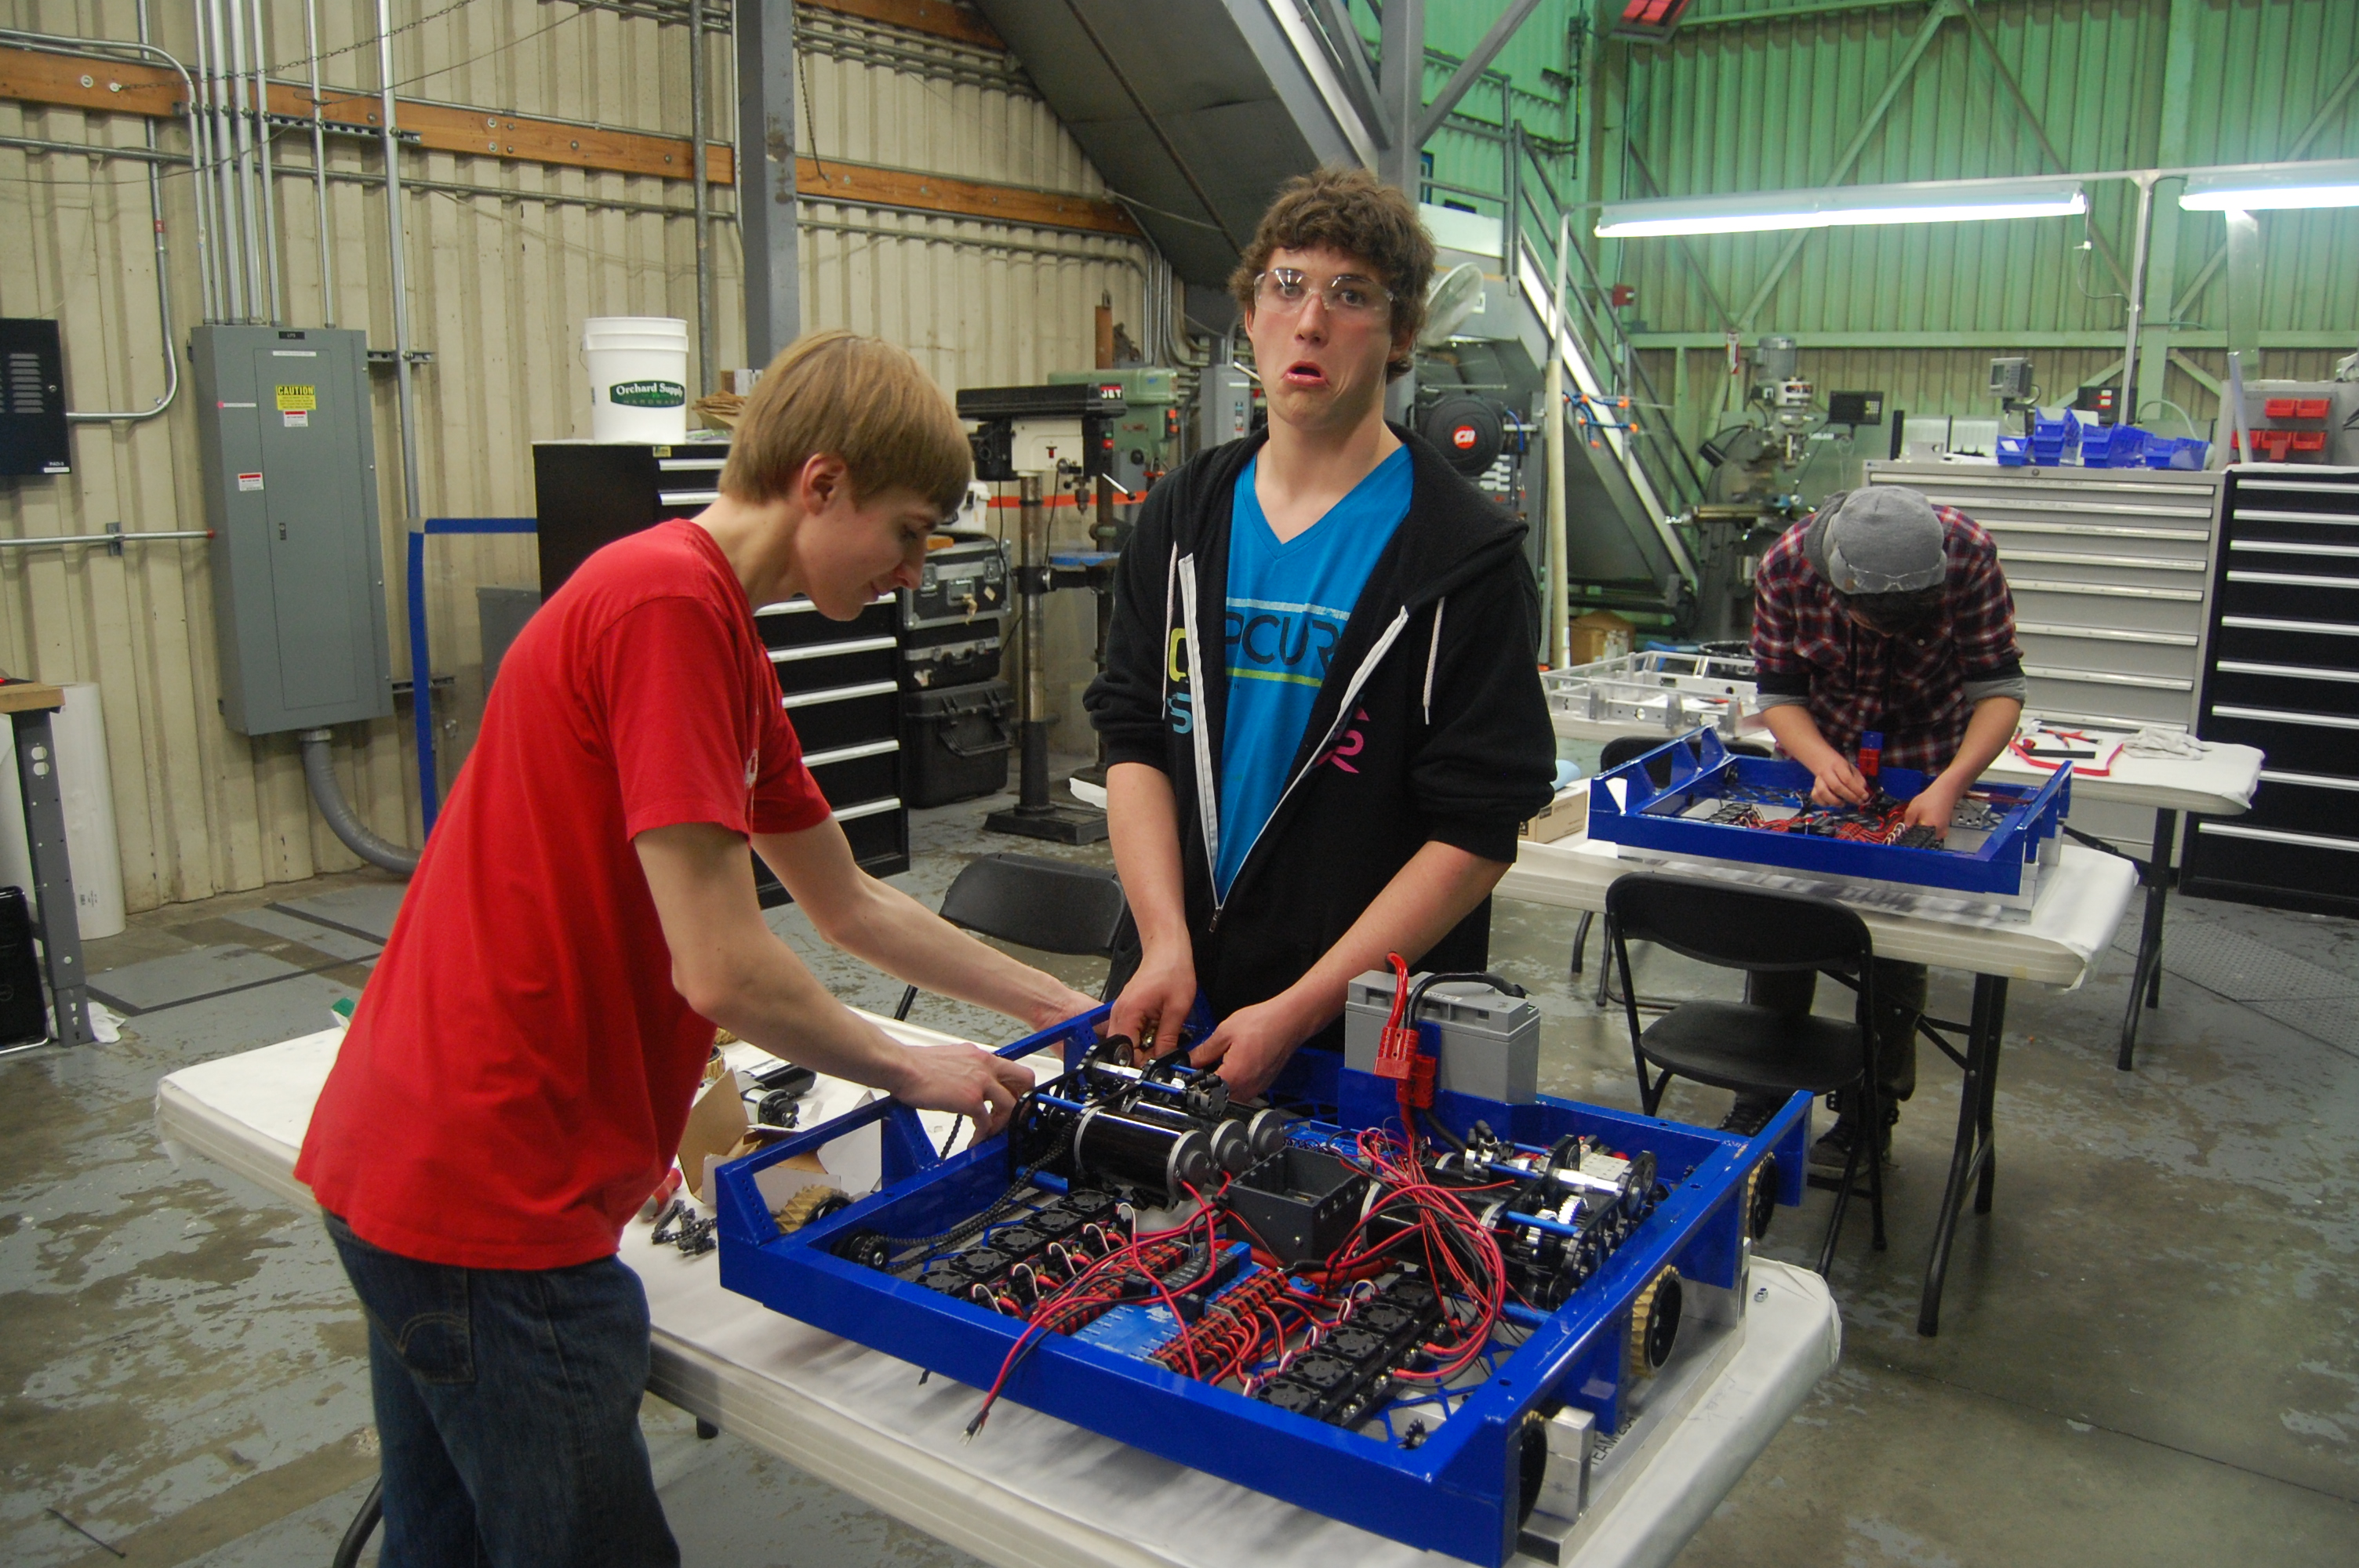
Connor and Chris installing drive chains


Wiring

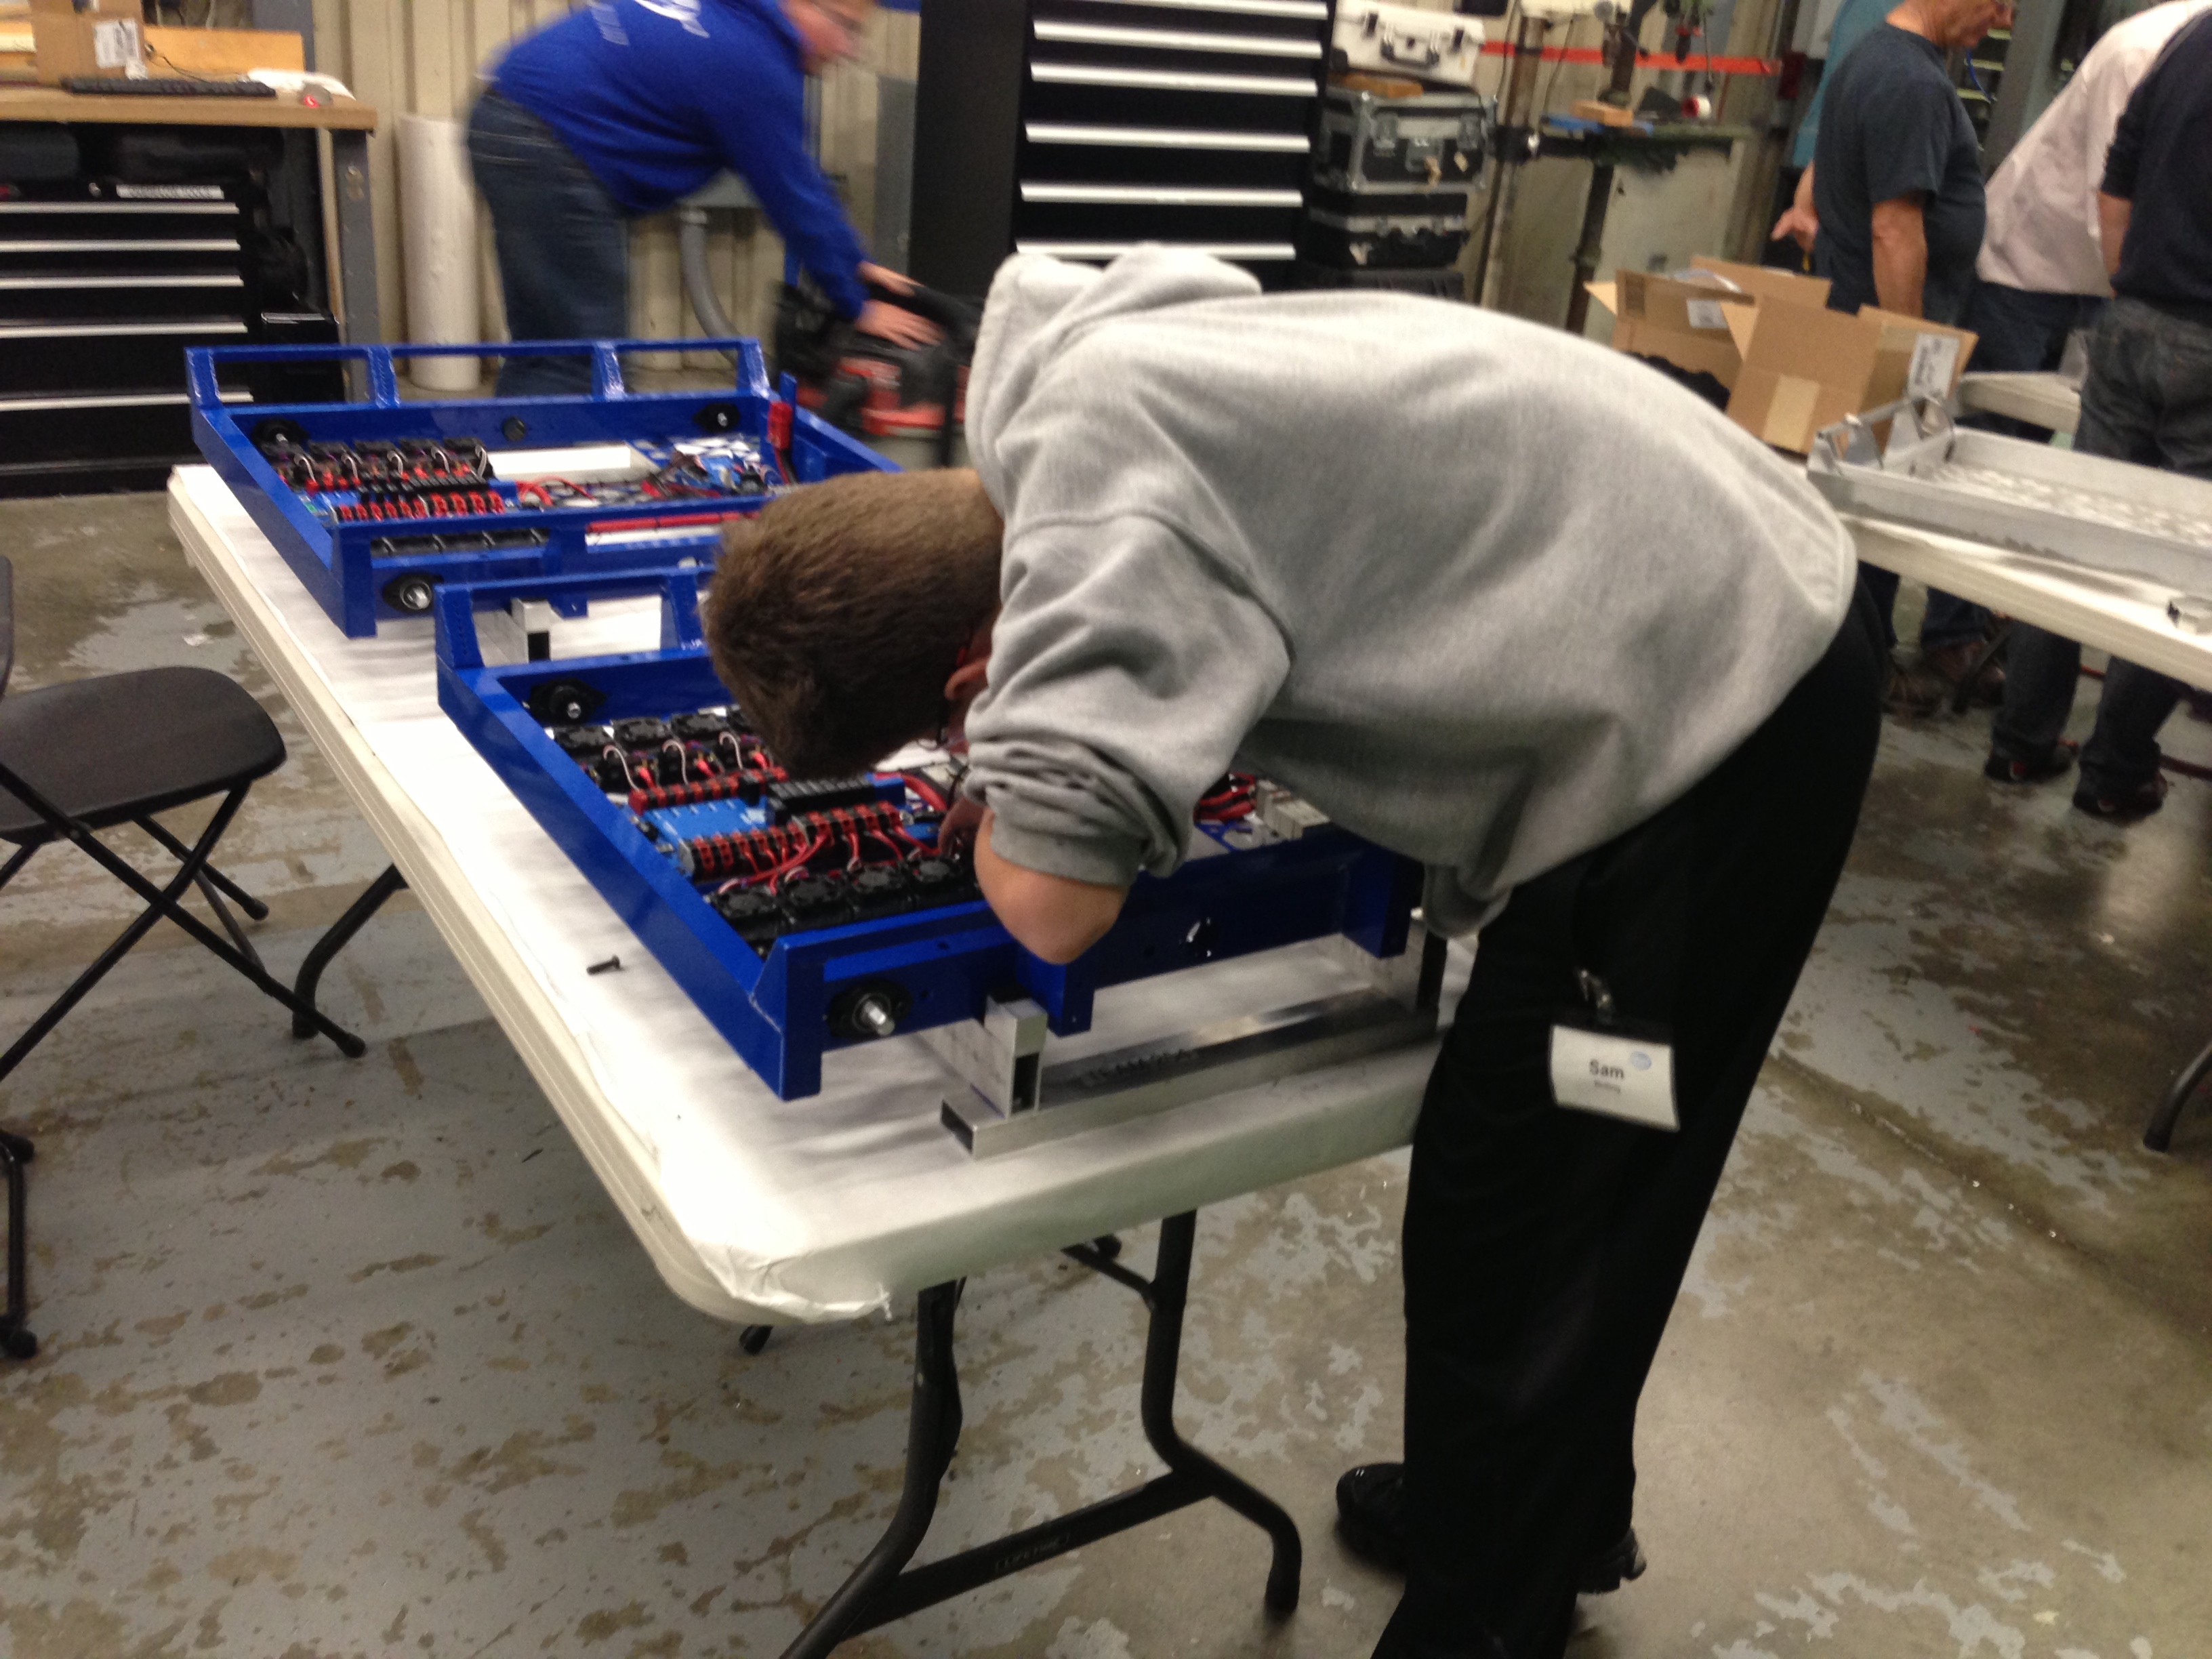
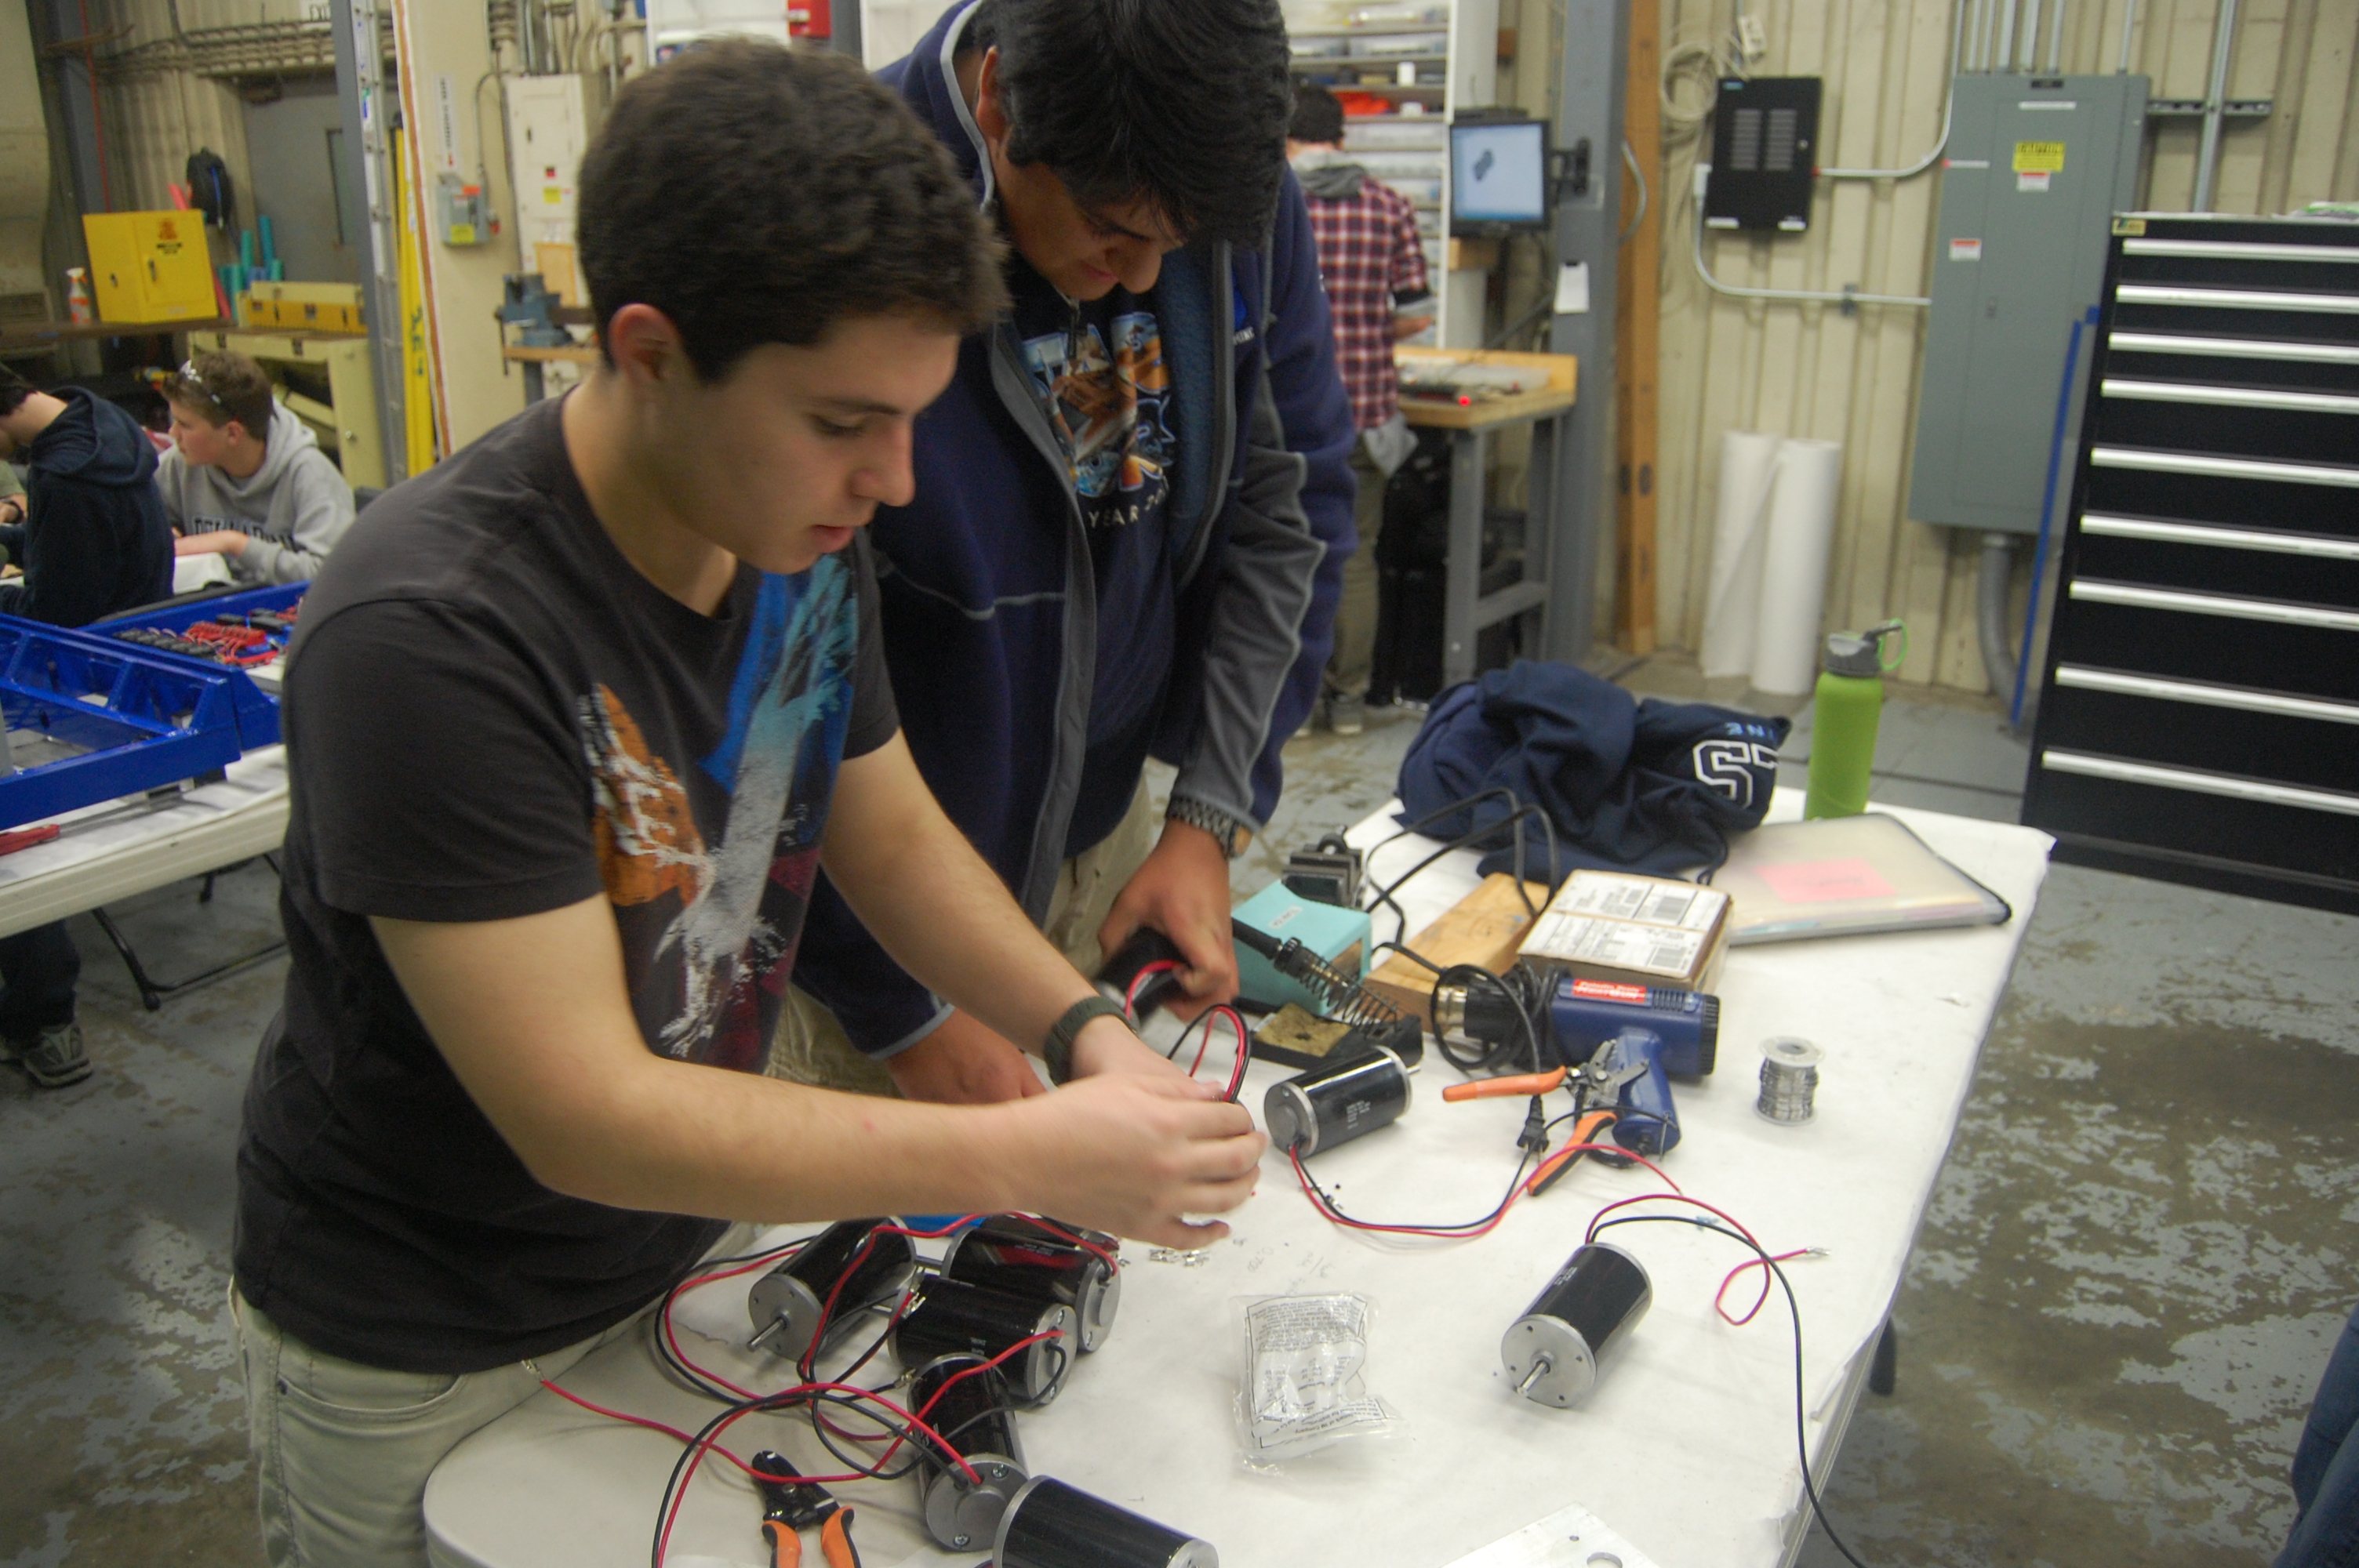
Not much wiring work was done on the competition robot as some parts (new cRIO, ribbon cables) are still missing, but enough was done on the practice robot to enable it to run. The ribbon cable going between the digital sidecar and the cRIO was added, and power was run to the analog breakout. Additionally, to enable testing, a D-Link radio and 12V-5V converter were hacked on (but will likely be moved to different locations later). Nagy and Francisco also crimped and soldered terminals to all the CIM motors.

DSC_0151

Terminating the CIMs

Human player training

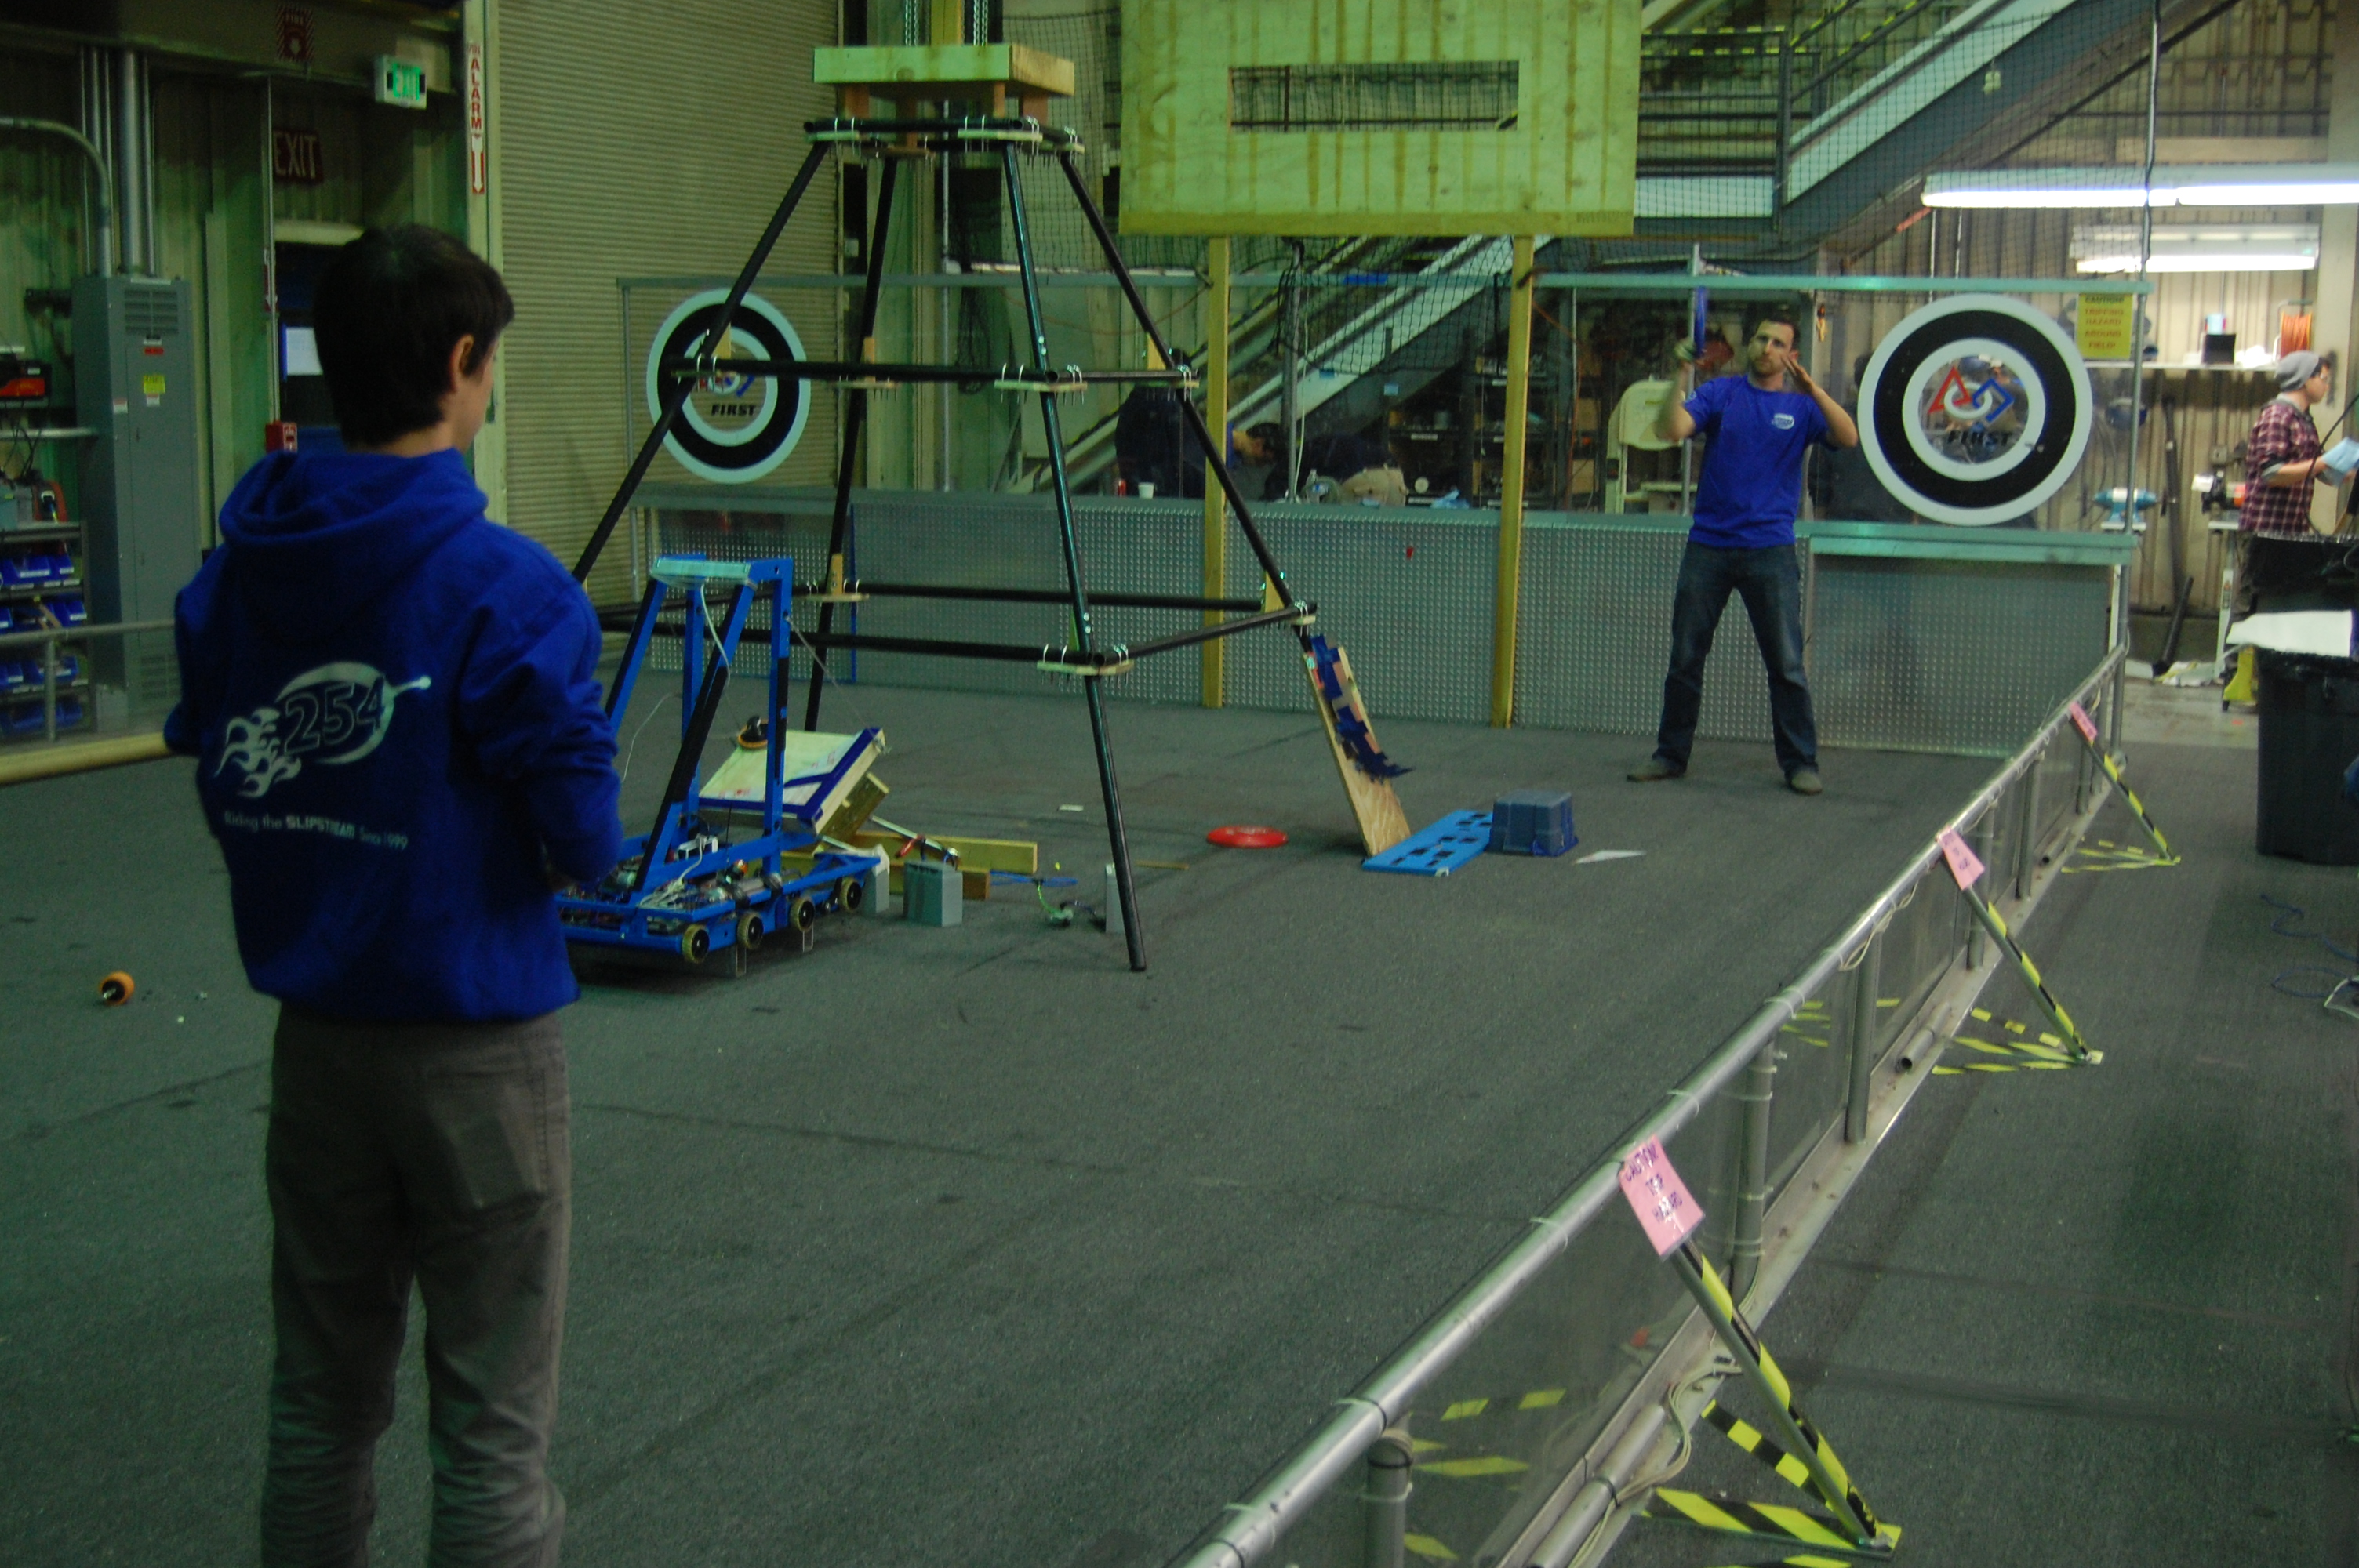
The team received a visit today from Matt Pasienski, who works at one of the team’s sponsors, Ooyala, and has coached Ultimate Frisbee at the national college level in addition to holding a PhD in Physics. He spent time with the primary and backup human players, Aaron and Nagy, and helped them refine their hammer-throwing technique.

DSC_0153

Matt coaching Aaron on how to throw a hammer

Robot driving


DSC_0174

Final assembly and wiring of the drivebase

As the pneumatics are not yet plumbed or wired, the shifters were locked into high gear with a couple of zip-ties each. After a few false starts (the cRIO was wired to a 12V power source instead of the 24V, the analog breakout wasn’t receiving power properly, and the joystick trim tabs weren’t centered), the programming team quickly got the drivetrain running with the robot in its stand on top of a table. After calibrating the Talons, the robot was put down on the field at about 11:15pm and taken for a test drive by Abhi and a few others.

DSC_0211

The practice robot's maiden voyage

The drivetrain seemed very quick and responsive, and the improved linearity provided by the Talons was very noticeable. However, as the robot is currently far lighter than it eventually will be, today’s testing isn’t an effective indicator of its handling once complete. Tests were conducted with a radar gun to attempt to determine the top speed, but they were inconclusive (the gun reported 25 mph, which is too high to be correct).

Action items

  • Complete manufacturing conveyor middle roller shafts and bottom standoffs

  • Cut all aluminum tubing needed to be sent out for superstructure/subsystem welding on Monday

  • Make drawing for superstructure plugs and machine them on the manual mill

  • Begin driver drills with the practice robot

  • Wire and plumb pneumatics on both robots

  • Continue competition robot wiring

  • build

Lab closing time: 2:00am

Day #25: Manufacture of Conveyor and Shooter Begins

2013 FRC Build SeasonFIRST Robotics

Drive Gearbox

The bulk of the remaining parts ordered from West Coast Products arrived today, including gears, shifting dogs, and shifter shafts. Students assembled the piston blocks for the bimba pistons. This will actuate the dog shifters, which will control the 2-speed transmission and PTO. The dog shifters were modified to prevent interferences and fit inside the gearbox.

IMG_0506

Machined Shifting Dogs

Shooter and Conveyor

Students made drawings for shafts and spacers that will later be used on the shooter and conveyor. The raw materials for these parts were cut, and later manufactured by students with assistance from the mentors.

IMG_0503

Makin the Pahts

IMG_0502

Finished Parts

Programming

Students worked on the code for the intake. They also tested all the subsystems of code to make sure that they functioned properly.

Visitors!

Team 100 from Woodside, Carlmont, and Sequoia High Schools visited the lab today. They stopped by for a couple of hours to borrow the use of the lab's hex broach.

Action Items:

  • Assemble Drive Gearbox
  • Continue manufacturing Shooter and Conveyor shafts
  • Release more parts for manufacture
  • Further develop code
  • Wire Pneumatics

Lab Closing Time: 12:30

Day #24: Bumpers, Wiring, and Continued Prototyping

2013 FRC Build SeasonFIRST Robotics

CAD

Students made some of the drawings for the conveyor shafts. The shafts with finished drawings should be finished tonight.


Manufacturing

Students manufactured a few of the shafts for the conveyor assembly. These hex shafts will used with the polyurethane rollers to move the frisbees from the intake to the piston-powered loader.

photo (2)

Manufactuing parts on the lathe

Bumpers

Students began measuring the dimensions of the bumper cordura based on the measurements of the robot bumper assembly in Solidworks. They will order 4 yd x 60 in cordura material from Seattle Fabrics for the red and blue bumpers. Particular effort will be spent making sure that the colors are according to the team standards. After confirmation of all details, they will place the order.


Wiring

Wiring today consisted of soldering connectors onto a mini CIM motor and another set of connnectors for the speed controller to test out the intake prototype.  The students discovered that the motor's shaft was spinning, while the gear was not.  After some modificaitons, the team was able to successfully control the speed of the intake with the speed controller, which was mapped to the Logitech gamepad.

photo (1)

The current drivebase chassis

Prototyping

Students continued design on the intake, revising the polyurethane rollers as well as the polycarb on top. This wasn't worked on much today, but the improvements drastically increased efficiency.

photo (4)

Student making adjustments to the intake

PR

Students continued to revise Chairman's as well as work on various sponsor things. Awards will be delivered later this week, and prospective sponsors are being contacted.


Programming

Today, the programmers continued work on tuning the PID controller for the shooter wheel.  The results were roughly about the same as yesterday's results.  When the actual shooter is built, the team will spend a great deal of time to tune the shooter controller very nicely and accurately.  But for now, this was a good exercise and experience the team can learn from.  The programmers are currently experimenting with a mix of filters, different controllers (bang-bang vs. PID), and feed-forward.

Meanwhile, other programmers wrote code for the intake prototype.  They mapped it to the Logitech gamepad, so that the shoulder buttons would increment or decrement the speed controller output by 0.005, the start button would set it to 0.0, and the back button would set it to +1.0.  This functionality was requested by the students working on the intake prototype, since they want to find the minimum required torque to intake a frisbee smoothly.  Tests are currently being conducted on this.

photo (3)

Programmers intently programming

Day #23: Wiring and Prototyping

2013 FRC Build SeasonFIRST Robotics

Wiring

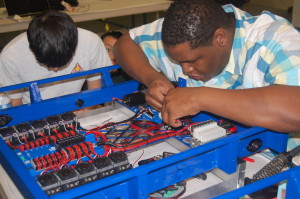
Wiring the main robot chassis was continued today, as students and mentors mounted and wired 8 port solenoids. As well, the spike was wired and progress was made in the decision on how to mount the compressor. With majority of the base wiring complete, the team is currently waiting on new cRIO modules to arrive so that they can be mounted and wired as well.
 

DSC_0043

Wiring the solenoids

Prototyping

Prototyping was divided into multiple subgroups today, with students working on the loading mechanism, the conveyor, as well as mounting a mini CIM motor to power the intake prototype.

Loading Mechanism

A select group of students decided to prototype the loading mechanism which transfers the frisbee from the conveyor to the shooter. Using polycarb, wood, and pistons, they were able to manufacture a working prototype to serve as a successful proof-of-concept reinforcing designs already implemented into CAD.

DSC_0068
Students assembling the loading/indexing mechanism
DSC_0066
Testing the indexing prototype

Conveyor

Students worked to make a conveyor out of wood to use as a proof-of-concept with using 3/8" hex shafts versus the previously favoured 1/2". It is still a work in progress and is currently being assembled.

Intake

It was decided that to optimize the speed of rollers used in the intake, it is neccessary to modify the current intake design which had previously been powered solely by pneumatic drills to operate using a single mini CIM motor. To do so, students created 2 pulleys to direct power to the front rollers using polycord while the back rollers will be powered by gears at a 3:1 ratio. There was minor setbacks in the broaching of a 1/2" gear, and as such the project was slowed. The modifications are still currently underway and will be documented in depth once they are completed.

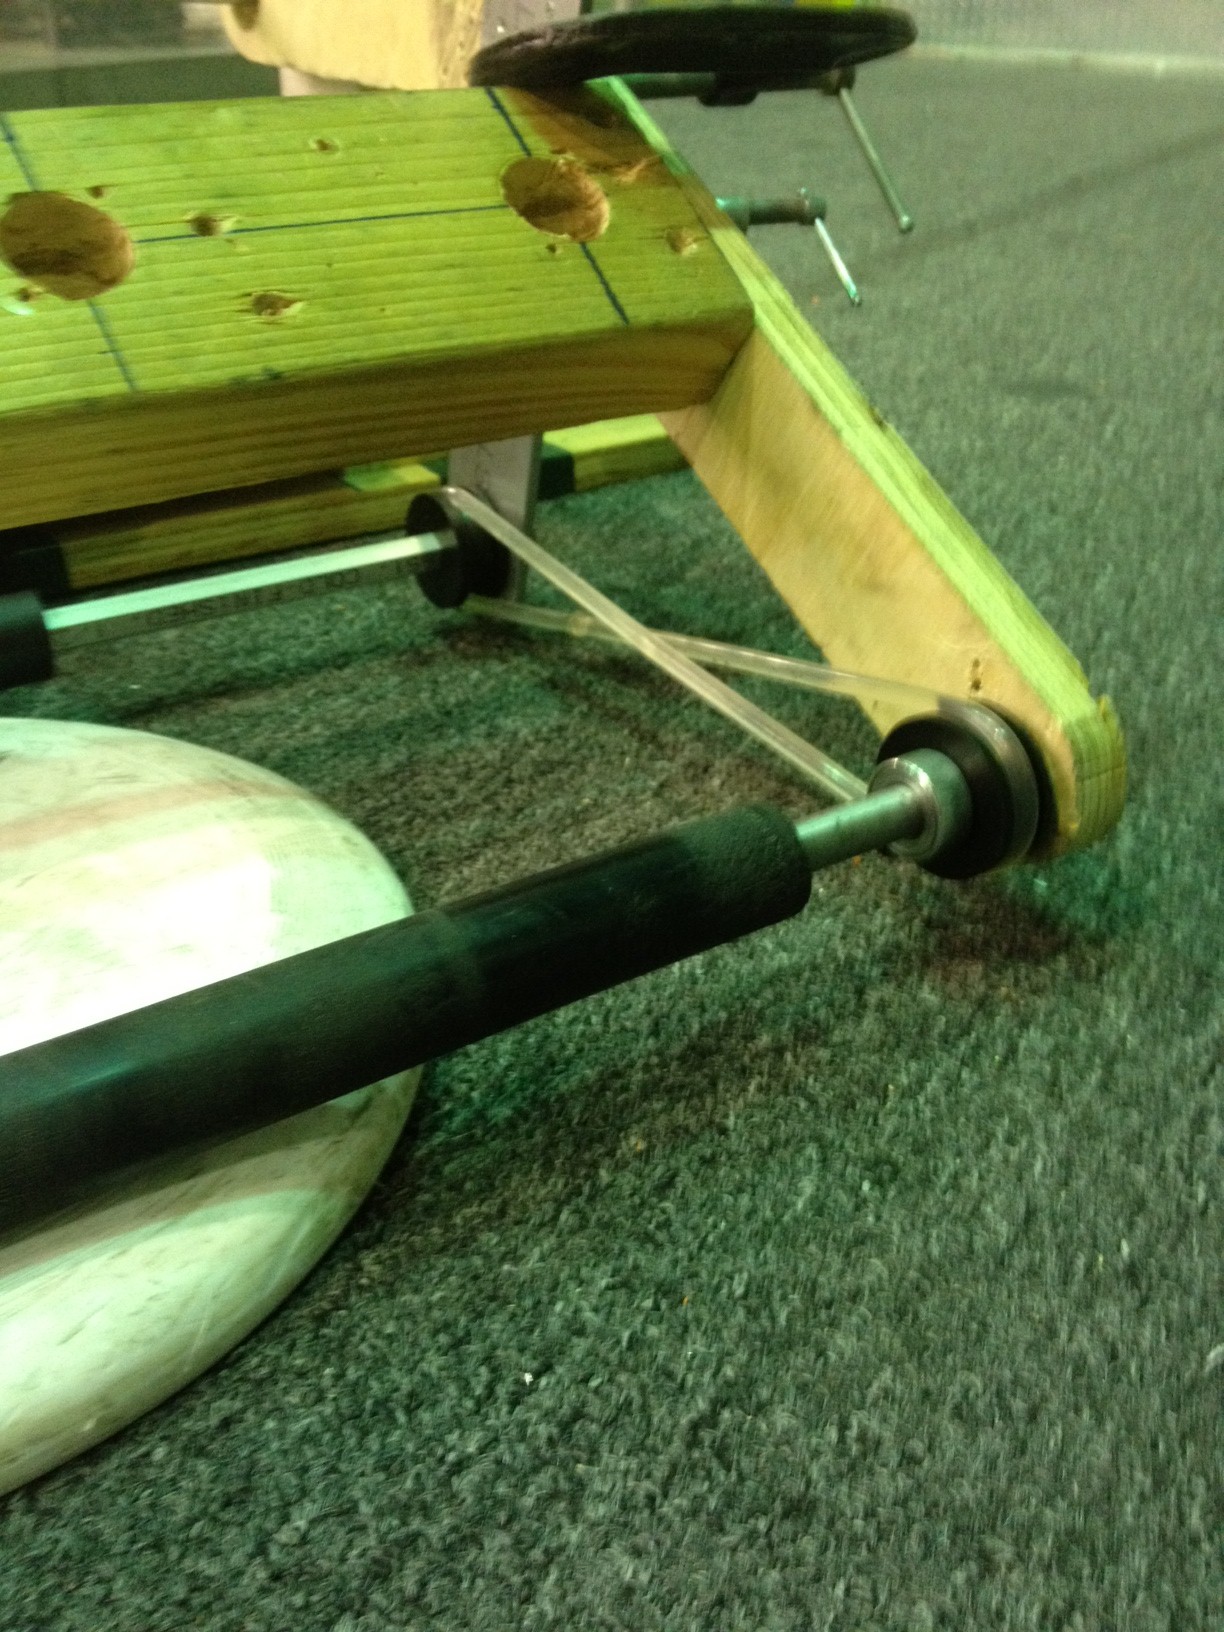
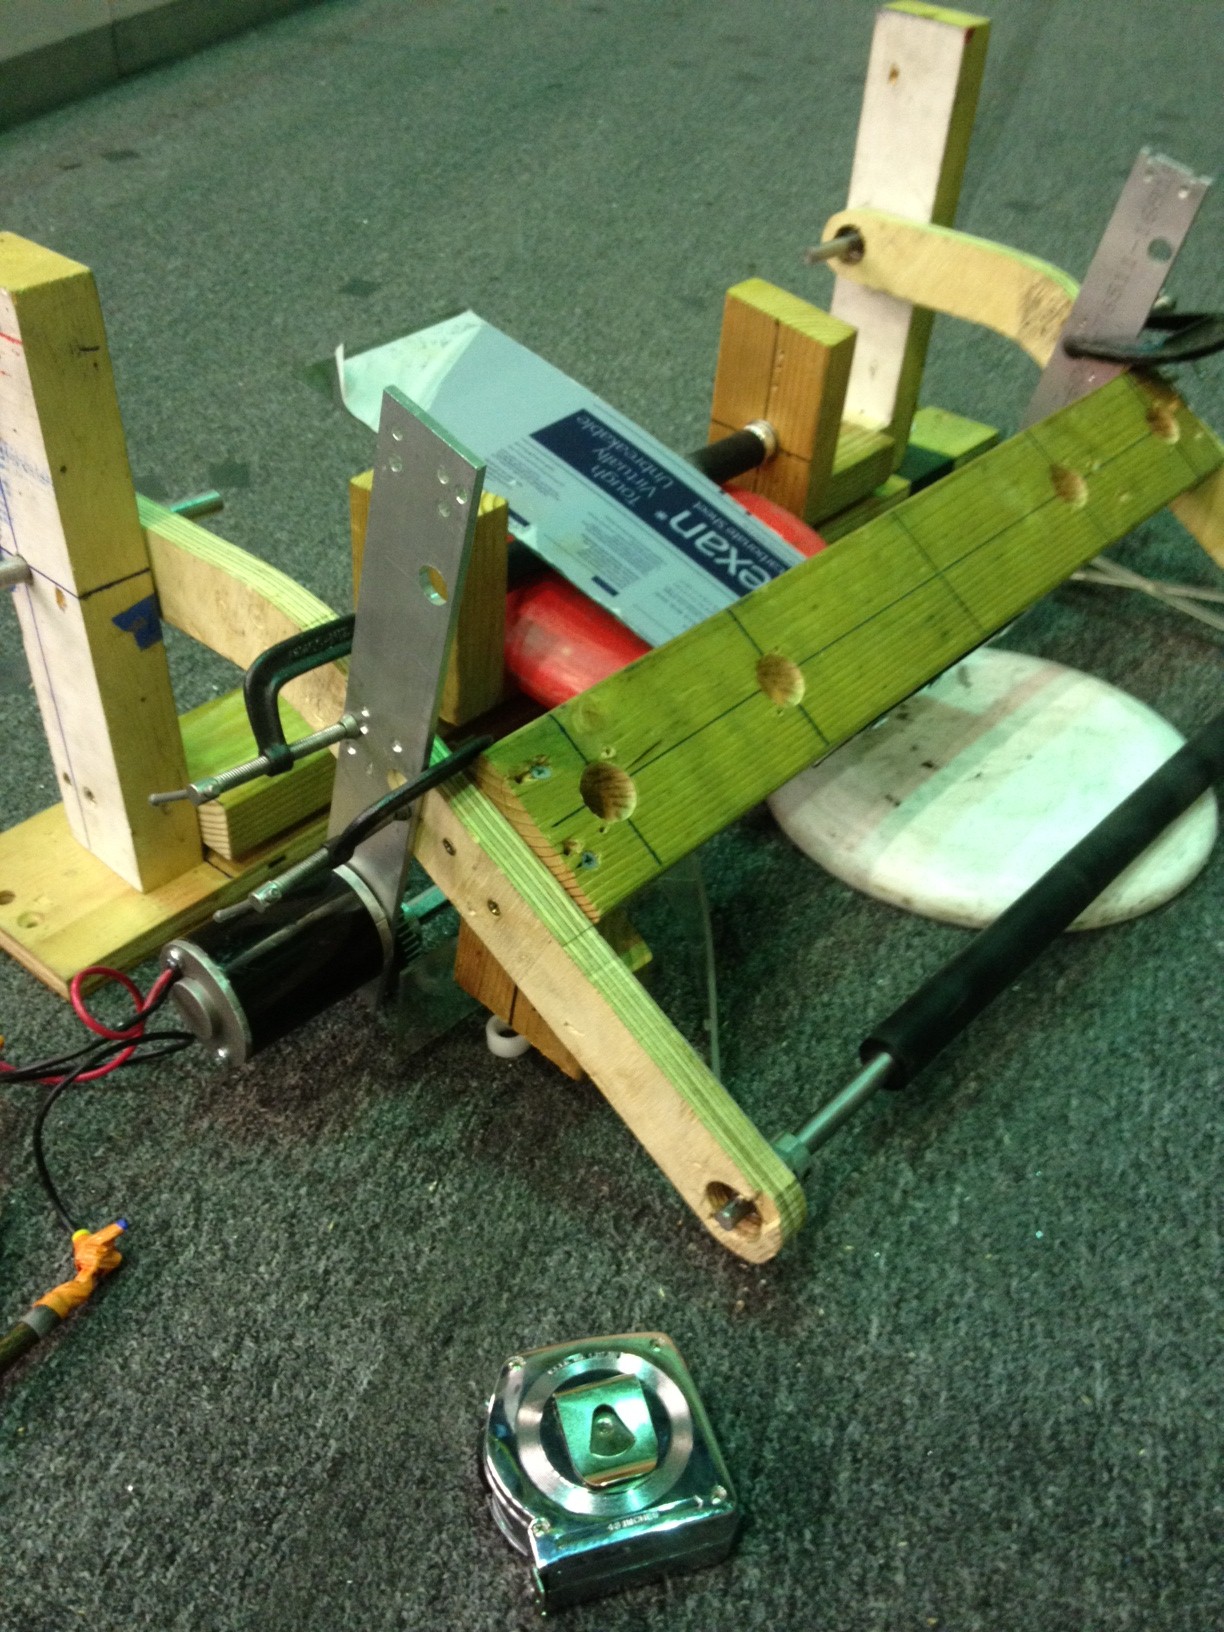
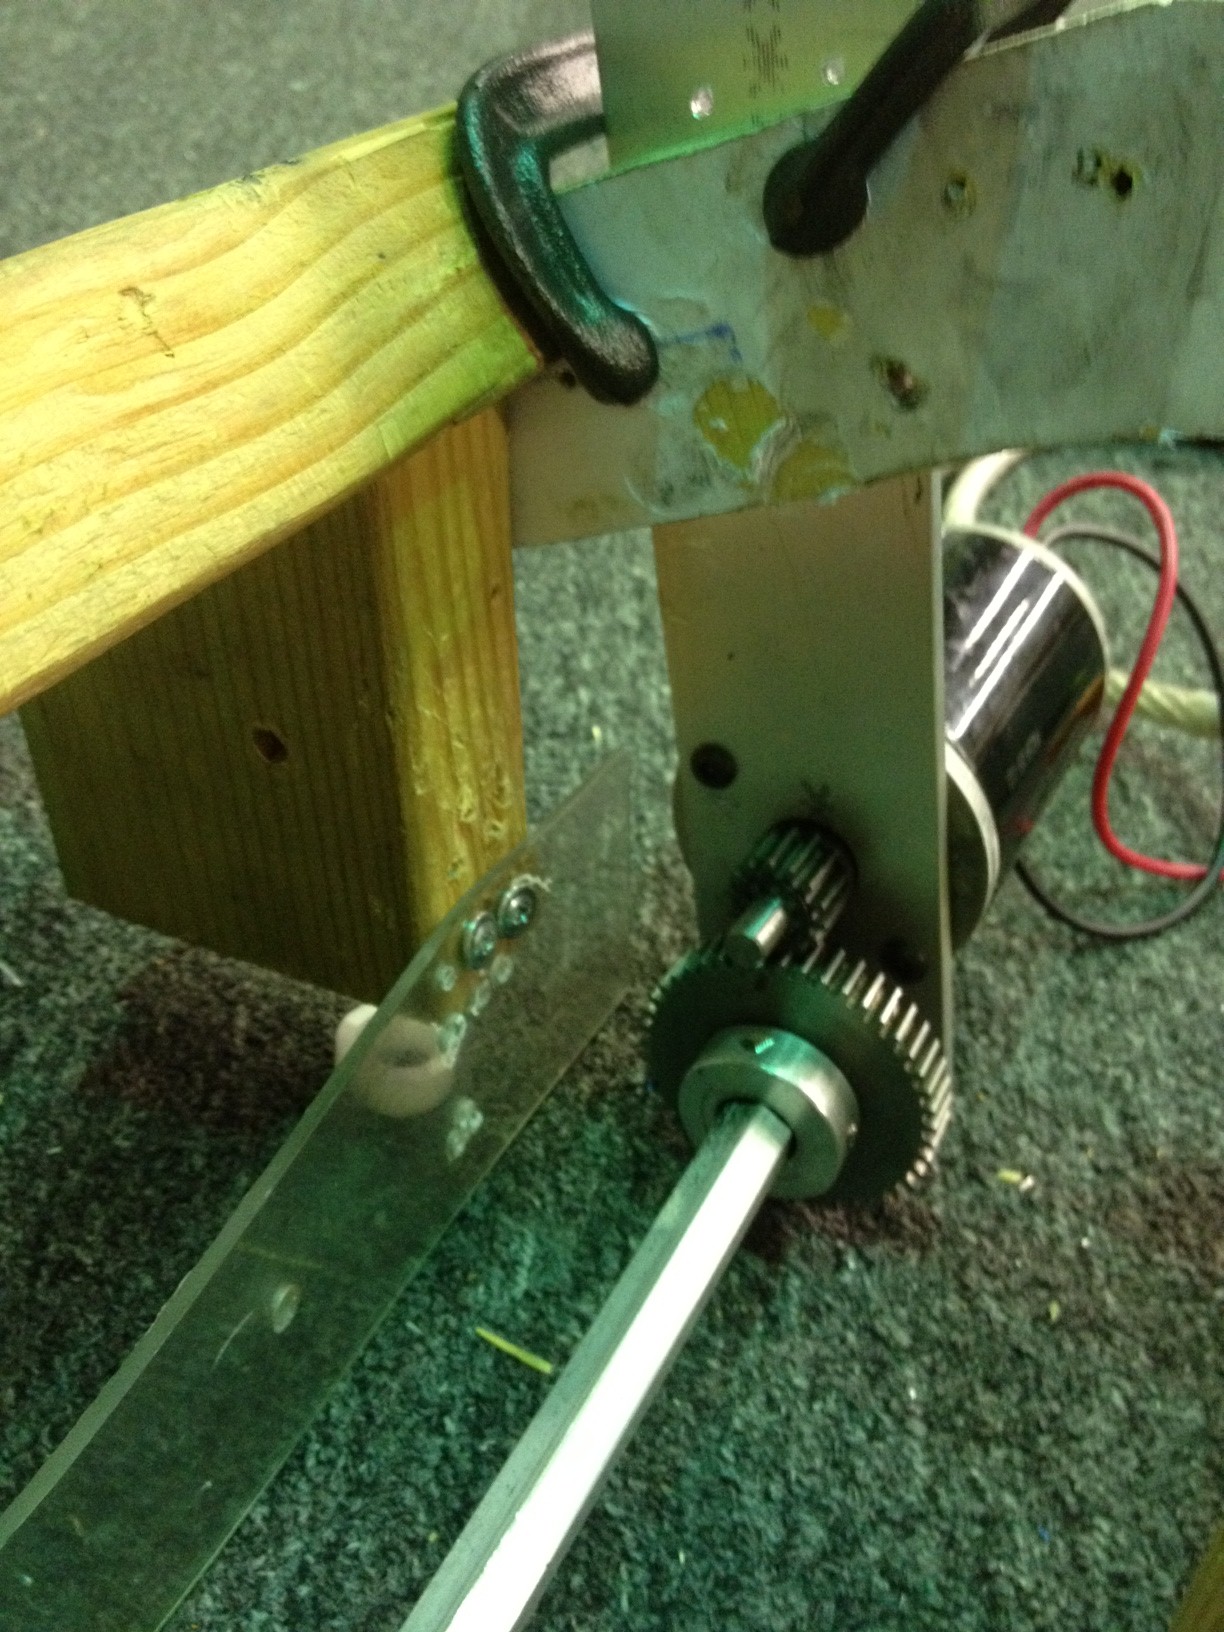
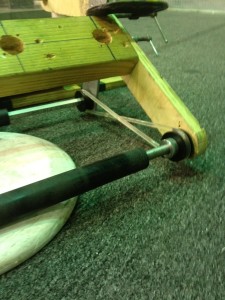
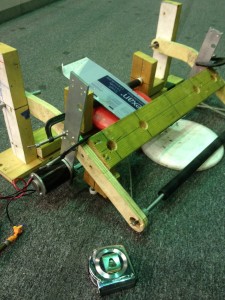
Last night the intake prototype was modified to have both rollers powered by a mini-CIM, as shown in the photos below.  The gears mentione above were used to power the bottom roller. This resulted in a theoretical max surface speed of 9.8 ft/s. When the frisbees were put through, there was virtually no observed speed reduction in the CIM due to the load.  Because of this, it is alright to gear the intake for 18 ft/s theoretical surface speed, so this design will be proceeded with.
intake2

The front intake roller, connected with polycord
 

intake1

Both rollers powered by a mini-CIM


intake3

Bottom roller, with 3:1 reduction

Brogramming

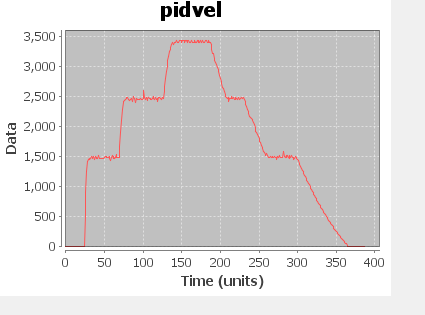
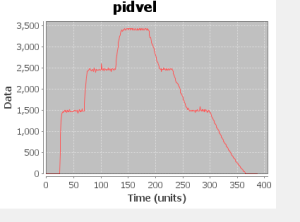
The programmers continued graphing the 2012 robot's shooter wheel RPM versus time.  They experimented with both the bang-bang controller and a PID controller, as well as with and without a moving average filter.  When using the bang-bang controller to control the shooter wheel, students found that using a moving average filter to filter the motor outputs produced smoother and more consistent results.  The programmers spent a lot of time adjusting the P, I, and D terms of the PID controller.  Though the PID controller's graphs are relatively more stable and smoother than the graphs of the bang-bang controller, the PID controller either tends to overshoot its goal or to not reach it at all (mostly at 3500 rpm).
 

pidpid4

Graph of a PID-controlled shooter wheel (P = 0.007, I = 0.0, D = 0.003)


Action Items

  • Get a quote on wood for bumper assembly
  • Buy wood/cordura for bumper assembly
  • Finish design changes on conveyor and intake assemblies
  • Finish prototyping conveyor
  • Start designing control board
  • Start manufacturing bumper components
  • Hook up a speed controller to the intake to figure out the minimum required torque.
  • Measure the current draw with the ammeter.

Day #22: Prototyping & Intermediate Shaft Spacers

2013 FRC Build SeasonFIRST Robotics

Machining

The students and mentors finished machining the intermediate shaft spacers. After ordering gear box shafts from a sponsor, the team decided to manufacture twice as many to take the PTO into account. Because we are not able to manufacture a hex into the round part of a shaft with the tools at the lab, students are instead making our own out of a hex shaft and placing a spacer on one end to prevent the gear from moving.  Members also unsuccessfully searched for hex bearings from the storage crates.


IMG_20130129_220806[1]

The newly manufactured shaft spacers

Prototyping

Students also worked on the shooter indexer.  The two side blocks for the outer indexer had to be replaced, as the previous wooden blocks were not long enough.  Students successfully got the shaft through both parts of the prototype, such that the smaller one can pivot.  The next step for this project is to attach the pneumatic pistons to the main frame of the prototype.


IMG_20130129_220706[1]

Students assembling the shooter indexing prototype


IMG_20130129_220720[1]

The intake prototype

Programming

The programmers tested the gyro and were able to get accurate results from it.  They also retrieved the two S4 drive encoders from Skyfire for future use and storage. In addition, they finished translating the state space controller from C++ to Java. Though the new code has not yet been explicitly tested, it compiles fine.  More tests will be done at a later time.

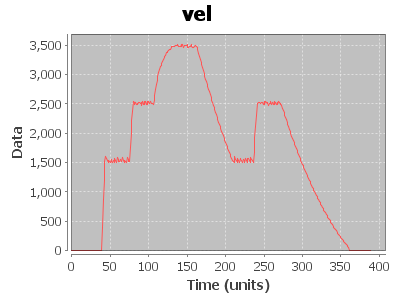
Next, the programming team tested out the bang-bang controller, which controls the 2012 robot's shooter wheel. They also tested the graphing tool within the Smart Dashboard and made it display the velocity of the shooter wheel versus time.


bangbang2

Velocity (rpm) of the shooter wheel vs. time

Action Items

  • Finish constructing shooter indexing prototype

Build Season Recipes: Week 3

2013 FRC Build SeasonFIRST Robotics

The nutritional benefits from the intake of these brownies helped us finalize our intake geometry over the weekend.

Non-Strategy Brownies

  • 1 cup butter, melted

  • 1 cup sugar

  • 1 cup brown sugar

  • 3/4 cup cocoa powder

  • 1 1/2 tsp. vanilla extract

  • 3 eggs

  • 1 cup flour

  • 1 1/2 tsp. baking powder

Mix melted butter, sugars and cocoa. Add vanilla and eggs; beat. Add flour and baking powder and mix well. Pour into a greased 9"x13" pan and bake at 350°F for 20-25 minutes, or until an inserted toothpick comes out with fudgey crumbs. Best enjoyed served warm with vanilla ice cream.

Week #3, Day Off

2013 FRC Build SeasonFIRST Robotics

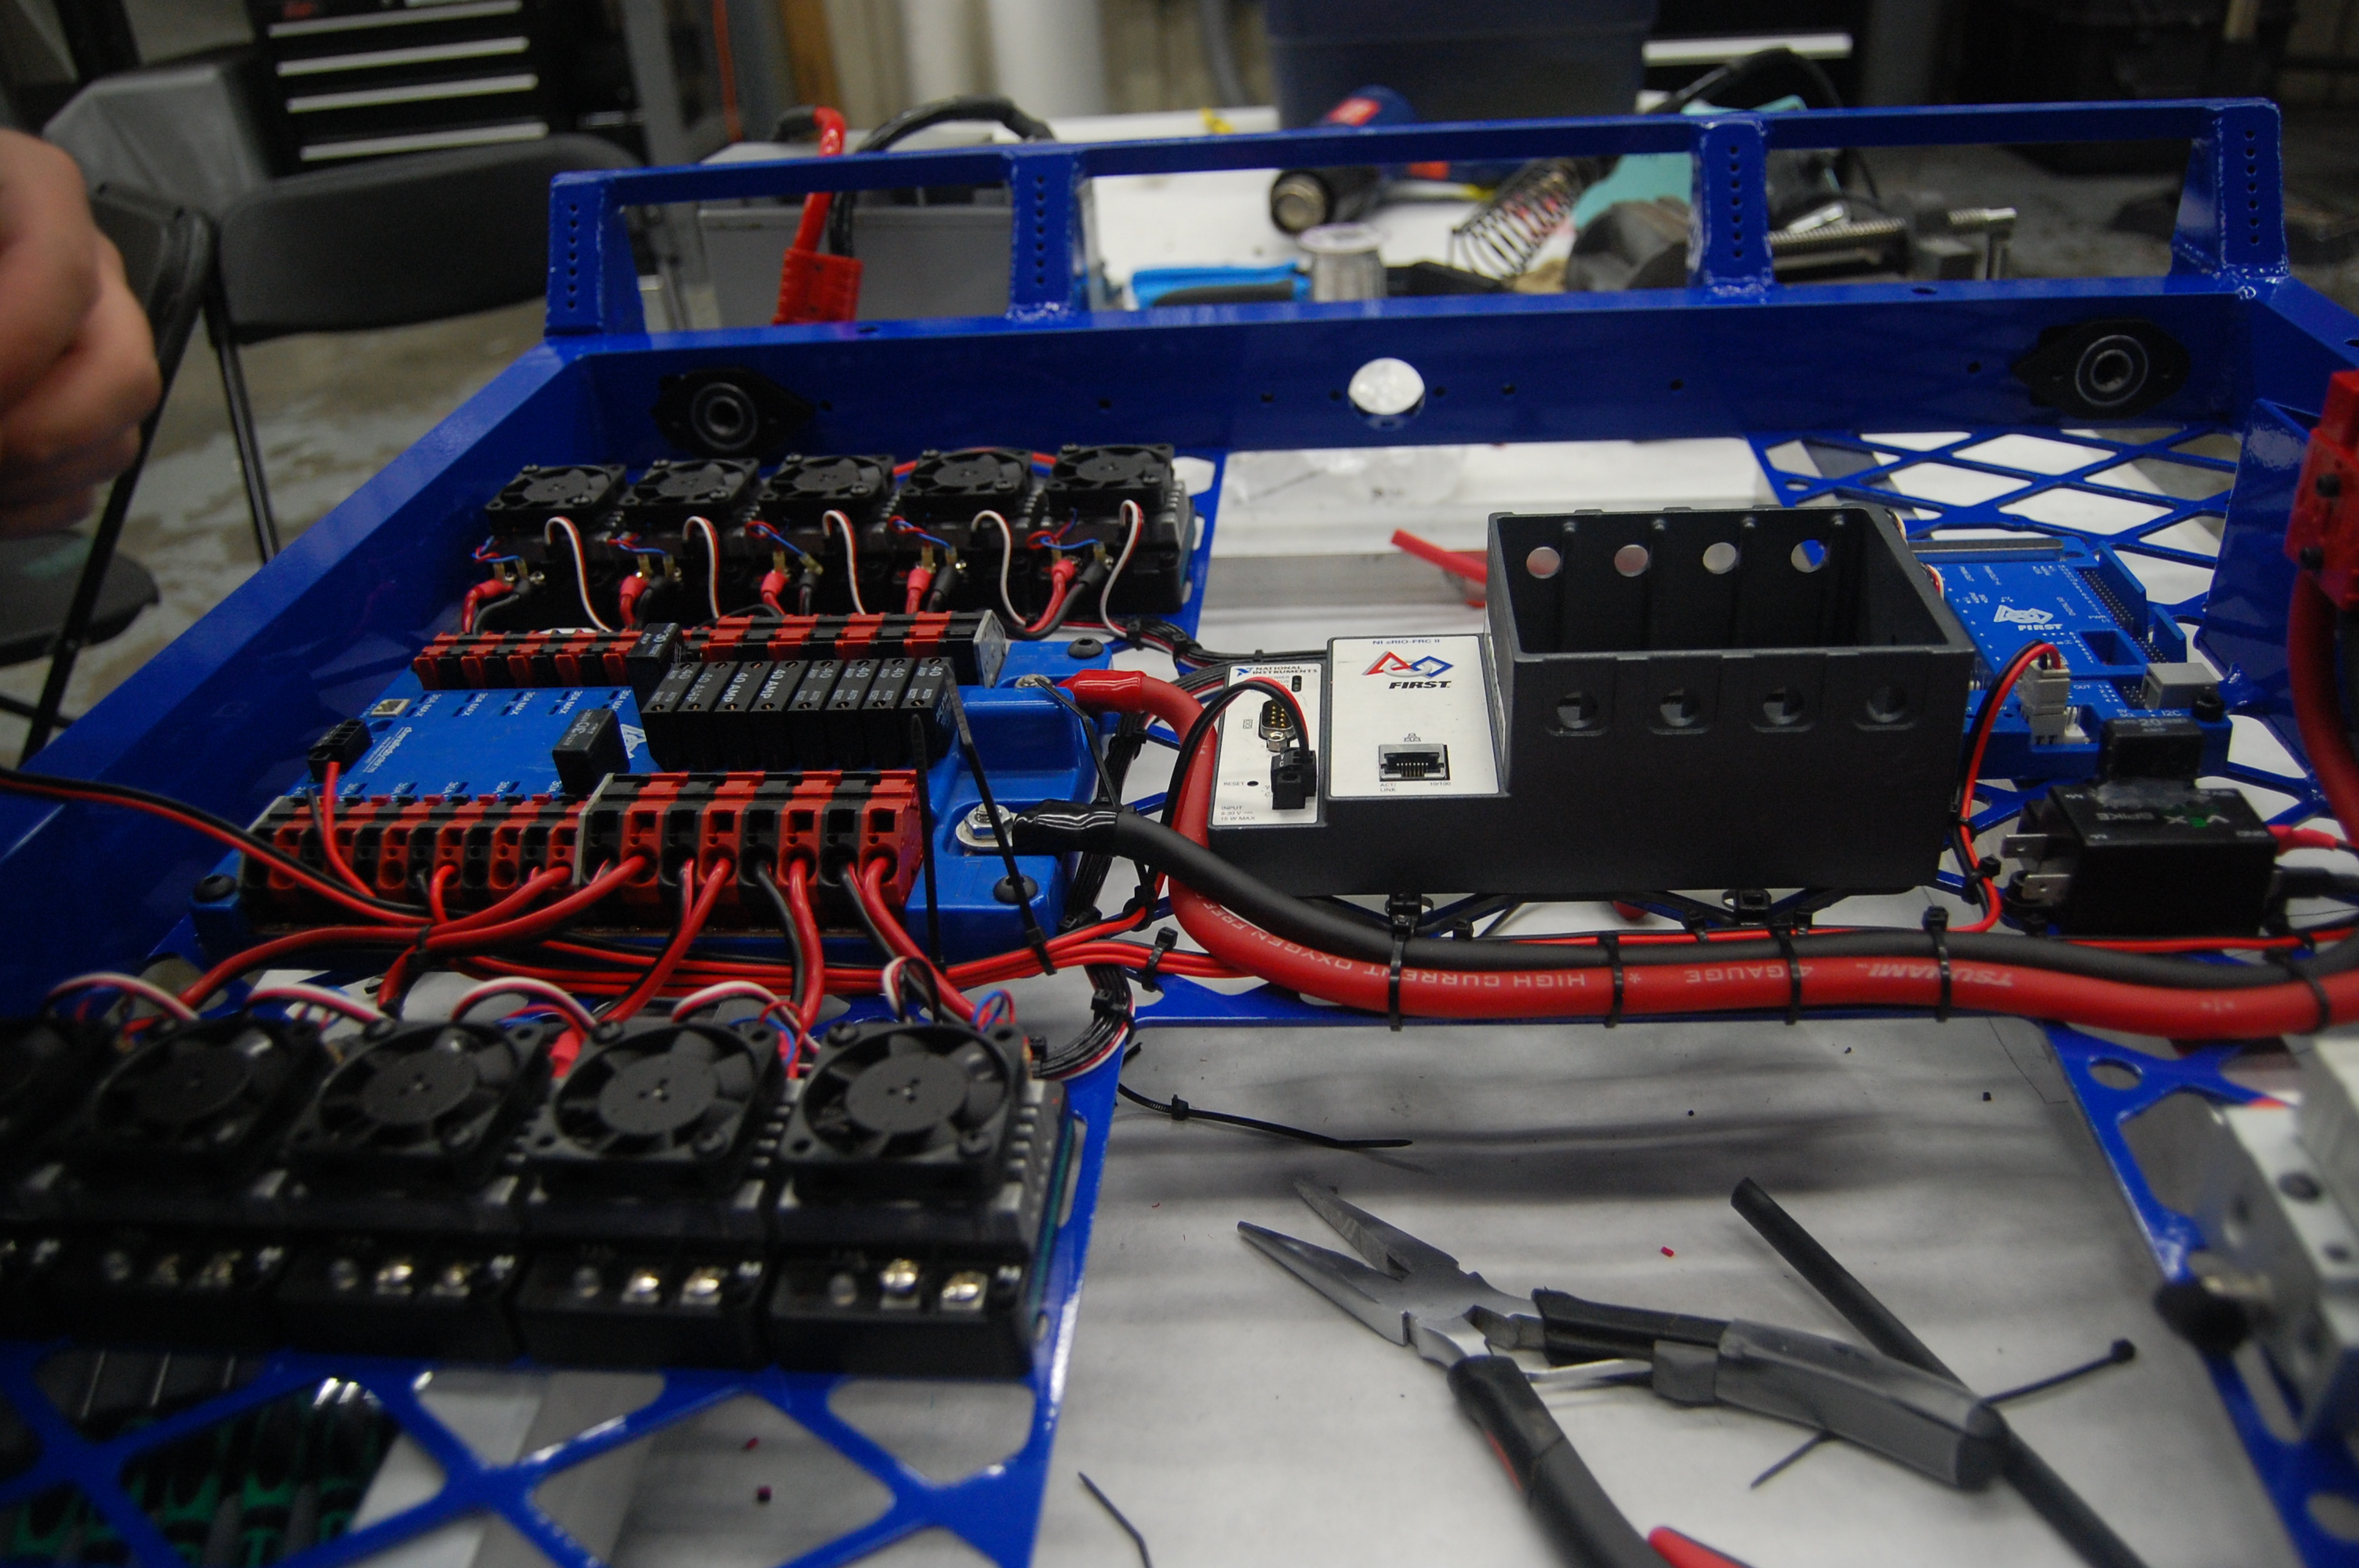
IMG_20130128_152424Today was a good day, as far as Mondays go. The parts for our drive gearbox were picked up from Modern Machine Company. The PTO Shafts, Output Shafts, Intermediate Shafts, and Wheel Shafts (small and medium) were returned. They turned out great! All that is needed to finish assembling the gearboxes are the parts from West Coast Products. Once those parts are received and the gearboxes are assembled, the drivebase will be driveable for the first time.
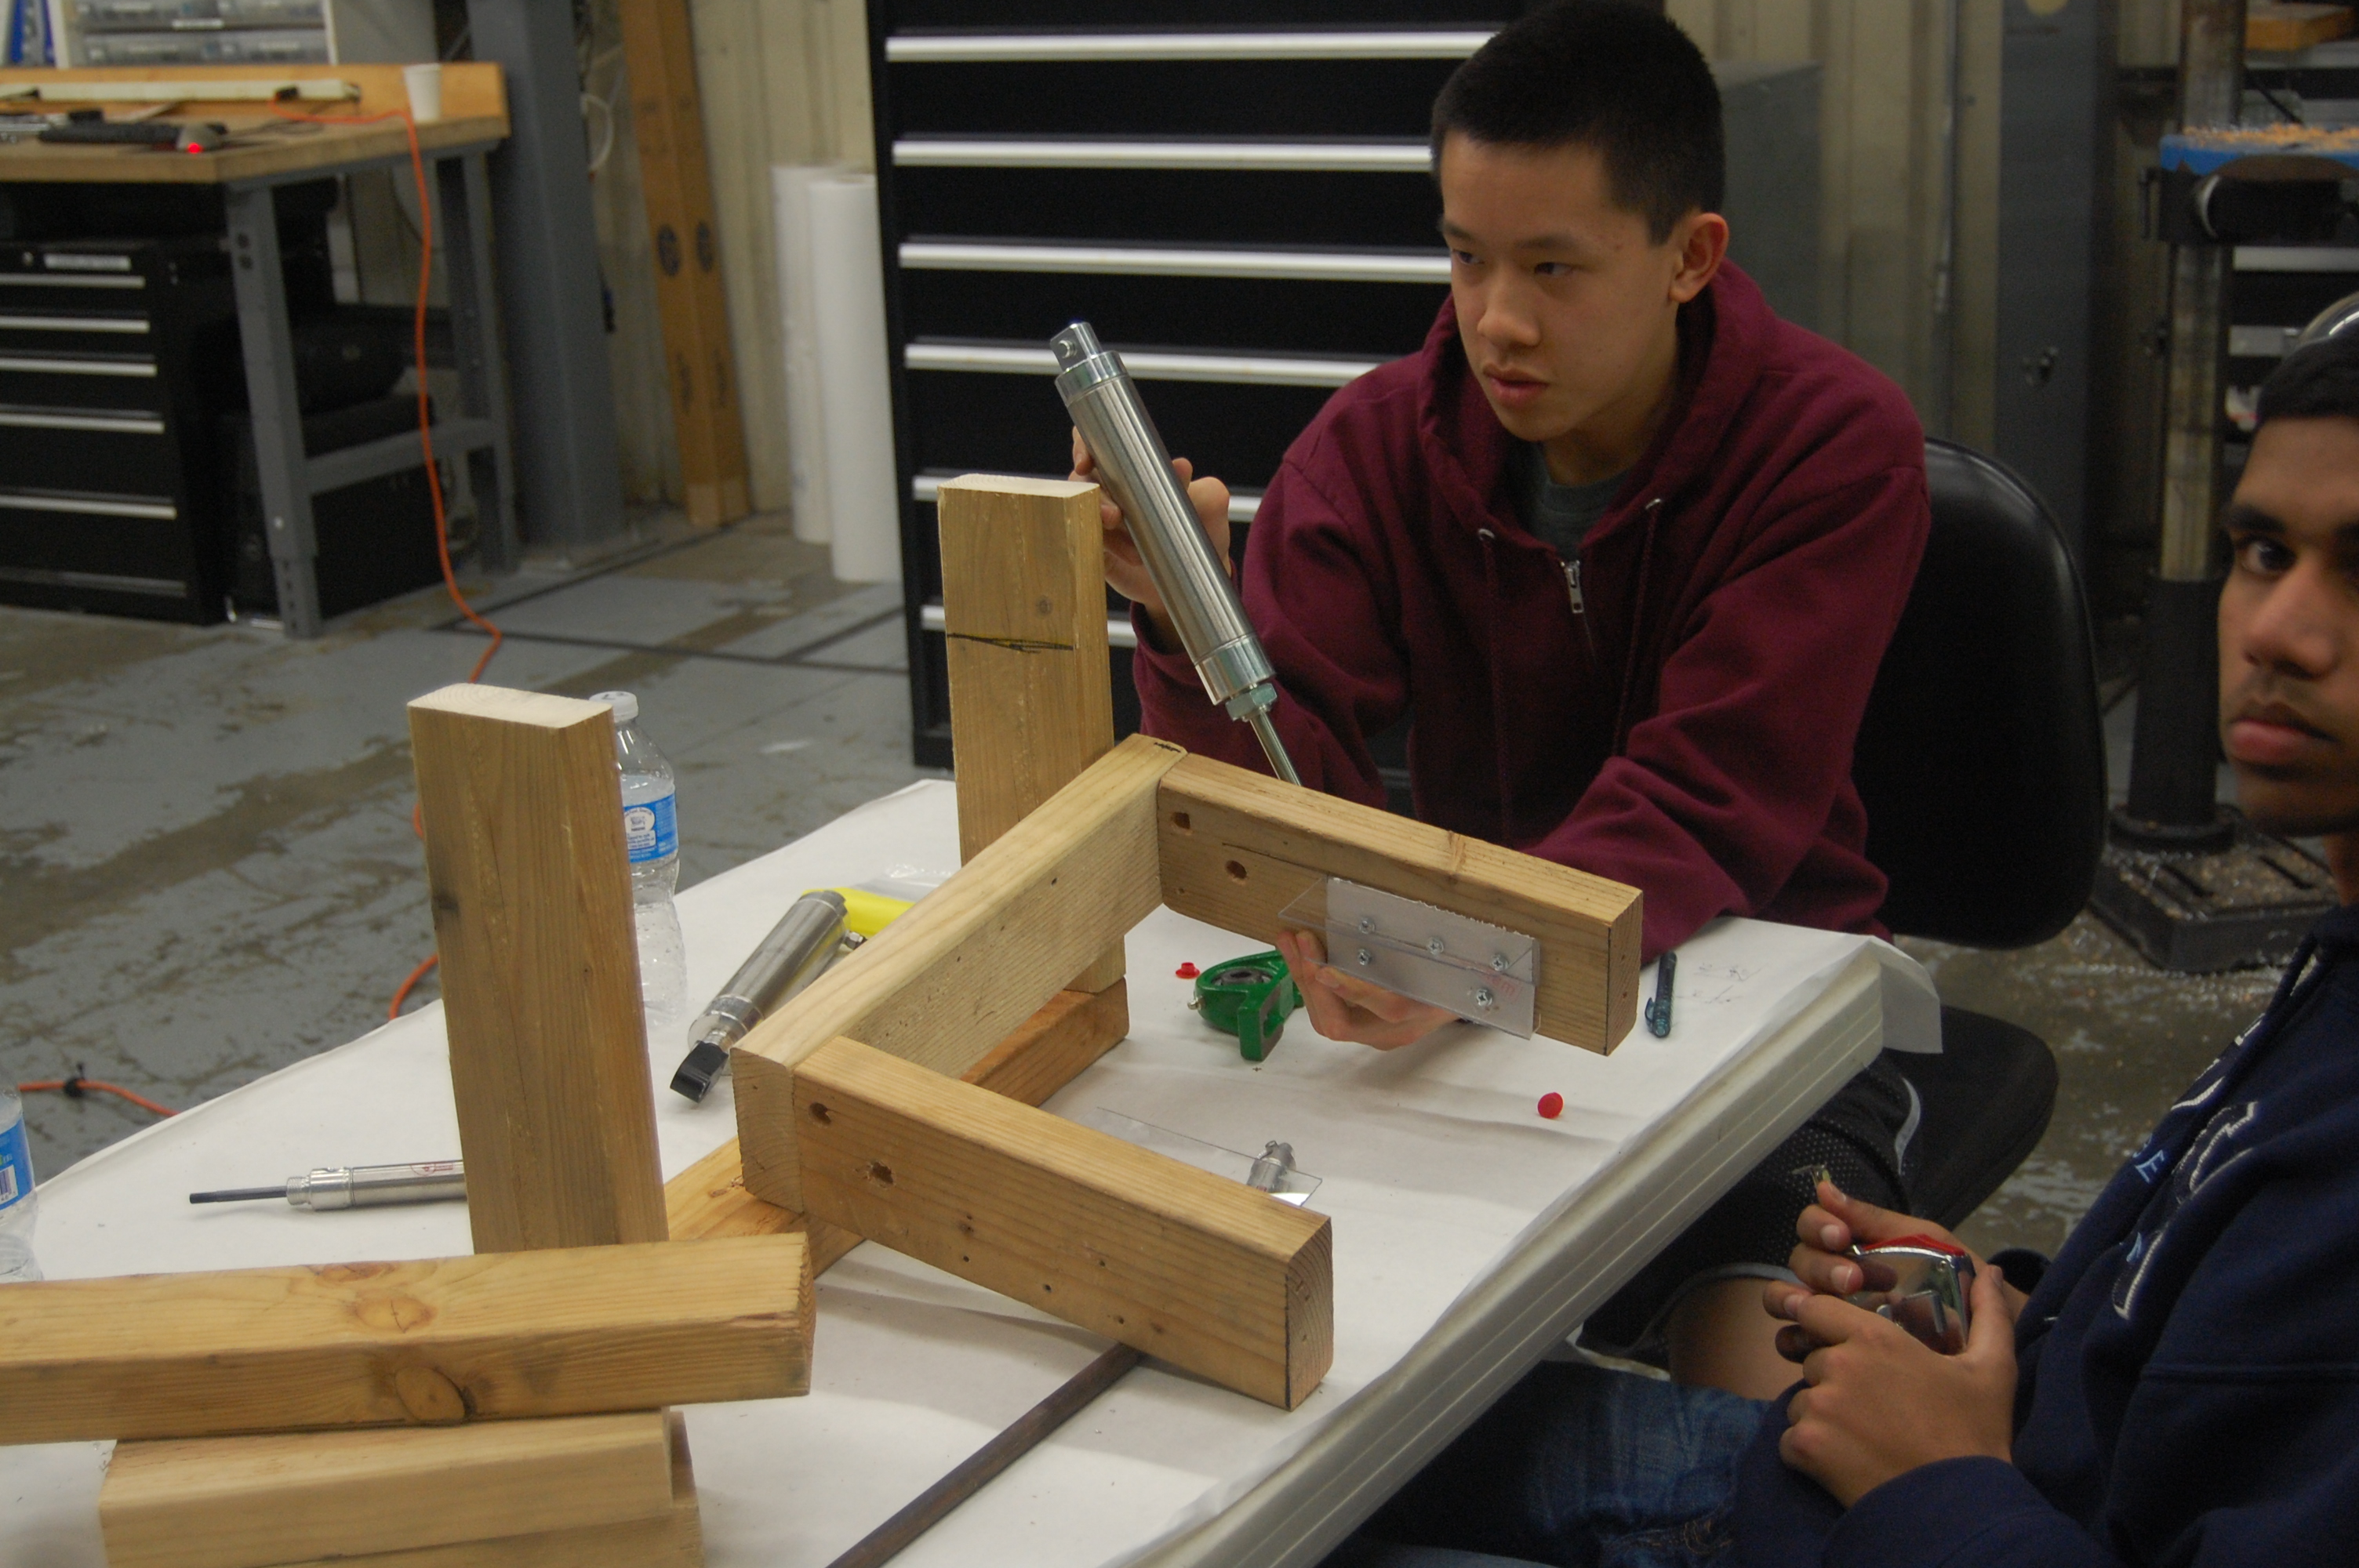
Cory and Pat worked on getting the new lathe working, which is running, but not currently useable as a main machine.

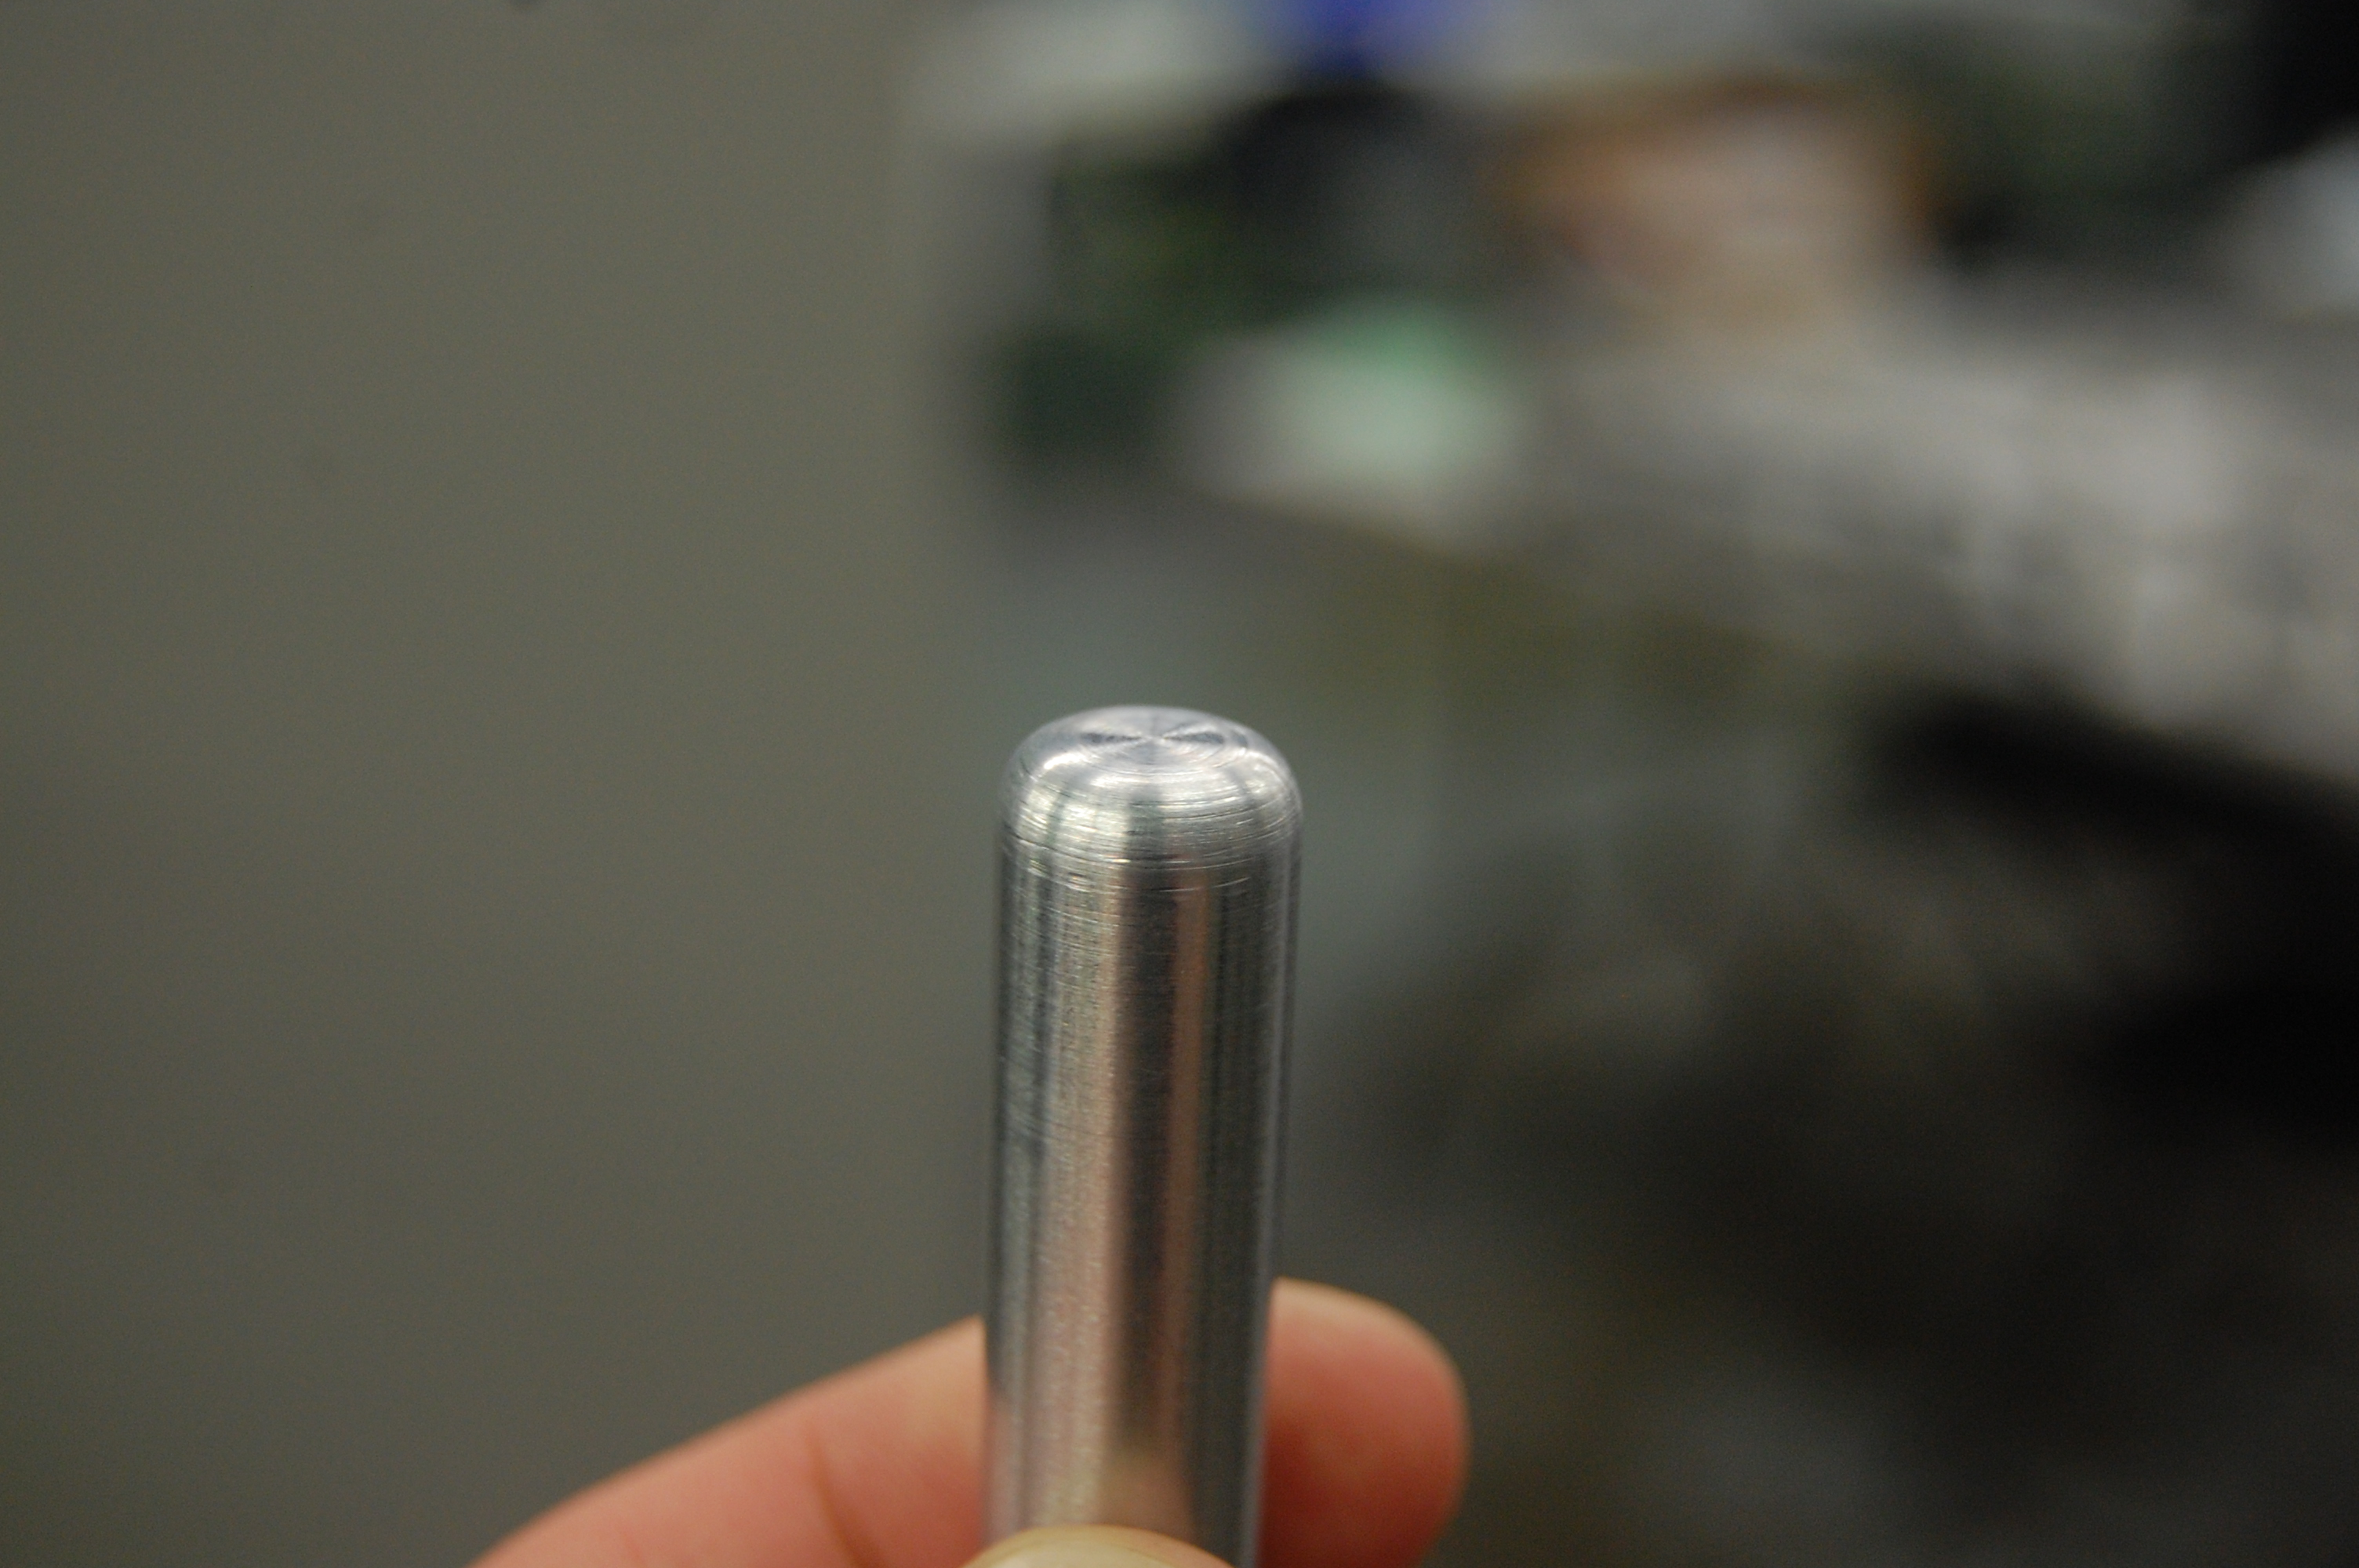
The season is going well and manufacturing is ahead of schedule. Design, on the other hand, is behind schedule. There will be a design freeze and a Order freeze on Friday. That means the design will be completed by the end of the week and all the known parts needed will be ordered by Friday.
Day #21: Conveyor and Stuff

2013 FRC Build SeasonFIRST Robotics

Conveyor

Today, students worked on the conveyor system. This is the part that will transfer the frisbee from the conveyor to the shooter. The frisbee is pressed into the polycarb, where it gets stuck due to two 30-degree hinges. Students first created an 11 x 11 inch box, then labored over the polycarb to get it just right, and finally unscrewed one of the sides of the square, creating a U shape. 
 

. DSC_0017

DSC_0016

DSC_0018

Day #21: Prototyping & Wiring

2013 FRC Build SeasonFIRST Robotics

Prototyping

Indexing

The intake prototype is taking shape. It is now at a point where it's working and we are almost ready to begin manufacturing. Along with the intake, the mechanism for transferring frisbees to the shooter is also in the process of being prototyped. This indexing mechanism will transfer frisbees from the intake and conveyor to load them up in the shooter. The prototype will use two pneumatic pistons to accomplish this. It doesn't yet work fully, but in terms of a proof of concept, in works fairly well.

DSC_0019

Students building the indexing prototype

Wiring

The robot wiring was worked on today on both the practice bot and the competeition bot. The PWM cables from the Talons were wired and put in place and the relays were wired to the power distribution board.

DSC_0020

Wiring on the drive chassis

Programming

The programmers did more work on control and filters.  They created a "bang-bang" controller; unlike the PID contoller, the bang-bang controller runs the control source until it reaches it goal, and stops once the goal is reached.  They used the control scheme to control the shooter wheel, which worked fairly well (aside from the funny noises of the motors going on and off).  The students also used a Counter instead of an Encoder to represent the encoder sensor, as the period of the encoder can be retrieved to calculate the RPM of the shooter wheel.  Next, they also wrote a moving average filter, which takes in a double as an input and stores it in an array.  The filter would return the average of the inputs as a single output.  This has not yet been used, but it is a good utility to have.

Finally, the programmers prettified the code significantly.  Many Javadoc comments and style-guide-cohering formatting fixes were included in the prettification process.


Action Items

  • Finish and test indexing prototype

Lab closing time for the night was 10:00 PM