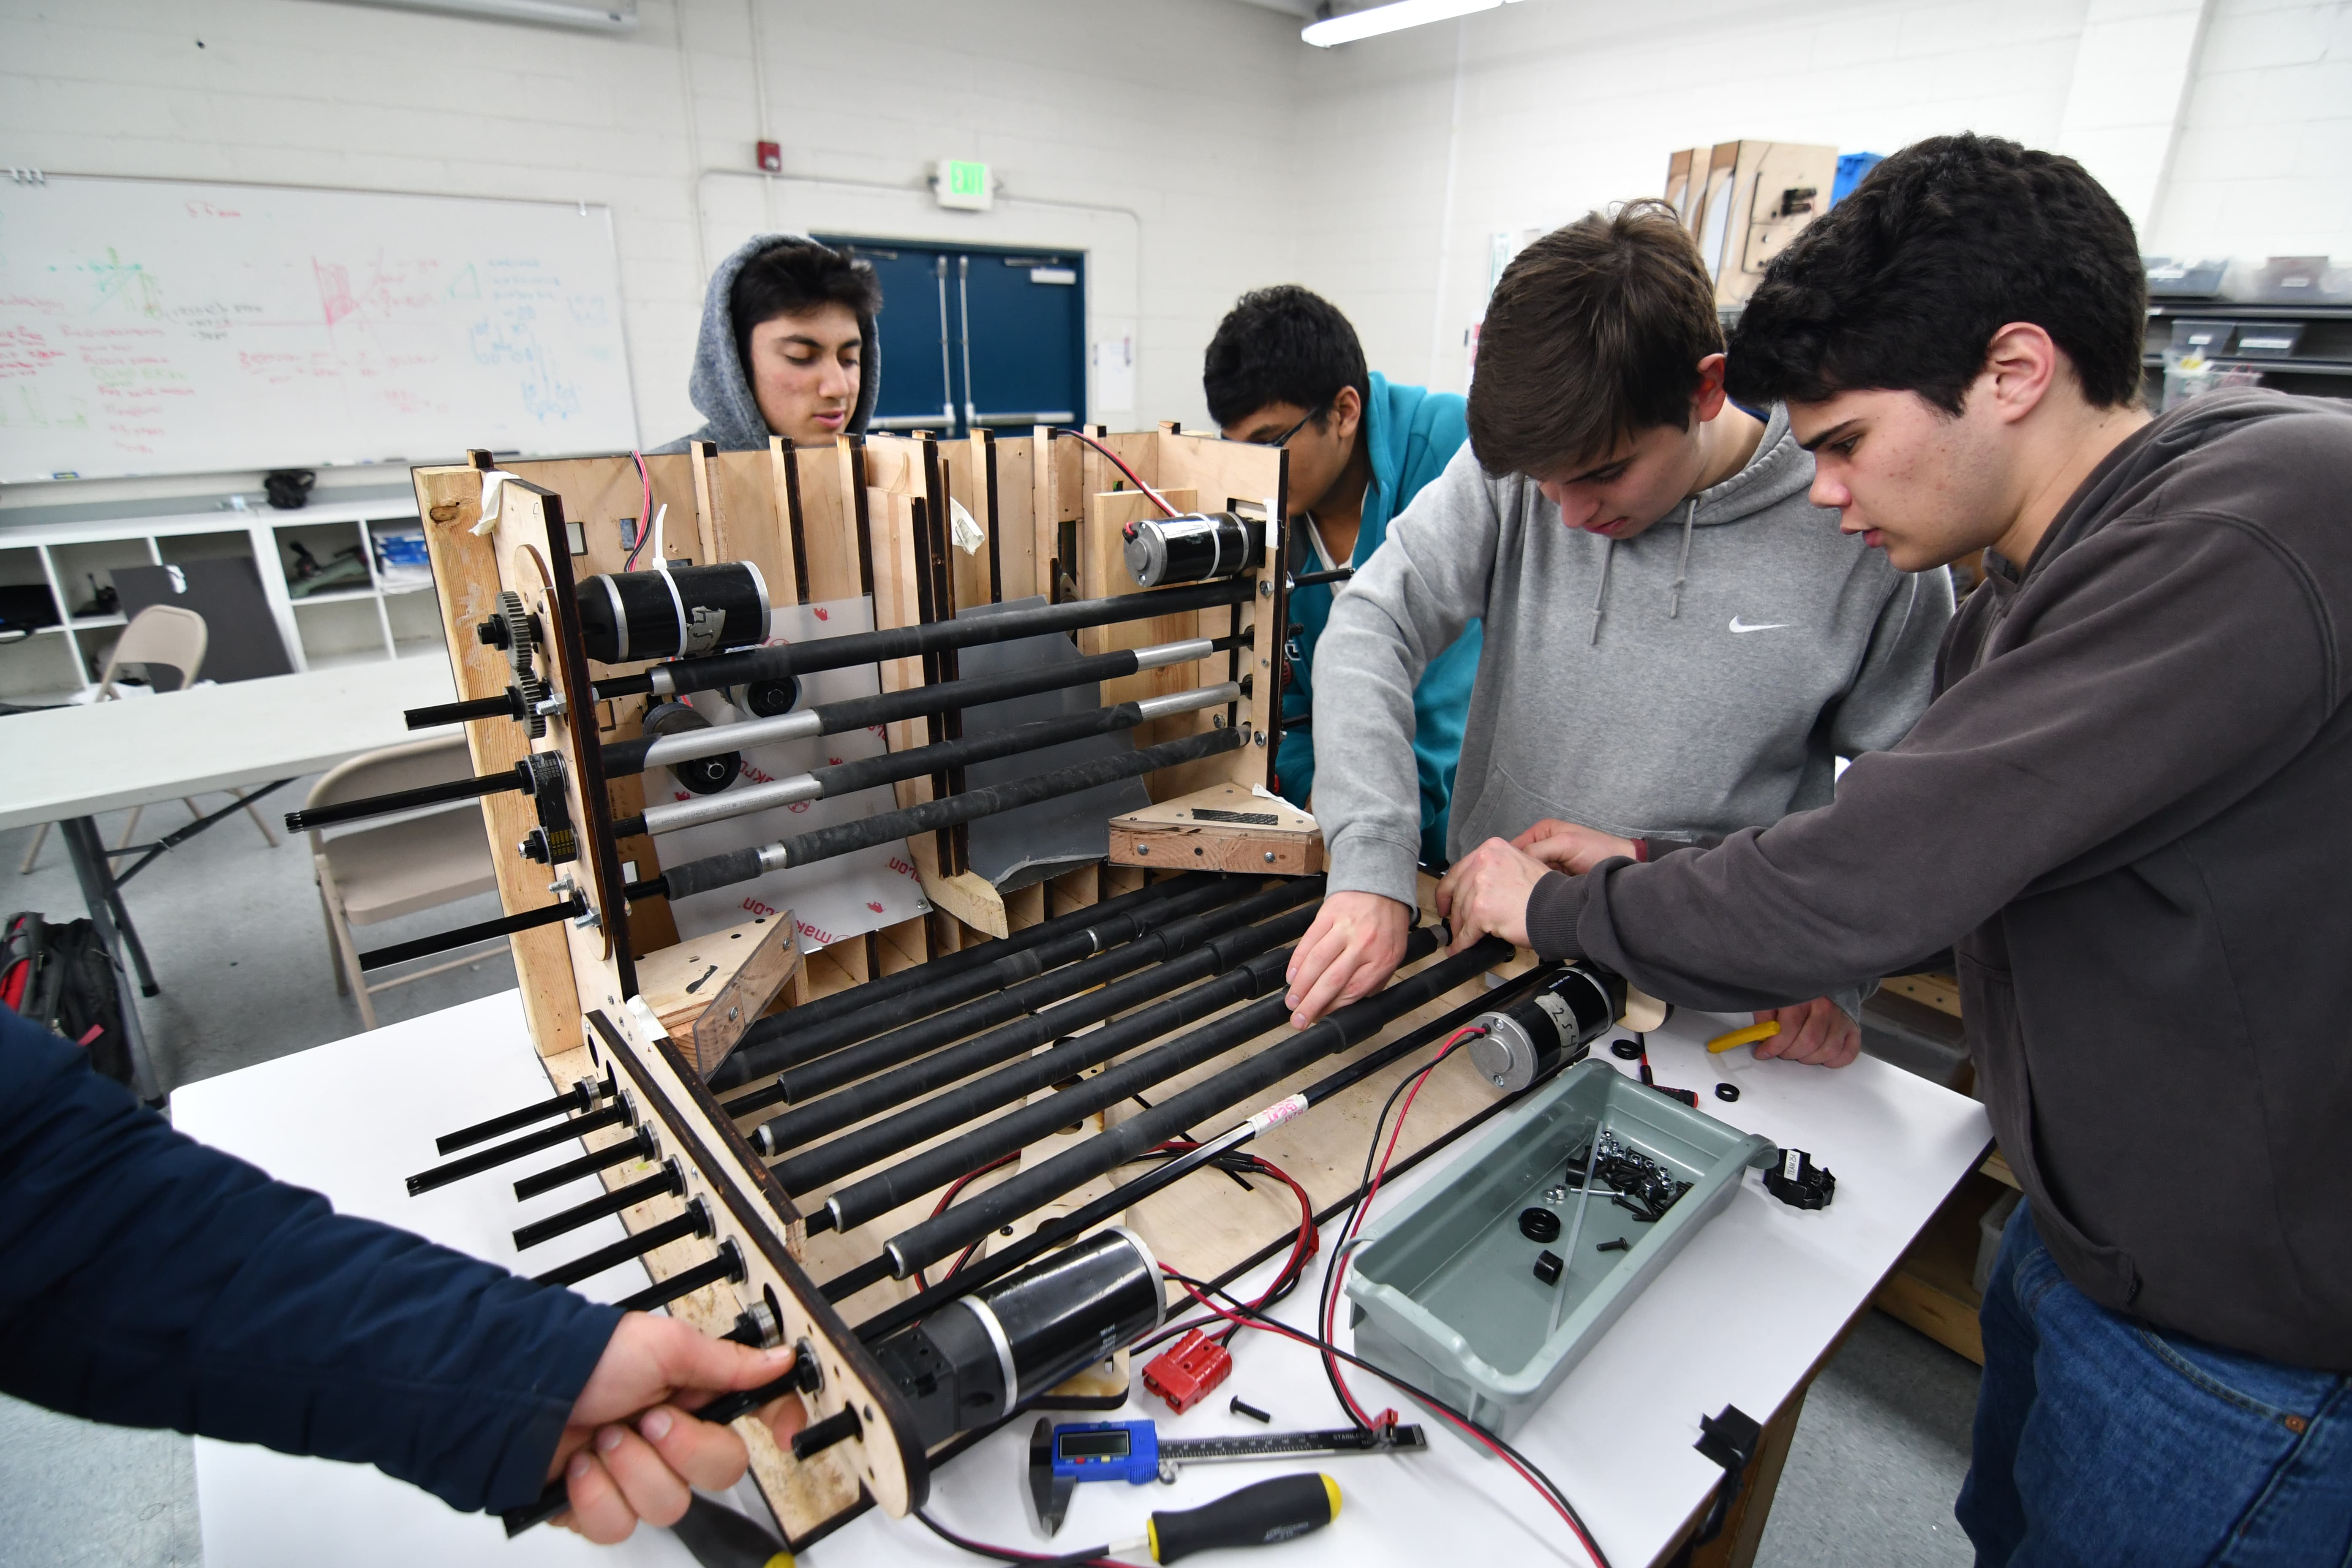
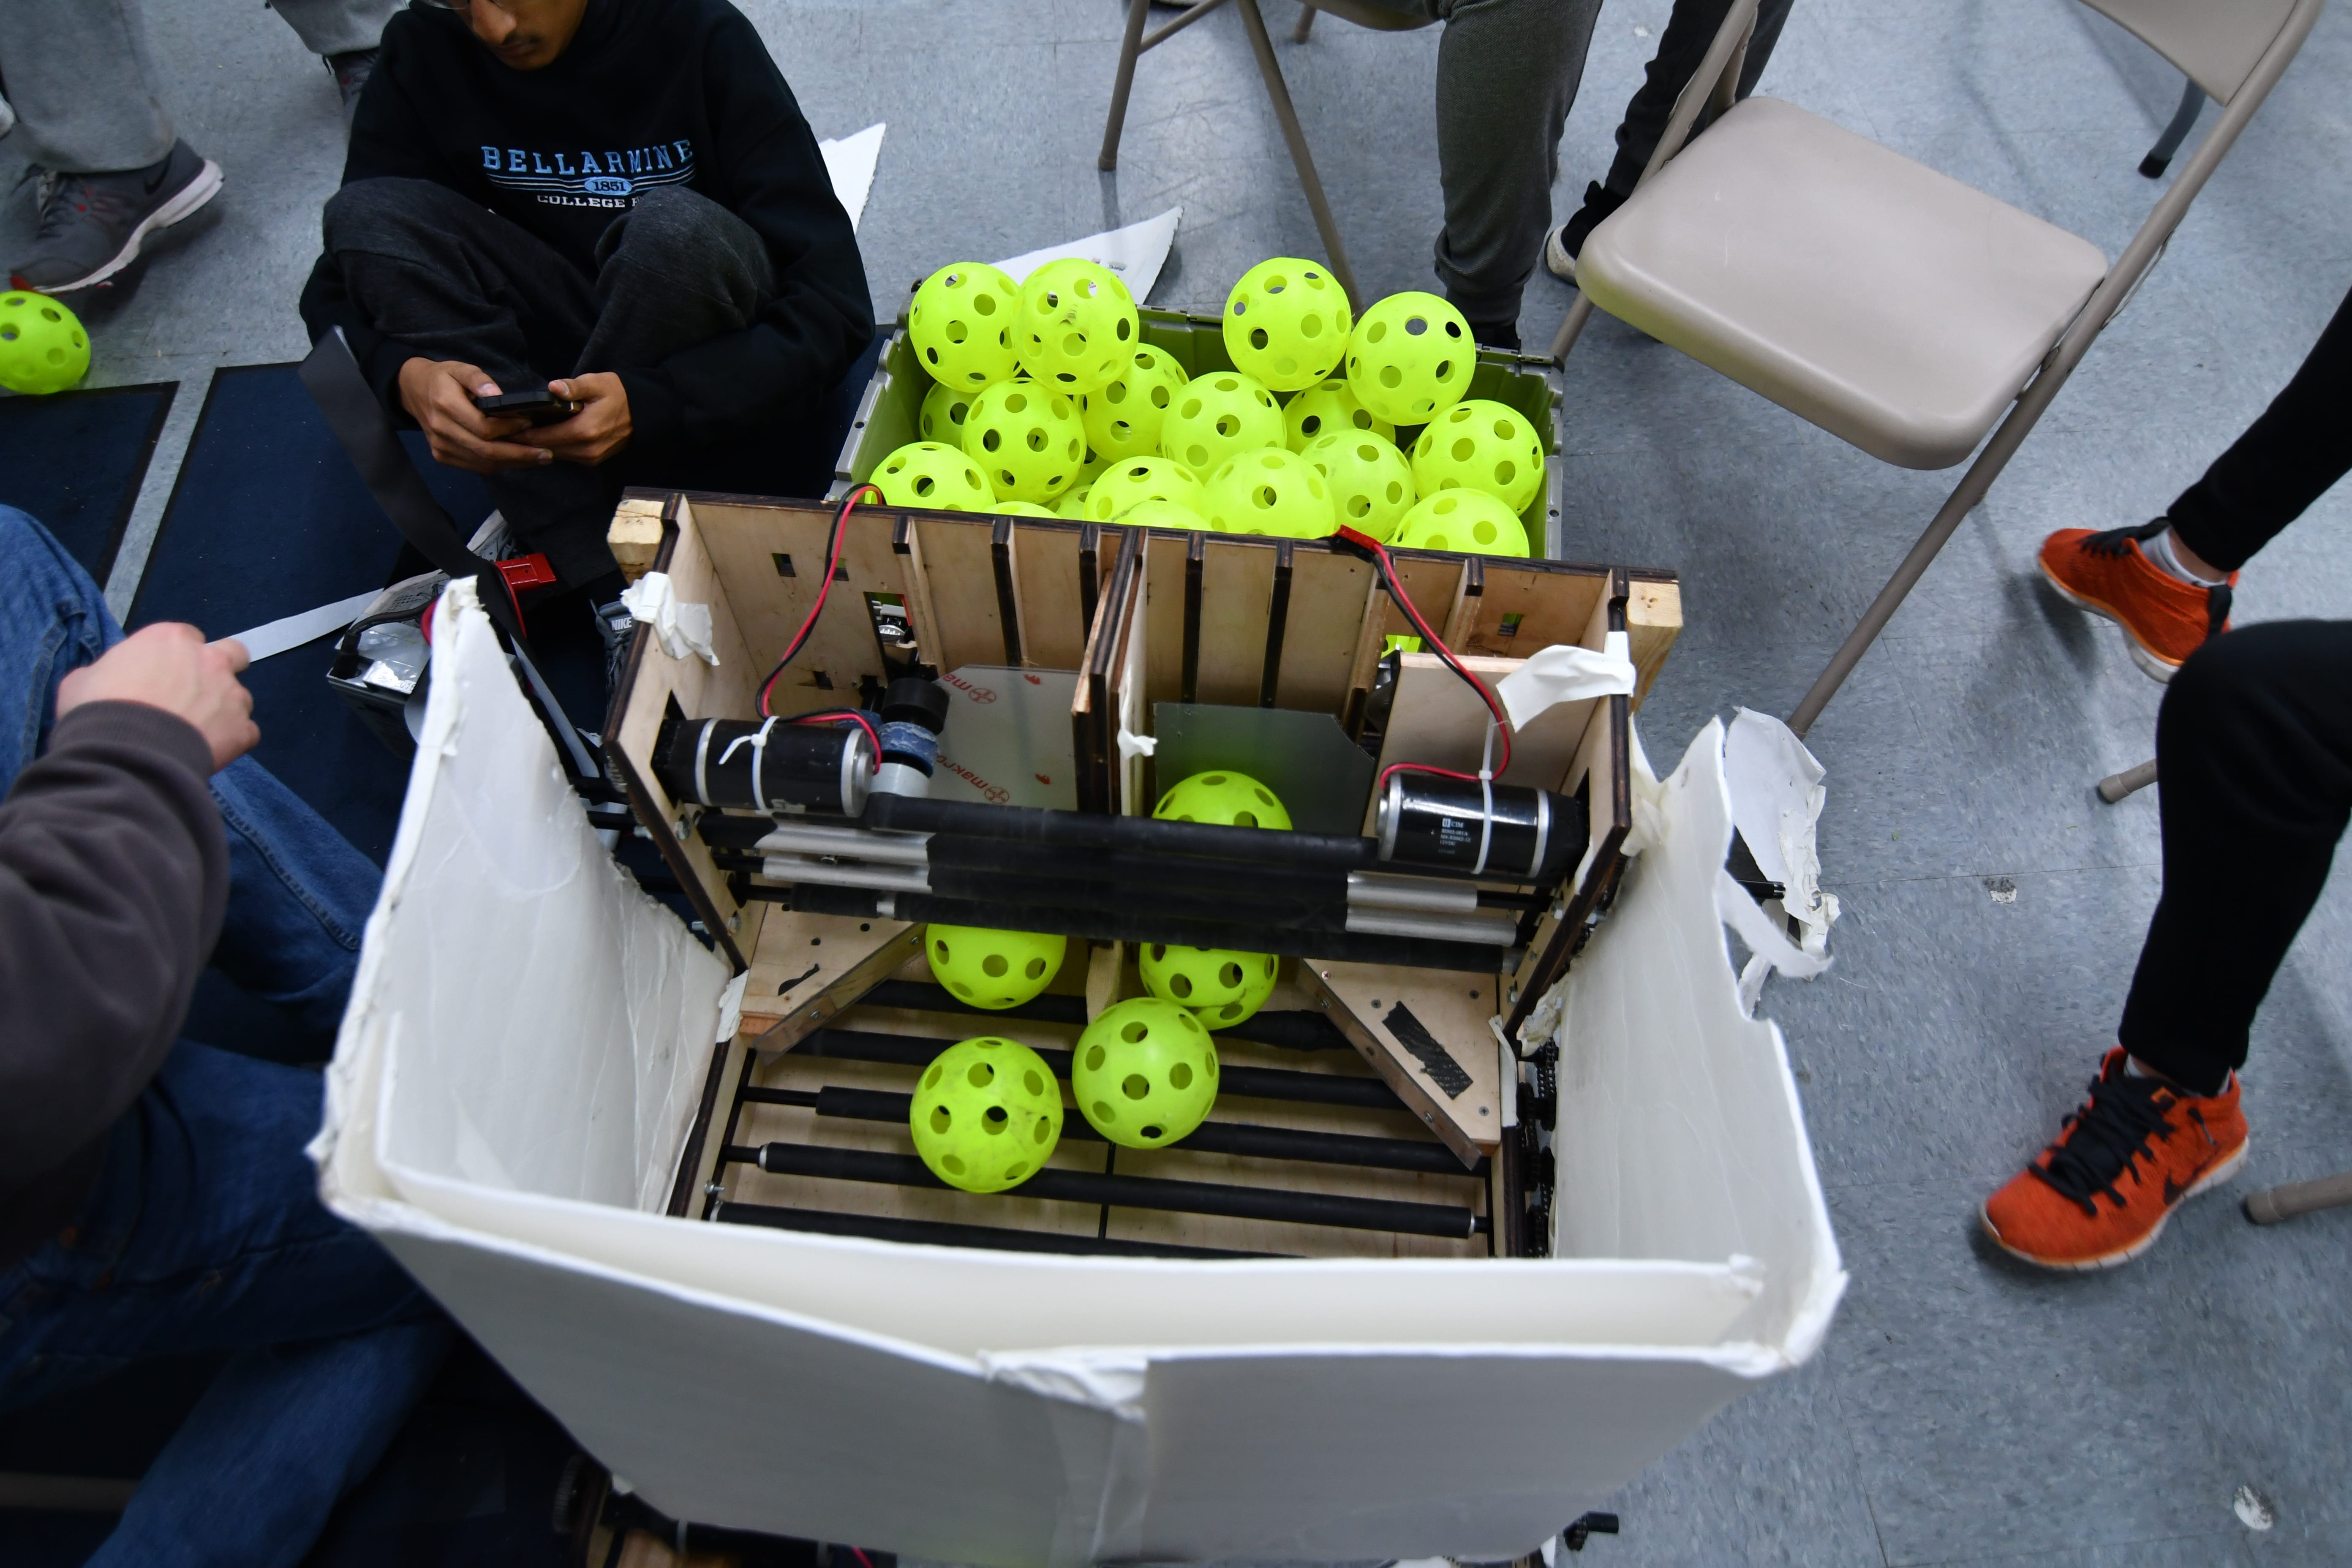
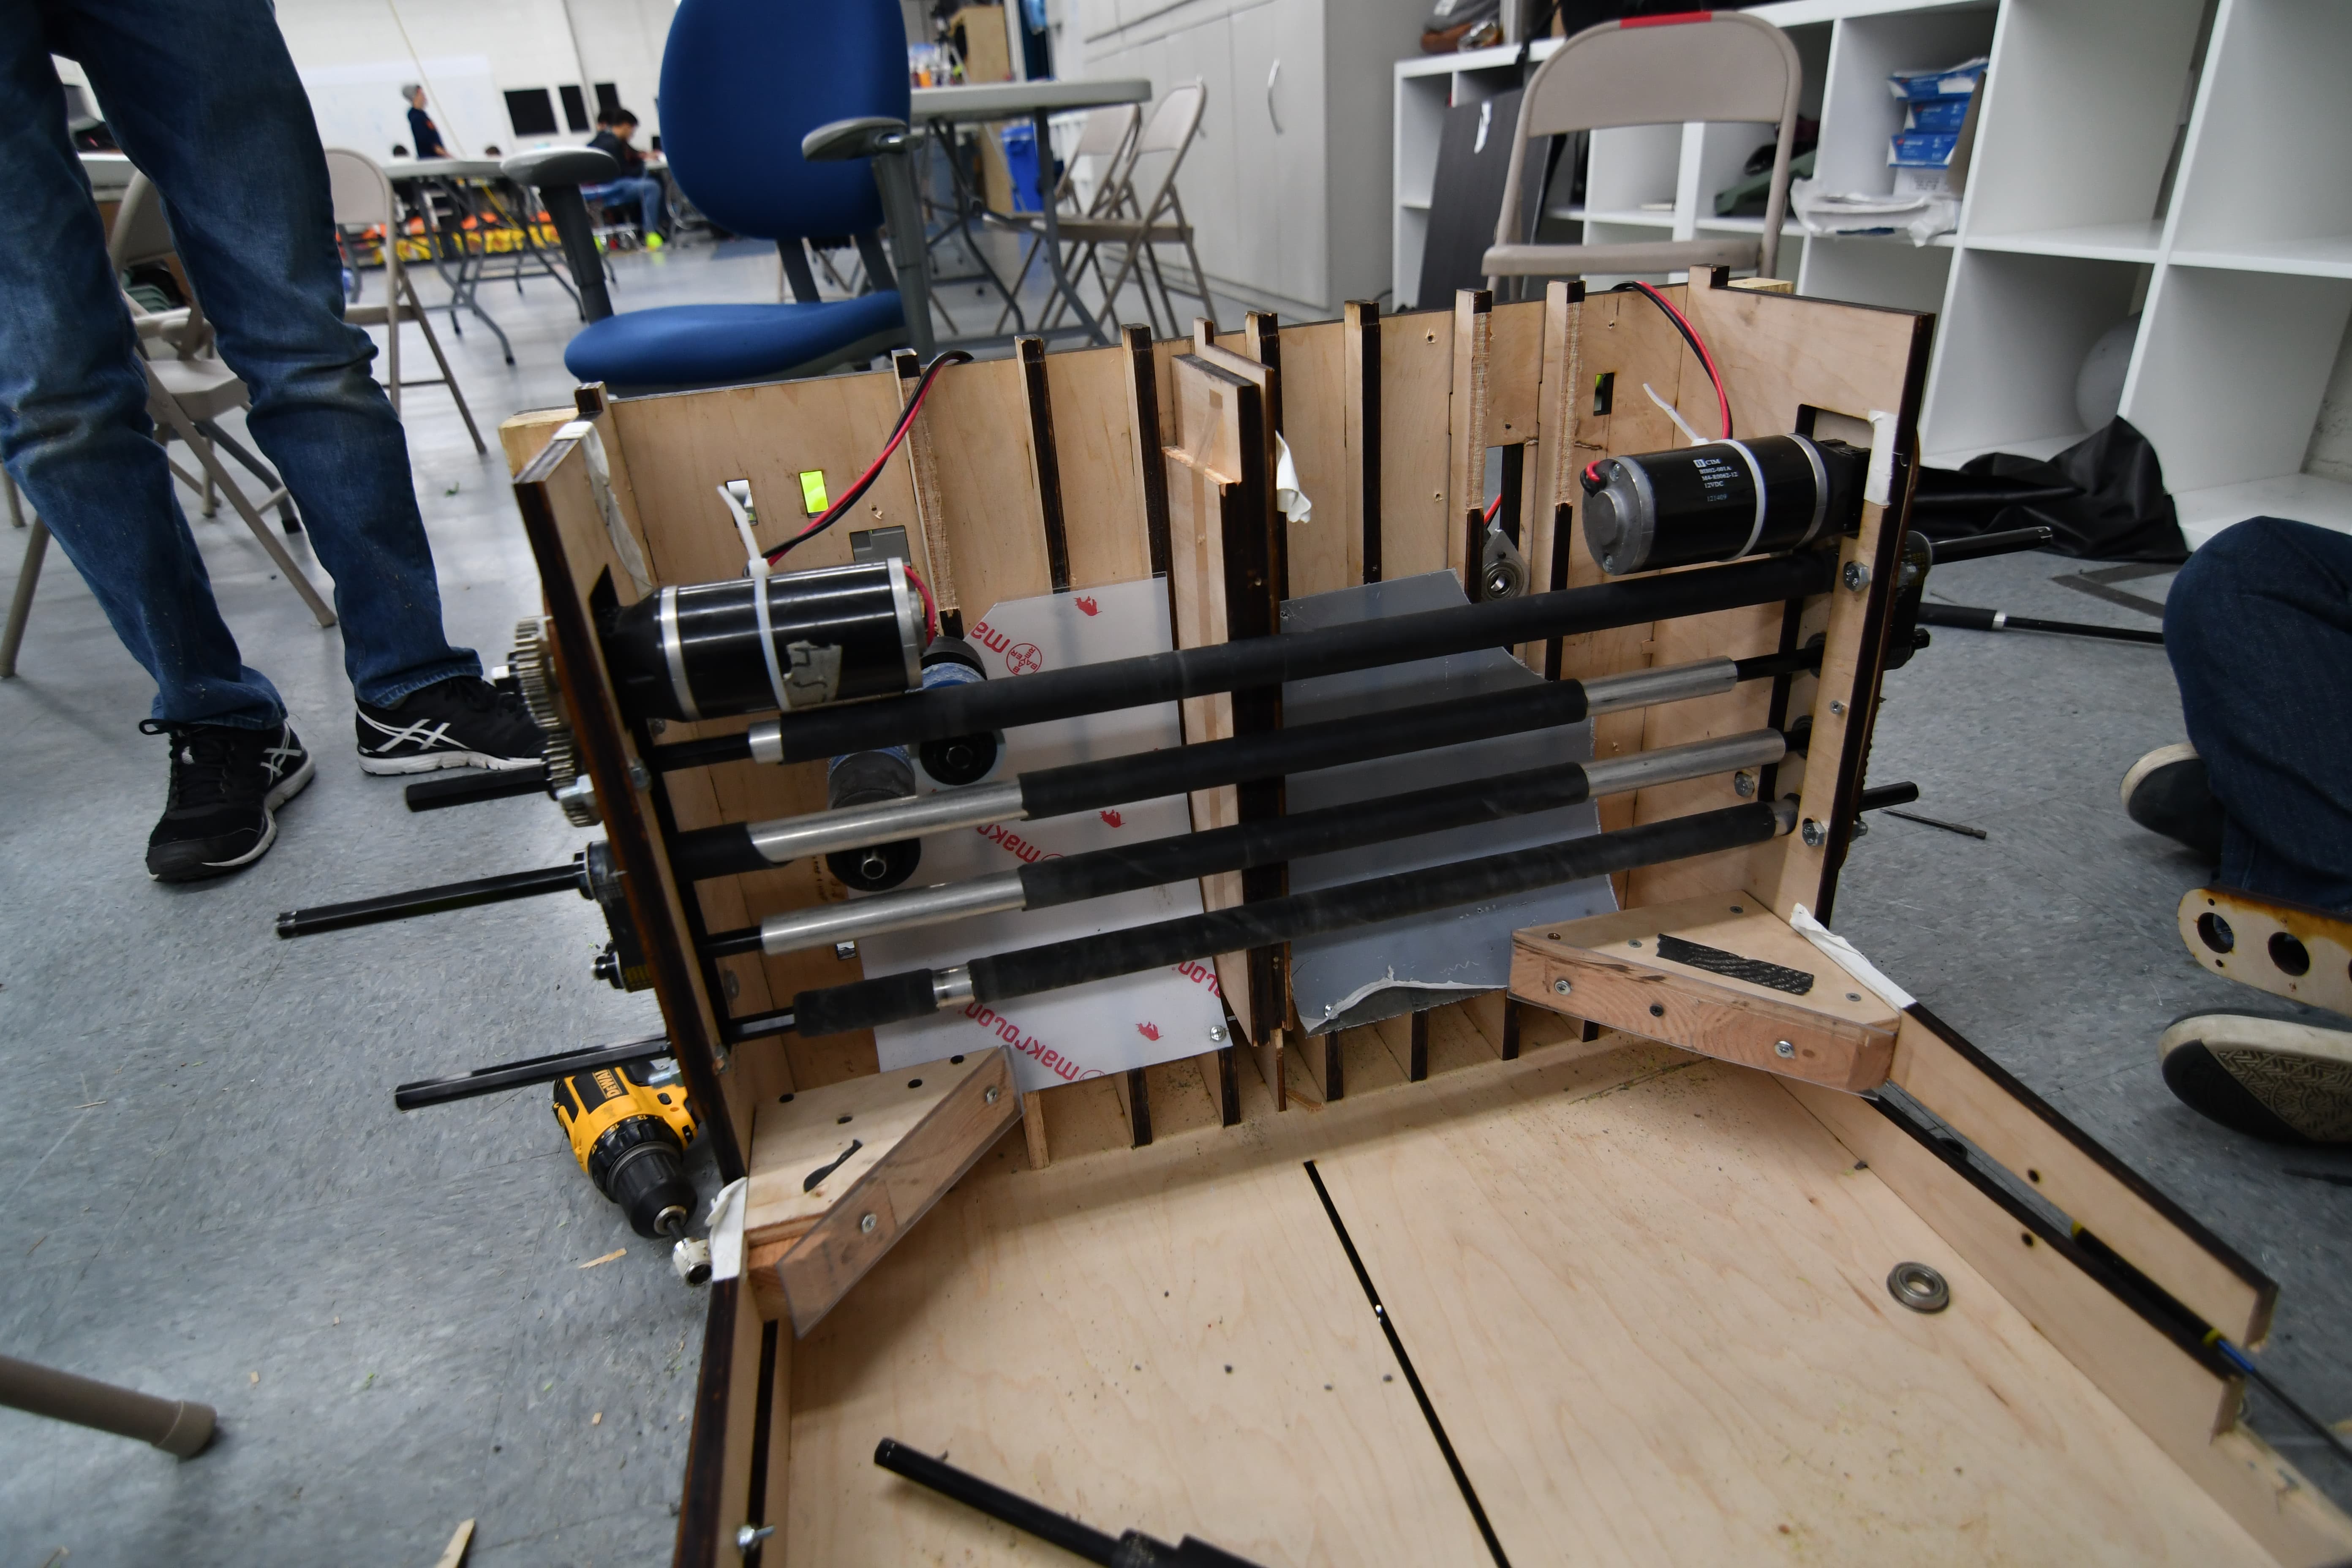
We are focusing heavily on manufacturing to make sure all the parts for the robot are ready; we sent several parts to anodize this morning. We also have a shooter and intake assembled and hope to finish the feeder chute assembled in the next two days.
Field
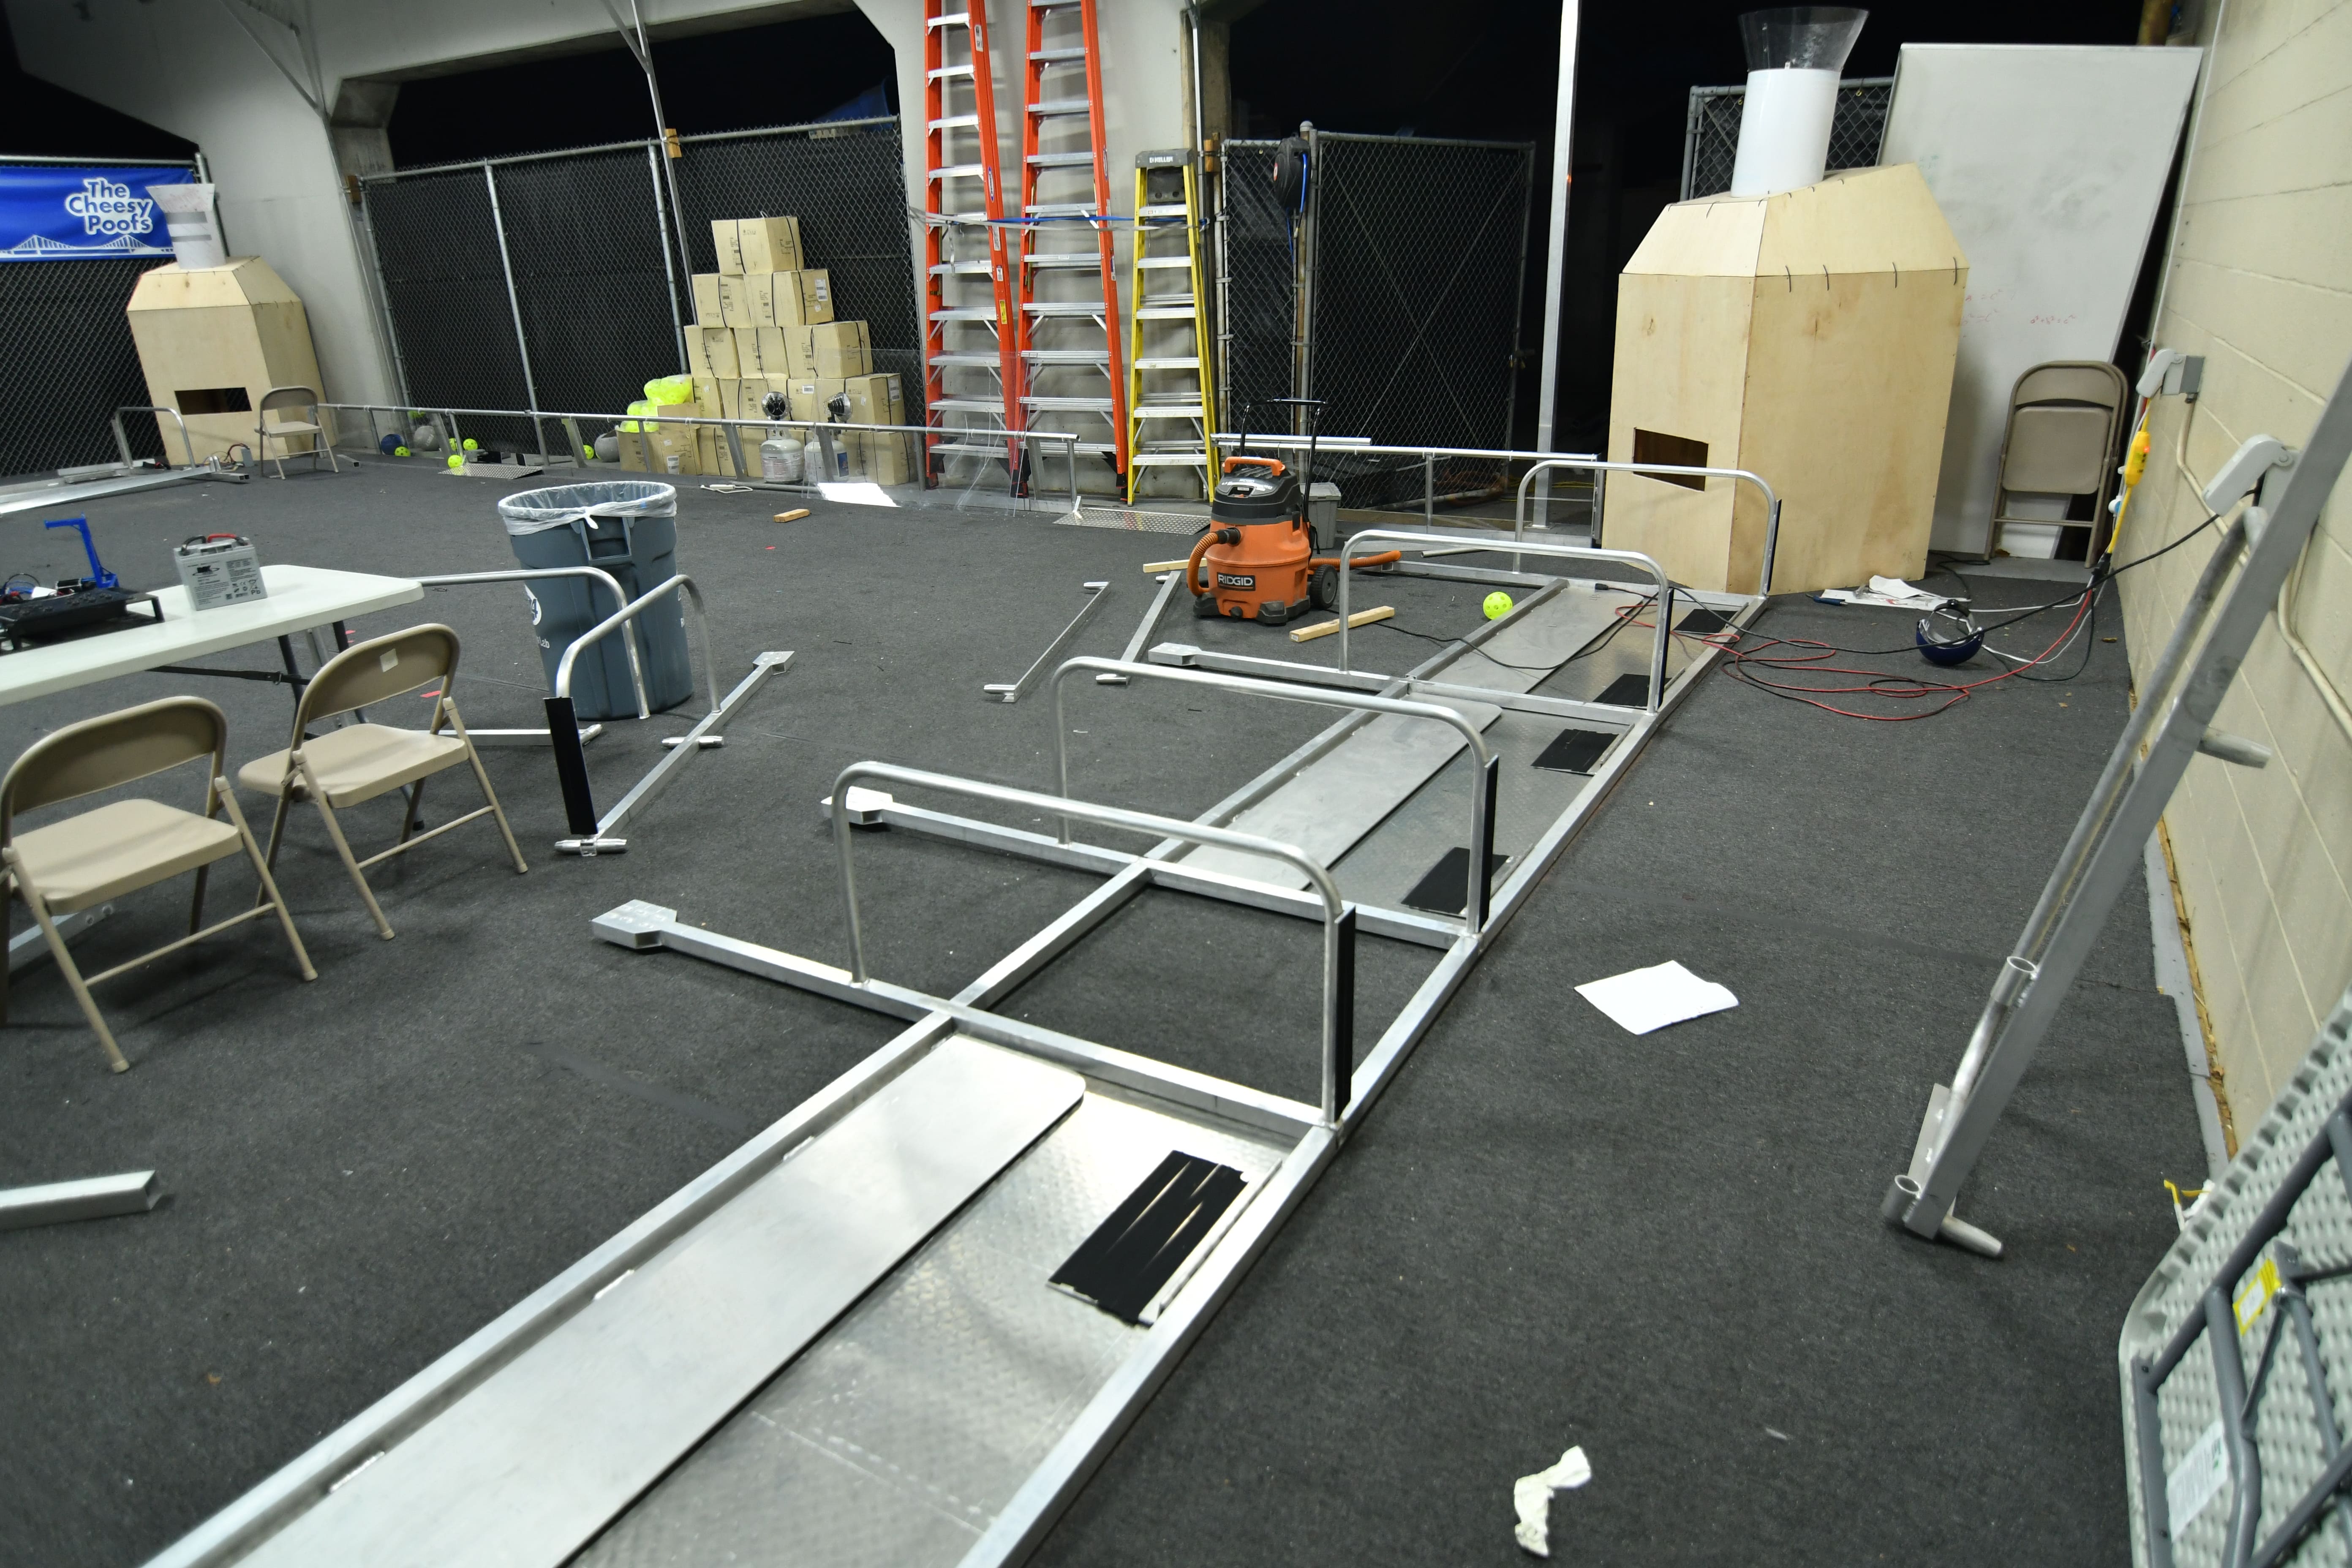
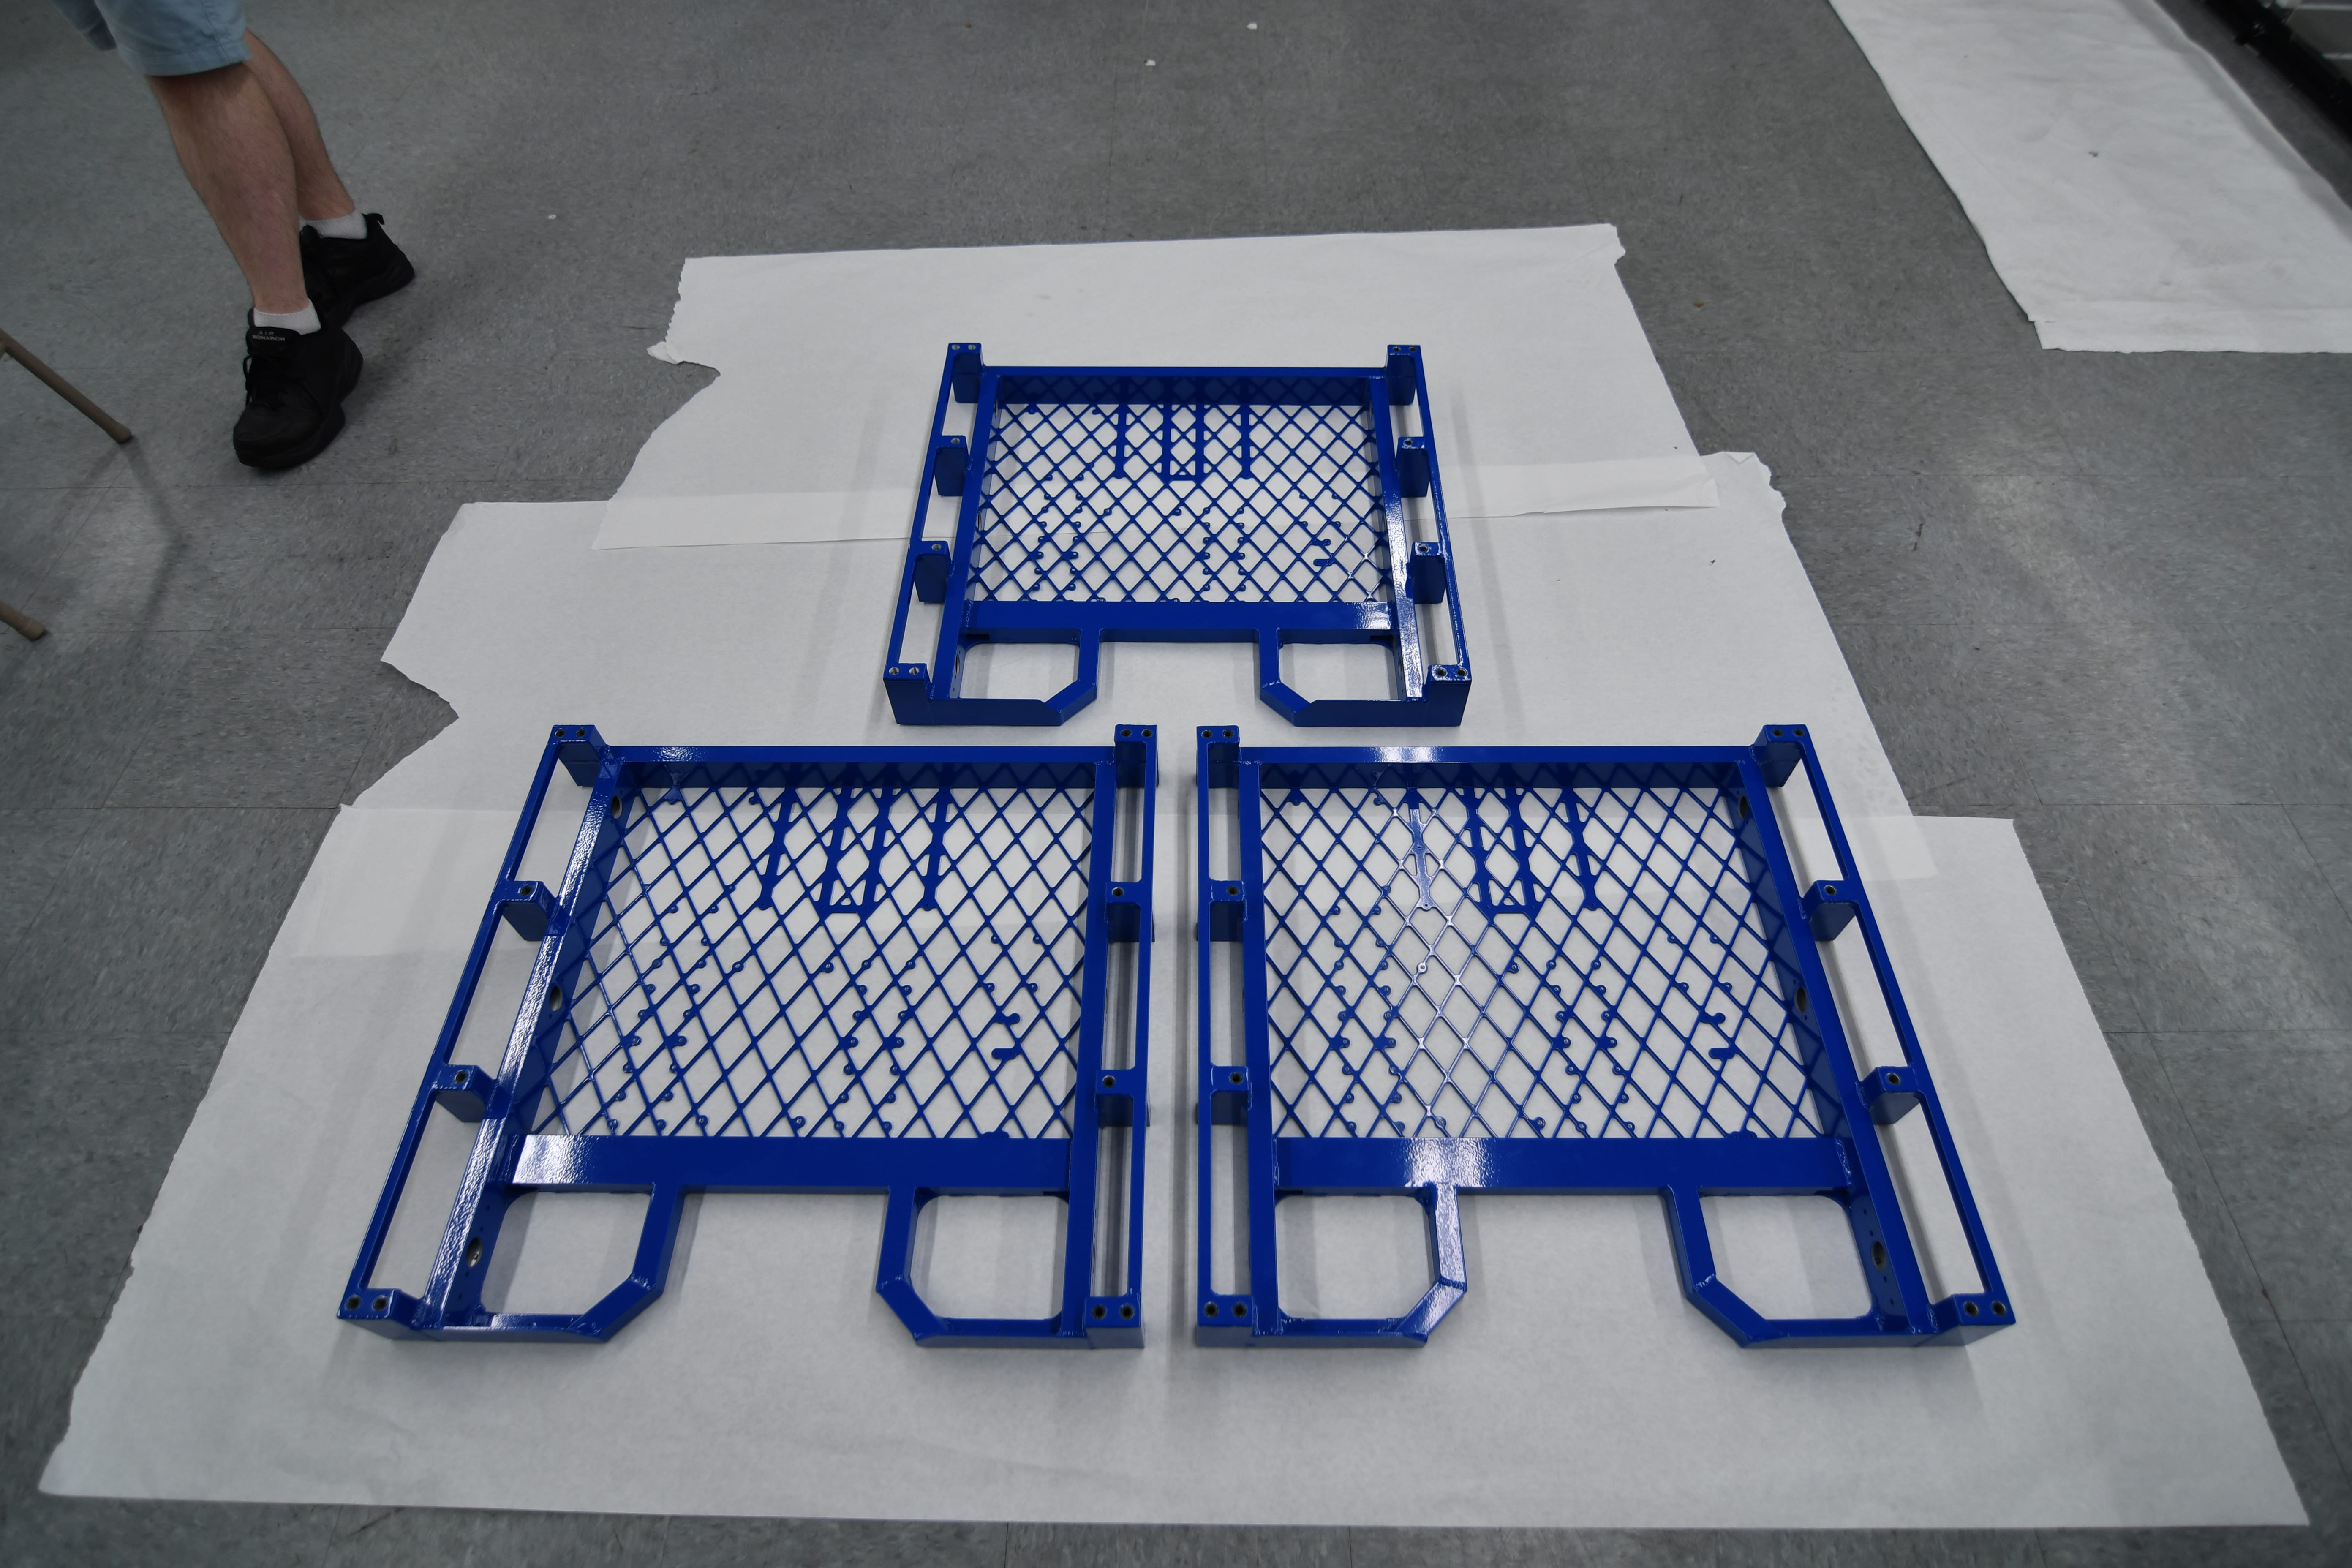
Today we worked on further field development. We have gotten to a point in which we are waiting for material resources to proceed. We accounted for field development mistakes, and finished the boilers. In addition, the top pieces of the airships were mismeasured, and must be recut and rewelded. We also focused on the feeder stations for the gears and balls. We laser cut the majority of the parts and manually cut the rest of them on the chop saw/bandsaw, and then assembled 6 feeder stations to make a full field. 2 are completely done, and the other 4 are all missing one piece before they are also done. We hope to finish the field by Monday night.
CAD
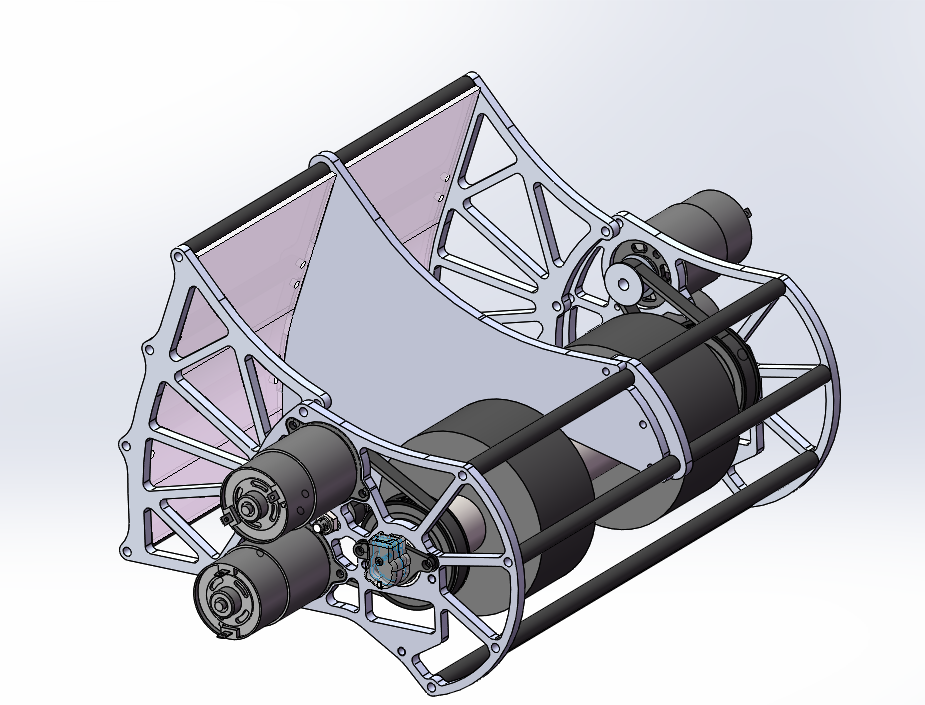
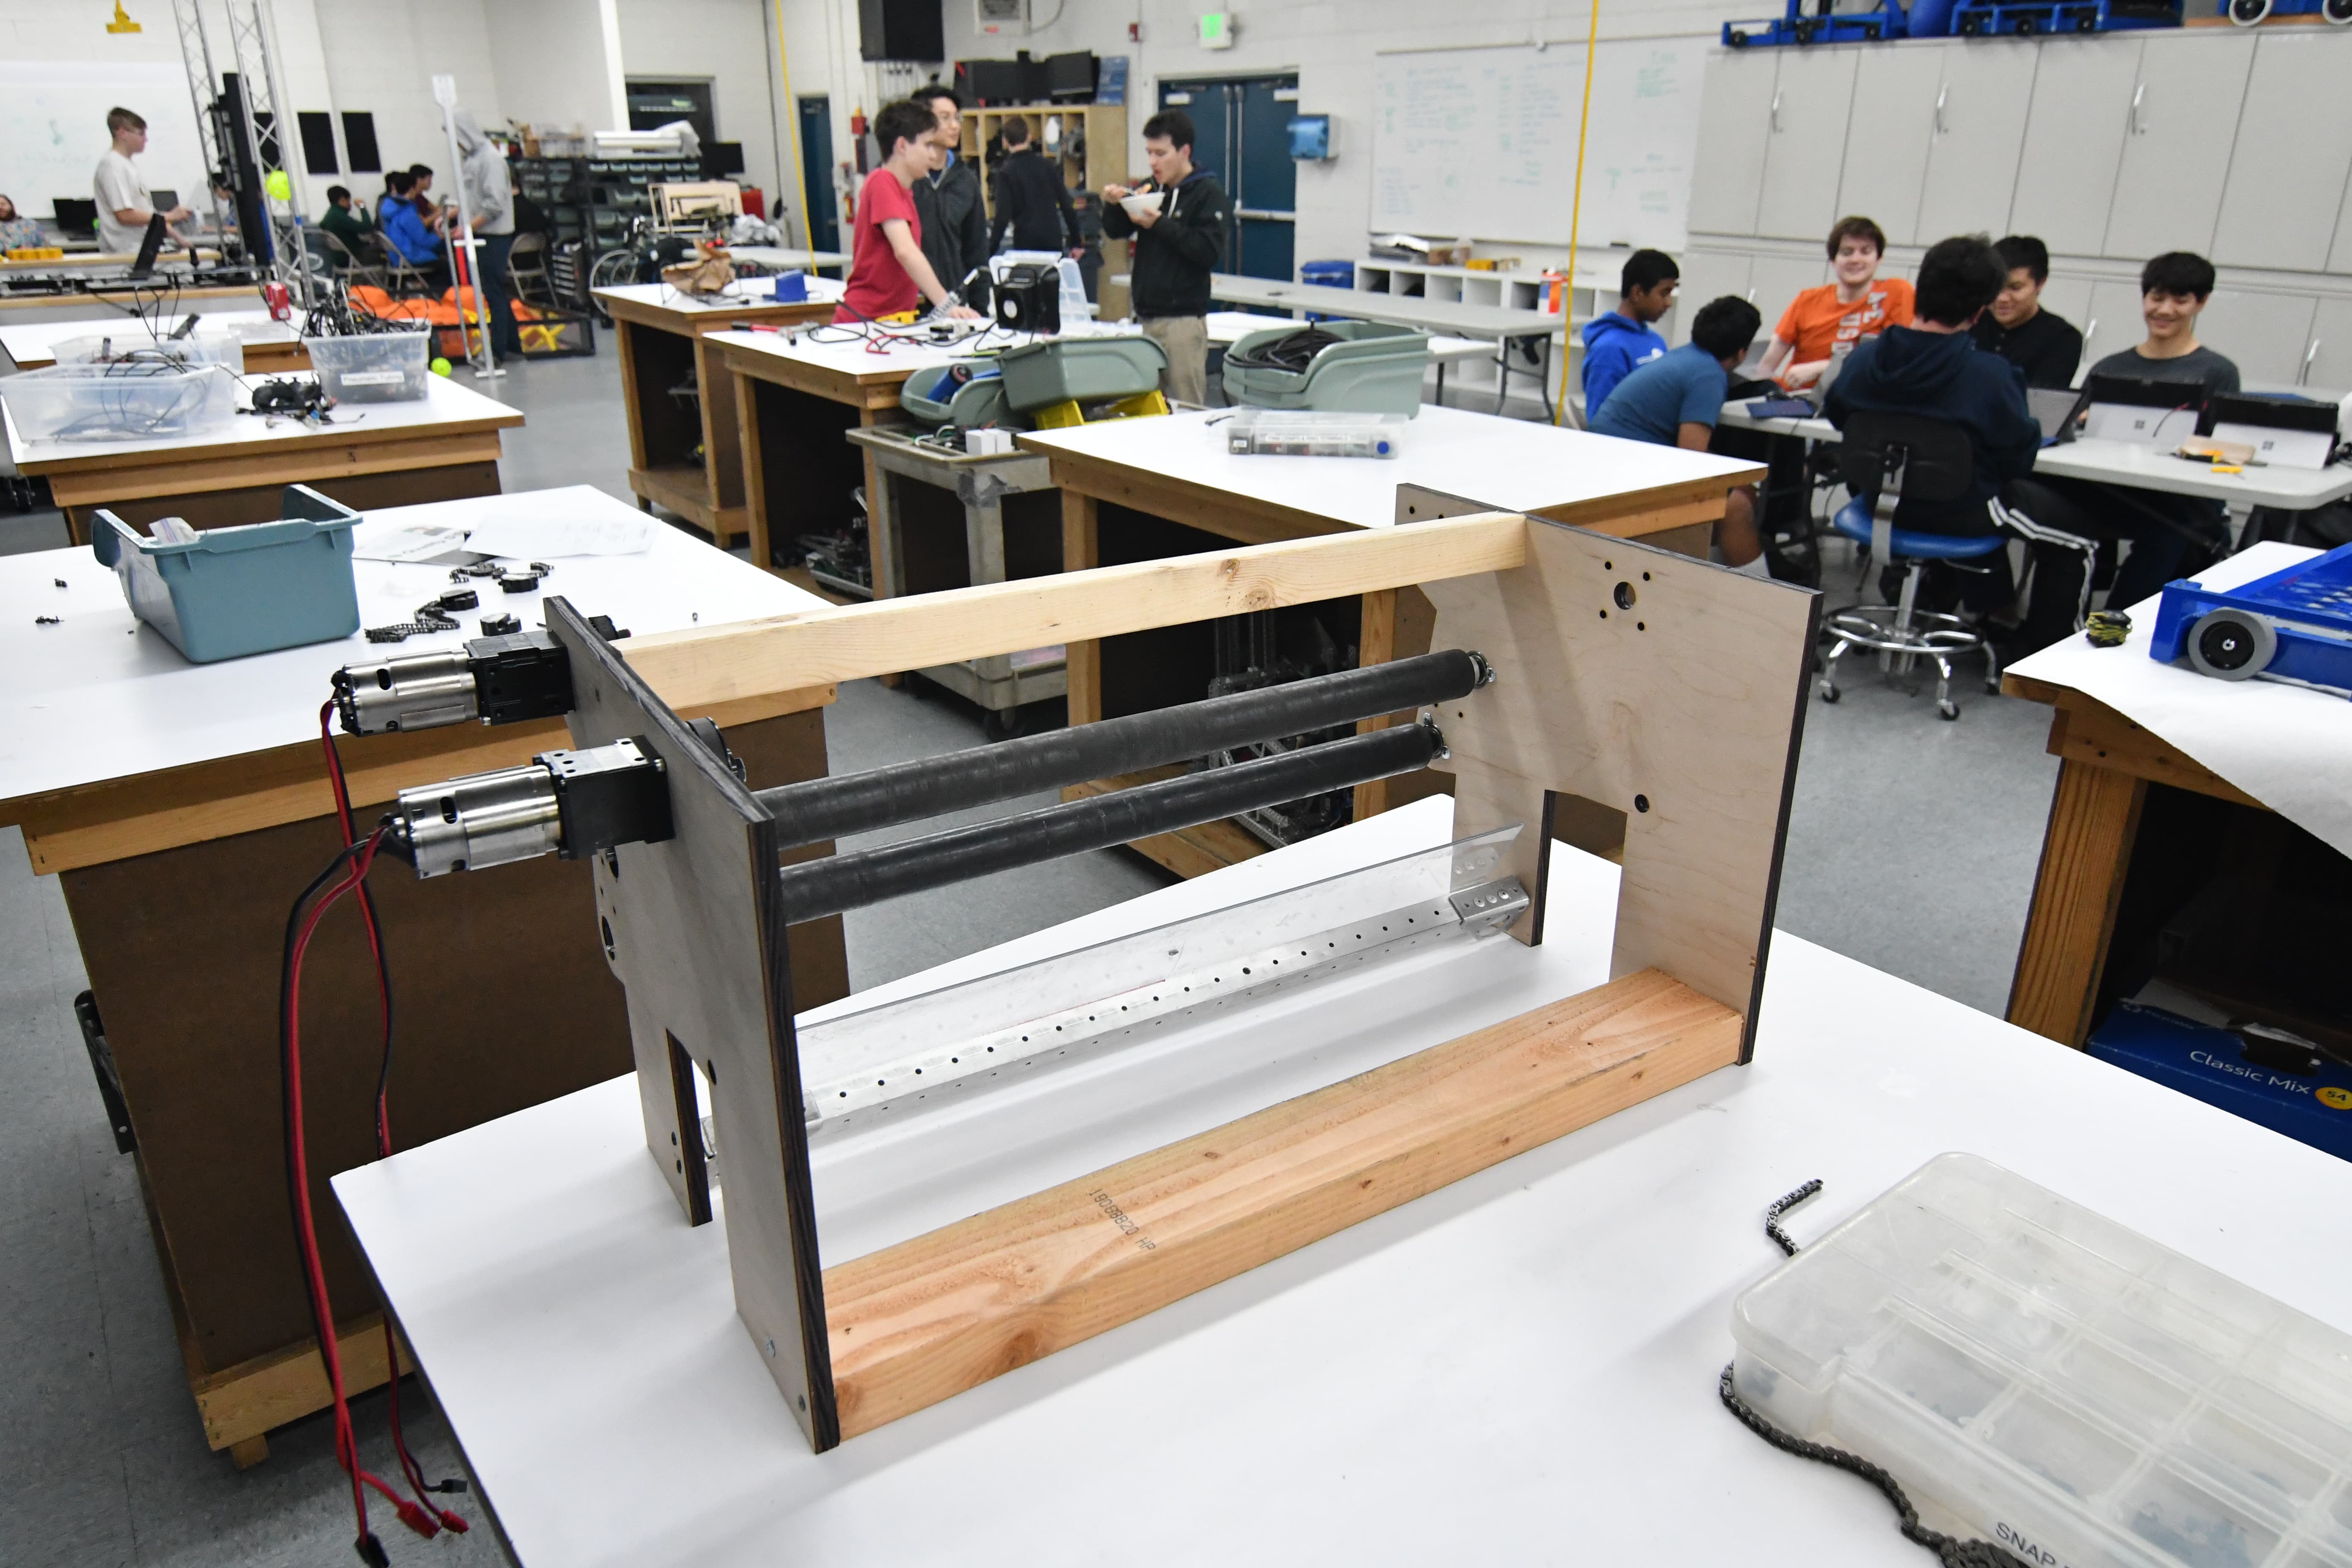
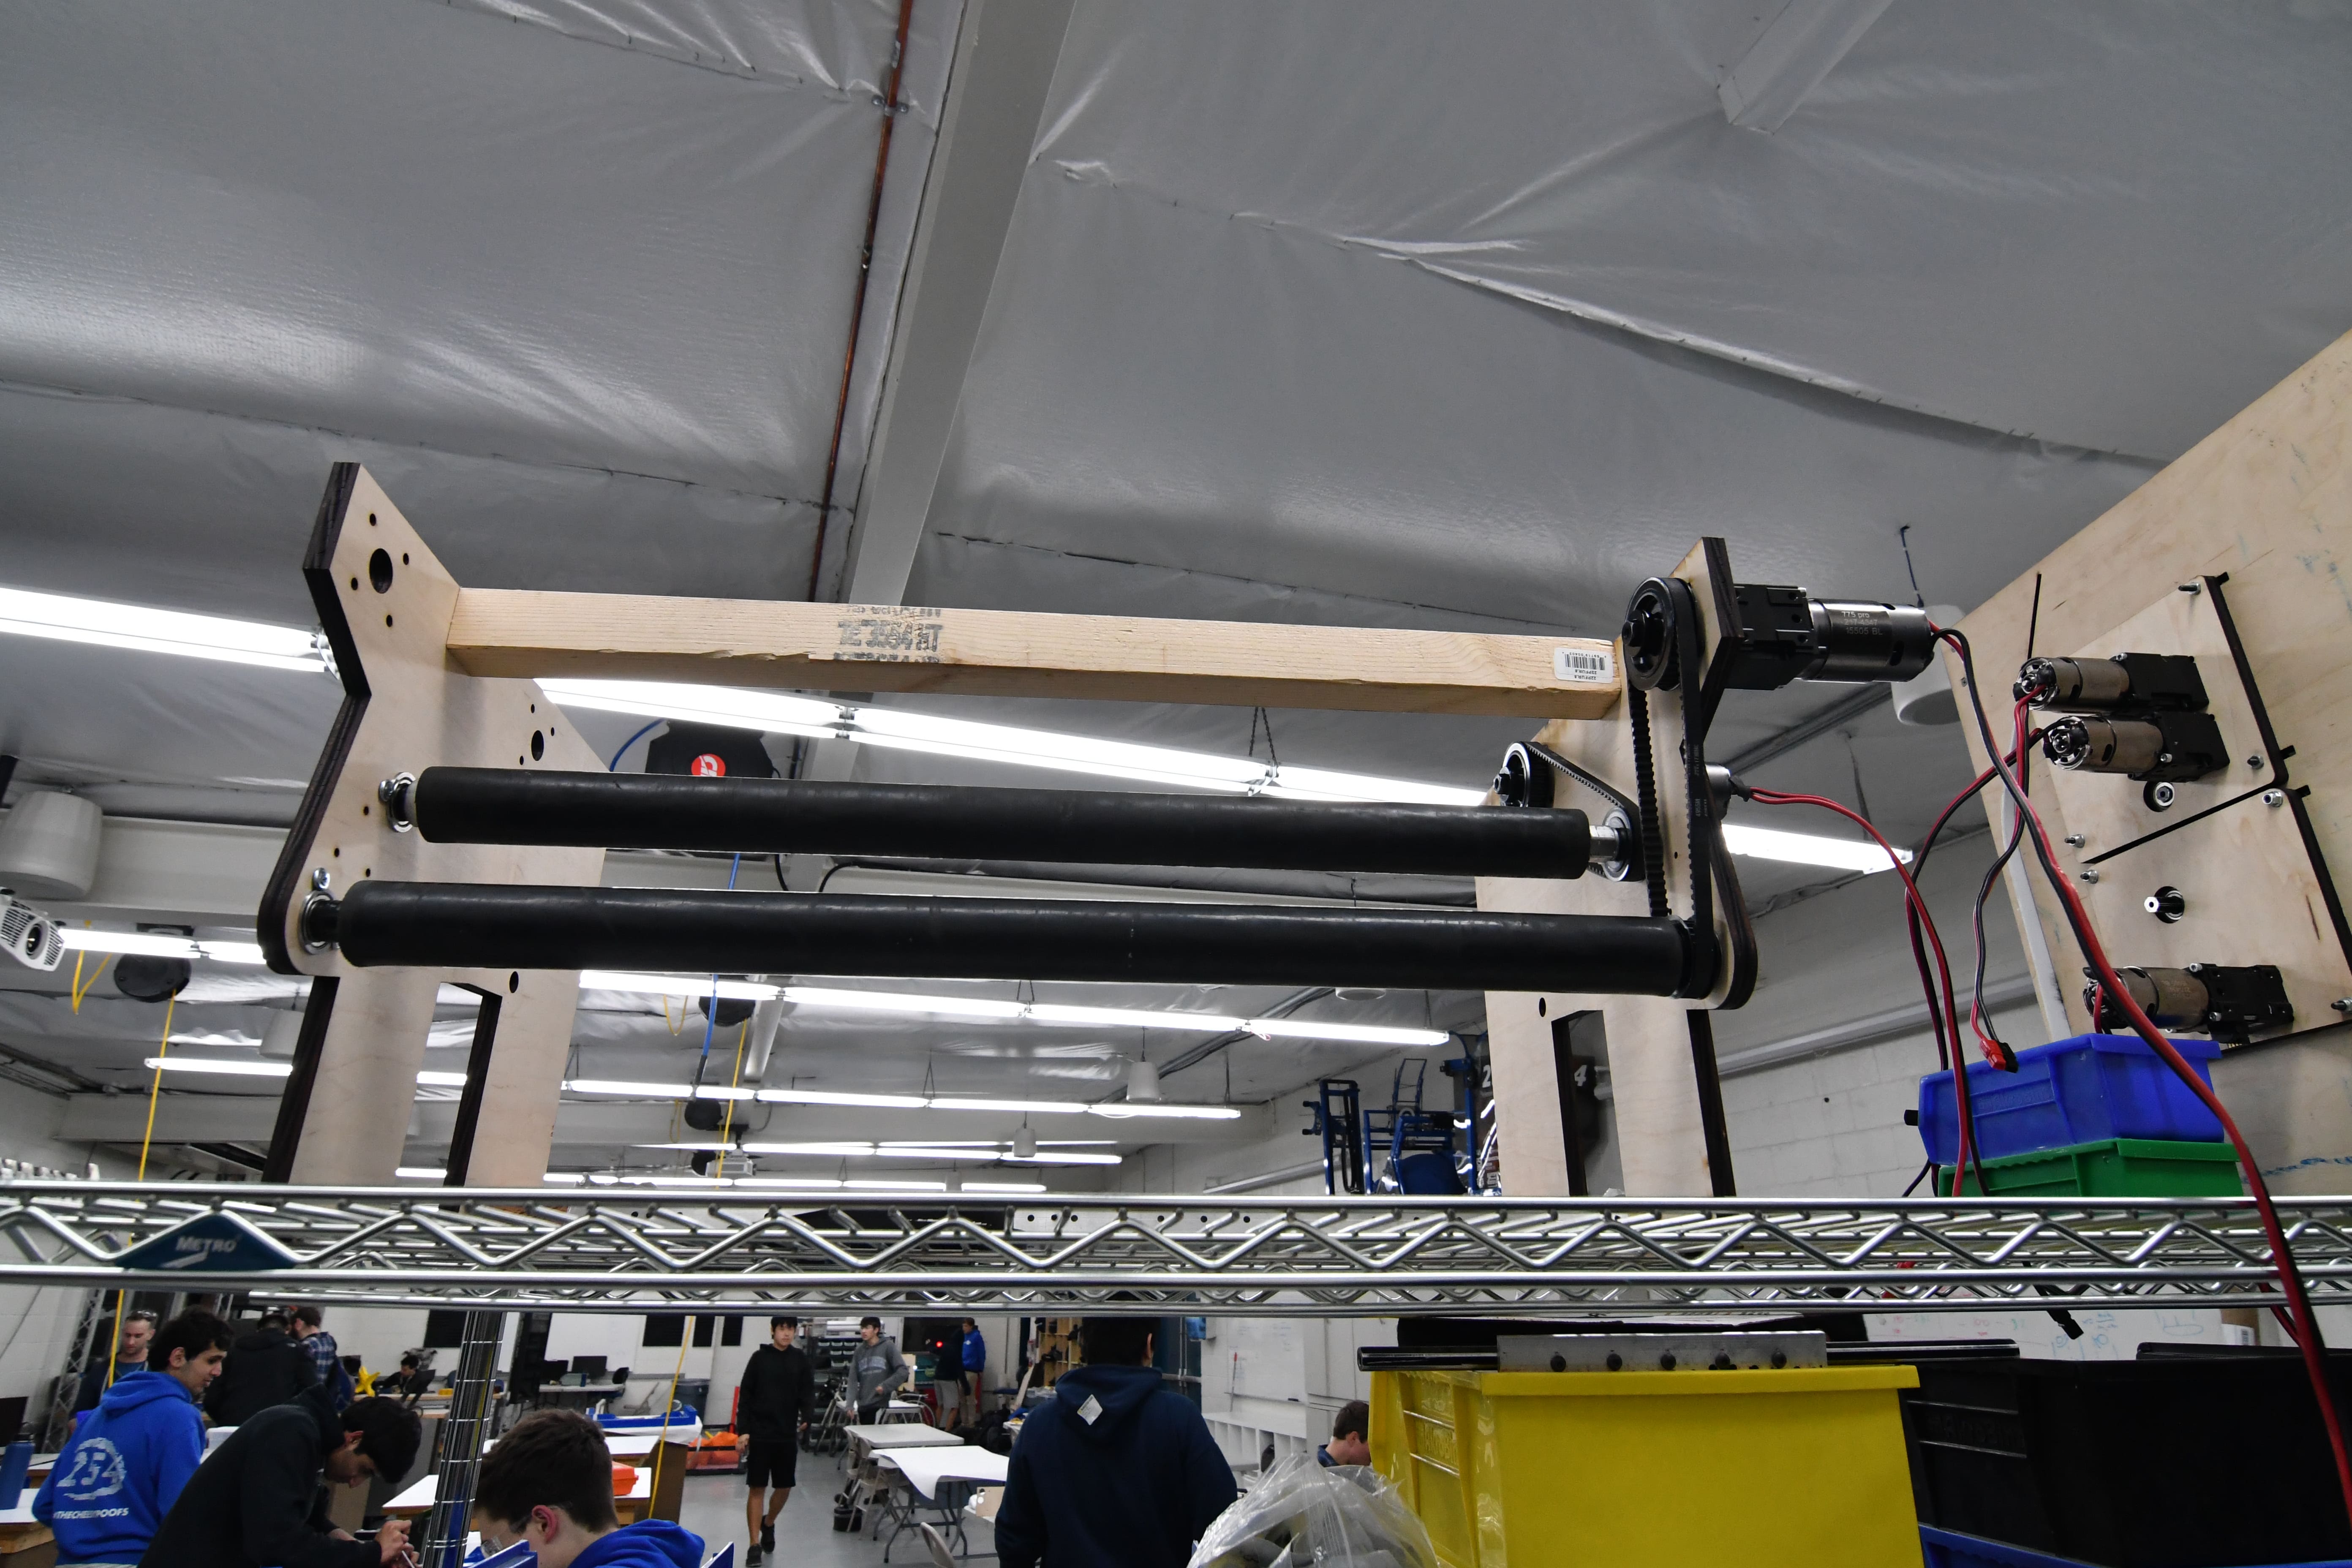
We have completed the CADs for the Bumper, Intake, Shooter, Superstructure, and Drive base – all of which have begun manufacturing/assembly or will be soon. The Intake is a two-roller assembly powered by two 775 Pros in a 3-1 gear ratio with a polycarbonate ramp to assist the ball path as it enters the robot. The Shooter is two 4” Fairlane Single Wheel Backspin shooters side-by-side powered by 4 775 pros. This will also power the Velcro-winch hanging system at the end of the match.
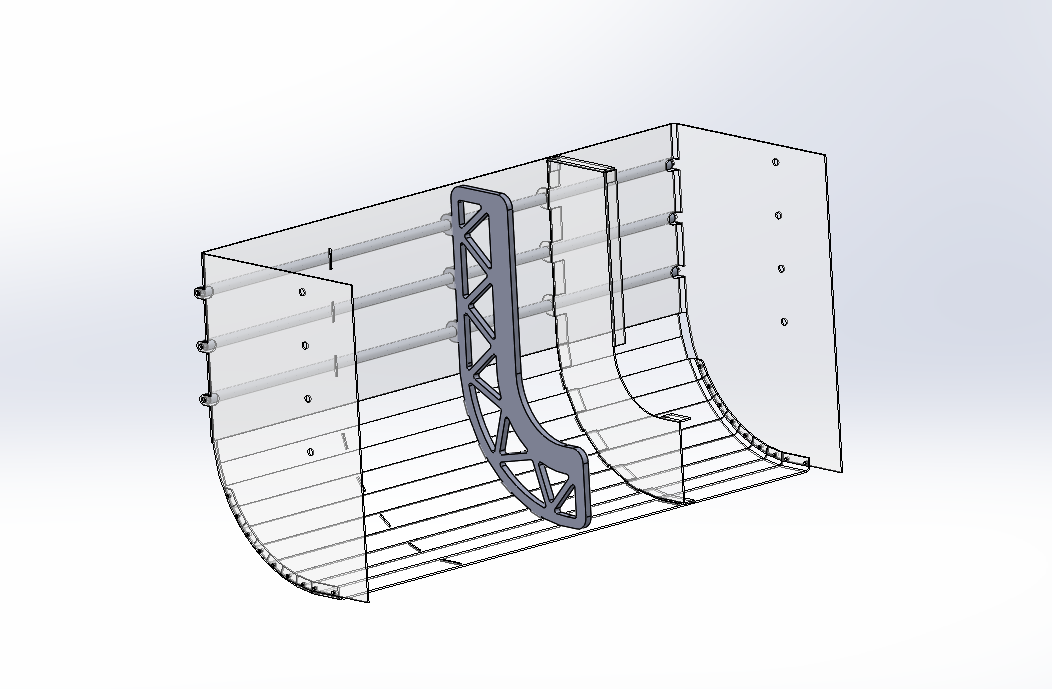
We made lots of progress on the Hopper Container and Conveyor and will hopefully be able to begin manufacturing soon. For the hopper container, the width-expansion constraint geometry needs to be finalized and the bend radius on the actual break needs to be accounted for in the bend radii on our “sheet metal” plastic parts. The conveyor at this point in time is complete, we are currently finishing up the detailing of screws and etc. This is waiting mentor approval before manufacturing. The Feeder and Chute are done for the most part, they only need to be confirmed against the final geometry of the conveyor floor which was finished today. Progress was made on the climber subsystem today, as well.
We worked on a flange for the Velcro drum/roller to displace the touch sensor on the davit with a 3-part rotating flange that stows within the frame perimeter and deploys like a fan with surgical tubing to a circular flange encompassing the roller and providing enough distance between the OD of the flange and the OD of the roller (with Velcro bundled) to displace the touchpad approximately .5” – 1.5”. Moving forward, we want to begin manufacturing on as many things as possible, while fine tuning and checking for interference in CAD. A semi-detailed list of next steps in linked above.
The shooter design is almost done. We are moving forward with 20 degree trajectory and tangent hood section out to 45 degree, to match the prototype. It should be ready to make this weekend.
The chute design is coming along. We will need to make it angled to fit gear grabber.
Gear Intake
The gear grabber concept is complete and detailed design is moving along well. We should be able to make it by early next week. We need the chute mods to be able to hold the gear and fit it in the sizing box.
Drivebase
We worked on getting the superstructure ready for powder coating after welding. Then, we put holes in the frame to attach the superstructure to. We also then made some parts for intake well we CNC the other parts for the intake to get it ready for welding today. We also organized the metal in the shipping container.
Programming
On Tuesday, we tested our autonomous path code, which uses a web interface to plot an autonomous robot path. It worked; the robot moved along the plotted path with ~2 inches of its target! There were a few kinks that we are still resolving, though. The robot uses a NavX IMU (inertial measurement unit) to determine the robot’s heading, and the NavX board was throwing errors because there were multiple instances of the same board. This was resolved, but we still have to clean up the code to avoid these issues in the future. At the end of the path, the robot unexpectedly darted backwards; we have to fix that.. Finally, we tuned the drivebase PID constants for low gear but need to do the same for high gear, which the robot will likely operate in.
Today, we also revised the PixyCam software in order to make it more threadsafe. Rather than our current model, where we make calls to a PixyCam object, we changed the code to use a Listener interface- the PIxyCam object publishes an “event” whenever targets (aka “blocks”) are detected, on a different thread, and a listener on the main thread will handle each block when necessary. This makes the code more threadsafe- if the SPI driver crashes, it will not bring down the entire robot.
We also corrected the PixyCam distance estimation formulas to be much more accurate. Before, we were using the block height and width to calculate distance. However, the block height and width are very susceptible to noise and change minimally with distance. We switched to using the centroid of the target, which is far more evident to the PixyCam and therefore more accurate. We were able to calculate the distance to the boiler, plus-minus 10 inches, likely because of our setup and camera calibration.
For the drive code, we added in the ability to shift between low and high gear (using the pneumatics). We use the low gear mode on the robot when we need to move slower, but with more torque/power (e.g. when we’re aiming to shoot), and we use the high gear when we are barreling full speed down the field. Shifting is accomplished with pneumatics and dog collars. This is not quite a six-speed manual transmission, but two speeds is sufficient for our needs.
Today we continued work on the hopper/feeder prototype. We went through a few more iterations revolving around the central design of a powered floor of rollers, but nothing seemed to stand out as notably better than what we started with. We tried putting Teflon tape on certain parts of the rollers to speed up feeding and we tried moving the ridge that creates two channels of balls higher up. We also experimented with passive back-feeder funneling methods, but realized that having a passive funnel in the back would be difficult to design with our high throughput goals in mind. None of these led to a significant improvement in the feeding rate. Going forward, we are most likely going to manufacture and use the powered floor with rollers, although it does leave some performance to be desired. Next build, we need to test the conveyor system and a center peak in the hopper itself.
Construction
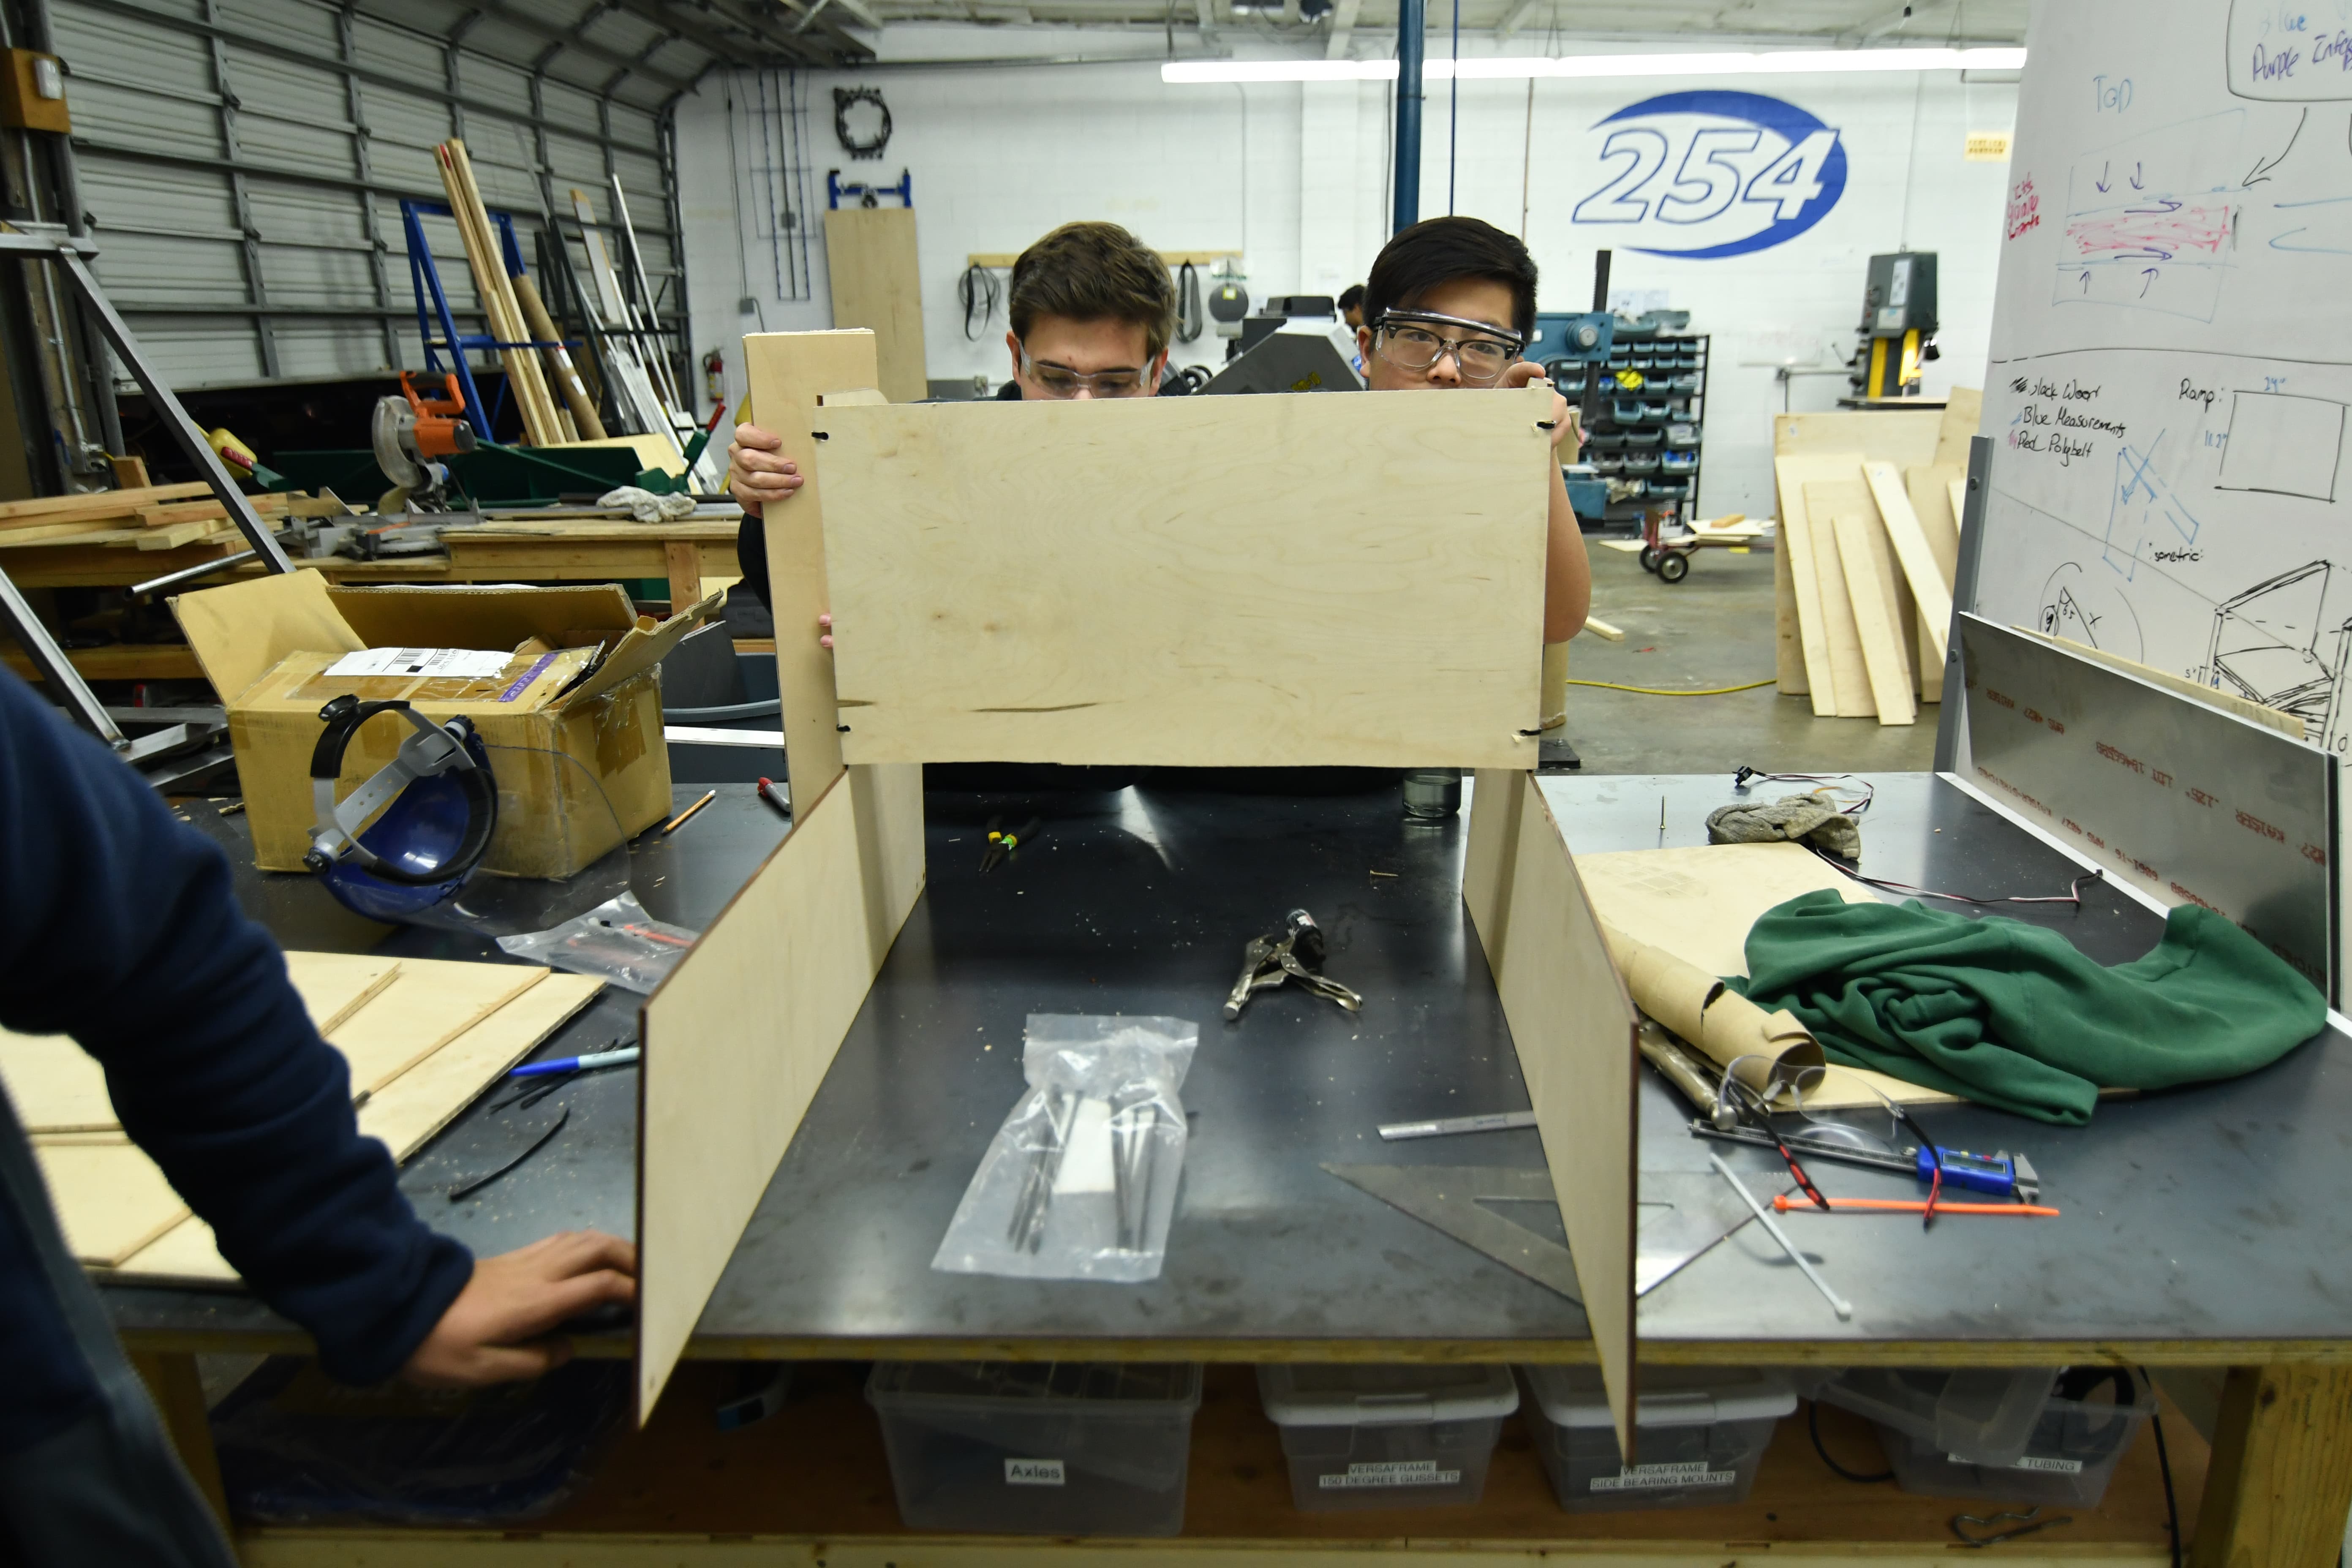
Today, we made progress on assembling the bumper mounts and robot stand.
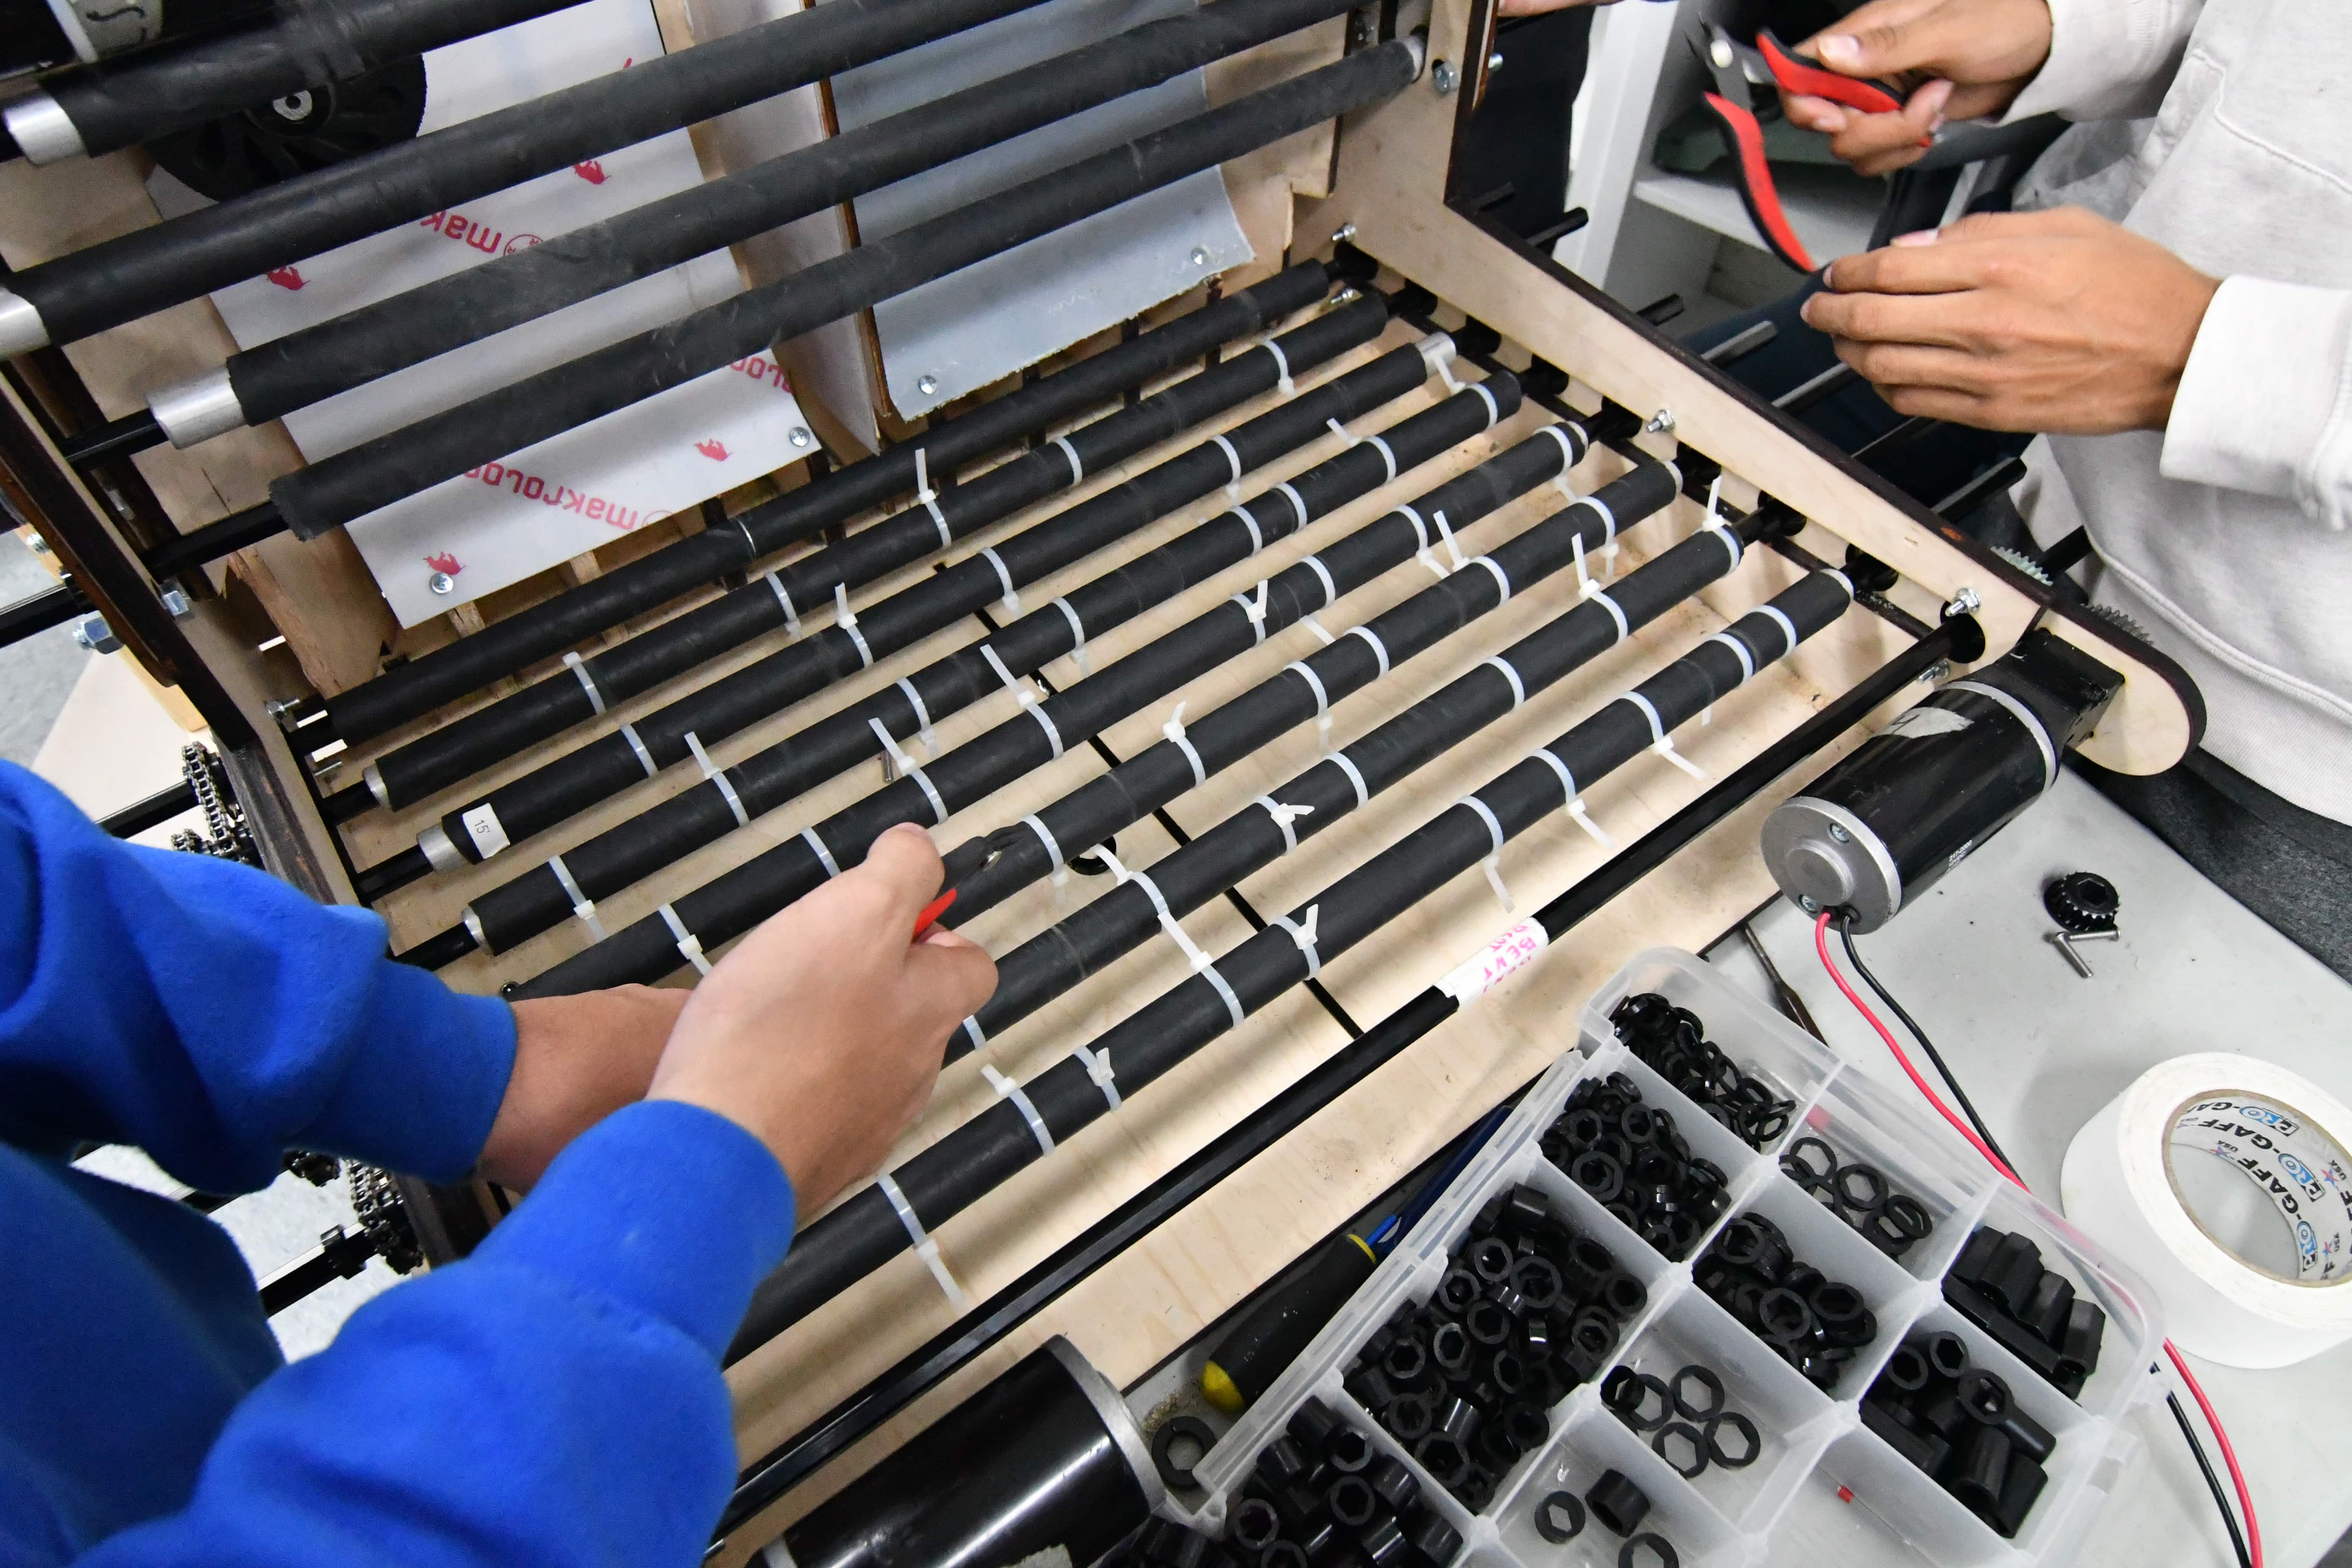
Today was essentially our drop dead date for finalizing 90% of the hopper in CAD. We took our roller design and decided to ship it, with a center to center distance of less than 50mm, as the 55mm on the prototype was too much. While the CAD team was designing, we iterated on funneling methods and found that we could probably use a passive funneling method on the base of the hopper. This passive method worked surprisingly well. We also found that the zip-ties we added onto the rollers did their jobs too well. They acted as small 'fingers' and flung balls. While this is the intended effect, we did not want this at the end of the hopper, and removed the zip ties on half of the prototype. This solution decreased entropy and increased throughput. The design that we have now isn’t the best it could be, but has been designed with adaptability in mind for the future. After deciding on rollers, we continued to iterate on the design with wrapping cloth over the rollers rather than simply belt. We found that this solution has promise and decreases popcorning of the balls. We will continue to iterate on this method next build. We also theorized that if we create a large enough crown on parts of rollers, we might be able to have a significantly faster feeding method with little no change, that could also increase throughput. We will work on this next build as well.
Intake
Today, we finalized the intake prototype after many iterations, and it was CADed into the current robot design. It performs very effectively, being relatively light and simple, but still meeting the goal of picking up every ball in front of the robot at top speed. One improvement that led to the final design today was switching the 1/4" wall surgical tubing on the rollers for 1/8" wall surgical tubing (and adjusting the geometry accordingly), which performs the same but saves a whole pound of weight. Another key change was the ramp, which was changed to 3.5" long rather than the previous 5", and was made intentionally flexible to allow faster intaking and less bogging down as large groups of balls come in simultaneously. The plan for the future is to finalize the intake CAD and to manufacture/assemble it.
Testing:
Gear Intake
Today, we worked a lot on the gear intake. Although previous prototypes had been very successful and gave us a really good starting point, one factor we hadn’t looked into very deeply was the sizing constraint that we would have to work around. In order to figure out the geometry and work out generally how the system would work, we evaluated a bunch of different variables, including changing the bore size for the compression system, as well as modifying the rotating system so that it could package and deploy within the sizing box of the robot. Once we figure out these details, we then began designing the parts in Solidworks. The next step will be to finish the design of the the actual system itself and then look into possible mounting solutions for the rotating system that will connect the claw to the robot itself.
Drivebase
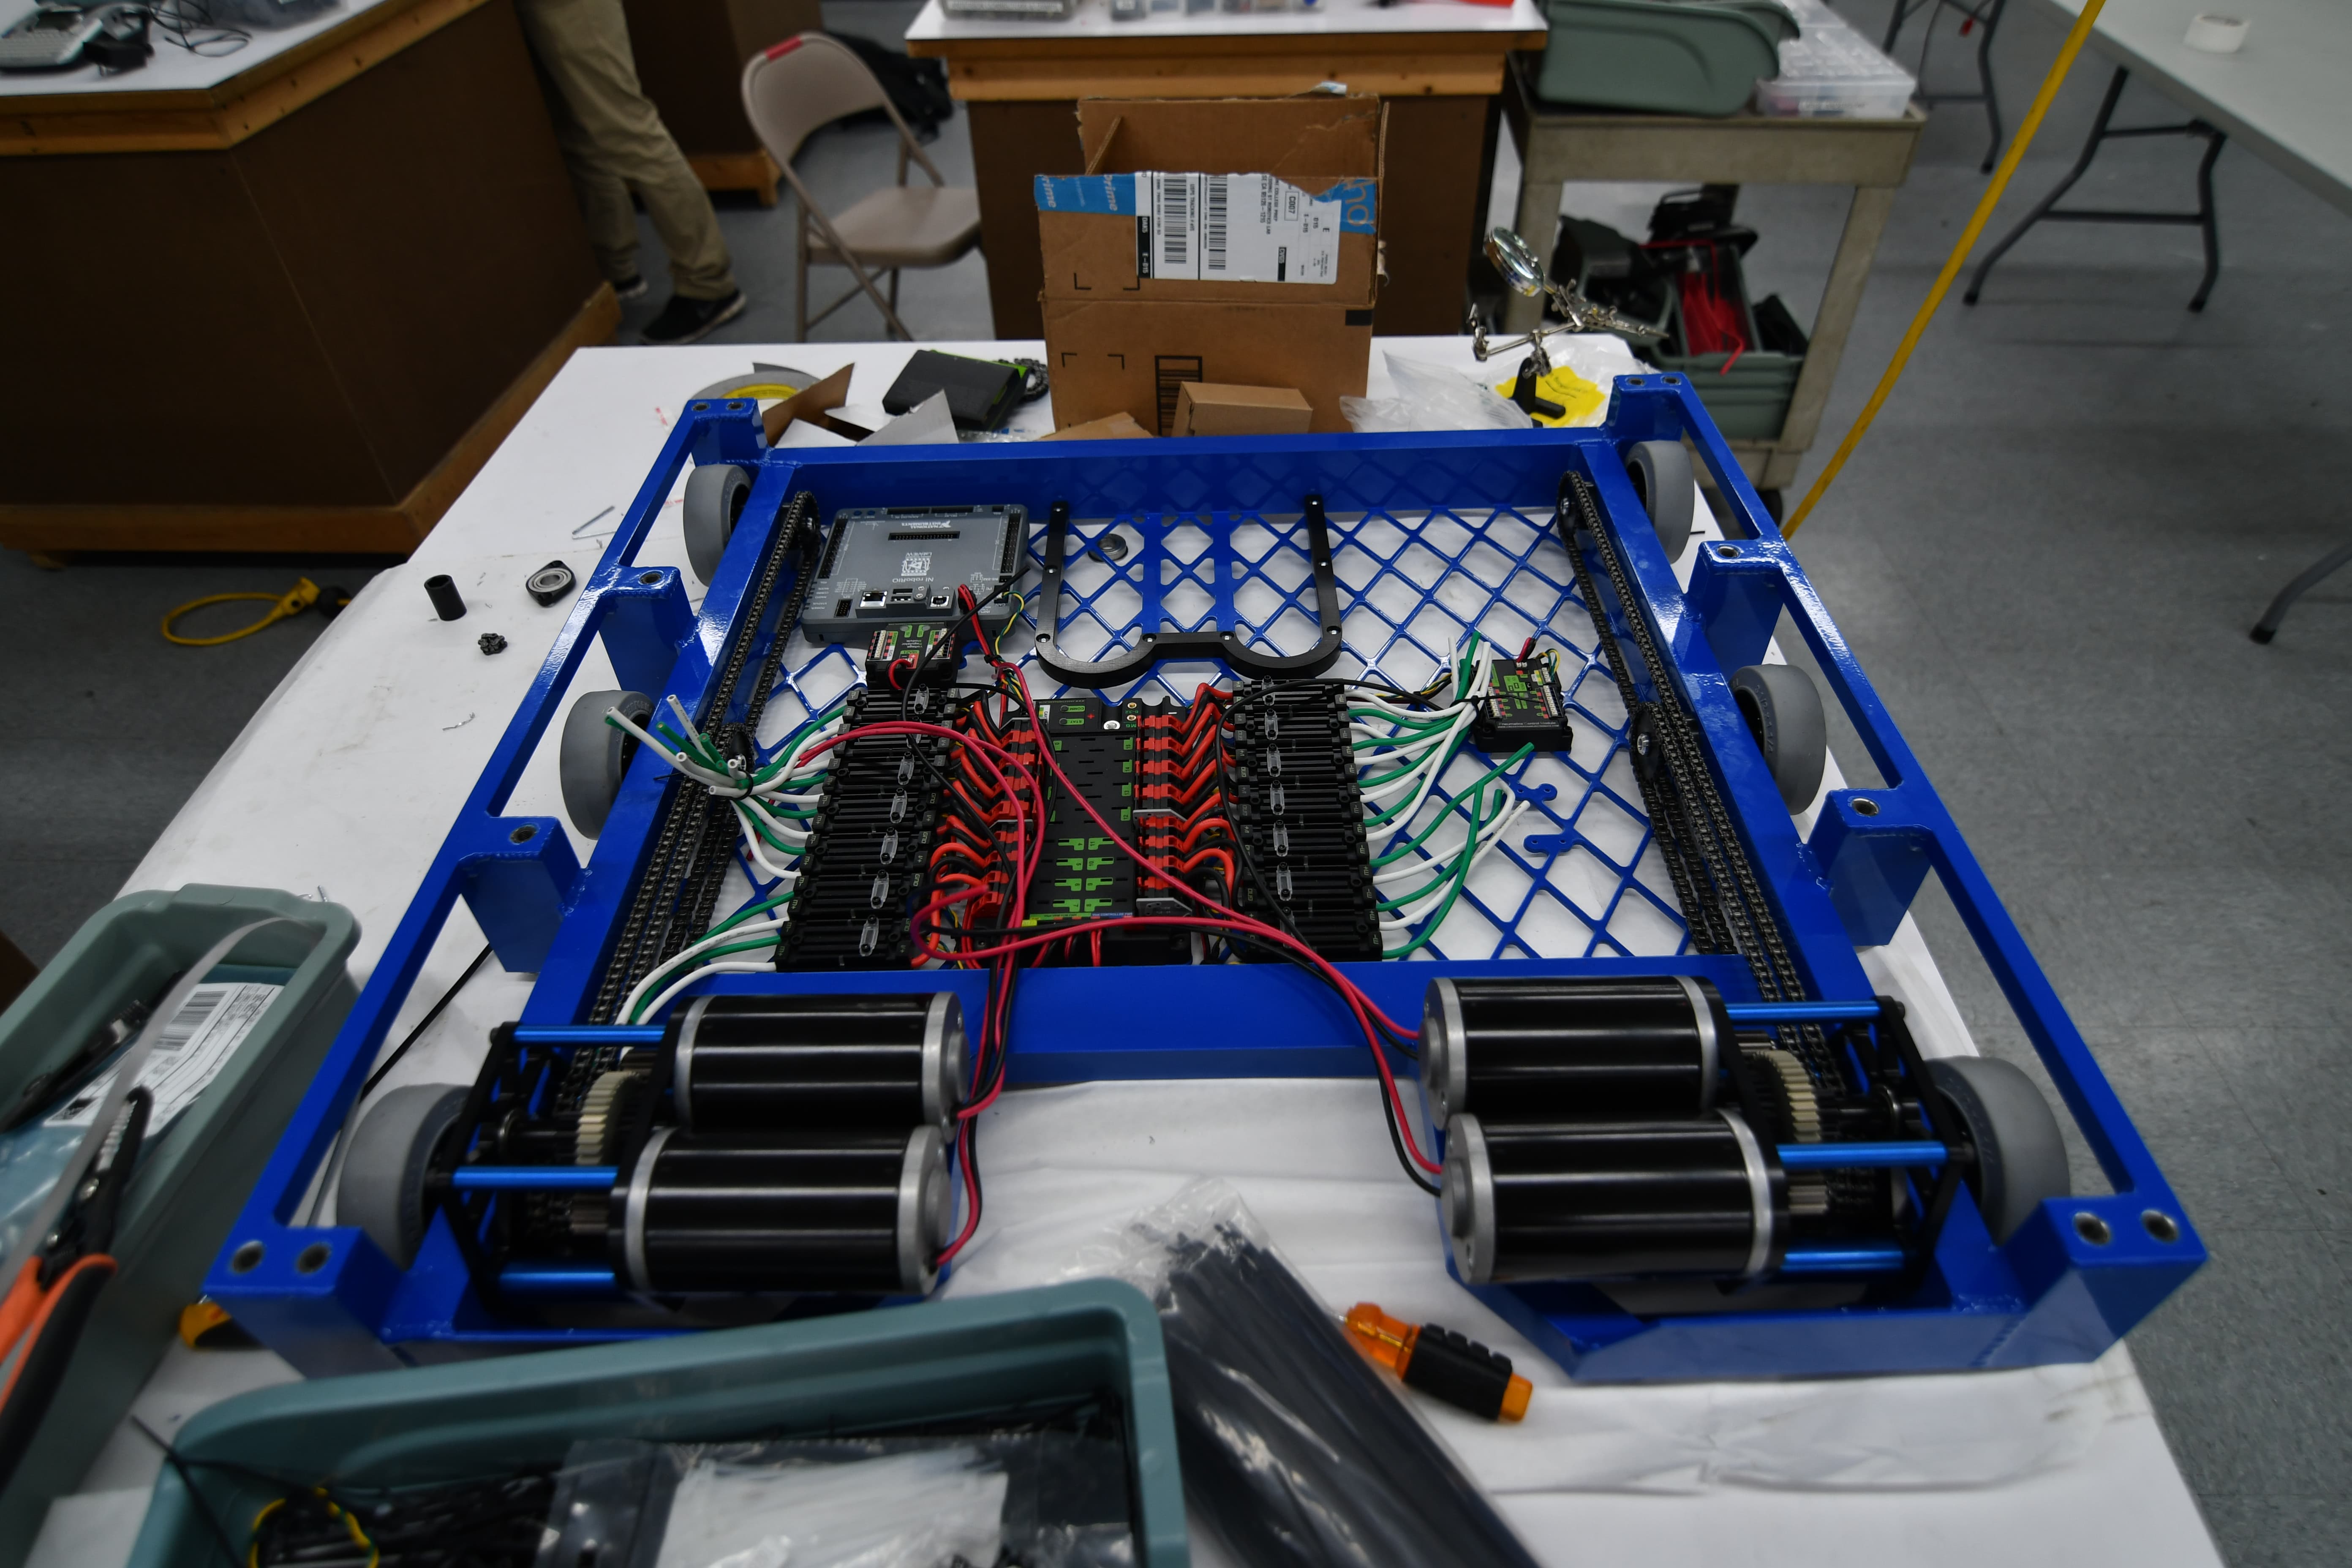
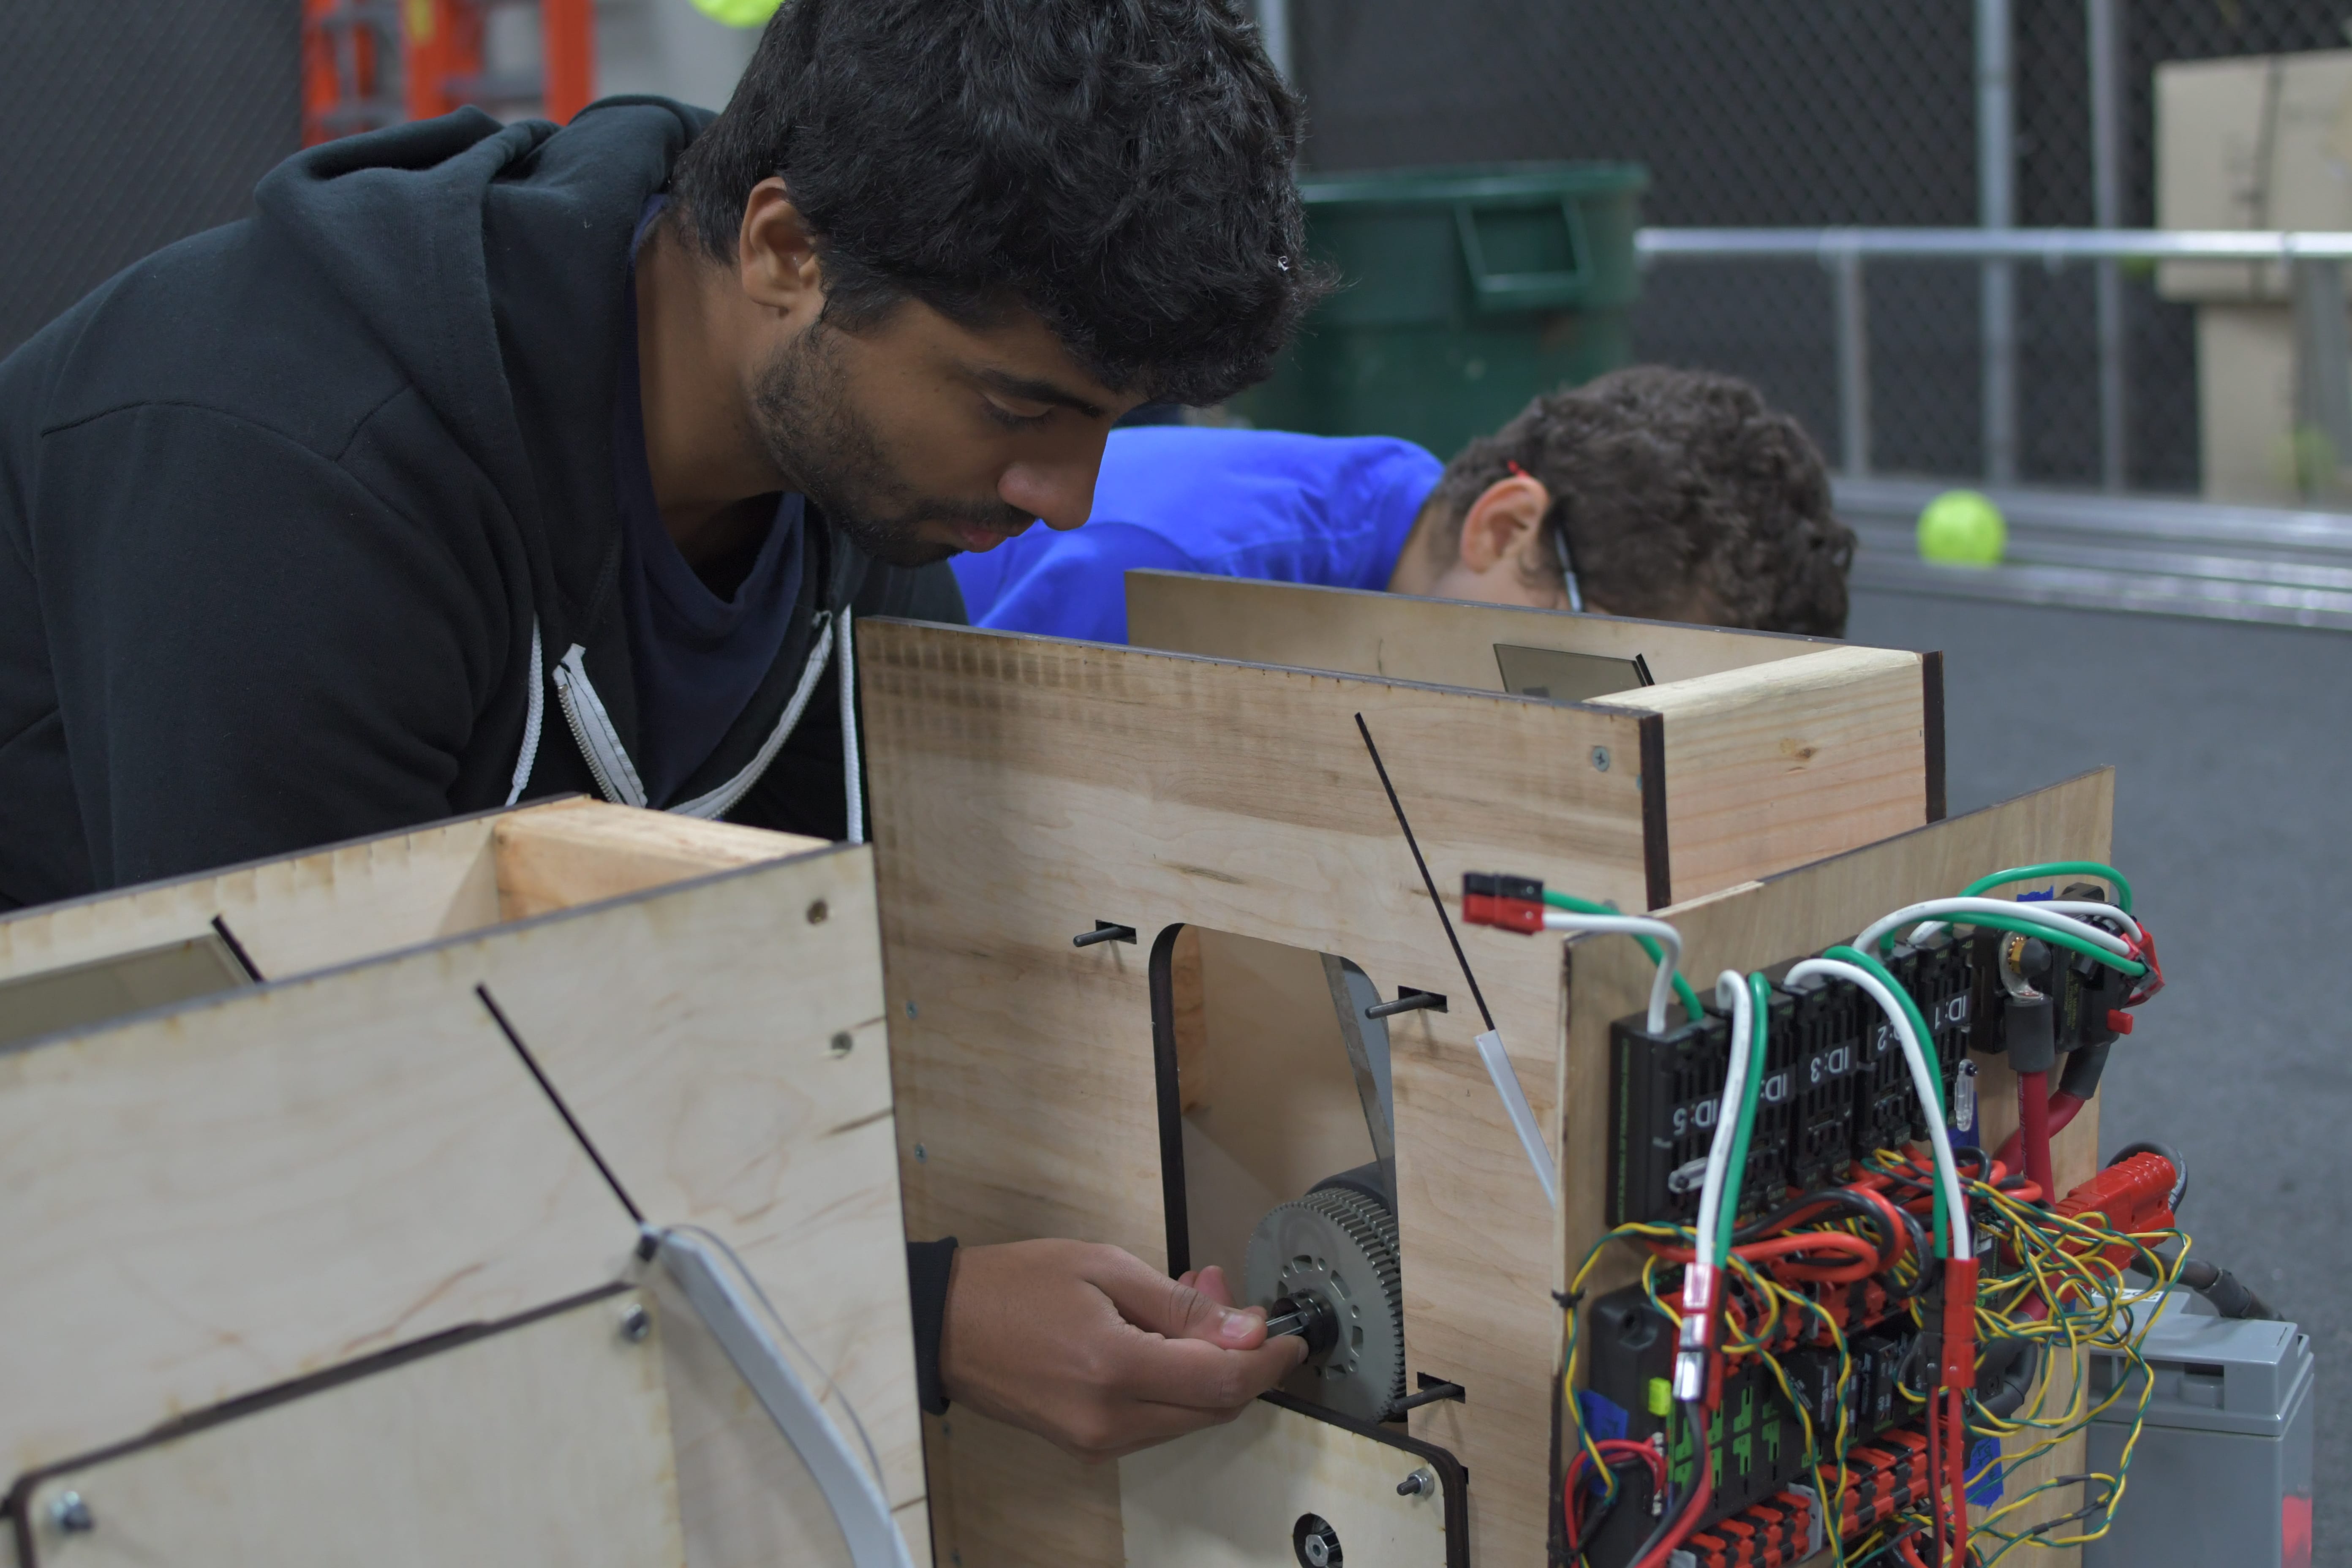
Today, we assembled the drivetrain of the robot including the gearboxes and chain. We finished the drivebase wiring for one robot and had it driving on the field for the first time! We also built and mounted a lasercut delrin battery box. We are waiting on a few last CAD details and a few parts to finish the drivebases of all three robots.
CAD
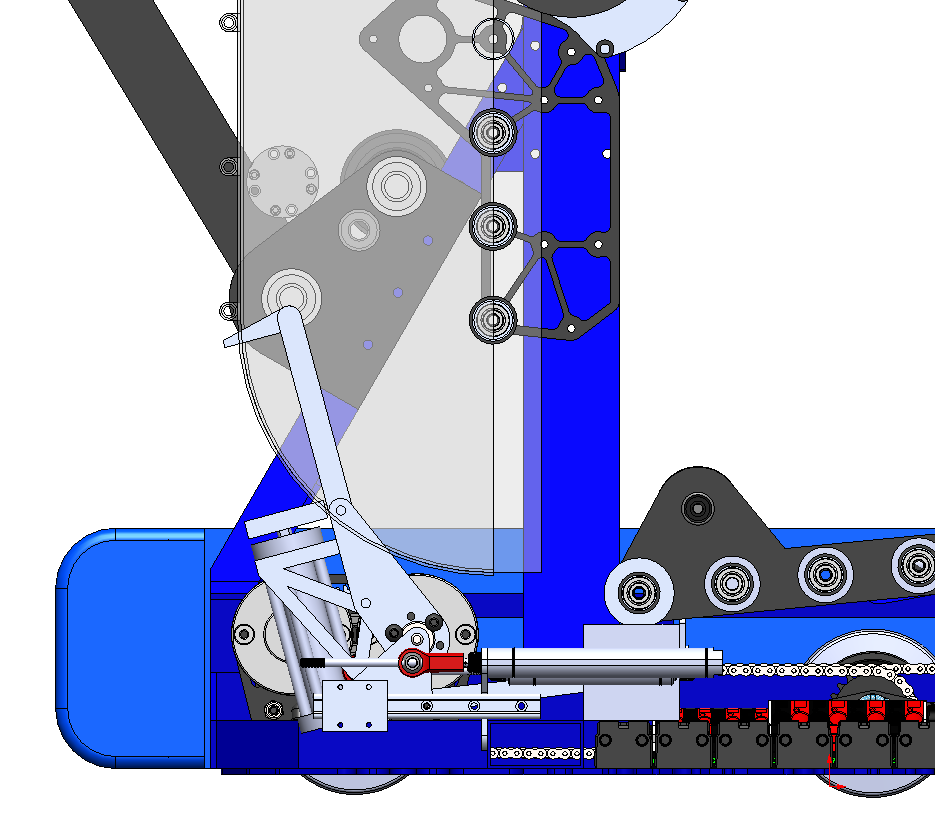
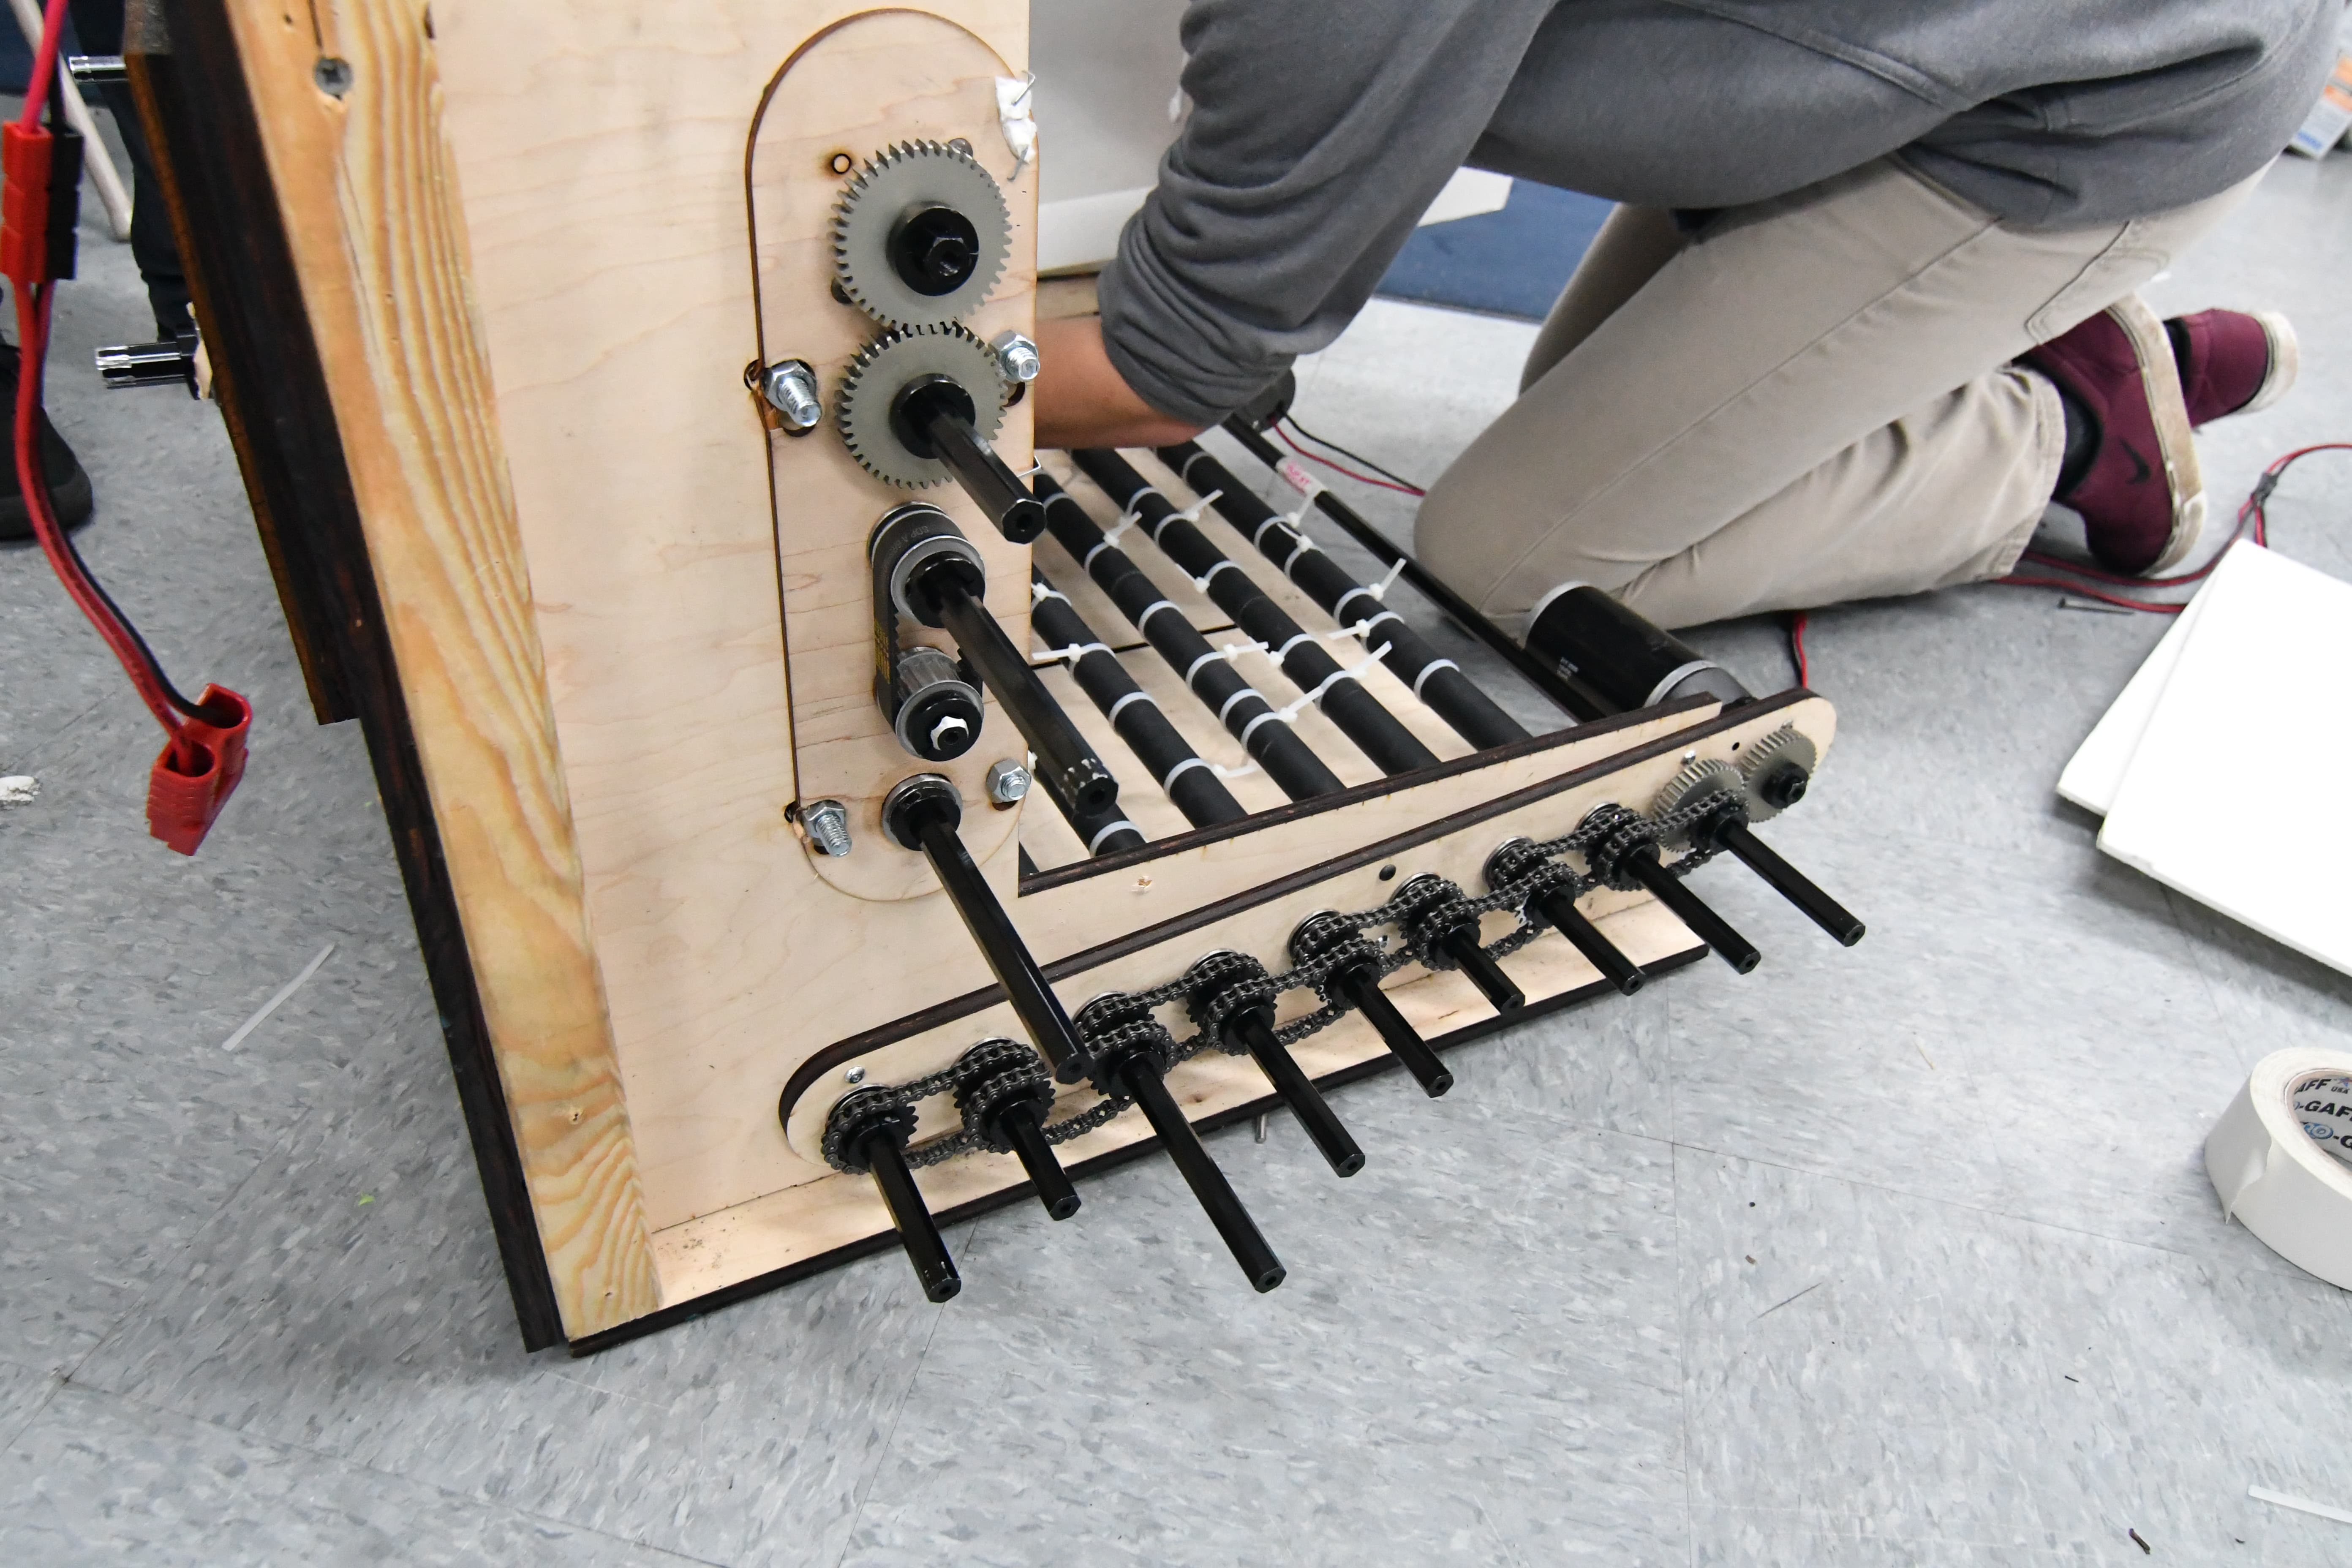
Today, we worked on the CAD of the hopper conveyor assembly. We are using 10 0.875" OD rollers with a center to center distance of 49.5mm. The conveyor is powered by two 775 pro motors with a 3:1 reduction. It will pivot below the intake pivot along a 0.625" OD shaft before/after the match to change batteries and service electronics. The current plan is to have it latch into place with a pin that goes between the side plate of the hopper conveyor and a .25" plate attached to the inside of the shooter uprights.
Programming
Today, we calibrated all 6 PixyCams and outputted all constants to a java file. We tested this on the roboRIO and it worked really well. We changed the lens of some of the cameras to a InfraRed (IR) lens with a narrower field of view with less distortion, which is better suited for the boiler vision detection. We are working on a distance model that based on the image finds the distance to the object is that image, using the pinhole camera model.. Unfortunately, our calculations are very noisy (fluctuate a lot) and are smaller by an order of magnitude. We have yet to refine our code and calculations.
We also tested out the autonomous routine path code, but the NavX board was running the wrong firmware and didn’t work with our code. We will troubleshoot this issue at the next build.
Today we solved the problems of the previous designs by removing the polycord and replacing it with chain. While disassembling the prototype, we found another link of the polycord which melted onto the delrin hub, so in the future we’ll definitely avoid using polycord in this type of situation. The chain increased efficiency so much, that we actually ran into problems with our feeder roller. As a result, we found that it needed a second CIM to drive it efficiently without burning out. After testing it, we decided to iterate on the zipper wheels themselves. Changing from an active to passive solution, we changed one side to metal wheels with little traction. Specifically, our intake wheels from 2015, without any polyurethane. On the other side, we added a second mounting hole and added two chain run rollers. We found that this worked well,and we need to continue to iterate and finalize the hopper design.
Intake
Today for the intake we worked on the side plates and made the geometry match that of the currently-functional prototype. We tried to make them look good and then we pocketed them.
We chose a piston and have a preliminary extra plate that mounts via small brackets to the 3/16" bolts in the drivebase bumper-support tubes. We had to change the motor mount plates so the standoffs would avoid hitting the many paths of belts.
We still need to finalize the packaging of the intake into the overall superstructure and integrate it with the hopper and feeder.
We also need to figure out how to get the polycarbonate ramp to deploy because currently it doesn't fit within the starting configuration when the intake is raised.
Programming
Computer Vision
Today we began work on modifying the Android vision tracking app, used in last year’s challenge to aim at the goal, for the boiler target. The underlying thresholding code, which isolates the illuminated (green) retroreflective tape from the rest of the image, will remain the same, but the processing code will need to be changed.
We use OpenCV, the de facto open-source computer vision library. We began with a thresholded picture of the goal that shows only the retroreflective tape on the target. Then, we created a contour, or an outline of the “area of interest.” We initially experimented with this using GRIP, an application that allows one to interact with OpenCV using easy drag-and-drop blocks, but we quickly realized GRIP’s limitations. We then moved to Python for prototyping purposes, and we were able to draw an outline of the contours.
Finally, we also discussed using the pinhole camera model to determine the robot’s distance from from the goal, which determines how fast/hard we launch the ball (Wikipedia Article). Given the actual object height (in inches/cm), the camera’s focal distance (in pixels), and the height of the object in the camera (in pixels), we’re able to calculate the distance from the object. The exact means by which we implement this are to be determined.
If you’d like to help with computer vision, please set up OpenCV for Python (64 bit!) using these instructions.
Thresholded image:
Thresholded, with contours highlighted in green (by the OpenCV program):
Autonomous Code
Today we worked on cleaning up and documenting the autonomous pathing code. As part of the cleanup process, we reworked the pathing code's coordinate system. The old coordinate system was a left handed system, with positive x values to the right and positive y values moving downwards. This placed the origin at the top left hand corner of the field. However, angles still moved counterclockwise, making the whole system convoluted and confusing. The new coordinate system we implemented today is much more straightforward. Positive x is right and positive y is up, while angles increase as they move counterclockwise. This new system makes trigonometric functions far easier to use, as with the old one we would always have to invert any y values.
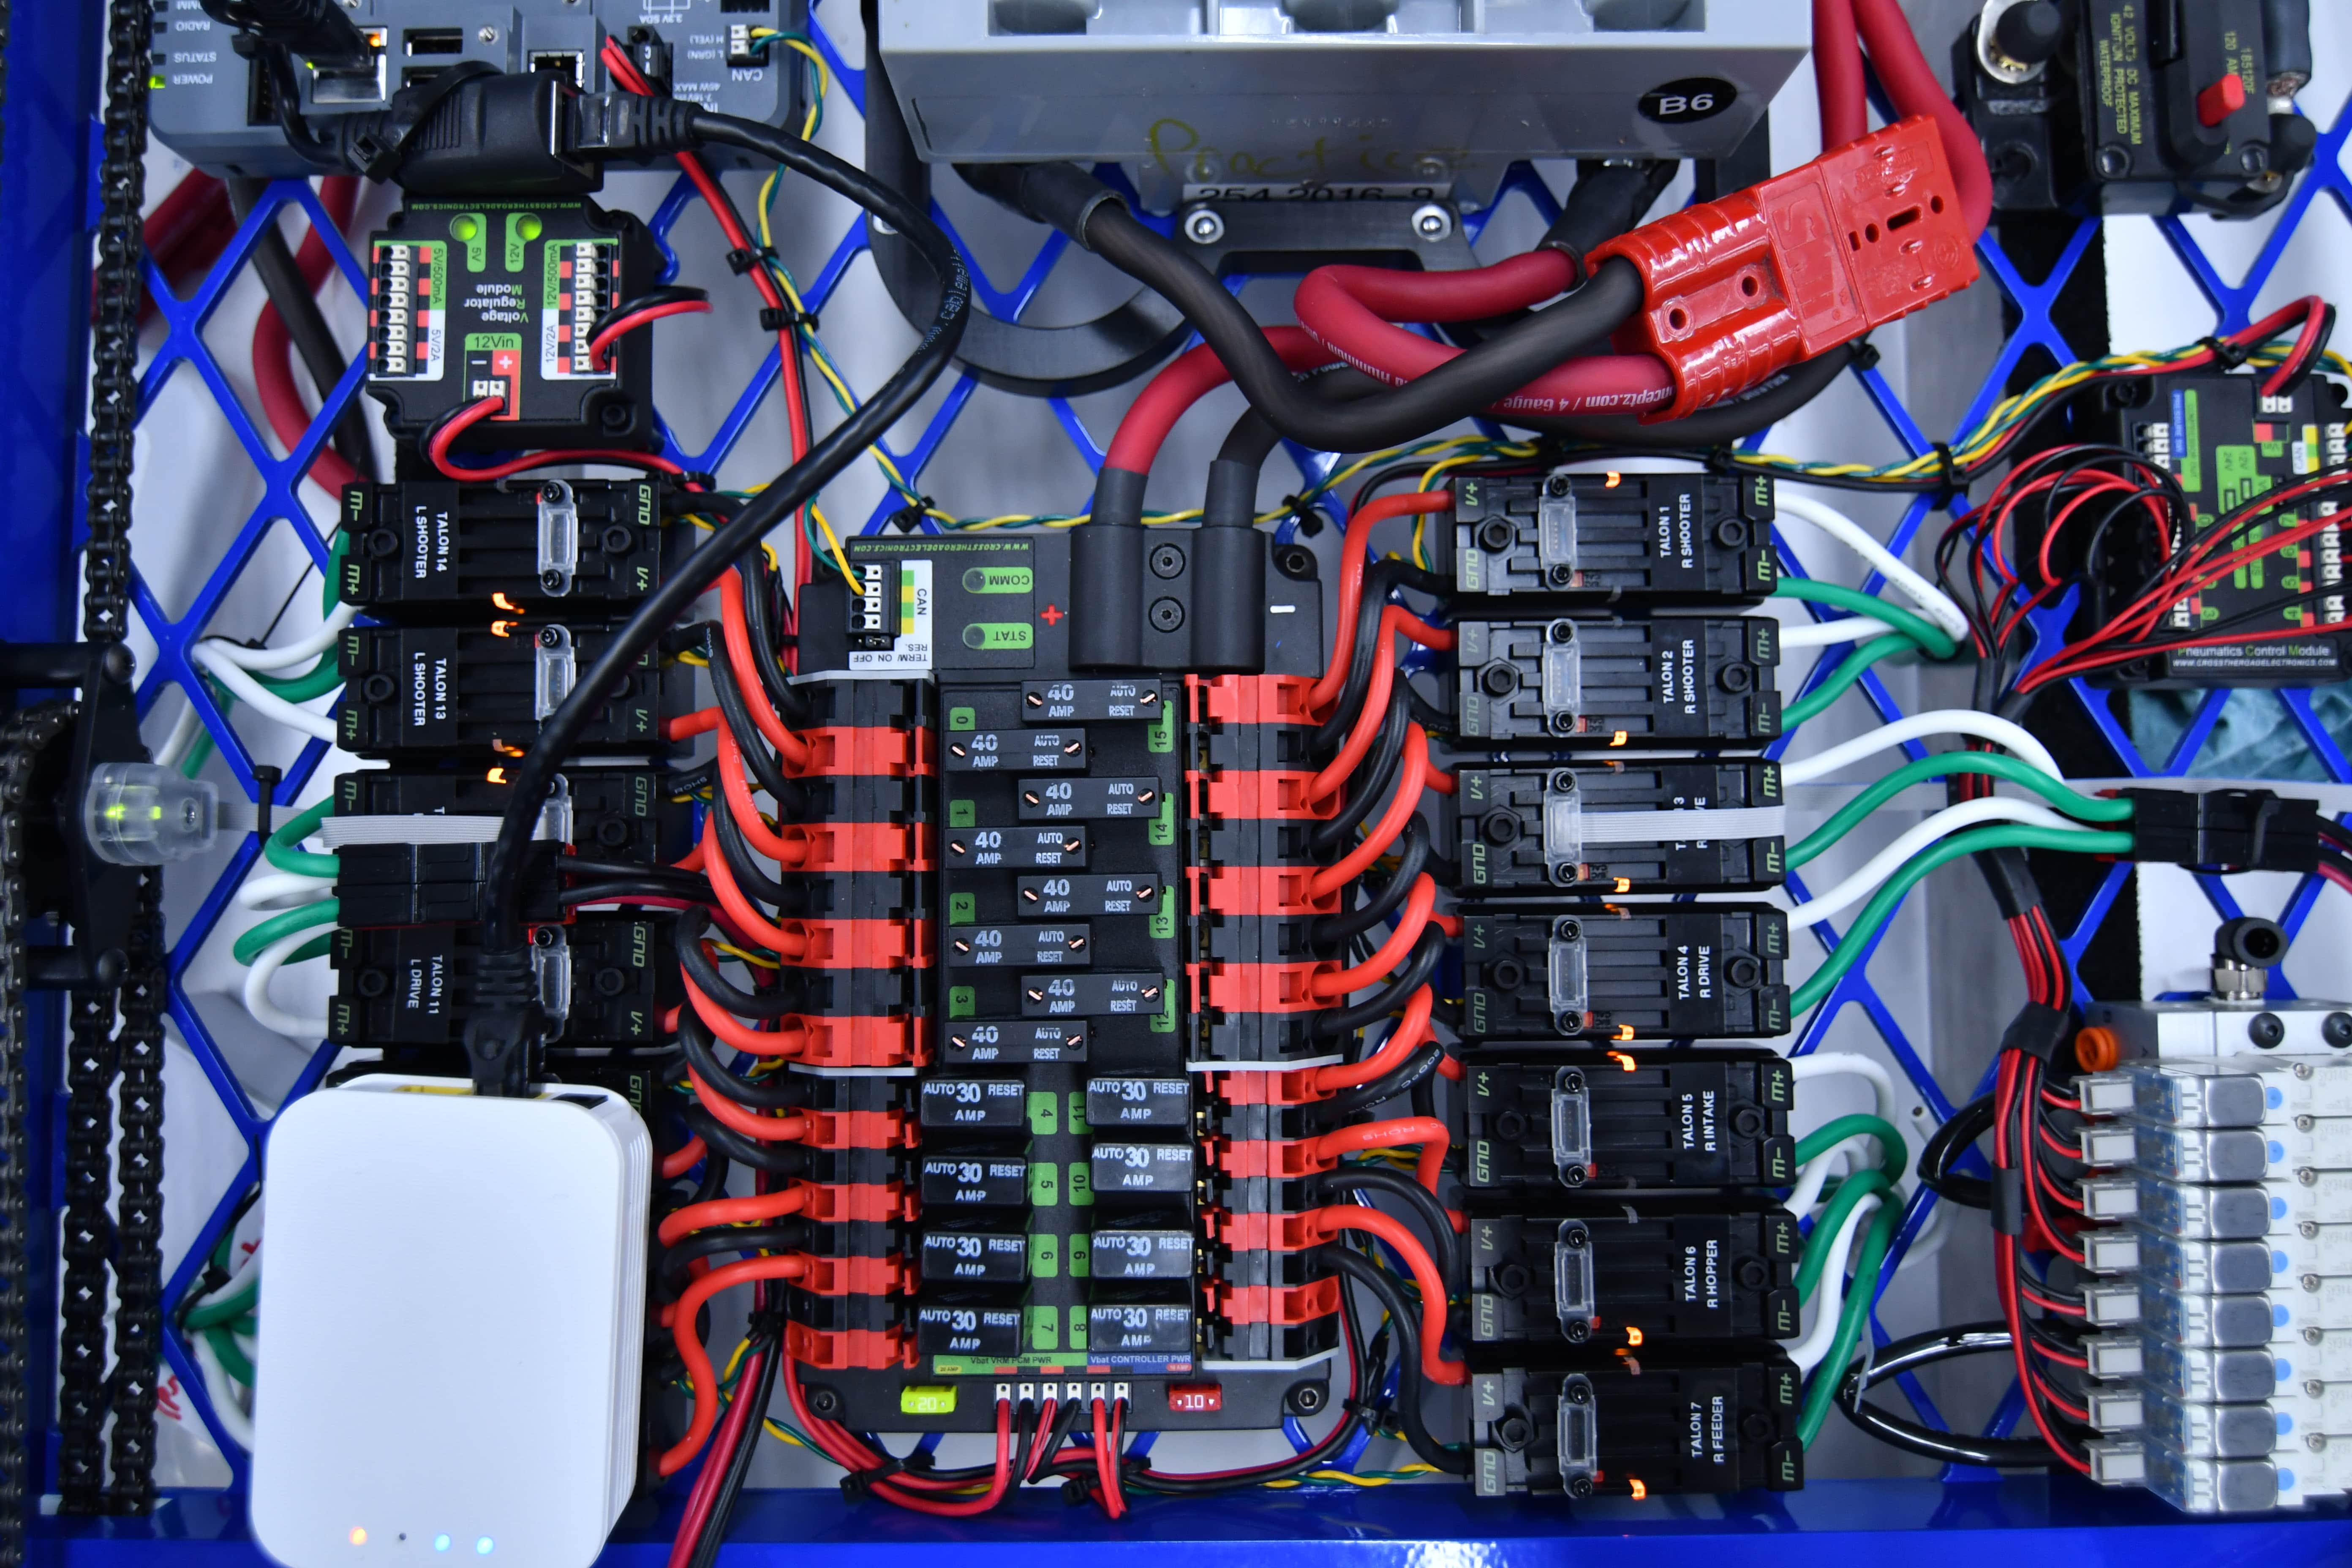
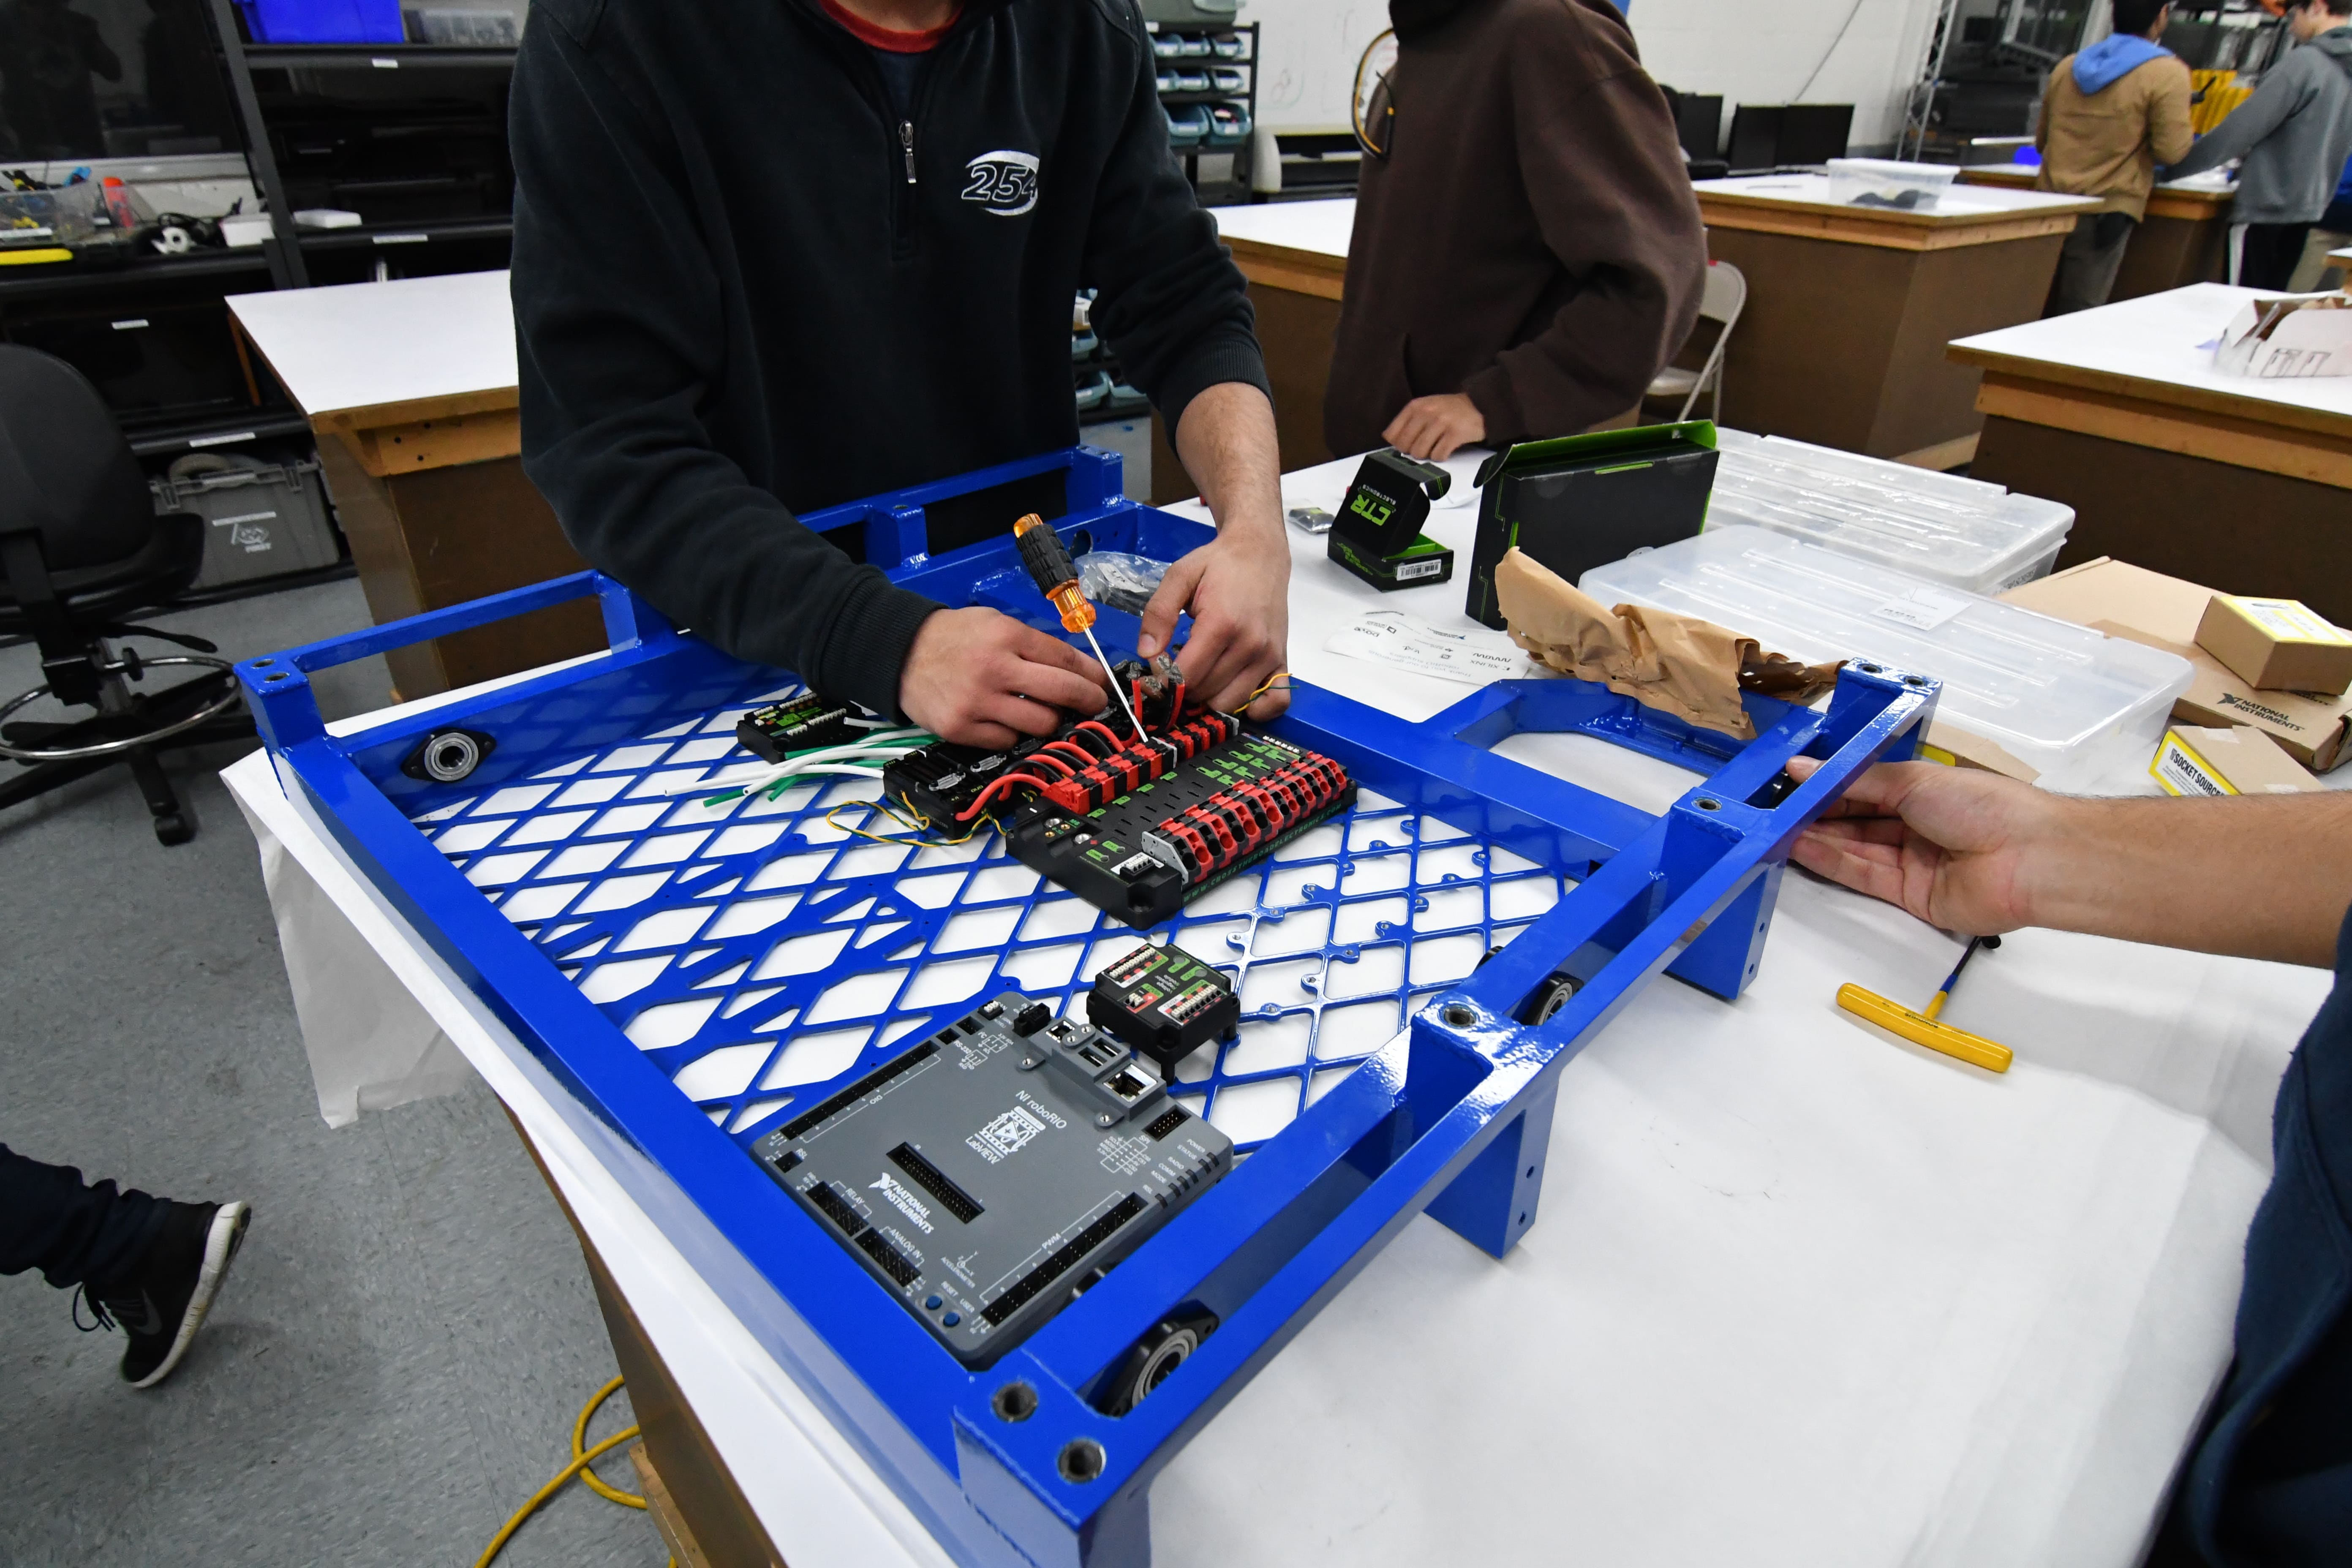
Today we began wiring the drivebases. We have all of the Talon SRXs done and we have installed most of the components. We have a lot more work to do, and we will be working hard to get it done as soon as possible.
Zipper Hopper
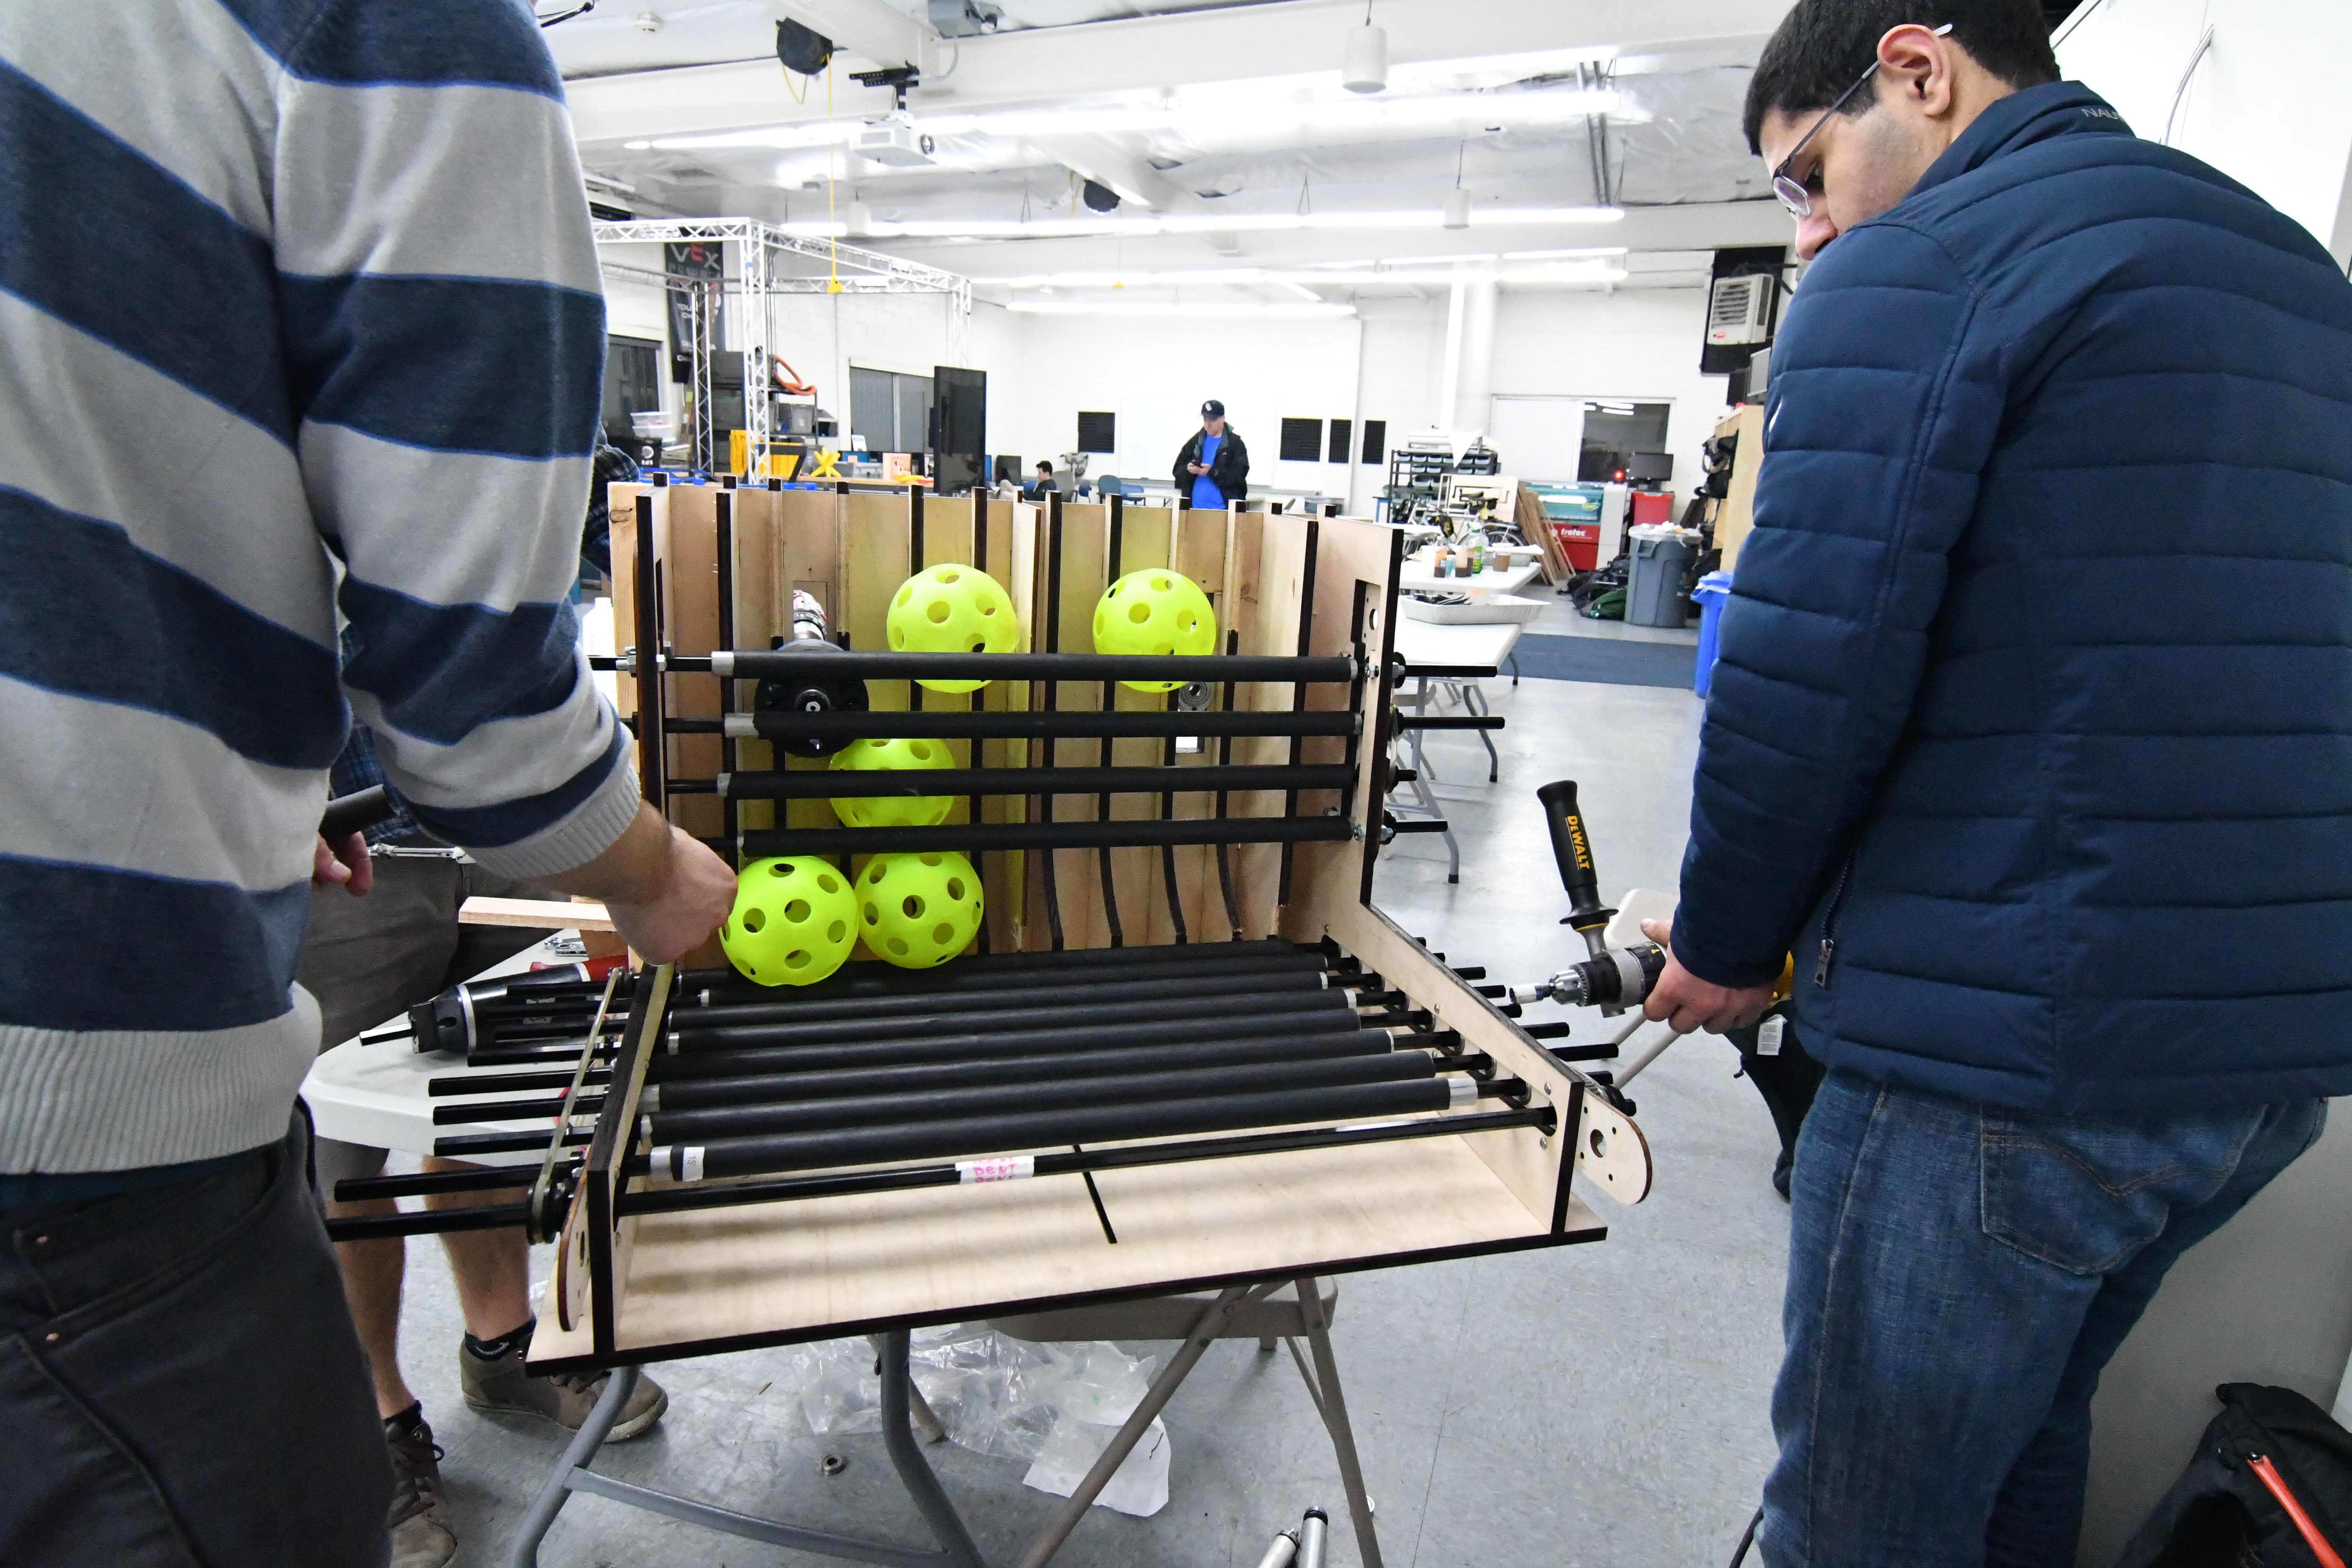
We worked on developing a new zipper hopper. We disassembled the old one, and built a new one with rollers. We built the rollers using aluminum tubes with a 7/8" OD and surgical tubing around them. The hubs are VEX Pro 1/2" hex spacers malleted into the shafts. We beveled the shafts so that the 'plugs' would be as colinear as possible when stuffed into the shafts. We also ran the floor and feeder with polycord rollers. We quickly discovered that after running it for a short period of time, the polycord would break or just slip. We also found that at high RPMs, the amount of friction caused so much heat that the polycord pulleys we were using melted. We then had to transition to belts and pulleys, which fixed some of our problems. After our testing, we found that the rollers would "hot-dog" and sometimes not feed the balls. While it was better than the polycord, it still was not good.
Intake
Today the intake was remade and retested to finalize geometry before it's fabricated out of metal, and we found that the design maintained a good amount of compression on the balls throughout. We did not get a chance to fully test it yet due to some mistakes in the prototype that led to it being remade once more, but it is almost ready to go for thorough testing tomorrow.
Programming
Camera Calibration
Today, we calibrated all six Pixy cameras. We altered our code, so depending on which camera we are using, the code reads the camera matrix specific to that number Pixy. We saved all of these in .txt files in a new folder called resources. The next step is to add this folder to the JAR file (Java ARchive) so that it is deployed onto the robot. Currently, the fps (frames per seconds) in which the calibration program is running at is really low. We sped it up, but that crashed the program, and the calibration wasn’t as good, so we changed it back. We also had some trouble with Pixy #4. There was a black splotch in the top left corner of the image. After unscrewing the lens, we found a speck of dust that we blew away using compressed air from the pneumatic hose. This fixed the camera. Under FRC-2017/camera-calibration/ there is a file titled README.md which contains instructions for calibrating the cameras.
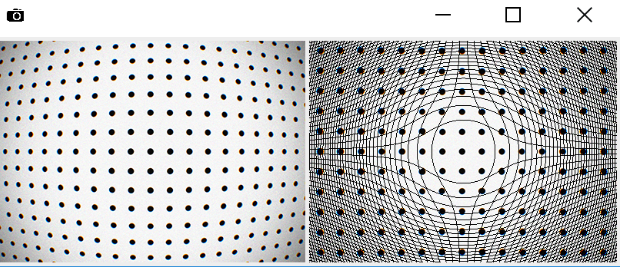
Here is a sample applet which shows how we take an image (shown on the left) and undistort it (shown on the right).
As you can see, the dot grid is significantly straighter in the right image..
Prototyping
We continued to adjust the Talon SRX’s controller to see if we could the PID tuned. Results were not yet conclusive, and there is still more to test and evaluate.
A lot of things got done with prototyping today. We were able to assess the merits of topspin vs backspin, and we determined that the backspin shooter was better for the following reasons after extensive testing:
Balls do not jump out of the boiler like the balls with topspin do
The angle did not have to be adjusted as much as the topspin one did when we varied the distance
Easier packaging
We shot both the topspin and backspin prototypes at the same trajectory and distance to minimize variables, and we tested at three different distances. We did notice that the topspin shooter had a greater allowable RPM range which makes it easier for software control, but the difference was negligible when faced with all of the cons that come with the topspin shooter.
Backspin Flywheel Shooter
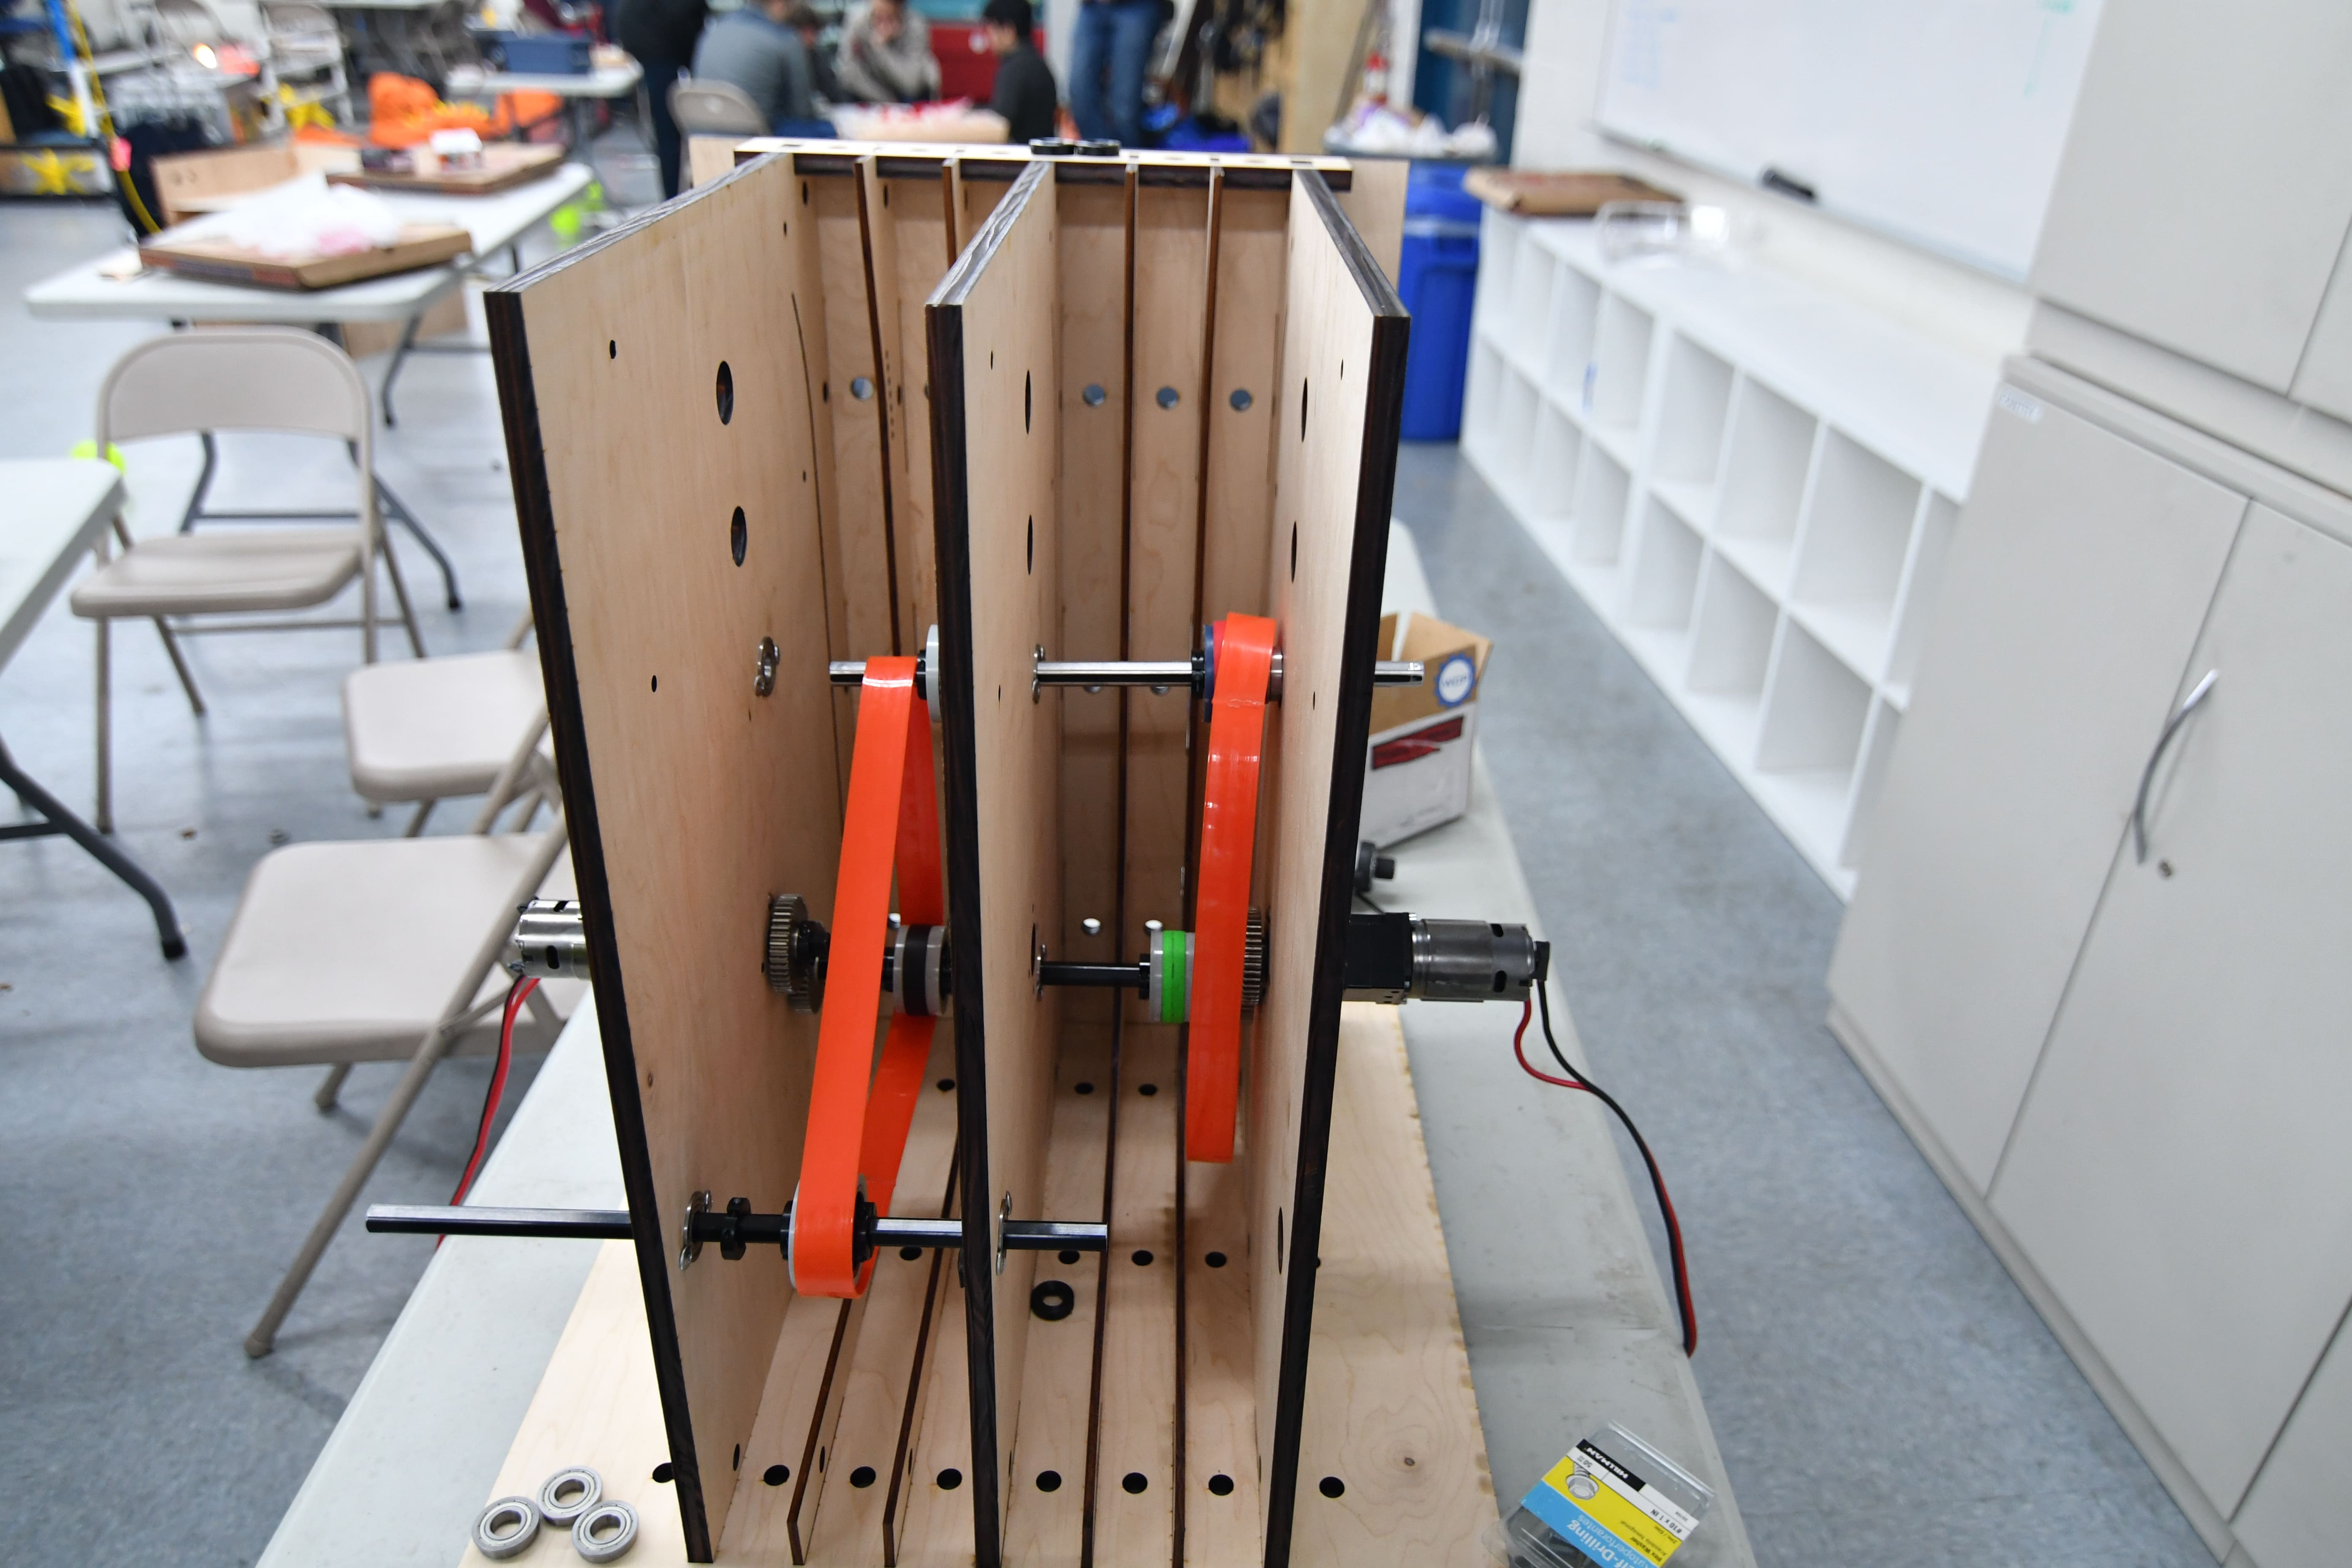
After we decided on using a backspin flywheel, we began prototyping a new version that has two channels side by side with a more robust gearbox. This setup shoot allow us to experiment with different variables to determine the best control loop to fire two rapid streams side by side and avoid mid-air collisions. We wanted to remove the inefficiency of the VersaPlanetary gearboxes from our prototypes, so we designed a belted gearbox. We wanted to replicate the 3:1 gearbox which we used for our prototypes, but due to part limitations, could only build an 8: 3 design. We decided that this was close enough to our previous designs and CNCed the parts. We assembled the gearboxes, implemented a polybelt feeder, and added an encoder onto the shooter shaft. After running the gearboxes, we found them to be slightly constrained, but they work and should better replicate our actual shooter. They currently have 4 775 Pros, but we can easily add or remove more motors (max 6). As soon as we get the programming sorted out, we should be able to tune and test this flywheel.
Testing:
Hopper Conveyor Belt
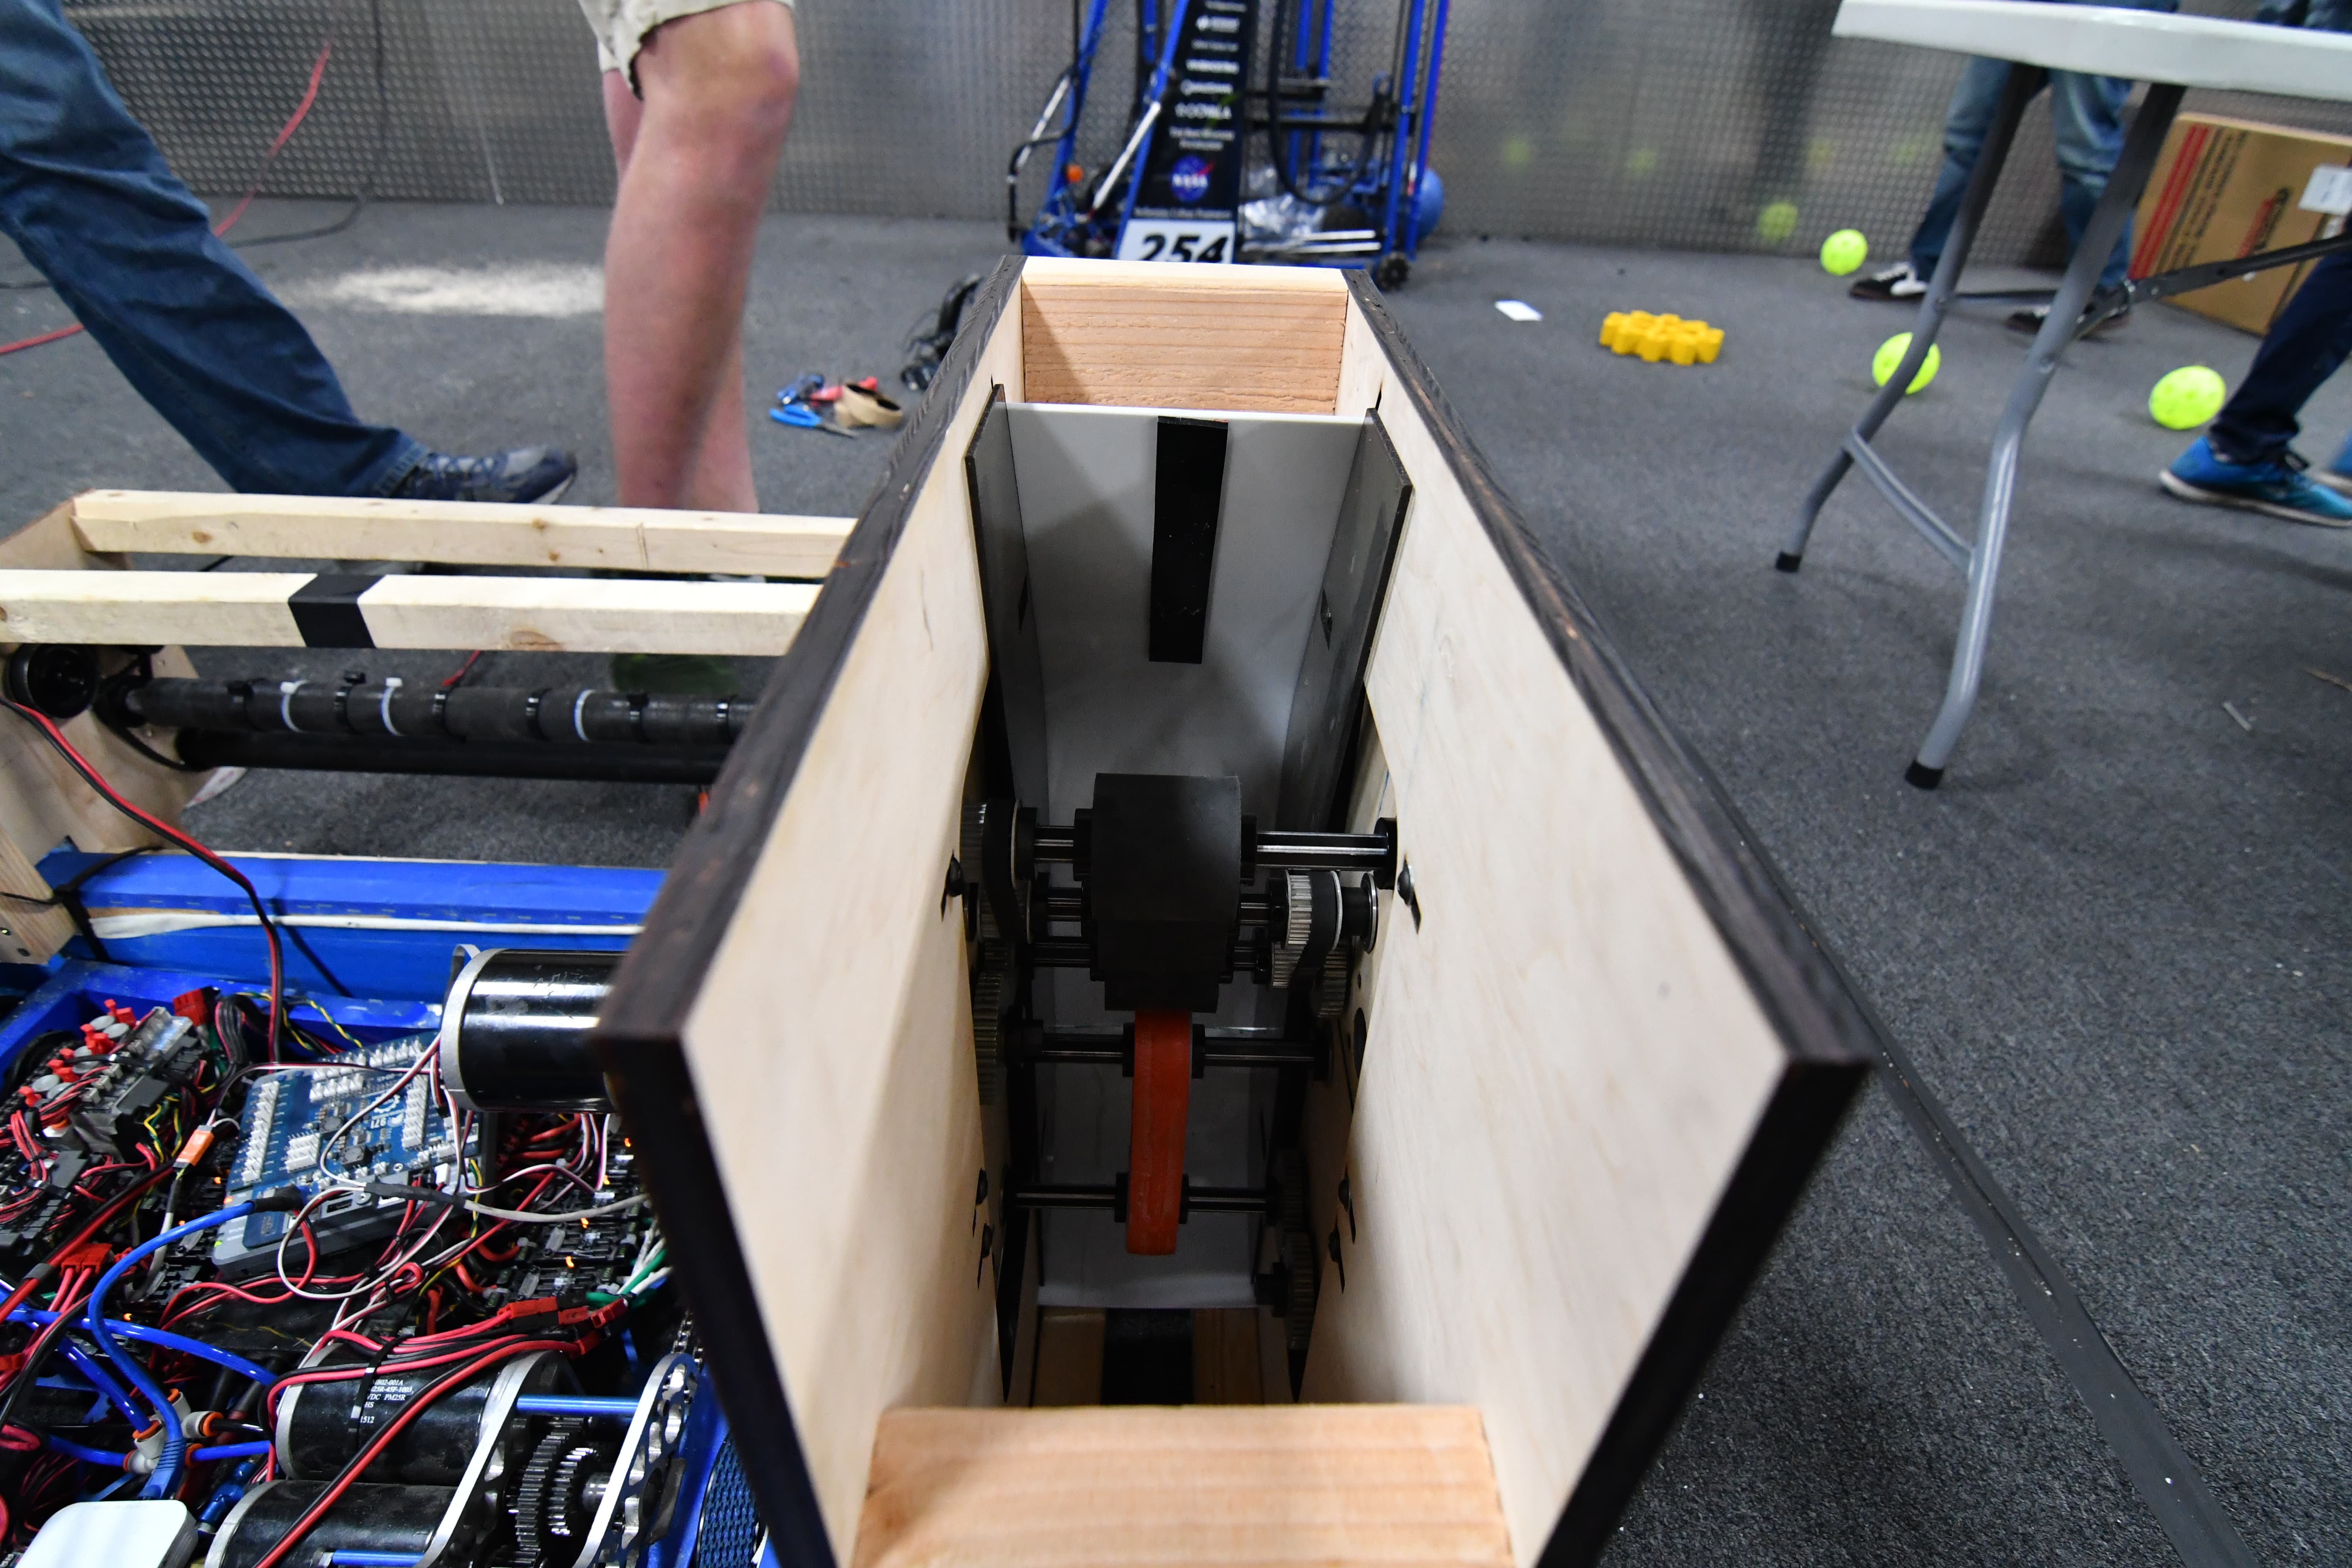
Today, we also worked on the hopper conveyor assembly. It is currently angled at 5 degrees and has a 3:1 reduction. Using polybelt, it feeds balls into the feeder leading up to the shooter. A funneling feature still has to be incorporated and the assembly itself may be changed depending on results from the hopper prototyping efforts.
Feeder
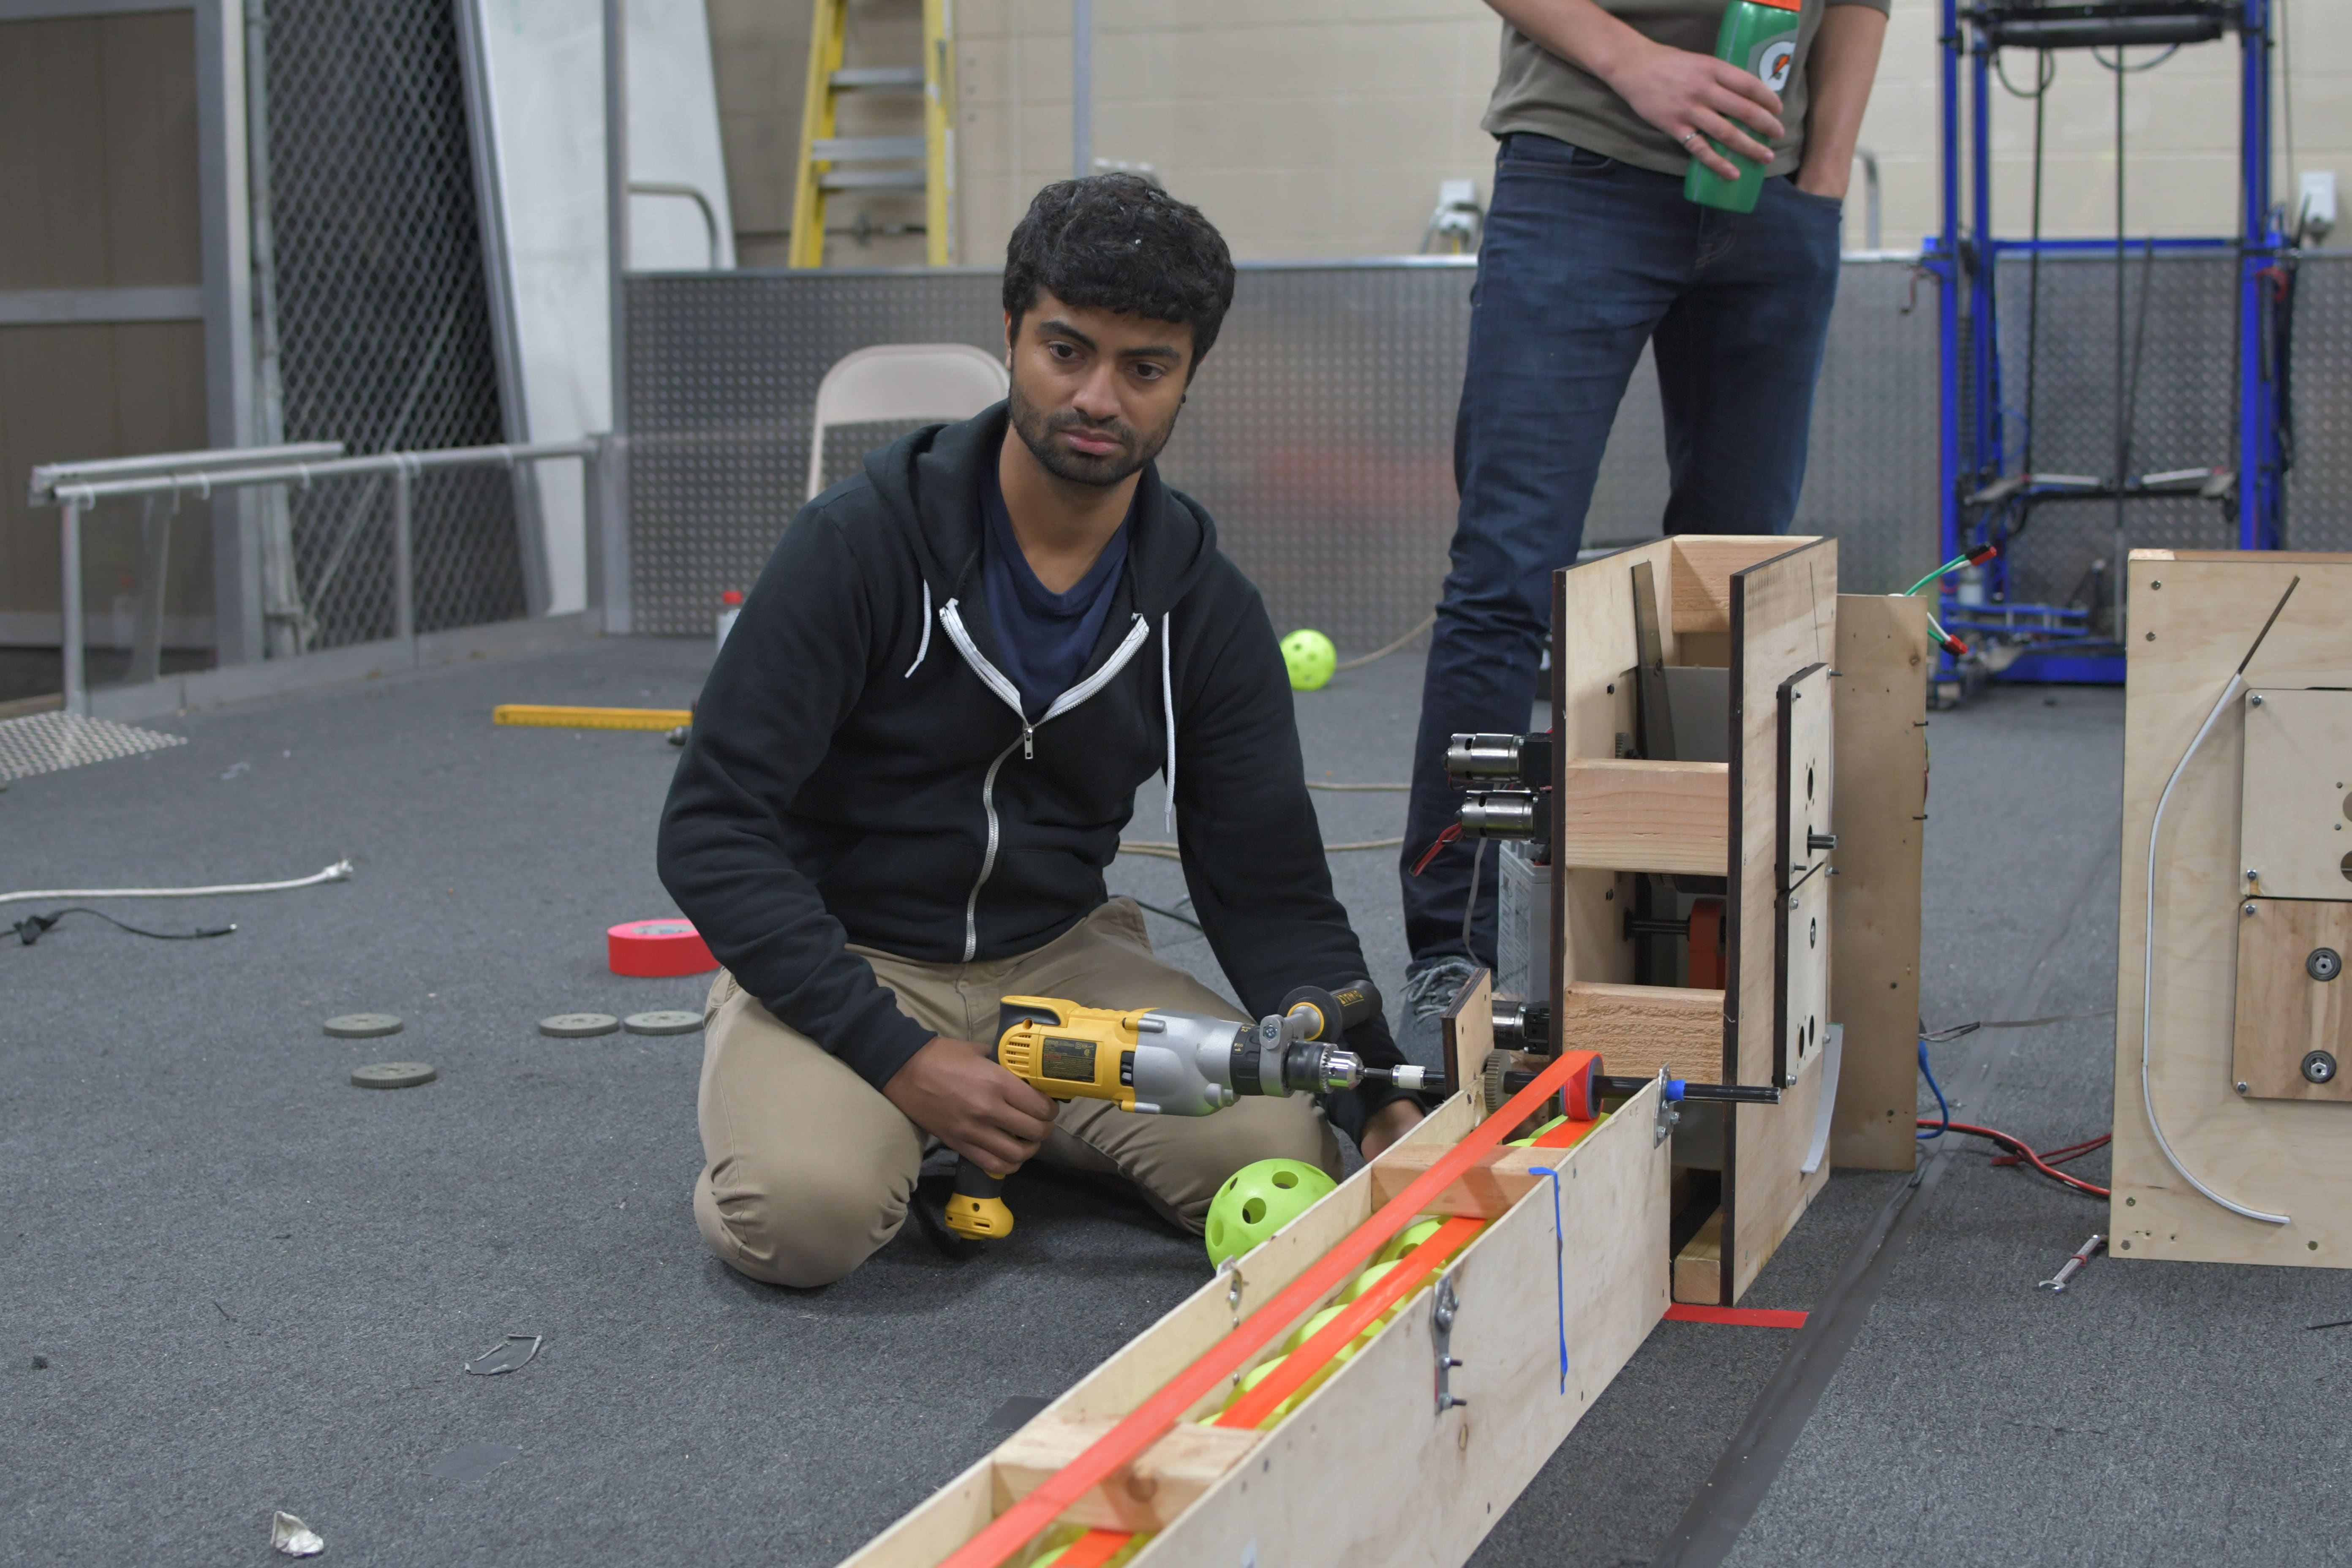
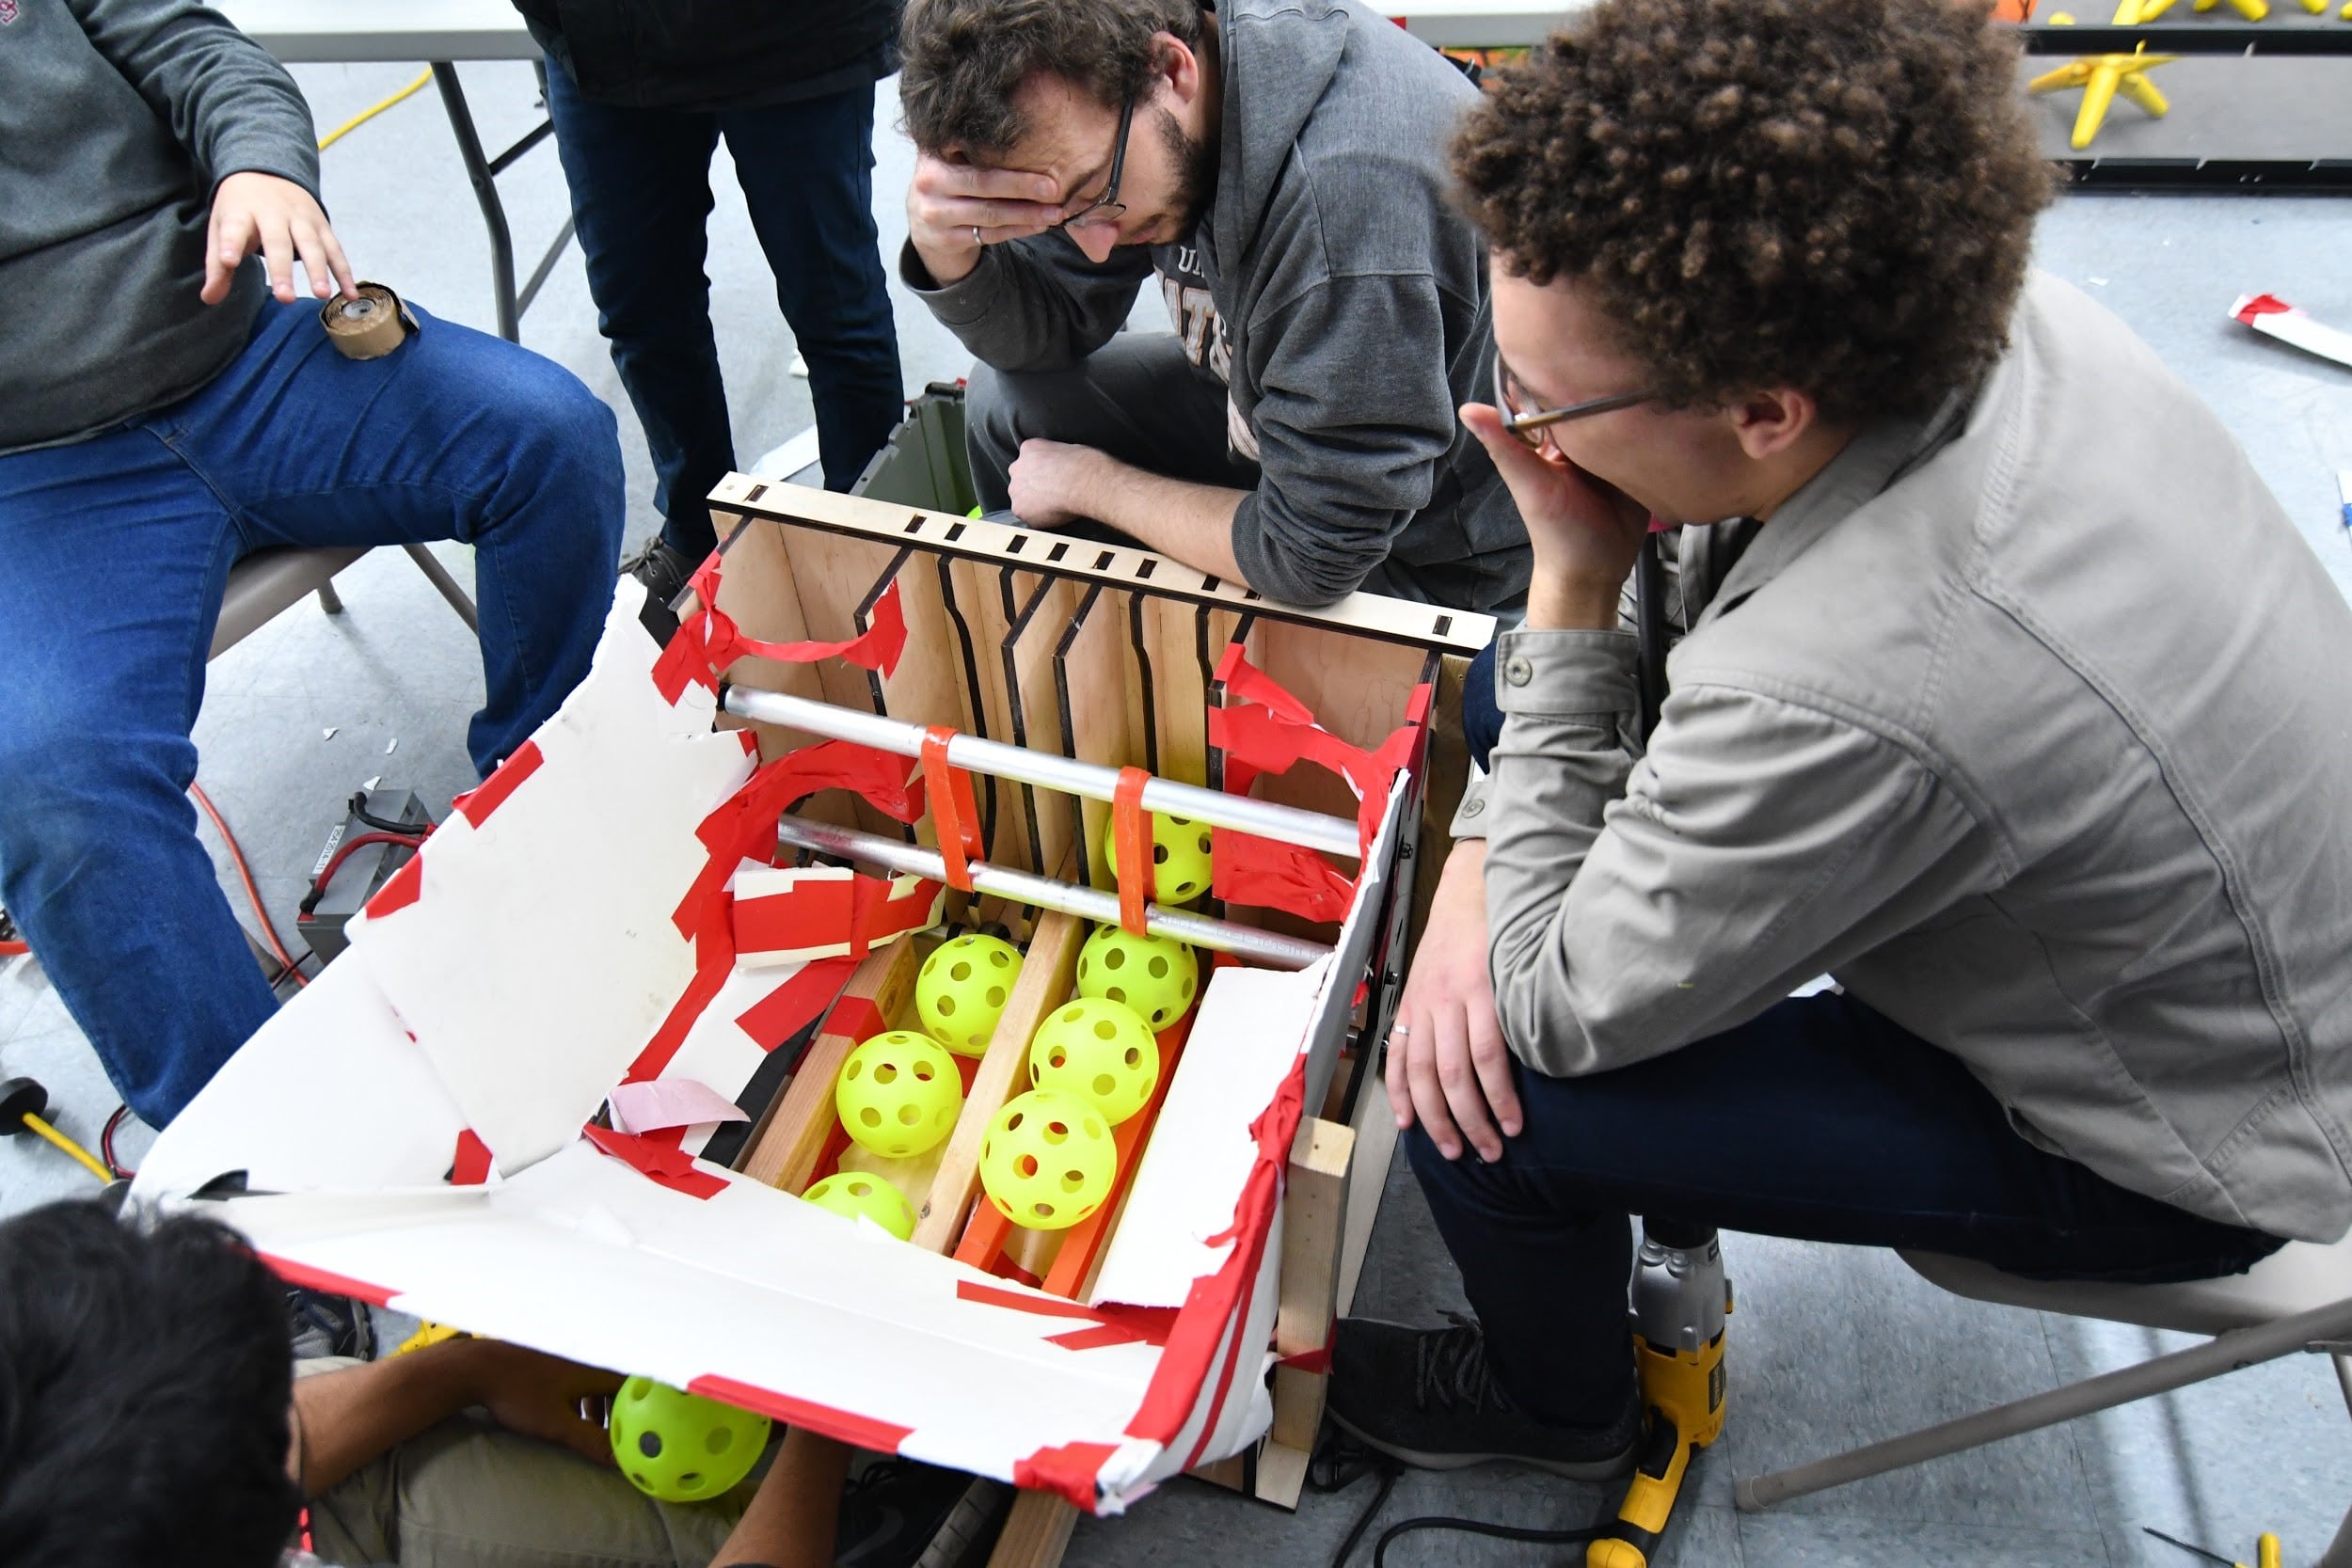
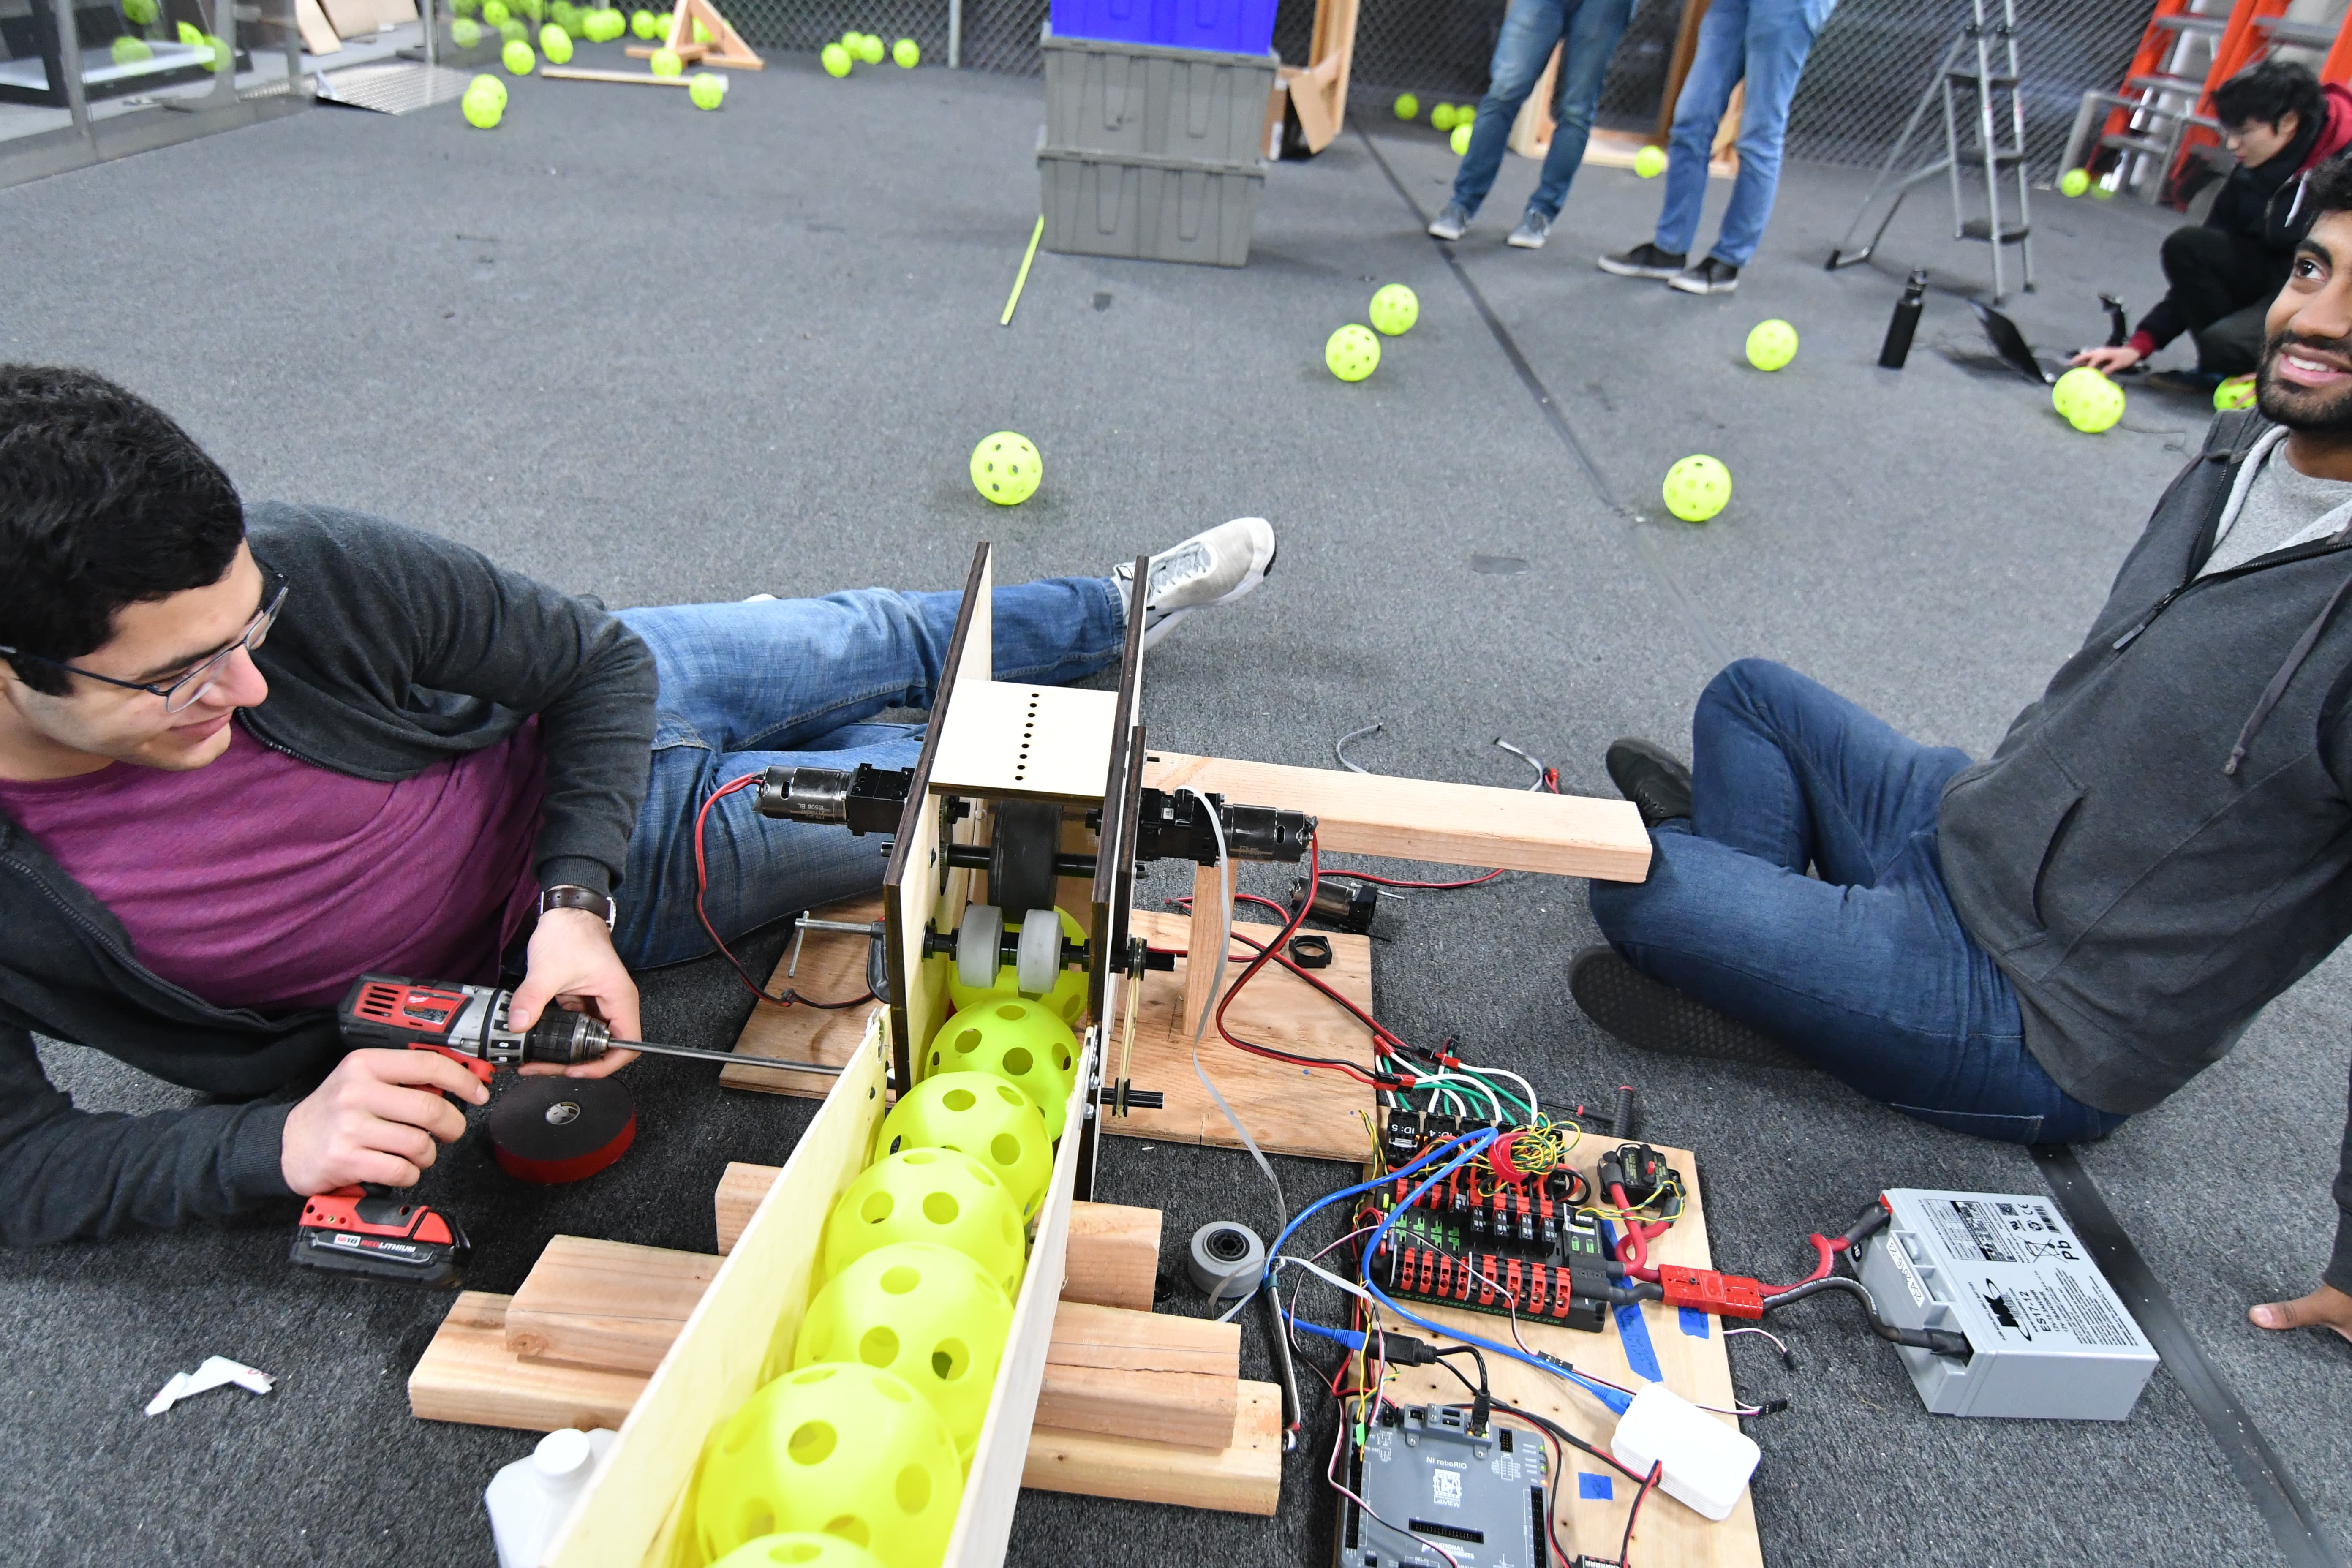
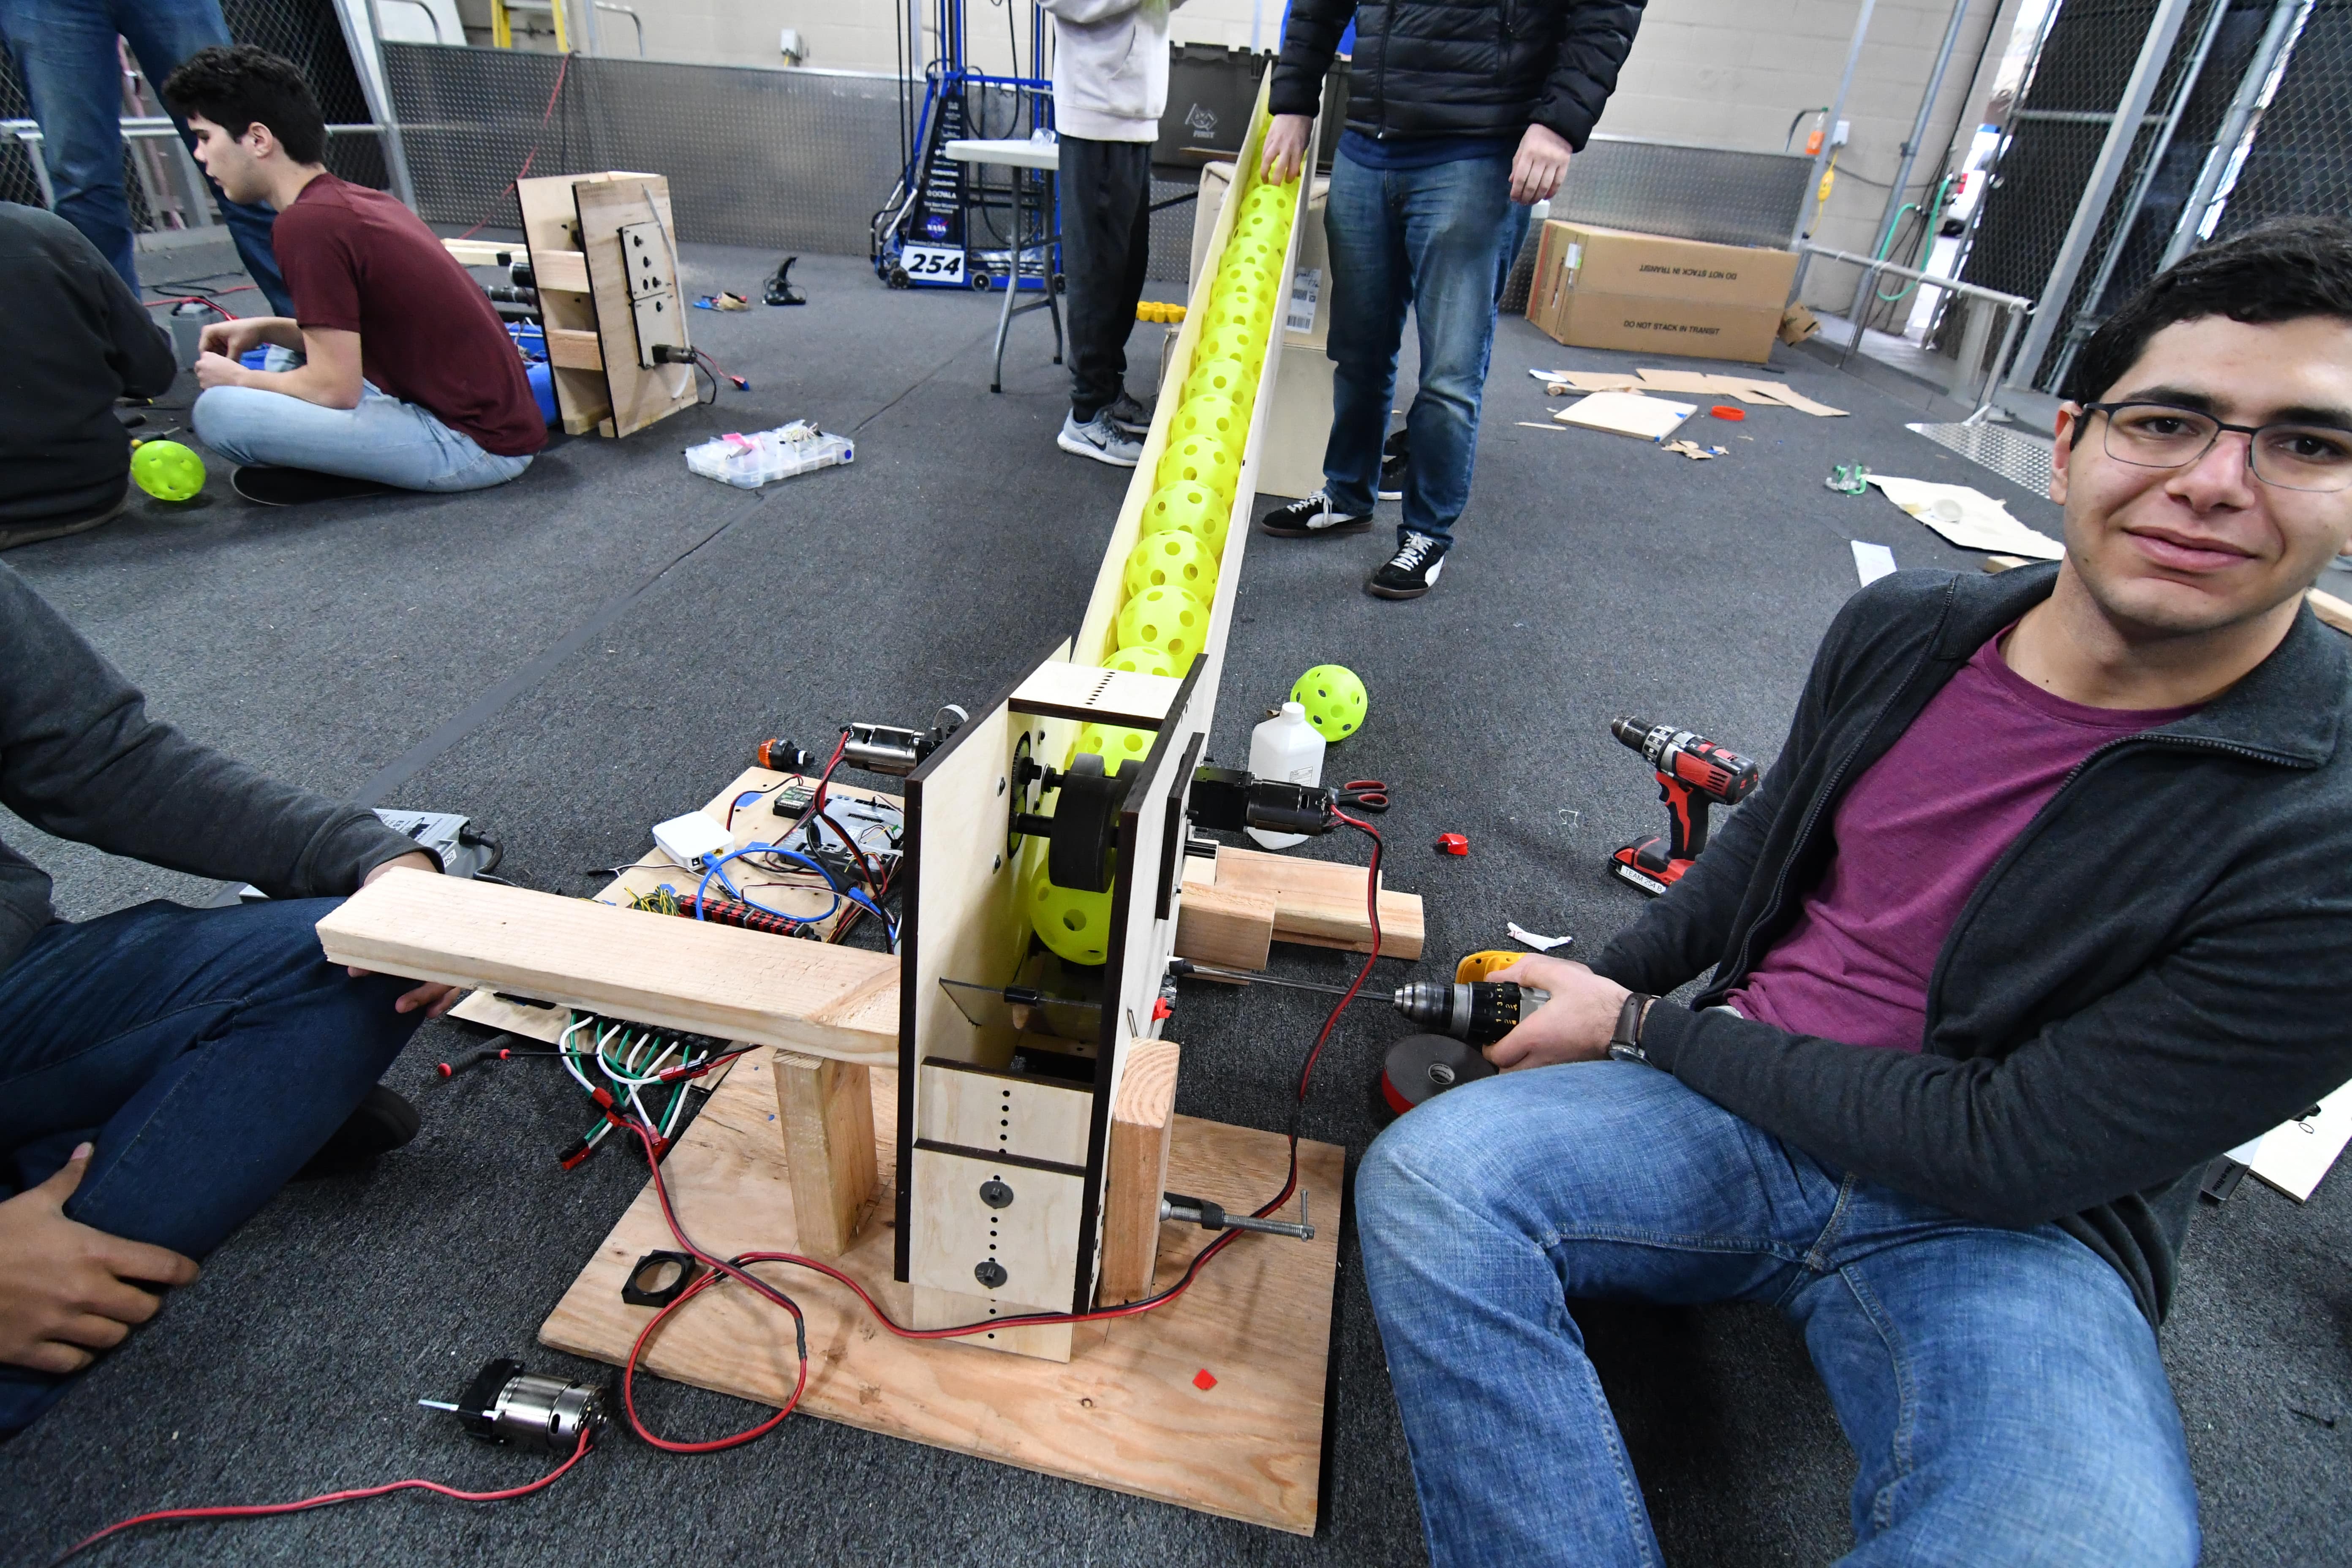
Today, we worked on the feeder. Because we were unable to get the previous iteration of the feeder to run smoothly with the output holes, we decided to reduce that number to two and make a few other small modifications to the general design. This new version was then designed and constructed, but we found that the improvement was not as significant as we originally imagined it would be. In fact, we still had problems with the motors burning out and we really struggled to get a lot of balls to run through the system. In order to solve this problem, we tried a couple of things. First, we tried adding zip ties to some parts of the roller, but this simply caused jamming. Second, we tried increasing the spacing between the two output holes as making them significantly more defined. This, unfortunately, did not help that much. Finally, we tried using a drill with some wheels on the end to agitate the balls, somewhat like a KitchenAid mixer. This helped a bit more, but we still reached the conclusion that it was simply a bandaid to a bigger problem.
Manufacturing
For these two builds, we manufactured all the parts for the drivebase and began assembly. Because of design changes, we manufactured all the parts for the bumper mounts on the manual mill. We also prepped the belly pan by countersinking the holes for the rivets and deburring it after getting it from the water jet.
Programming
Shooting Control
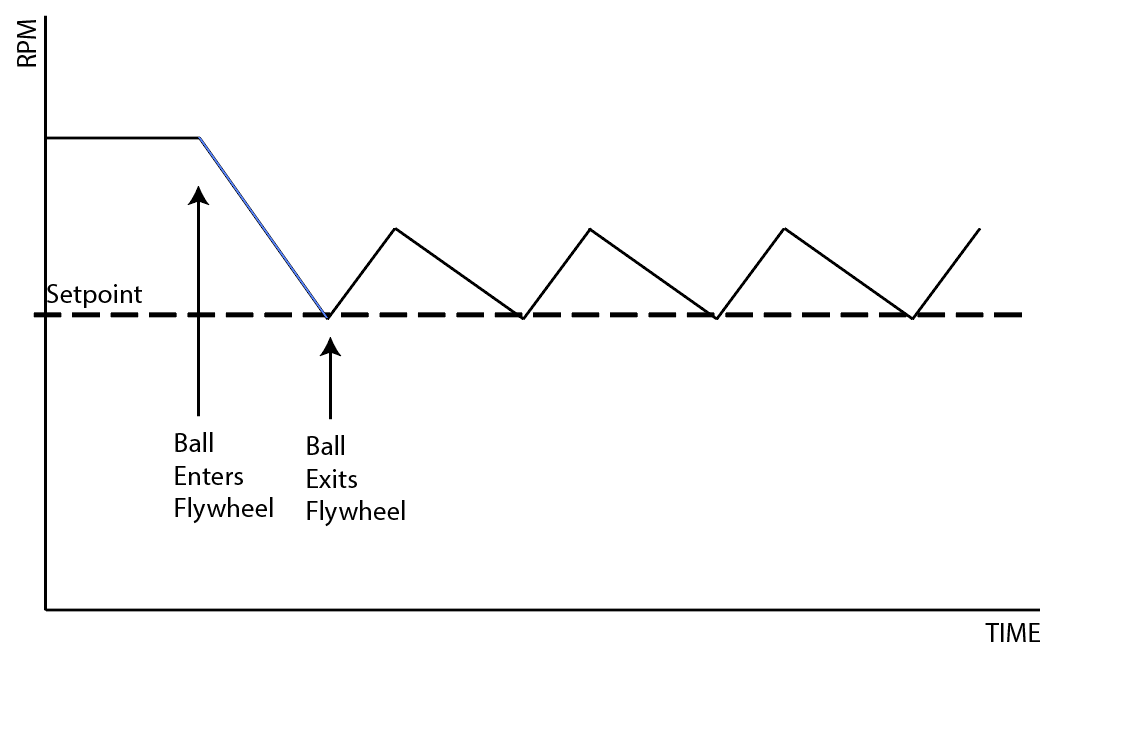
Today, we began to brainstorm better ways to control the flywheel, and we arrived at the following scheme (which we call the JRAD Controller):
Where dt is measured cycle time, kj and kLoadRatio are tuned/calculated, and kf is set to some constant like 8 (Volts)
This equation represents the initial version of the JRAD controller (named after Jared, who made the equation). This version is actually incorrect, and next build we will be adding an additional term to make it an integrating controller as opposed to a proportional + constant term controller. This new equation will be:
Where v[t] is the previous cycle’s output in volts, and where kf is multiplied by the setpoint so that it works at more than one speed
What this controller does it that it anticipates the drop in RPM during a stream of balls, and increases the RPM set point accordingly. This adjustment is the kLoadRatio, which is the key feature of this controller.
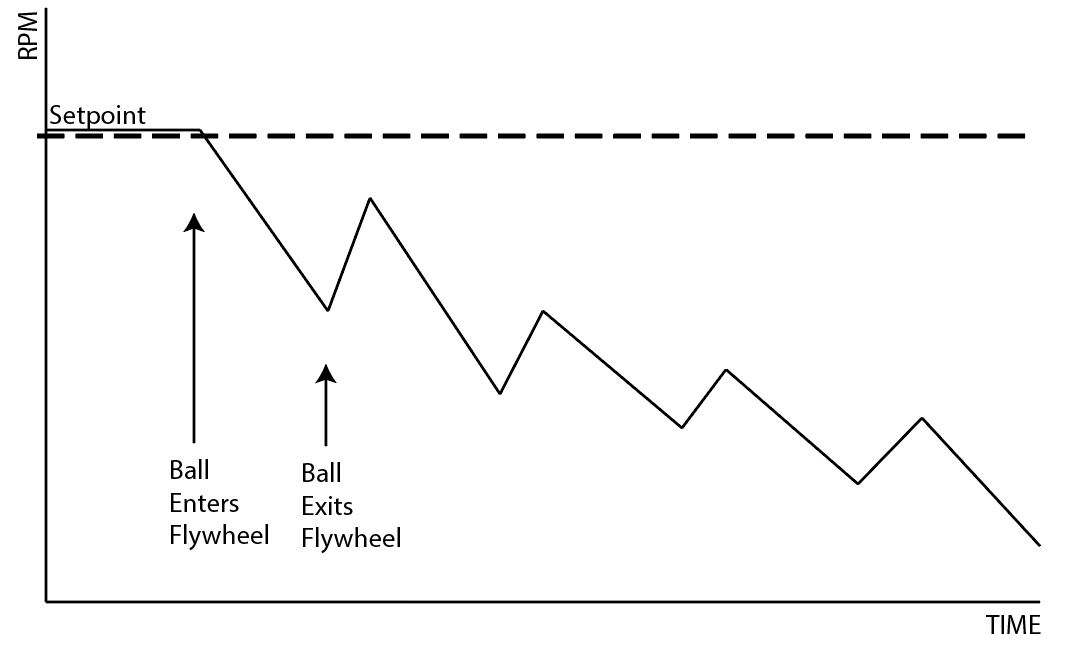
To tune the controller, you would start with kLoadRatio at 1, kj at some nonzero small number, and kf also at zero (kf allows the controller to reach the steady state faster, but is never necessary). Here is the initial scenario:
The difference between the dips when balls hit indicate that the controller is not tuned correctly. Each valley should be at the same height, even if it is below the steady state. KJ should be increased in the above scenario. If the valleys increase over time, then KJ should be decreased. Eventually the RPM vs Time chart should look like this:
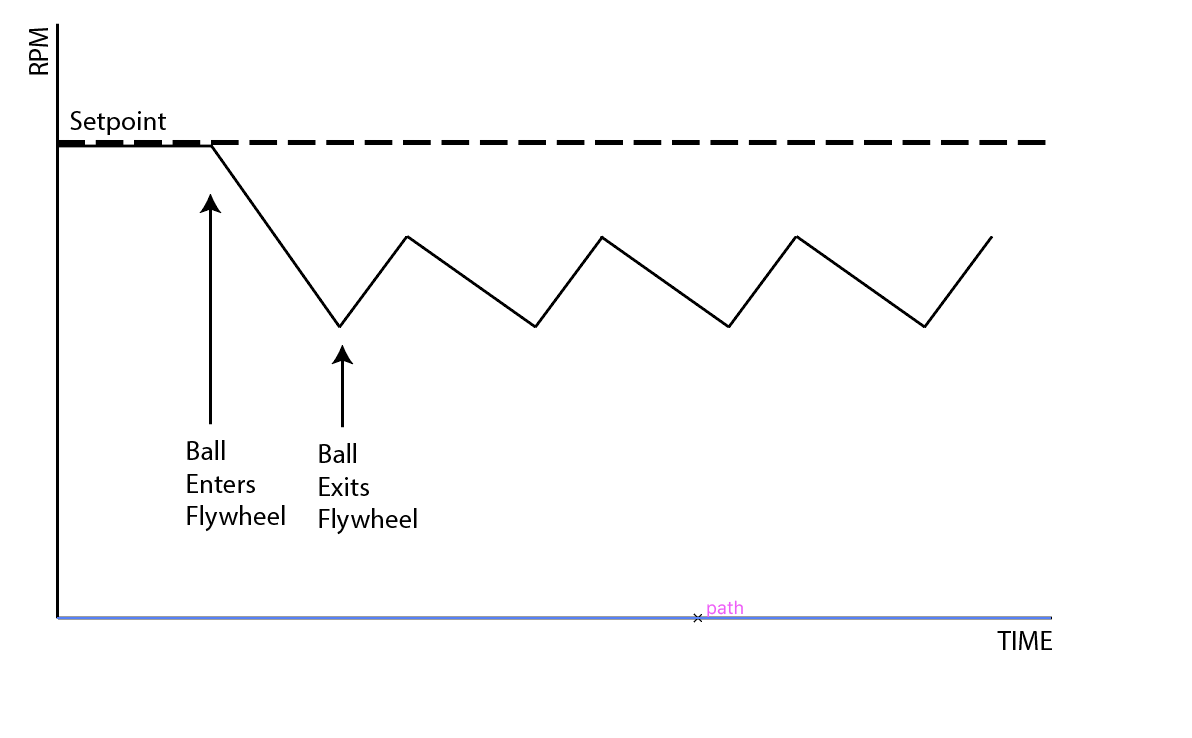
This is definitely better because the balls are consistently exiting at the same speed, however we aren’t getting to where we want to be when we shoot. When this is achieved, we can finally calculate KLoadRatio. To do this, we take the setpoint and divide it by the Lowest RPM, which should now be constant for every ball. This yields a number greater than 1. Now the output of the function looks more like:
Notice that the steady state is now greater than the set point. This is because it anticipates that the RPM will decrease when a ball contacts the flywheel and it increases the speed before the ball hits so that the speed is correct when it actually is released from the shooter.
Today, we found the correct equation for using the camera matrix and distortion coefficients and undistorting an image. We found the equation in this Wikipedia article. This is working pretty well. Now we just need to implement it into the robot code, and it should be done.
We also discussed whether or not the PIXY Camera would be useful for the targets this year. Right now, the current plan is to use the pixy for the gear vision target, but not the boiler. We believe that the low resolution of the Pixy camera would lead to a high error in locating the boiler, and since the margin for error is so small for our shooter prototypes (see Prototyping section of this blog), we need to have a more accurate system. Thus, we resurrected the old vision system using smartphones from last year, and initial tests are promising. We need to tune the OpenCV, but we were able to get it to reliably filter the boiler target:
Also, we refactored the SPI communication driver for the PIXY Camera so that it is better integrated into the codebase and so that it can support multiple cameras.
Autonomous Path Following
Today, we continued work on the autonomous pathing system. We finally got the code to the point where we were able to deploy it to a spare drivetrain and test. We began by tuning the PIDF constants for the drivetrain and setting constants for the wheel radius, drivetrain width, and several pathing parameters. We had to make many several bug fixes and changes to our code, including rewriting the circle function in out AdaptivePurePursuitController class. We also faced several hardware problems, like the encoders falling off and one of the gearboxes breaking.. However, by the end of build, we were able to get the robot to drive along curved and straight segments of the path with a decent margin of error. There is still much work to be done on the pathing system, including improving its accuracy and implementing turns in place.
Today we worked on duplicating the single wheel backspin flywheel with 4" fairlane wheels. We wanted to test the accuracy and plausibility of two side-by-side flywheel shooters, so we built another shooter. We also altered the first backspin flywheel shooter by replacing the side plates, which allowed us to put both shooter motors on the same side. This alteration was made to make the two side-by-side shooters compatible
Hopper Feeder
Today, we began detailing the hopper feeding mechanism. The current plan is to have it powered by two 775 pros with a reduction and to power both the front and back rollers via friction with the polybelt. The feeder is slightly angled and will include a funnel consisting of two tubes angled towards the middle of the back roller. The feeder will also rotate on the same axis as the intake. Rotation will be necessary to access the electronics on the baseplate between matches (i.e. Switching batteries)
Shooter Feeding Trough
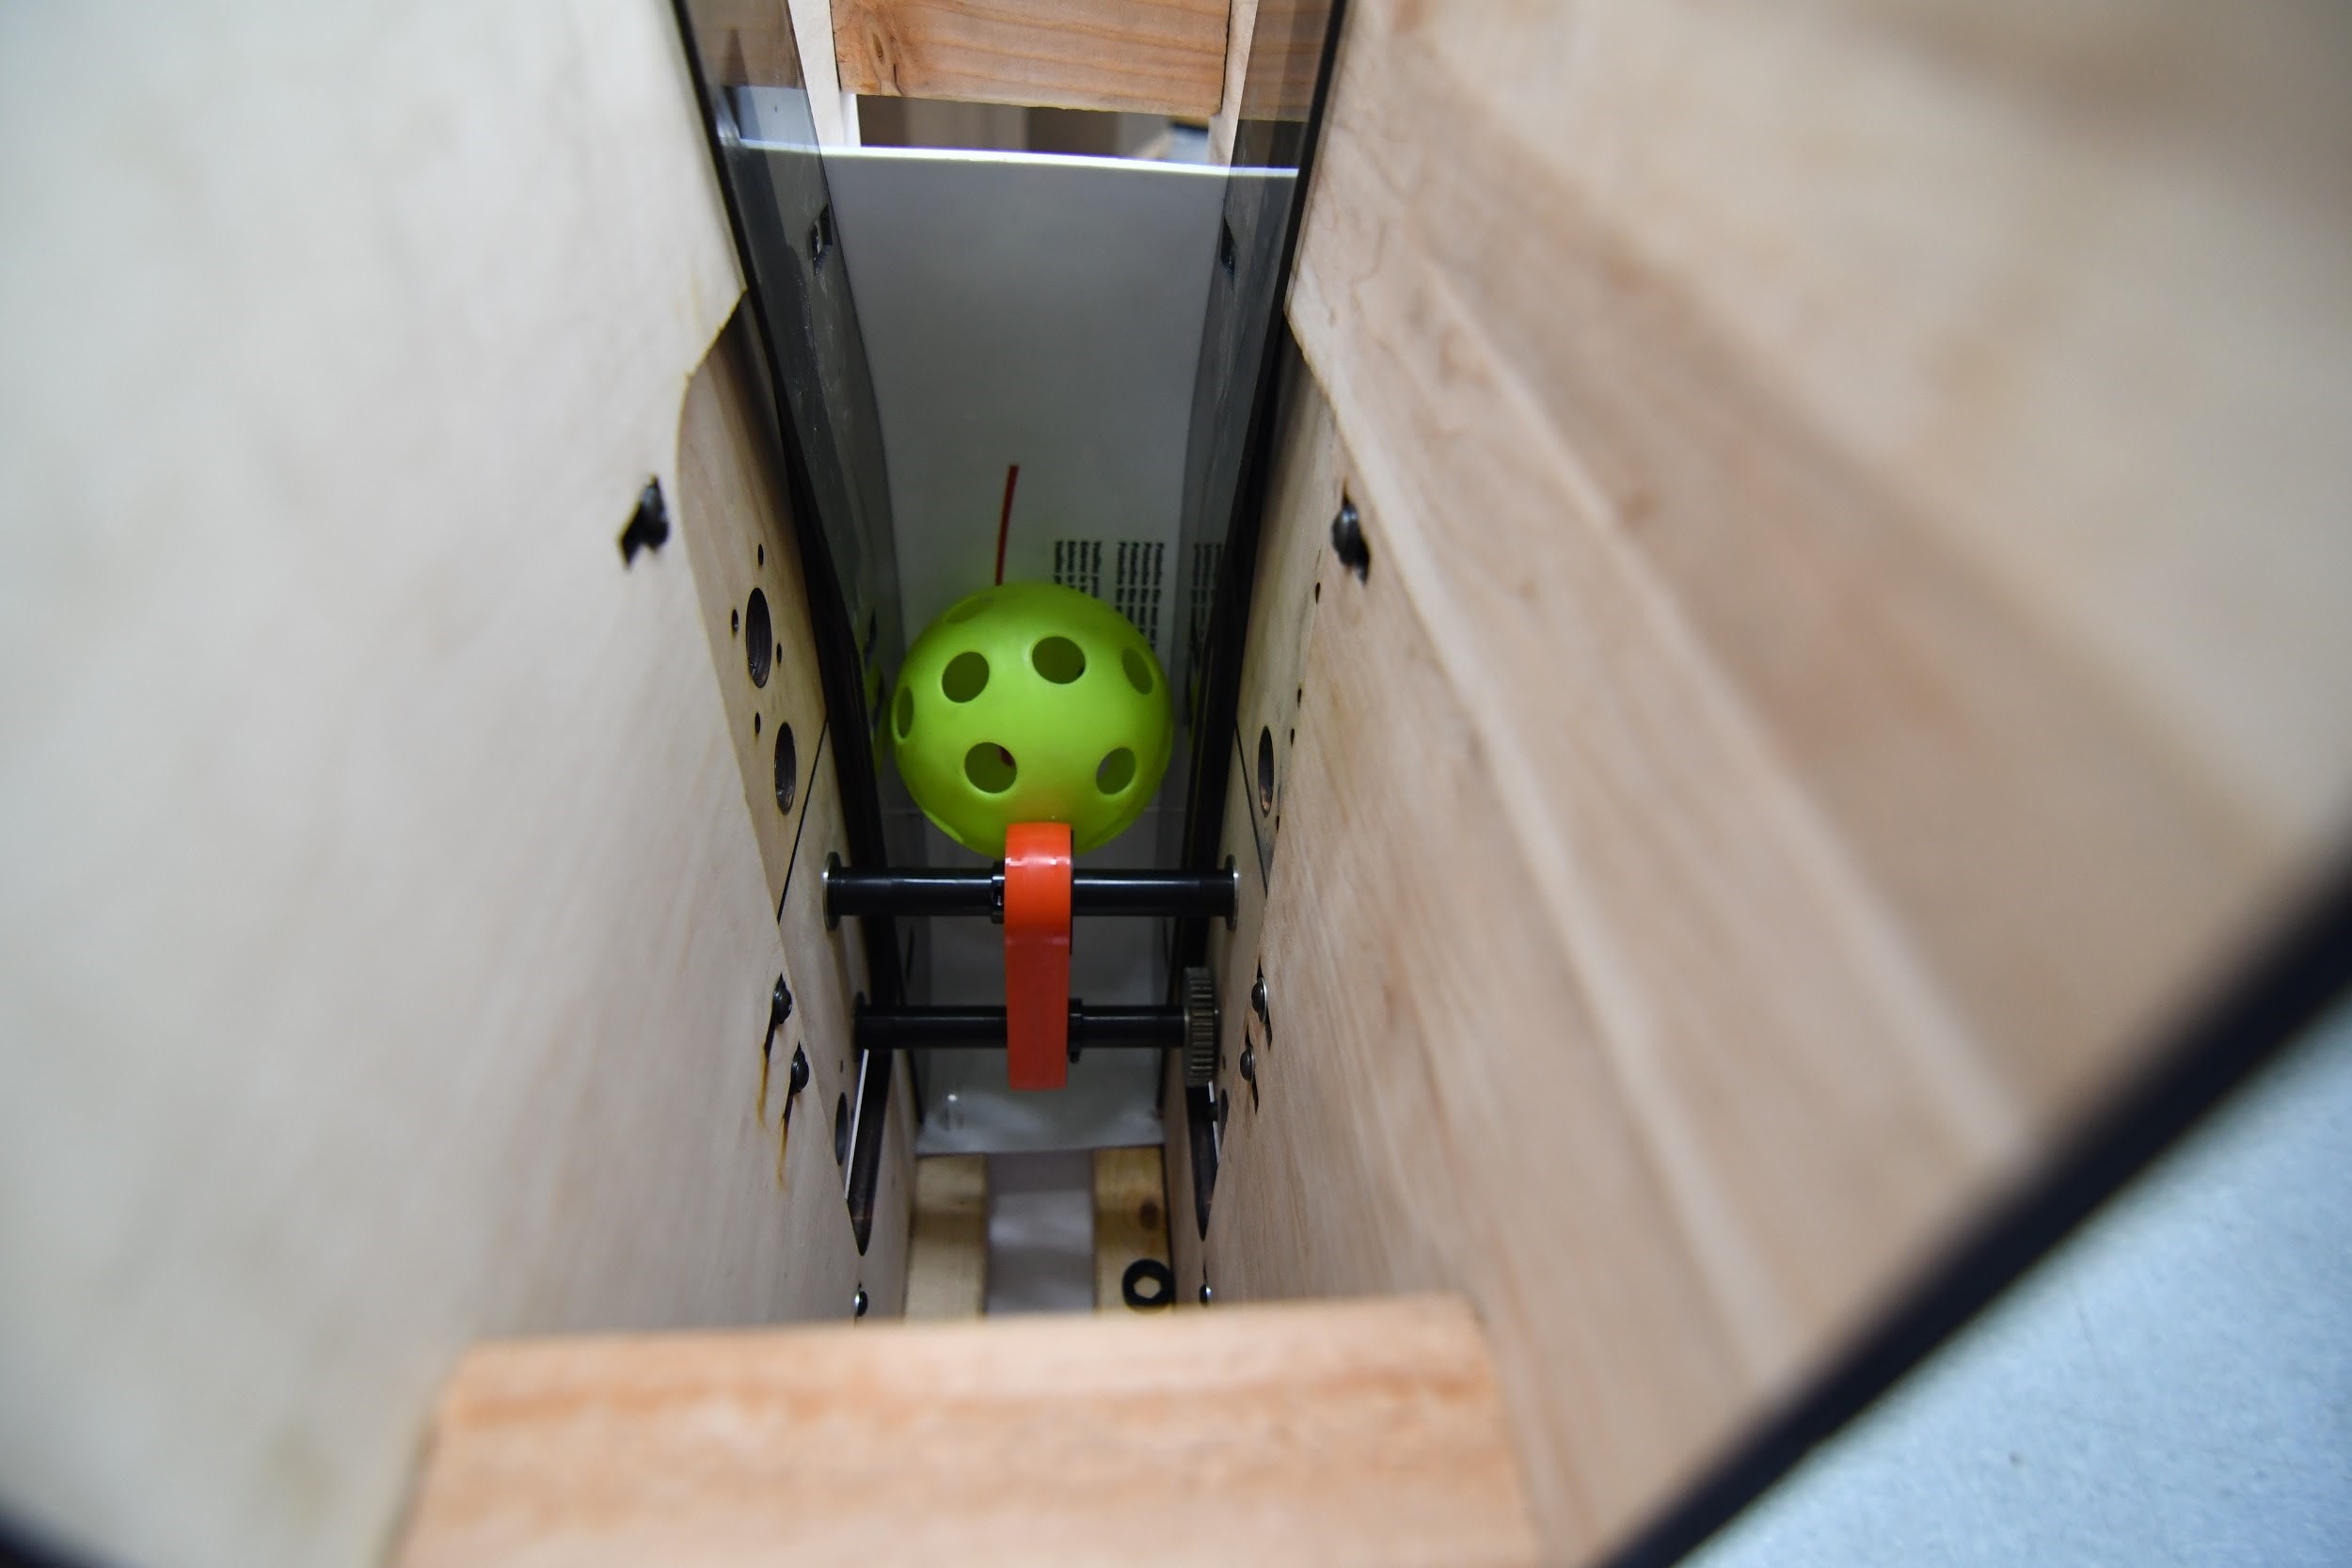
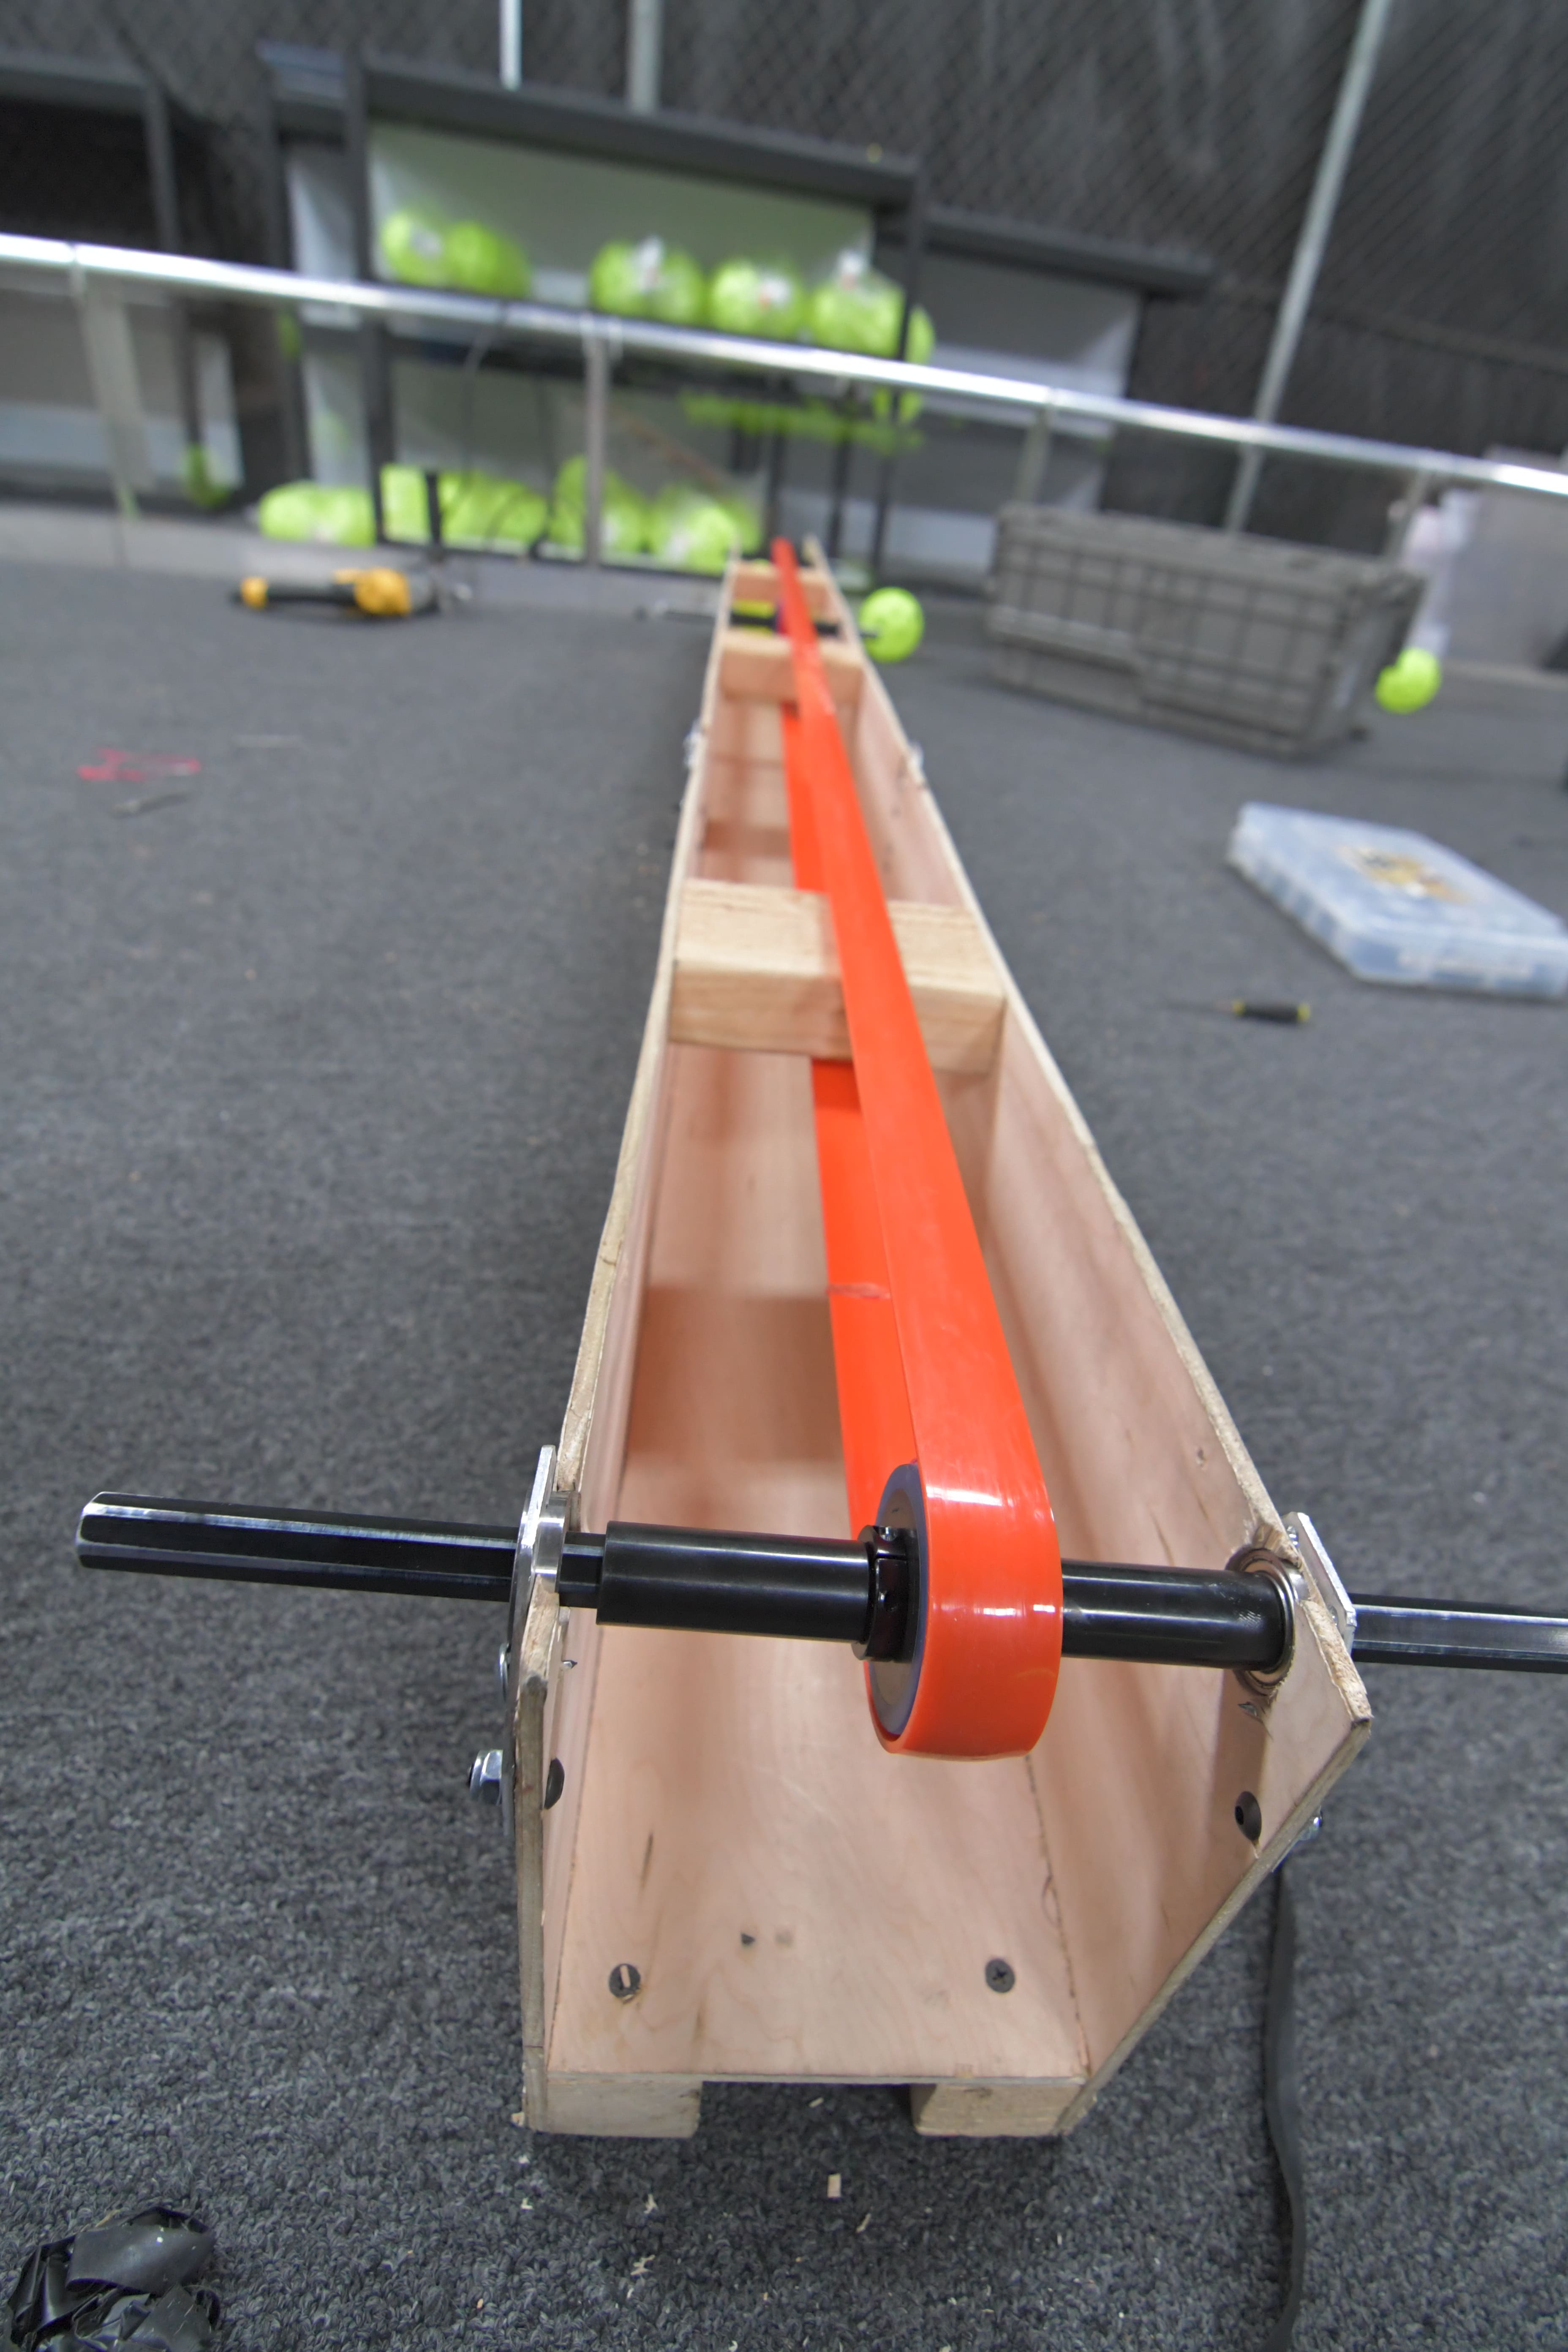
Today, we built a second trough and added 775 Pro motors with a 3:1 reduction on both. While running, a polybelt moves the balls at an estimated 18 balls per second.
Intake
Today we finished assembly of the new intake prototype without a ramp and tested it out. We found that there was too much compression between the intake rollers and the floor/bumper, so we adjusted the mounting of the intake accordingly. What we found was that the center drop of the robot was enough to upset the outer roller's compression such that when the robot leaned back, it would not pick up balls. Of course, this was a big problem, so we made the intake pivot around a point inside the robot, very similar to how the real one would. By having the intake itself able to pivot, we think that it'll be able to move up and down accordingly as we drive into dense clusters of balls, fixing the issue of the intake bogging down. We finished assembling the intake, but have yet to test it. Our first job on Friday will be to get more tests running, and we'll go from there.
Manufacturing
Drivebase
A group of students started manufacturing the parts for the drive base so we can send it out for welding next week. We were milling the parts for the bumper mount on the mill and ran some other parts on the CNC.
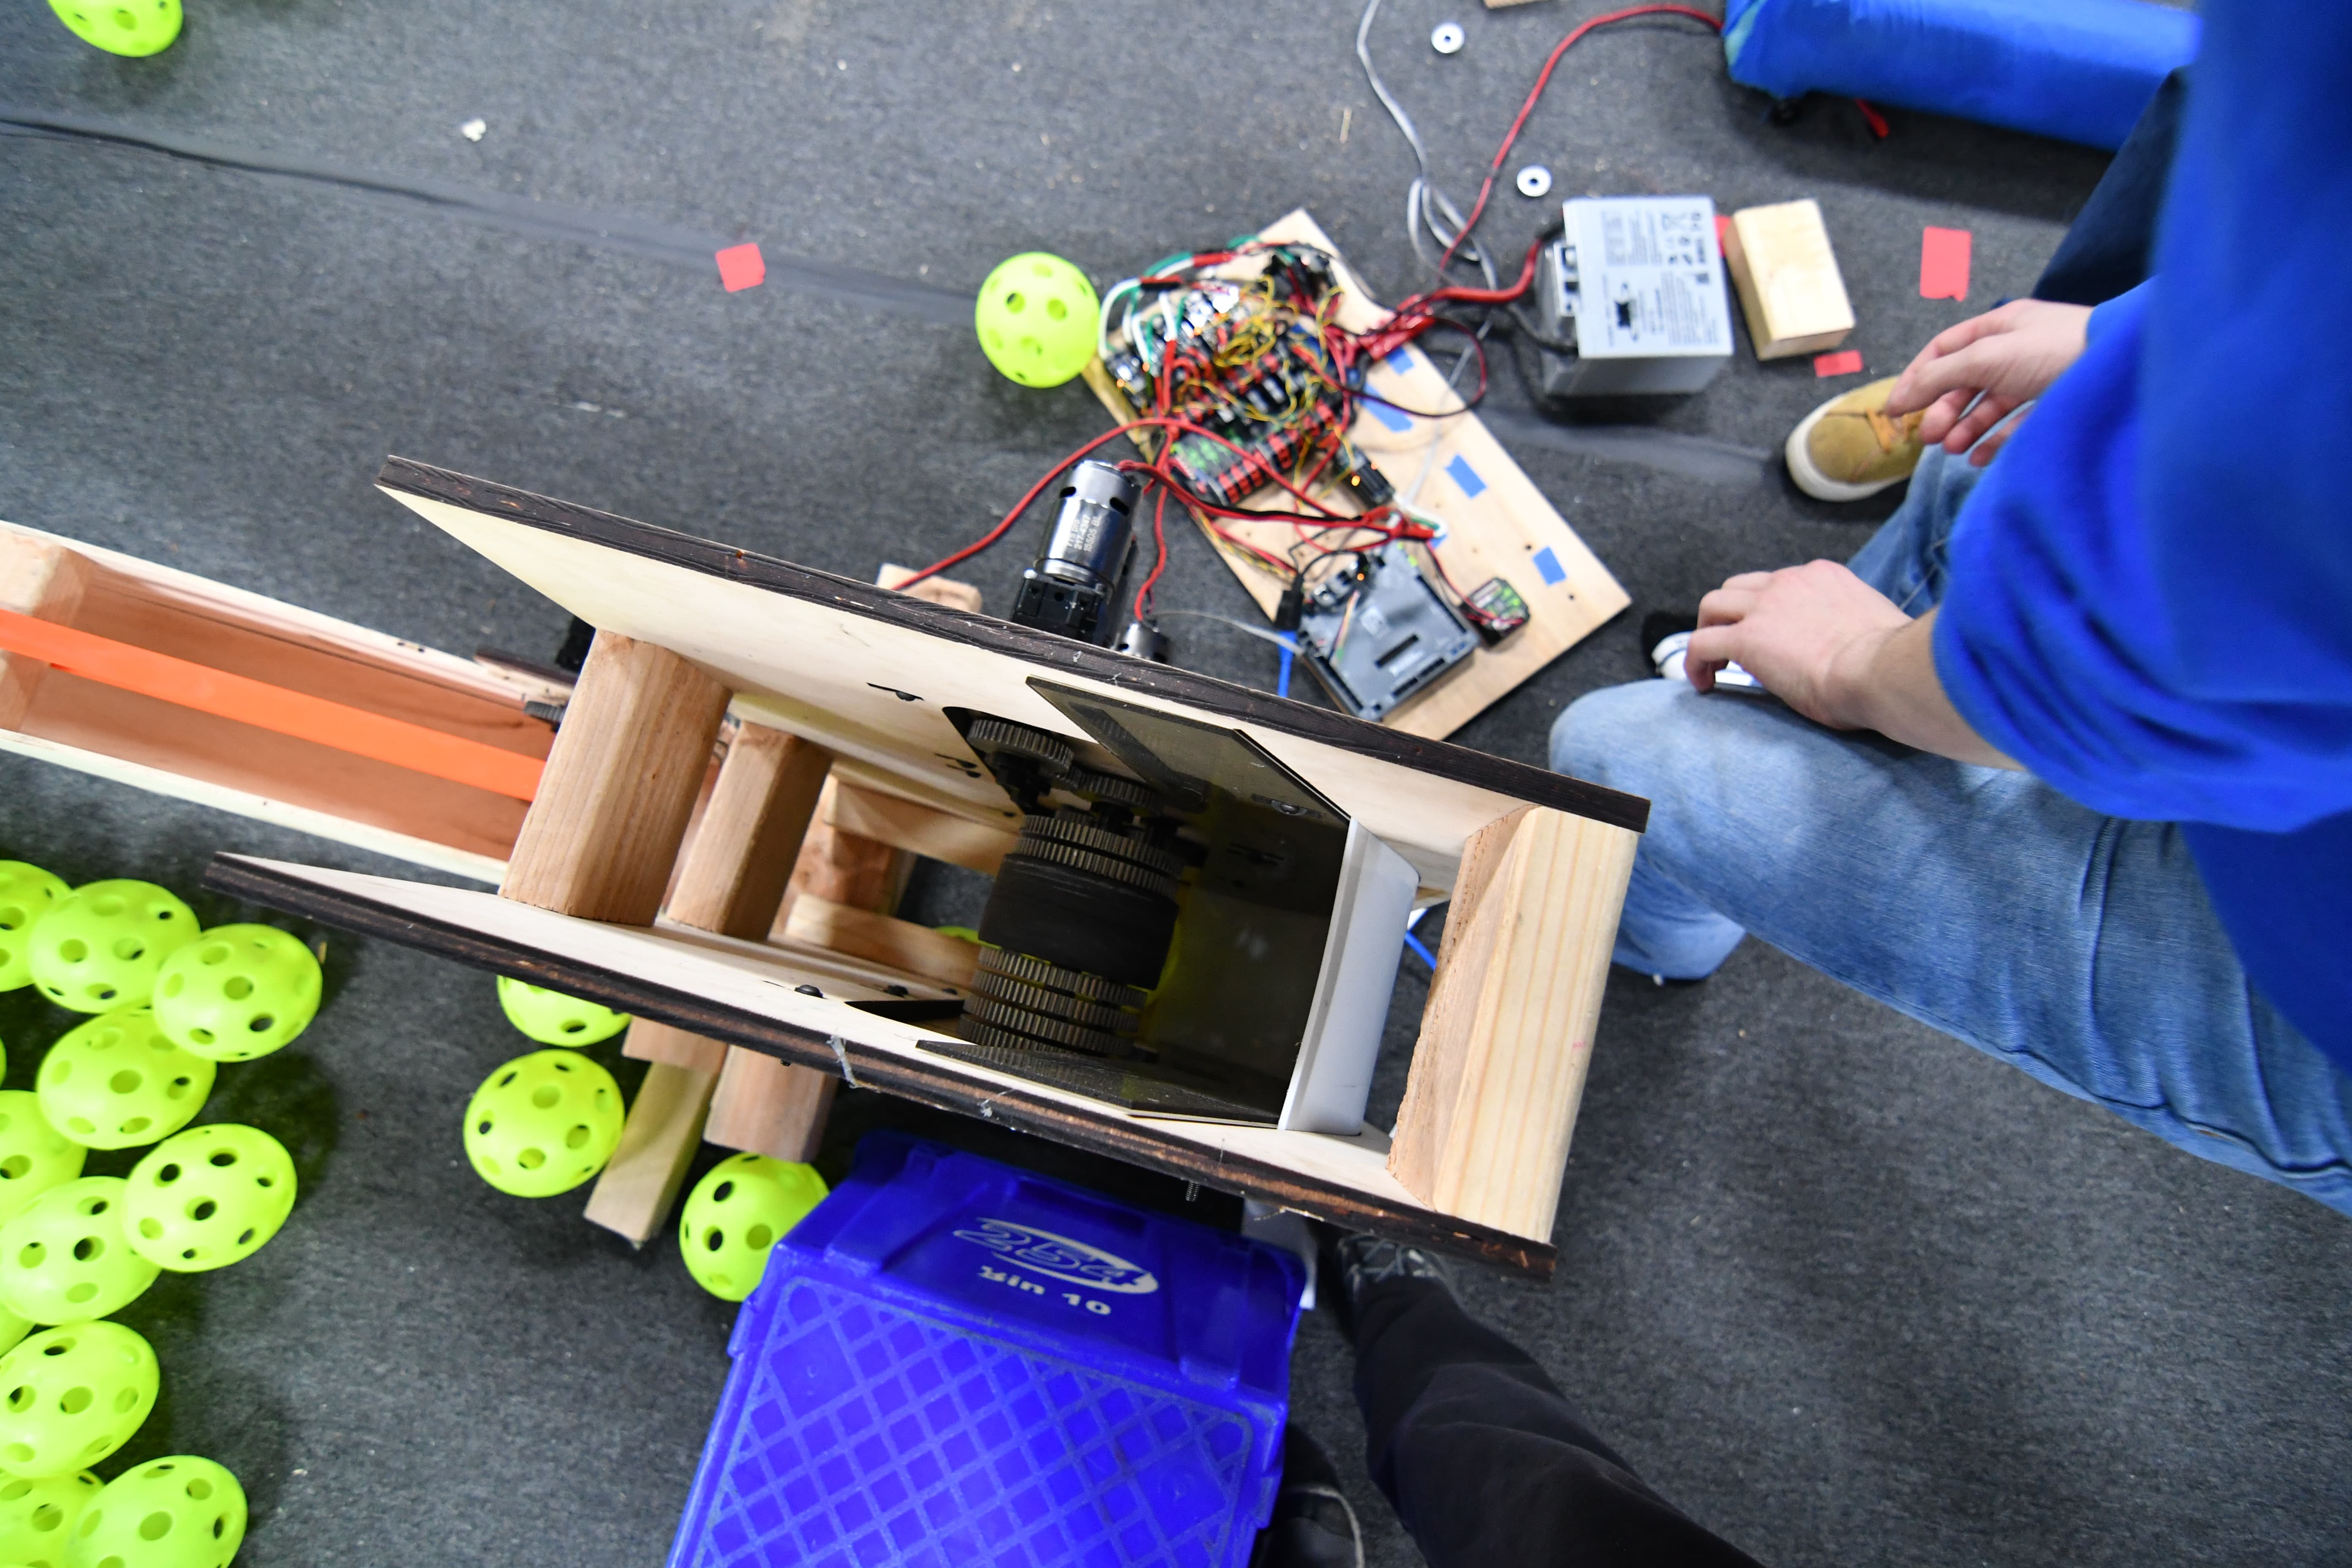
Today, we finished the 4" Fairlane Single Wheel Backspin Prototype that we started on Saturday. We tested for the entirety of the build and received great results. While single shot accuracy was consistent, when we started pushing in balls at a higher speed, we found that the shooter was somewhat inconsistent. In exploring other options for more consistent feeding, (and by consequence shooting) we decided to change the VersaPlanetary gearbox running the polybelt feeder from a 5:1 gear ratio to a 1:1 ratio. We found this speed to be much more efficient. At the end of the night, without pushing the balls (so solely gravity fed), we managed to shoot around 25~ balls. After missing the first shot or two, we managed to make every subsequent shot. While this only shot at around 2-3 balls per second, it is a first step towards proving our design. We found the precision to be incredible, but more importantly the rate of fire was impressive! This was most likely due to the extra mass of the wheel resulting in inertia to counteract fluctuations in rotational speed as balls compress against the wheel. We began making a second iteration of this prototype in an effort to put it next to the previous working one. We would then shoot them in the same direction and verify that two shooters side by side is a feasible option for accuracy and rate of fire. We finished laser cutting the new parts, acquiring the materials, and sorting out all the tools. We only need 2 more 3:1 VEX Planetary Gearboxes, and then we can assemble the prototype and test.
Testing:
Intake
Today we worked on a new and improved design for the intake. We CADed new sidewalls with updated geometry, in order to get rid of the ramp and make the intake easier to deploy. We laser cut the sidewalls and are almost done assembling the new prototype. The plan for the future is to finish it early on Wednesday, then run tests to see how effective it is.
Intake Feeder
Today at the lab, we worked on the feeder for the intake. Unfortunately, the whole process took a long time because we struggled so get the vertical portion of the feeder to spin at all due to efficiency issues with the design. Once we did get it working, however, we modified the lower roller in order to increase the spacing between it and the vertical roller. Though this would be effective, but generally we found that the current design simply needs too many modifications, so it would just be easier to do a complete redesign. The next step is to look into other feeder systems that are potentially more efficient and faster.
Rope Climber
Today, the team working on the rope climbing switched the previous 775 pro motor for a CIM motor and succeeded in climbing the rope. We first laser cut a new piece of wood that would connect to a cross bar on the robot holding the motor and comb shaft. We moved the holder for the motor and shaft one inch up to provide clearance for the motor as well as give the comb more room away from the crossbar. After this, we assembled a CIM motor planetary gearbox in which we geared the motor 1:9 and this ratio was also later increased through the gears on the shaft to 1:45. This proved to be enough to lift the approximately 30 pound previous drive base of our 2015 robot, Deadlift. Without success, we found that undoing the rope on the comb proved to be very difficult and time-intensive, so went back to the drawing boards and found that a velcro design could work out well while taking less time to undo. We will assemble and test this during the next build.
Testing:
Programming
Testing Shooter Prototype
Today we made leaps and bounds with the shooter prototype. We were able to score 30 balls consecutively feeding into our dual-motor flywheel shooter prototype. To do so, we fine-tuned the PIDF constants in the robot code to ensure that motor speed would remain constant even with the load from the balls, which ensures more consistent, accurate shots. This is a breakthrough for our shooter prototypes, the first time where we’ve been able to make a majority of shots from a stream. We still have to improve the firing rate of our prototype; we were firing at ~3 balls per second.
The topspin shooter continued testing today with several small changes made throughout the build. We remade yesterday's prototype and varied the hood length to see how it affected accuracy. We started the day by testing the 4" flywheel with top spin. We took the working design, and redesigned the prototype to not be adaptable, and in doing so we also designed an integrated feeder. This design worked relatively well. We iterated on the optimal amount of wrap on the ball, starting with around 120 degrees, and going as far as 80 degrees, without testing further. As we iterated and continued testing, we realized the difficulty of packaging a topspin flywheel, so unless we are able to show that topspin is more consistent, it is unlikely that we will use it in the final design. We also tested a backspin 4" flywheel by simply rotating the shooter. The design worked, but needed further optimization. We set upon further iterating on this by CADing an entirely new design.
Backspin Single Wheel Flywheel
Today, we remade the single 2" Fairlane Flywheel prototype, but this time we fixed all the little bugs from before as well as added two more 2" wheels in the exit. This concept was to see if it would make the shot more accurate, but it didn't pan out. We reverted to the single wheel design, which worked beautifully. This backspin shooter was really consistent and accurate for the first successful iteration and it also makes packaging the shooter into our robot much easier. We also worked on designing a three-parallel-shooter prototype that would have three of these shooters side by side for maximum shooting rate..
Drivebase CAD & Design
We continued work on drive frame detailed design. Other team members started exploring space claim models for the entire robot, including the hopper, shooter, gear mechanism and drive train. We also looked at possible packaging for the topspin shooter that was working well. We decided that for simplicity, the ball feeder chute on the rear of the robot should not deploy over the bumper, and that it is better for it to stay rigid for consistent ball feeding. We still plan to deploy the hopper on the front, and possibly sides, of the robot.
Field Construction
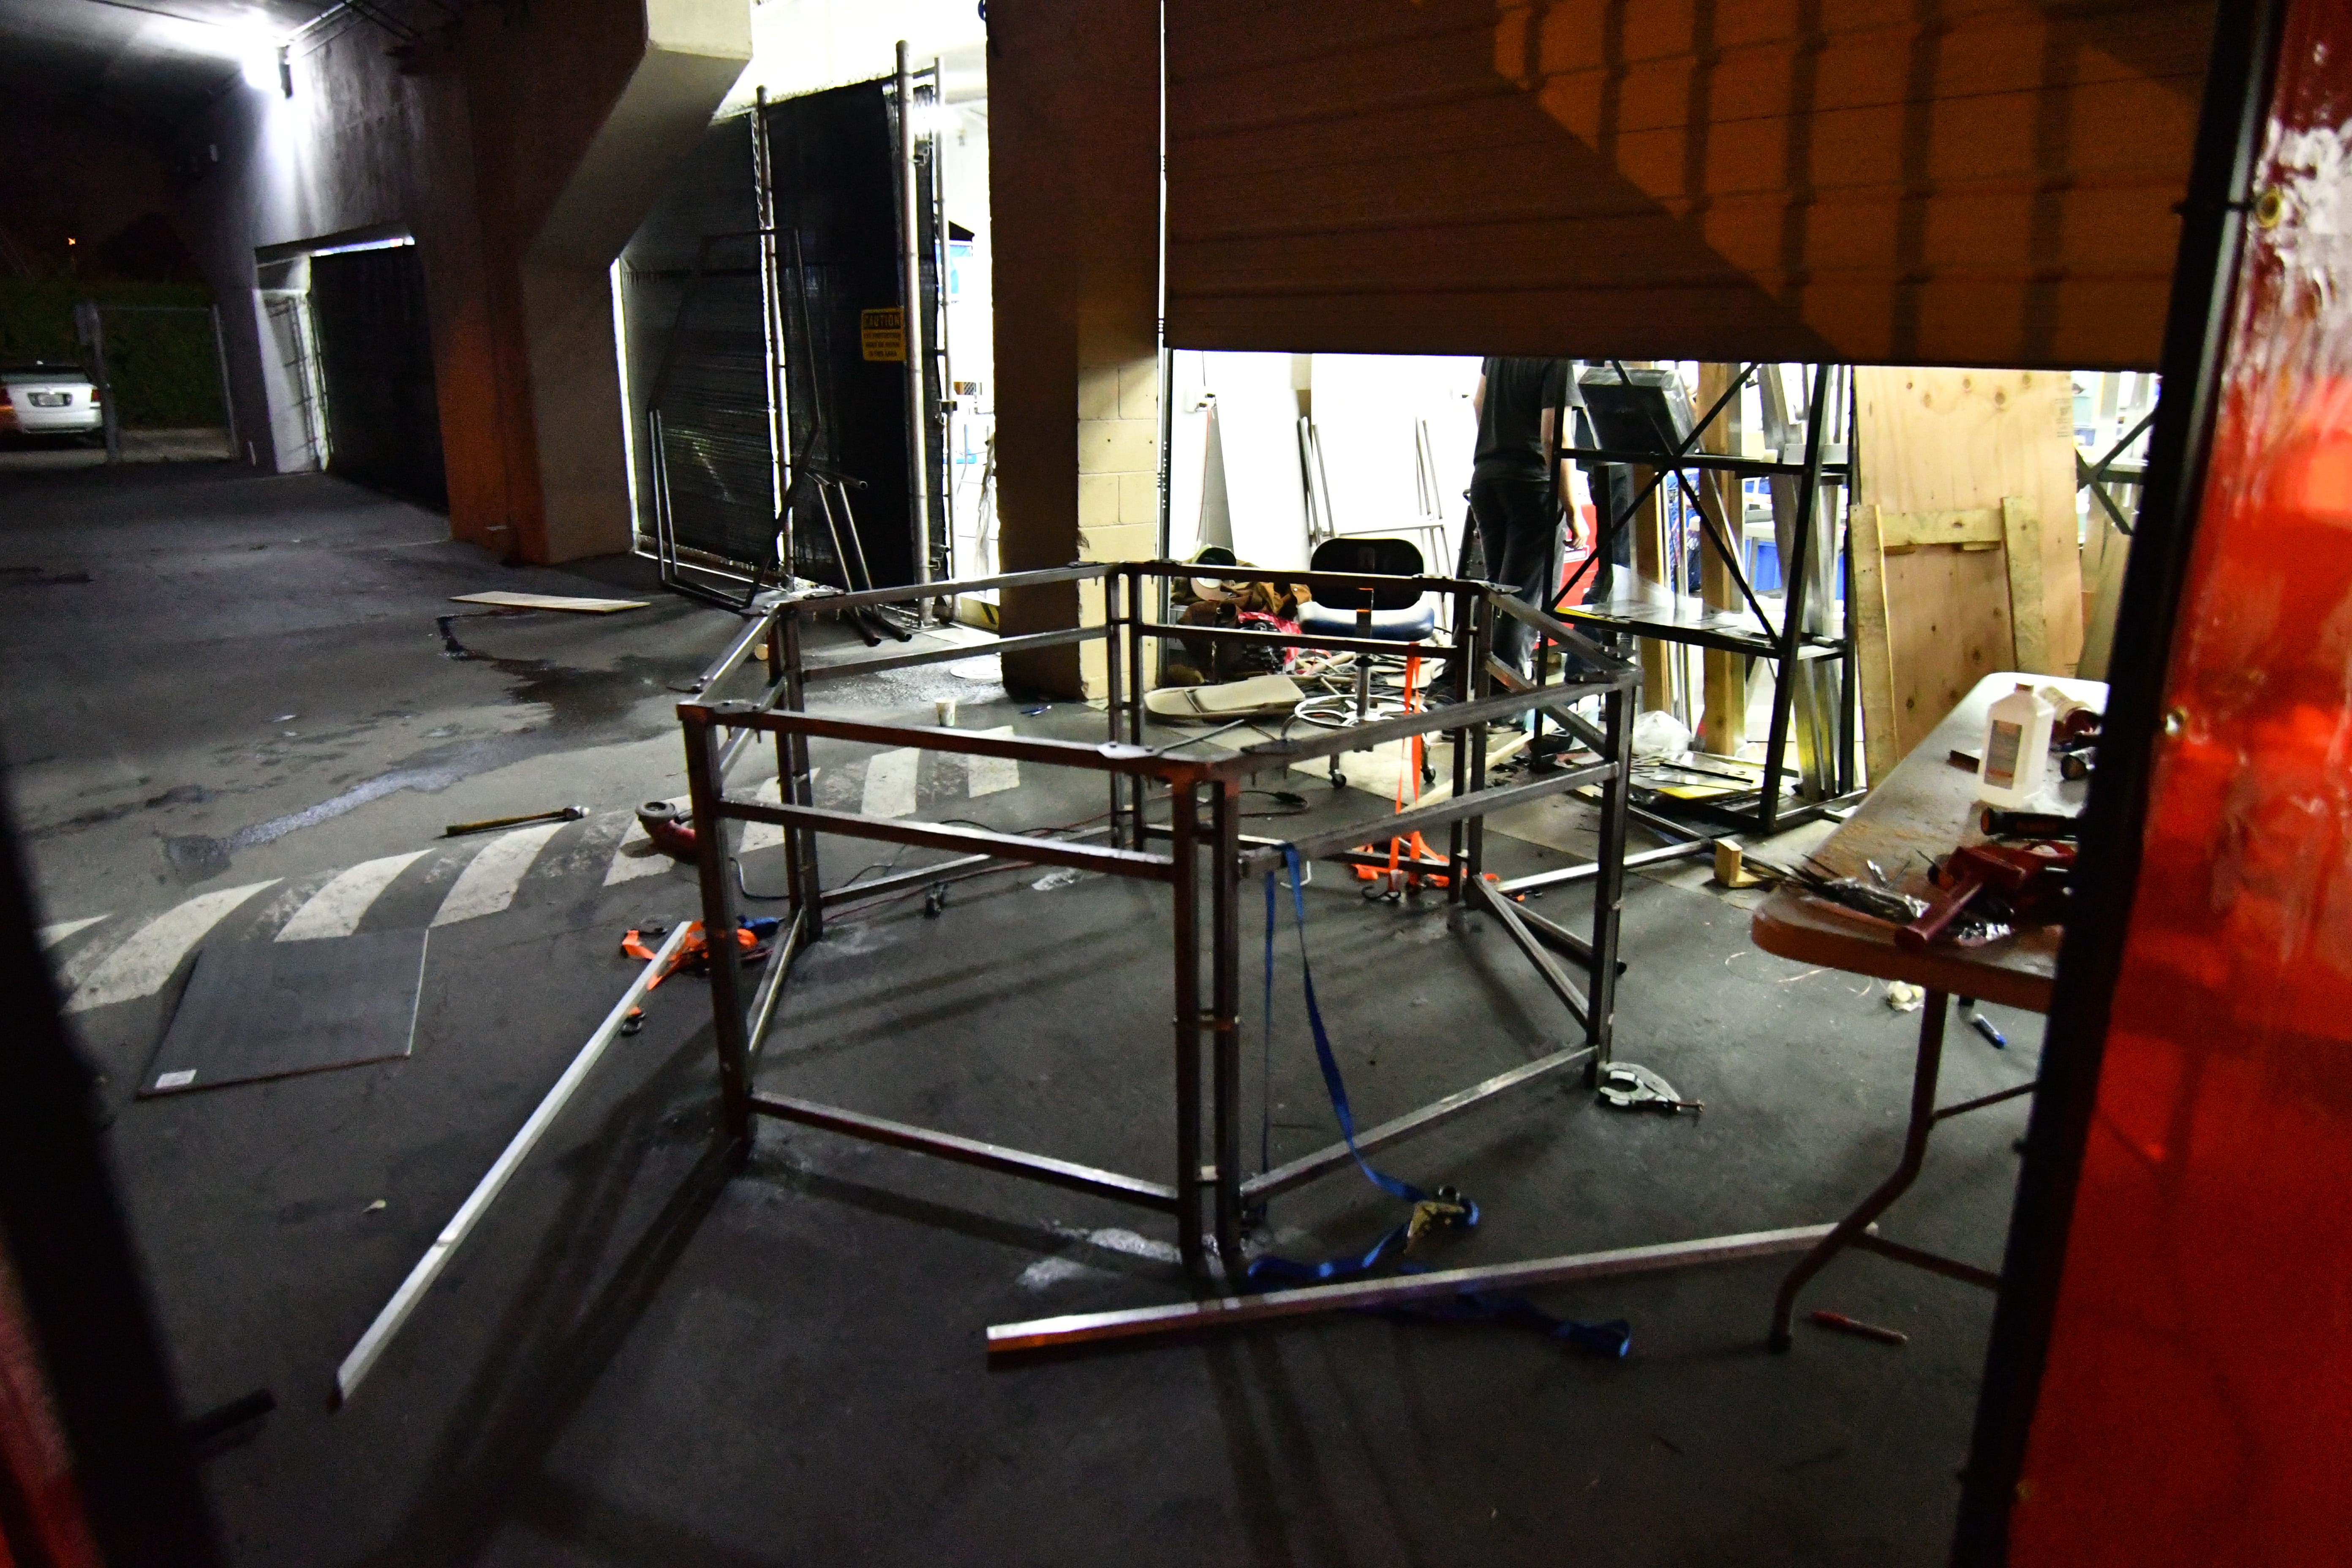
We cut plastics and installed the top of boiler so that more accurate shooter testing could proceed.
Manufacturing
We will be continuing our work on making drive gearboxes. We finished de-tabbing gearbox plates and started making gearbox standoffs. Several students continued on mill/lathe training with test parts.
Programming
We restructured the robot code to offload control of the drivetrain from the Drive subsystem file to the main Robot Java file. The Drive system’s code runs every 1 ms, while the robot’s code runs every 5 ms. The driver station sends and drive data every 5 ms, so moving the code saves considerable processing power. This also allows for other functions to be implemented in the Drive subsystem.
Following our all-hands meeting yesterday, we finished the autonomous routine visualizer, which allows us to design and visualize an autonomous routine using a series of points. We also finished a parser that turns the visualizer output into usable robot code. We also implemented an adaptive pure pursuit controller, which helps the robot correct any deviations and return to its pre-planned route. This requires an odometer to track the robot’s distance travelled and heading, which we also implemented. We are currently establishing the groundwork for the robot’s autonomous routine, which we will implement when we have a final robot.
Camera calibration
Today we finished camera calibration code. It works really well, and now outputs the distortion numbers to a .txt file for easy access. Now, we are working on incorporating that into the SPI code so the Roborio has access to the undistorted image data. We need to figure out how to undistort the image while keeping it in a RAW format.
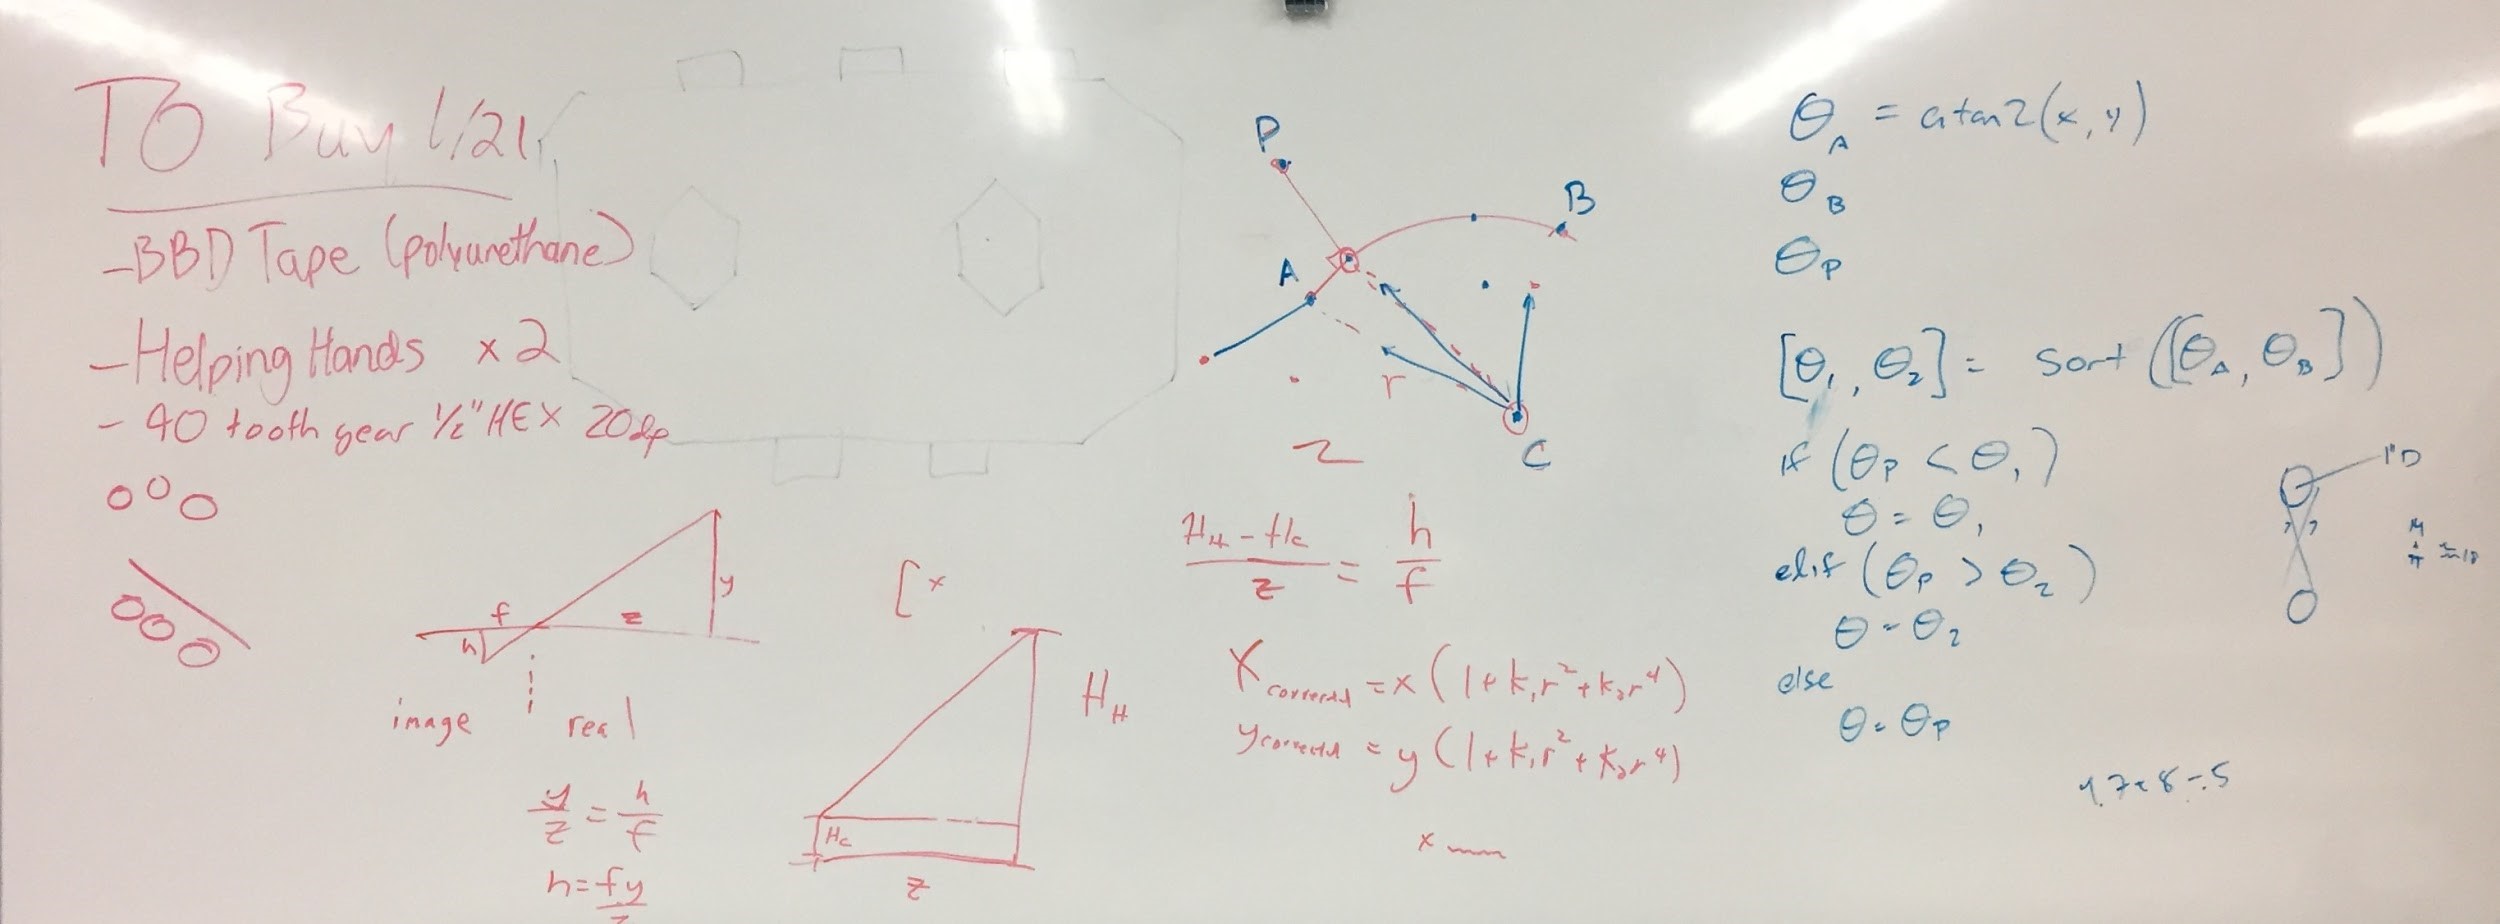
In addition to receiving calibration results, we discussed how to then take these calibration constants and apply them to remap the raw image coordinates to adjusted ones that map to physical locations on the field. We consulted a handy opencv guide.
Here's the picture of our whiteboard discussion:
Programming On The Prototypes
A lot of progress was made today with prototyping. We wrote new code to add a closed PID control loop to the feeder of the new overhand/backspin prototype and we returned constants to work with the new flywheel. In doing this, we discovered numerous bugs in the constant setting code and we have remedied many of them. Most of the time was spent supporting the prototyping effort with various control tweaks to maximize performance.

.png)
.png)



-min.jpg)
-min.png)