177 posts

Day #21: Prototyping & Wiring

2013 FRC Build SeasonFIRST Robotics

Prototyping

Indexing

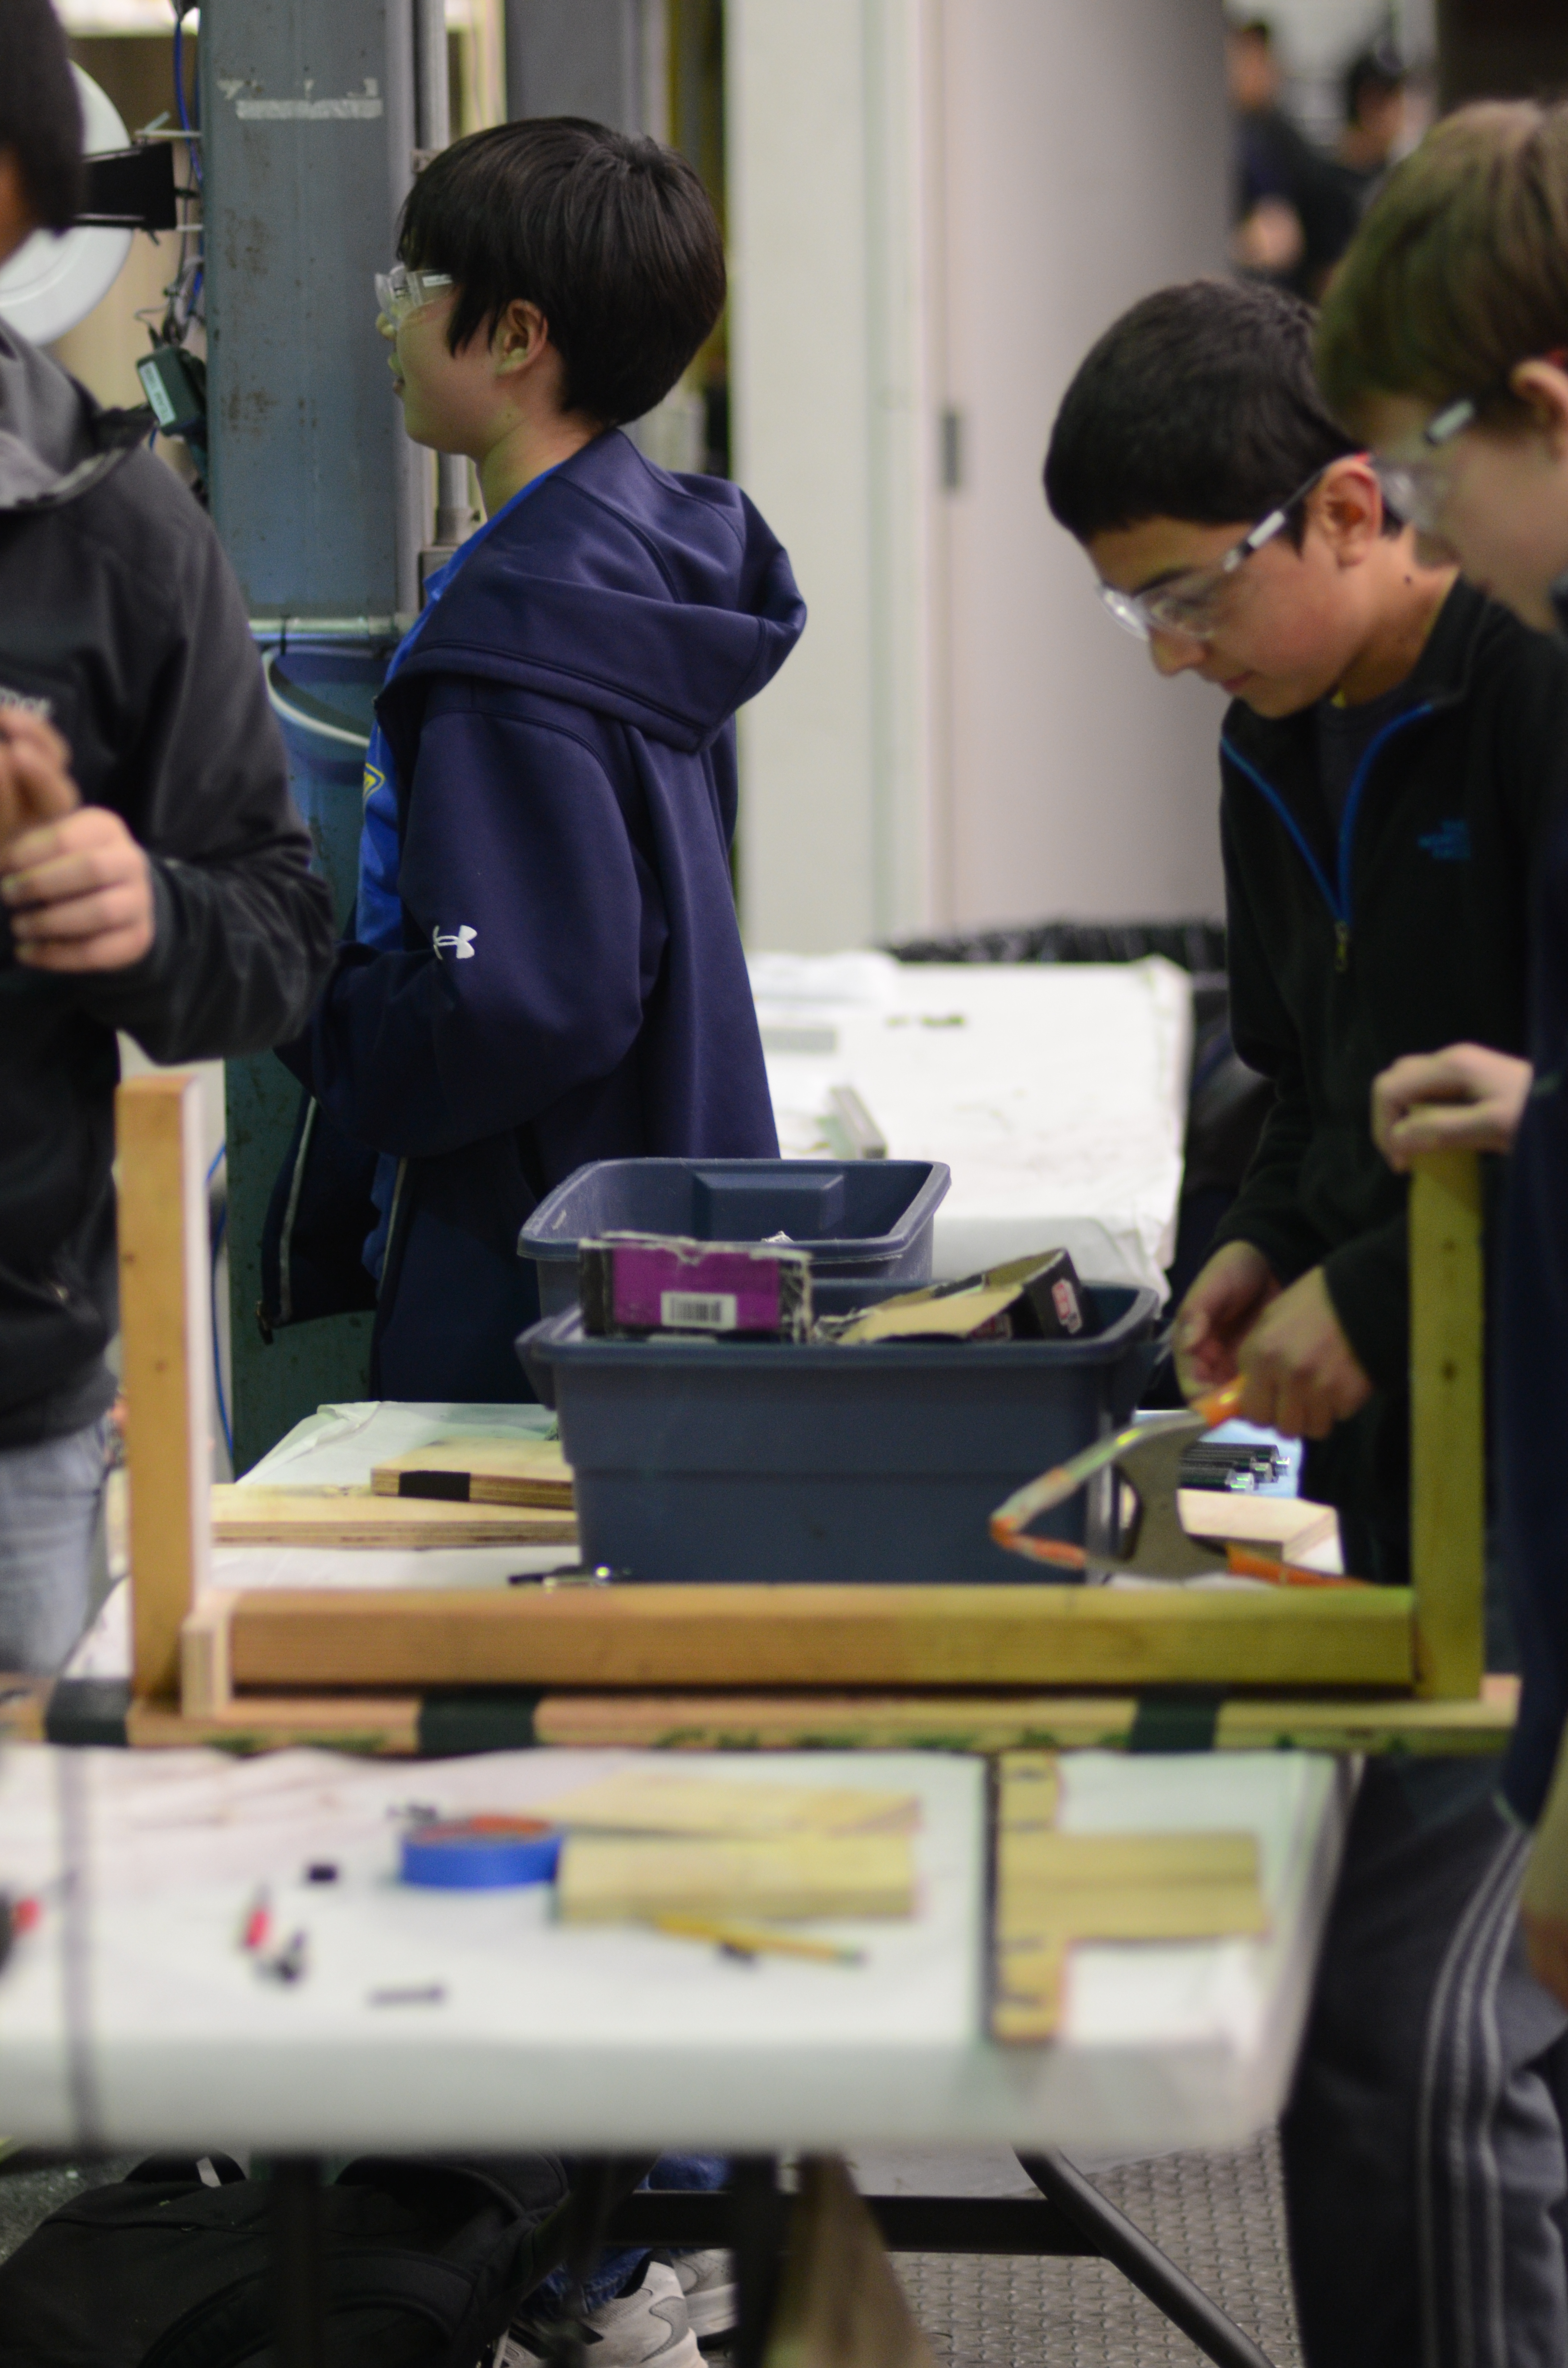
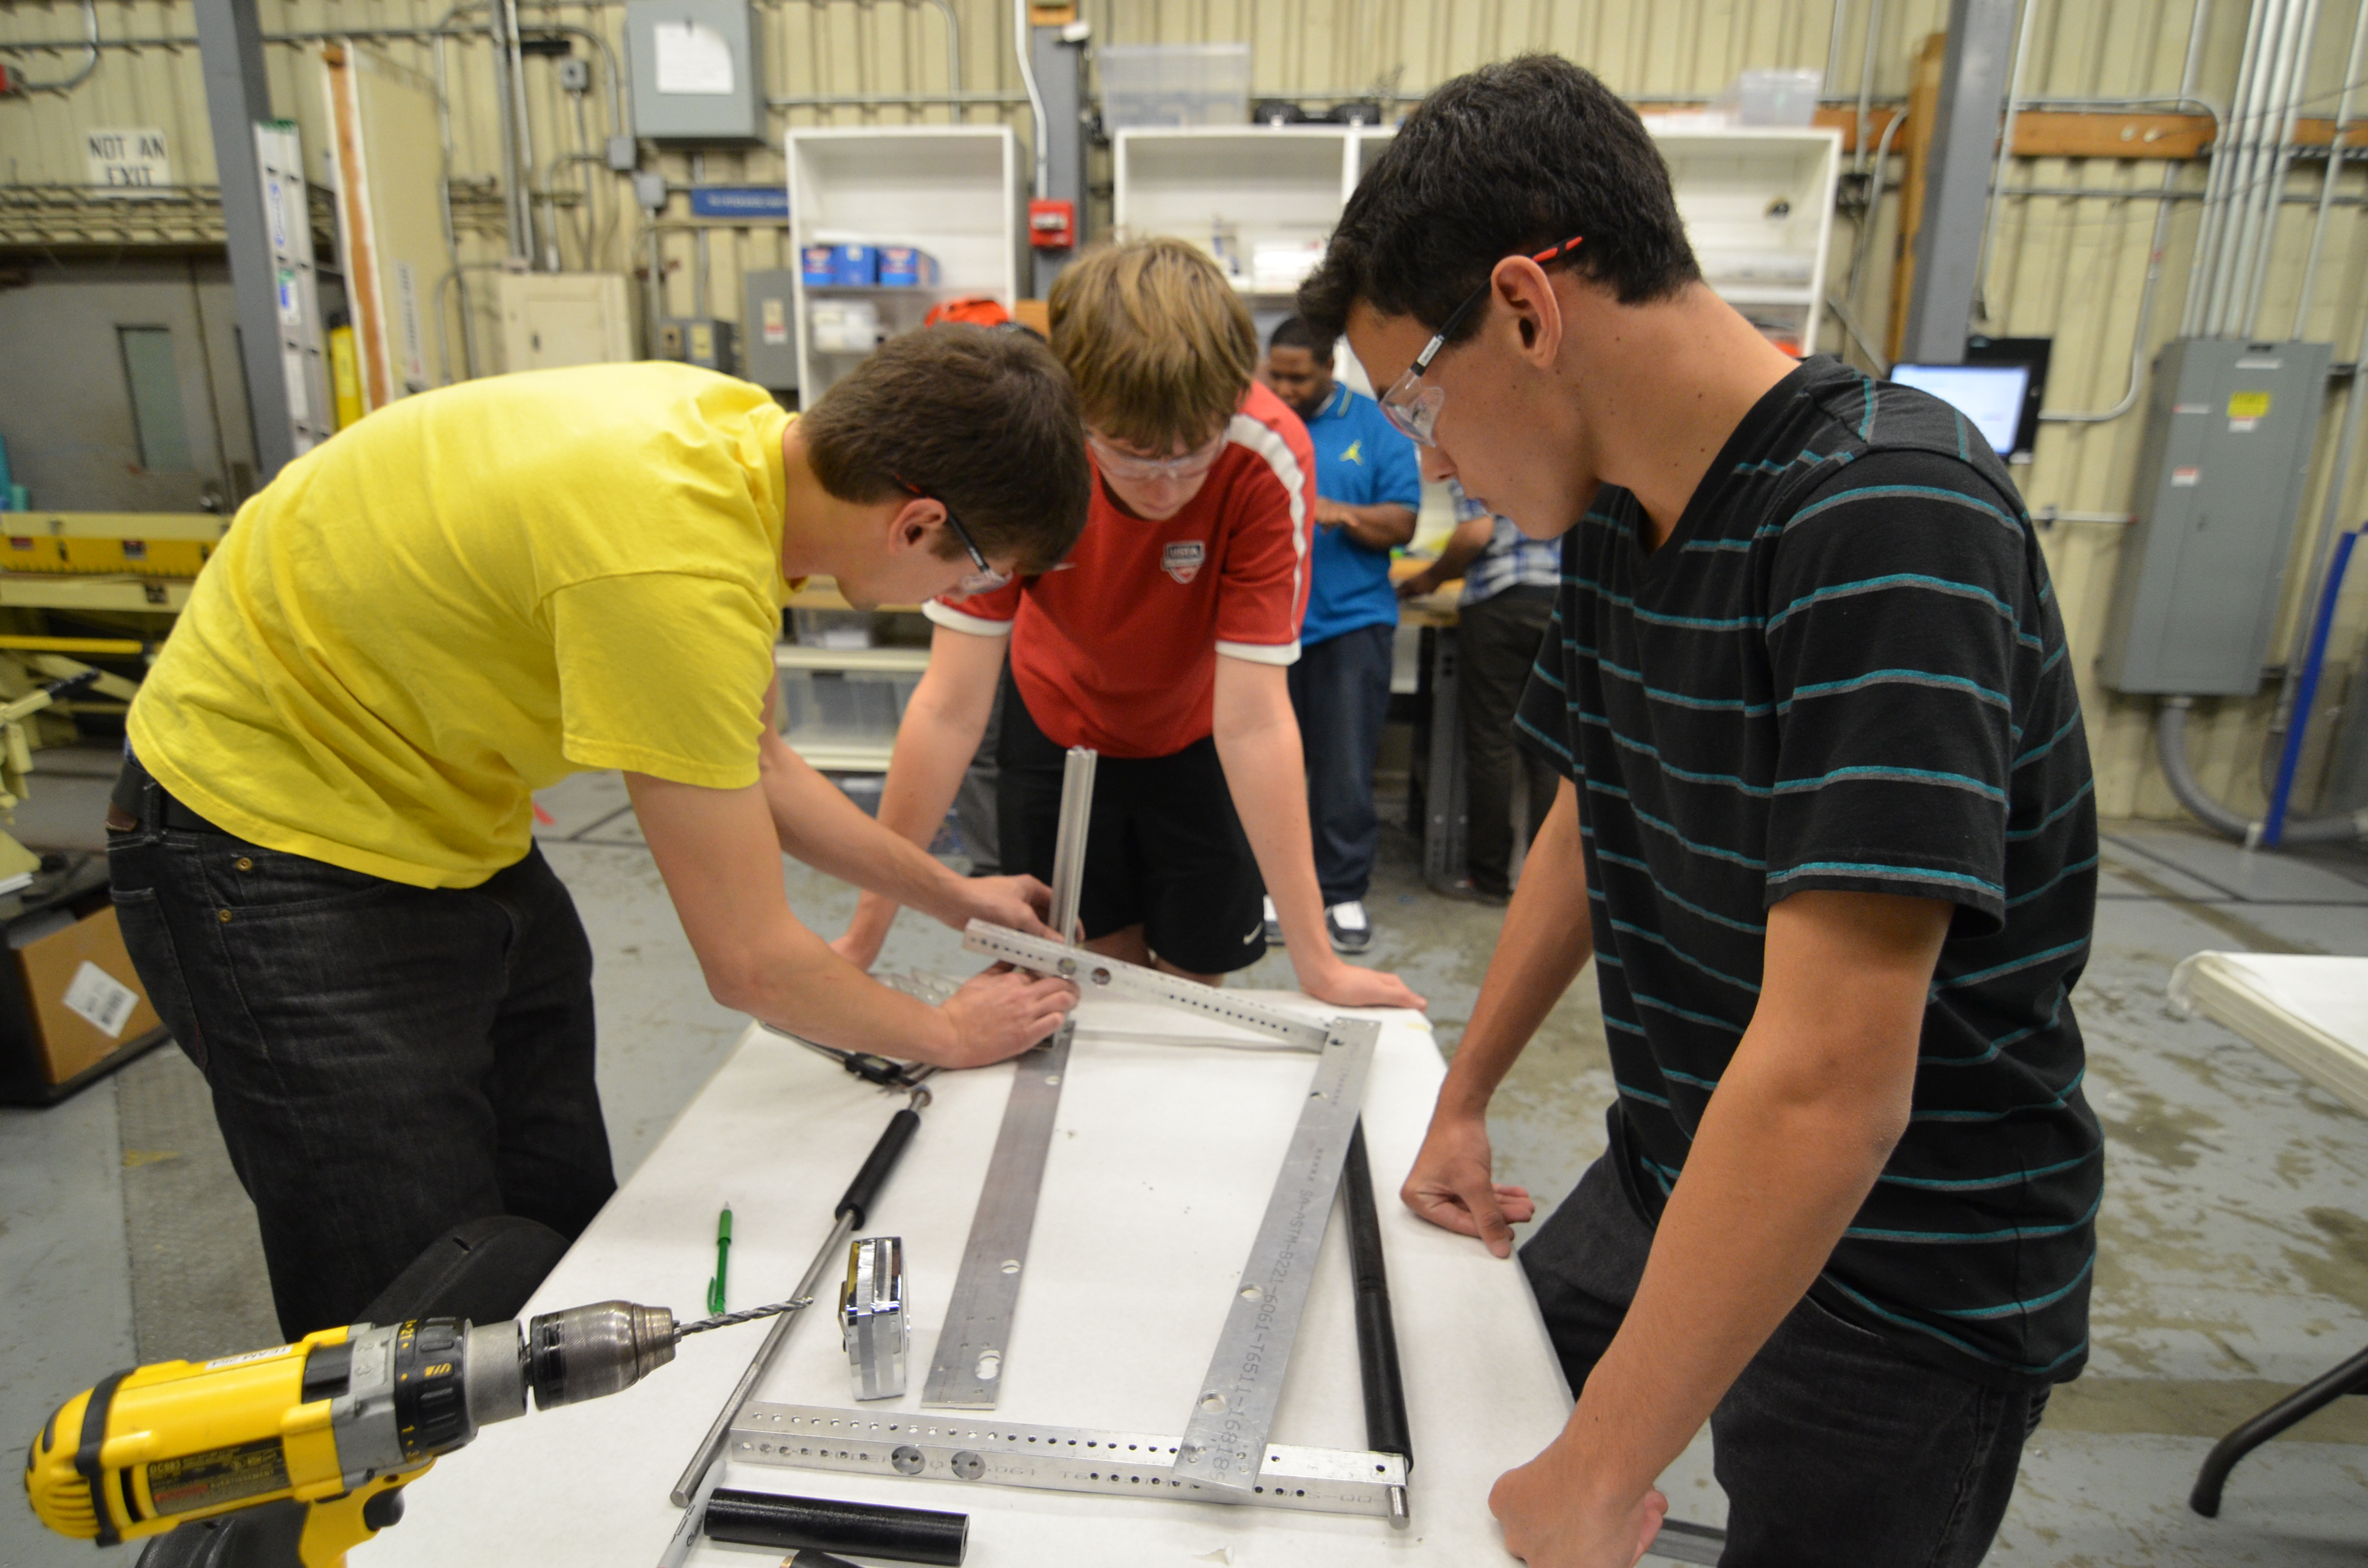
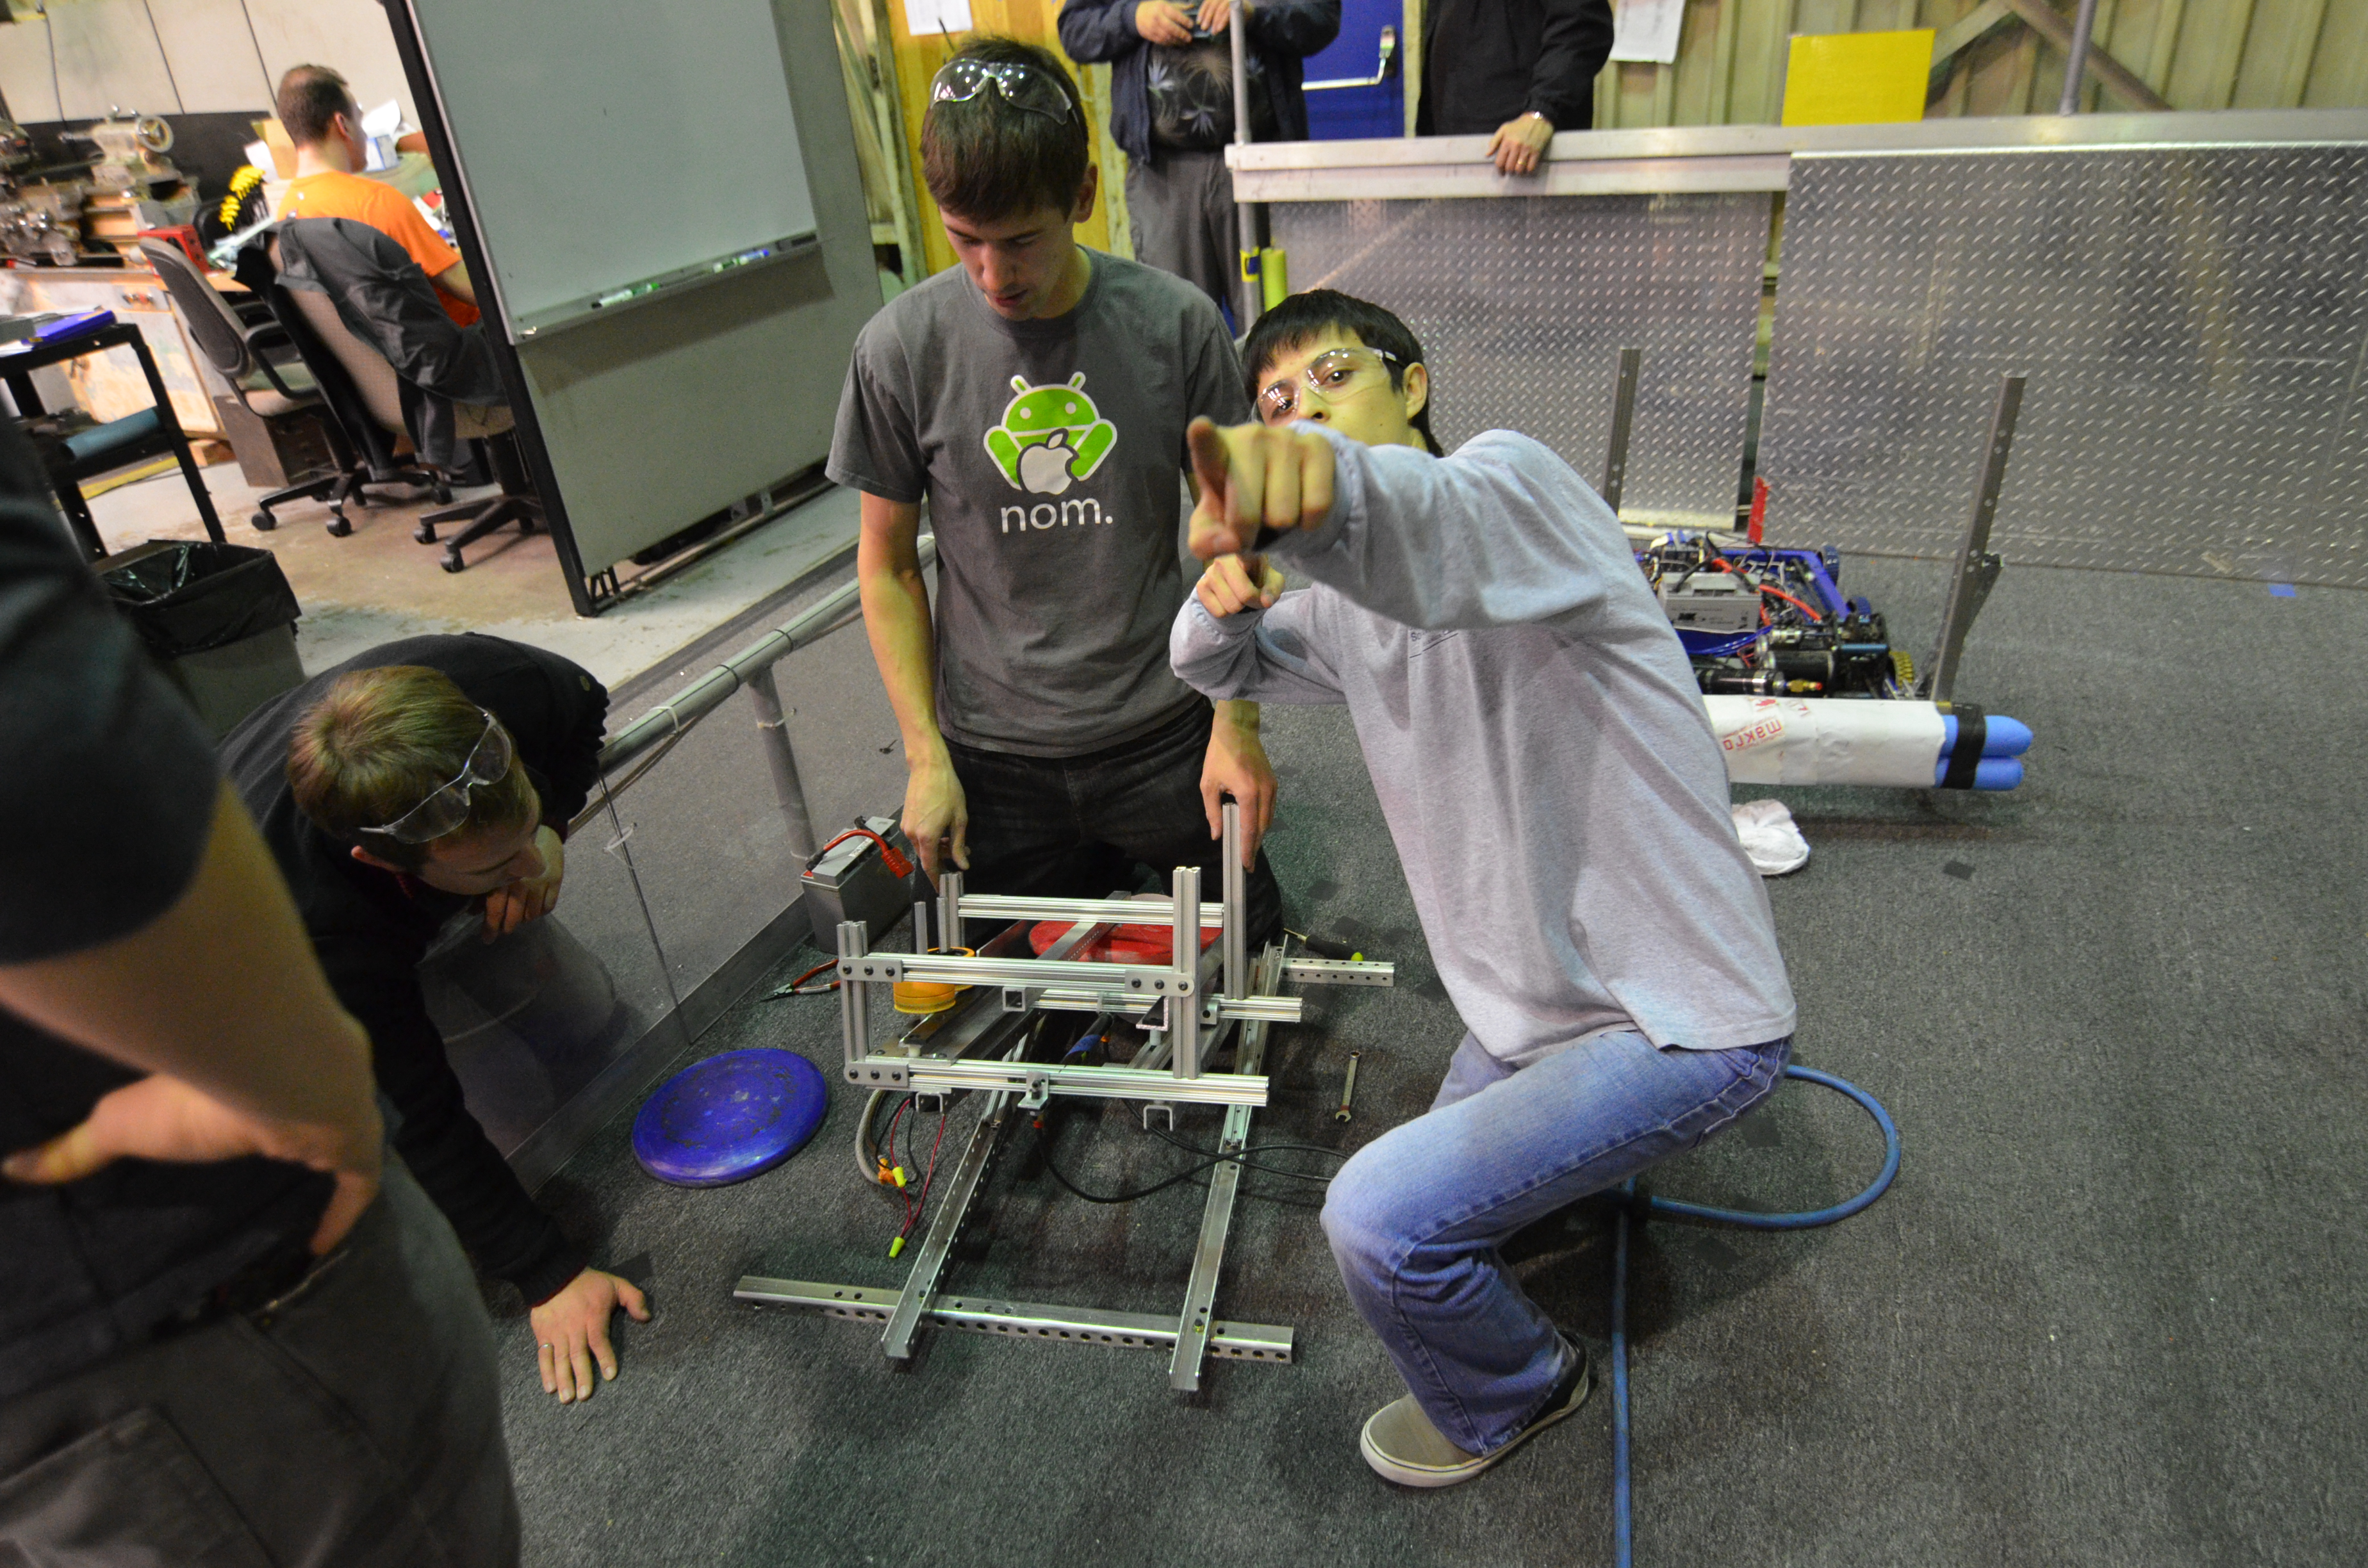
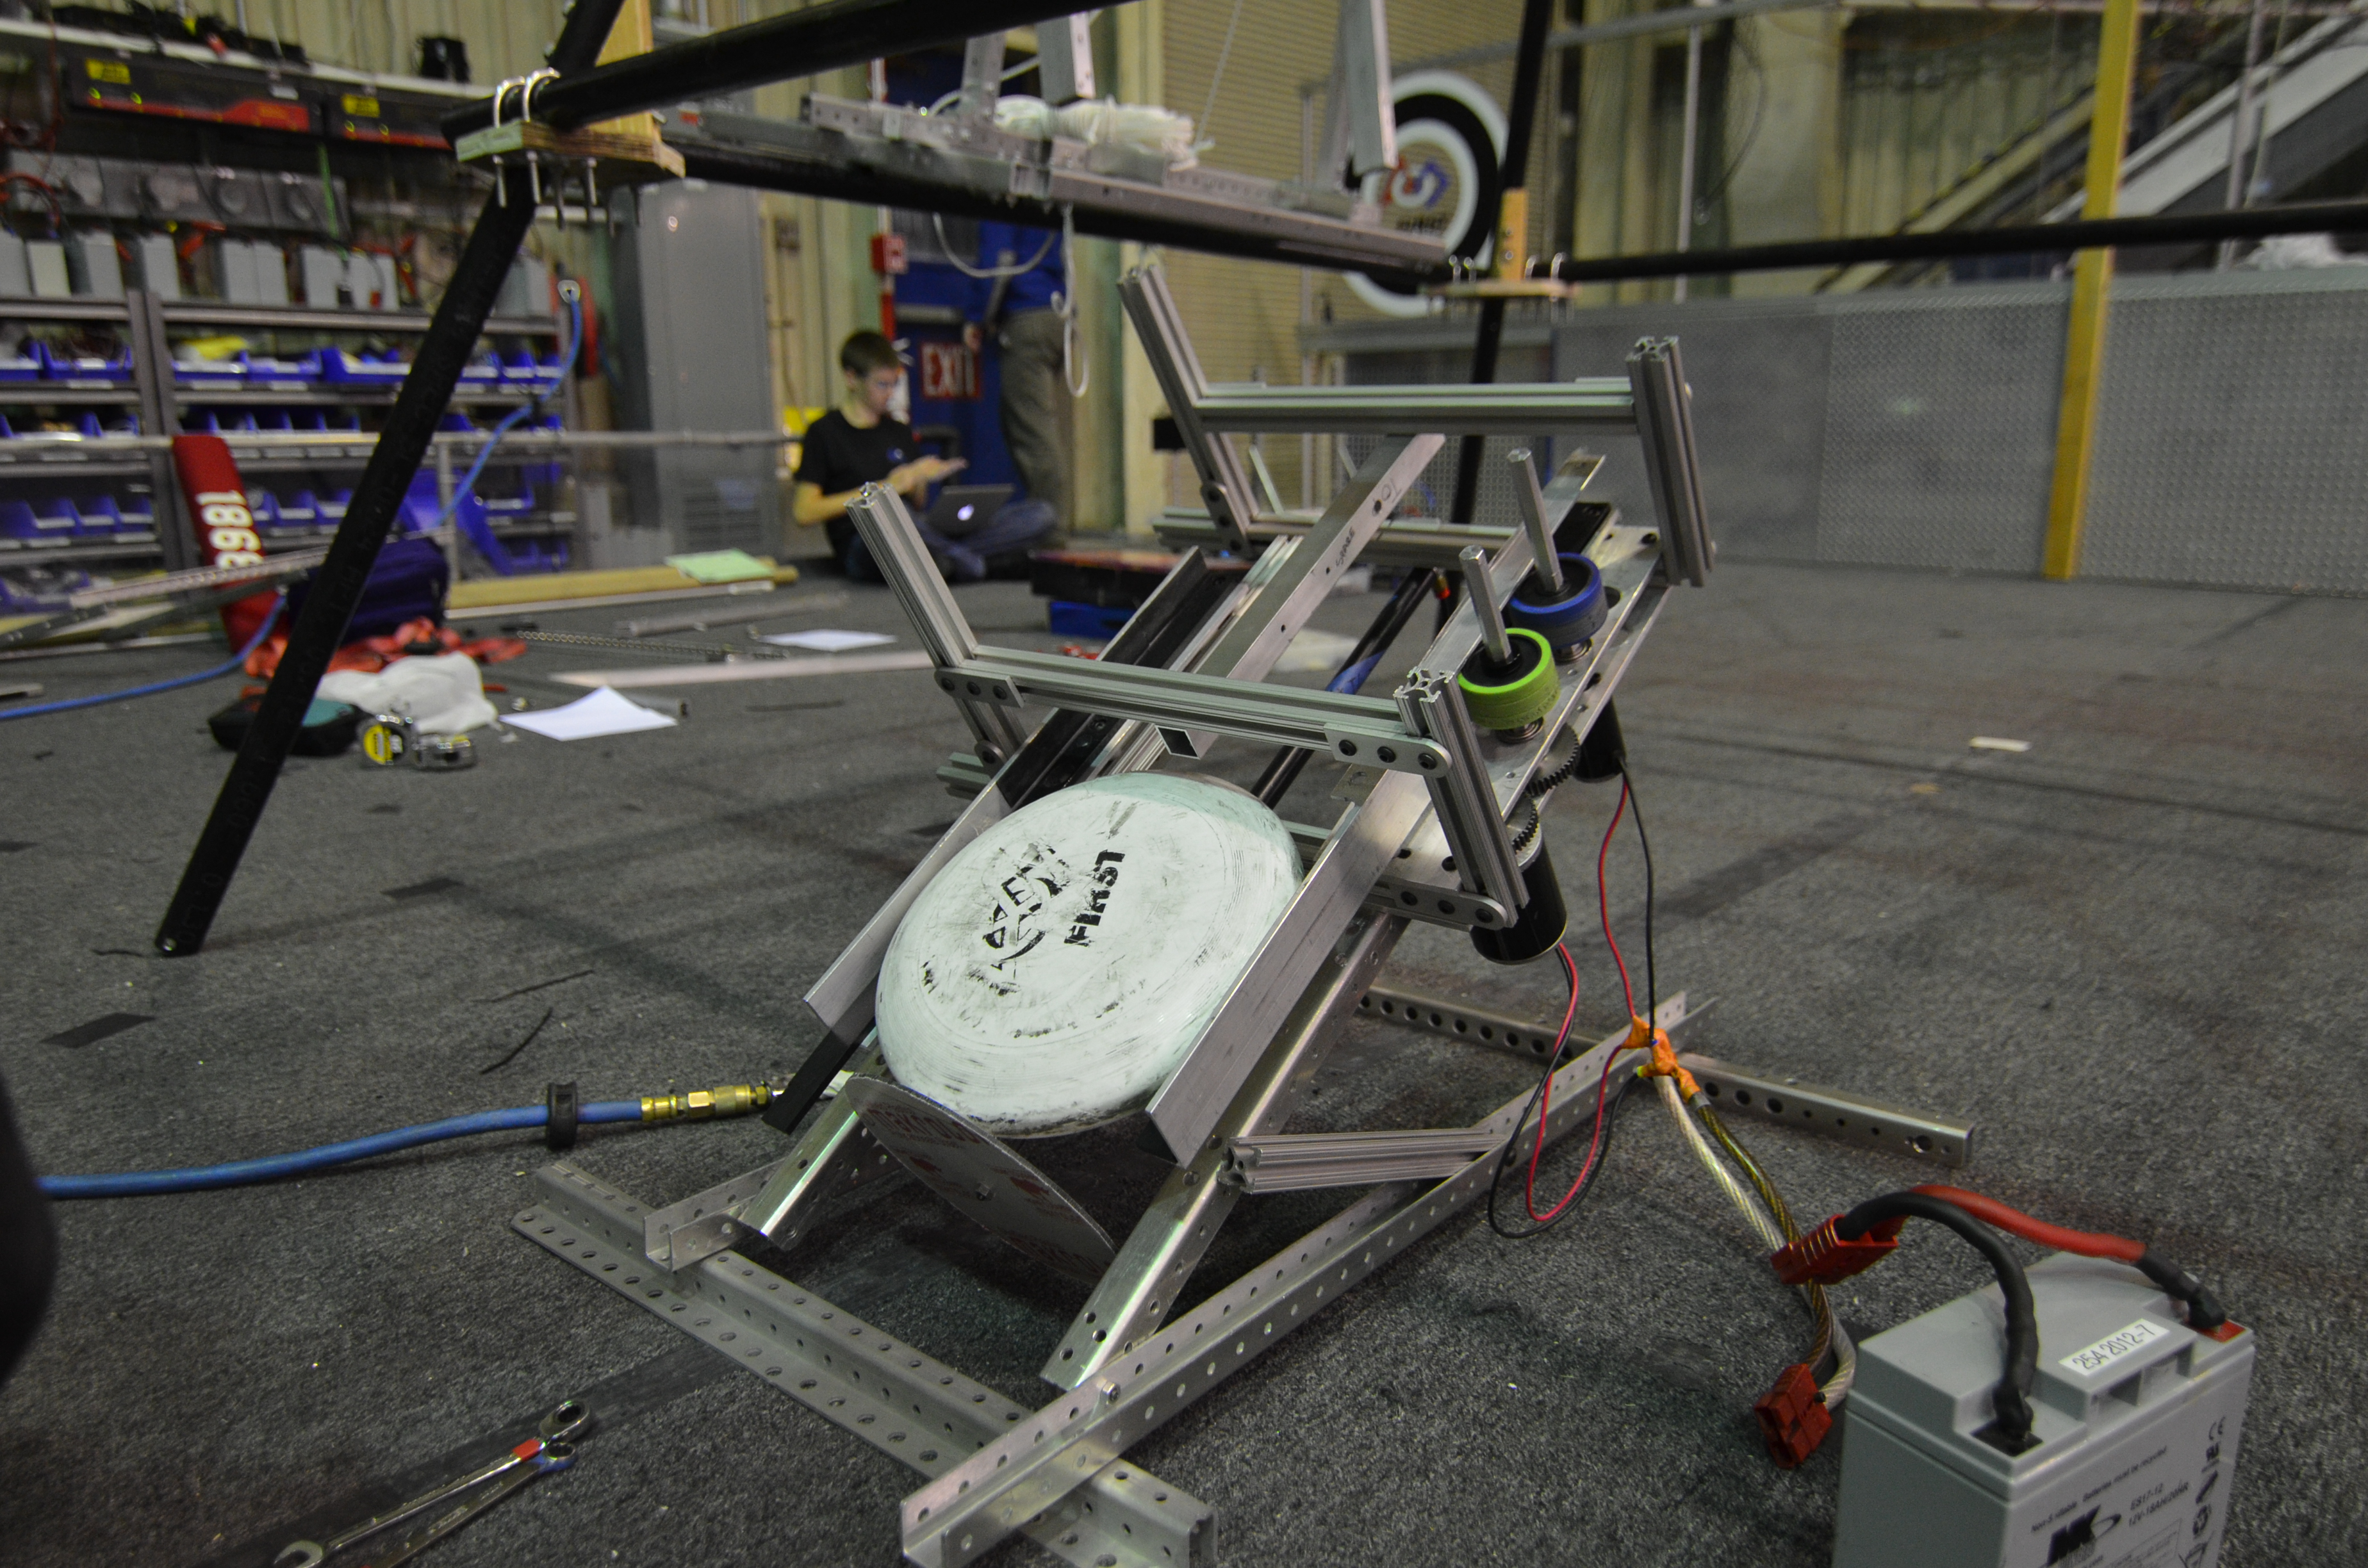
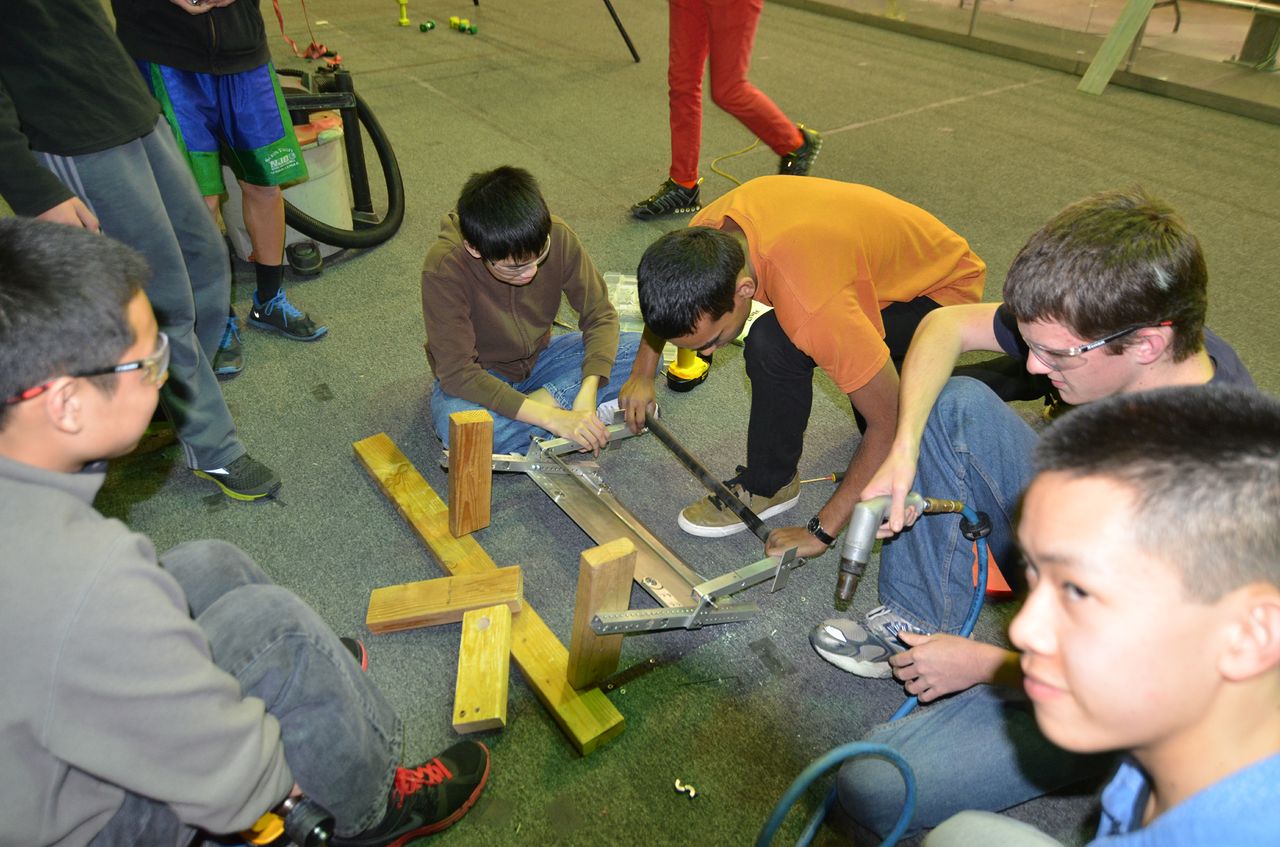
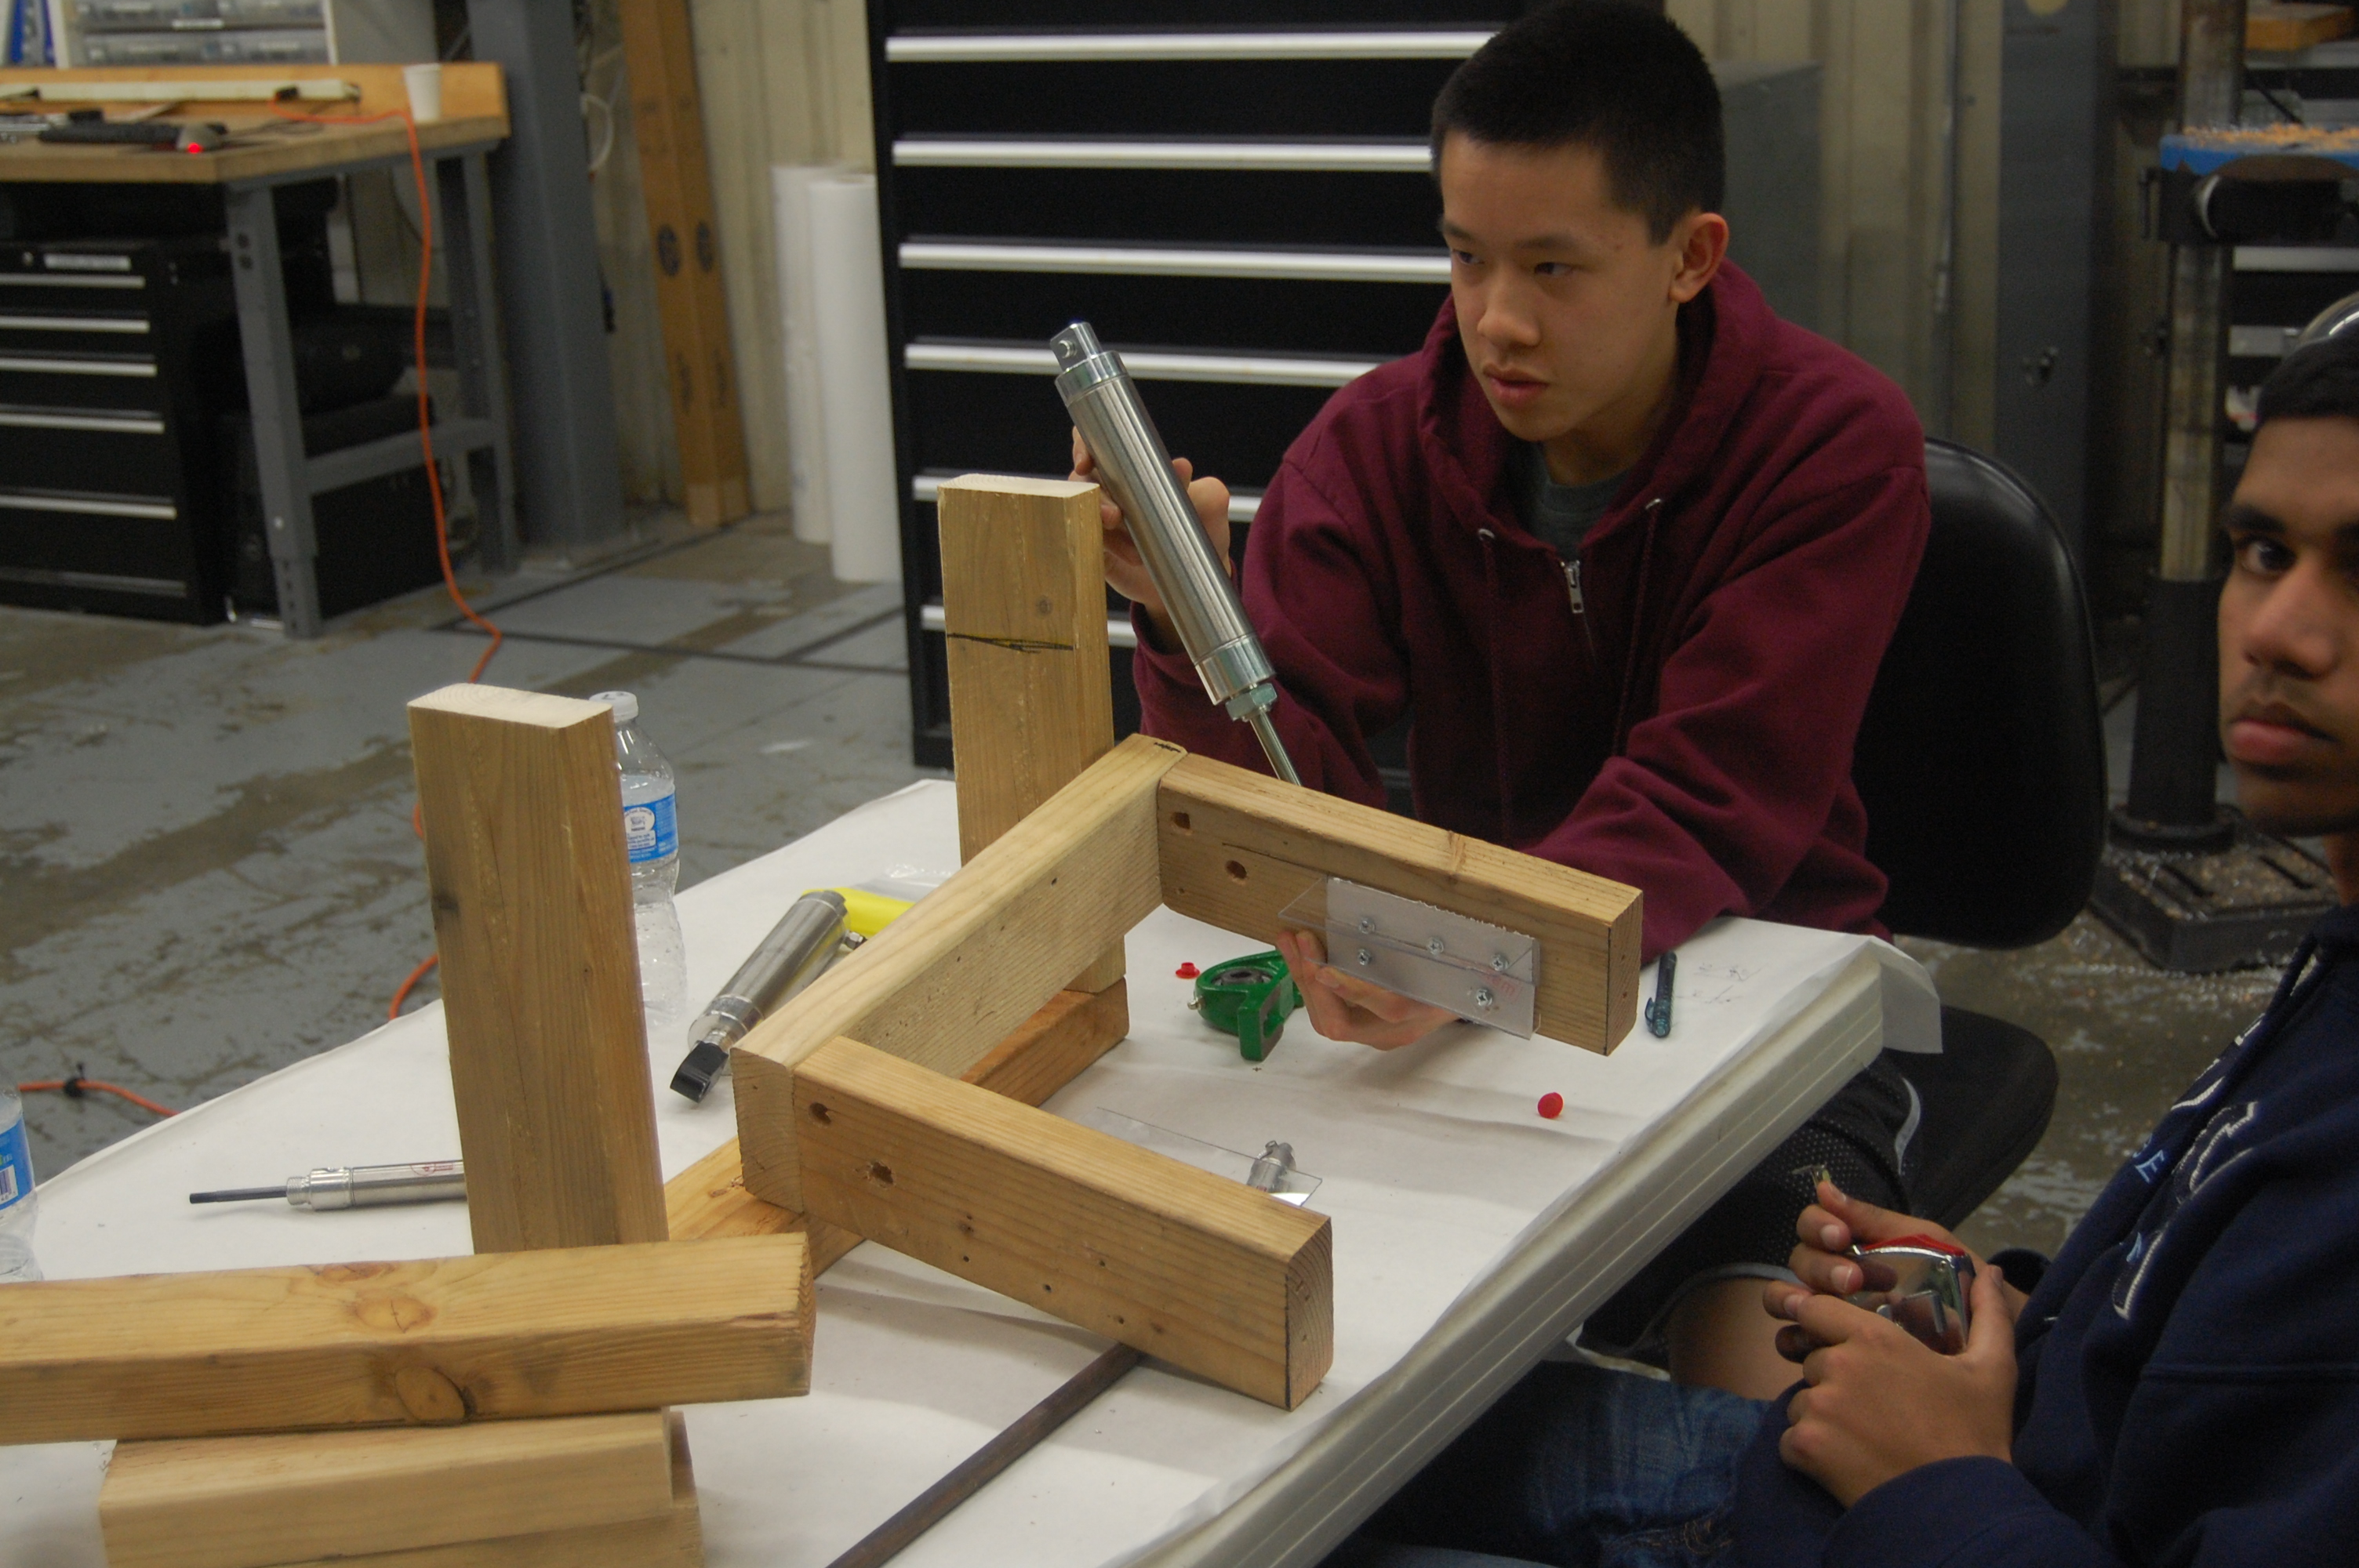
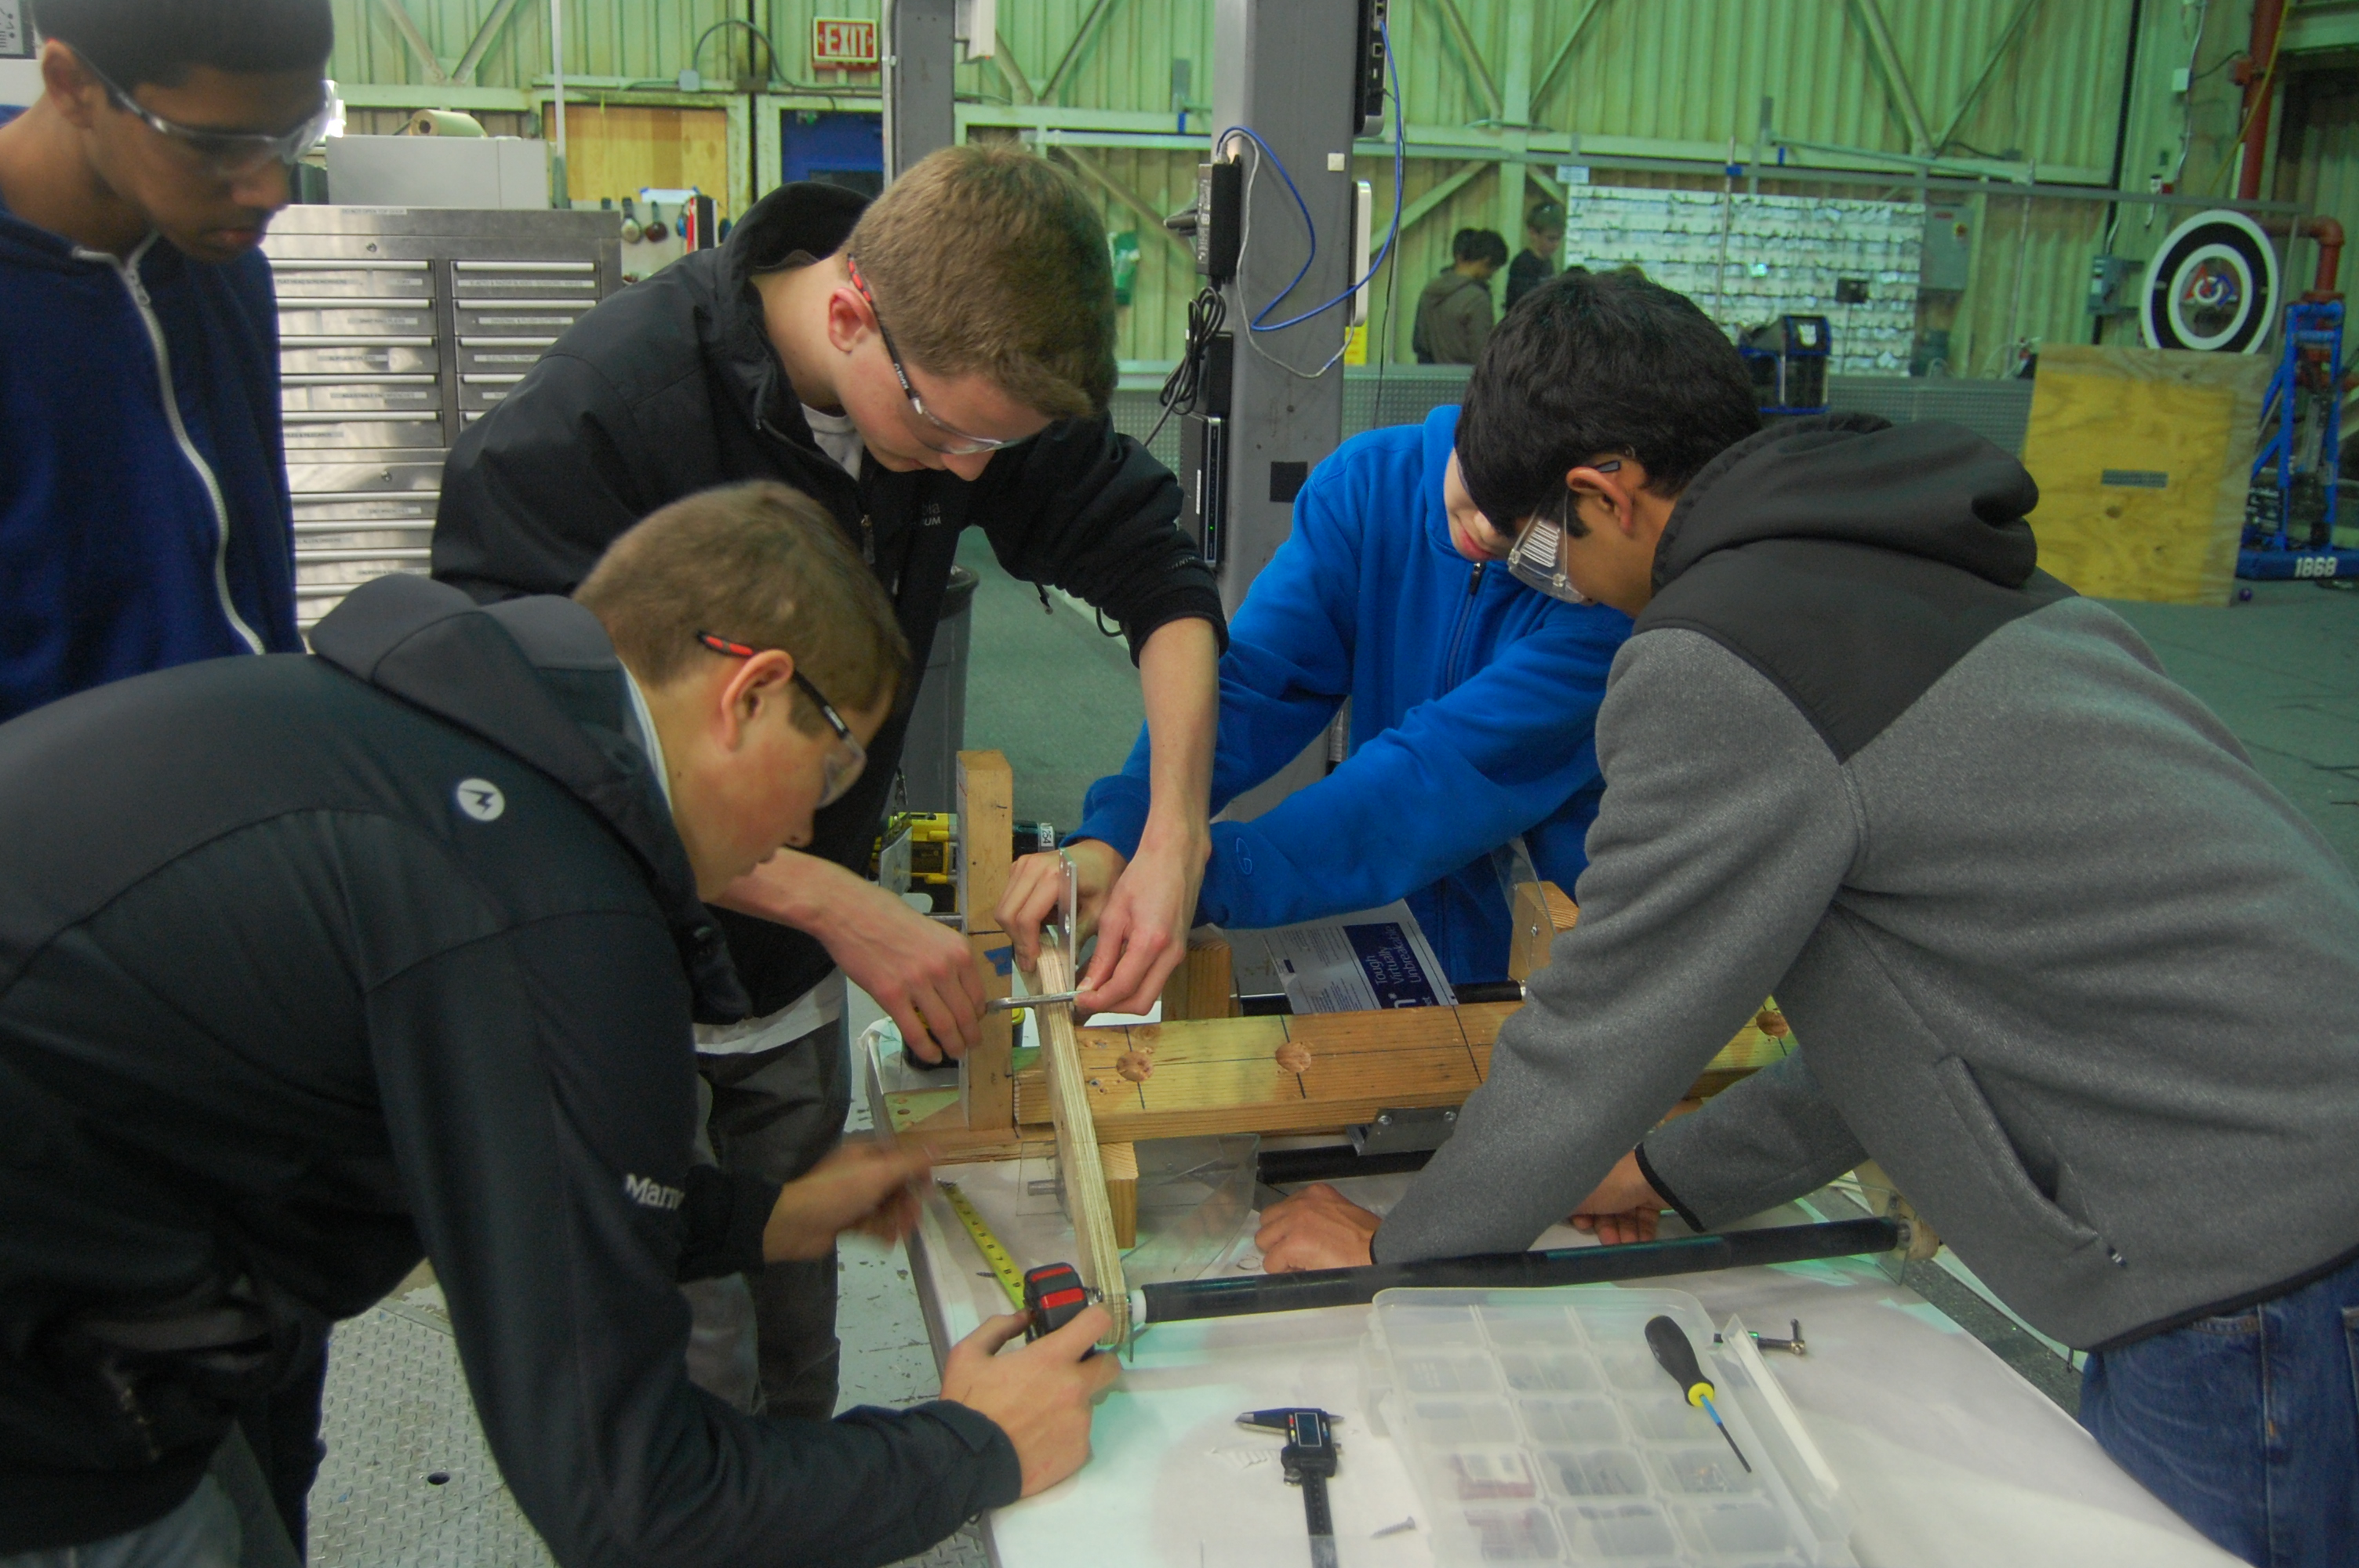
The intake prototype is taking shape. It is now at a point where it's working and we are almost ready to begin manufacturing. Along with the intake, the mechanism for transferring frisbees to the shooter is also in the process of being prototyped. This indexing mechanism will transfer frisbees from the intake and conveyor to load them up in the shooter. The prototype will use two pneumatic pistons to accomplish this. It doesn't yet work fully, but in terms of a proof of concept, in works fairly well.
DSC_0019

Students building the indexing prototype

Wiring

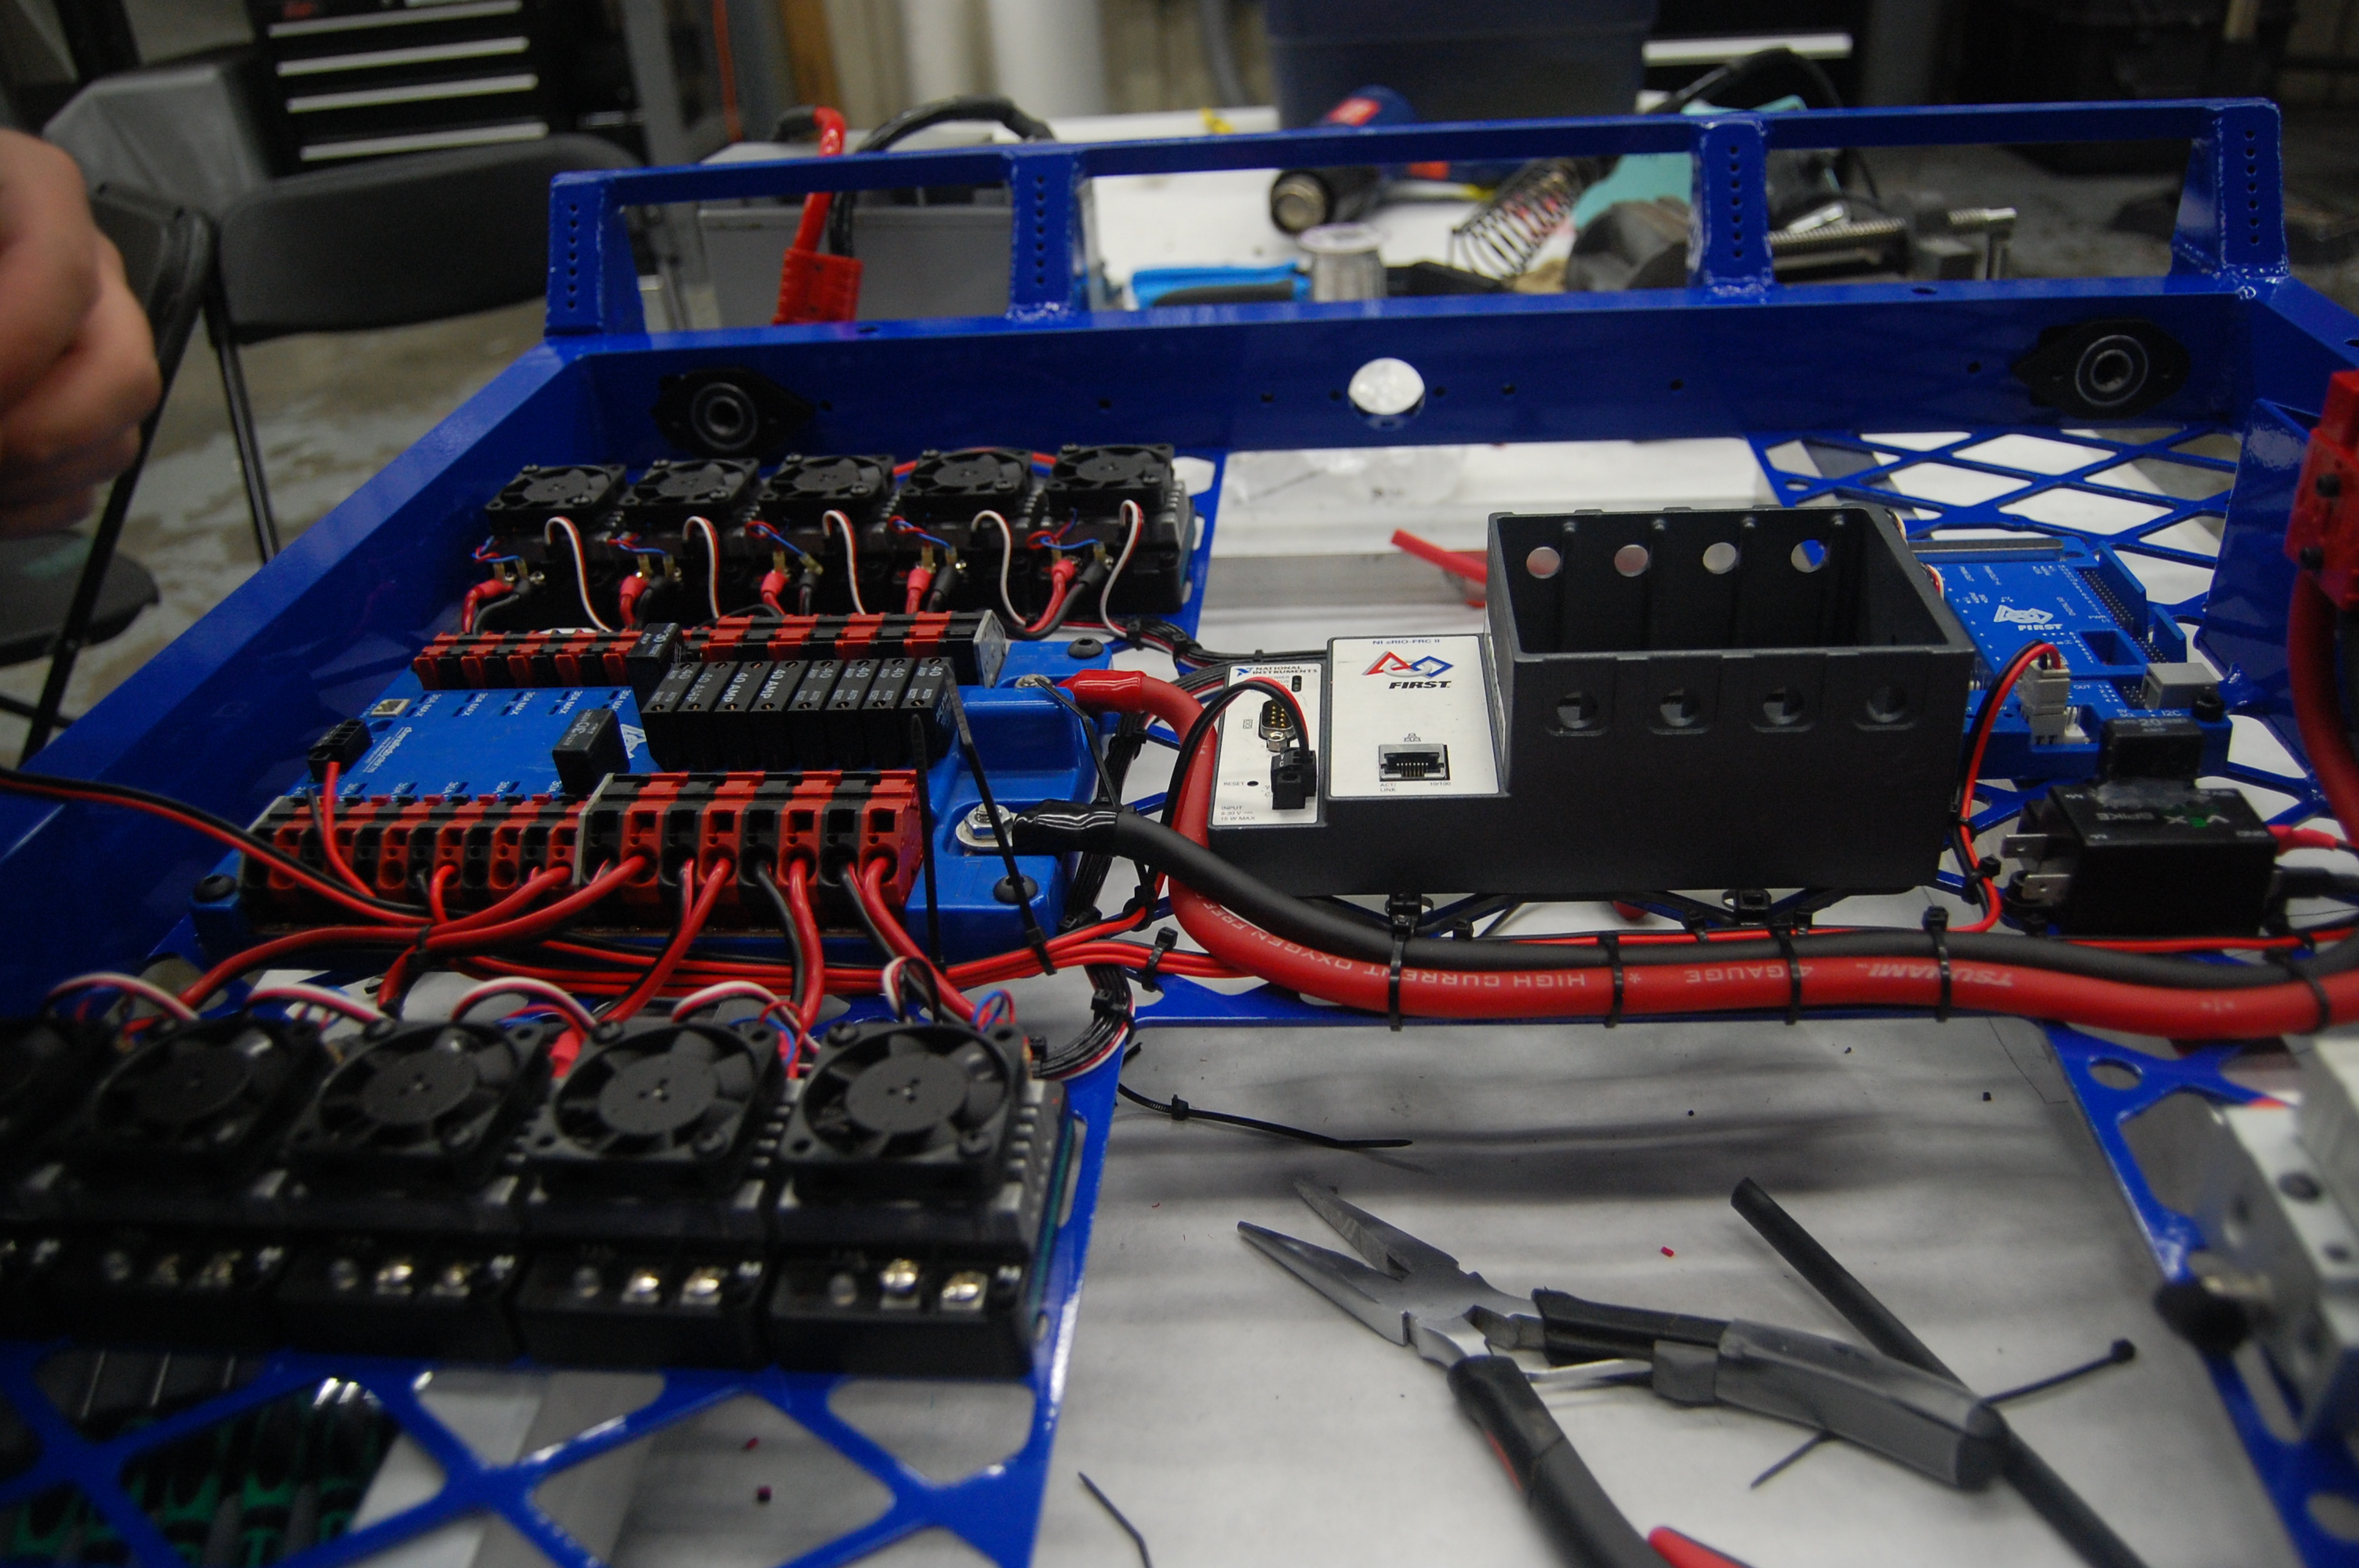
The robot wiring was worked on today on both the practice bot and the competeition bot. The PWM cables from the Talons were wired and put in place and the relays were wired to the power distribution board.
DSC_0020

Wiring on the drive chassis

Programming

The programmers did more work on control and filters.  They created a "bang-bang" controller; unlike the PID contoller, the bang-bang controller runs the control source until it reaches it goal, and stops once the goal is reached.  They used the control scheme to control the shooter wheel, which worked fairly well (aside from the funny noises of the motors going on and off).  The students also used a Counter instead of an Encoder to represent the encoder sensor, as the period of the encoder can be retrieved to calculate the RPM of the shooter wheel.  Next, they also wrote a moving average filter, which takes in a double as an input and stores it in an array.  The filter would return the average of the inputs as a single output.  This has not yet been used, but it is a good utility to have.

Finally, the programmers prettified the code significantly.  Many Javadoc comments and style-guide-cohering formatting fixes were included in the prettification process.


Action Items

  • Finish and test indexing prototype

Lab closing time for the night was 10:00 PM
Day #20: Funneling Intake and Wiring

2013 FRC Build SeasonFIRST Robotics

Intake

Today, many students worked on the funneling intake. We tested many angles, and elevations, to account for the robot in motion. This funneling intake works through 3 steps. First, the frisbee is sucked in to the intake assembly by a roller that spins over/on top of the frisbee. From there, the frisbee is funnelled by two plastic angled "walls" into a smaller chute. From here, a last conveyor moves the frisbee into the conveyor. Today the students worked on varying the distances the rollers were offset from the ground in addition to the angle/placement of the intake funnels. In addition a team branched off and worked on the CAD for a "real life" model, similar to one that would go on the robot with all variables accounted for.

The final decisions for the intake:

  • Funneling walls would be at a 45 degree angle
  • The intake will be symmetrical (no staggering of walls to let one frisbee go in ahead of another)
  • The funnelling walls and extra lexan pieces would all be made out of one piece of lexan (using bends)
  • The back of the intake would rest on the bumpers (students: refer to current CAD in the Sandbox)

DSC_9986

Students test different angles and heights using the wooden prototype


cadintake

Students model the intake in Solidworks

Wiring

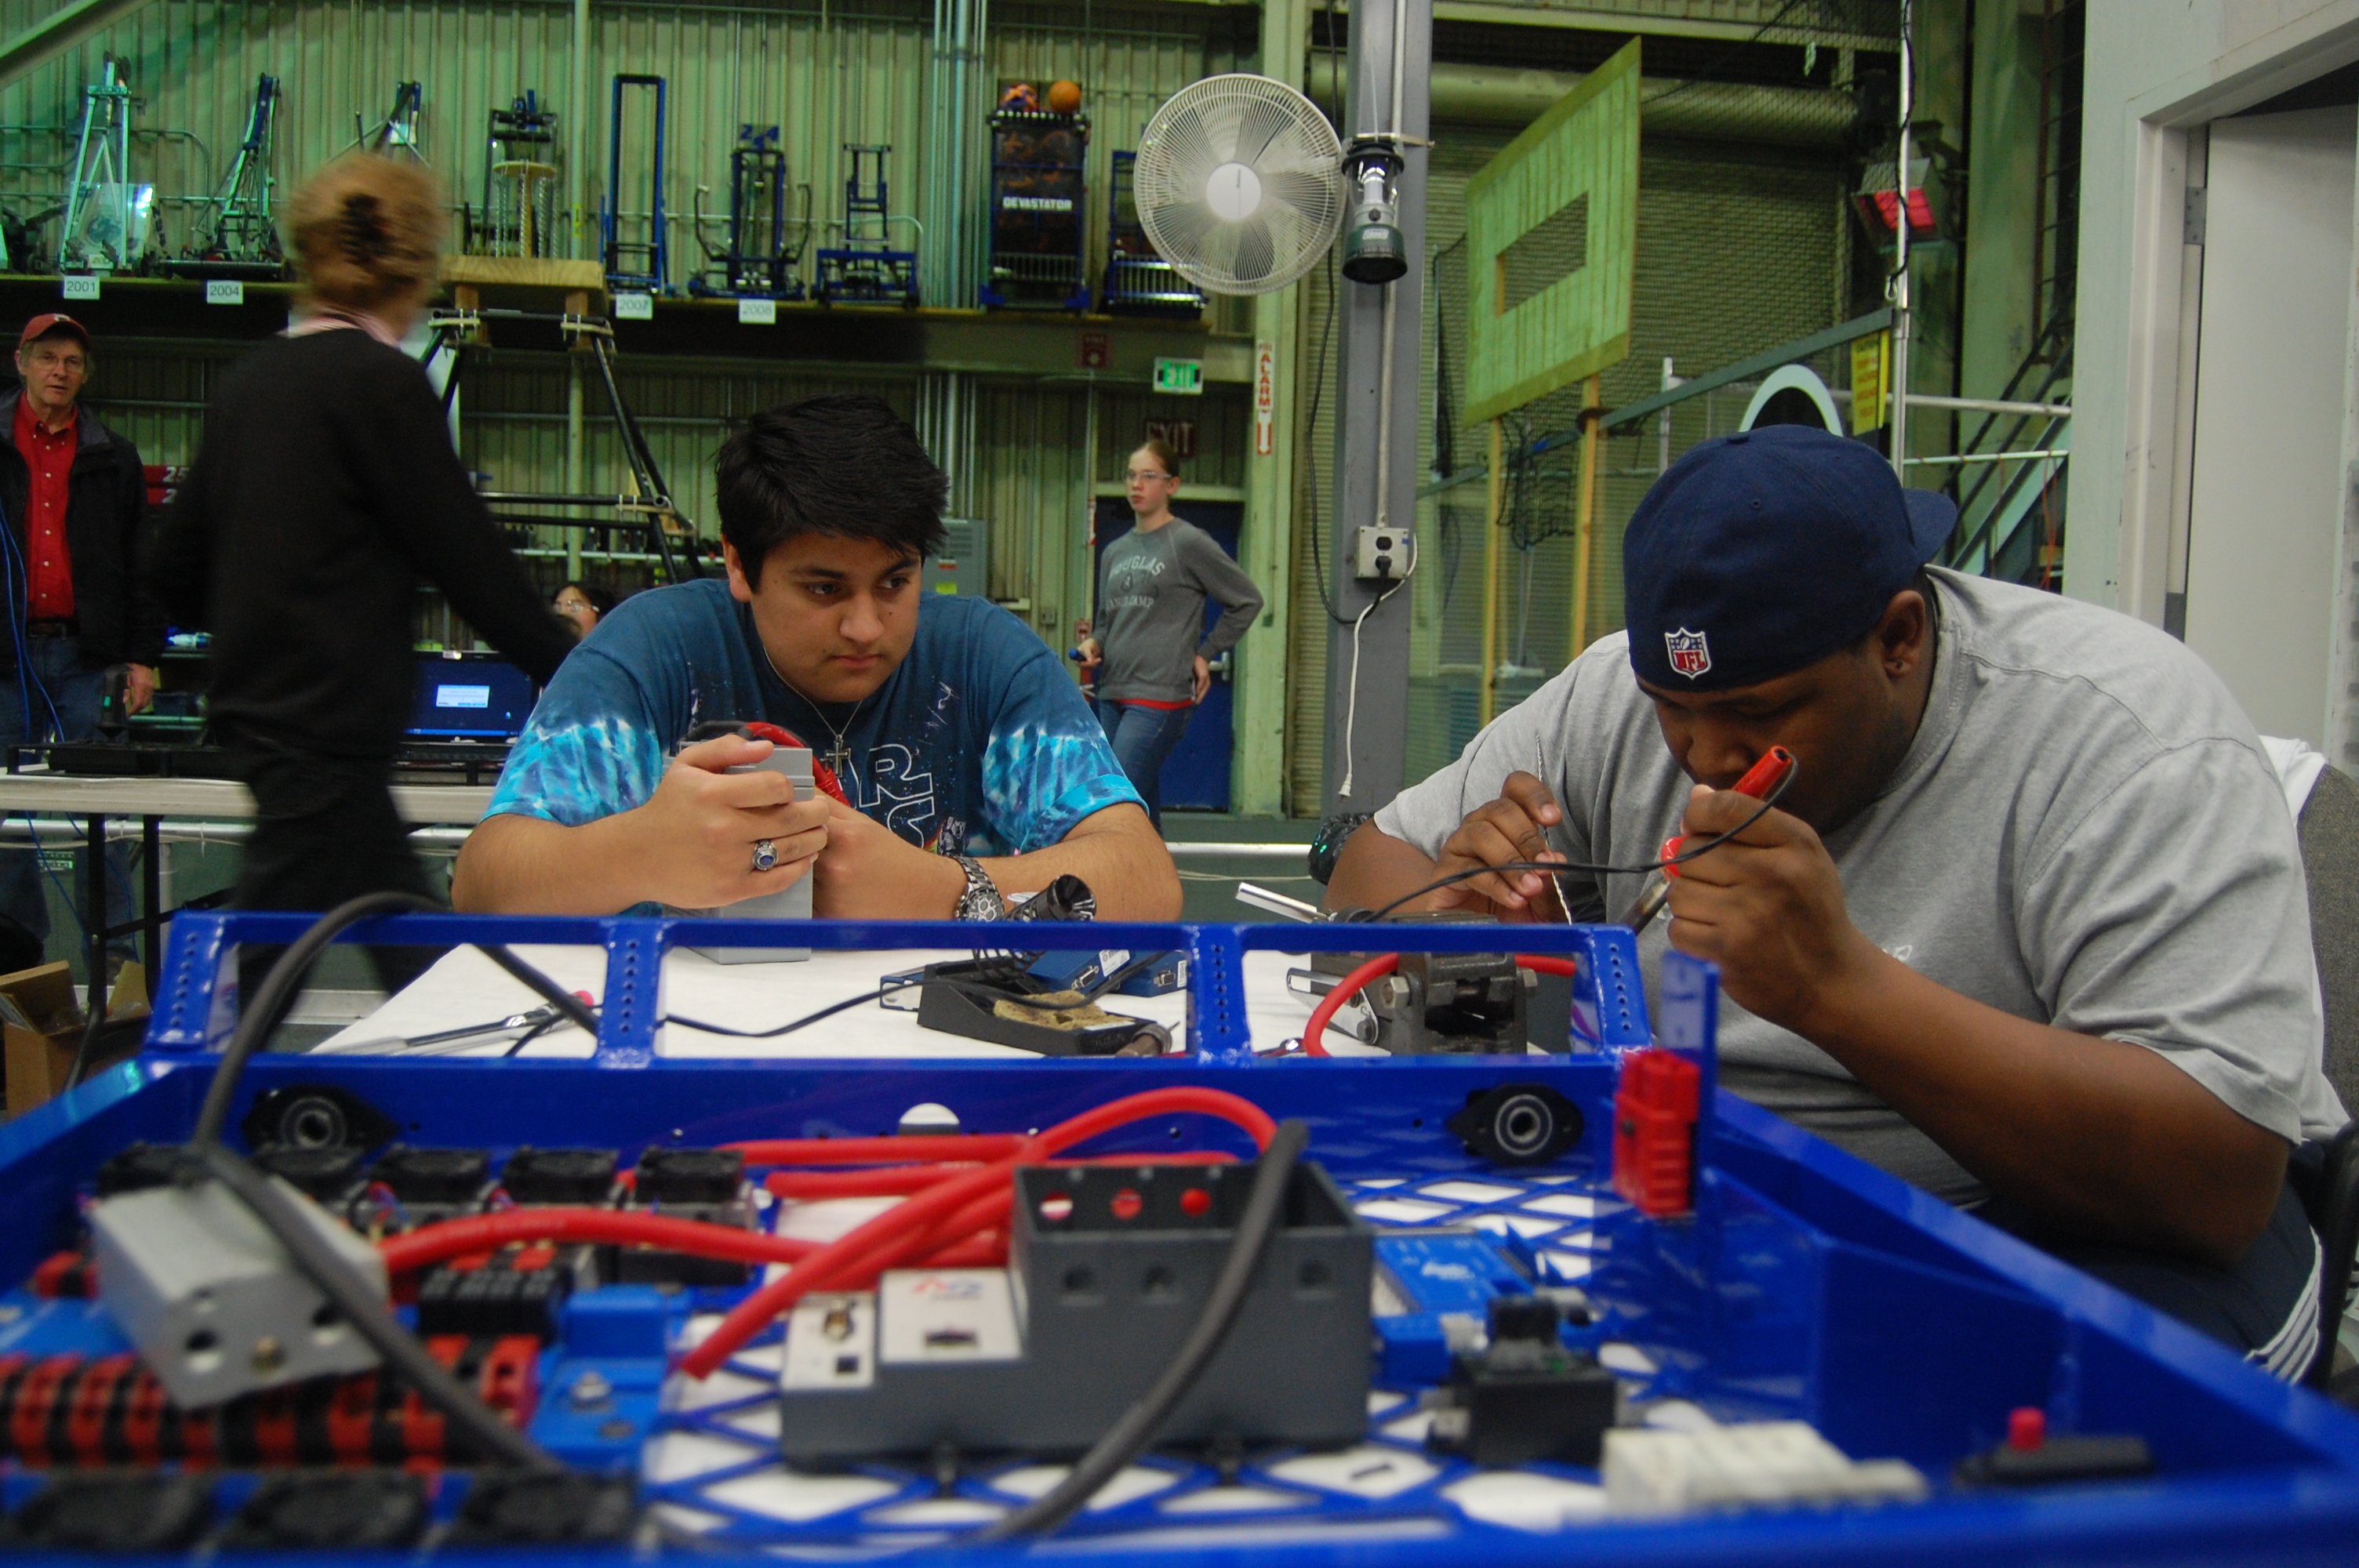
The students and mentors today worked on the electronics for the two chassis we got back from powdercoating. Currently on both the "practice" and "competition" robots, there are Power Distribution Boards, On/Off switches, Talons (speed controllers) and battery boxes.  The team began wiring the Talons to the power distribution board.

DSC_9993

Chassis with electronics

Programming

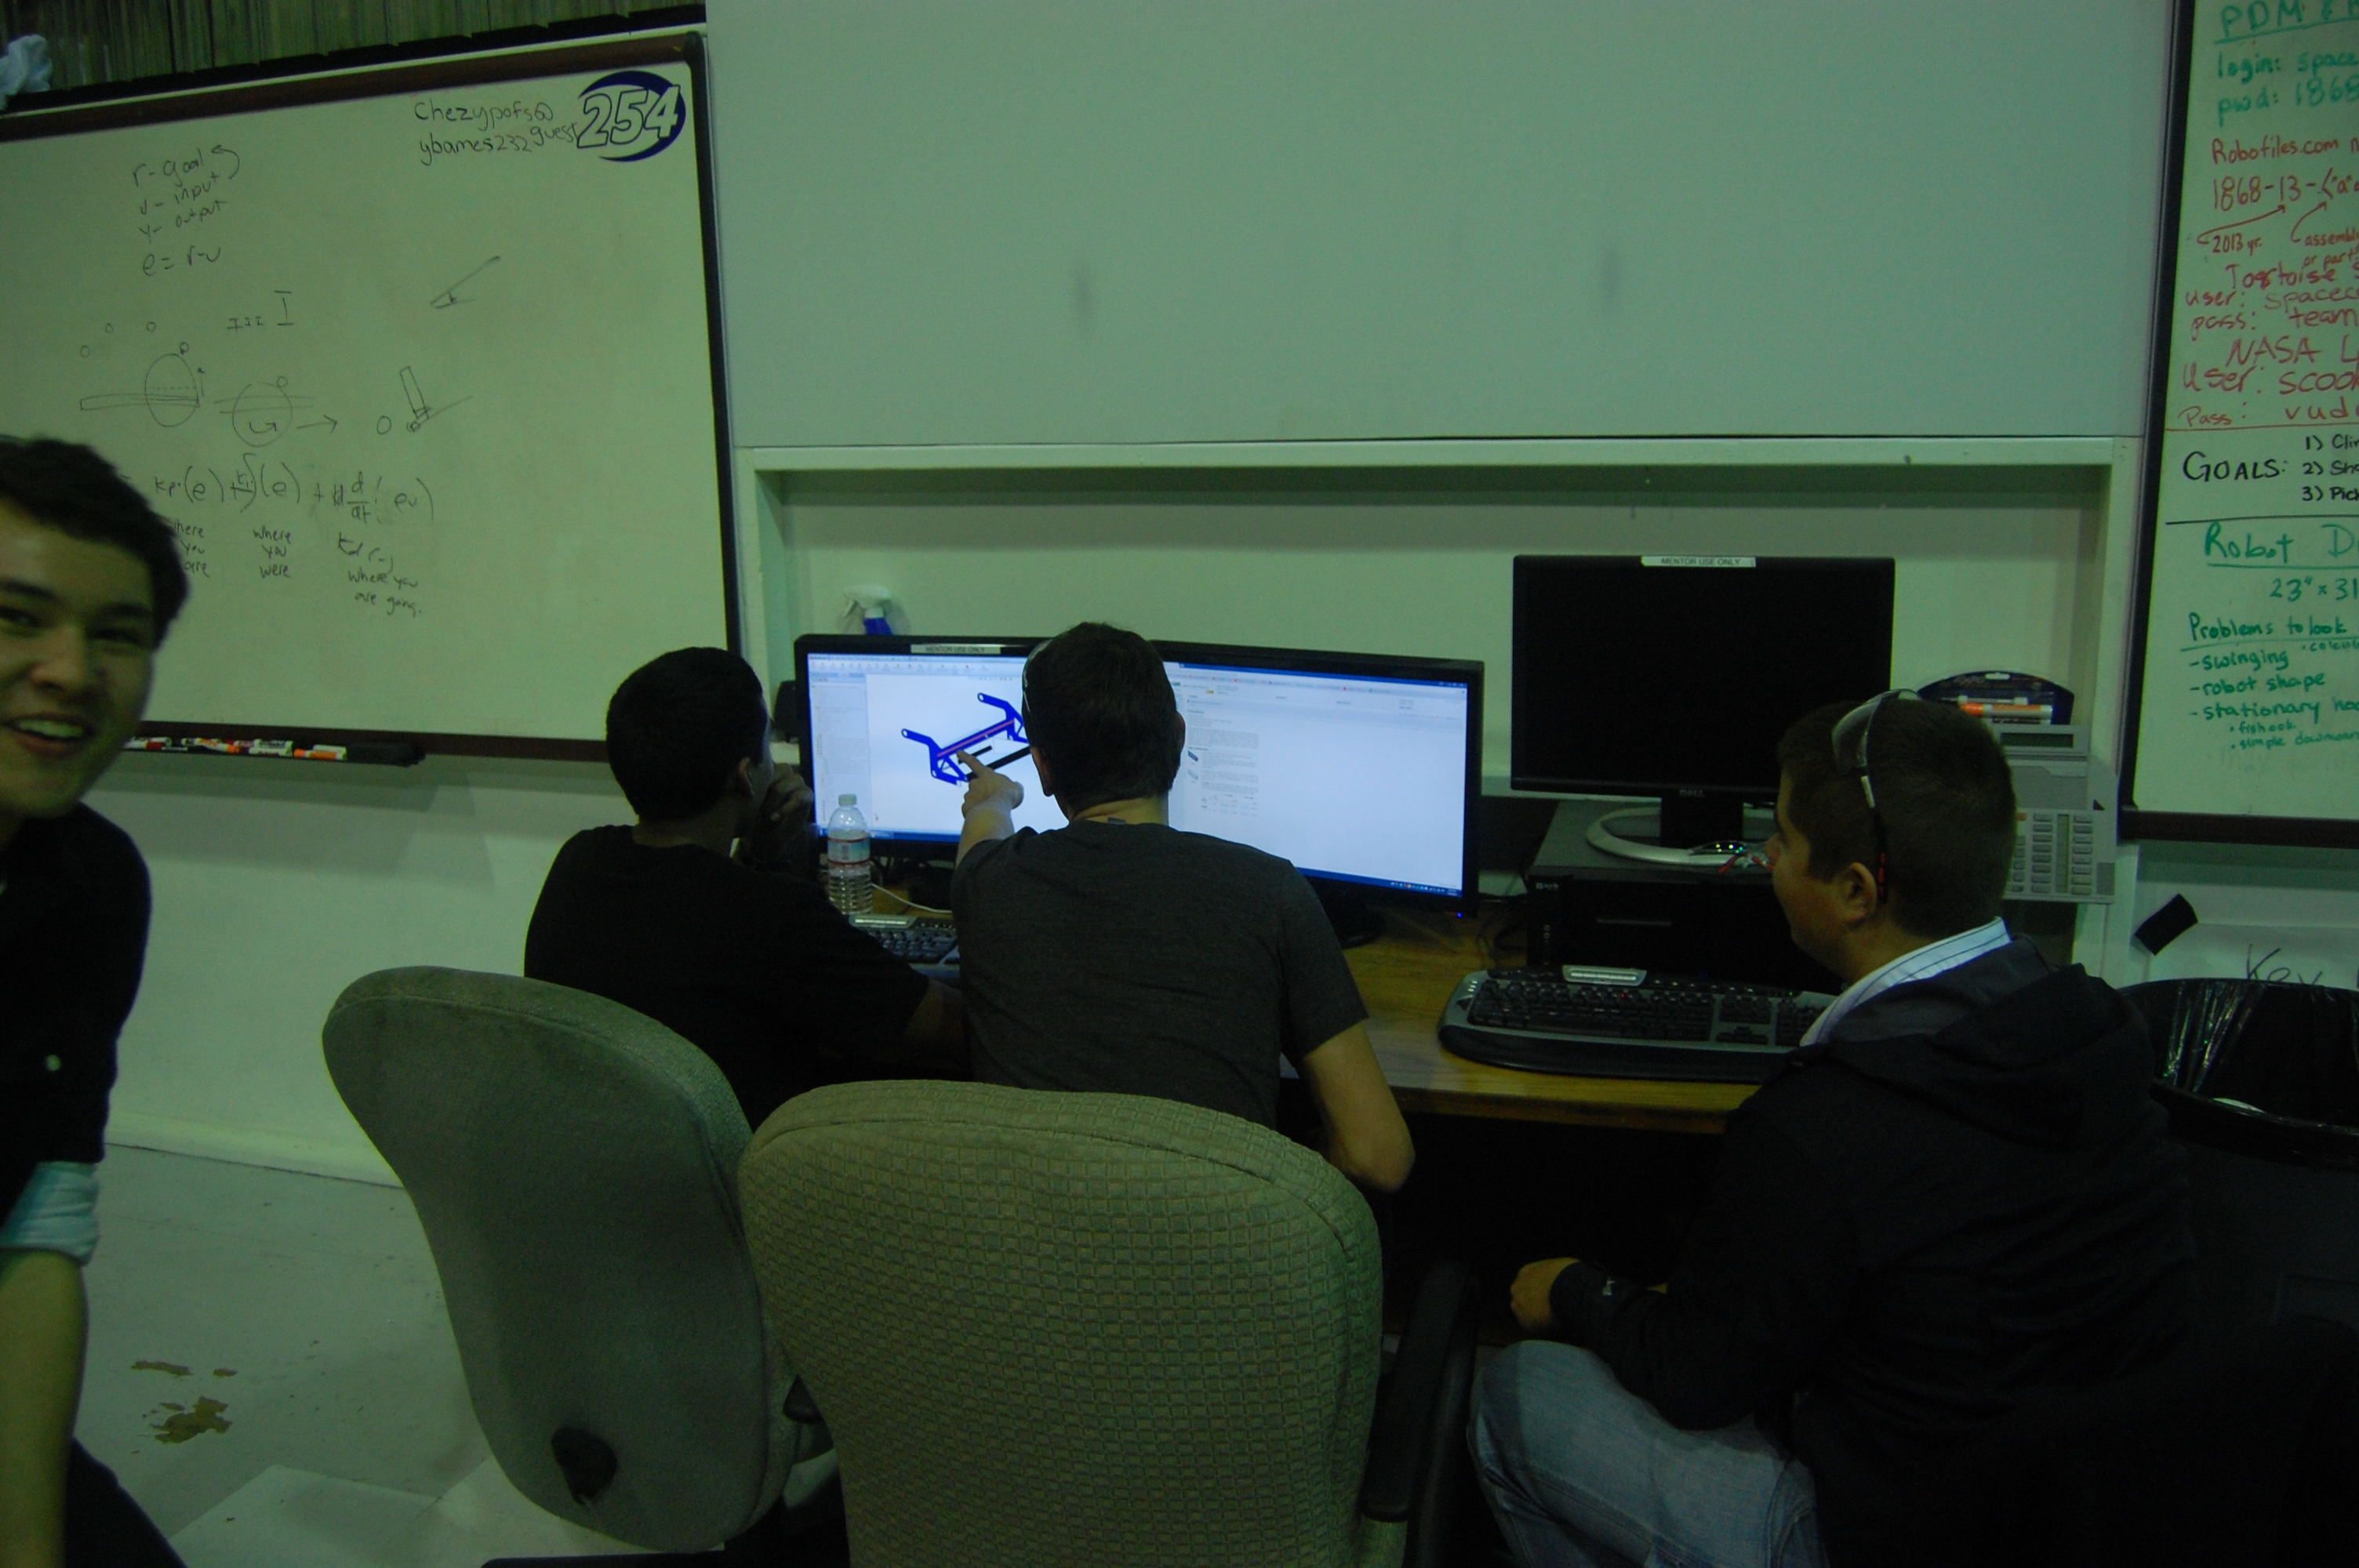
The programmers began the day by creating a command to shift the drivebase gearbox from high gear to low gear.  This was done by creating a Solenoid object and switching it on or off with the press of a button.  In addition, the students mapped four buttons on the gamepad (A, B ,X, Y) to the 2012 robot's shooter.  Each of the four buttons, when pressed, sets the shooter wheel at a predetermined speed.  This implementation will be helpful for adjusting shooter wheel speeds on the actual robot this year.

Next, the programmers tried to come up with ways to display a graph of values from a Controller (speed, distance, etc) versus time.  They brainstormed ideas on how to implement this, such as using the Smart Dashboard or a webpage.  Students are looking into Flot, a jQuery library for plotting values on a dynamic graph.  This graph will help with PID tuning and other testing.

Action Items

  • Continue Wiring Robot Chassis
  • Take steps toward a moving drivebase
  • Continue on intake CAD/prototyping - Finalize dimensions

Lab closing time for the night was: 11:59 pm

Day #19: Reconstructed Intake

2013 FRC Build SeasonFIRST Robotics

Prototyping

Intake

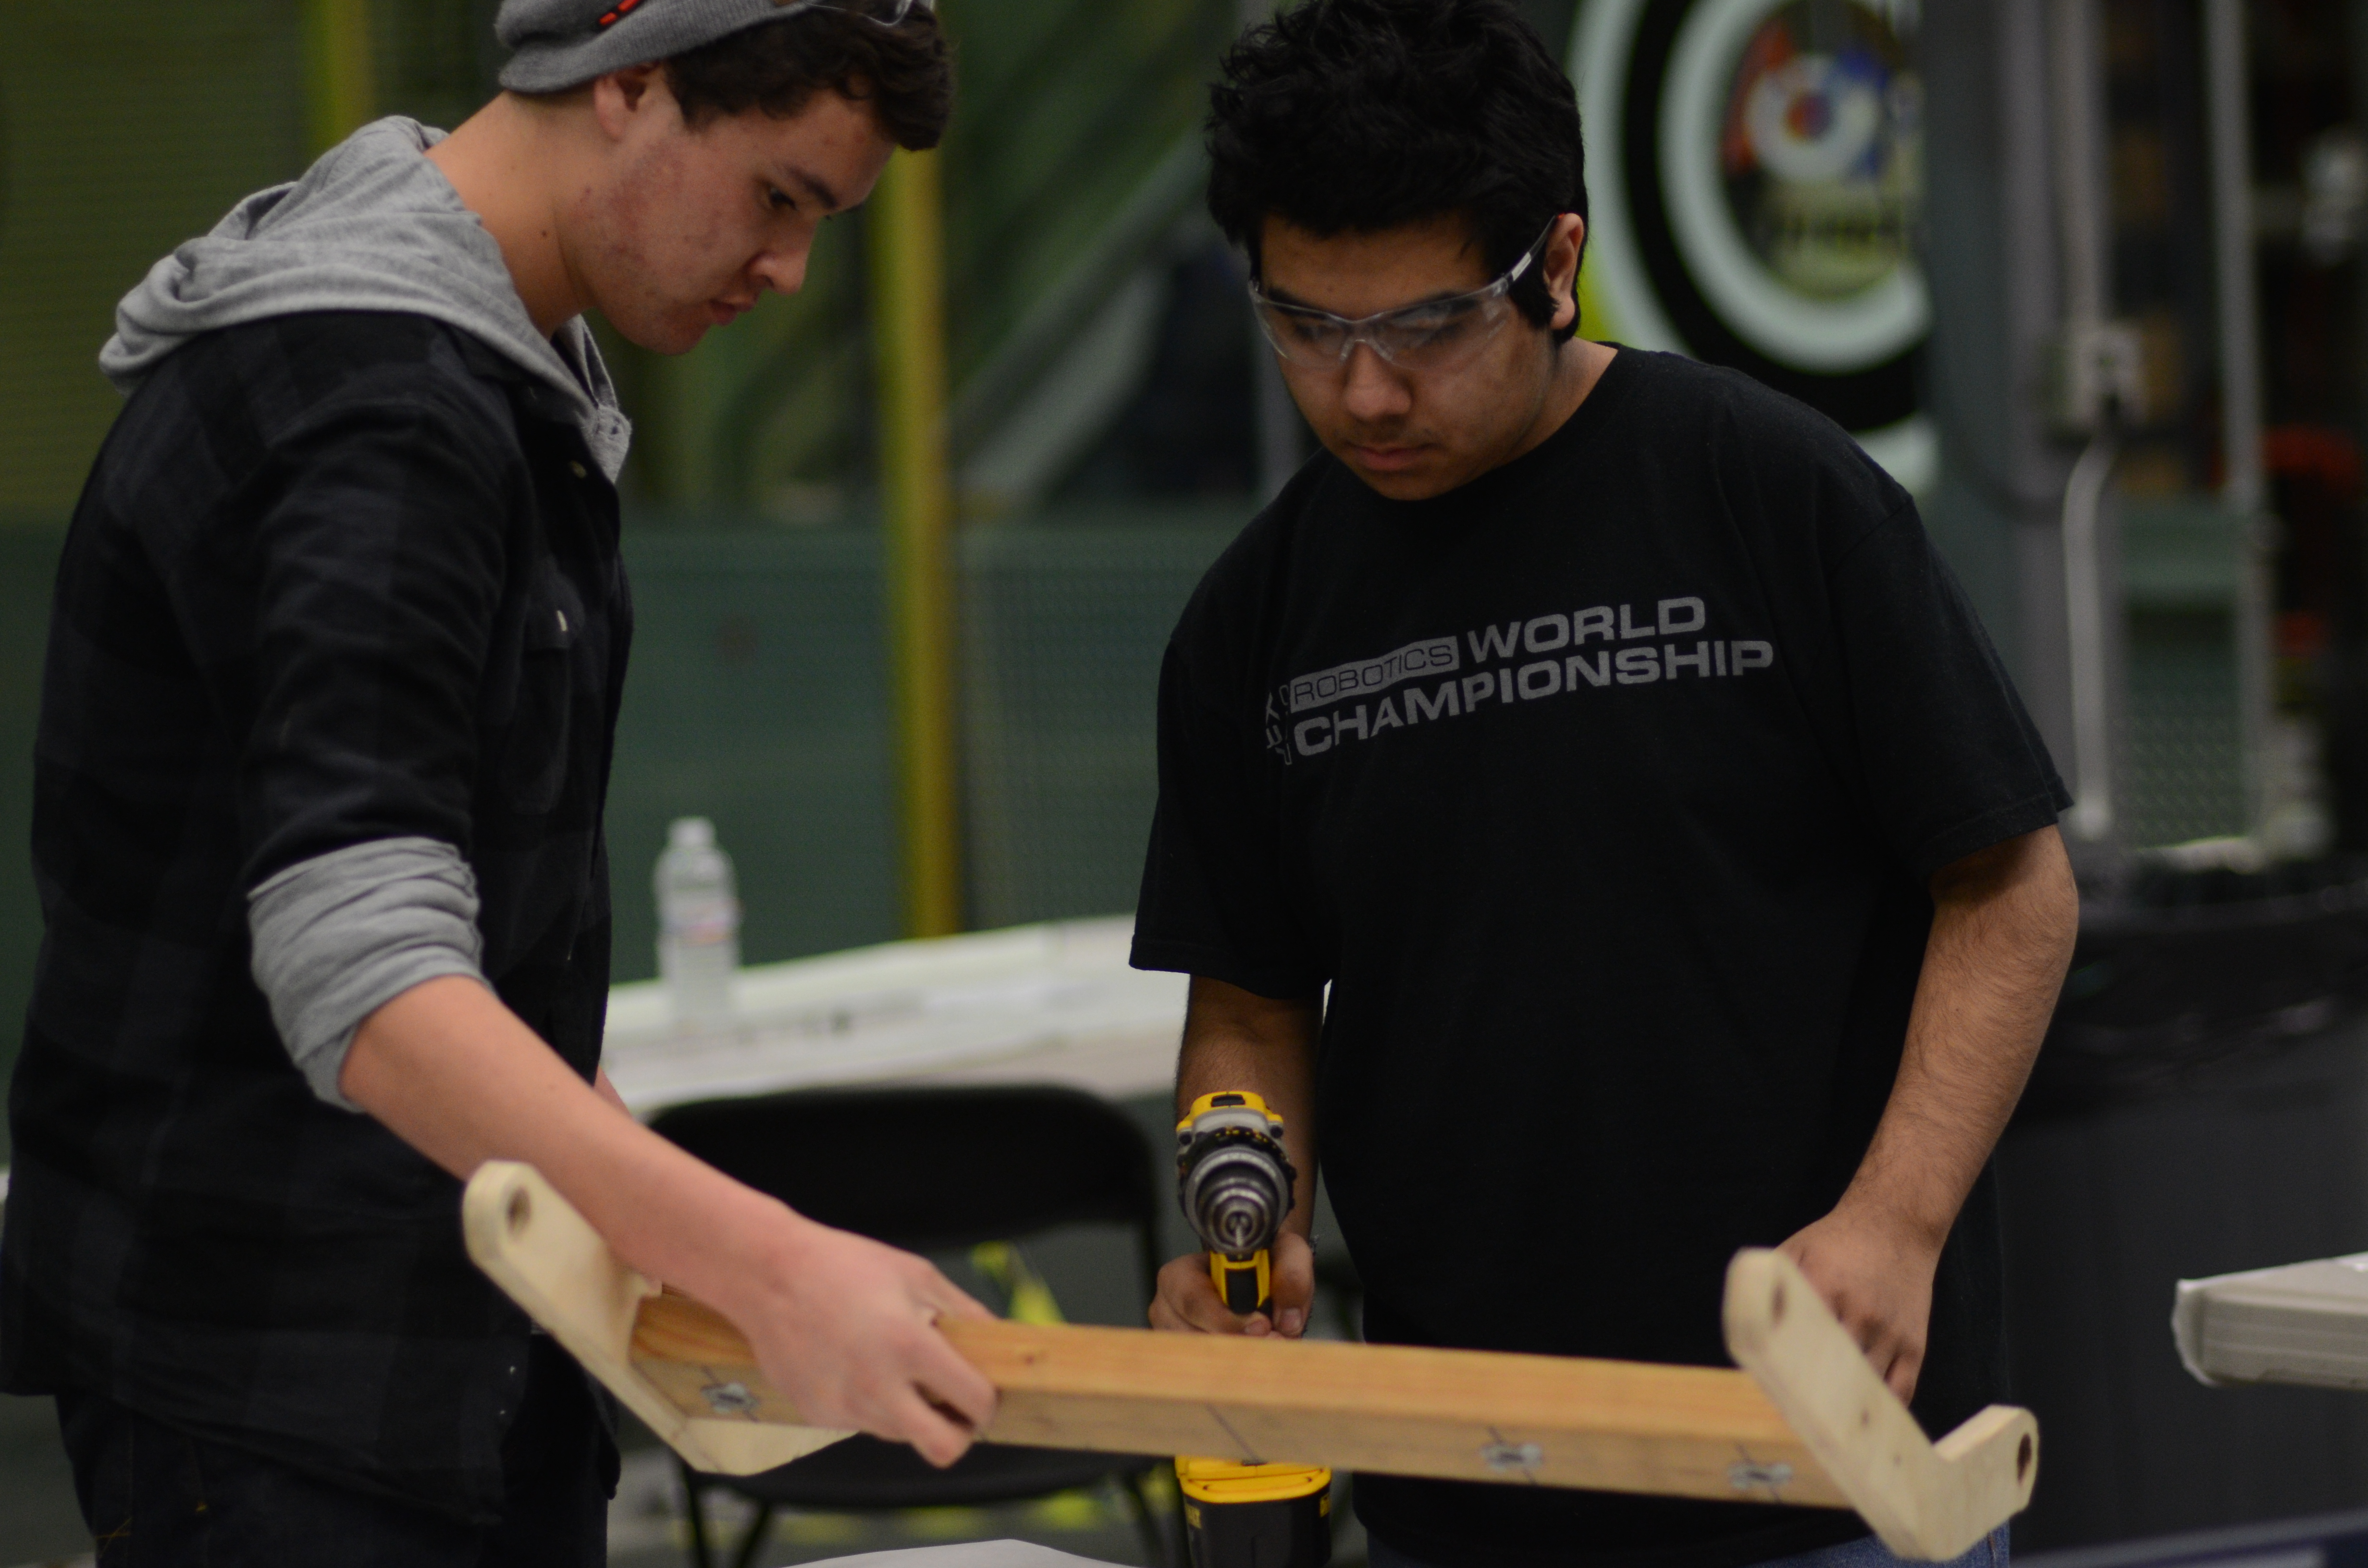
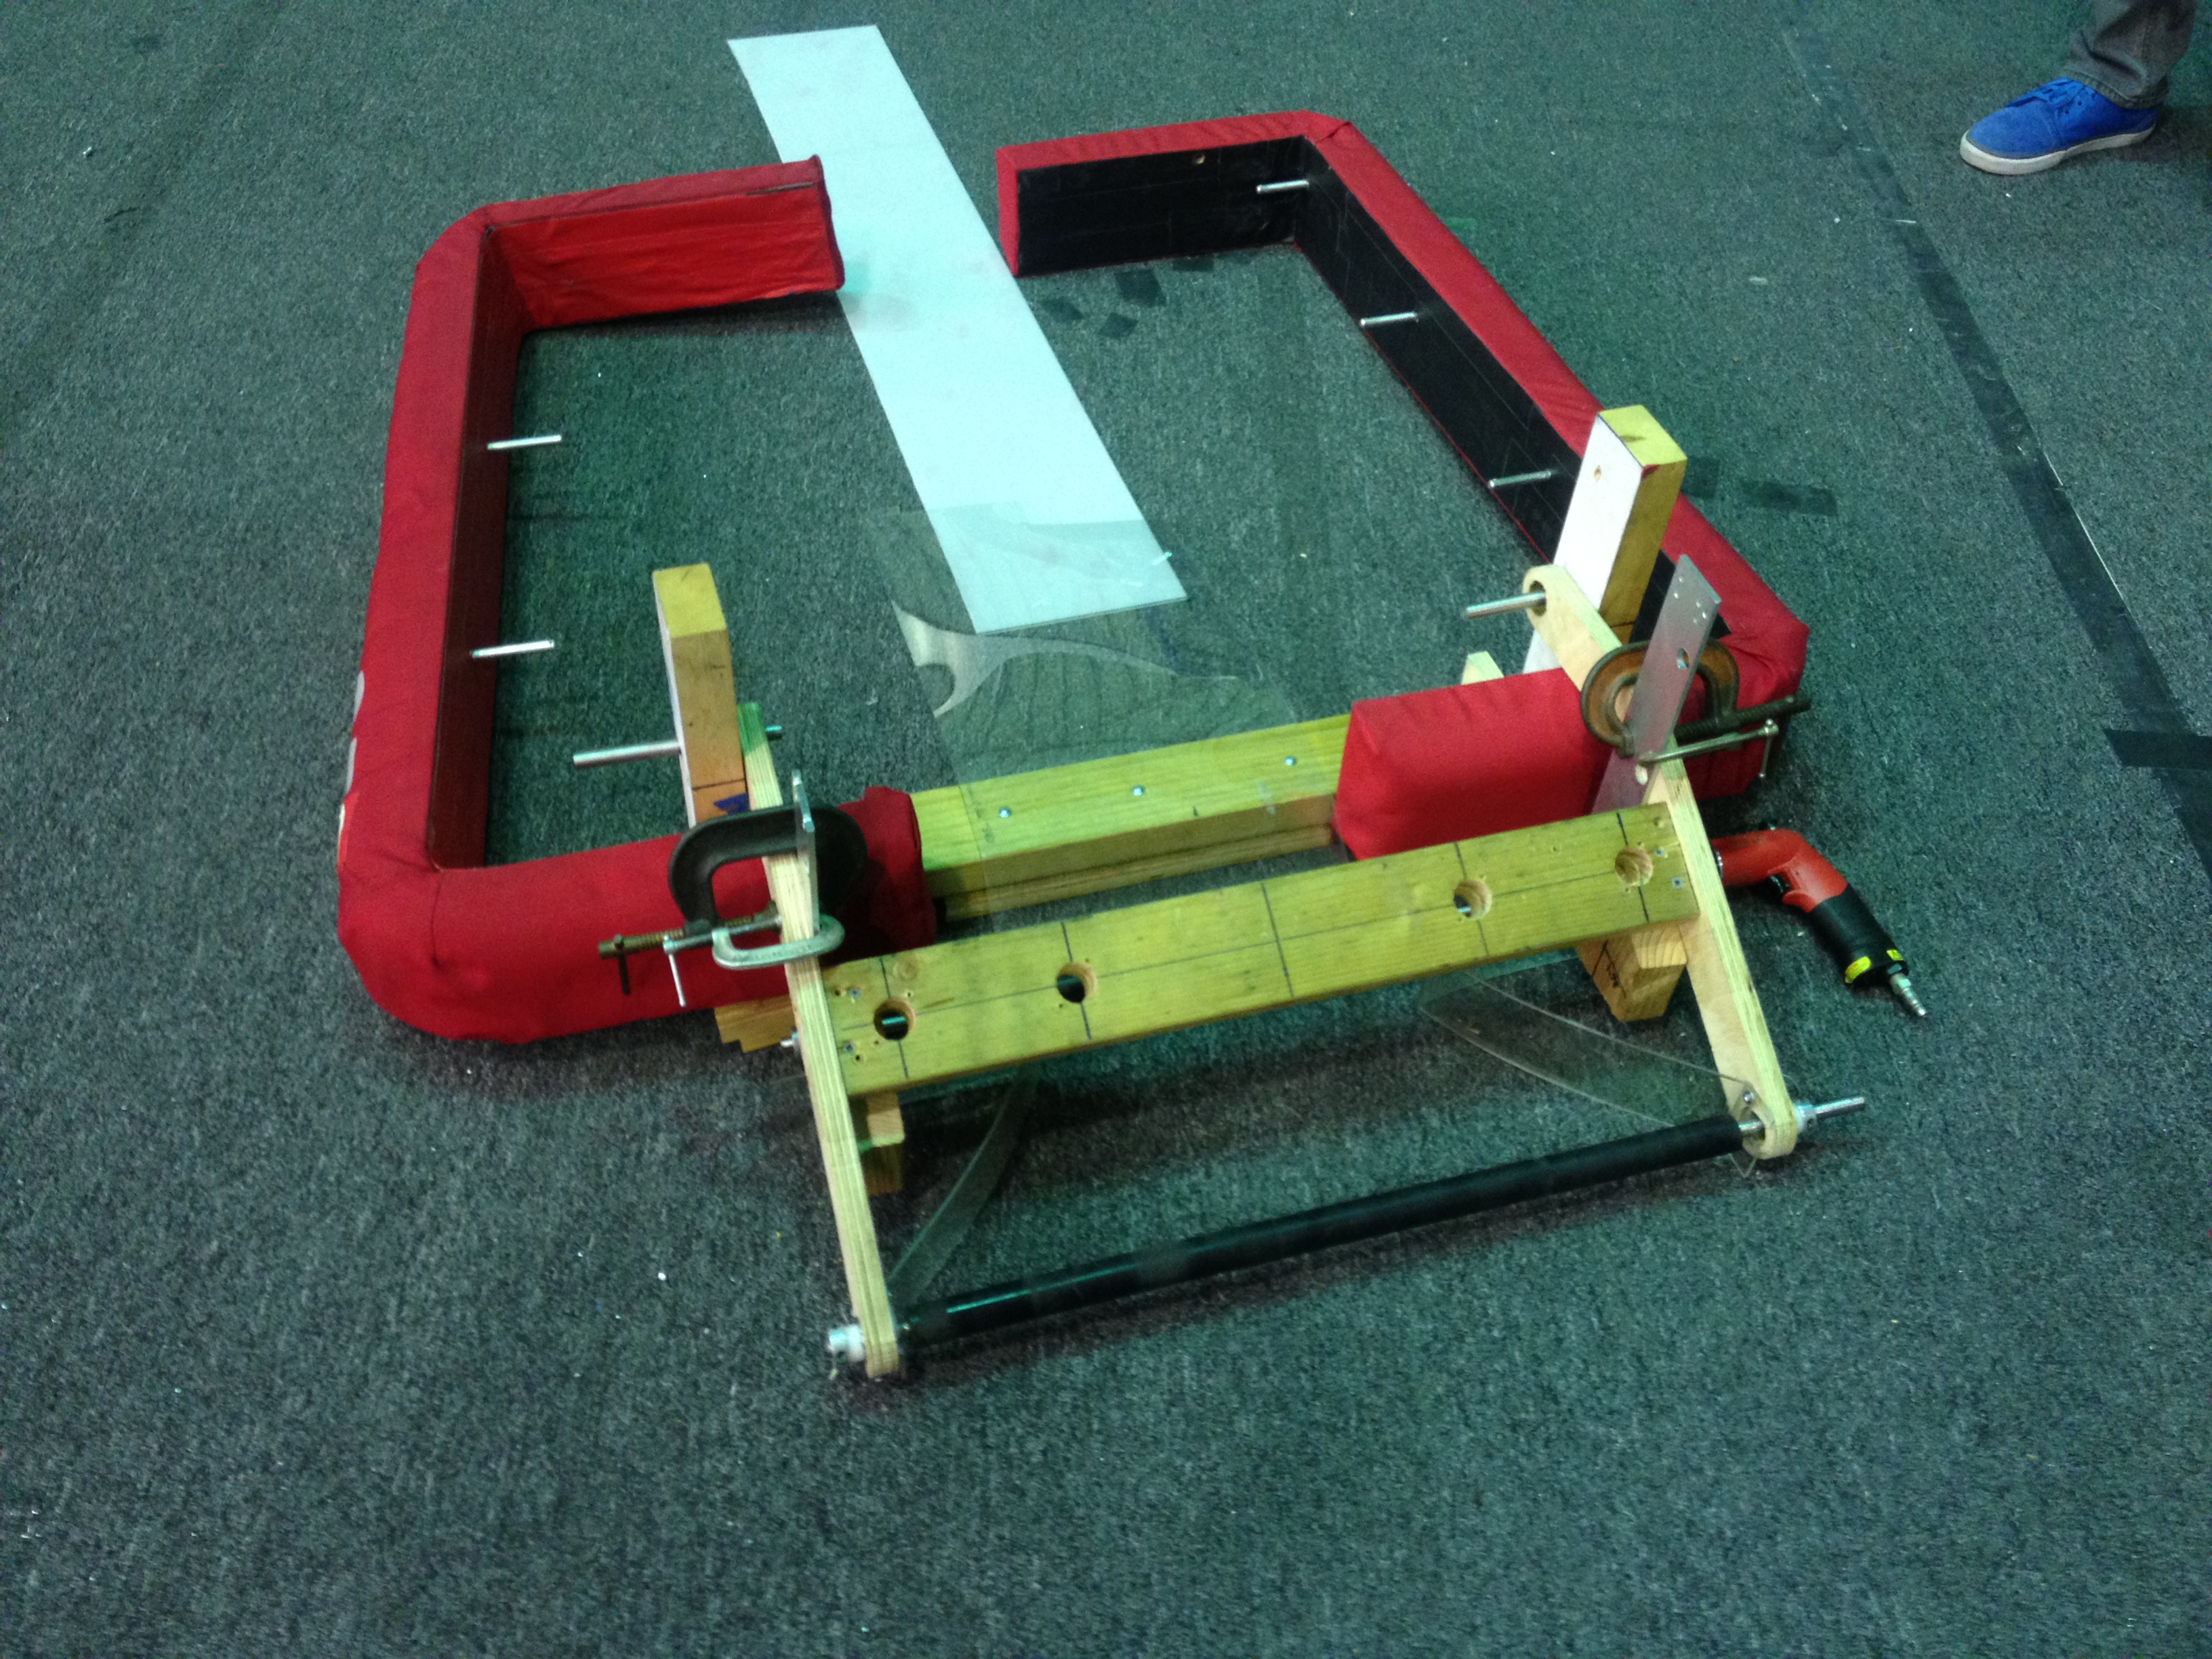
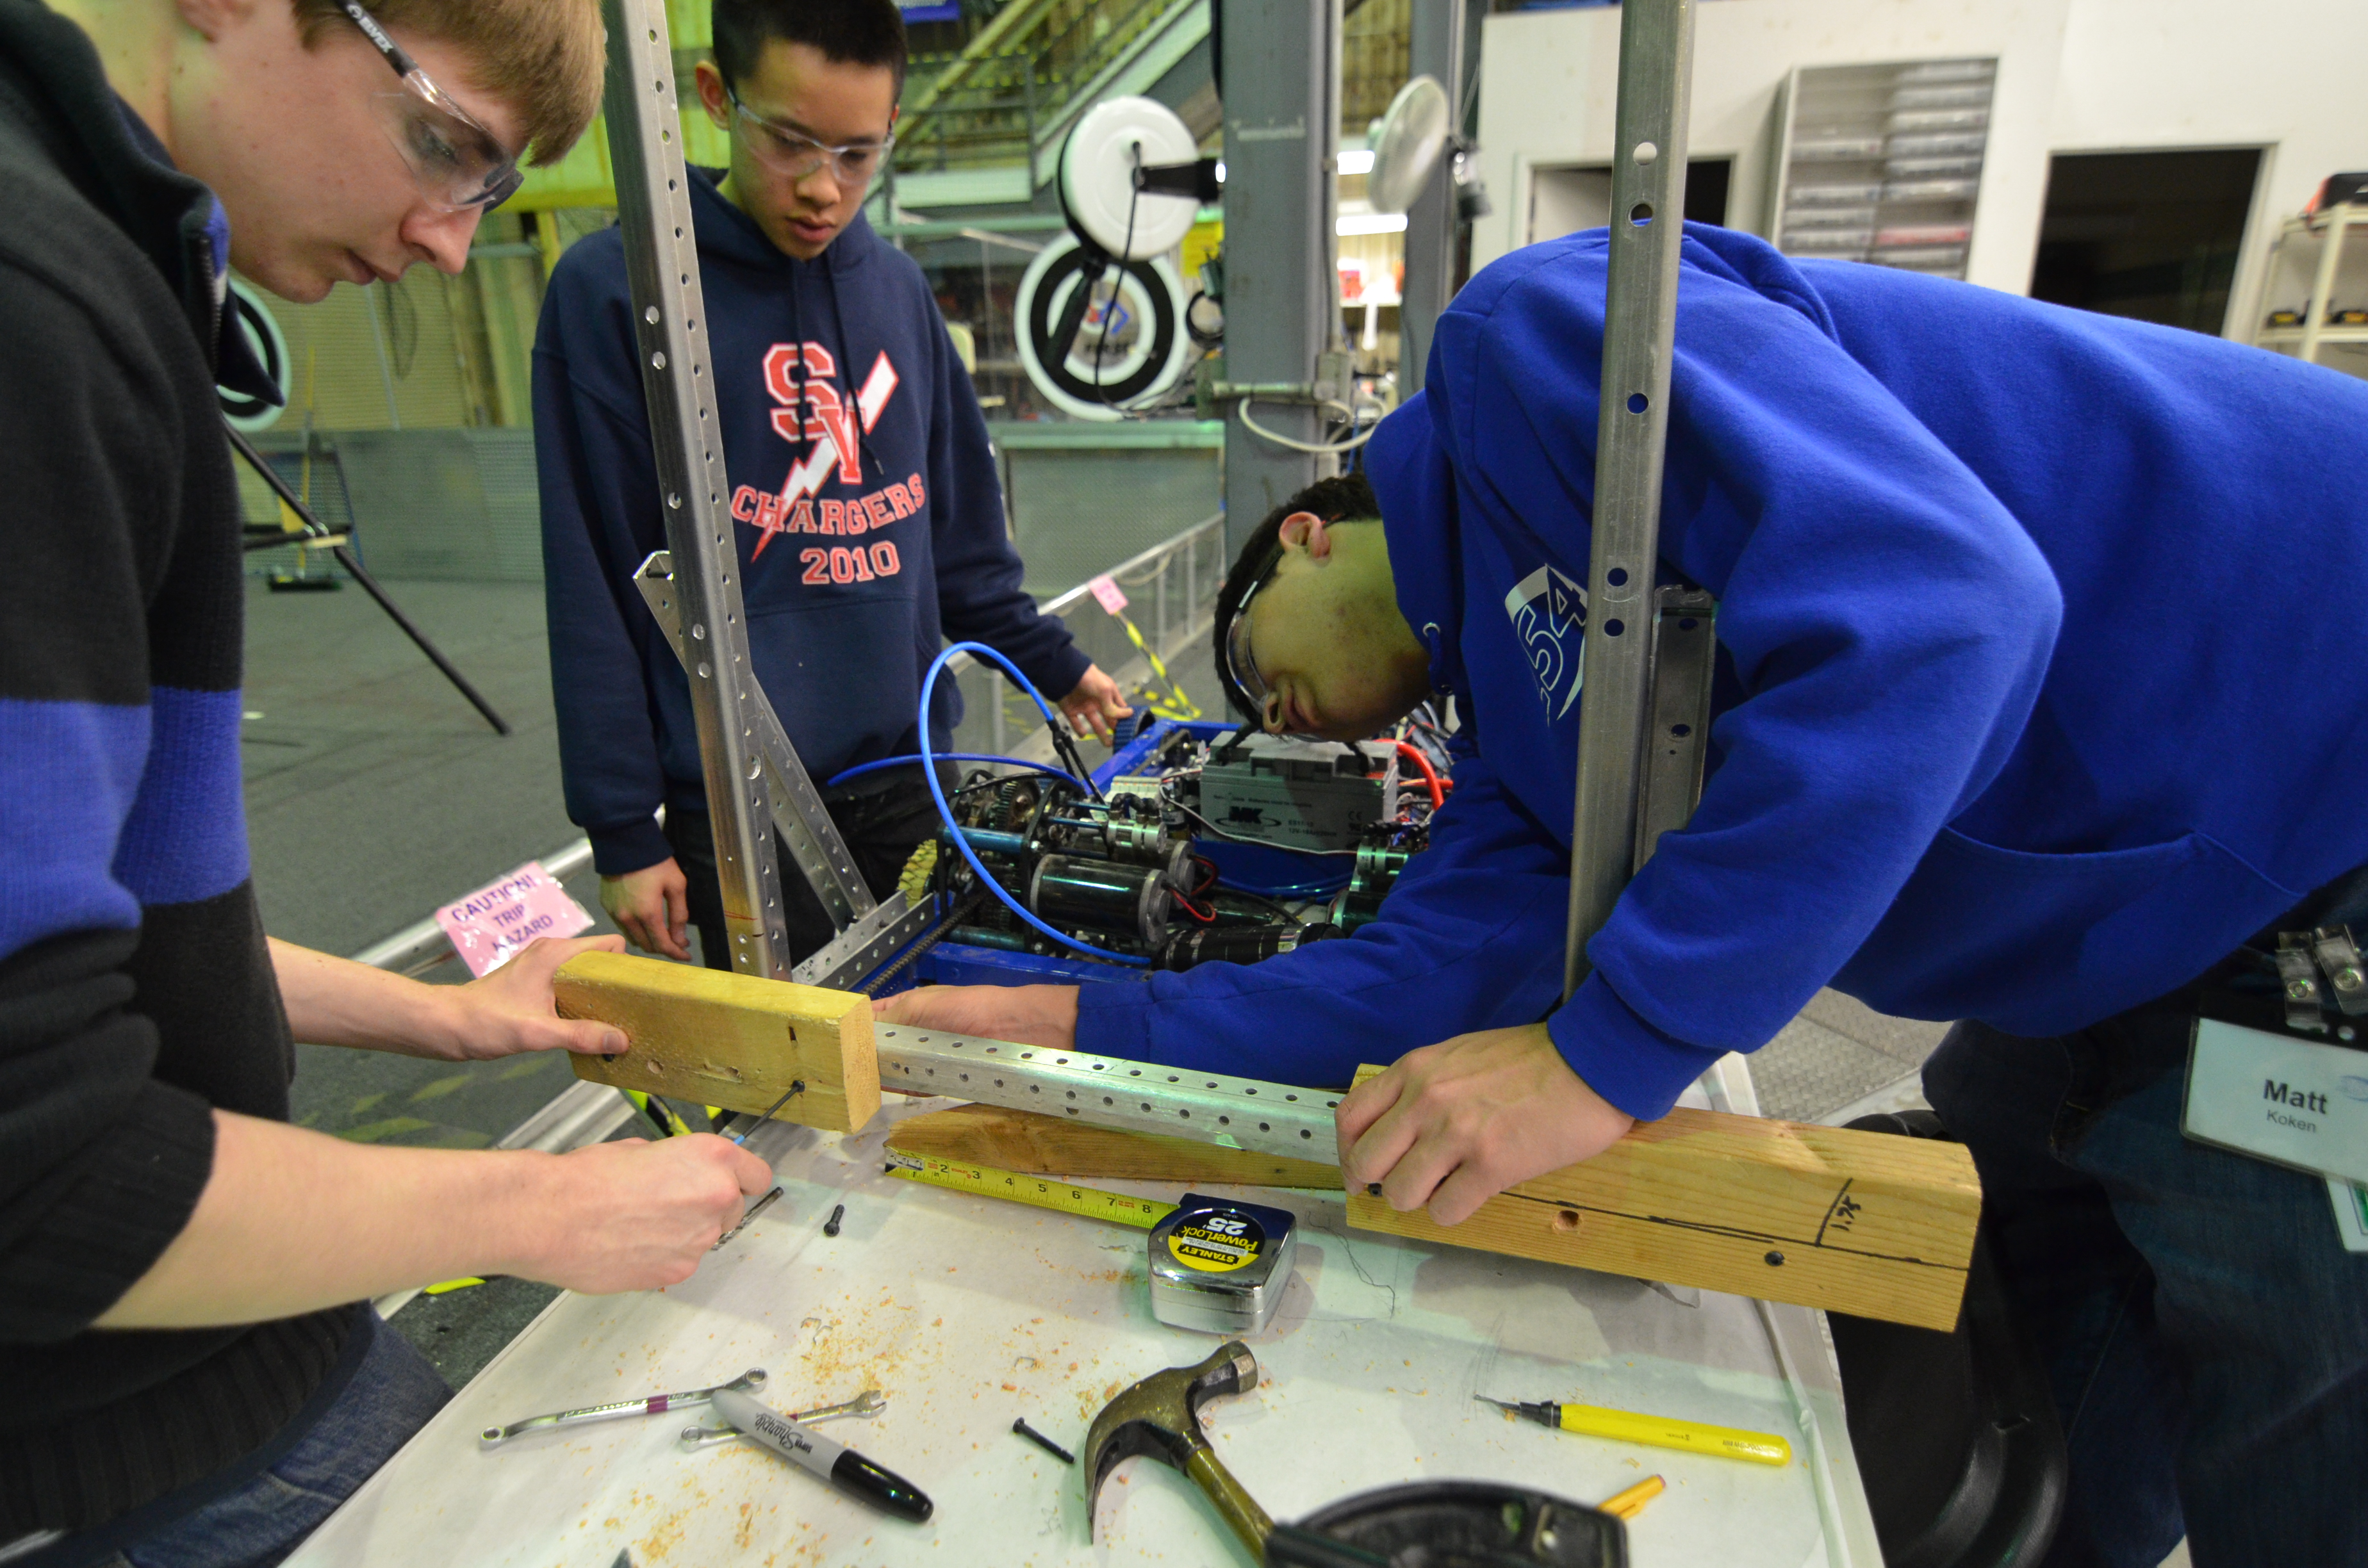
Students continued to make modifications to the intake prototype. They scrapped the entire aluminum model because they decided it would be too time inefficient to drill and redrill holes into metal. Instead, the team constructed the front of the robot frame and the intake prototype with wood.  A life-size drawing of the intake arms was printed out and glued onto a wooden block.  Then, the intake arms were cut out with the vertical bandsaw along the traces.

In addition, shafts were manufactured on the lathe for the intake prototype.  The team plans to have the intake mechanism fully designed and tested by Saturday, or Sunday at the latest.


Team 254 Blog by Chanan Walia_003

Students assembling an intake prototype with wood


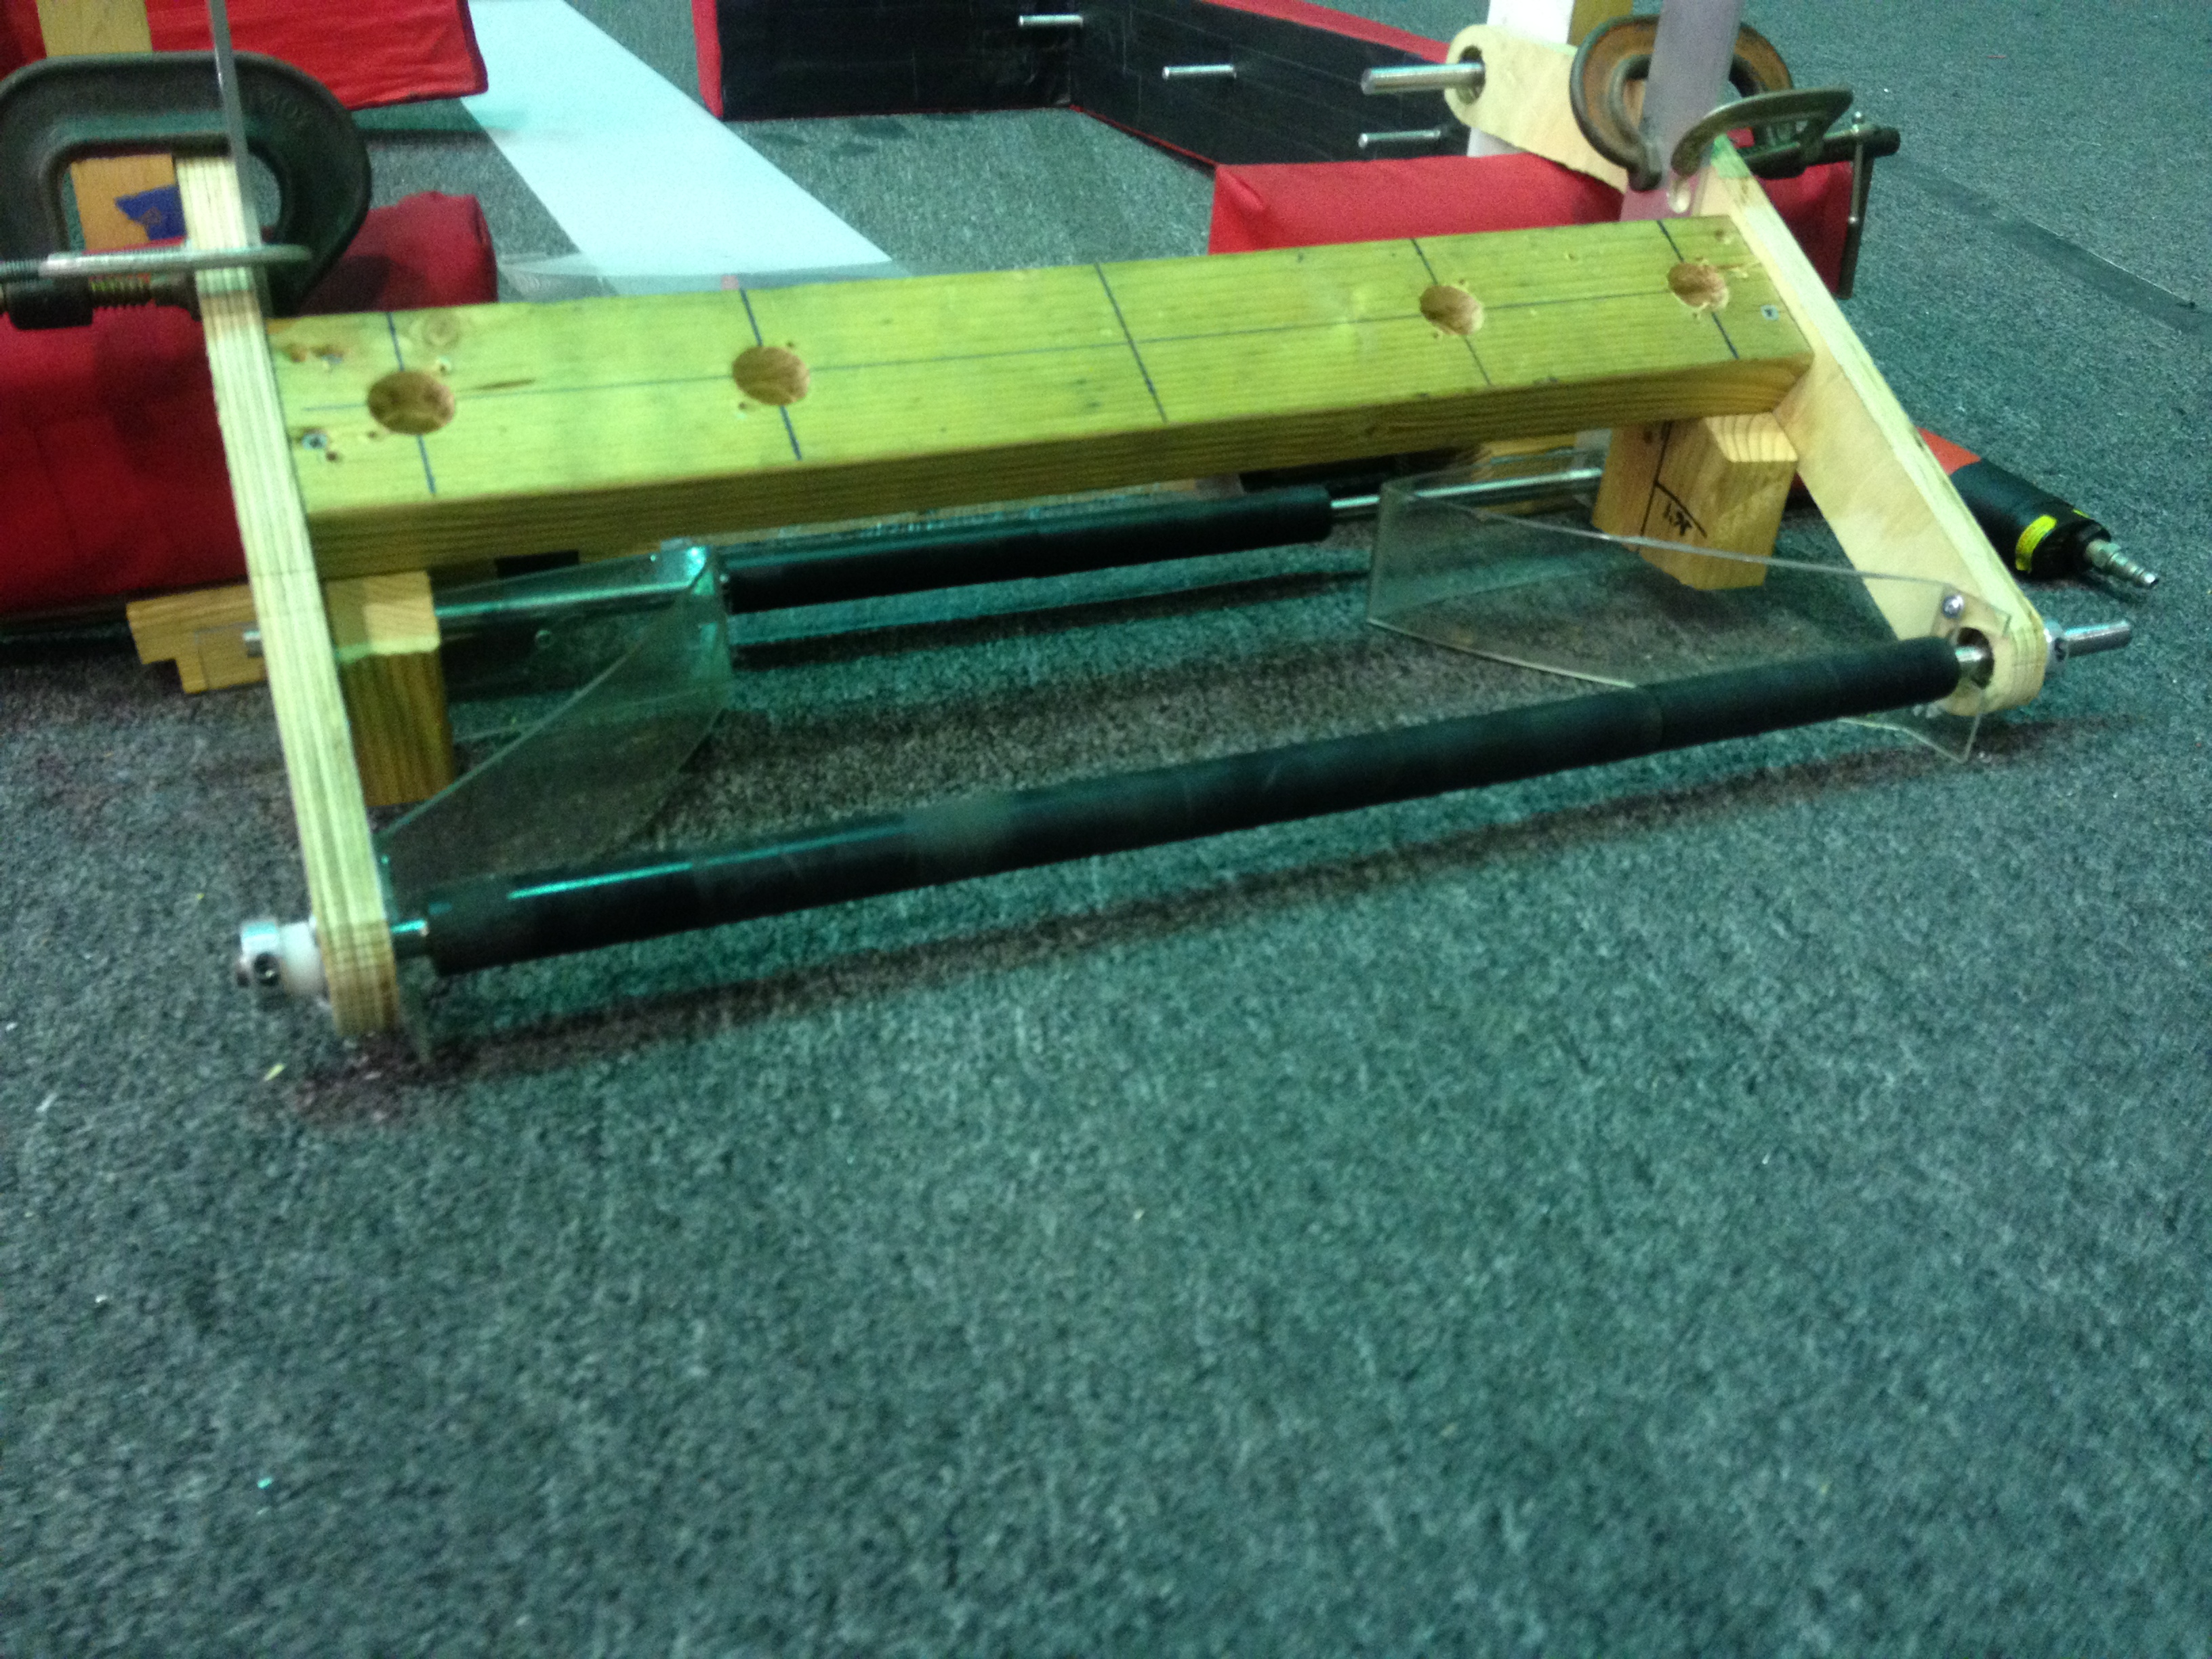
At around midnight last night, the team decided to remove the vertical rollers and add a bottom roller.  This resulted in a much simpler two roller design which worked really well.  The front roller is still 25" long, while the back roller is 12" long.  Students also added passive polycarbonate funnels on each side so that the frisbee is in the center by the time it hits the roller.


workingintake1

Intake with bottom horizontal roller


workingintake2

Intake attached to wooden bumper frame

Meanwhile, students also created a wooden bumper frame out of wood to mount the intake mechanism.  Like the new wooden intake, a wooden frame would allow the team to more easily drill and make modifications to the prototype.


woodbumper

Creating wooden bumper frame

Programming

Sensor Testing

The programmers had a very successful day.  They began by bringing in and testing two additional VEX ultrasonic sensors from the VEX lab.  Upon testing, the students found that one of the additional sensors was significantly better than the previous single ultrasonic sensor.  The better sensor can detect surfaces of a distance greater than 12 inches, whereas the old sensor could only detect up to 3 inches.  Though the VEX ultrasonic sensor works when tested with the shooter prototype, the team is still exploring other sensors as ways of detecting the orientation of the frisbee.


programming

Testing the three VEX ultrasonic sensors

Control

The programming team traveled upstairs for a group programming session, using one single laptop and a projector.  The students worked together to implement a Controller class and reimplement WPILib's PIDController.  Instead of having multiple threads for each of the controllers, the team created a way to update each controller in one thread.  This was done by making the Controller class and abstract class that held onto a static Vector of Controller objects.  Then, in the constructor of the Controller class, "this" controller would be added to the Vector.  Finally, a method called updateAll() would iterate through the Vector to update all of the controllers.  This was a breakthrough moment for the programmers, as a solution utilizing fewer threads would make the whole process more light-weight.

When this new code was deployed to the 2012 robot Skyfire, no exceptions were thrown and no errors seemed to pop up.  Miraculously, the code worked flawlessly on the first try!

Action Items

  • Continue assembling intake prototype
  • Reimplement and commit state space controller class
  •  Add conveyor to intake prototype for the purpose of constraining the frisbee in all directions.
    • Prevent frisbees from getting stacked once they were through the intake
  • Turn down front roller to 3/8" so that it can be driven with the pneumatic drill
  • Model new intake in Solidworks

Lab closing time for the night was 2:30 AM

Day #18: Powder-Coated Parts

2013 FRC Build SeasonFIRST Robotics

Prototyping

Intake & 2010 Robot

Students continued to develop an intake prototype, now attached to Onslaught, and the intake will be completed as soon as possible. However, due to the arrival of the chassis, students removed Talons from Onslaught to be placed on the new drive chassis. This transfer means that we do not know which robot (Onslaught or Skyfire) that the drivers will practice on, but Onslaught will still be used for testing sensors.

Manufacturing

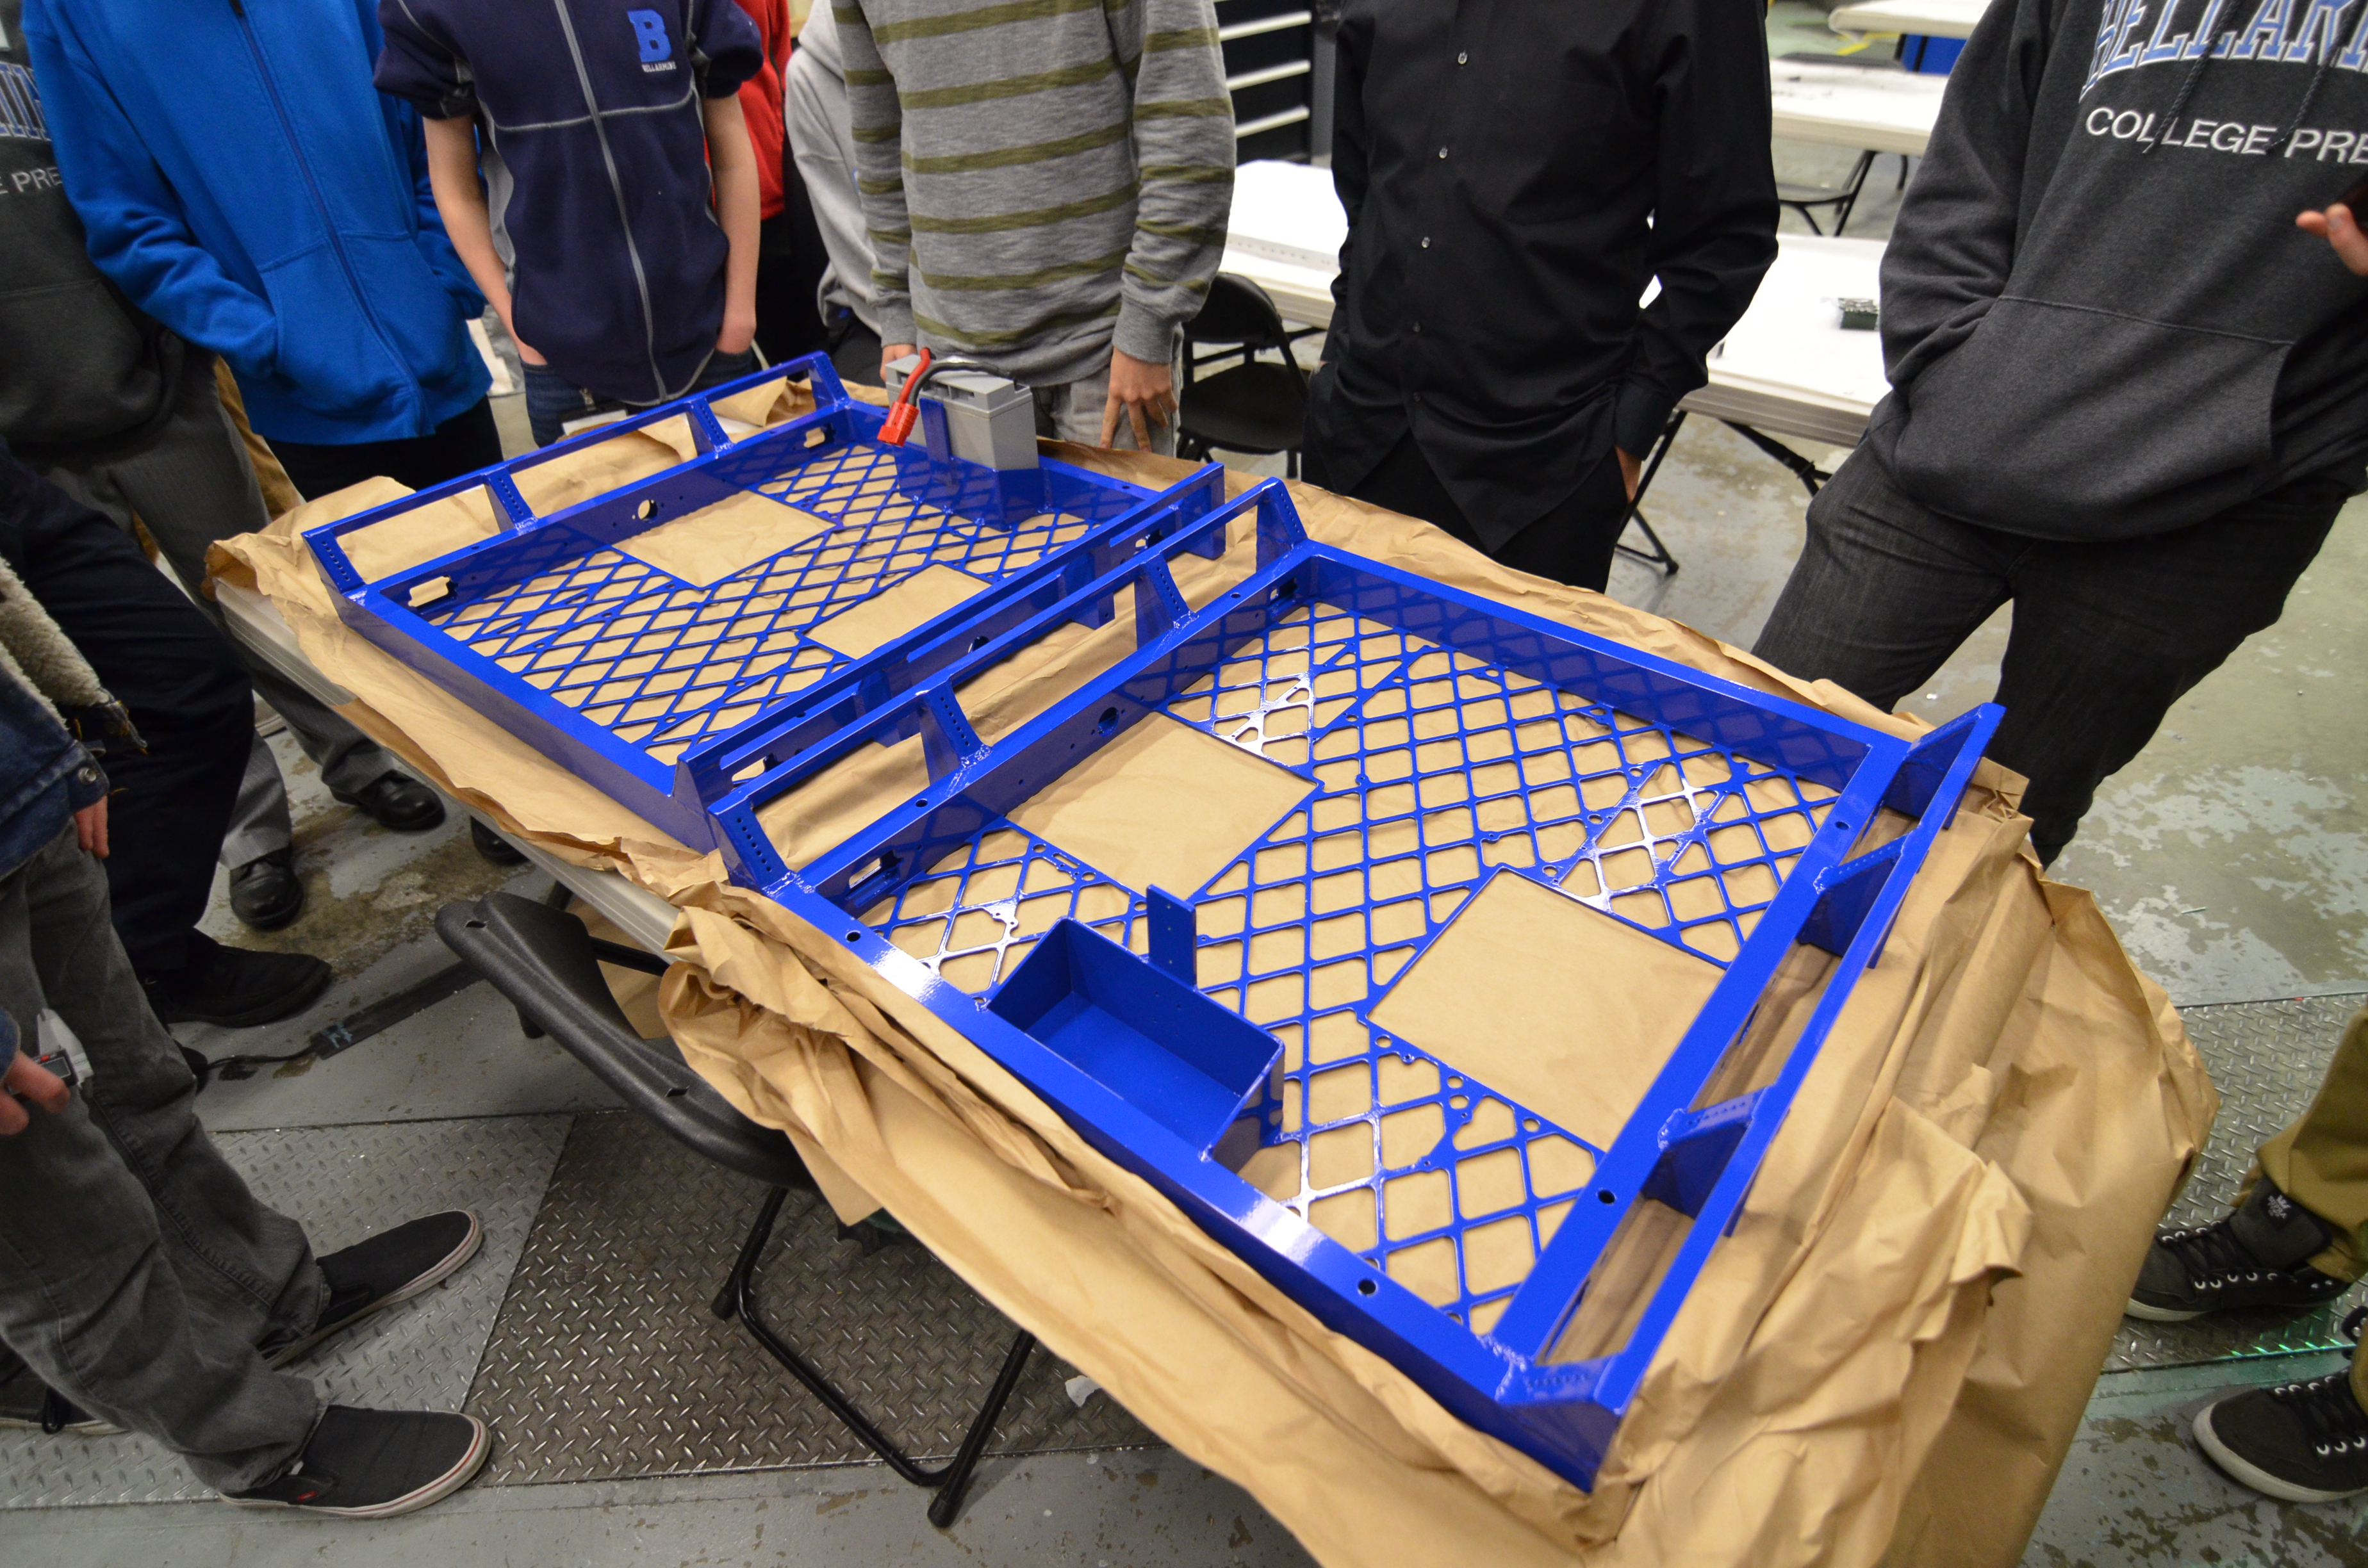
Today, GIlbert Spray Coat returned the powdercoated chassis a day earlier than expected, and students began working on putting electronics onto the frame, such as the power distribution board, ten Talons each, digital sidecar, the Spike relay, the power switch, and solenoid. Additionally, Pacific Coast Metals returned other anodized parts, such as gearbox plates and spacers.

If the shafts are returned from Modern Machine Company tommorrow, work on assembling the gearboxes will begin. However, there are a few missing parts that still need to be aquired. The 40T gears, shifting dogs, shifter shafts, and a few other parts from West Coast Products are still missing.

The bearing housings were received from Pacific Coast. Mentors and students worked on pushing the bearings into these housings

D7K_3617

The two powdercoated chassis

Programming

Today, the students spent most of the time trying to make a VEX ultrasonic sensor work on an FRC robot, in order to determine the orientation of a Frisbee.  Most of the time was spent debugging the sensor, as the sensor was returning arbitrary and random values.  The programmers discovered that the two port numbers should be switched in the code, which made the ultrasonic sensor work.  However, during testing, the sensor seemed to be able to detect surfaces a maximum distance of around 3 inches away.  This is a problem, as the VEX ultrasonic sensors are designed to be able to detect distances of up to 115 inches away.  The team thinks that interference from the surroundings could possibly affect the sensor's abilities, but more tests and debugging will be done tomorrow to get to the root of the problem.

In addition, a couple of the robotics laptops were transfered to the lab for programming use; however, the nature of the Bellarmine servers prevented work from being done on the laptop.  Currently, the team needs to reinstall the wireless card driver on the laptop.

Action Items

  • Debug and test ultrasonic sensor
  • Continue working on the intake
  • Continue adding electronics to the chassis
  • Continue designing the shooter, climbing mechanism, and intake
  • Start wiring

Day #17: Chassis Arrives & Prototyping Continues

2013 FRC Build SeasonFIRST Robotics

Prototyping

Intake

Students began building a new prototype intake. With four small, vertical, rollers and one large horizontal roller, the intake should work well once complete.

D7K_3614

Working on the latest intake prototype

2010 Robot

Students continued constructing a simple bumper onto the 2010 robot, Onslaught. Once complete, the new prototype intake will be attached to the bumper and tested for performance. Also, once the 2010 robot is operational, our driveteam can begin practicing.  Currently, the left side bumper is placed on completely, but the wooden block on the right side is too short.  Students will fix the right side bumper as soon as possible tomorrow.

D7K_3616

Attaching wooden "bumpers" onto the 2010 robot

Manufacturing

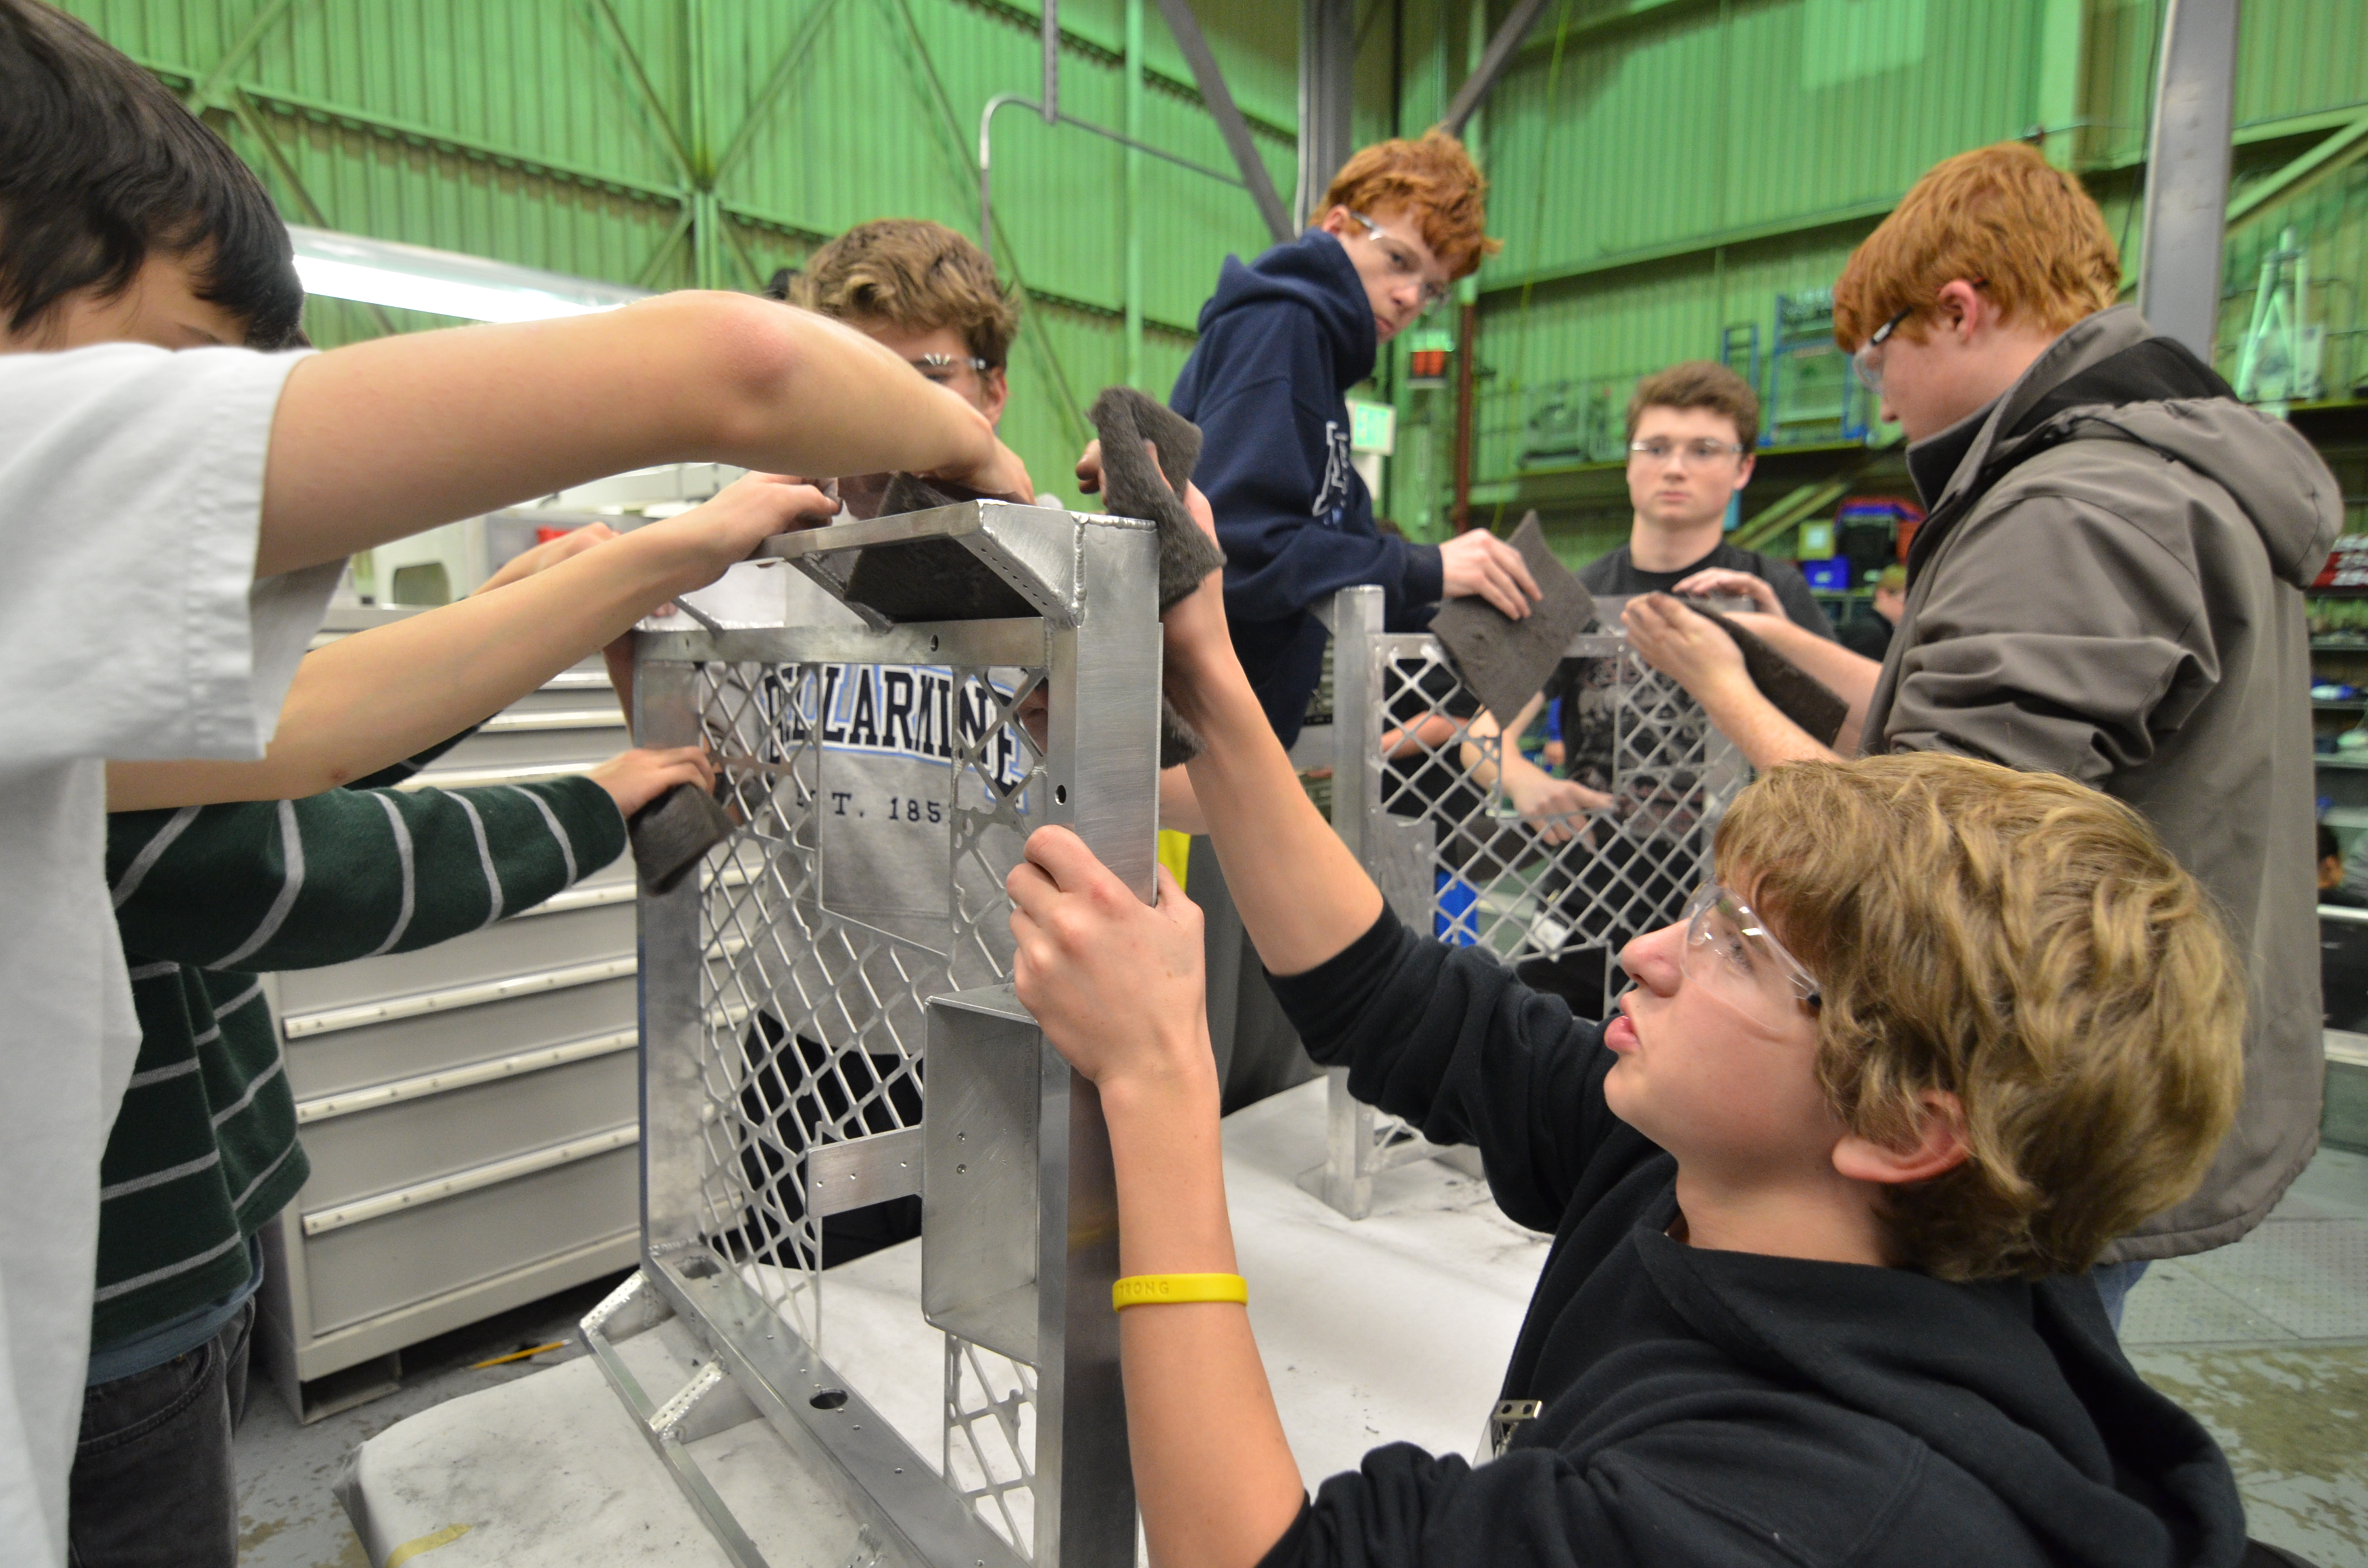
Today, the team recieved the drivebase chassis back from S&S Welding after sending them out on Monday. Students brushed the drivebase chassis in order to get them ready to be power coated. They will be sent to Pacific Coast to be powder coated tomorrow.  The team expects to get them back by Friday.

D7K_3615

Scotch-briting the drivebase chassis

Students also used the lathe to machine spacers for gearboxes. These should be finished tonight or tomorrow morning. Once the plates and shafts are complete, the team will begin to assemble them.


Programming

The programmers continued to work on translating state space and matrix code from 2012's C++ code to Java.  Currently, they are trying to implement a function that multiplies two matrices together.

Meanwhile, the latest cRIO image (v47) was successfully flashed to the 2012 robot today.  However, the students need to re-deploy the code onto the robot, as the code was erased in the process of re-imaging.


Action Items

  • ​Continue machining the shafts and plates for the gearboxes
  • Continue testing the 2010 robot and let drivers practice
  • Continue designing the shooter, climbing mechanism, and intake

Day #16: Long Range Shooter

2013 FRC Build SeasonFIRST Robotics

Author: Art Kalb

Prototyping

Shooter

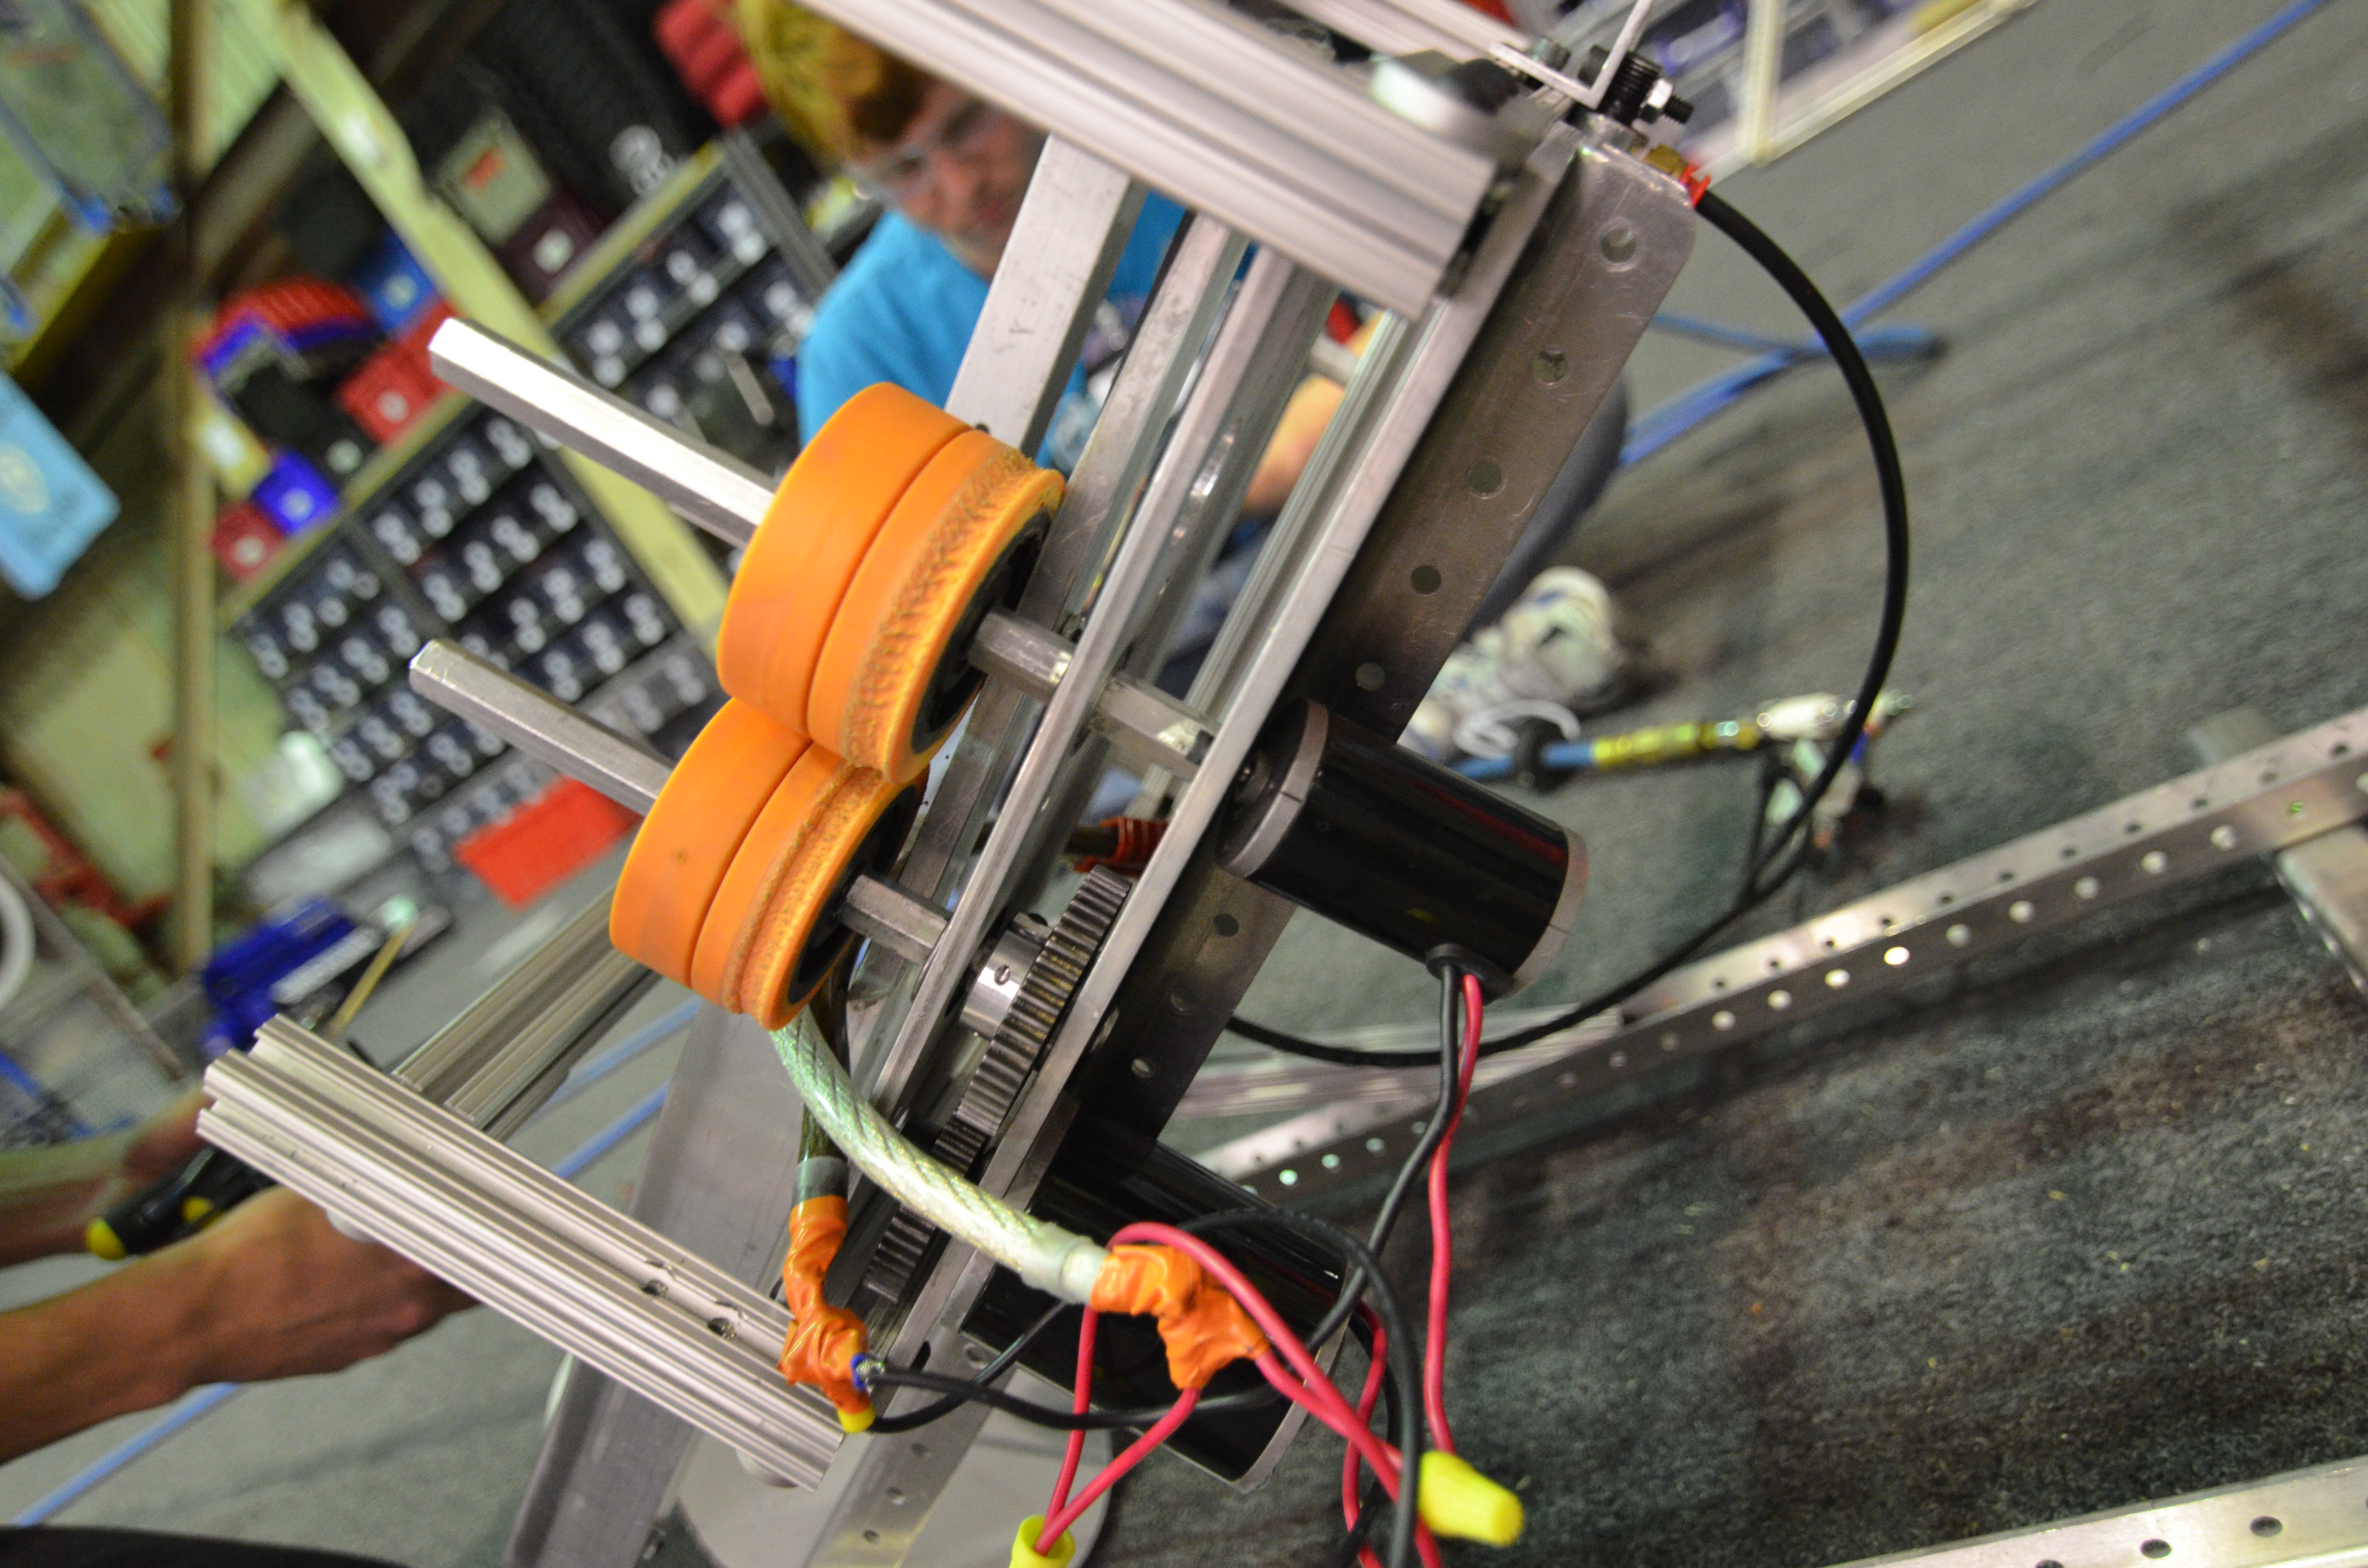
After a morning discussion on the mailing list, students and mentors attempted to use the shooter to shoot from a longer range than before. The goal of these long range shots is to pickup discs by the human player and quickly shoot them across the field. In testing, the shooter wheels and guide rail were improved to reduce slippage in the wheels, improving the velocity and range of the shooter.  The previous BaneBots wheels were replaced with BaneBots wheels of larger diameter, and more compression was added.  By the end of the day, the shooter was able to shoot frisbees through the high goal from the far edge of the field.

D7K_3604

Close-up of updated shooter, with larger BaneBots wheels

D7K_3573

Shooting frisbees from far edge of the field

Intake

Students started assembling a new intake, with a roller low to the ground to allow for easy pickup.  Currently, this step is high priority, as the team needs a working and reliable intake mechanism for the overall robot design.

D7K_3597

Students constructing new intake prototype

Manufacturing

Today, students worked on the lathe for various parts on the drive gearboxes.

D7K_3608

Manufacturing gearbox standoffs on the lathe

Programming

Running the 2010 Robot

Students worked on reviving the 2010 robot's drivebase to have our drivers (Abhi Kumar and Chris Sides) driving as soon as possible to practice with the Logitech F310 controller. Tasks involved modifications to the CheesyDrive code from 2012 and mapping the gamepad axes to the drivetrain, and reimaging the cRIO to v47.

D7K_3606

The 2010 robot, Onslaught

Matrix Math

As a part of the program, the robot will need to do some mathematics involving matrices. To allow for this, students translated and reimplemented code to create a Matrix class, which will do basic matrix math (addition, subtraction, scalar multiplication) and matrix mulitiplication. Due to some uncertaintity about matrix multiplication, the class is not completed.

The students also worked on translating the state space controller from last year's C++ code, which requires a functional Matrix class.

Action Items

  • ​Finish and test intake prototype
  • Improve shooter for speed, distance, and accuracy
  • Finish translating matrix/control code from 2012 to Java + test code
  • Flash v47 image to Skyfire

Build Season Recipes: Week 2

2013 FRC Build SeasonFIRST Robotics

These award-winning cookies fuelled our continued designing, prototyping and drivetrain-manufacturing activities this past weekend.

Chocolate Chip Cookies

  • 1/2 cup butter

  • 1/2 cup Crisco

  • 1/2 cup sugar

  • 1/2 cup brown sugar

  • 1 tsp. vanilla extract

  • 2 eggs

  • 2 1/2 cups flour

  • 1 tsp. baking soda

  • 1/4 tsp. salt

  • 1 handful rolled oats

  • 1 cup chocolate chips

Cream shortening and sugar. Add vanilla and eggs; beat. Add flour, baking soda and salt and mix well. Add oats and chocolate chips, stirring slowly. Drop 1" balls onto a cookie sheet and press flat with a fork. Bake at 350°F for 8-10 minutes, until golden brown.

FRC Day-Off, Week 2

2013 FRC Build SeasonFIRST Robotics

Today was our second day off in the FRC season. We did meet for about an hour today to finish the chassis. The baseplates were picked up this morning from BAE Systems (who watterjetted them for us over the weekend). They were taken to the lab to be assembled with the rest of the chassis. The chassis were jigged up and sent to the welder. Hopefully they will be back in the next two or three days.

D7K_3568

One of two chassis getting sent to the welder

Day #15: Improved Shooter

2013 FRC Build SeasonFIRST Robotics

Prototyping

Shooter

Students continued to make modifications to the shooter prototype.  They removed the polycarbonate cover on the top of the shooter and replaced it with an aluminum bar to guide the frisbee through.  In testing, the frisbees that are shot seem to consistently go through the high goal.  The team expiremented with different shooter positions and angles in the testing, and measured the speed at which the frisbees were fired out.  It was found that the frisbee's velocity upon exiting the shooter was roughly 15 to 20 mph.


D7K_3556

The updated shooter design


Intake

Not much work was done on the shooter today.  With the current intake prototype, the frisbee seems to get stuck high on the intake ramp, not touching any vertical rollers.  As of now, the intake has been taken apart so that the students can add metal supports (as opposed to wood).


Manufacturing

The team continued to manufacture parts for the drive chassis and prototypes.


D7K_3559

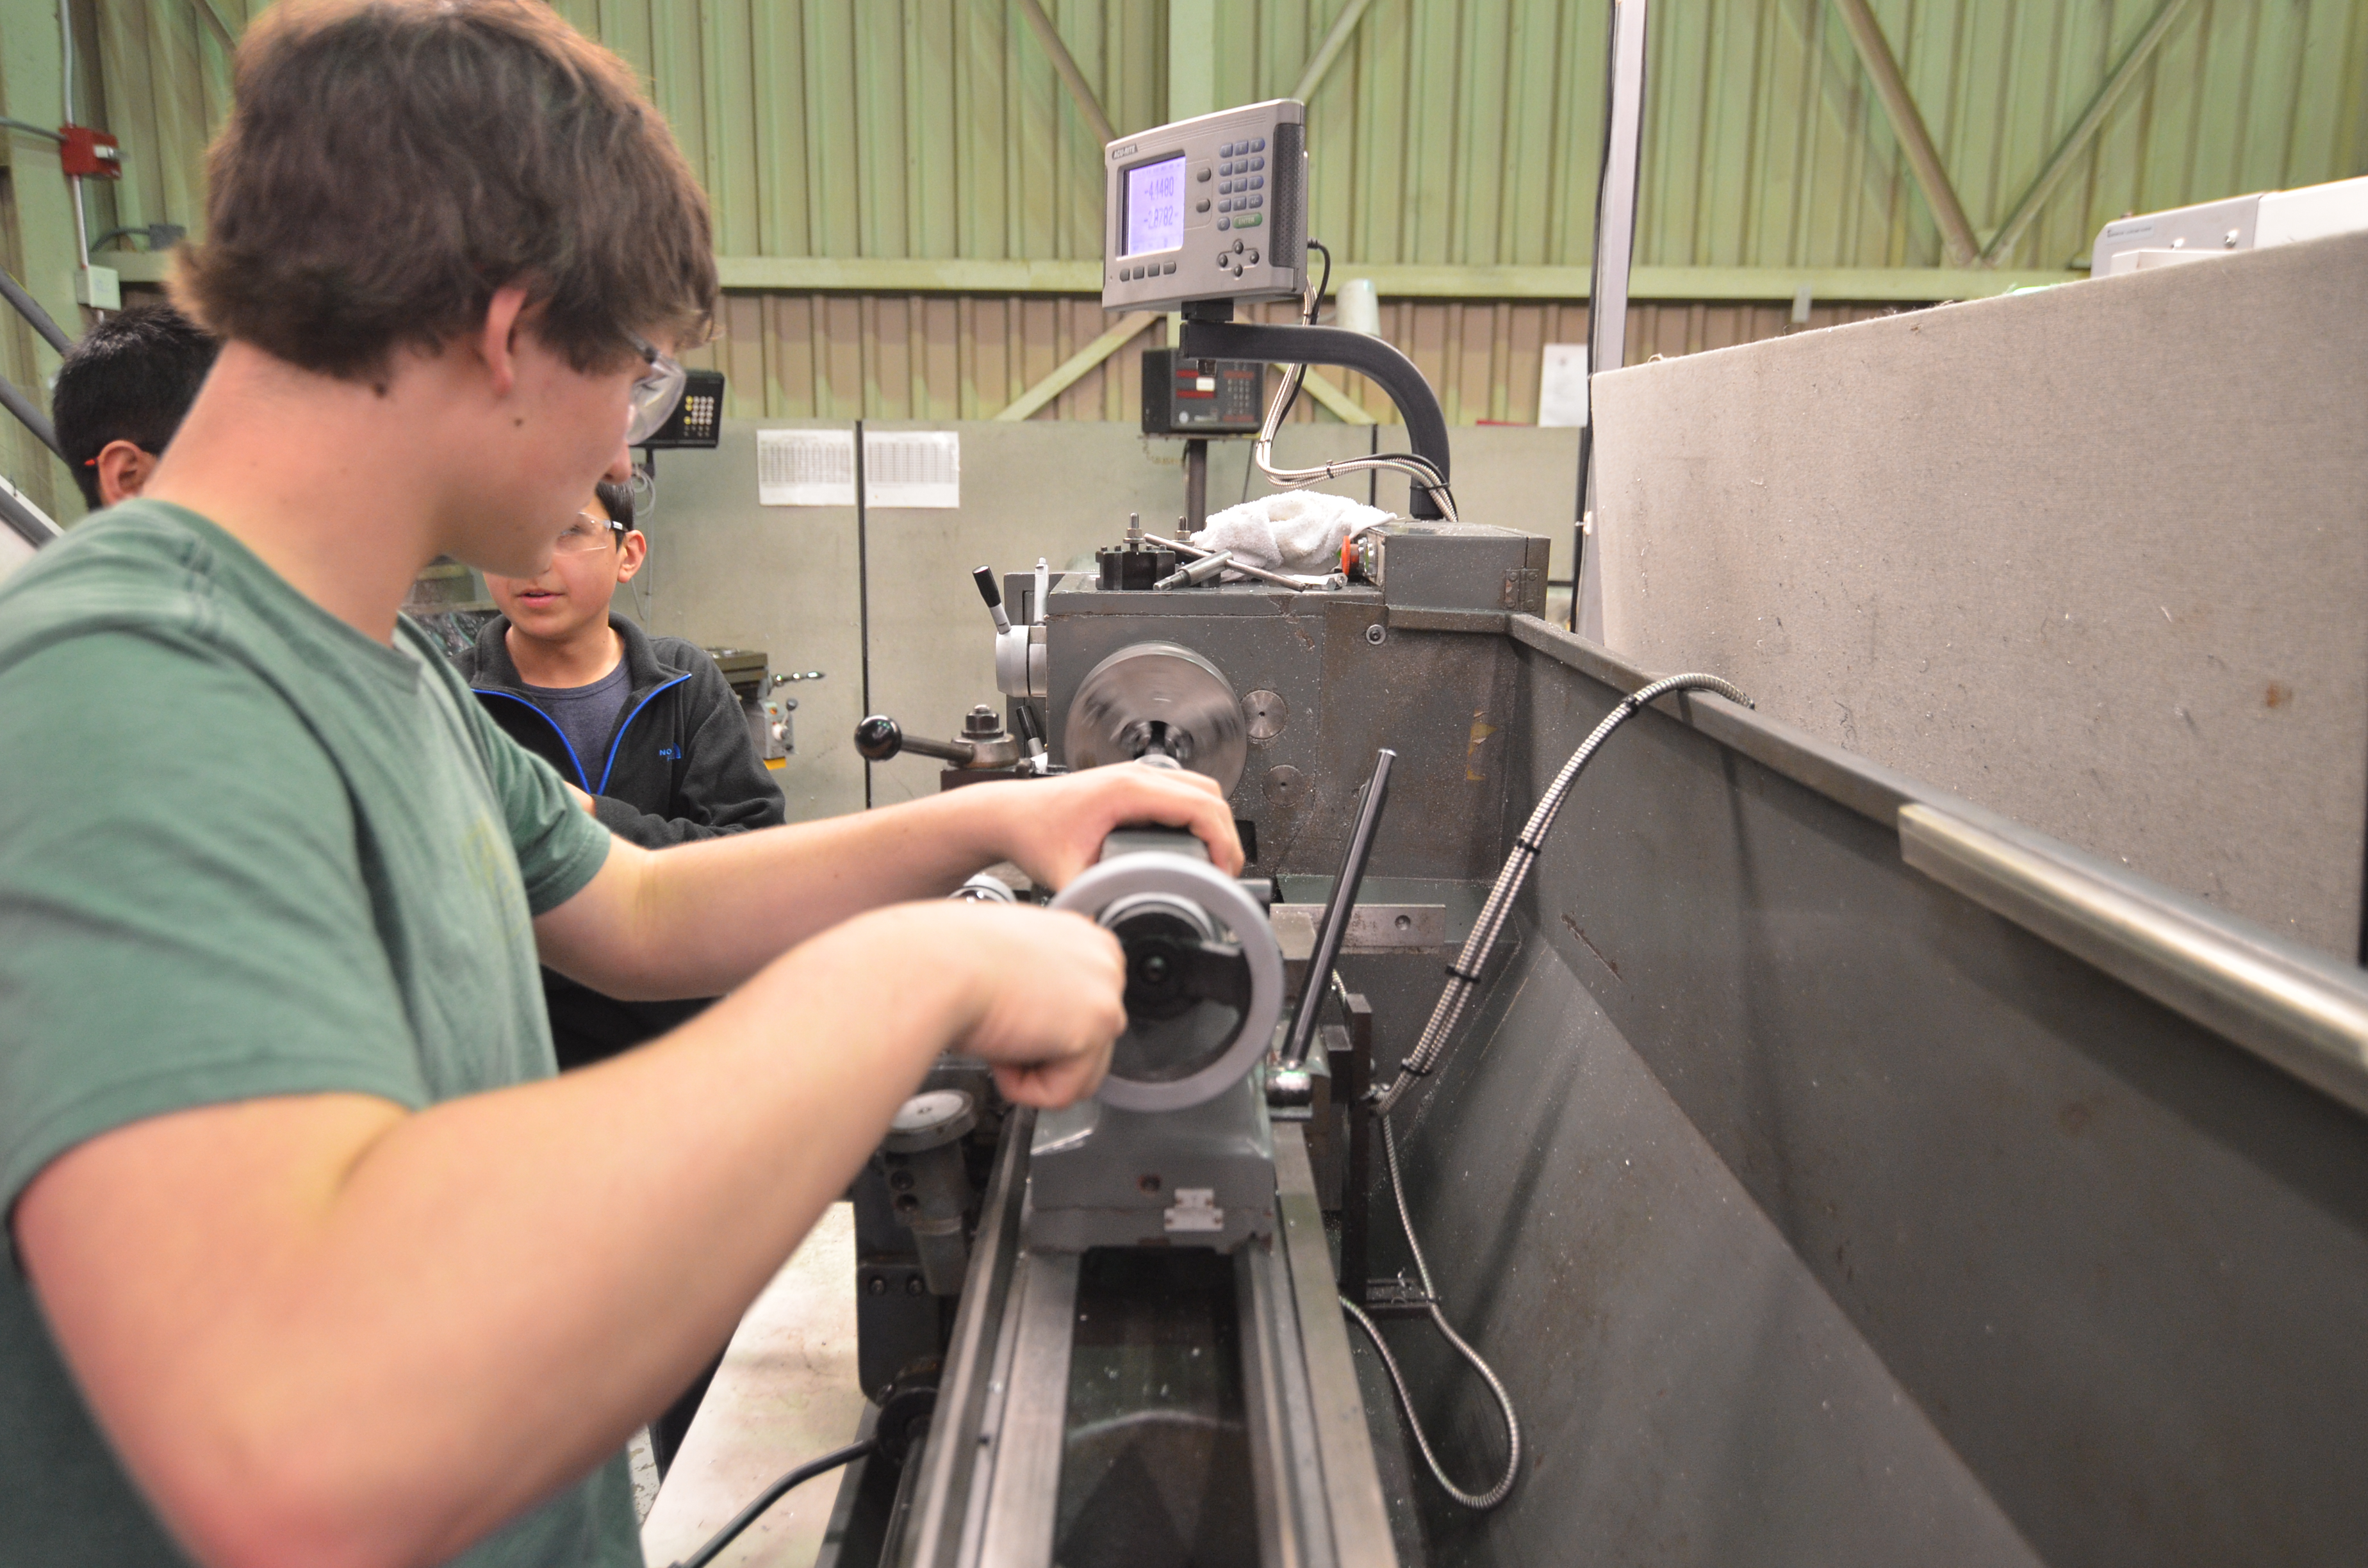
Student making parts on the lathe


Programming

Sensor Testing

The programmers had a particularly productive day.  First, they tested the S4 and S5 encoders.  The team realized that the encoders or wiring appeared to be defective yesterday because the encoders kept returning 0.  They finally realized that it was indeed a code problem, as they needed to call the start() function on the encoders to start recording clicks.  After testing all the S4 and S5 encoders in the 254 electronics bin, all of the encoders were deemed as "functional", with the exception of one S4 encoder.  The broken encoder was promptly labeled as "bad" with the help of some blue duct tape.


D7K_3560

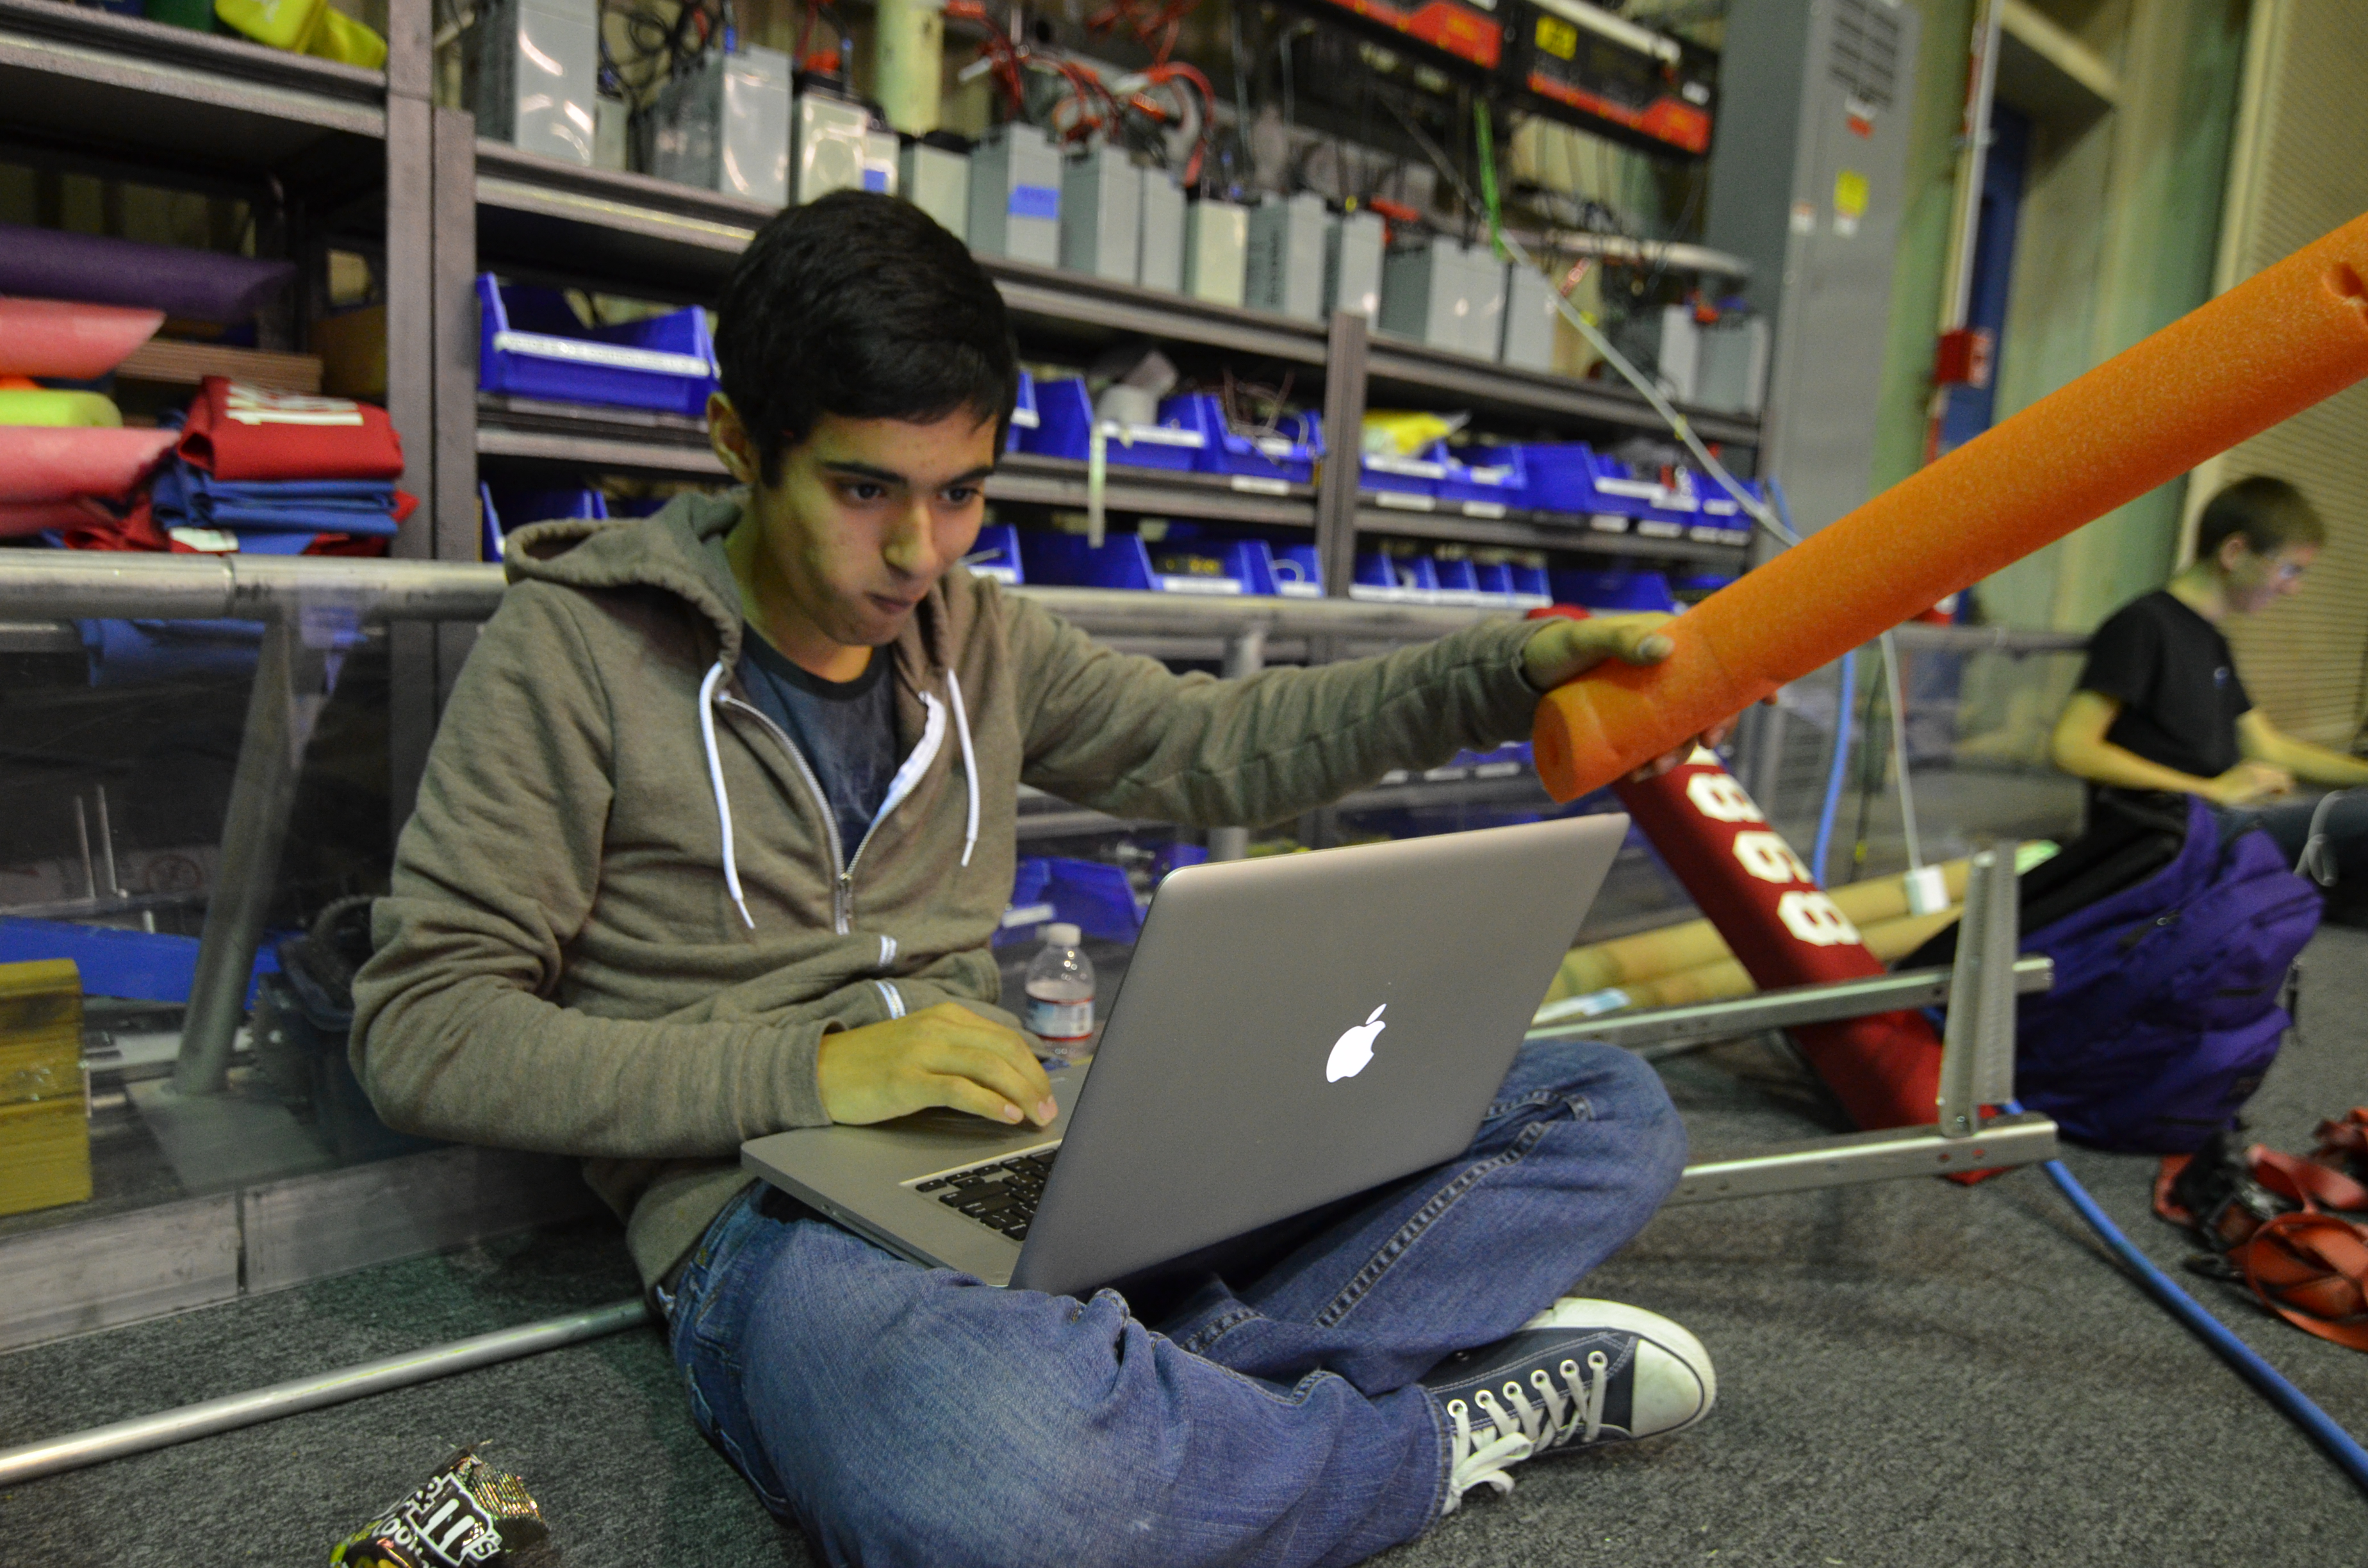
Programming the sensors while wielding pool noodles


Reading Constants

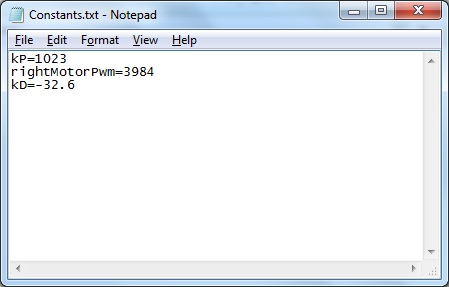
Meanwhile, the programmers tested out a method to read a text file from the robot (Constants.txt) and update the constants accordingly.  At first, the team had problems with finding the text file on the robot.  Previously, they had been using getResourceAsStream and InputStreams, but switching over to FileConnection and DataInputStream solved the null pointer exceptions.  This was a major breakthrough for the programmers.  Now, with a Smart Dashboard extension to send text files to the robot via FTP and a way to read and update constants from that text file, the programmers have achieved nirvana.


constantsdemo

The Constants text file looks like this: a constant's name = its updated value


CAD

Students began designing the intake mechanism in Solidworks.  Though the intake prototype is not yet completed, this step is important because it helps to visually map out the prototype for future assembly.


Action Items

  • Continue improving and testing shooter
  • Reassemble and work on intake

Day #14: Prototyping, Programming and Designing

2013 FRC Build SeasonFIRST Robotics

Prototyping

Shooter

The shooter protoype is coming along as students worked to test an added polycarb cover. To test the effectiveness of smaller wheels on the shooter, a group worked on replacing the treaded wheels with Banebots wheels. Tests proved favorable for the treaded wheels.


Intake

Leaders and students continued to test the intake system. Tests utilizing a single roller intake have proved successful. Students added an elevated mount to mimic the path that the frisbees will have to travel in order to enter the robot. Tests in intaking multiple frisbees have proved successful and steps are being taken to improve on the design.


Intake (Good)

​Intake with wooden stands


Programming

Driver Station

Students progress by printing messages from the robot to the driver's station control board.  The programmers worked on some code to allow the driver's station to cycle thorugh different autonomous modes.  The "Y" button on the Logitech F310 joystick was mapped such that while the robot is disabled, a driver station user message line would display the current autonomous mode.  This ended up working quite well with the available commands the team had already: drive distance and wait.

Meanwhile, the team also took time to strip and crimp a five-wire encoder wire into two female PWM terminals.  This would allow the programmers to plug the S5 encoders into the digital sidecar to test the team's S5 encoders.  Unfortunately, this has yet to be completed; testing will occur tomorrow to ensure that both the wiring and encoders work.


Programmers

Writing the autonomous mode selector


CAD

Bumpers

Through diligent work by students the CAD for this year's bumpers are nearly complete.


Drivebase

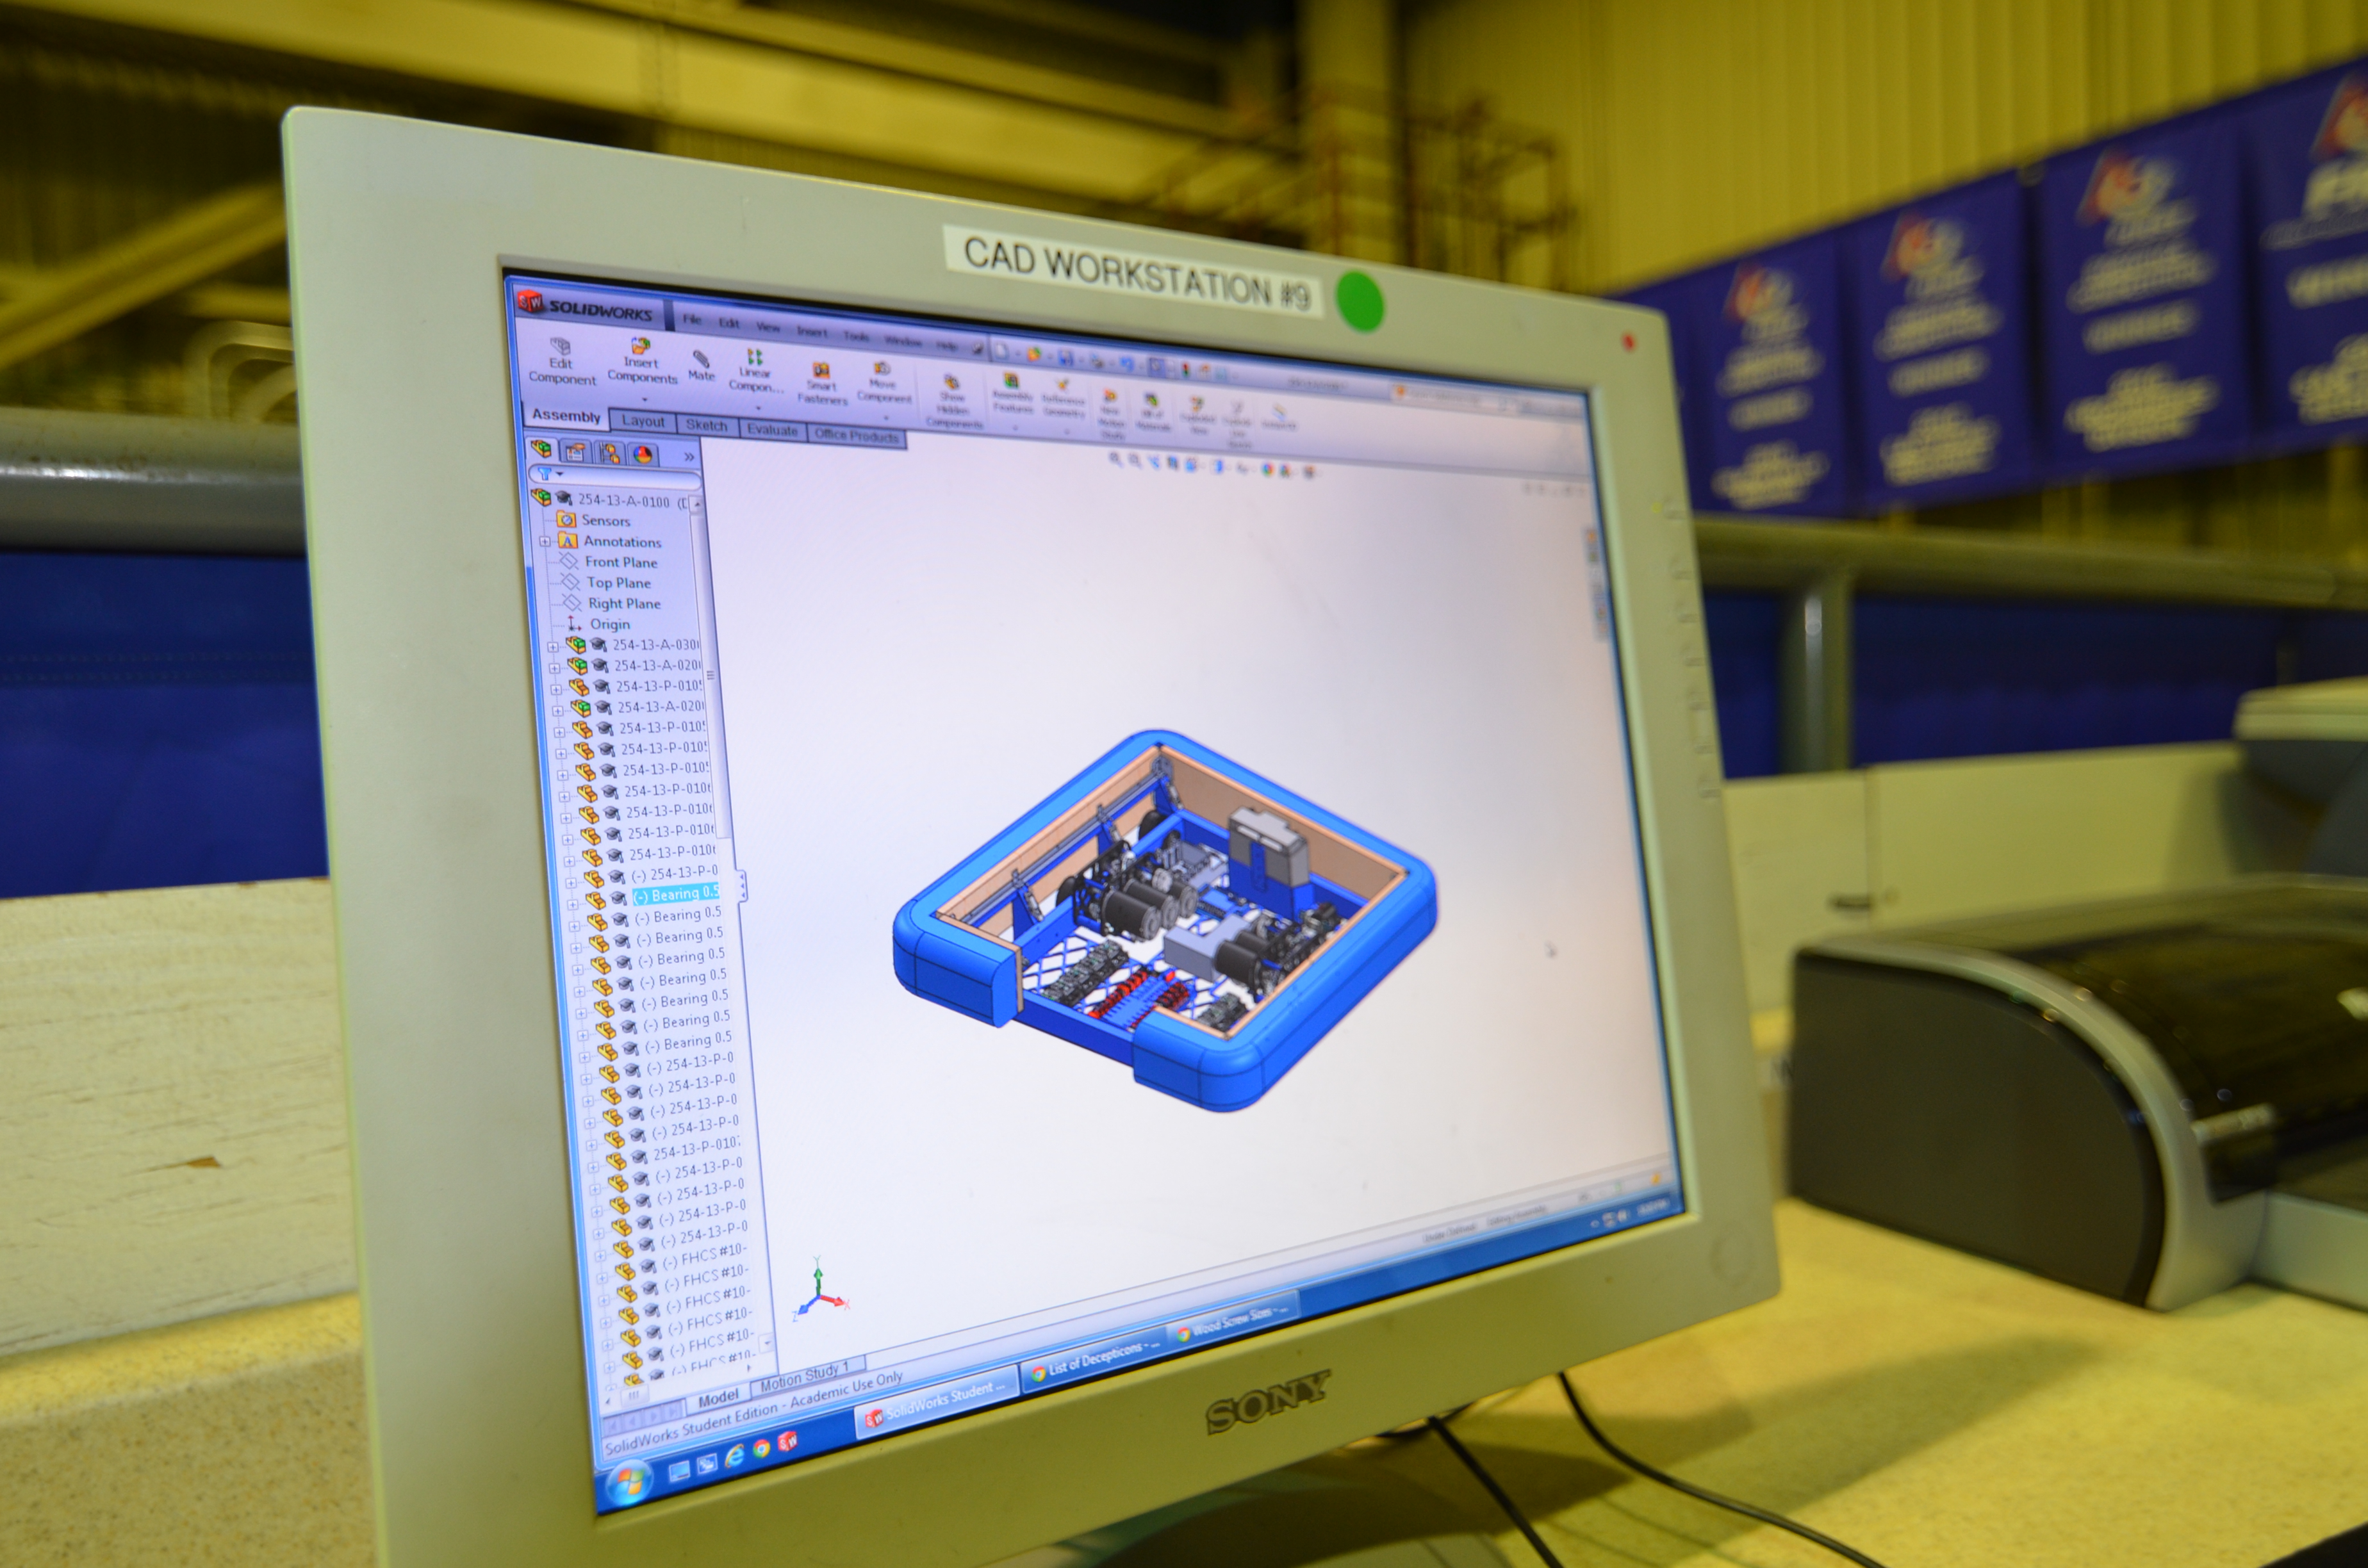
Students and mentors have continued to work in Solidworks to design our robot's drivebase. Progress was made by adding electrical components to the CAD to map out the distribution of speed controllers, CRIO and pneumatic systems placement, and the power distribution board.


D7K_3552

The design of the robot drivebase in Solidworks


Action Items

  • Test S5 encoders