177 posts

Day #13: Manufacturing and Continued Prototyping

2013 FRC Build SeasonFIRST Robotics

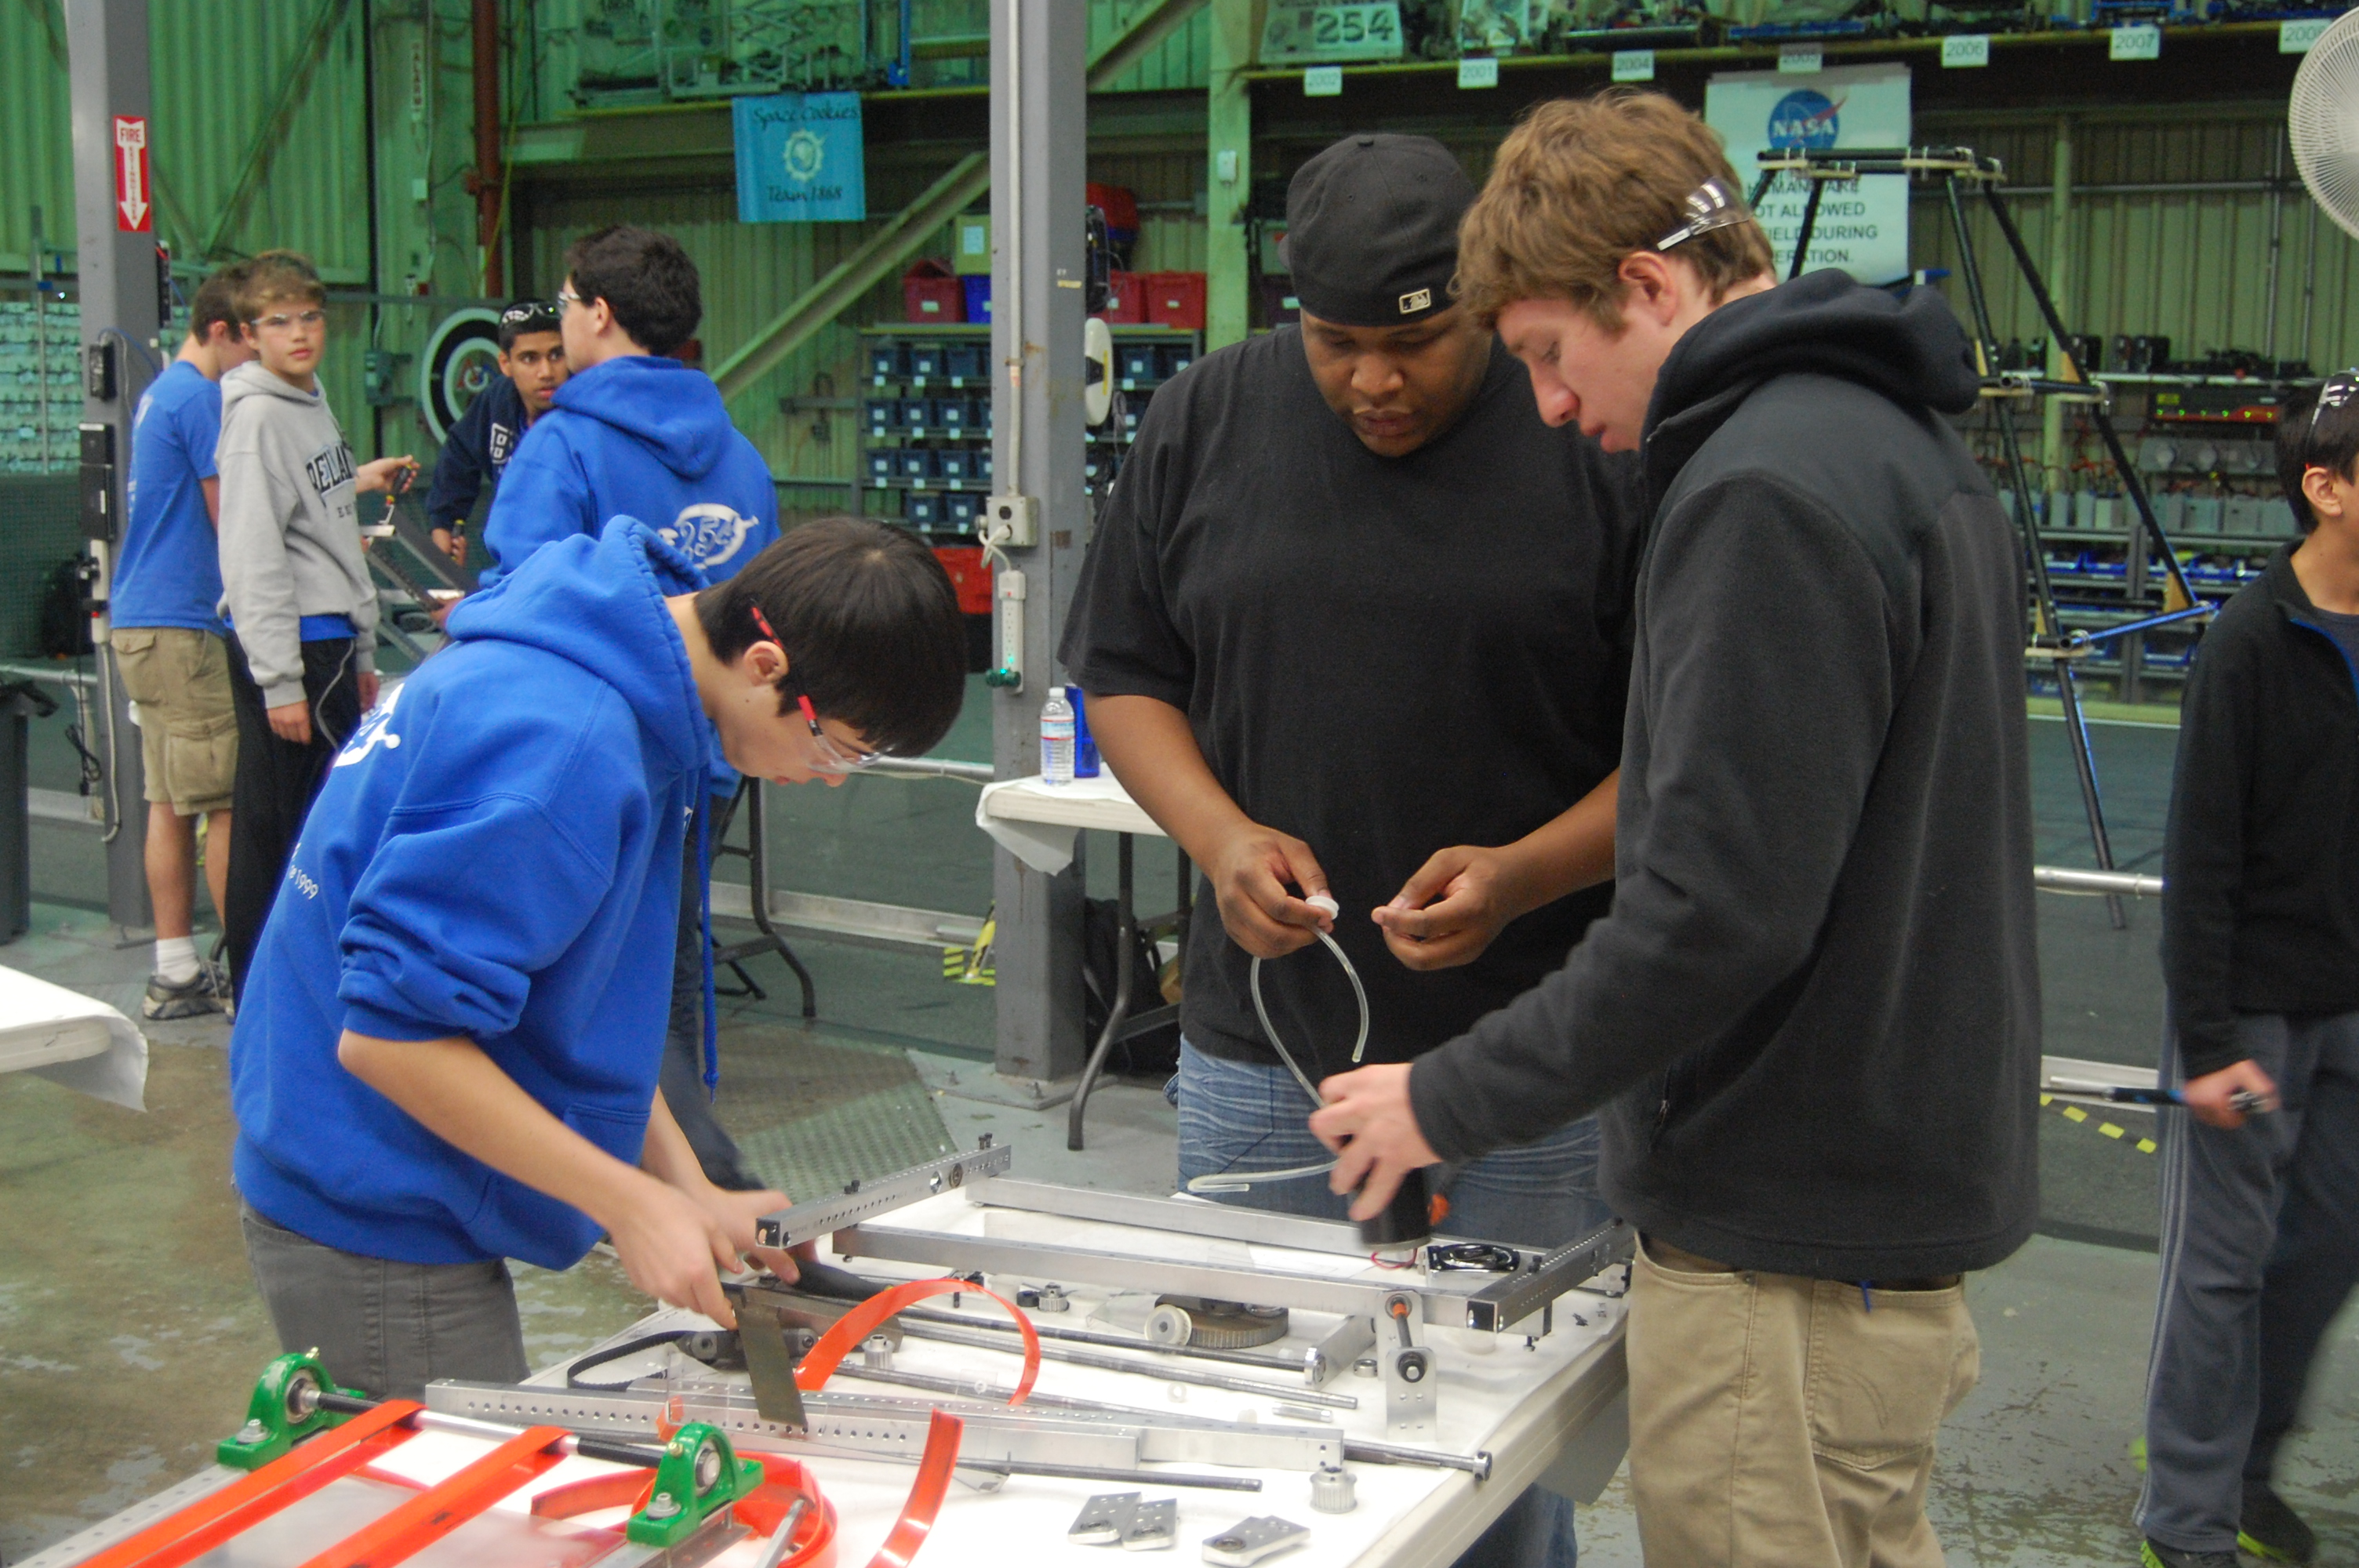
We had an excellent turnout of students today, which helped get a lot done.


Manufacturing

Chassis

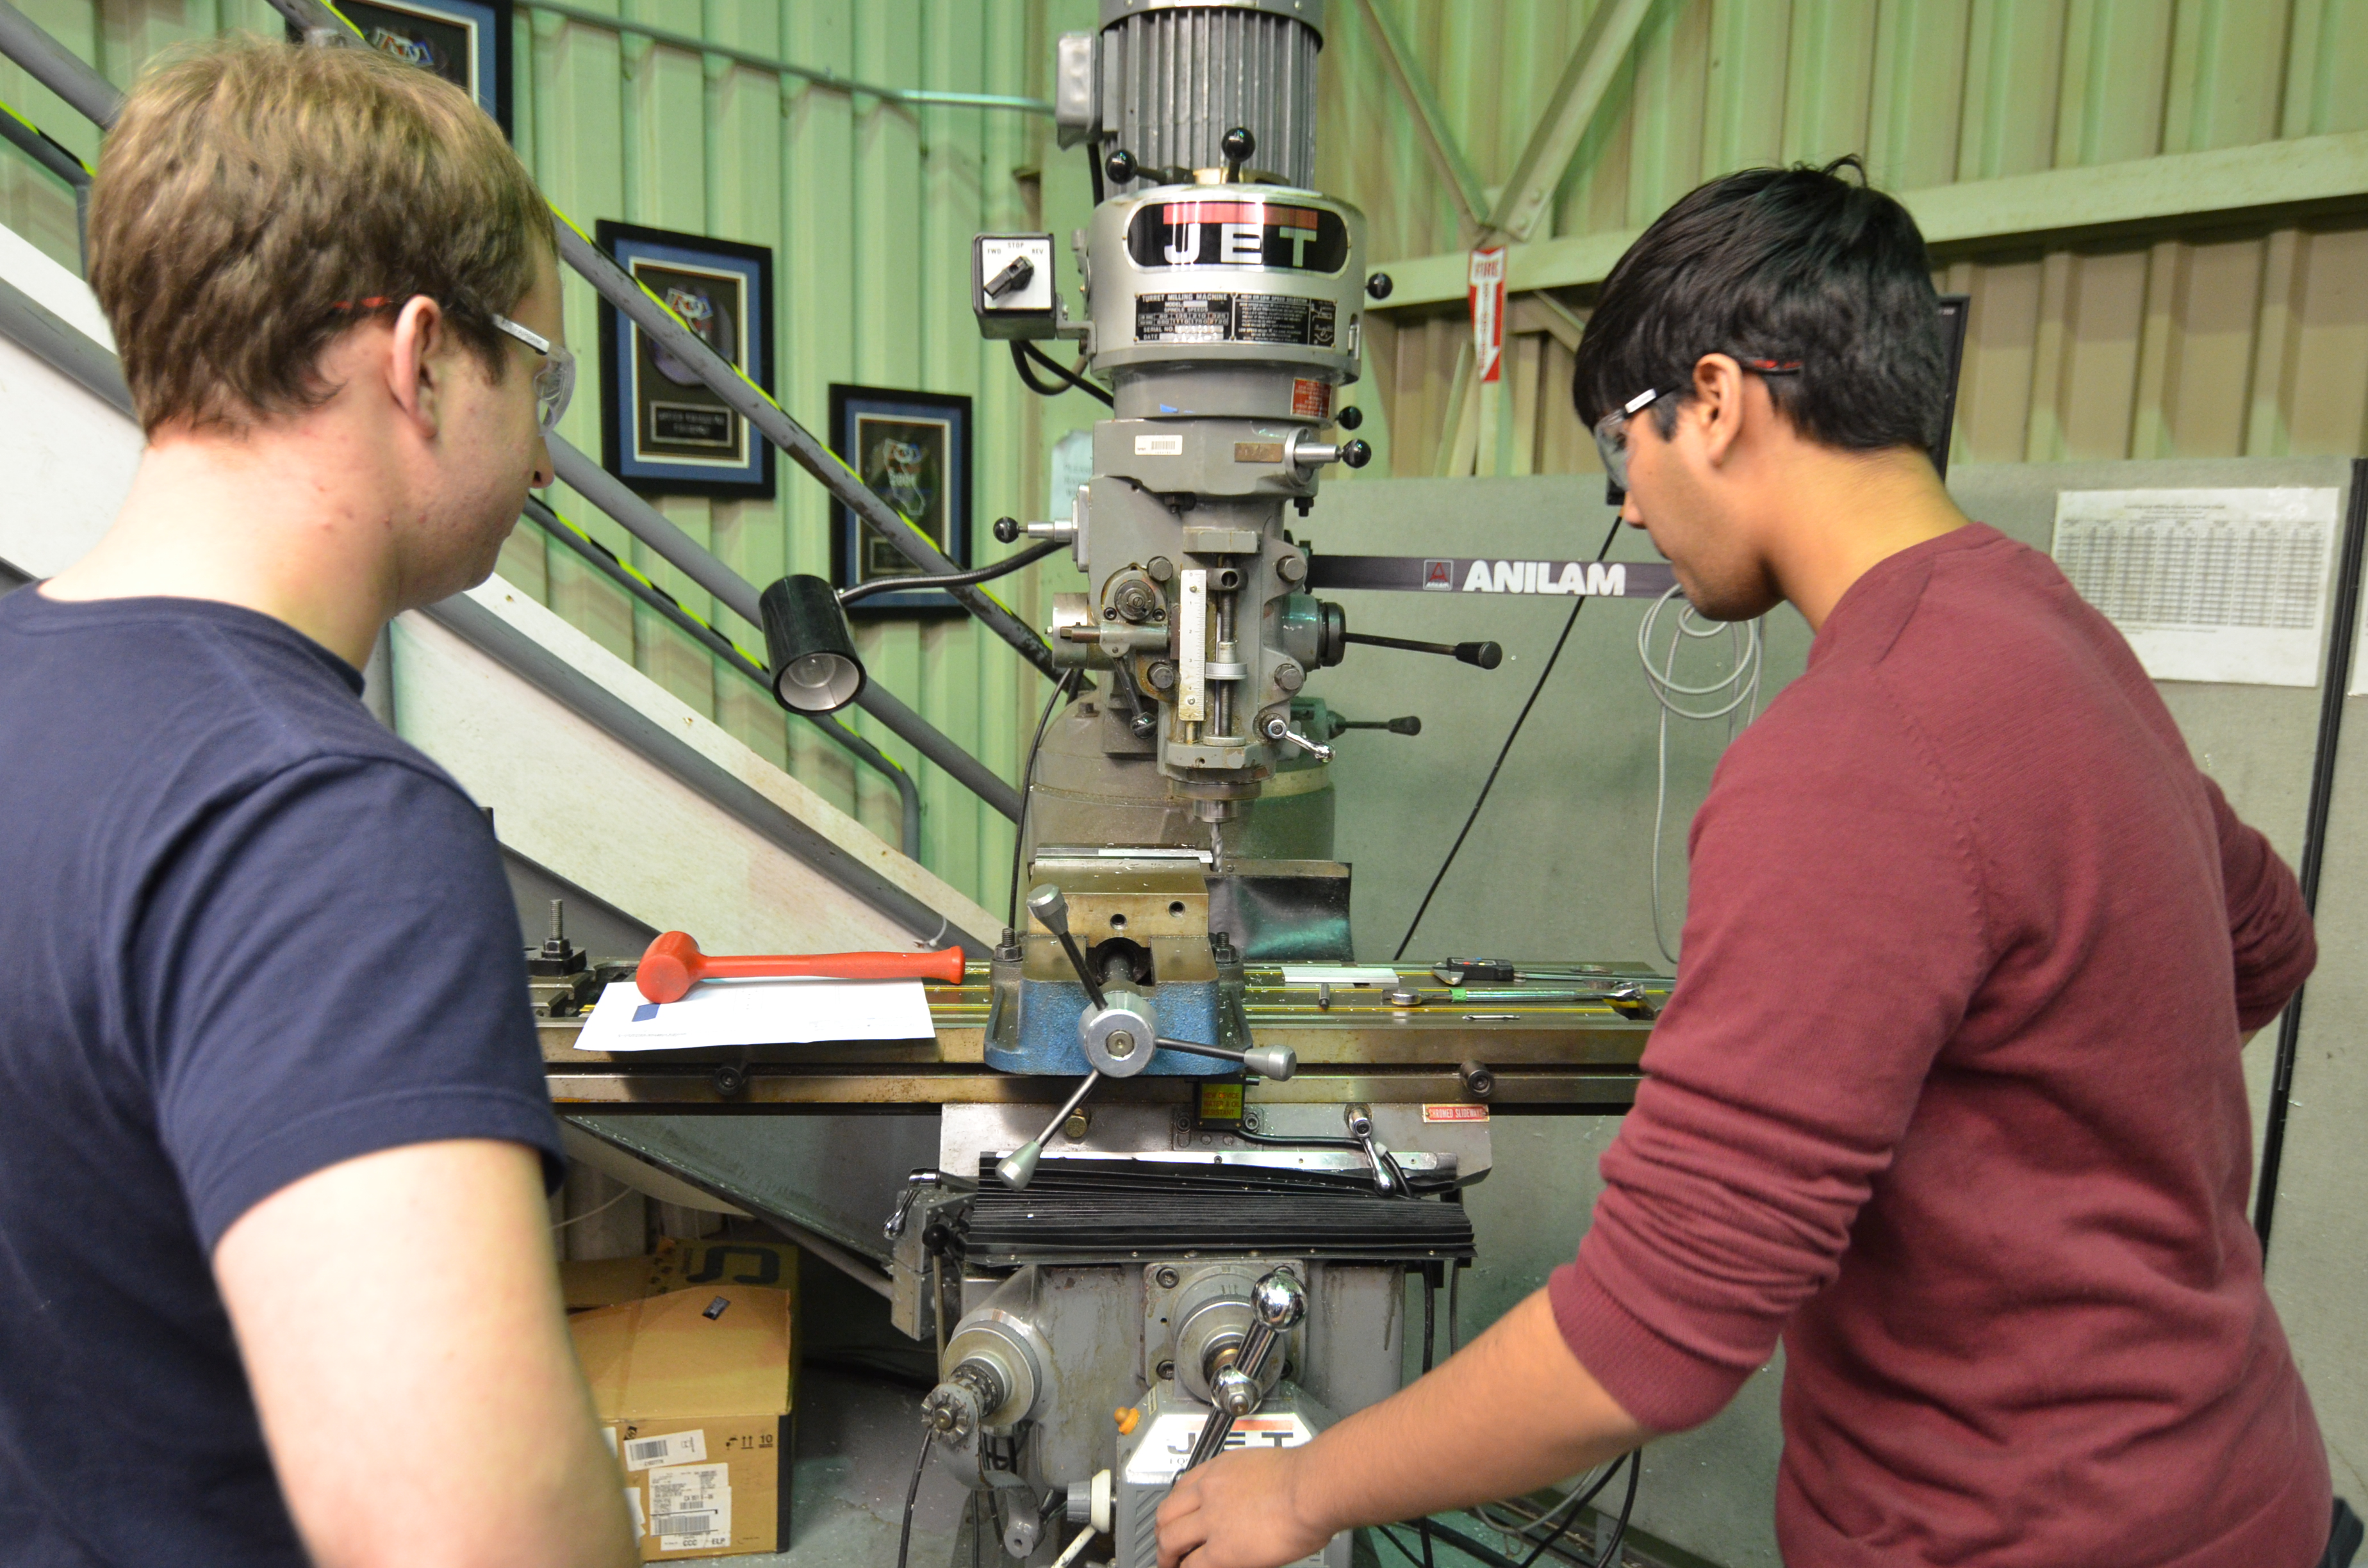
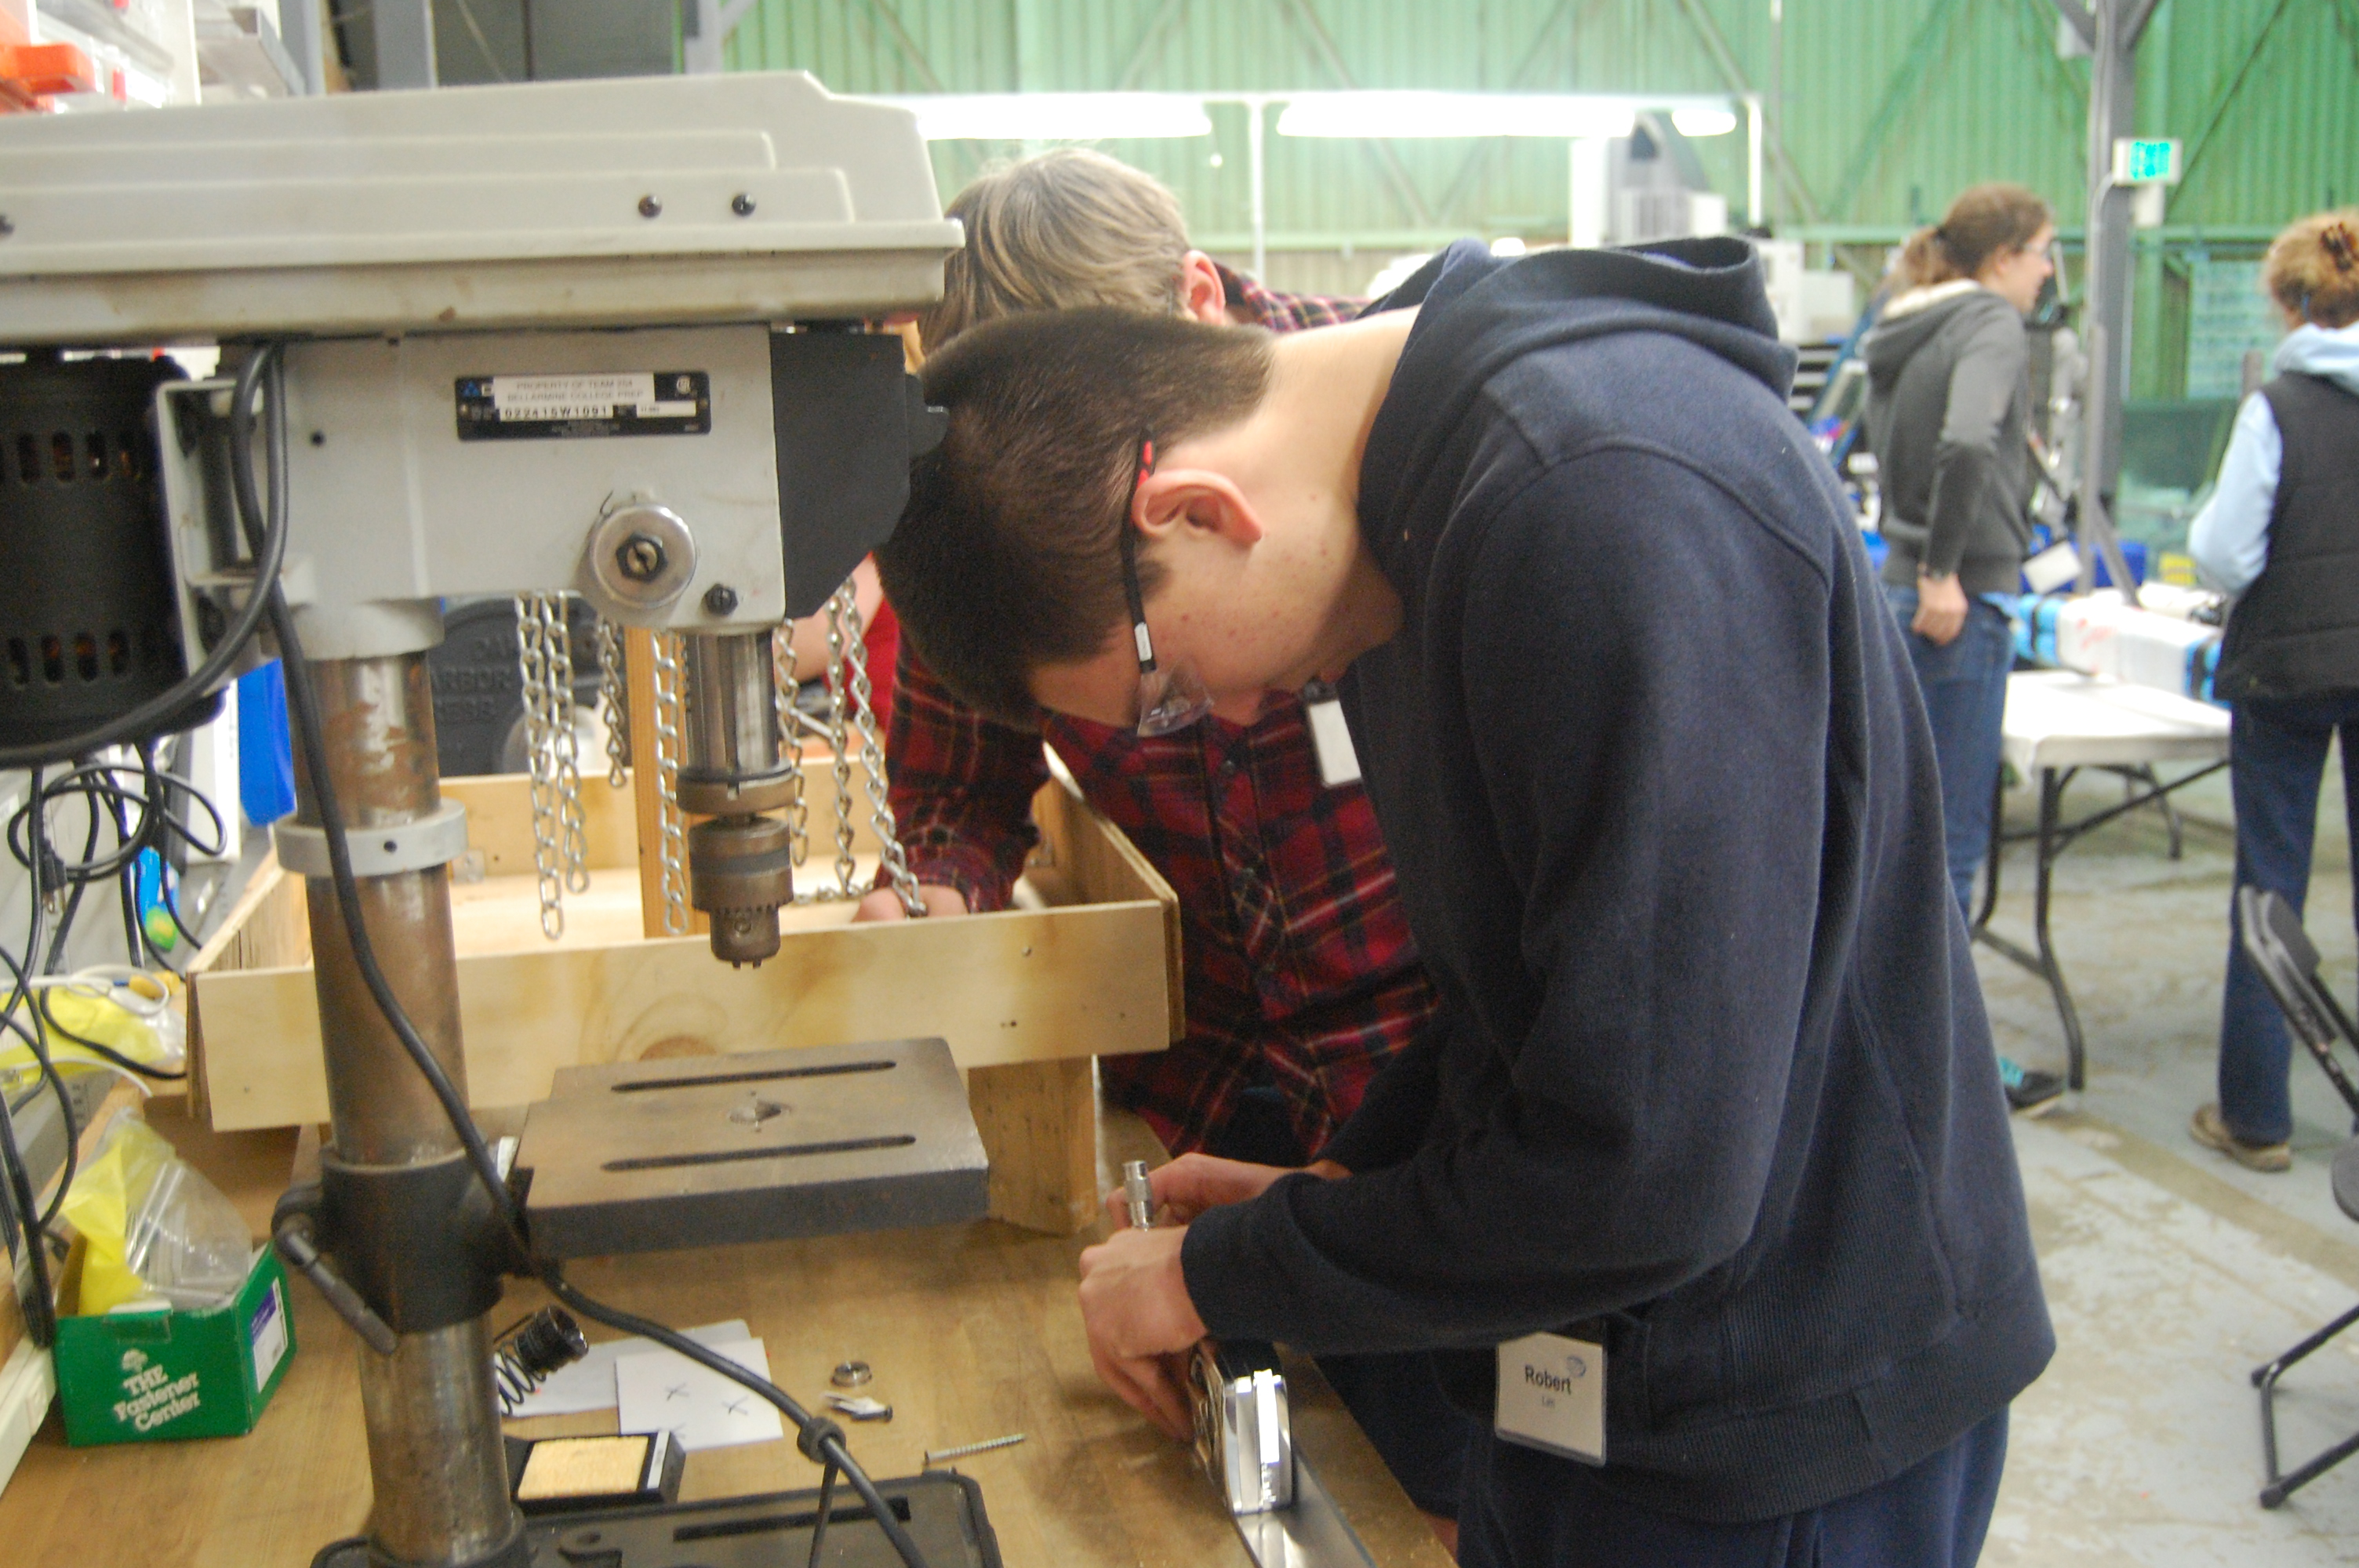
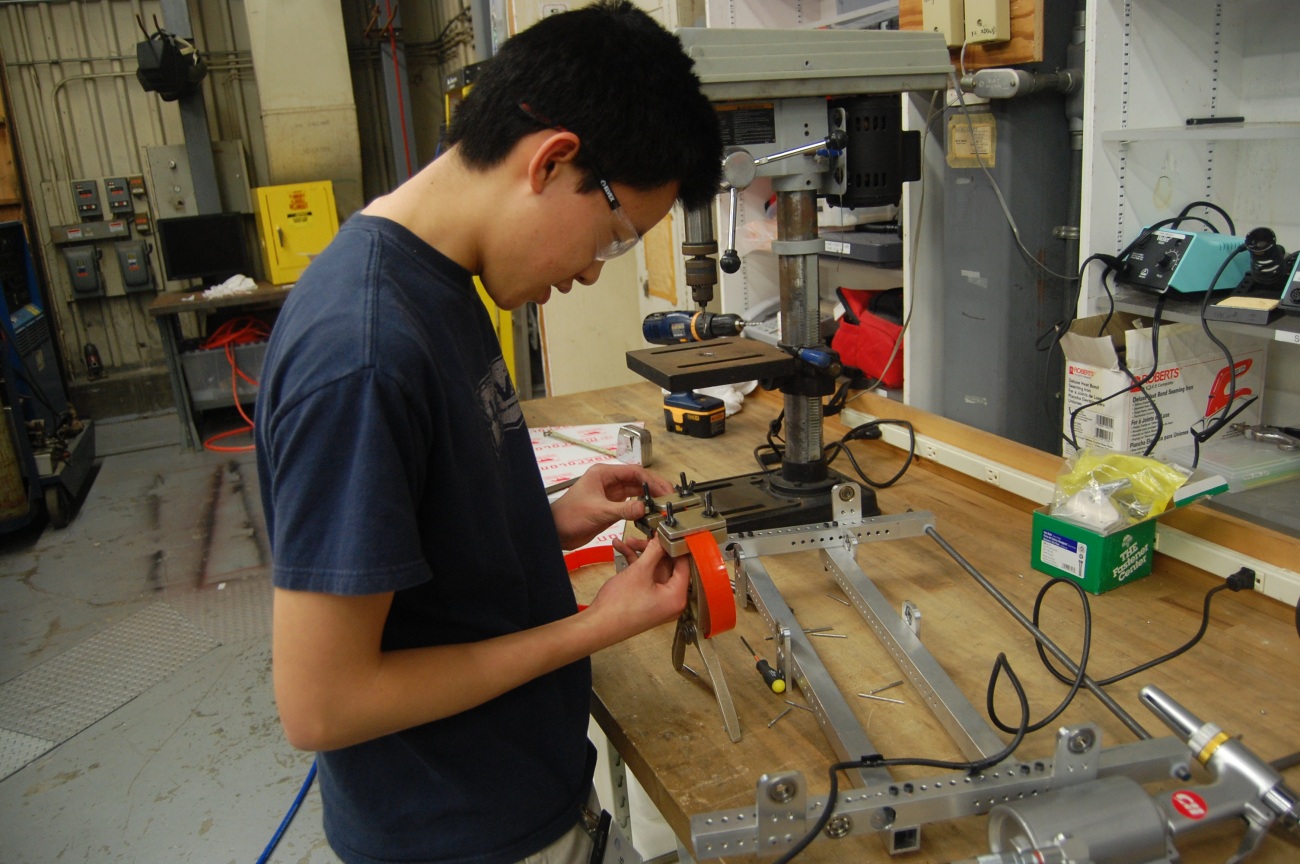
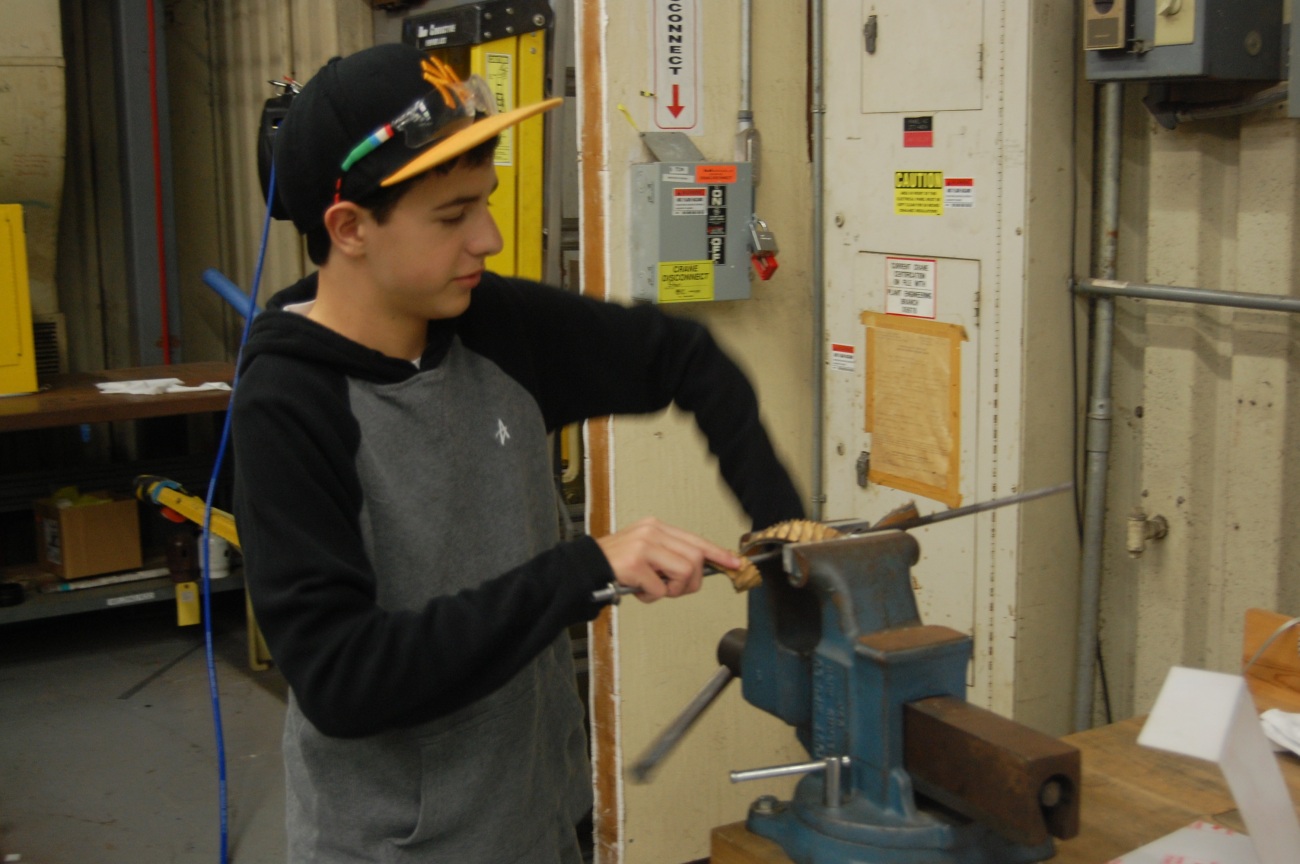
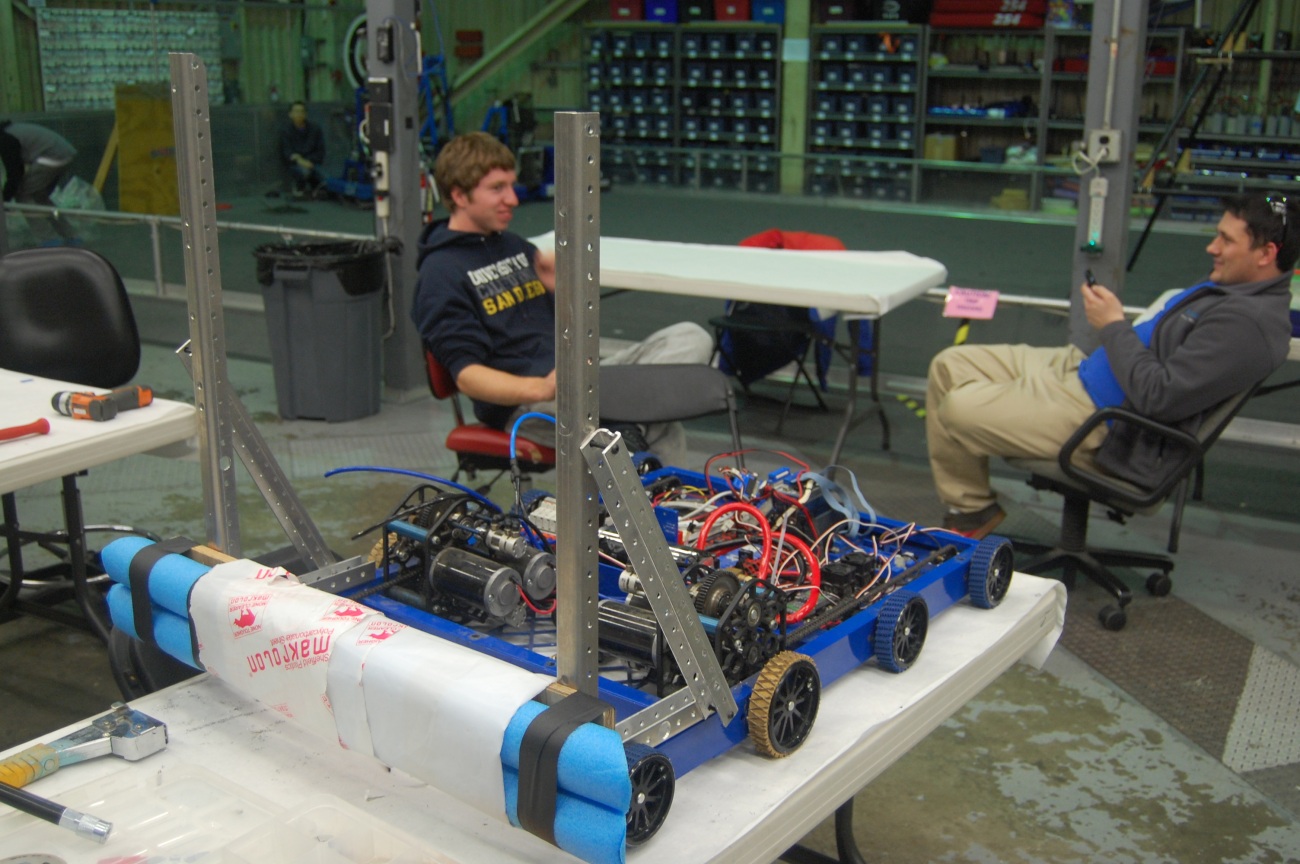
The chassis needs to be completed by Monday to be sent out for welding. There are a few more parts that need to be completed for the chassis. Students worked on completing the covers for the bumper mounts. These parts were manufactured on the manual mill. They also finished the parts for the battery box (which is part of the chassis weldment).
 

D7K_3523

Students cutting the battery box plates to length


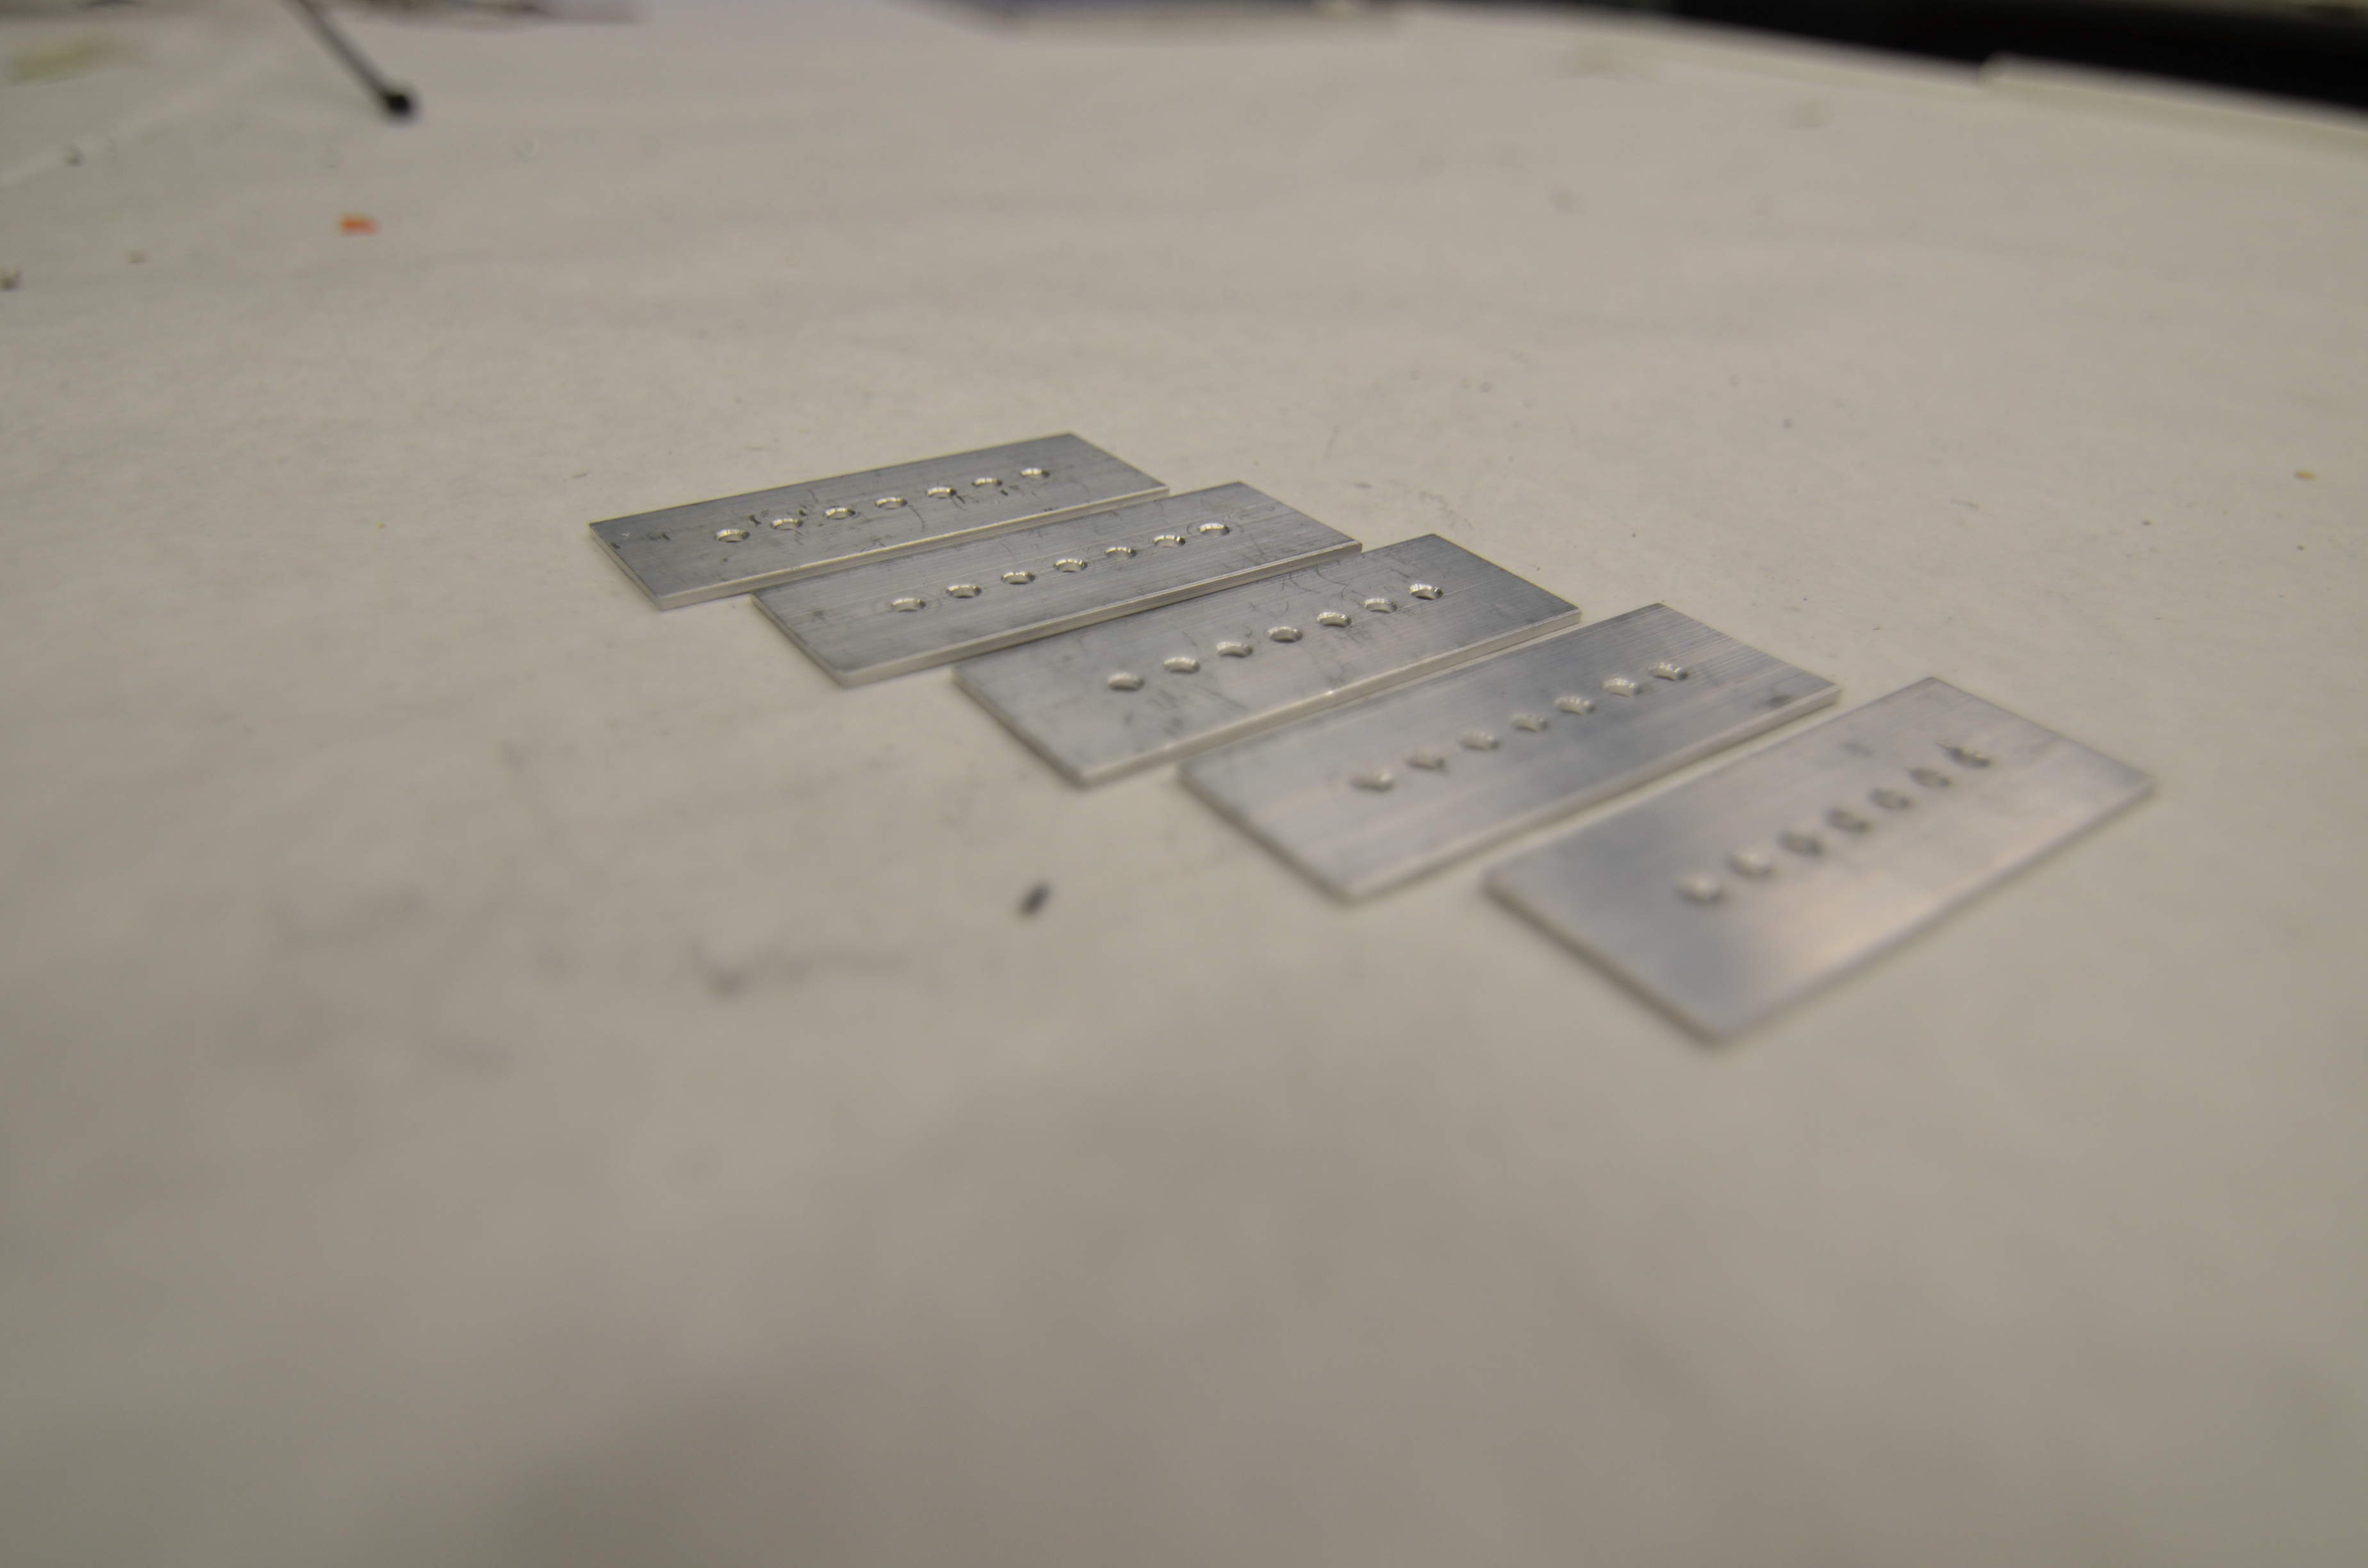
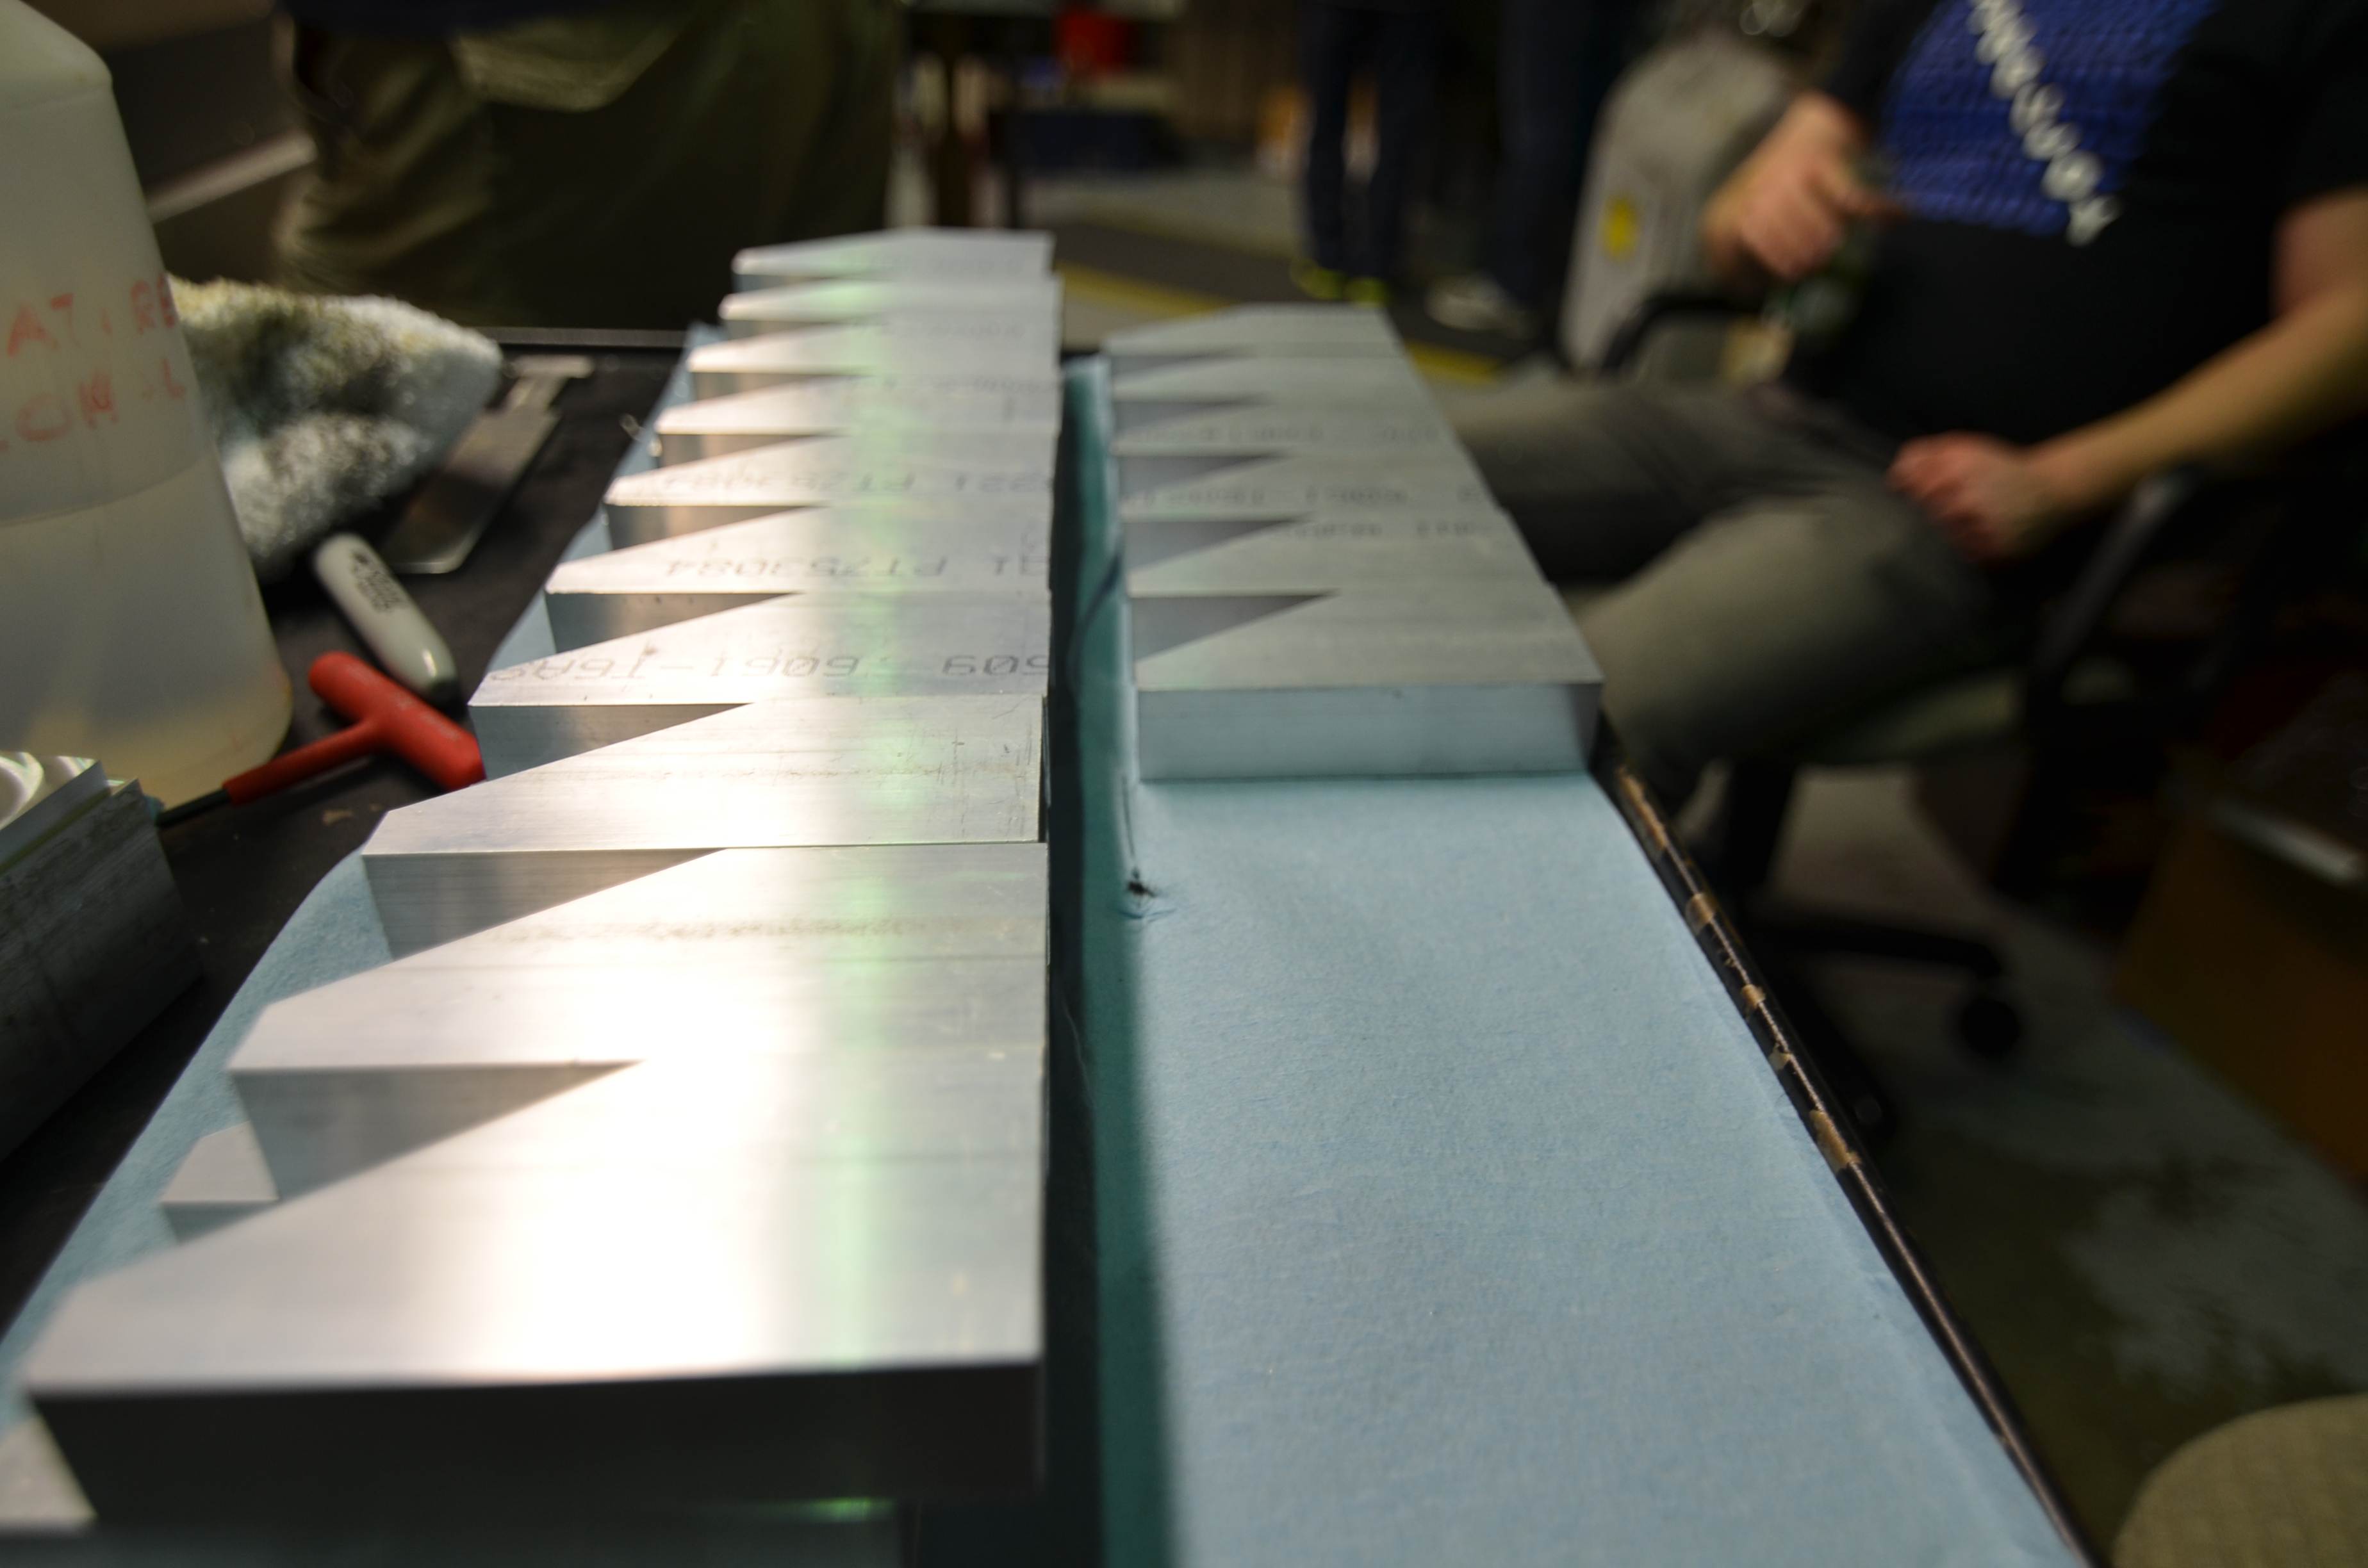
On the CNC, the bumper mounts were being completed. These parts are a little more complex and take some time. They have been in progess for the past two days.
 

D7K_3530

Bumper mounts in progress


D7K_3534

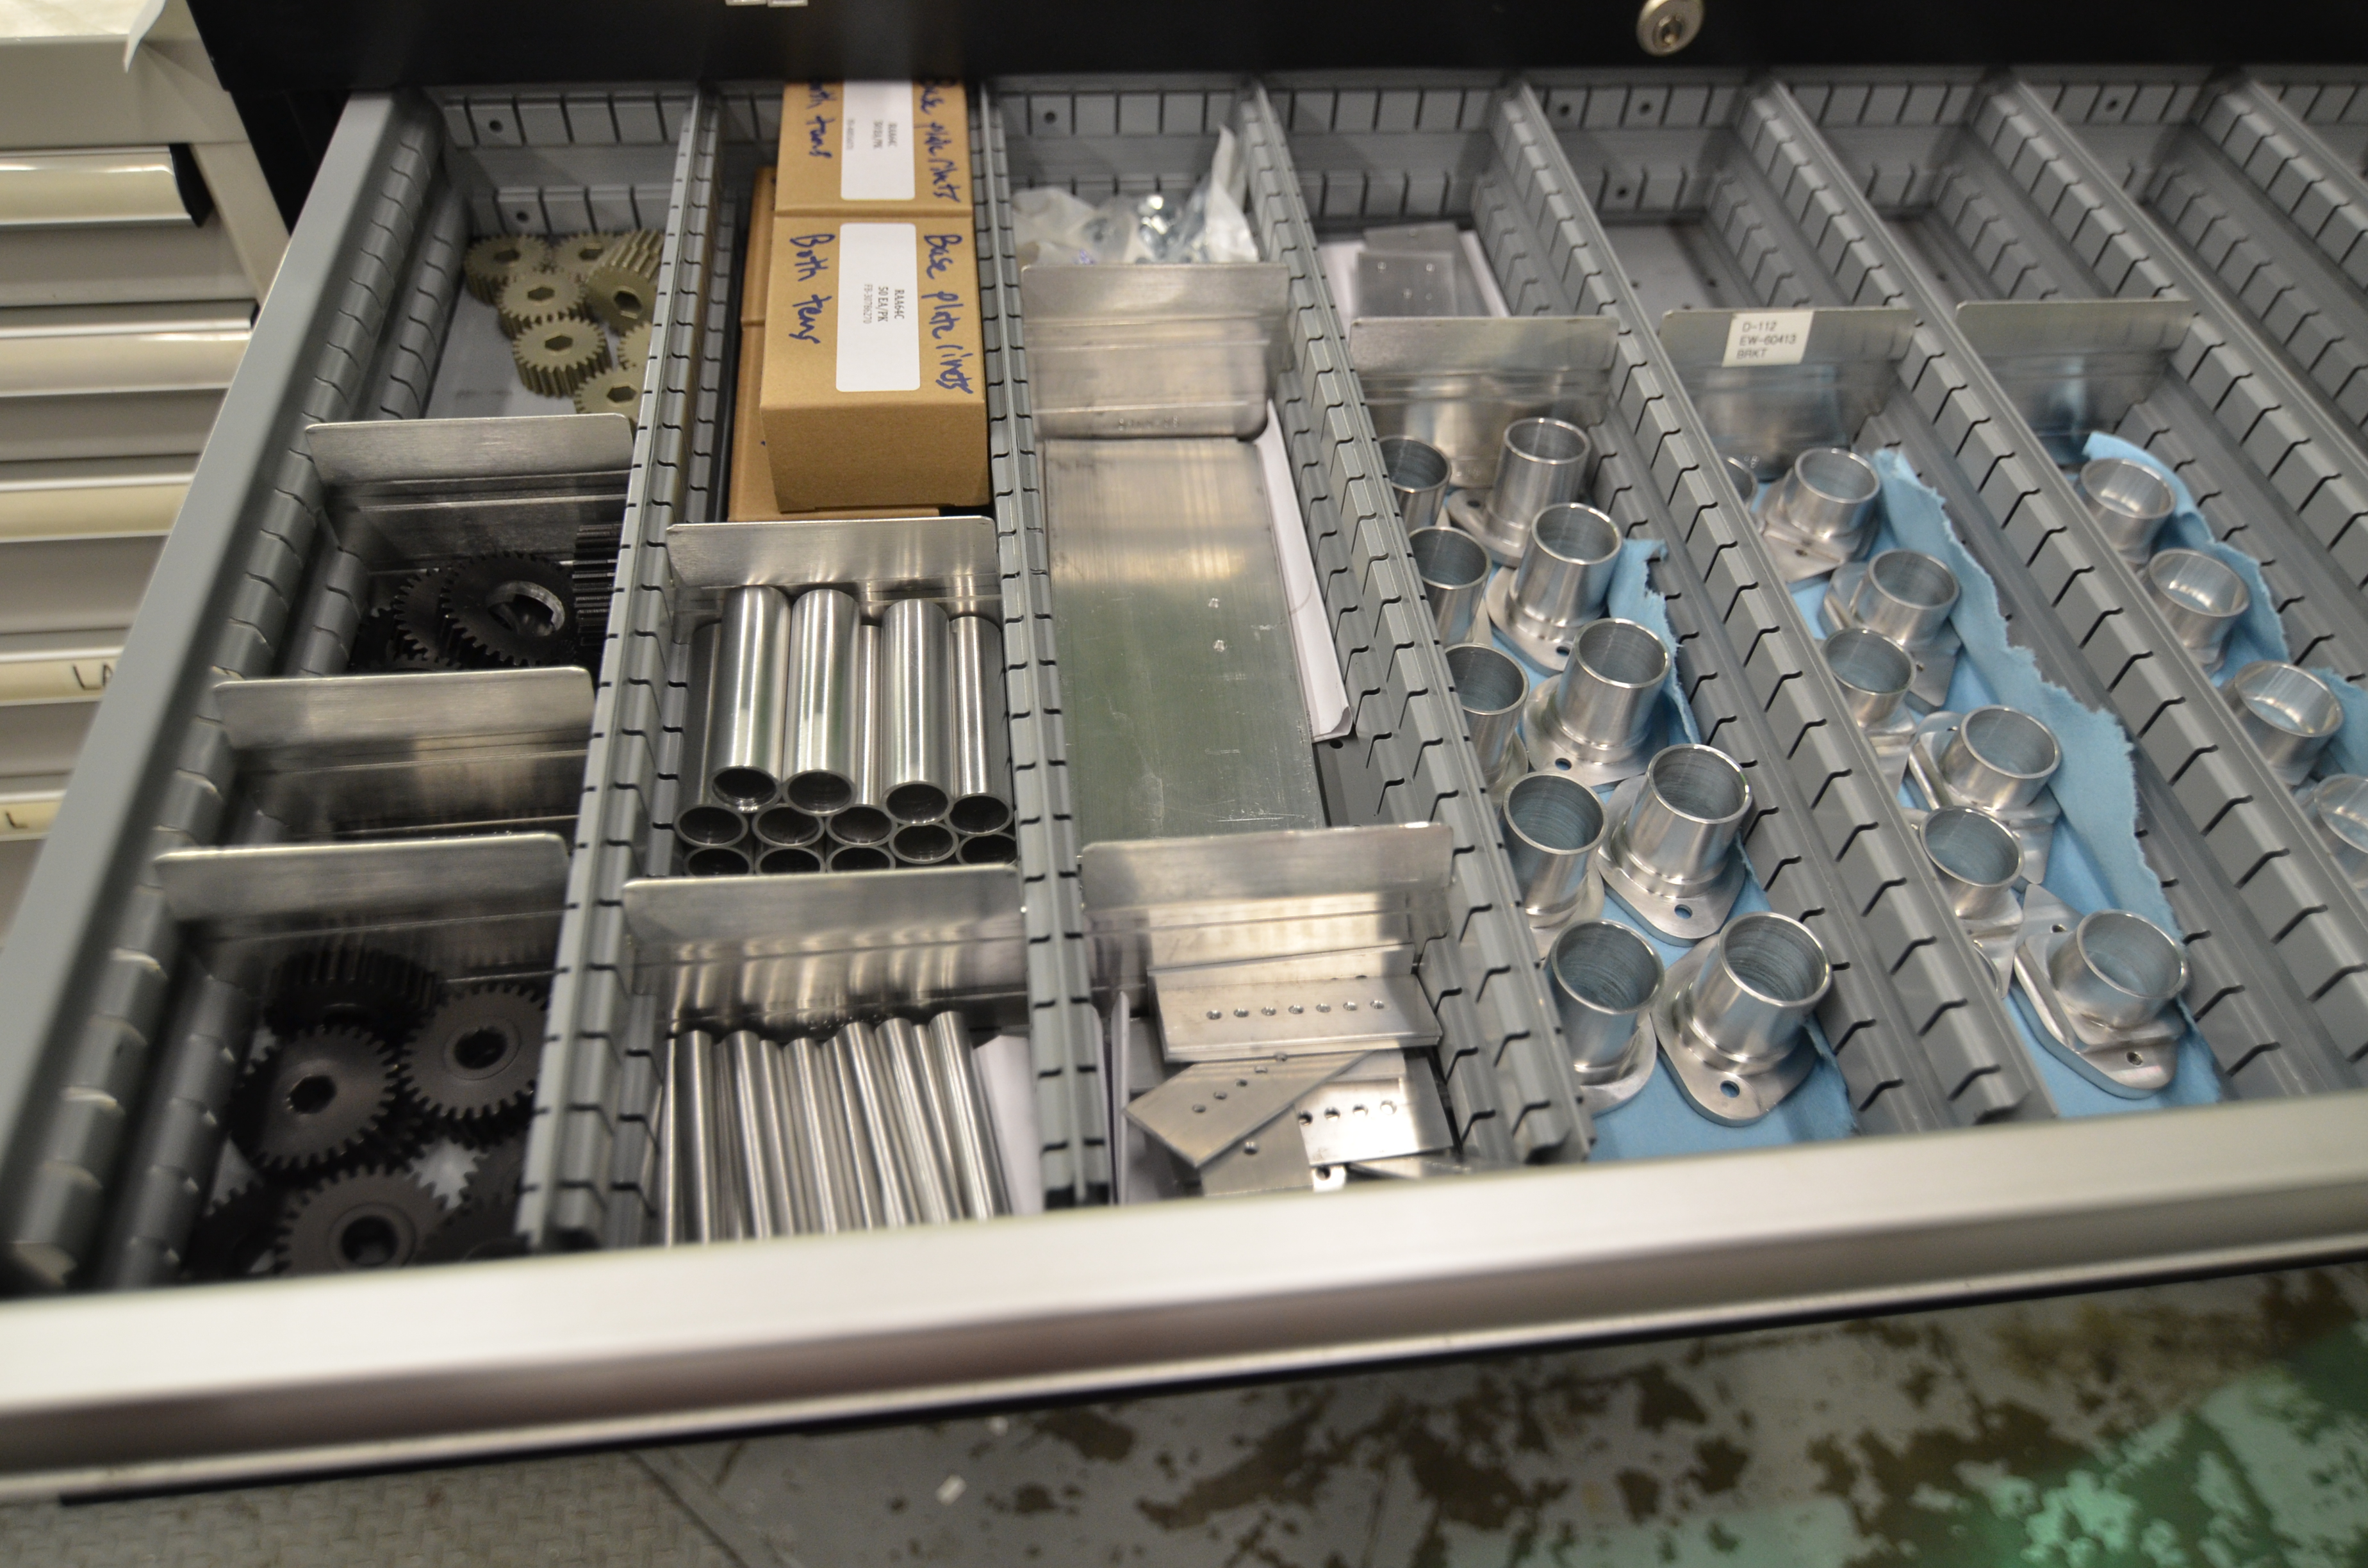
Many completed parts so far, all very well organized

Prototyping

Shooter

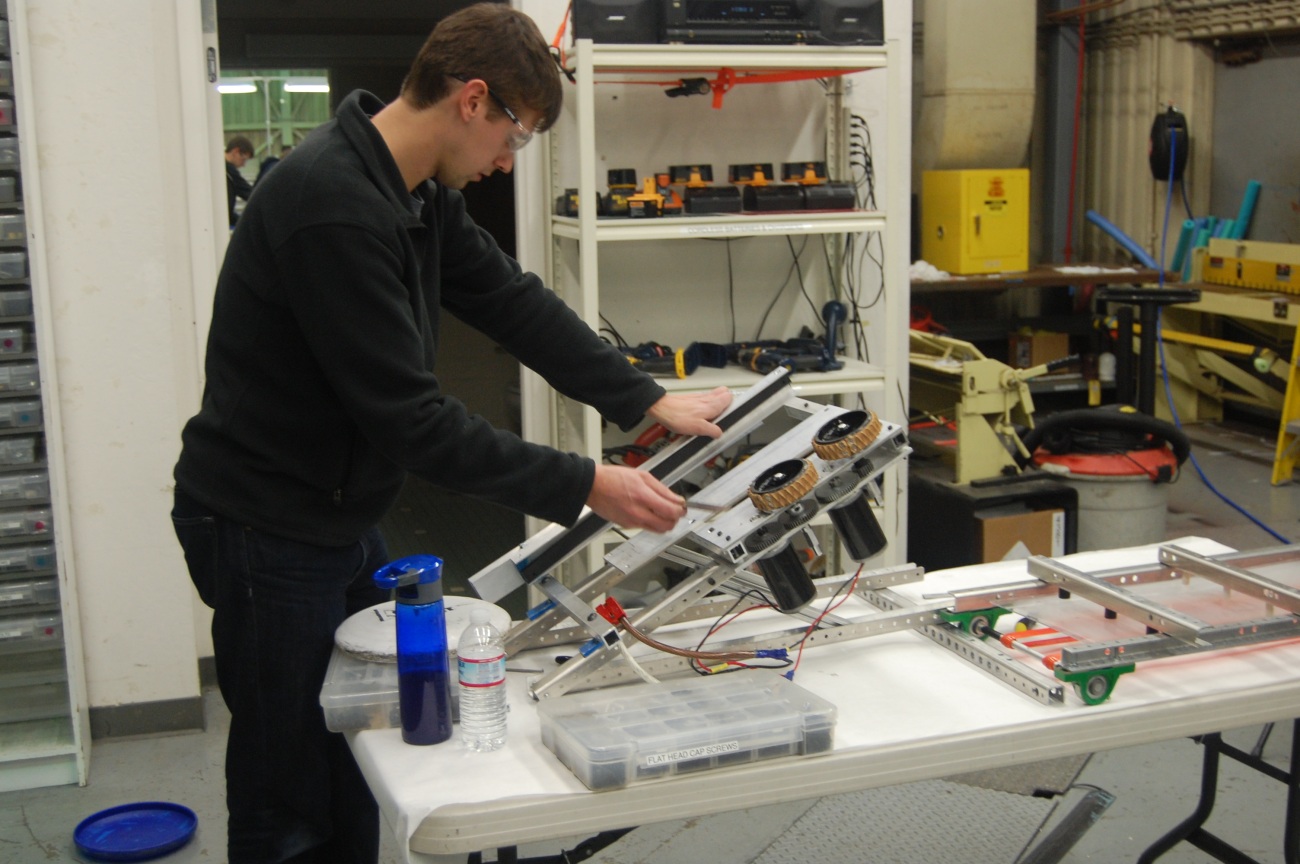
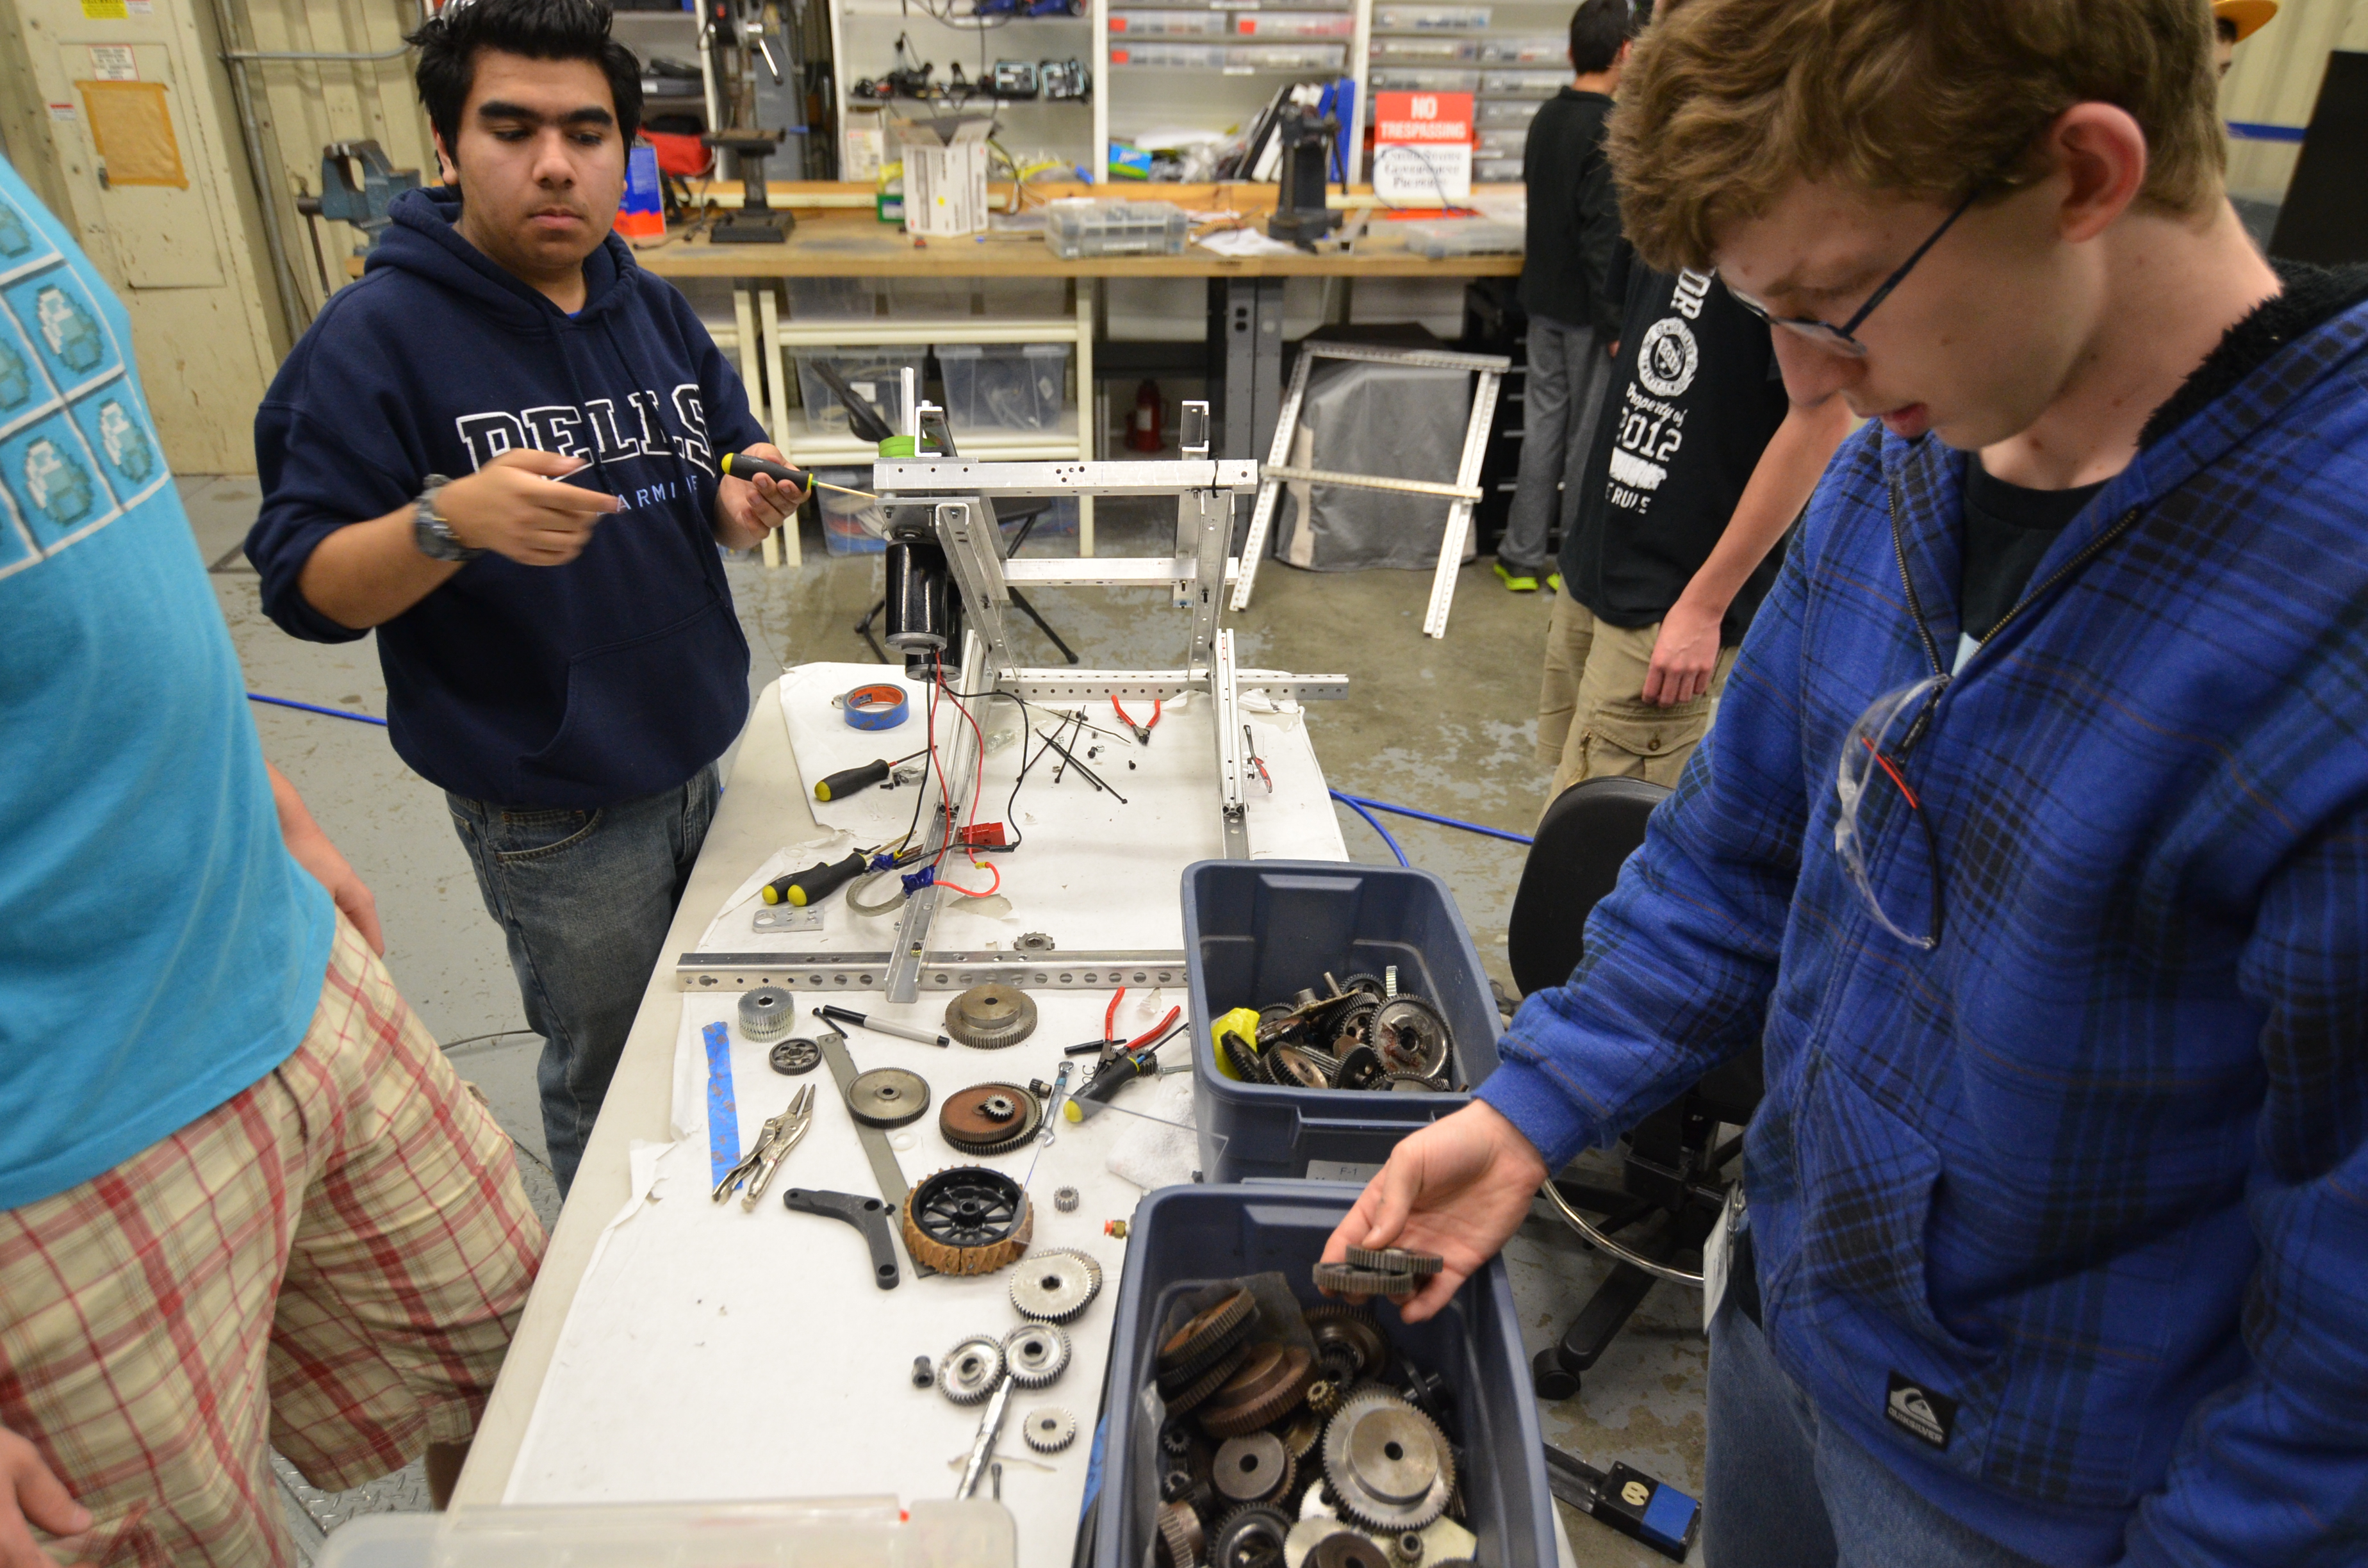
There are a few changes that need to be made on the shooter prototype, none of which were completed last night. The biggest change is going to be the increase in speed for the front wheels. The previous wheels were geared 2.3:1 making them spin at approximately 10,000 rpm. The wheels were changed to a smaller radius and a new mounting plate for the motors is in progress. This mounting plate will accomodate a BAG motor which spins at 14,000 rpm (free speed). It will be geared up a little to spin at 17,000 rpm. When accounting for efficiency and load losses, it will spin at approximately 15,000 rpm, which is the desired goal. 

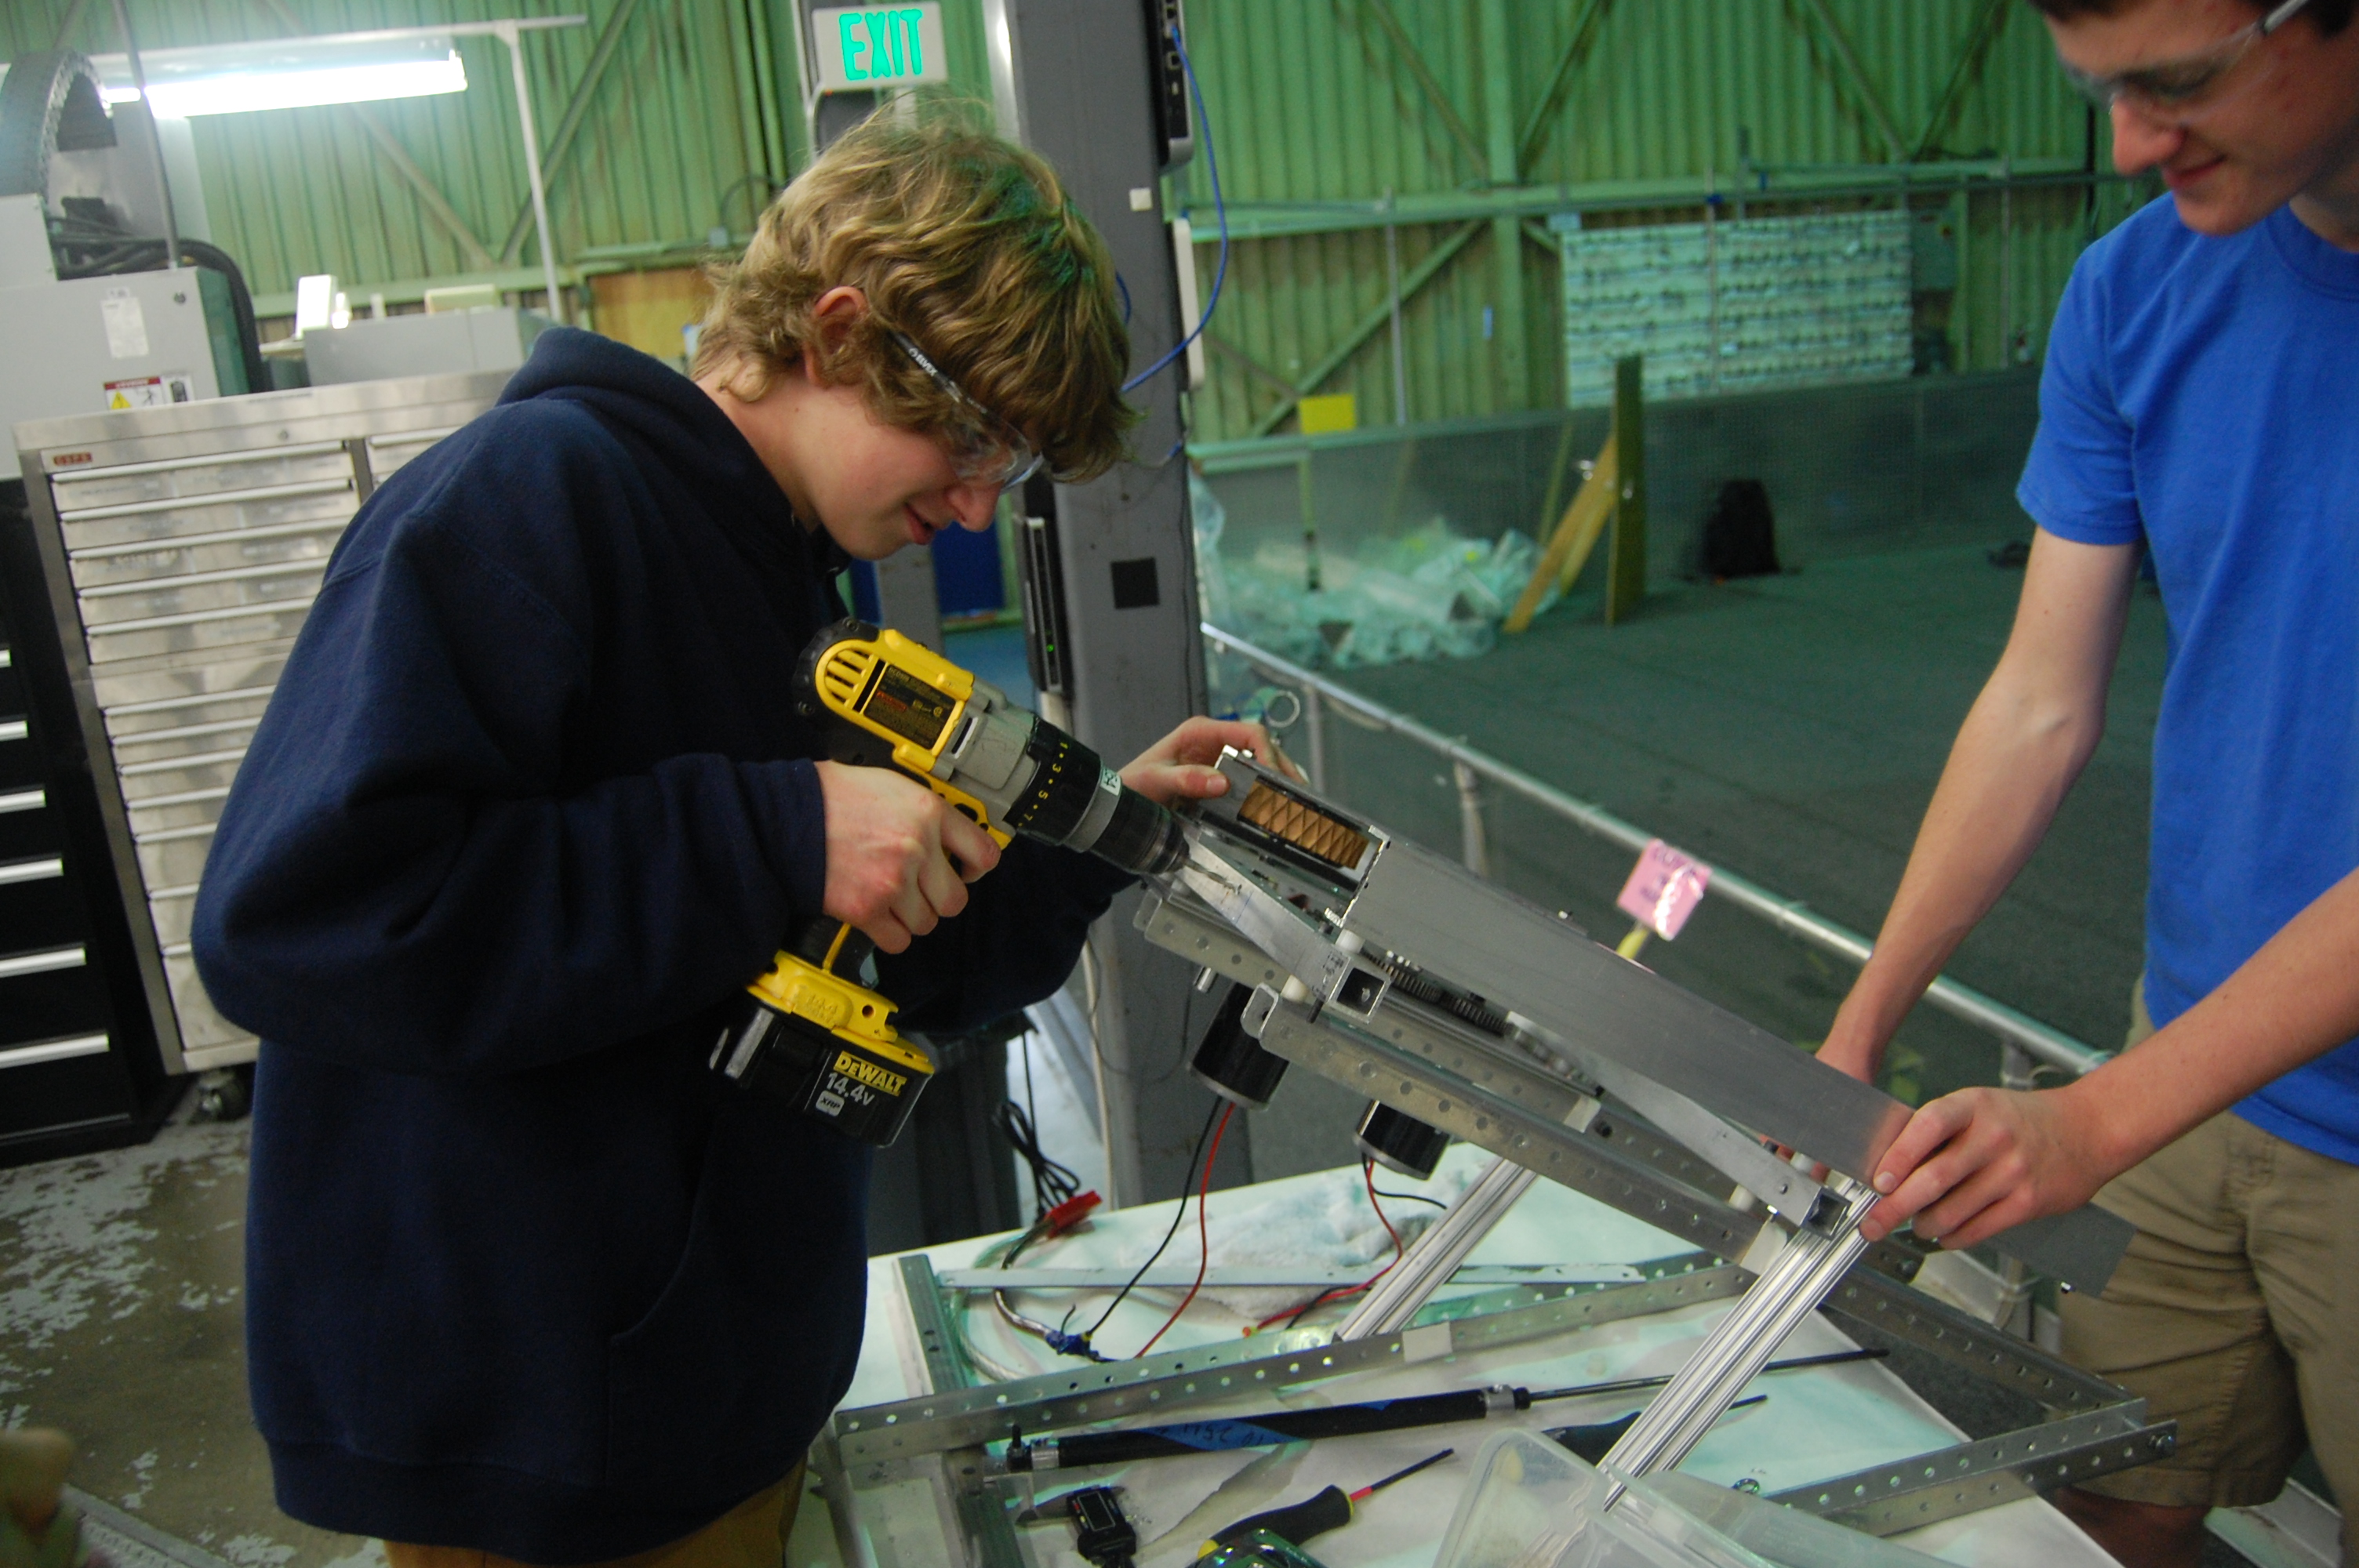
The shooter will also be turned upside down (little progress was made on this yesterday) to test if it is possible to load the frisbees upside down.
 

D7K_3531

Students working on the shooter prototype

Intake 

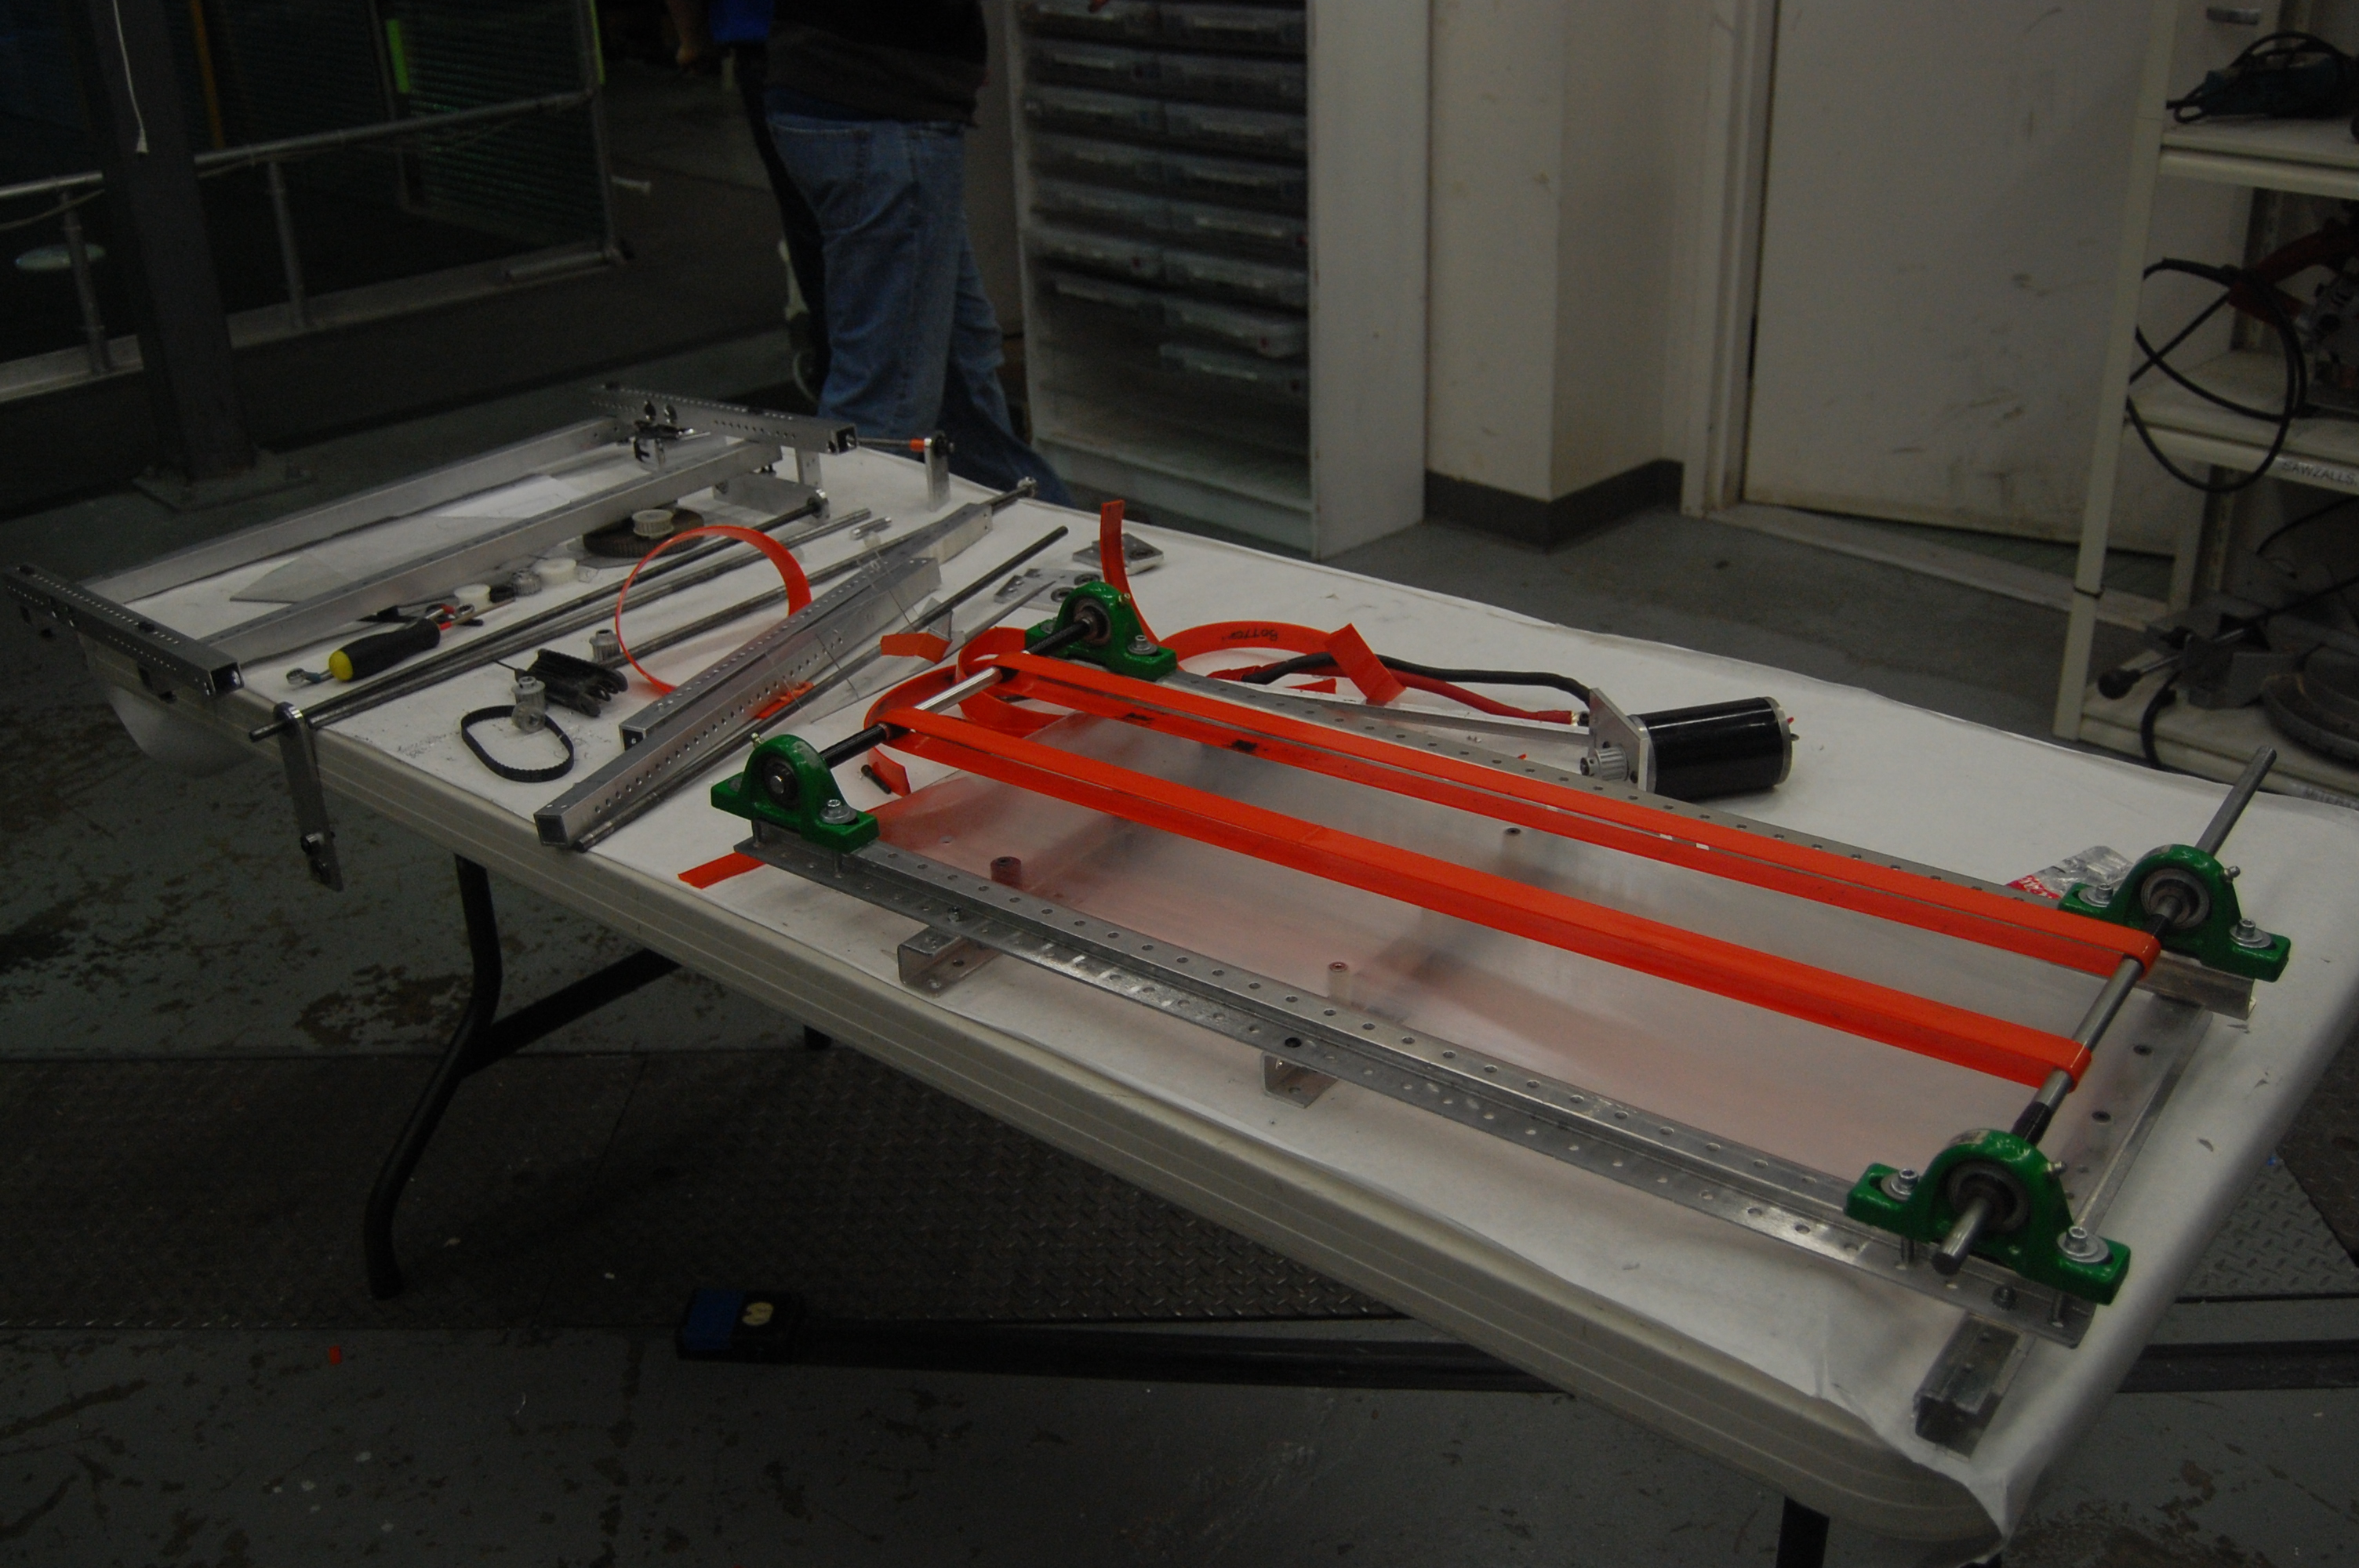
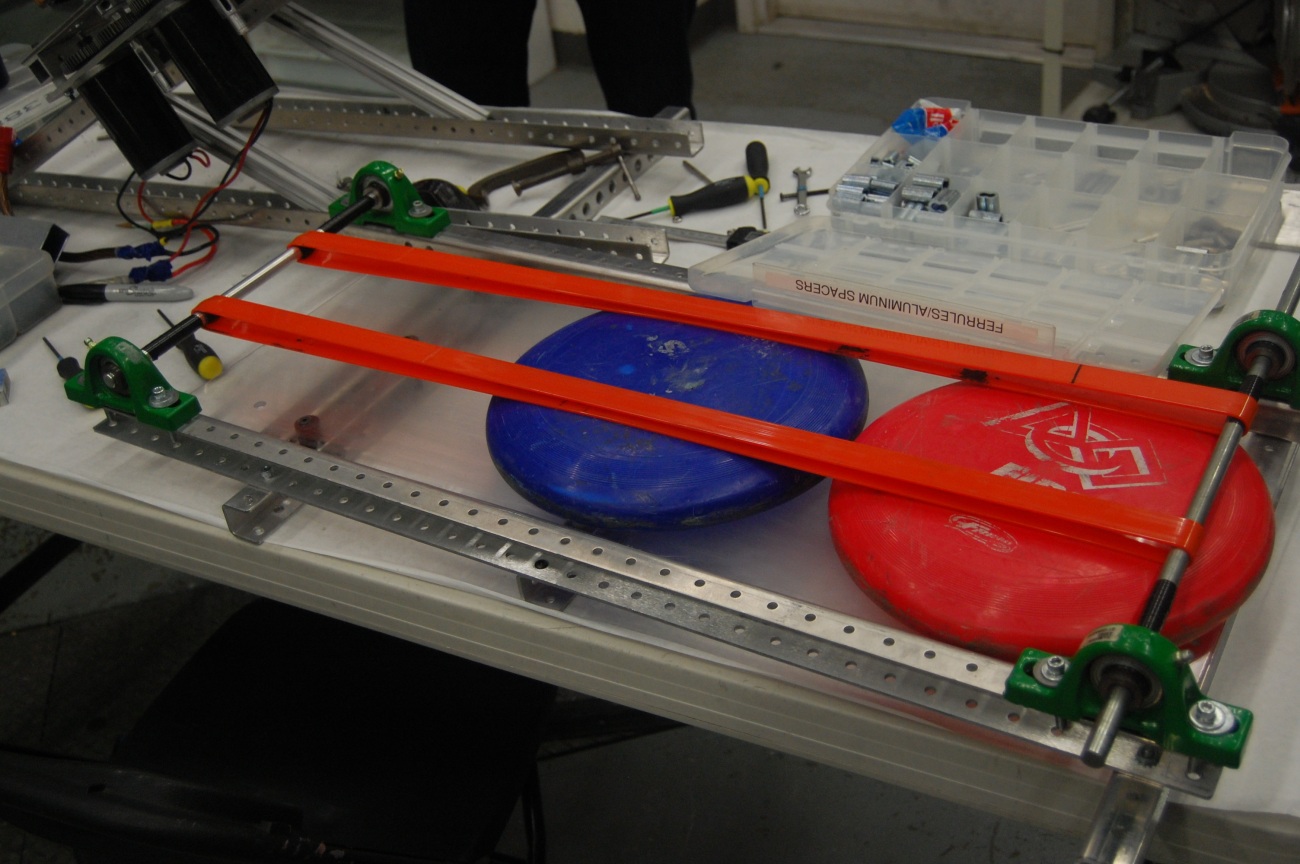
A new intake was designed today, to match the concept intake that is currently in the CAD model. This intake has a new funneling method by implementation. By concept, it is the same (where one frisbee goes in faster than the others). Previously, there were perpendicular belts that moved a frisbee ahead of the other one to allow the intake to funnel from two frisbees to one. On this current intake, the horizontal belts were replaced with four rollers. These rollers were shaped in a funnel as well. It was decided that the two frisbee wide intake will not be used. At any point in the match, there will not be two frisbees that will go in at exactly the same time, so the intake does not need to be two frisbees wide. During autonomous, the robot will drive towards the frisbees diagonally to intake them, rather than go straight on.

Students made an intake with these four rollers that replicated the "drop-down" motion that will be needed when the intake goes from "stowed" to "engaged." There is still a lot of work to be done. The structure was completed, the rollers were mounted, and the pivots worked. Its a matter of improving the concept to see what works and what doesn't.


Programming

Sensors and Wiring

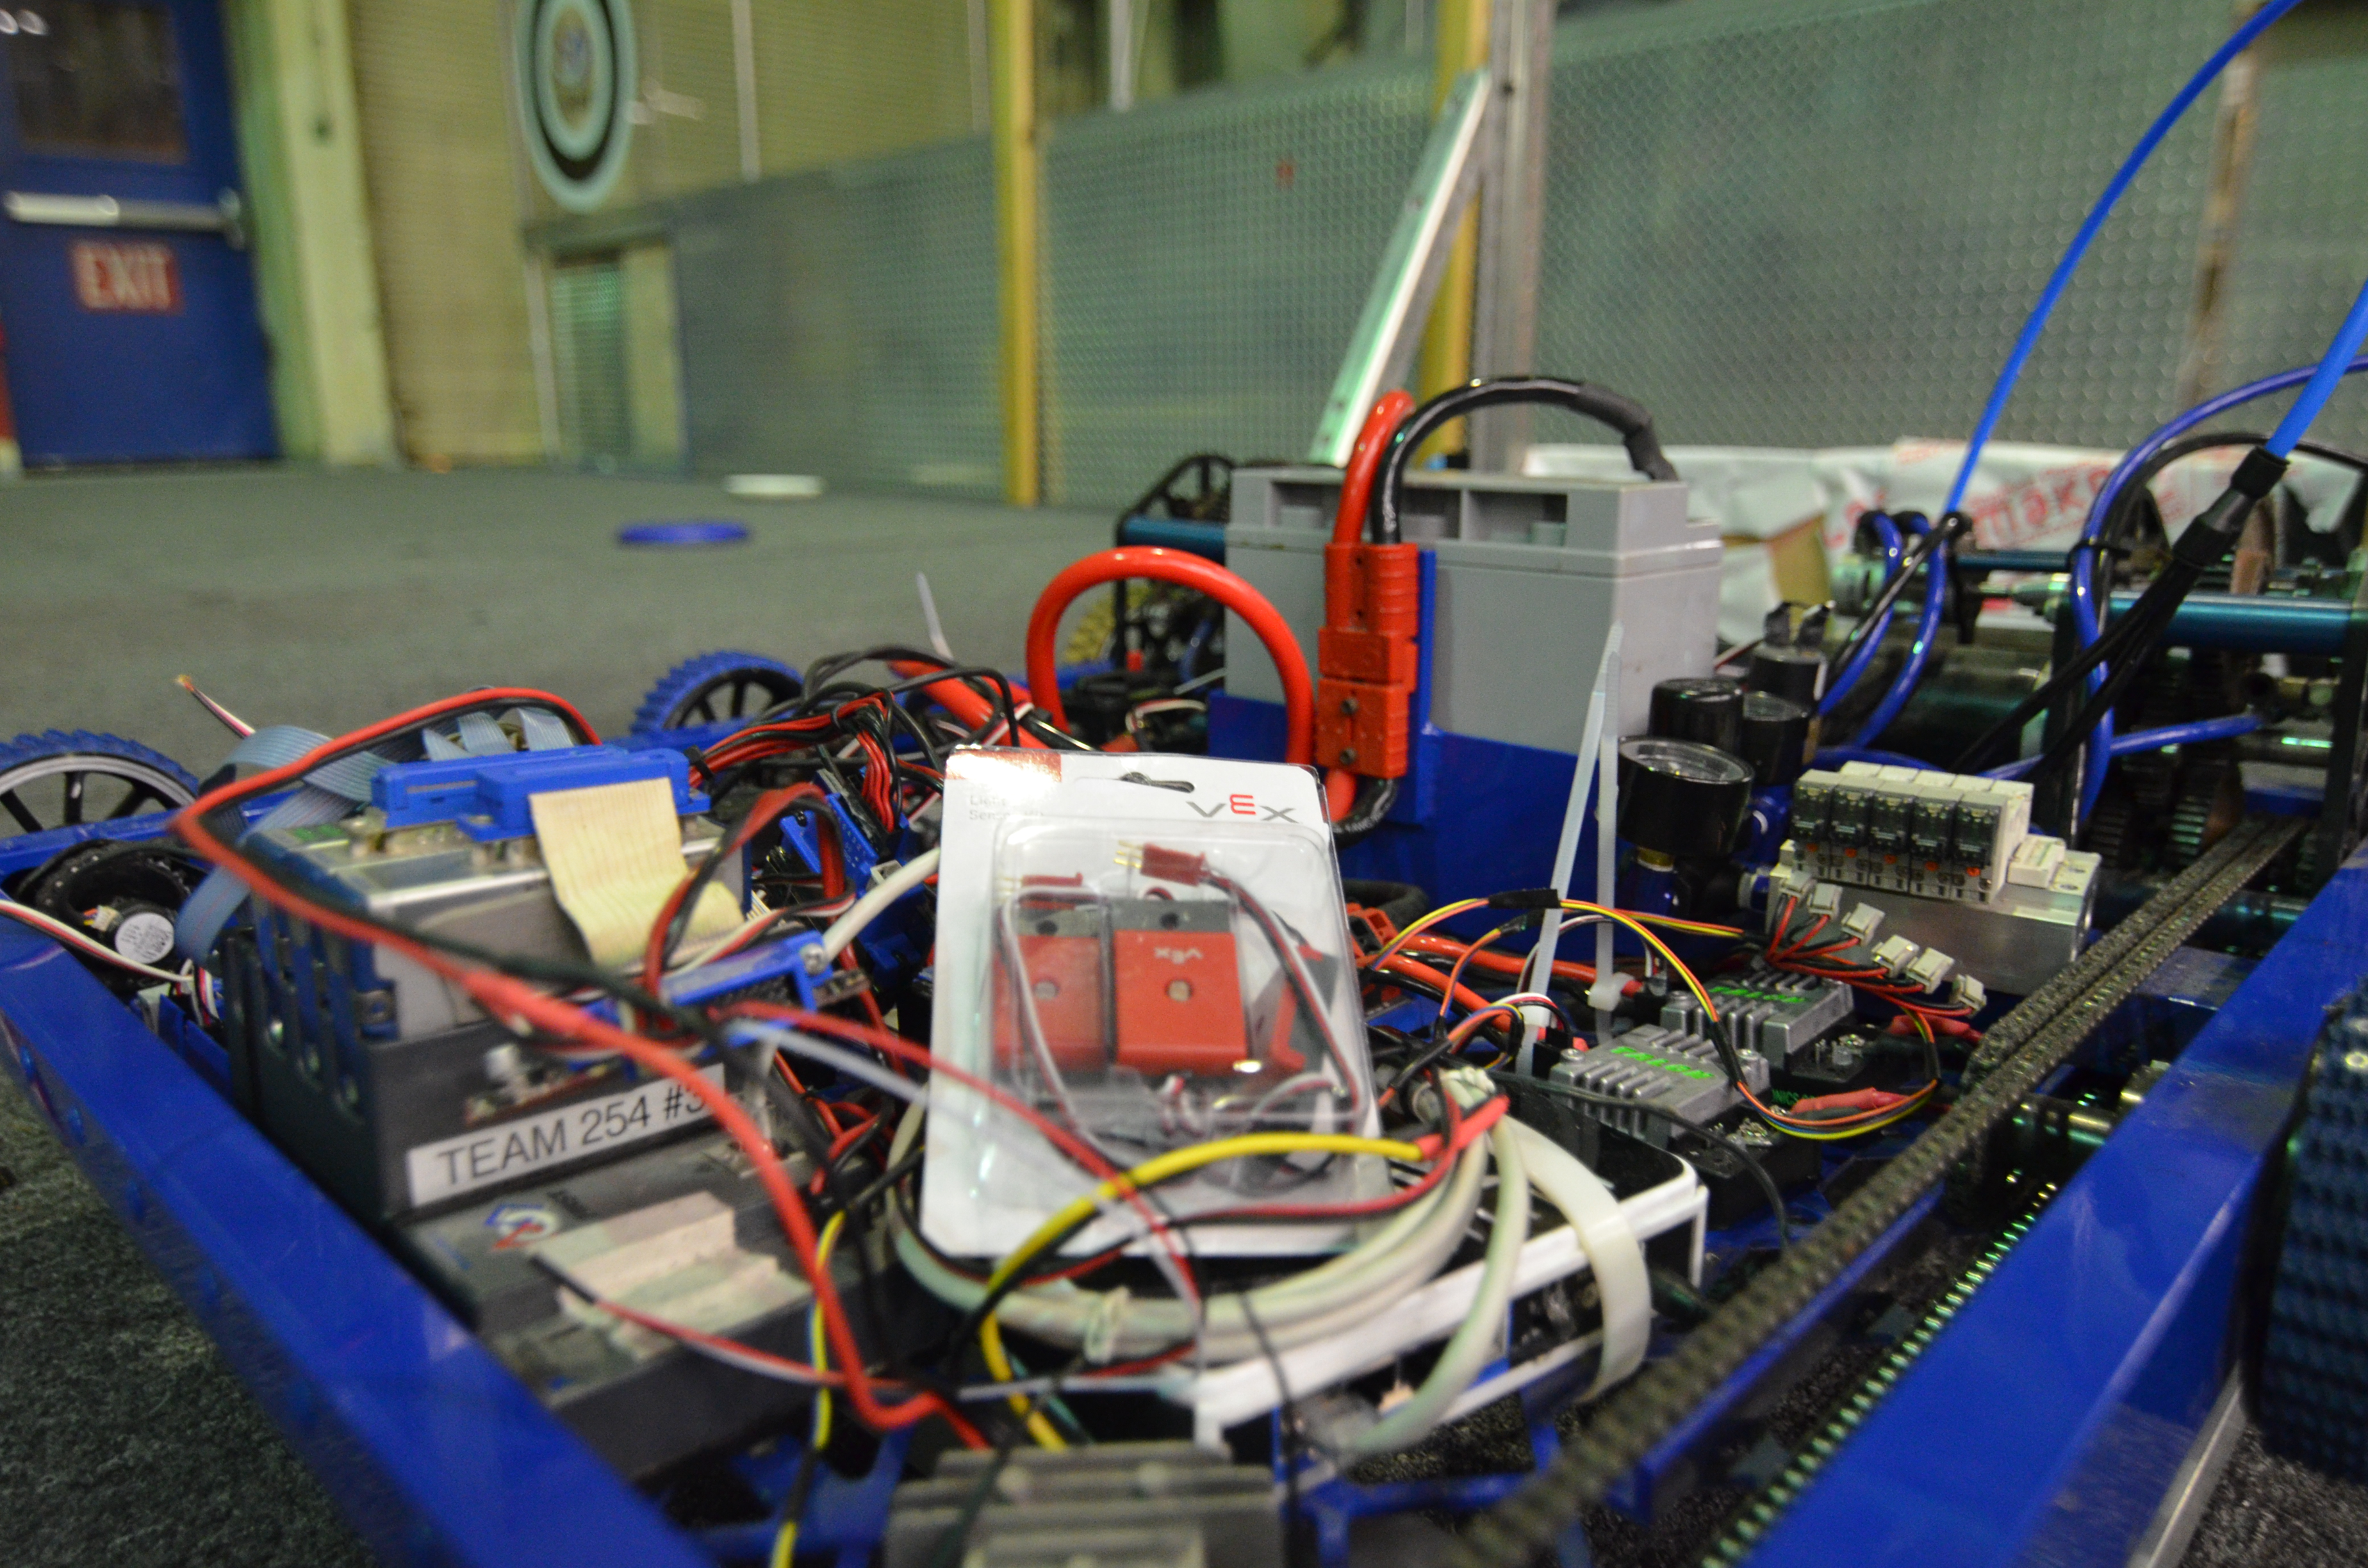
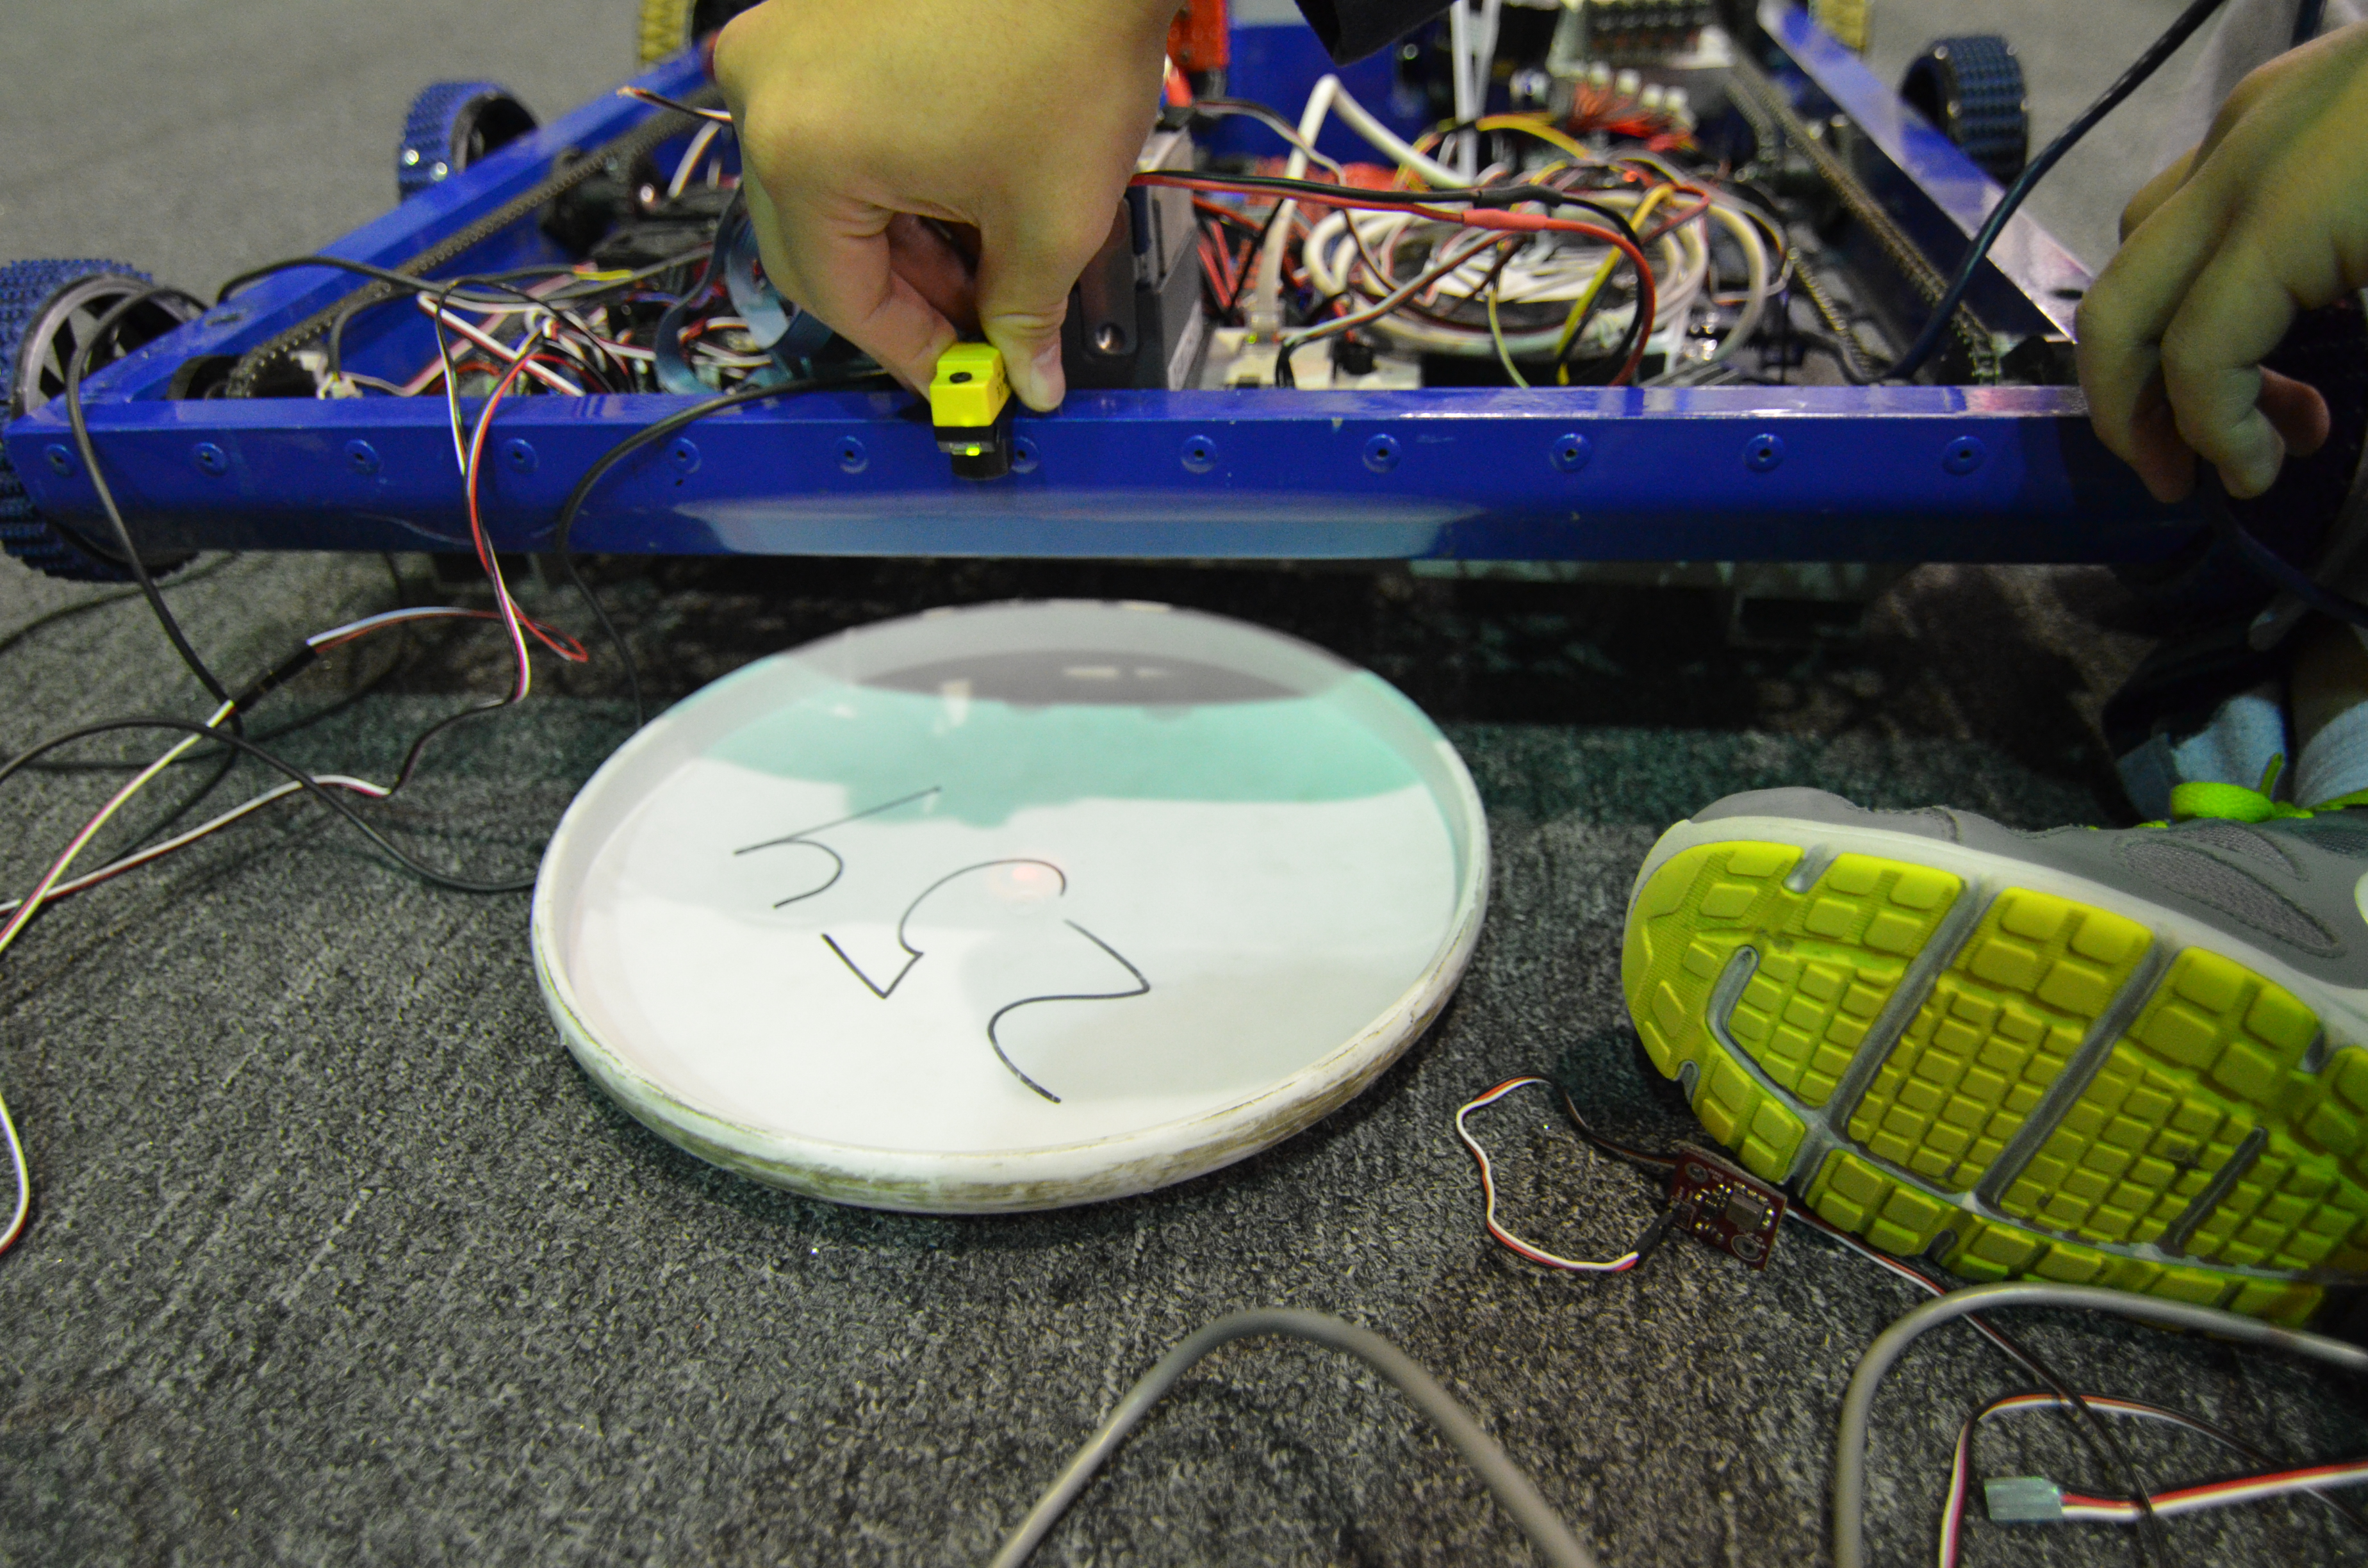
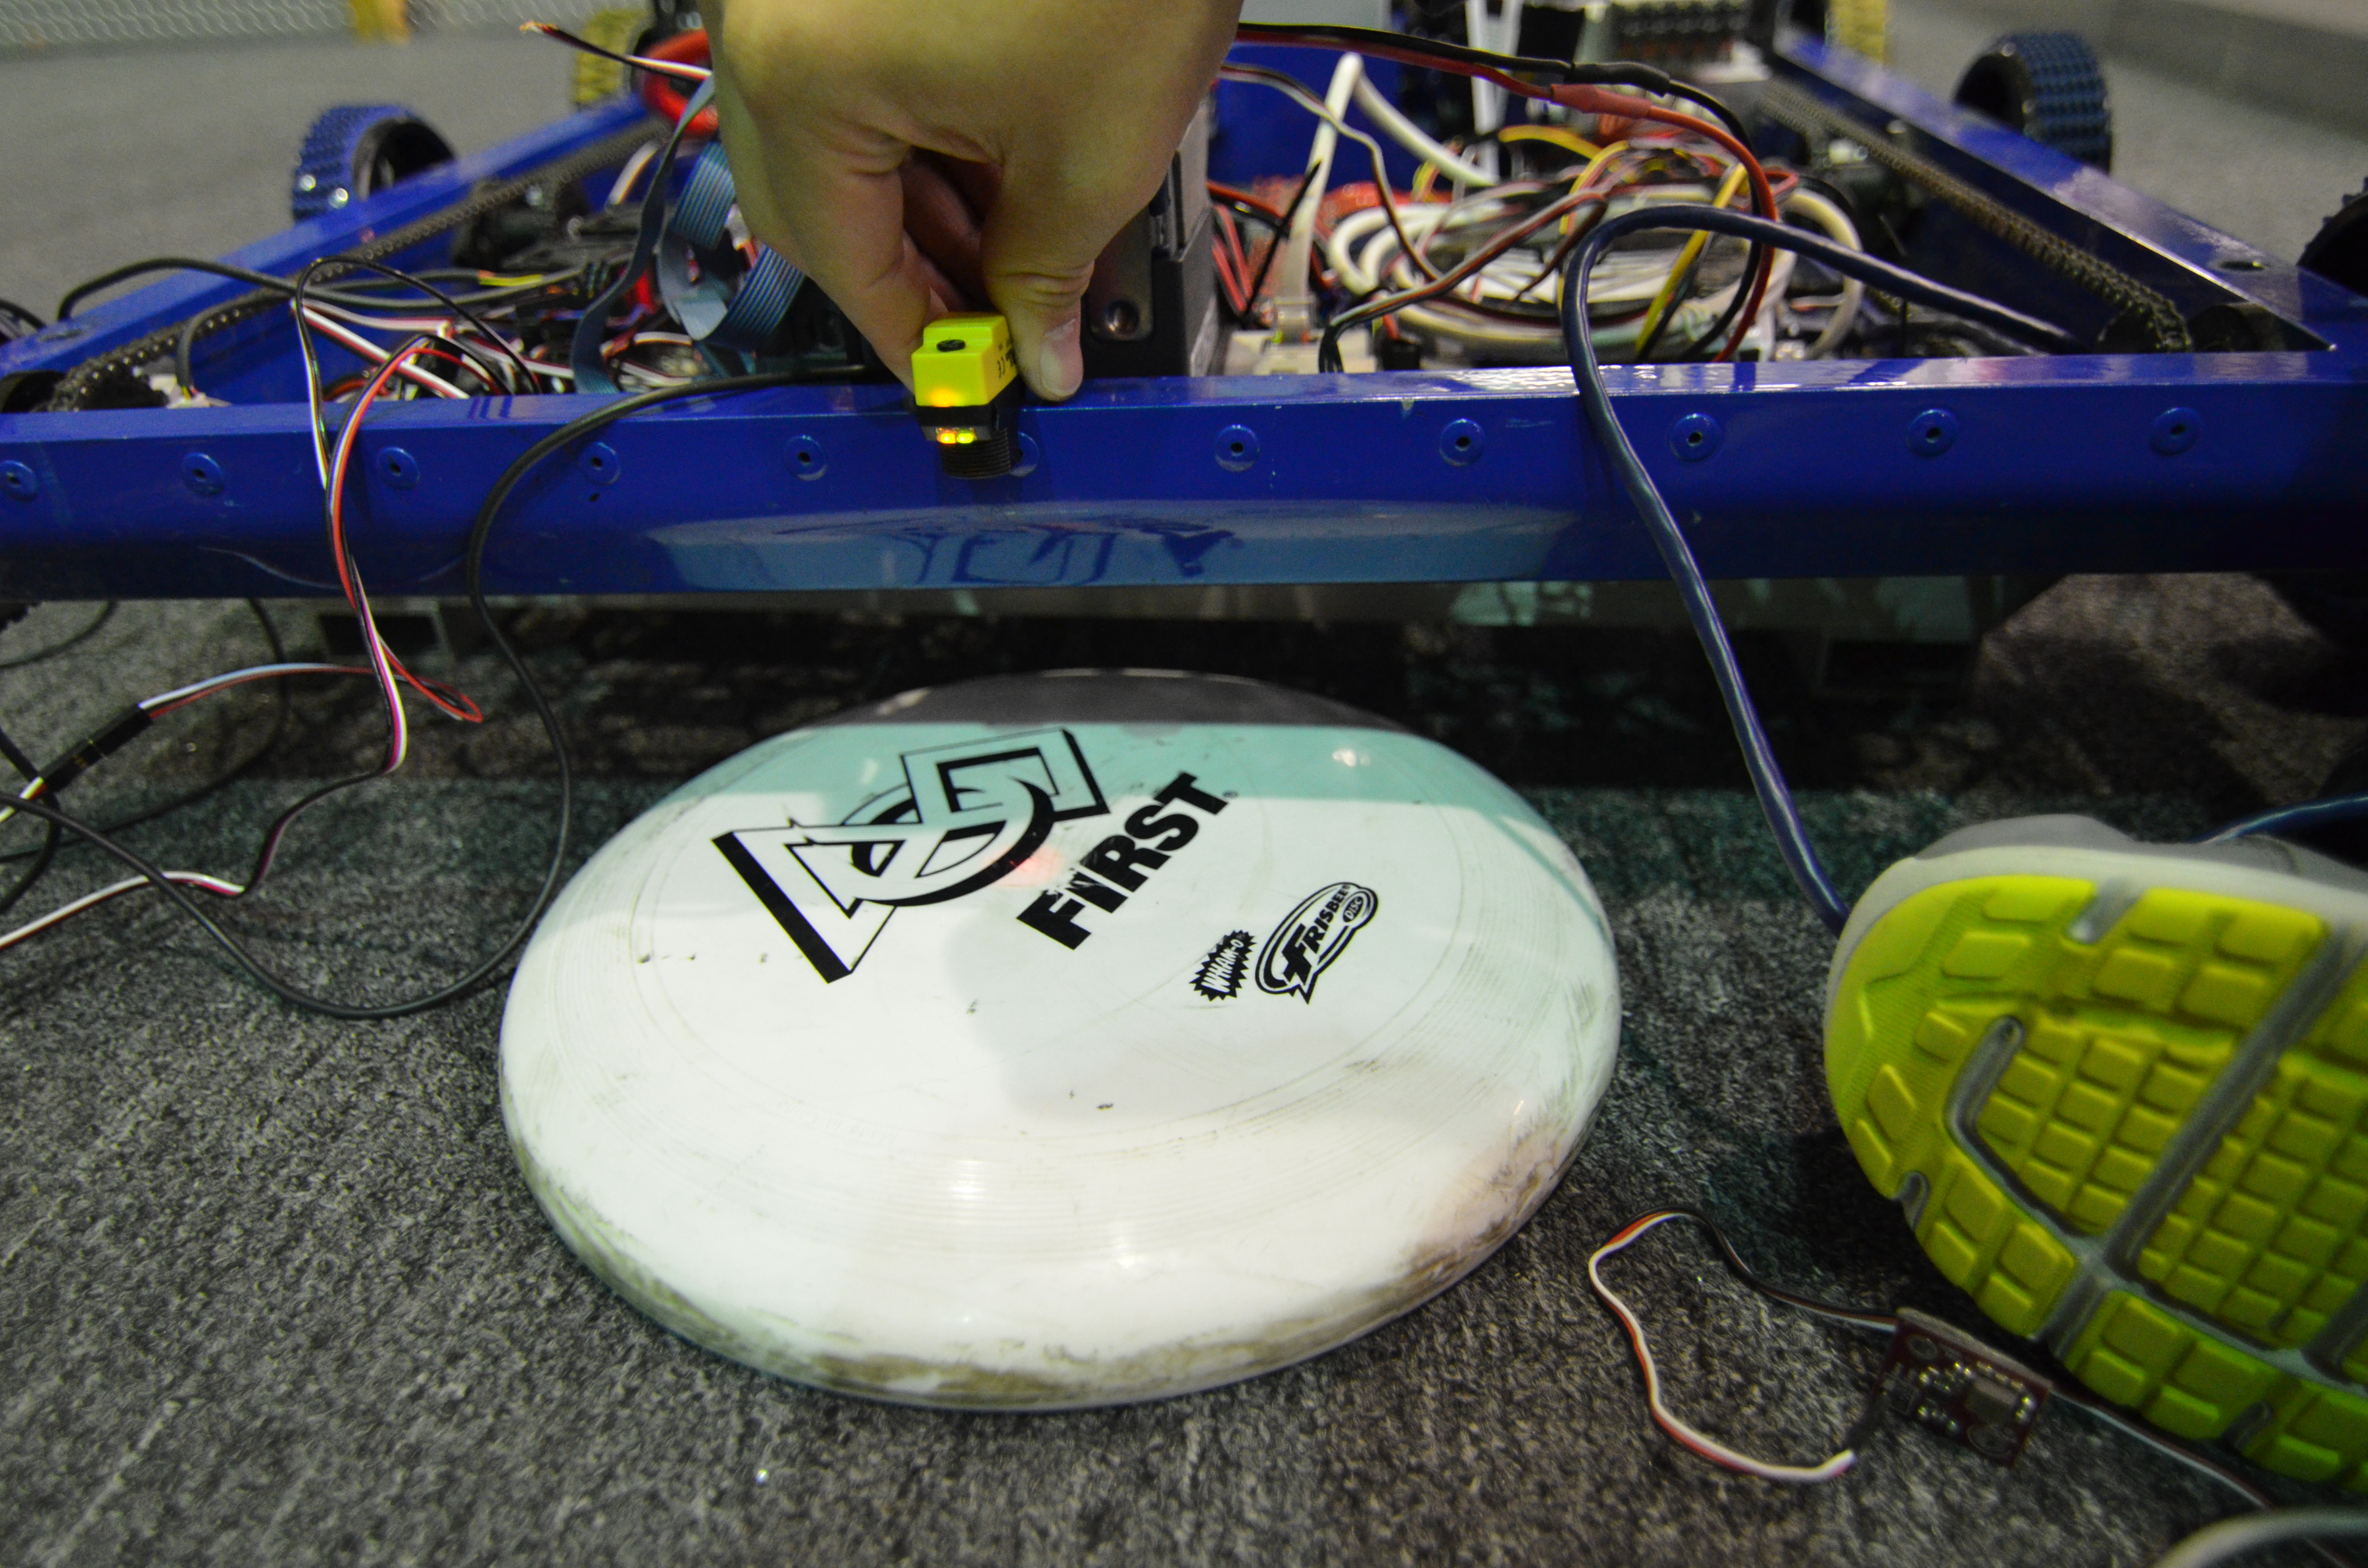
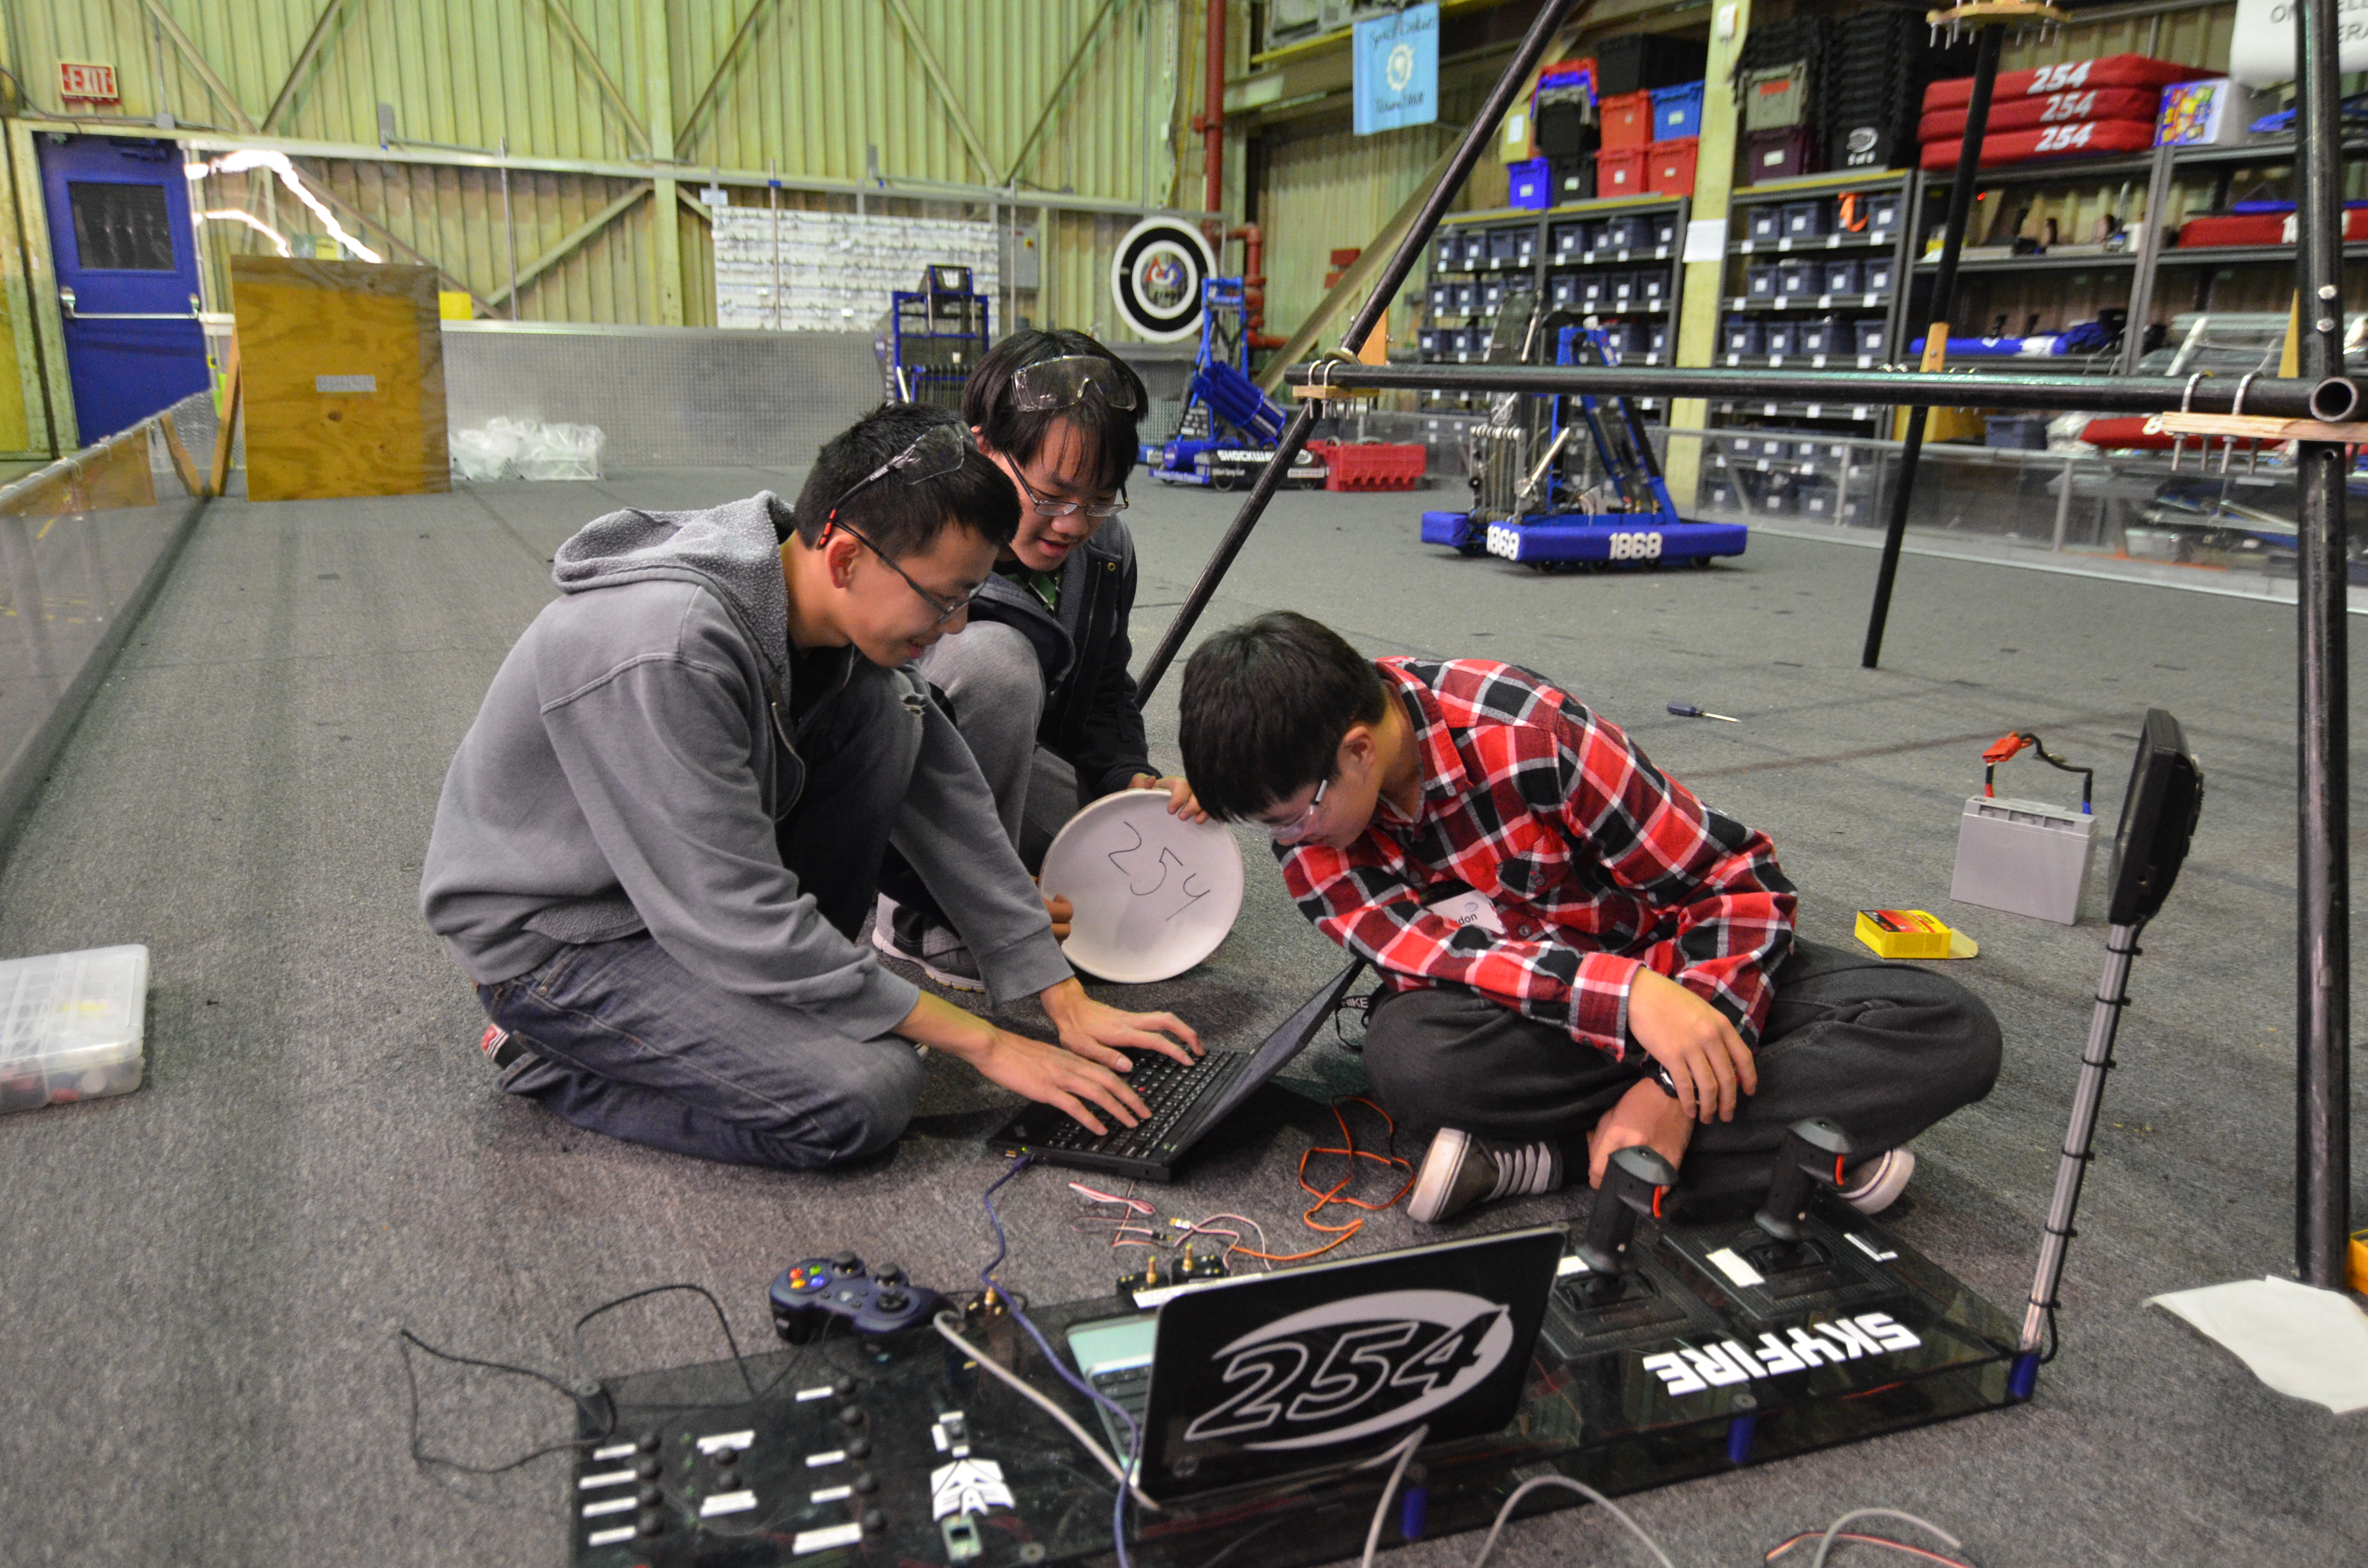
Students did a lot of testing with sensors today. They wired in different sensors to check if they still worked. One of the most significant progresses they made today was with the use of the banner sensor. As you can see below, they used the banner sensor to detect whether the frisbee is upside down or right side up. This will come in very useful for this year's shooter, as shooting upside-down frisbees is slightly different than shooting right-side-up frisbees in terms of their trajectory and necessary velocity.

The two pictures below demonstrate their progress. In the picture to the left, the frisbee is upside down. However, the little orange light to the left of the green light on the banner sensor (yellow box held by hand) is off. In the picture to the right, the little orange light is on, which means the frisbee is right side up.  In the off position, the sensor value returns false; in the on position, the sensor returns true.  Since this banner sensor can detect only two states (frisbee upside down or no frisbee, and frisbee right side up), the team is looking into either using two banner sensors or one analog sensor that can help detect three states.
 

D7K_3541D7K_3543


Upside-down frisbee (left)

right-side-up frisbee (right)


In addition to banner sensors, the programmers tested two gyros, both of which worked well.  Next, the team wanted to test S5 encoders, but the wire to connnect this encoder to the digital sidecar needs to be soldered or modified.  The S4 encoders are the last on the to-do list, which will happen tomorrow.
 

D7K_3517

Students also worked on wiring other sensors and testing them out


In other news, students finally got the Smart Dashboard constants extension working on the driver station laptop.  This would allow the team to upload new constants' values to the robot via FTP in a text file, so that re-compiling or re-deployment would not be necessary to change one little value.  The team originally had issues with the FTP connection from the driver station laptop to the robot (specifically, a socket write error), but the programmers discovered that completely disabling the firewall did the job.

While the programmers have a working system to send text files to the robot, a method of reading constants and values from the text file and updating them is still required.  The code to do so has been completed today after successfully rewriting the String class' split method. Though the system seems to work on the students' laptops, the next step for this is to actually test it on the robot and confirm that the hard-coded constants are actually being updated.


Miscellaneous

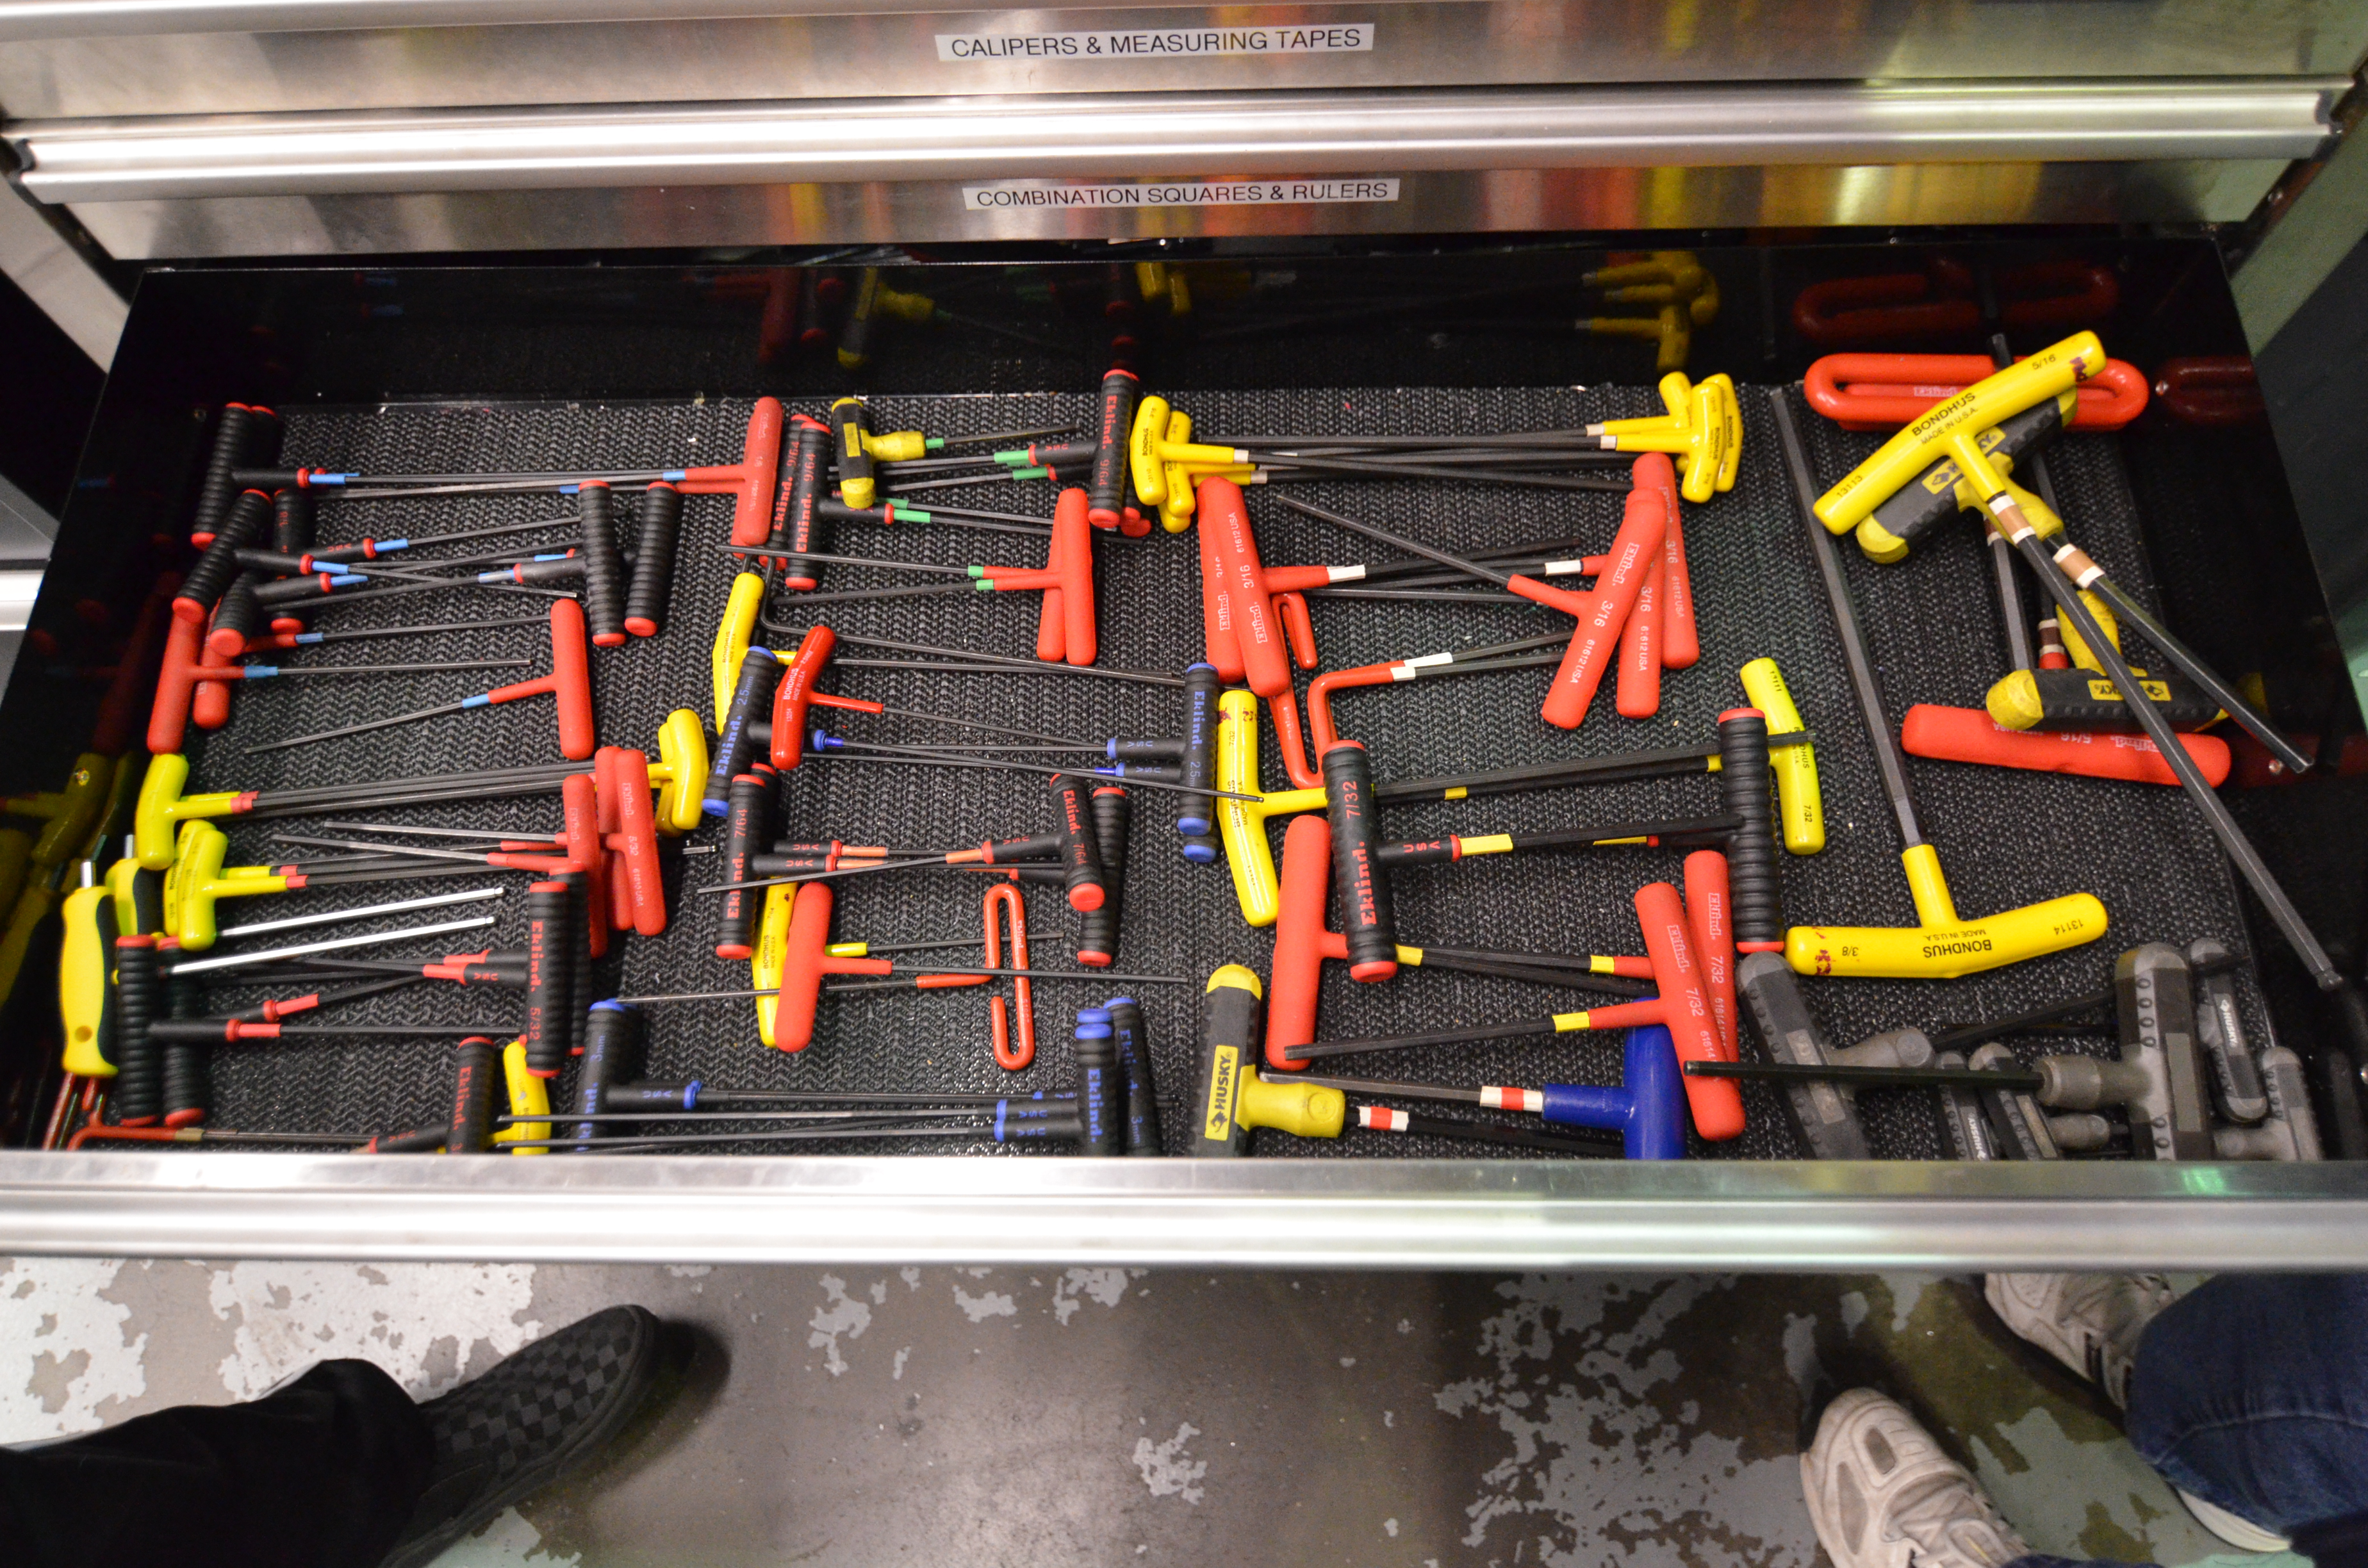
Other students worked on organizing the tool chest, which turned out to be very helpful. They took the tools out and laid them neatly back in the chest.
 

D7K_3537

An organized and happy tool chest


Action Items for Tomorrow

  • Continue working on shooter

  • Finish prototyping intake

  • Finish manufacturing parts for chassis (especially frame rails)

  • Continue work on robot design

  • Finish bumper CAD

  • Continue design for control board

  • Test constants parsing/updating on the robot


Closing time for the lab was 2:00 AM
Build Season Recipes: Week 1

2013 FRC Build SeasonFIRST Robotics

This is the second post, of a series of posts, related to the delicious baked goods eaten at the lab. We love baked goods and yummy foods. In response to this, we will be posting the recipes of some of the treats brought to the lab. The second recipe is a delicious (and questionably nutritious) way to start off the season.

This delectable cake is specially formulated to enhance the prototype-making areas of the brain, so that's what we snacked on this past weekend.

Chocolate Chip Cake

  • 1 cup butter

  • 1 1/4 cup sugar

  • 1 tsp. vanilla extract

  • 3 eggs

  • 3 cups flour

  • 2 tsp. baking powder

  • 1 cup chocolate chips

  • 1 cup milk

Cream butter and sugar. Add vanilla and eggs; beat. Add flour and baking powder and mix well. Add chocolate chips and milk, stirring slowly. Bake at 350°F in a large circular (cheesecake) pan or a 13"x9" rectangular pan for 35-40 minutes, or until an inserted toothpick comes out clean.

Day #12: More Machining!

2013 FRC Build SeasonFIRST Robotics

Prototypes

Shooter

Today we made a few more changes to the shooter. We decided to return back to the larger, treaded wheels. Students disassembled the shooter and retreaded the wheels. Students also added snapring grooves onto the shafts. The shooter just needs to be reassembled and tested. 


Programming

The programming team worked on a program to read constants from a text file into the robot software. This has been written and mostly finished, but remains untested.  Since the cRIO runs only Java ME, an outdated version of Java compared to SE, the programmers spent a lot of time rewriting and reimplementing functions like String's split method.  Meanwhile, other students continued debugging the Smart Dashboard widget and FTP connection, but had problems using the program on the driver station and other laptops.  Oddly, the FTP upload and download works on one of the student's laptops, but not any of the others.  More tests will be conducted to get to the root of this issue.

Programmers also began testing sensors for use on the 2013 robot.  The gyro was removed from Skyfire and added to the 2010 robot for temporary testing purposes.  Tomorrow, the team plans to test the S5 encoders and other sensors by printing out the values of the sensors to a console.  This will also serve as a quick lesson on programming sensors for new and old programmers alike.


D7K_3497

Programmers debugging issues with Smart Dashboard extension


CAD

Not much CAD work was done today as we focused mainly on machining the drivebase.


Manufacturing

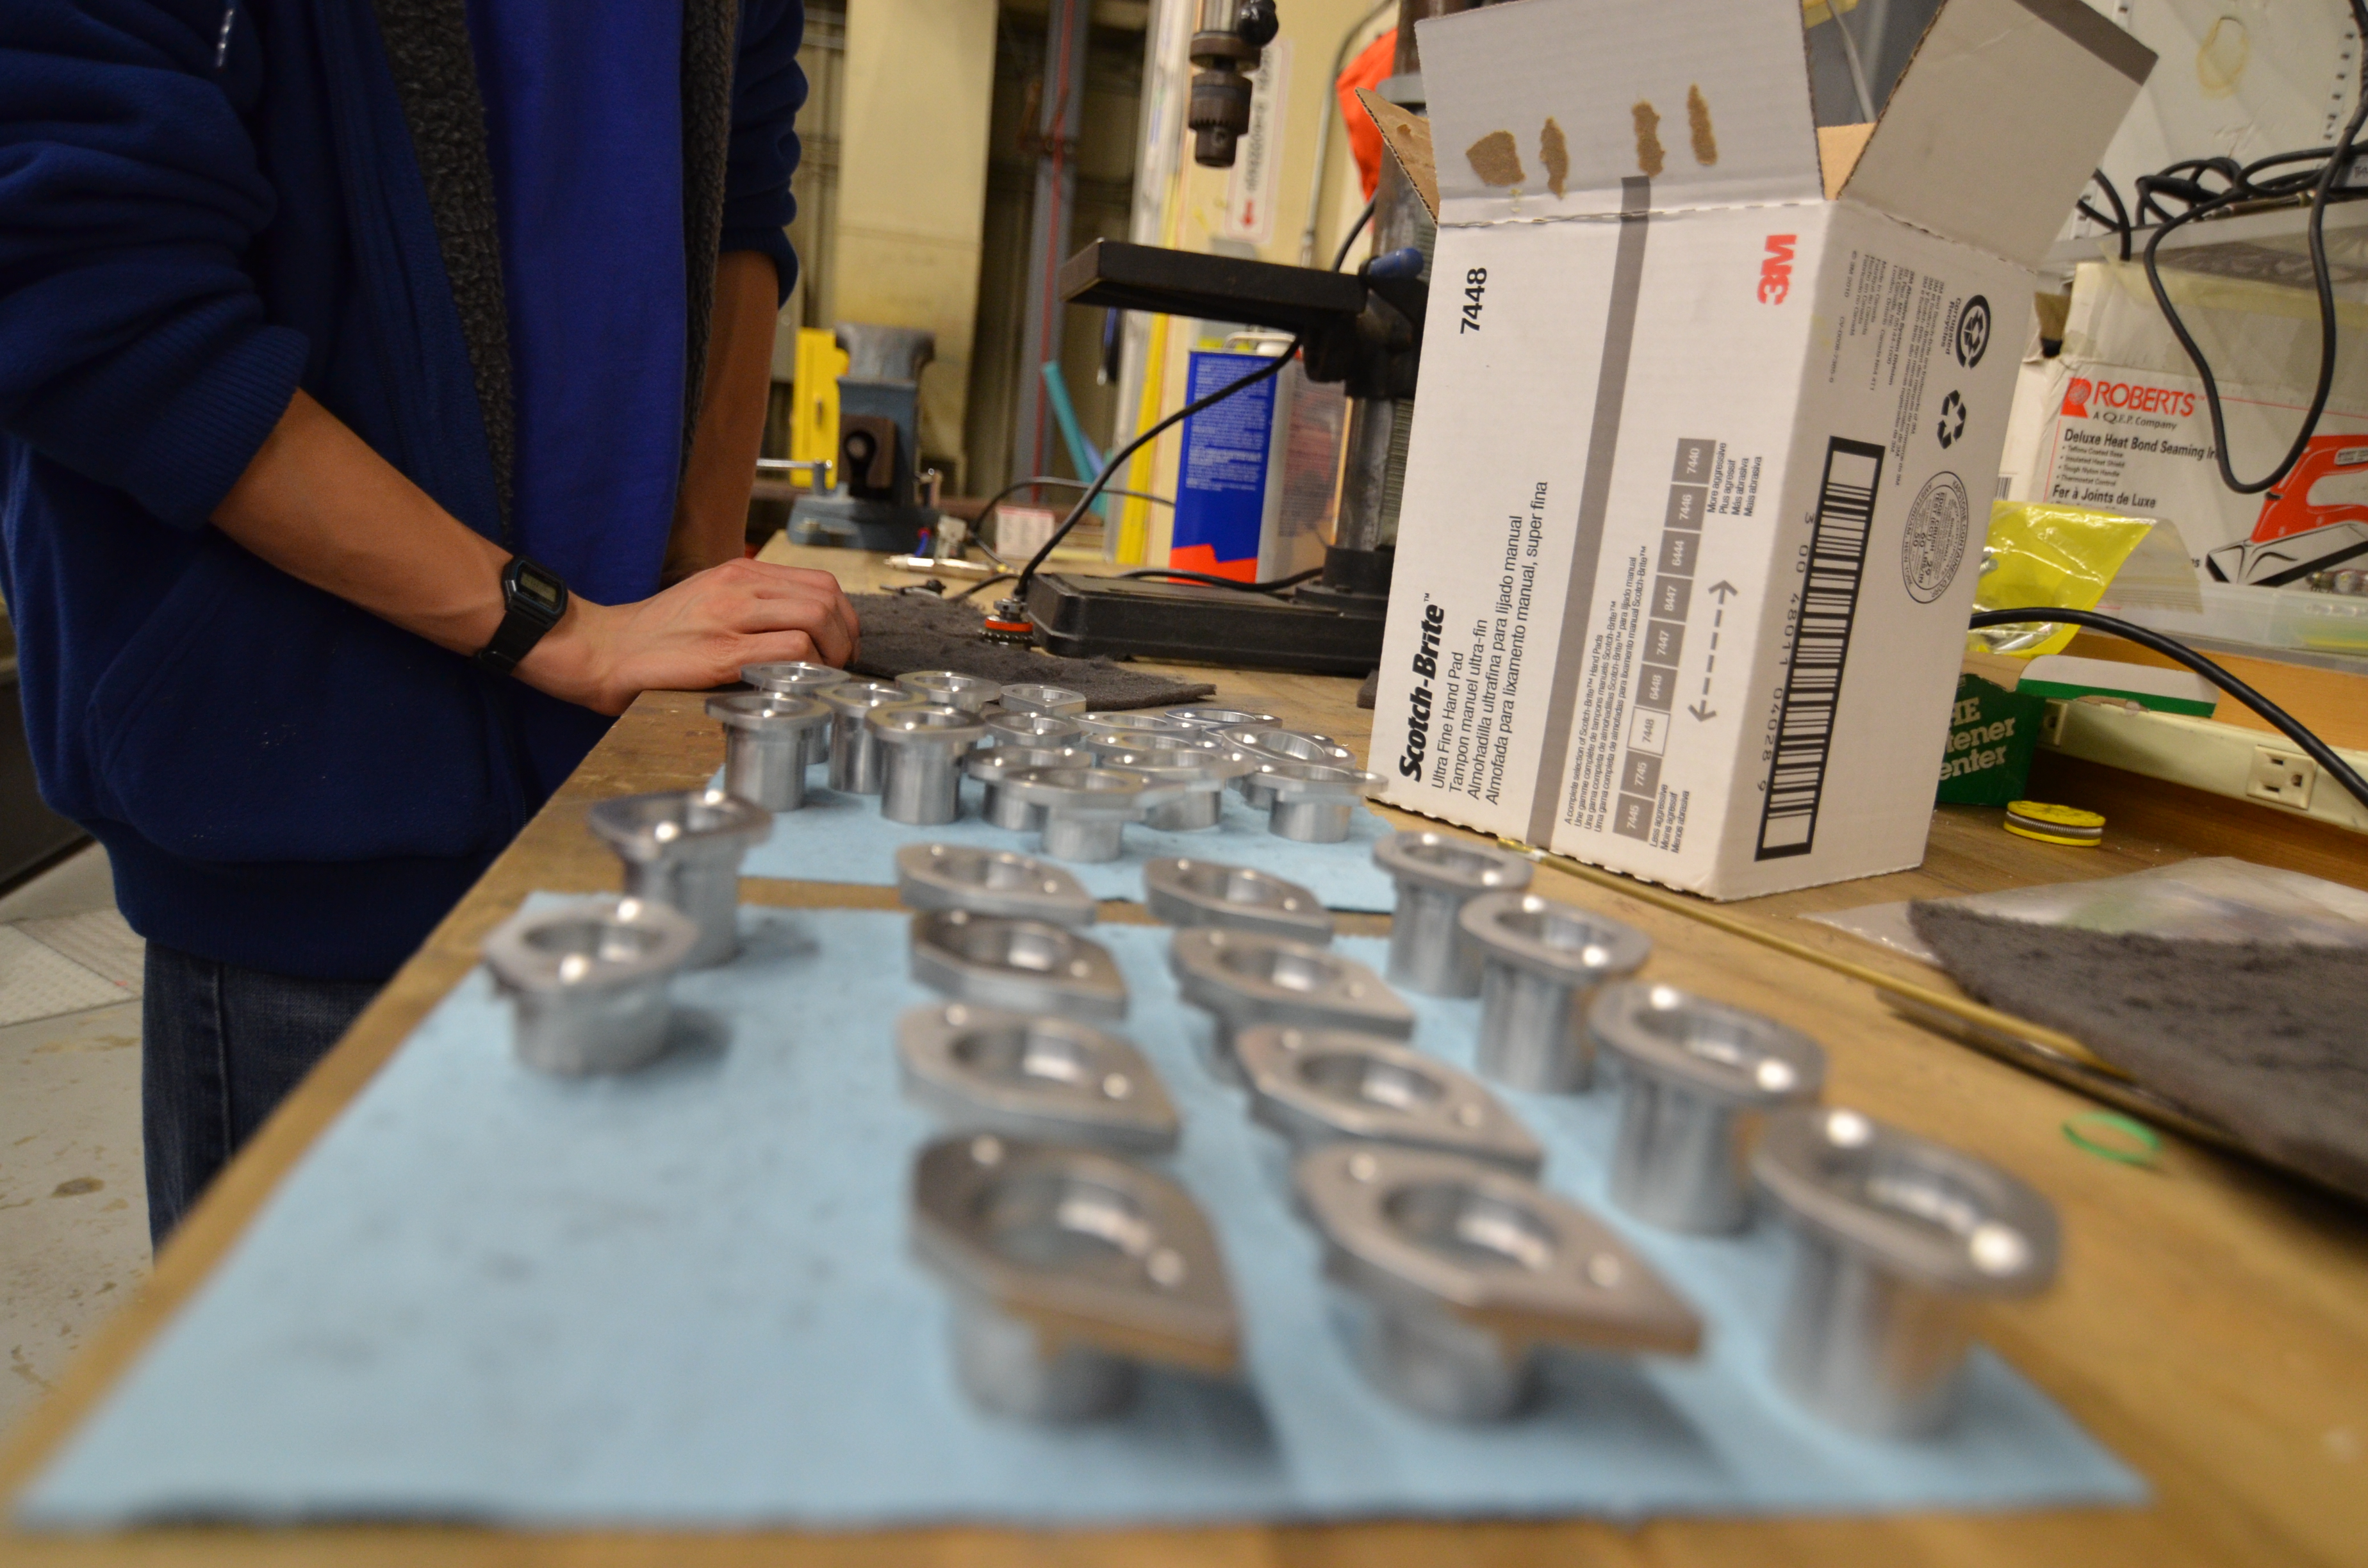
Today students did a lot of machining. They used the mill and drill press to create the Bumper Support Caps, which will get welded onto the drivebase. Students also used the lathe to cut down standoffs for the gearbox and to add snapring grooves the prototype shooter's shafts. A group of students also finished scotch-briting the bearing-housings. The CNC was used to make the final cuts onto the Bumper Supports.


D7K_3499

Some of the many manufactured parts


D7K_3502

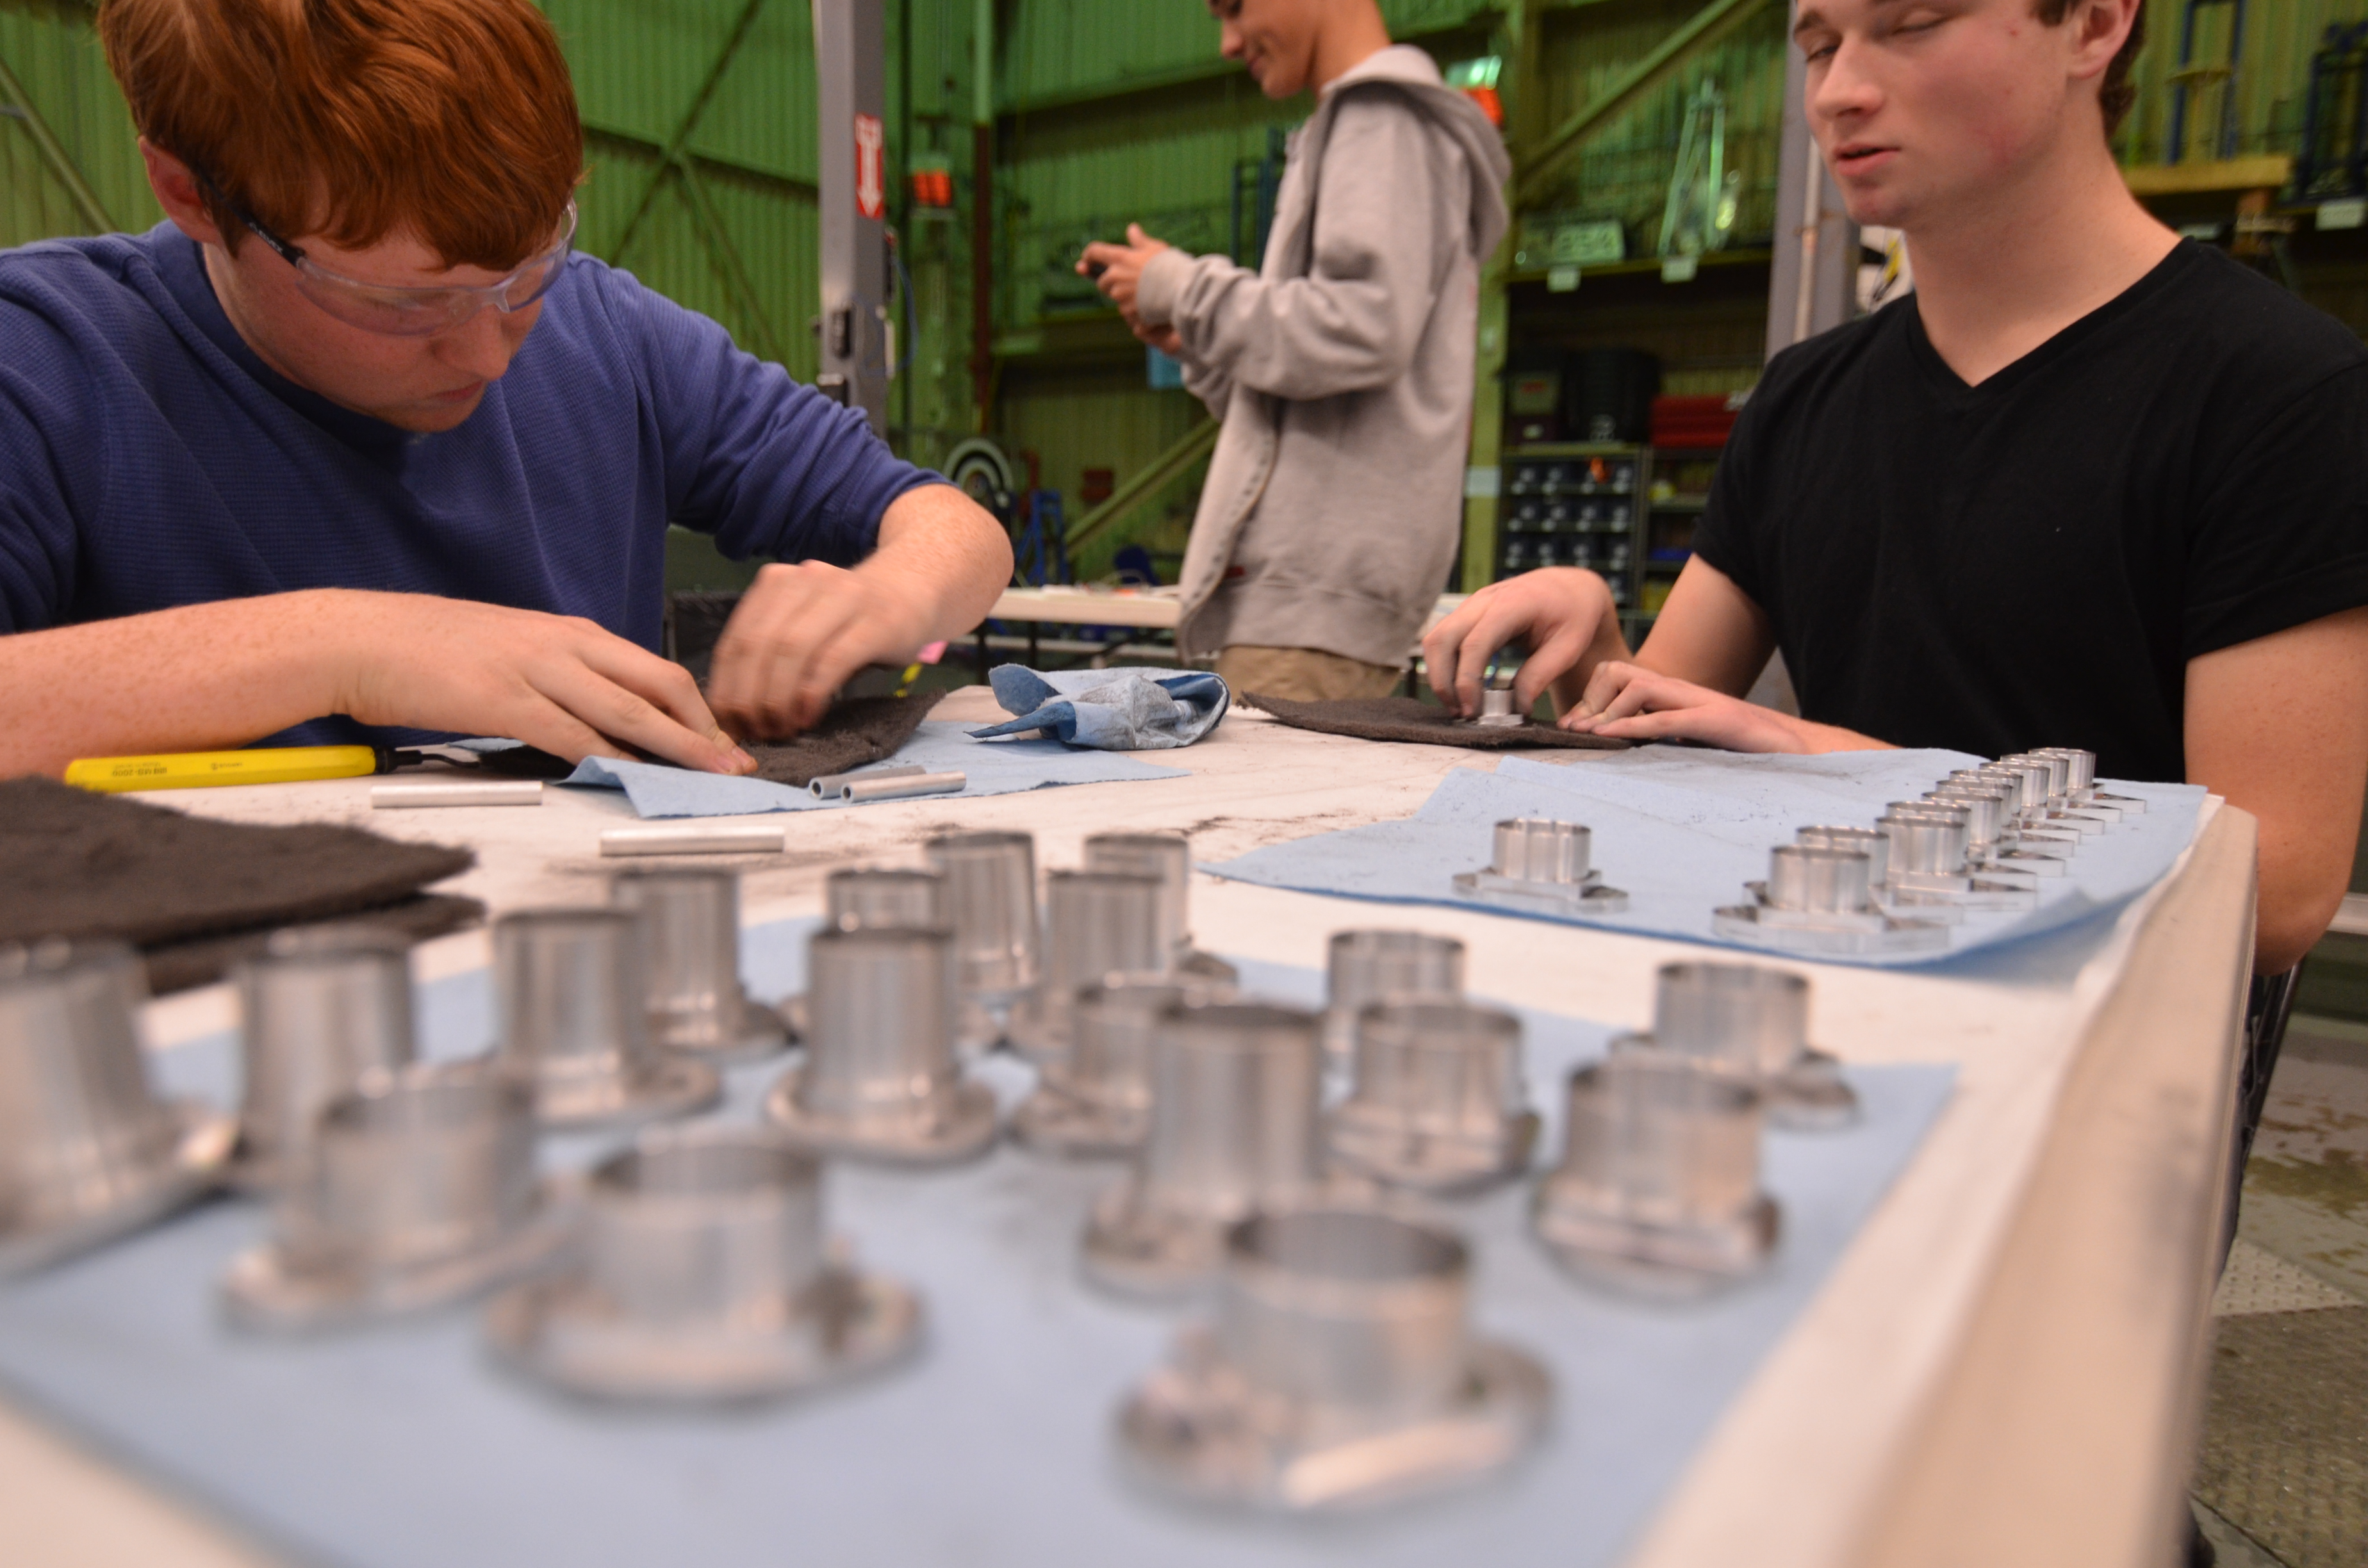
Scotch-brited bearing housings


D7K_3506

Student creating parts on the mill


D7K_3493

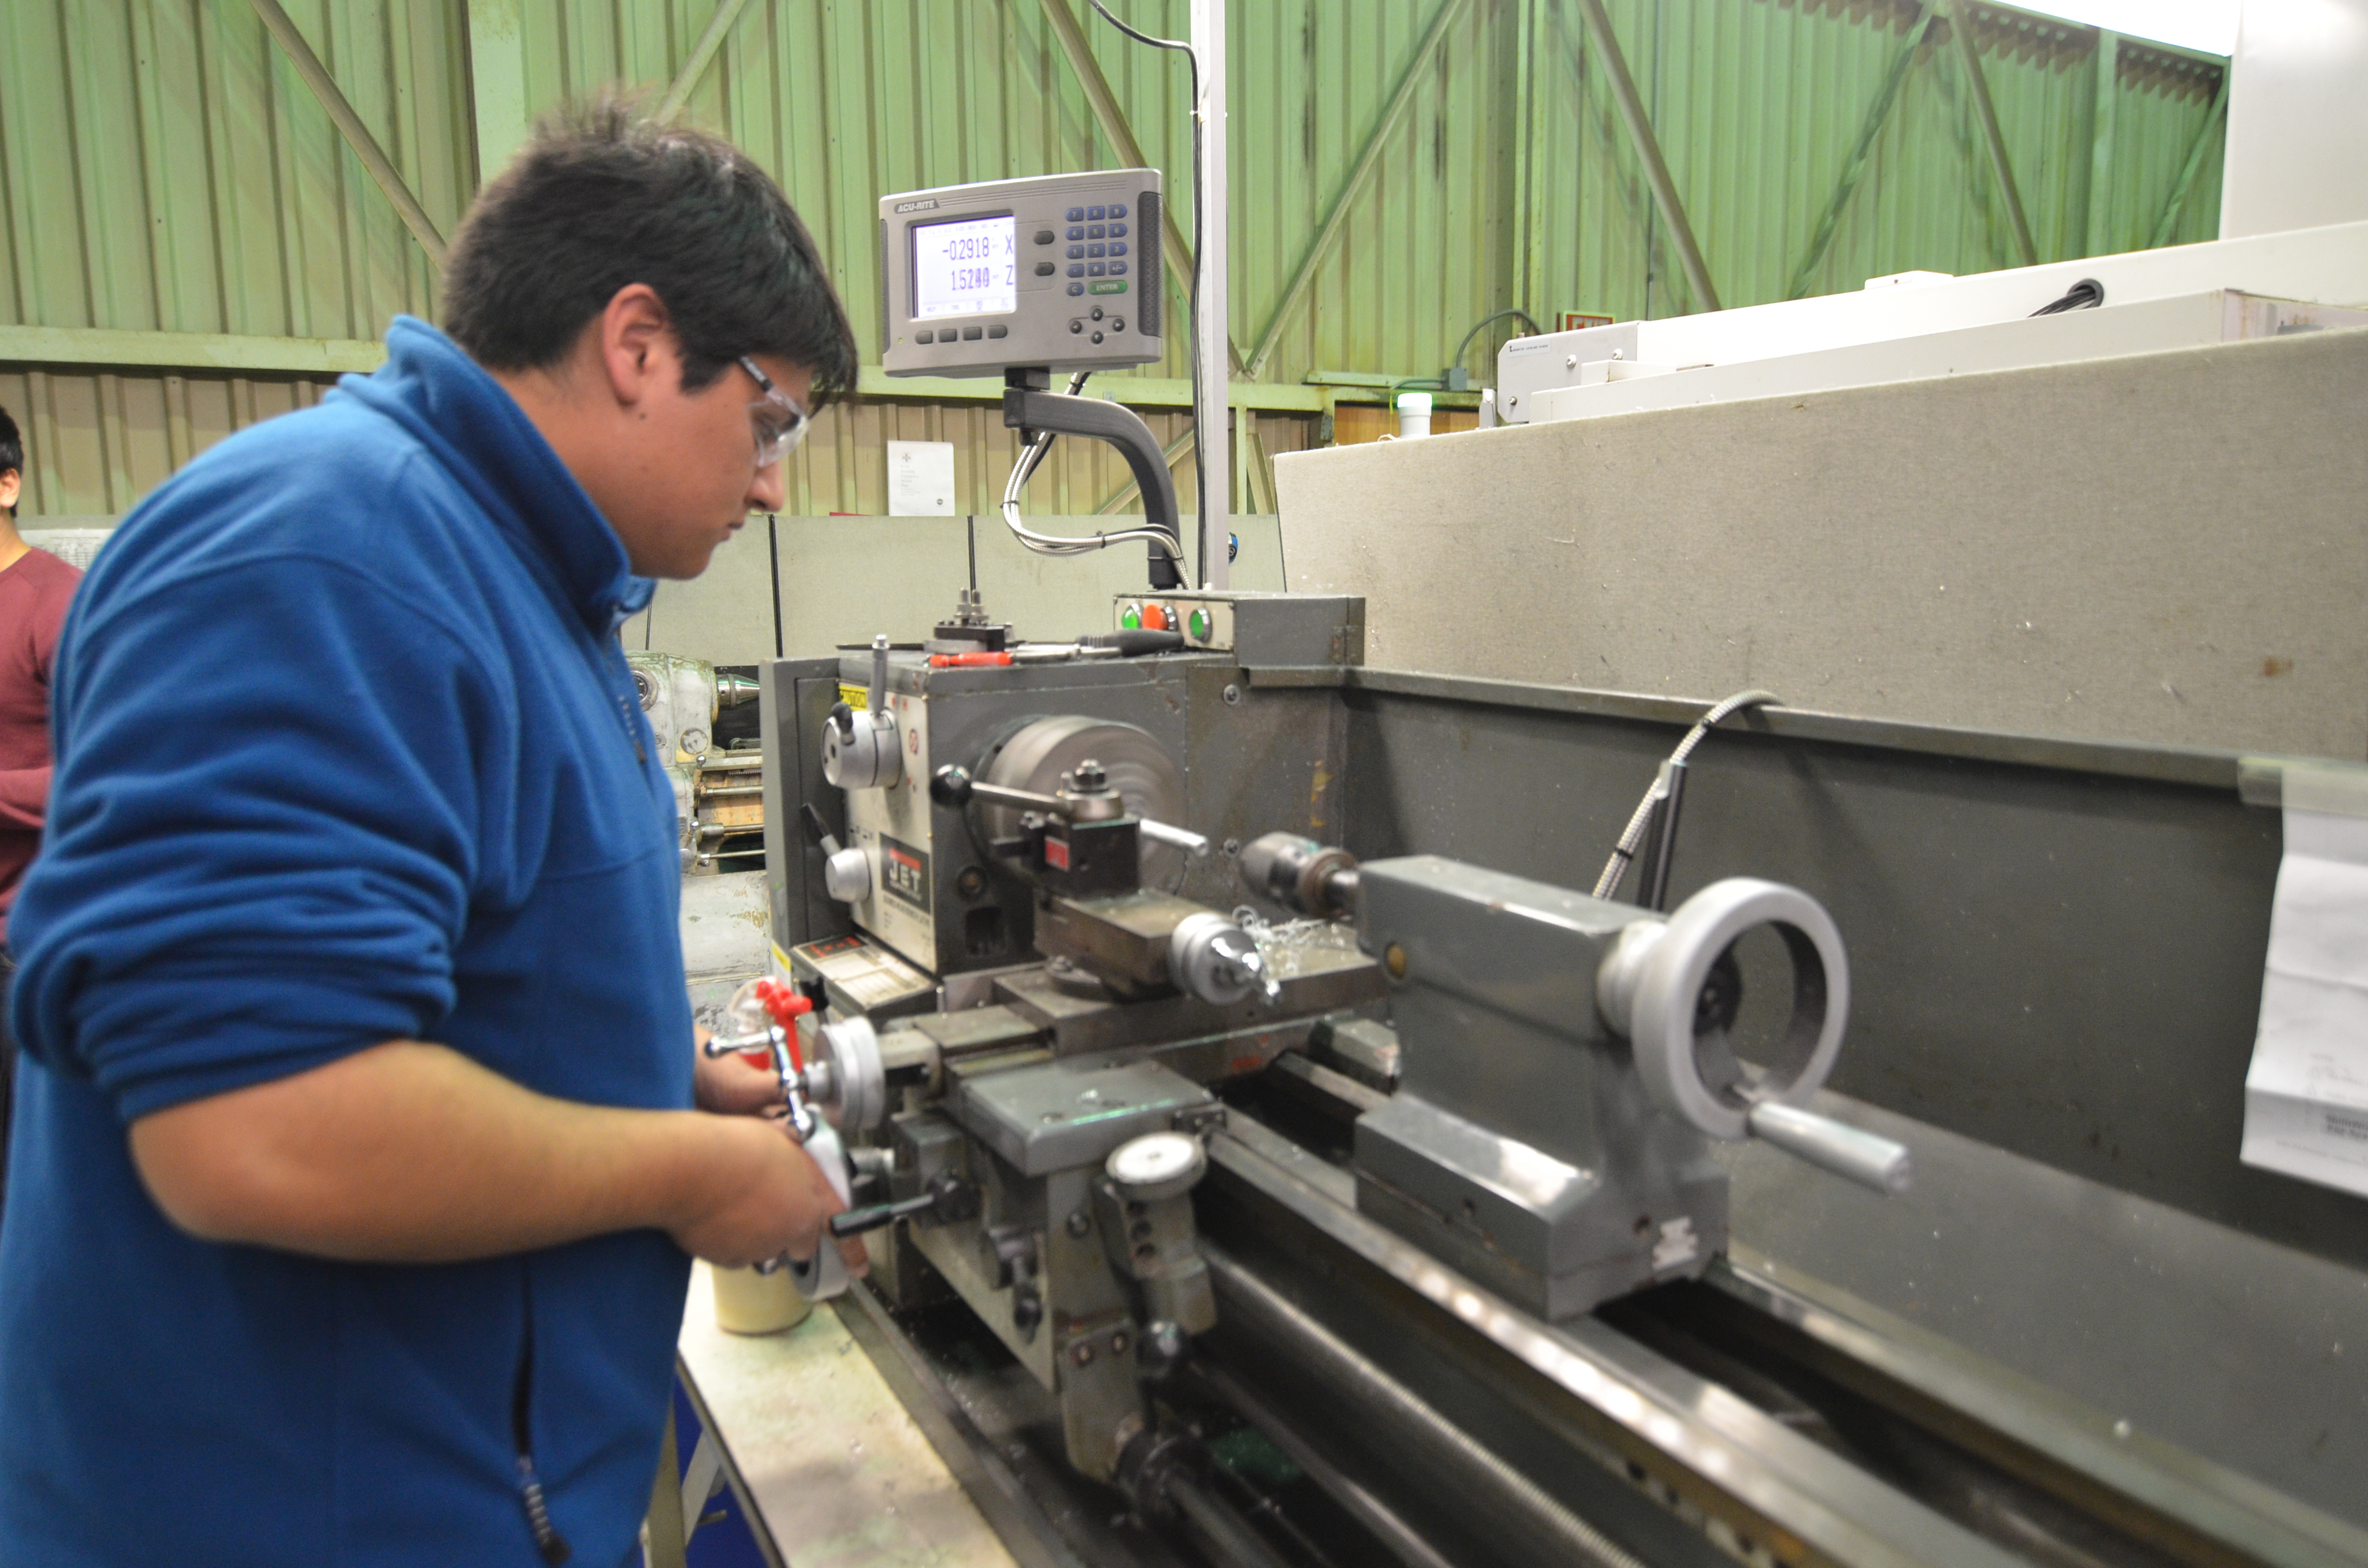
Manufacturing parts on the lathe


Action Items

  • Test sensors (encoders, gyros, etc)

  • Test reading constants from file

  • Continue Manufacturing Parts, especially parts for drivebase.

  • Finish bumper CAD (start manufacturing bumpers after mentor approval)

  • Continue control board design (document functions, buttons, & layout)


Lab closing time for the night was 11:30 PM

Day #11: Shooter Redesign

2013 FRC Build SeasonFIRST Robotics

Prototypes

Shooter

Several changes are being made to the shooter prototype.  First, students began installing smaller diameter wheels in place of the larger diameter wedgetop treaded wheels.  This is because the smaller wheels would have lighter weight and would allow the shooter to occupy less space.  In addition, a team on Chief Delphi forums tried them out and reported that this method worked well for them.

Next, the team is in the process of turning shooter upside down to allow frisbees to be fed from the bottom.  This would make it easier for the intake and conveyor system to feed frisbees directly into the shooter.


D7K_3484

Smaller wheels (left) vs. the wedgetop treaded wheels (right)


Manufacturing

Today was largely focused on the manufacturing of various aluminum parts for the drive chassis and prototypes.  Students used the mill, lathe, and other machines to manufacture parts.  The lathe was used to create axles for drive gearbox.  In addition, students scotch-brited bearing housings and deburred parts.


D7K_3488

Manufacturing parts on the mill


D7K_3486

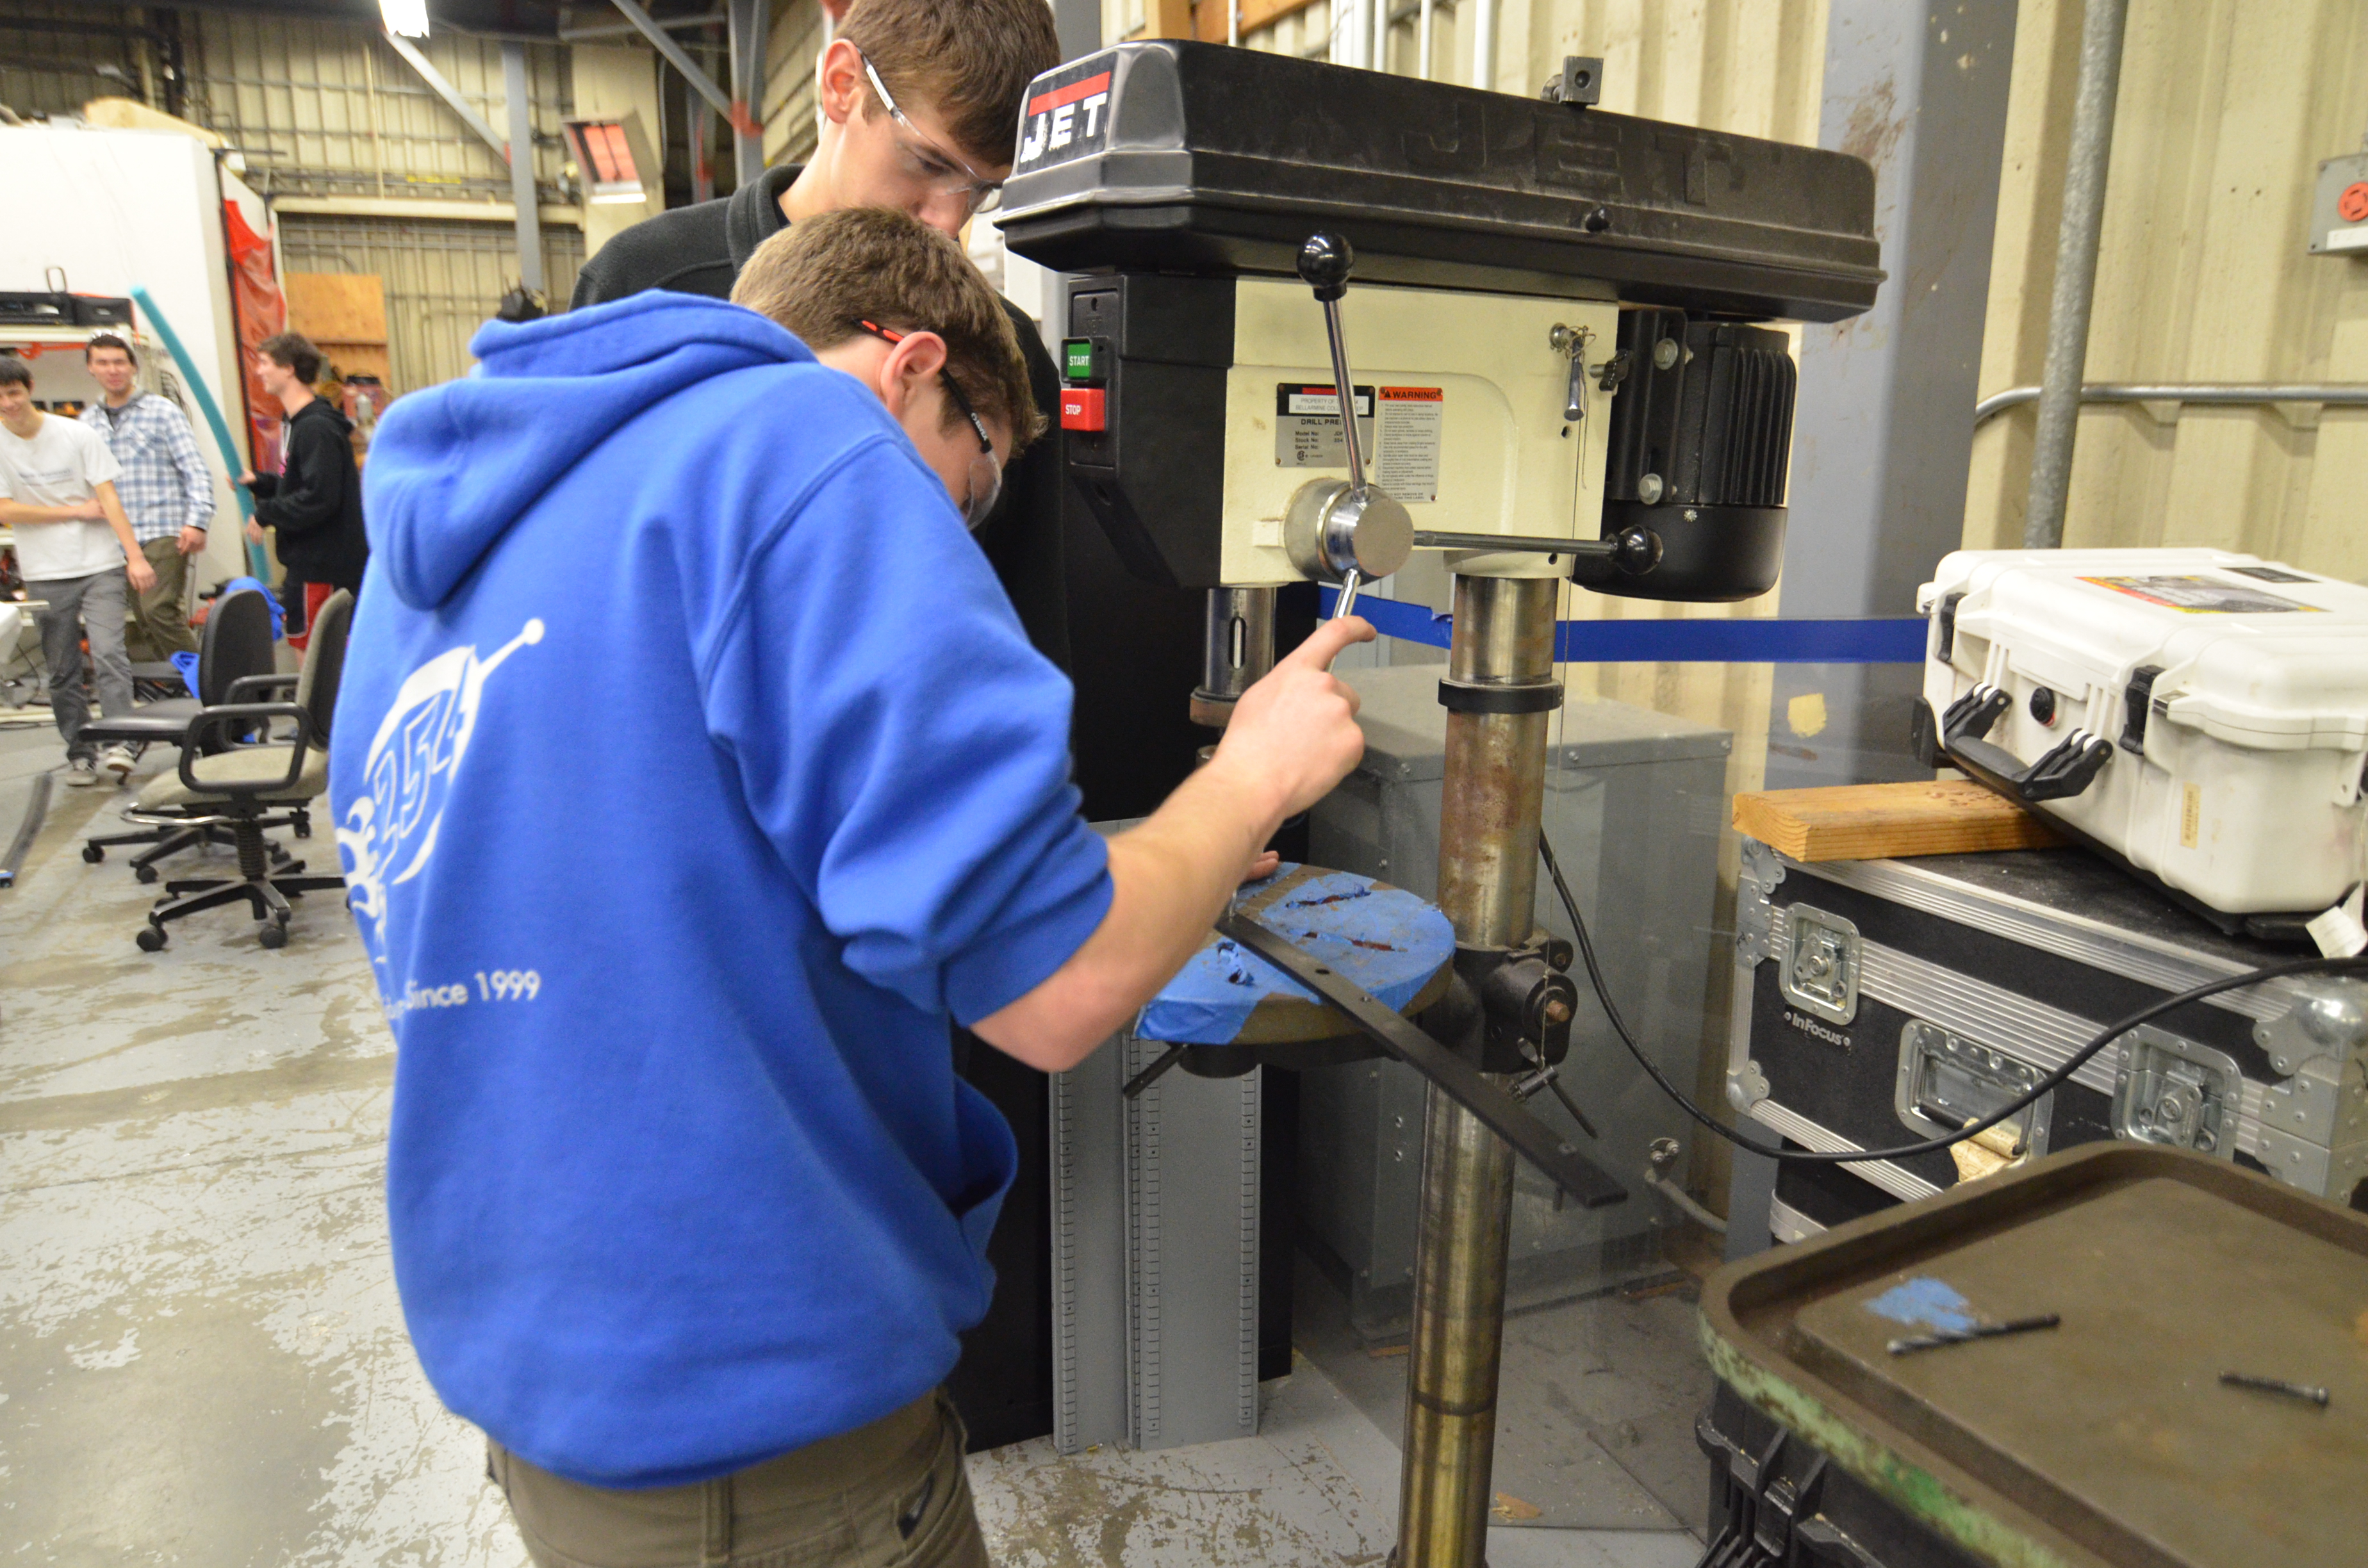
Manufacturing parts on the drill press


D7K_3483

Students scotch-briting the bearing housings


CAD

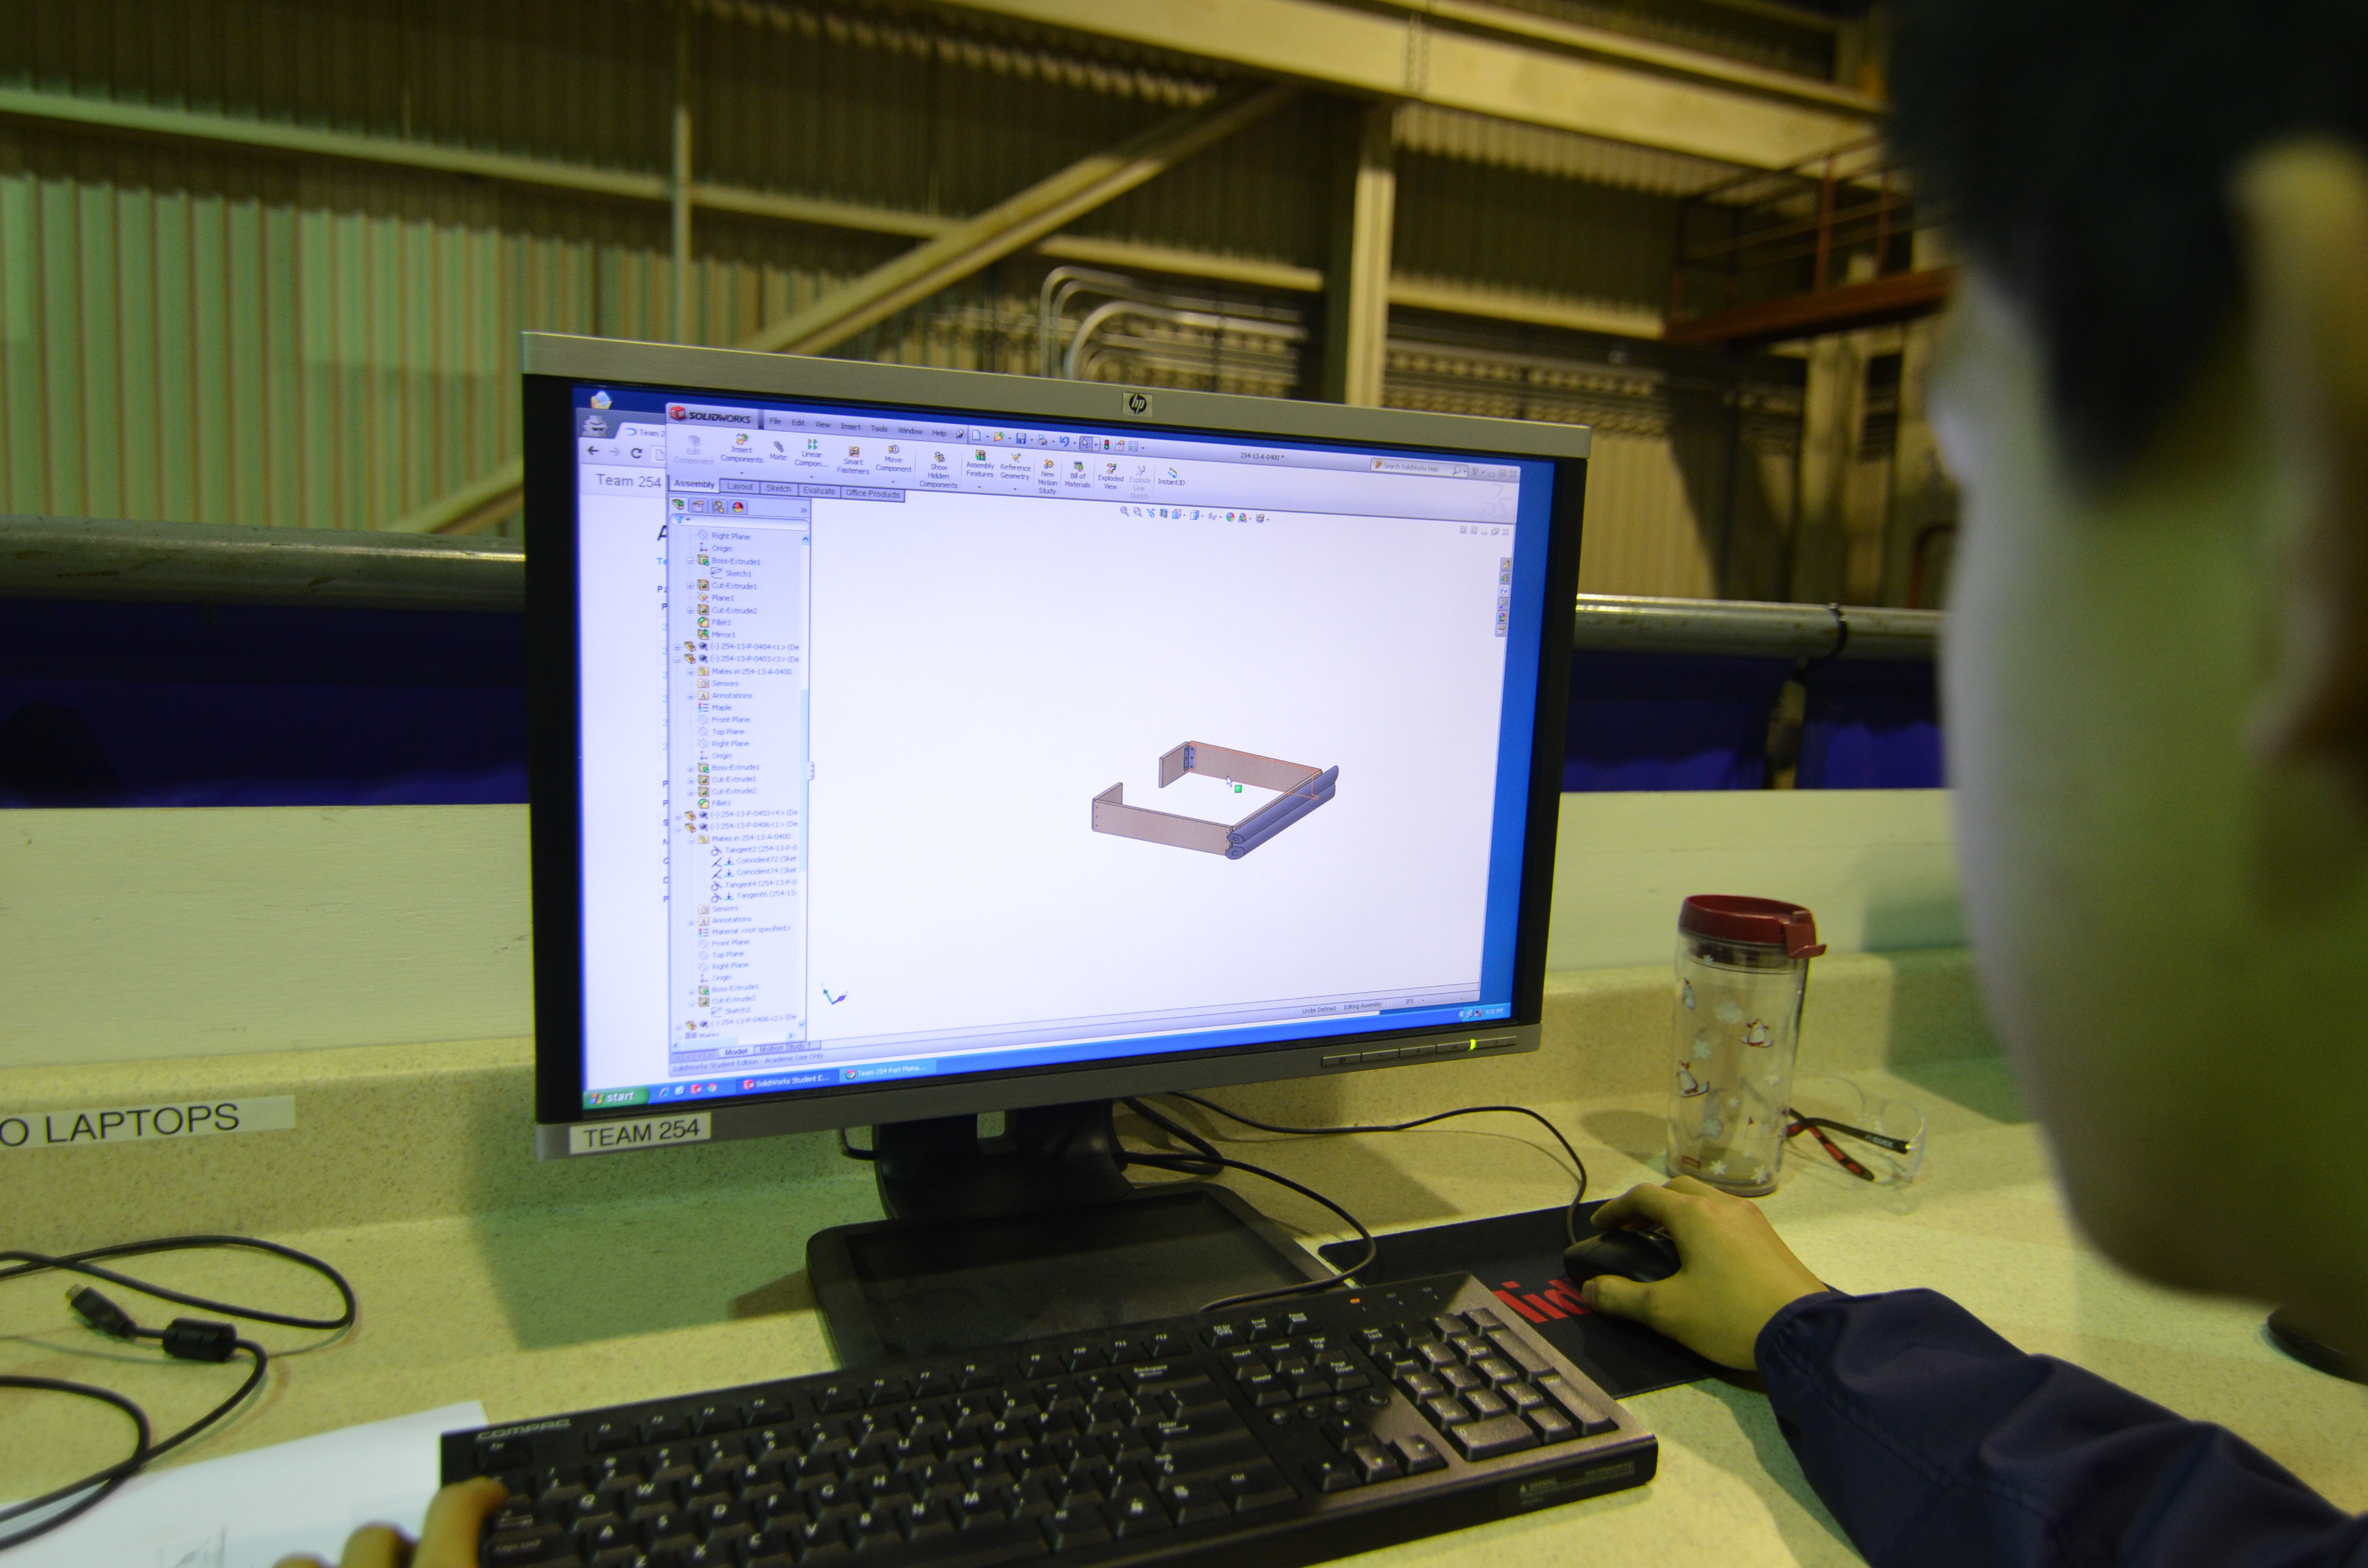
Students continued designing the robot bumpers in Solidworks.  The pool noodles and wooden frame of the bumpers were designed, but the team still needs to create a couple more pool noodles.  Upon their completion, the noodles and the frame will be assembled in Solidworks.

Other students created weld drawings for drive chassis.


D7K_3480

Designing the bumpers in Solidworks


Programming

The programming team conducted tests of the VEX light sensors.  The team hopes to use some sort of sensor to check whether a frisbee in the shooter is right-side-up or upside-down.  However, the VEX light sensors seemed to have a difficult time differentiating between the two.  The error margin or difference between the two values were too small and close to be used effectively.  The team believes that the ambient light in the NASA lab may have contributed to this.

Next, the team tried connecting a photoelectric sensor to the robot for testing.  However, there may have been an error in wiring or code that gave the students inconsistent and incorrect values.  The team will look more into infrared sensors to accomplish the goal.


D7K_3489

The 2010 robot with the VEX light sensors


Action Items

  • Continue CAD of bumpers
  • Re-assemble shooter
  • Check PDM for parts to manufacture
  • Manufacture parts on mill and lathe​


Lab closing time for the night was 11:45

Day 10: Shooter & Programming

2013 FRC Build SeasonFIRST Robotics

shooterr

Shooter

The shooter retained most of its current form in terms of design, some new pieces were just added on. A system for indexing and stacking frisbees was designed and implemented on the prototype shooter, so that it will be able to load several frisbees.

Programming

The programming team had an effiecient day today. Firstly, they worked on the autonomous script and selector.  The programmers hope to cycle between hard-coded and on-the-fly autonomous sequences with a press of a button.  Secondly, they worked on the Smart Dashboard and the GUI.  The team managed to get the FTP connection to work.  It turns out that the Apache Commons jar should be placed in the lib/ directory of the Smart Dashboard folder.  This has yet to be tested on the driver station laptop, which will be done tomorrow.  Finally, they started designing the control board and creating the corresponding list of parts.  The team decided on driver and operator controls, such as joysticks, buttons, and switches for the robot's functions.  Students also decided on the sensors that would go in the robot (encoders, gyro, etc).

Drive Gearbox

Design

The design of the robot has been coming along slowly but steadily.  The team decided on a 6 motor drivetrain utilizing 6 CIM motors.  Furthermore, each drive gearbox has a Power Take-Off (PTO) which could be used later to power a hanging mechanism.

After intake prototypes illuminated potential difficulties bringing disks up such a steep angle, it was brought up that a wider robot would allow for a gap in the bumpers for frisbees to travel through. After a long discussion, this route was pursued and the drivebase weldment (assembly 254-13-A-0300) was finalized and the base plate was sent out for manufacturing by sponsor BAE Systems.

Drivebase

With the drivebase weldment finalized, students worked to make CAD drawings for the components of the weldment.  Furthemore, the control board design began.

Miscellaneous

The shipment from Coast Aluminum arrived. It was taken apart, checked and stored with the other aluminum. Some of it was cut to begin manufacturing a few of the smaller parts.

Action Items

  • Finish bumper design

  • Hold a design review for the helical conveyor/indexer

  • Begin prototyping the helical conveyor/indexer

  • Begin cutting drivebase stock 

  • Continue work on autonomous selector

  • Test uploading files from Smart Dashboard on driver station laptop

FRC Day-Off, Week 2

2013 FRC Build SeasonFIRST Robotics

Today was our first down day for FRC build. This post will recap a few of the design decisions and design progress so far.

Drivebase Configuration

There will be a square drivebase on the robot. This was decided up for the following reasons. The square configuration will give more room for the intake. One of the updated rules was that the the robot cannot exceed a 54" cylinder. Because of this, the shorter and wider robot will allow for more room in the intake to drop down.

image

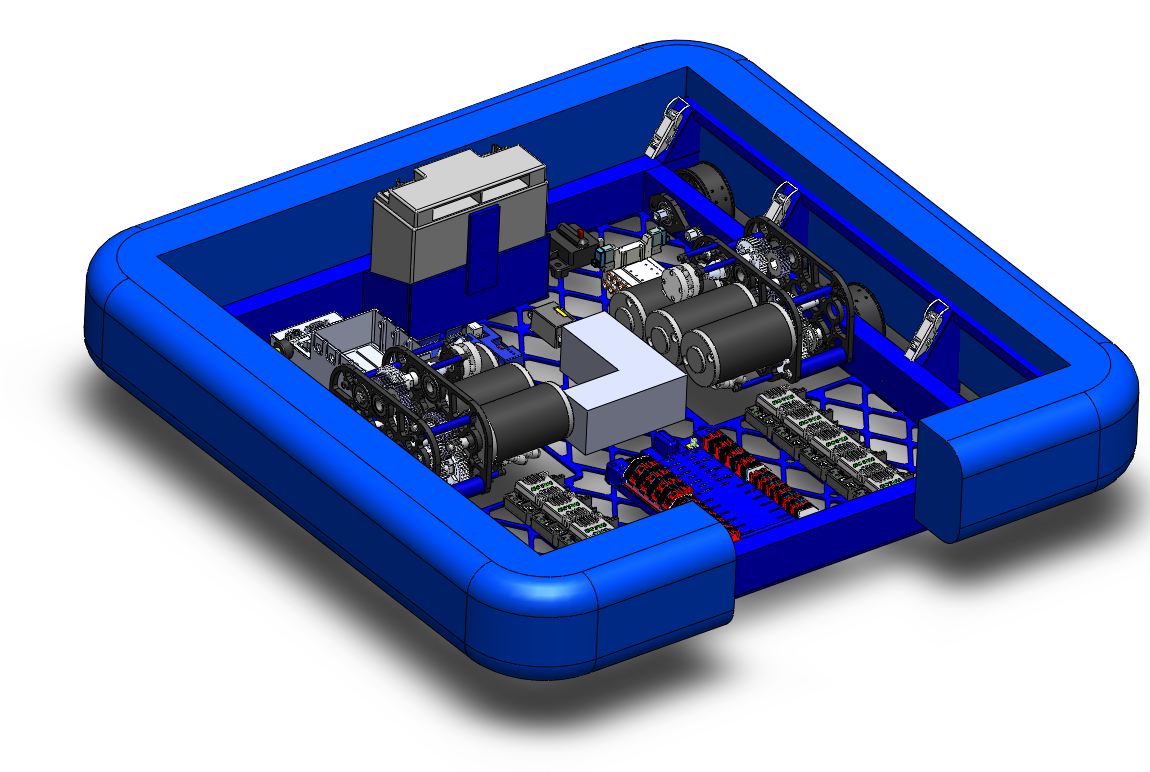
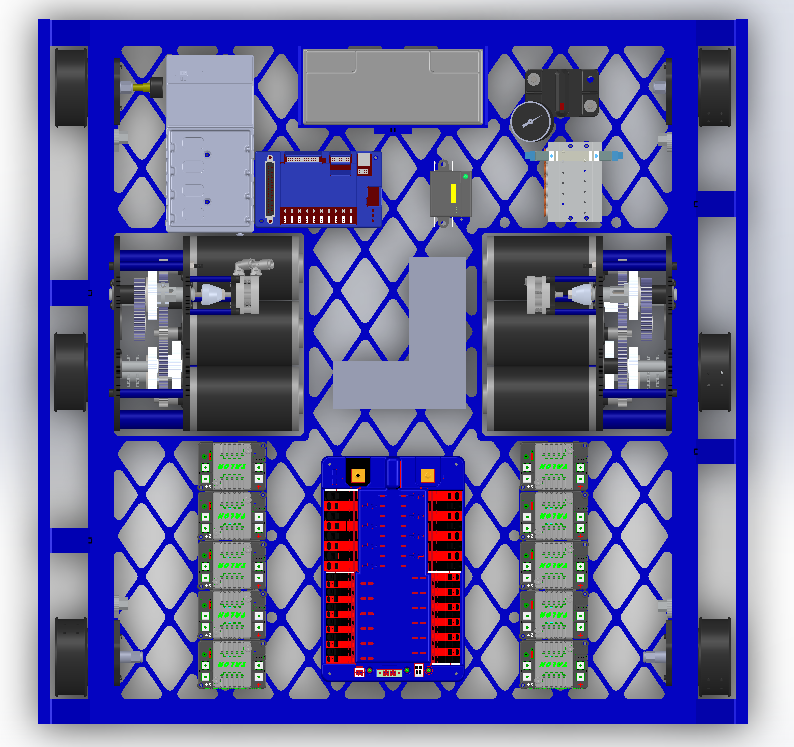
Electronic Layout Done. Baseplate sent for manufacturing

After finalizing the size and dimensions of our drivebase, the next step was to complete the layout of electronics on the baseplate. The batter will go towards the back of the robot (away from the intake) to balance out the center of gravity. The talon speed controllers will be at the front along with the power distribution board. These were all layed out in the CAD model and mounting holes were put in the baseplate. The raw material for the baseplate was cut and was sent to BAE Systems. The baseplate will get waterjetted by BAE and hopefully sent back by the end of the week.


See above for the electronics layout.

Cutout in Bumpers for Intake

It was decided that the bumpers will have a cutout to allow the intake to drop down. The intake will bring the frisbees over the frame rail, but not the bumper. Having the cutout will allow the intake to drop down on a pivot that is lower down. This will give the intake a smaller profile when pivoting down allowing for a bigger intake when fully extended.

Day #9: New Intake

2013 FRC Build SeasonFIRST Robotics#blog#FRC

Prototyping

Shooter

Students have made a couple of modifications to the shooter prototype.  An L channel was added, in addition to guide rails.  A pneumatic piston was attached to the shooter to load the frisbees into the shooter wheels.

The goal was to make a shooter that could shoot frisbees both upside down and right side up. After making the modifications and adding the "autoloader" the shots became more consistent (because of the same loading dynamics). However, the upside down shots and the right side up shots were aiming differently. The most significant difference is the flying dynamics. The upside down frisbees were more unpredictable and didn't fly as well.


DSC_9563

Students making enhancements to the shooter


Conveyor

Not much was changed on the conveyor.  Upon the completion of the shooter and intake, students will integrate the conveyor design with the two other prototypes.


DSC_9527

Conveyor prototype

New Intake

The team took a new route with the design of the intake.  They removed some of the orange polyurathane belts in the process.  A new intake was constructed from the CAD.  Though it works fairly well, the team is working on improving it.  It can't quite take two frisbees at the same, but can still pick them up quickly.  The design is based on the old conveyor prototype and old intake prototype.

At the end of the night, the intake was fully functional and was able to funnel two frisbees into one. It was also able to easily pick up the frisbee from the ground, albeit not as well as was hoped. The intake so far is not fast enough and not consistent enough. More work will be done on it tomorrow.


DSC_9531

Building the new intake


Programming

The programmers worked on a Smart Dashboard widget for writing constants and their values to a text file, and uploading them to the robot using FTP.  They first worked on the layout of the widget, and were successful in the writing and clearing functionalities.  However, the programmers still had issues creating an FTPClient object and connecting to the robot.


DSC_9549

Dorian Chan programming the Smart Dashboard widget


Students also wrote a Turn Command for use during autonomous mode.  The ScriptedAutoReader was configured to read the word "TURN" as a TurnCommand and appropriately create one.  It seems to work, but the command still requires extensive testing, since the command depends on the gyroscope and the robot was left on the stand.


DSC_9592

Richard demonstrating turning in real life

Miscellaneous

The pyramid was fixed.  The top goal of the pyramid was brought down for some adjustments, and then reattached.


DSC_9528

Fixing the pyramid goal

Action Items

  • Continue work on intake (make it work)

  • Make shooter accurate

  • Do math, save world

Lab closing time for the night was 2:00 AM
Day #8: Really Consistent Shooter Prototype

2013 FRC Build SeasonFIRST Robotics

Prototyping

Intake Prototype

The intake was totally redesigned in Solidworks today.  The design features multiple sets of belts to move the frisbees around.  It uses belts on the bottom to increase the friction between the disc and the polycarbonate sheet.  In total, 11 belts need to be manufactured and welded.  The newly designed intake prototype is currently under development.


intakeproto

The conveyor prototype


louis

Welding the polyurathane belts for the new intake


mercadante

Making modifications to the intake roller

Shooter Prototype

Students made changes and modifications to the shooter prototype.  C-channels were added on the left and right side of the prototype to guide the frisbee as it travels through the shooter's wheels, preventing it from moving upwards and adding stability.  In addition, new parts and attachments for the shooter were milled and manufactured.


shooterproto

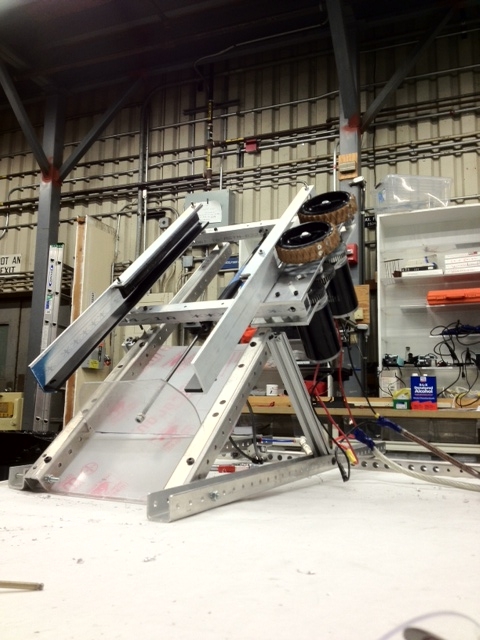
The shooter prototype


The shooting prototype was tested extensively.  As the results show, the frisbees that were fired were somewhat accurate.  The orientation of the frisbee (upside-down vs. right-side-up) appears to have a slight influence on the trajectory of the frisbee.  An upside-down frisbee ends up at a smaller height than the height of a right-side-up frisbee.


2010 Robot

Makeshift bumpers were added to the 2010 robot today.  The bumpers were constructed out of pool noodles, which the students will use to create the real bumpers from later on.  The team hopes to use the 2010 robot's drivebase to attach and test the intake and shooter prototypes upon their completion.  Metal frames were also installed on the robot.  With these bumpers, students can test the intake mechanism as if it were on the real robot.


robot2010

The 2010 robot with bumpers and metal attachments

Programming

The programmers worked on a multitude of tasks today.  Some students worked on a custom Smart Dashboard widget that would populate a text file with a constant's name and value, then upload the file to the robot with FTP.  Currently, the widget is working, but students still have to investigate problems with the FTP connection.

Students also worked on automous command scripting.  With this, the robot can read autonomous commands from a text file on the robot, and execute them.  The benefit of this method is that the team won't have to re-compile or re-deploy the code in order to make one small modification to the autonomous.  Currently, the system is working as intended.  The robot was able to interpret the drive and wait commands.

Lastly, the programmers continued to work on reading constants from a file.  This has not yet been completed, but the students have a general idea and framework for what needs to be written.


programmin

Programmers programming


Pat Fairbank

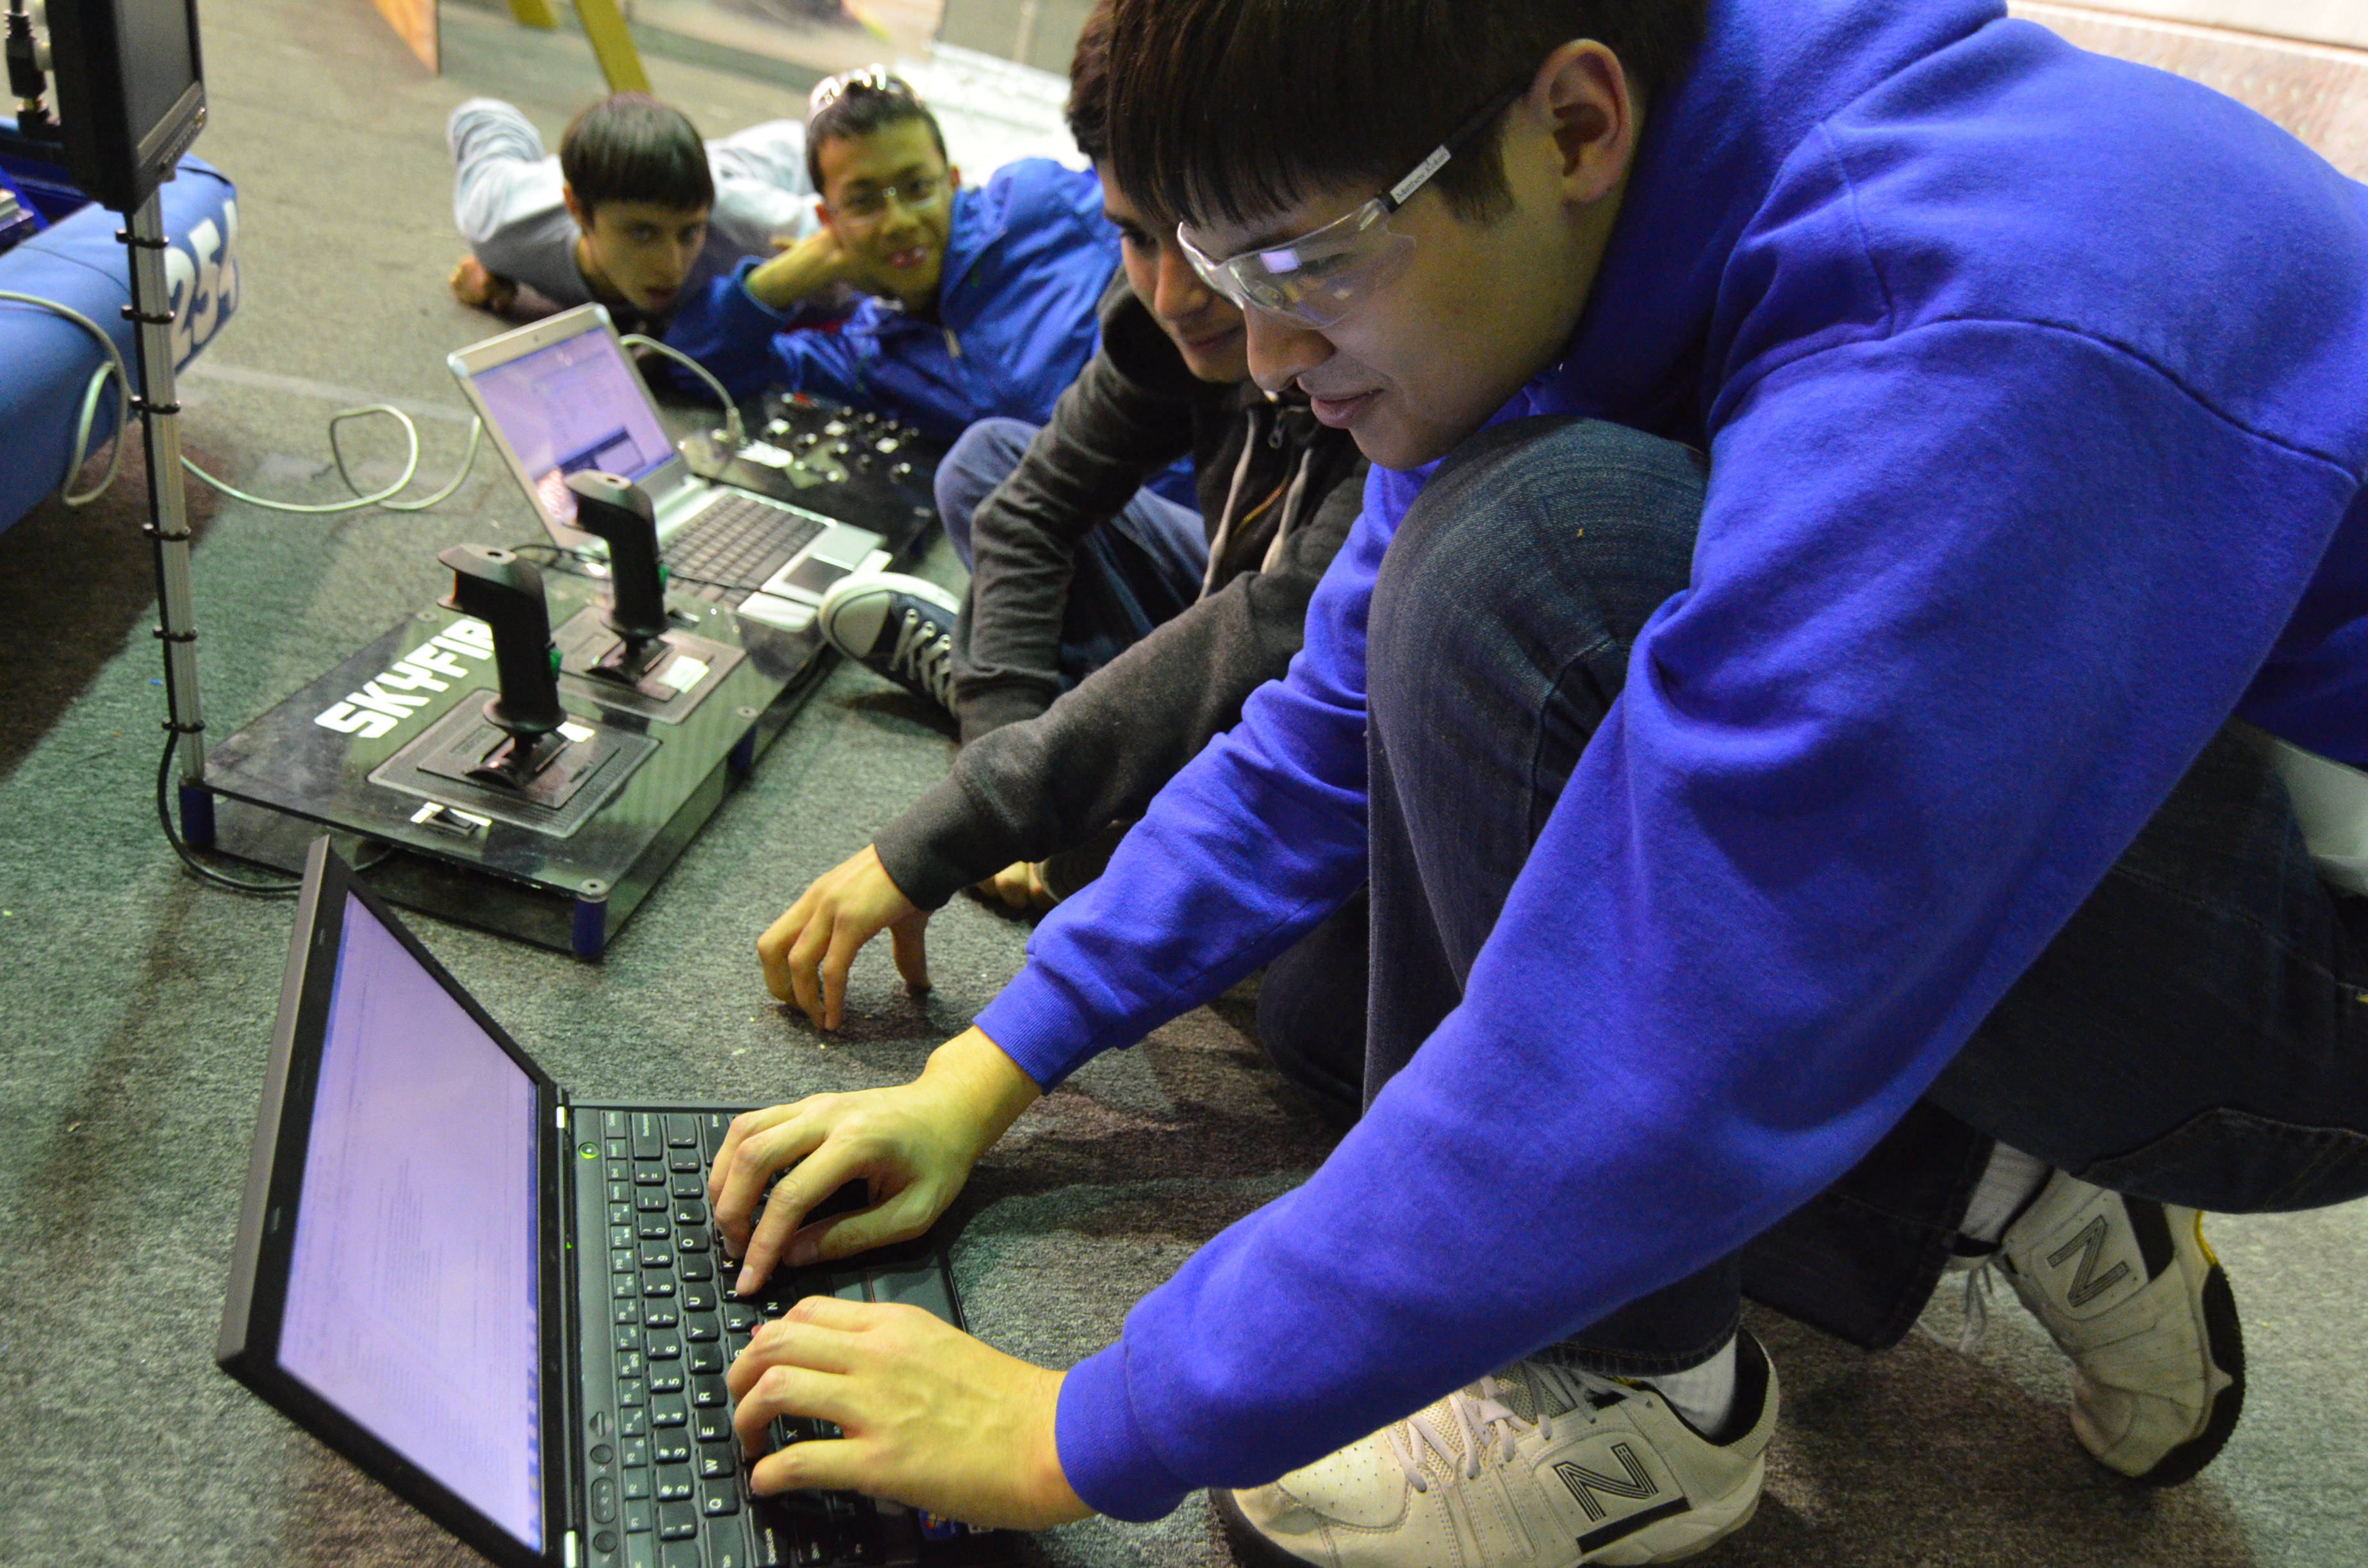
This is a prime example of our foremost Canadian mentor in his natural state of observation and intense thought about the world of robots.

pat

Pat being Pat

Action Items

  • Finish intake prototype

  • Mount said prototype to 2010 robot(onslaught)

  • connect all 3 prototypes and test from start to finish(Intake-Conveyor-Shooter)

  • Programming-work on reading constants from a file

Lab closing time was 12:50 A.M.

Day #7: Drive Base and Talon Testing

2013 FRC Build SeasonFIRST Robotics

Prototyping

Intake prototype

Students continued to improve on the Intake prototype. We wanted to have the Intake prototype powered by one CIM motor. We designed a system which utilized timing belts, gears, and an intermediate roller to power both the top and bottom rollers of the Intake. This is currently still a work in progress

Intermediate conveyor prototype

The team continued to refine the conveyer prototype. The team started out by opening up the new polyurathane belts that came today, and proceeded to brainstorm on how they could improve the conveyer. The team decided on three things.

  • Improved belts
  • A Compression device to hold the frisbees in
  • Counter Sunken Screws in said compression device

Improved Belts

The old system continued to have slippage with the timing belts, and thought the new polyurathane belts would solve this issue. The team cut the belts to the correct length, fused them together, and stretched them over the place where the old belts were.

Compression Device

The compression device solved the issue of the frisbee slipping off of the belts. The compression device consists of a piece of polycarb which has been sanded down for reduced friction. The polycarb is drilled down 1.3 inches above where the frisbee sits, holding it to the belts

Counter Sunken Screws

The new compression device posed a new problem, screws sticking out of it, holding the frisbee back from free movement. The team solved this issue by using a technique called countersinking, where a divet is drilled around the area of the screw, allowing it to rest out of harms way. This completely solved the issue of the frisbee getting stuck.

Shooter prototype

  • The 1x2 tubing was replaced with 1x1 tubing in order to raise the wheels higher so that they would contact the disc in an upside down orientation.
  • The length of the bottom plate was increased to increase consistency when loading the disc
  • The left side wall was shortened to try and make the discs go straight instead of off to the right.
  • The stand for the shooter was improved such that it sits flat without being held down.
During testing we made the following conclusions:
  • Shooting upside down was very inaccurate because even with raised wheels, the wheels still push the disc up.  U-channel needs to be added on both sides to keep the disc in line.
  • With the shortened left side wall, the discs did not fly straight, they flew to the right.  With U-channel added on both sides, and past the wheels, the discs should fly straight as they exit the shooter.

Programming

Then programmers updated the 8-wheel 2010 drive base to work with Talons. It will be used to mount the prototype intake and shooter. The team also made the robot controllable with the Logitech gamepad. A few members and mentors drove the robot around the field with the new controller. There is no new progress on the constant file reading system nor the autonomous command system.

Tomorrow, the programmers will work on the autonomous command system, the gamepad controls, and constant file reading.


Lab closing time was 12:30 AM

Day #6: Consistent Shooting Prototype

2013 FRC Build SeasonFIRST Robotics

Design

Gearbox Design

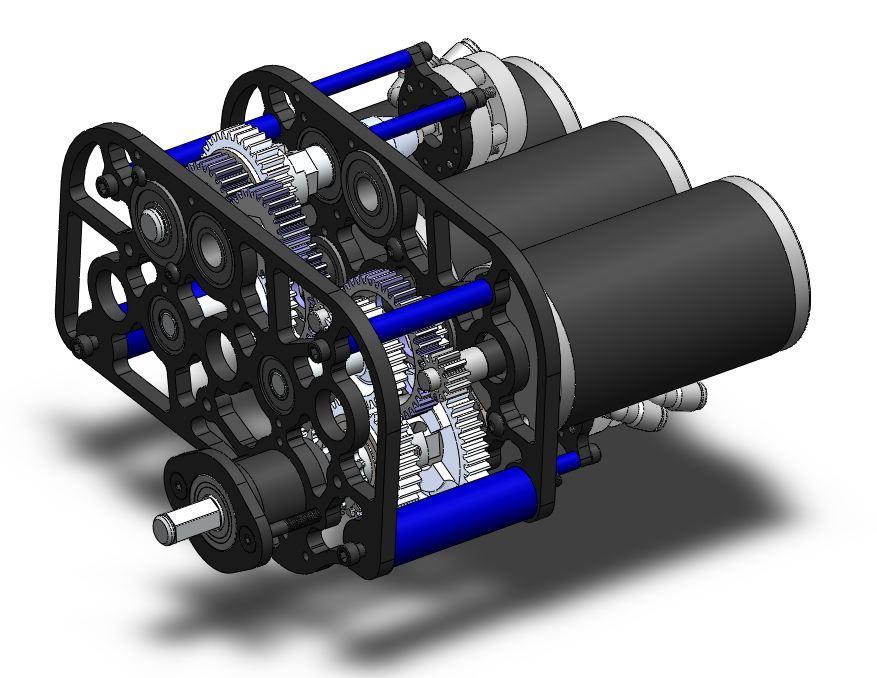
It was decided that a power take-off (PTO) mechanism will be implemented into our drivebase gearbox design. A power take off simply allows all the power from the drivebase gearbox to be applied somewhere else. This is achieved by adding an extra output shaft to the gearbox with a another shifter, giving the gearbox 3 "speeds". There is the high speed, low speed, and "neutral" speed. Neutral will inhibit the wheels from receiving power and allow our hanging mechanism to be fully powered by six CIM motors (the most powerful motors in the Kit of Parts). 


Implementing the PTO will give the hanging mechanism the maximum amount of power (since the motors allowed are limited) thus allowing the robot to hang as quickly as possible.


Today's progress included adding a third CIM motor to the gearbox and changing the configuration of the motors to allow for a second shifter and second output shaft.


This gearbox will be the biggest, heaviest, and most powerful gearbox Team 254 has ever built! It will be called "Big Daddy!" to compliment 2011's enormous intake gearbox, which was crowned "Big Momma"


Prototyping

Intermediate conveyor prototype

Students worked on prototyping an intermediate conveyor system which will be used to transfer the frisbees from the intake to a second mechanism which will transfer the frisbees to the shooter. The second mechanism has not been prototyped as of now. This prototype currently uses timing belts that are connected to two horizontal rollers. These rollers are currently running at 1400 rotations per minute. As of now the prototype works as long as it is tilted less than thirty degrees from the ground. When the prototype is angled more than thirty degrees from the ground, a pressure must be exerted perpendicular to the rollers for it to work. 

roller prototype

Shooter Prototype

The shooter prototype was repeatedly tested, and it fires consistently when the frisbees are right side up. However the consistency is lost when the frisbees are placed upside down. As of now, we would like to add something that would prevent the frisbee from angling upwards before it exits the shooter.

photo 2

Intake prototype

Students added bearings to the rollers in the prototype to prevent the loud clacking noise that occurs when it is operated.

Miscellaneous

Students finished the CAD for the LED Power Box and components. This will be assembled later and used for the pit area trussing.

Students built a mock-up human player station. They also determined best way to feed frisbees through the human player station and throw them across the field during the last thirty seconds of a match

Programming

With a new to-do list to keep track of action items, a multitude of programming-related tasks were completed or started.  Students worked on getting constant variables to read from a file for the robot code.  This updating would happen in robotInit(), right as the robot turns on.  They also worked on reading autonomous scripts from a file for the robot in such a manner that these scripts deployable without re-compiling.  Since they don't have the actual autonomous functions yet, programmers have created an initial structure to parse in names of the commands and their parameter(s) from a text file.  The Smart Dashboard was installed on the driver station.  Tomorrow, programmers will work on creating custom widgets to place on the dashboard.  Lastly, programmers imported math functions from the 2012 robot code into the 2013 robot code.


Action Items For Tomorrow:

  • Upgrade Intermediate Conveyor Prototype

  • Upgrade Shooter Prototype

  • Continue Programming (See Richard's Action Item List)

  • Finish Drivebase CAD

Time Left the Lab: 12:00 AM