
Today was another rest day. Have a weld video or two as we begin week 5!
The Cheesy Poofs
FIRST Robotics
News, events, and updates from Team 254.
177 posts
Day 30: Machining, CAD, Game Elements, and Drive Base
By Clay Rosenthal
Machining
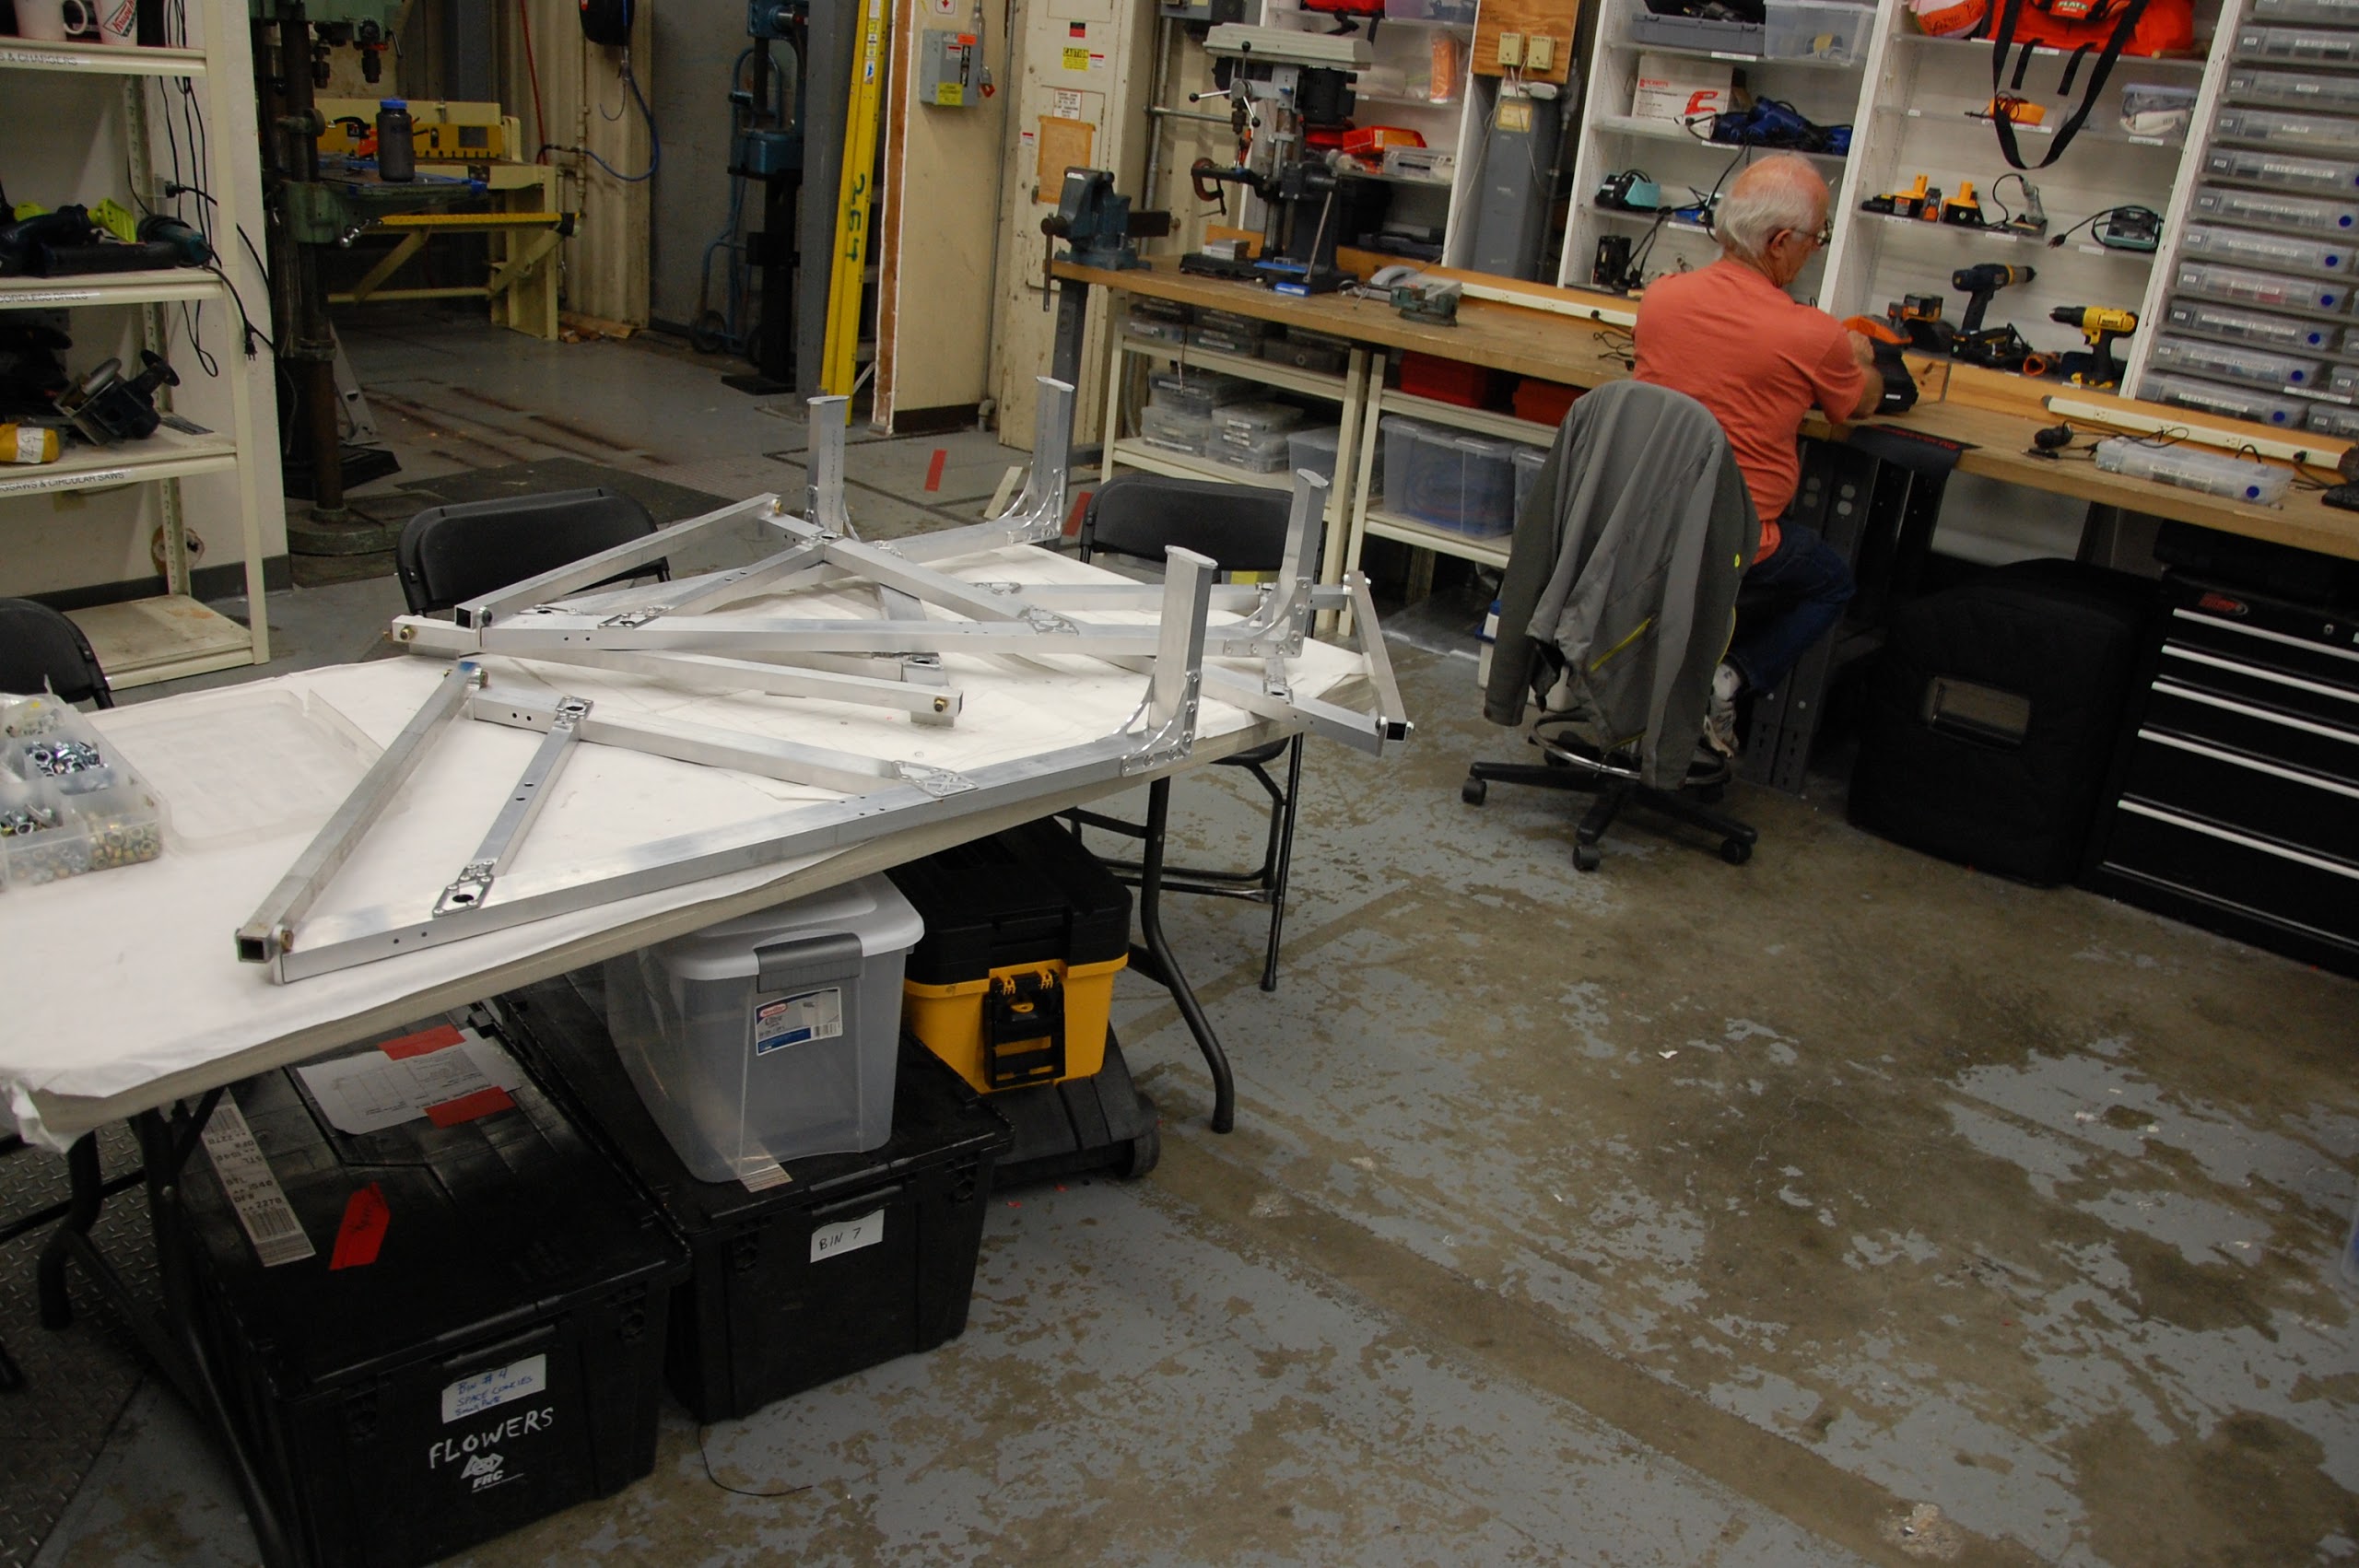
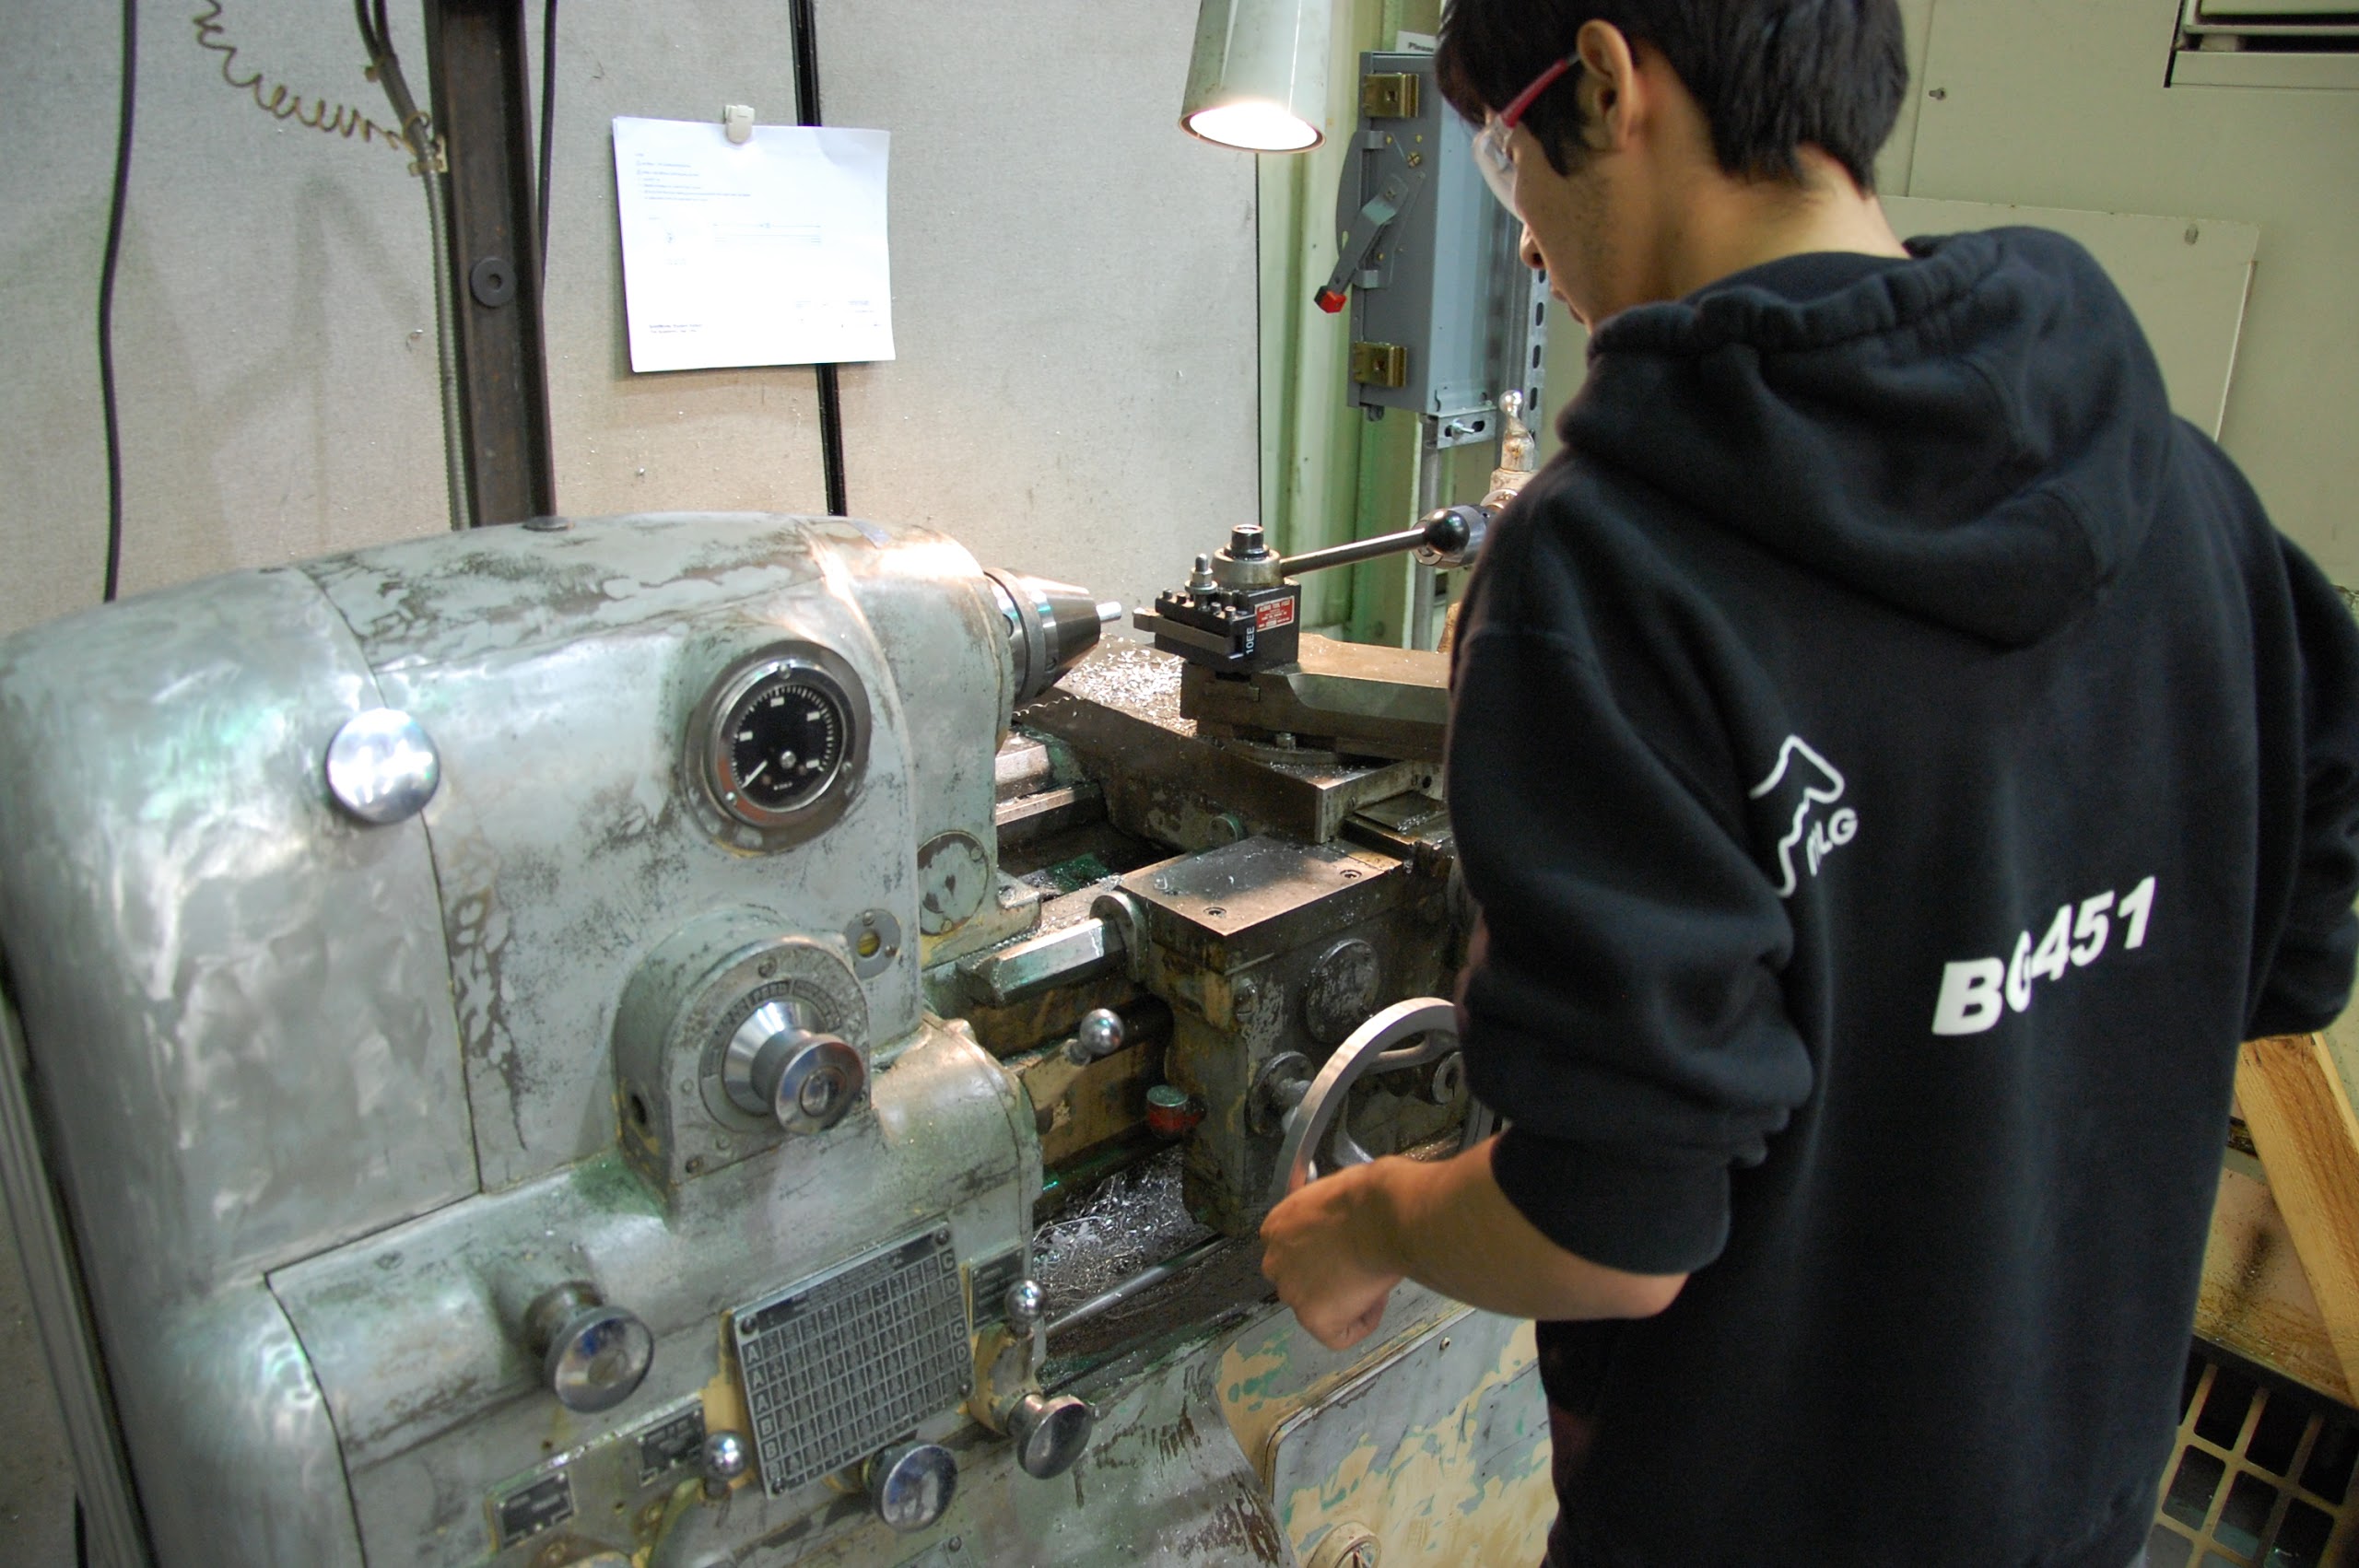
Parts of the superstructure were made today to be welded tomorrow. Parts to hold the pieces in place while being welded were also machined. The superstructure will be welded and powder\-coated soon. The parts for the hood and rear intake were also assembled and will soon be welded and prepped for powdercoating.
CAD
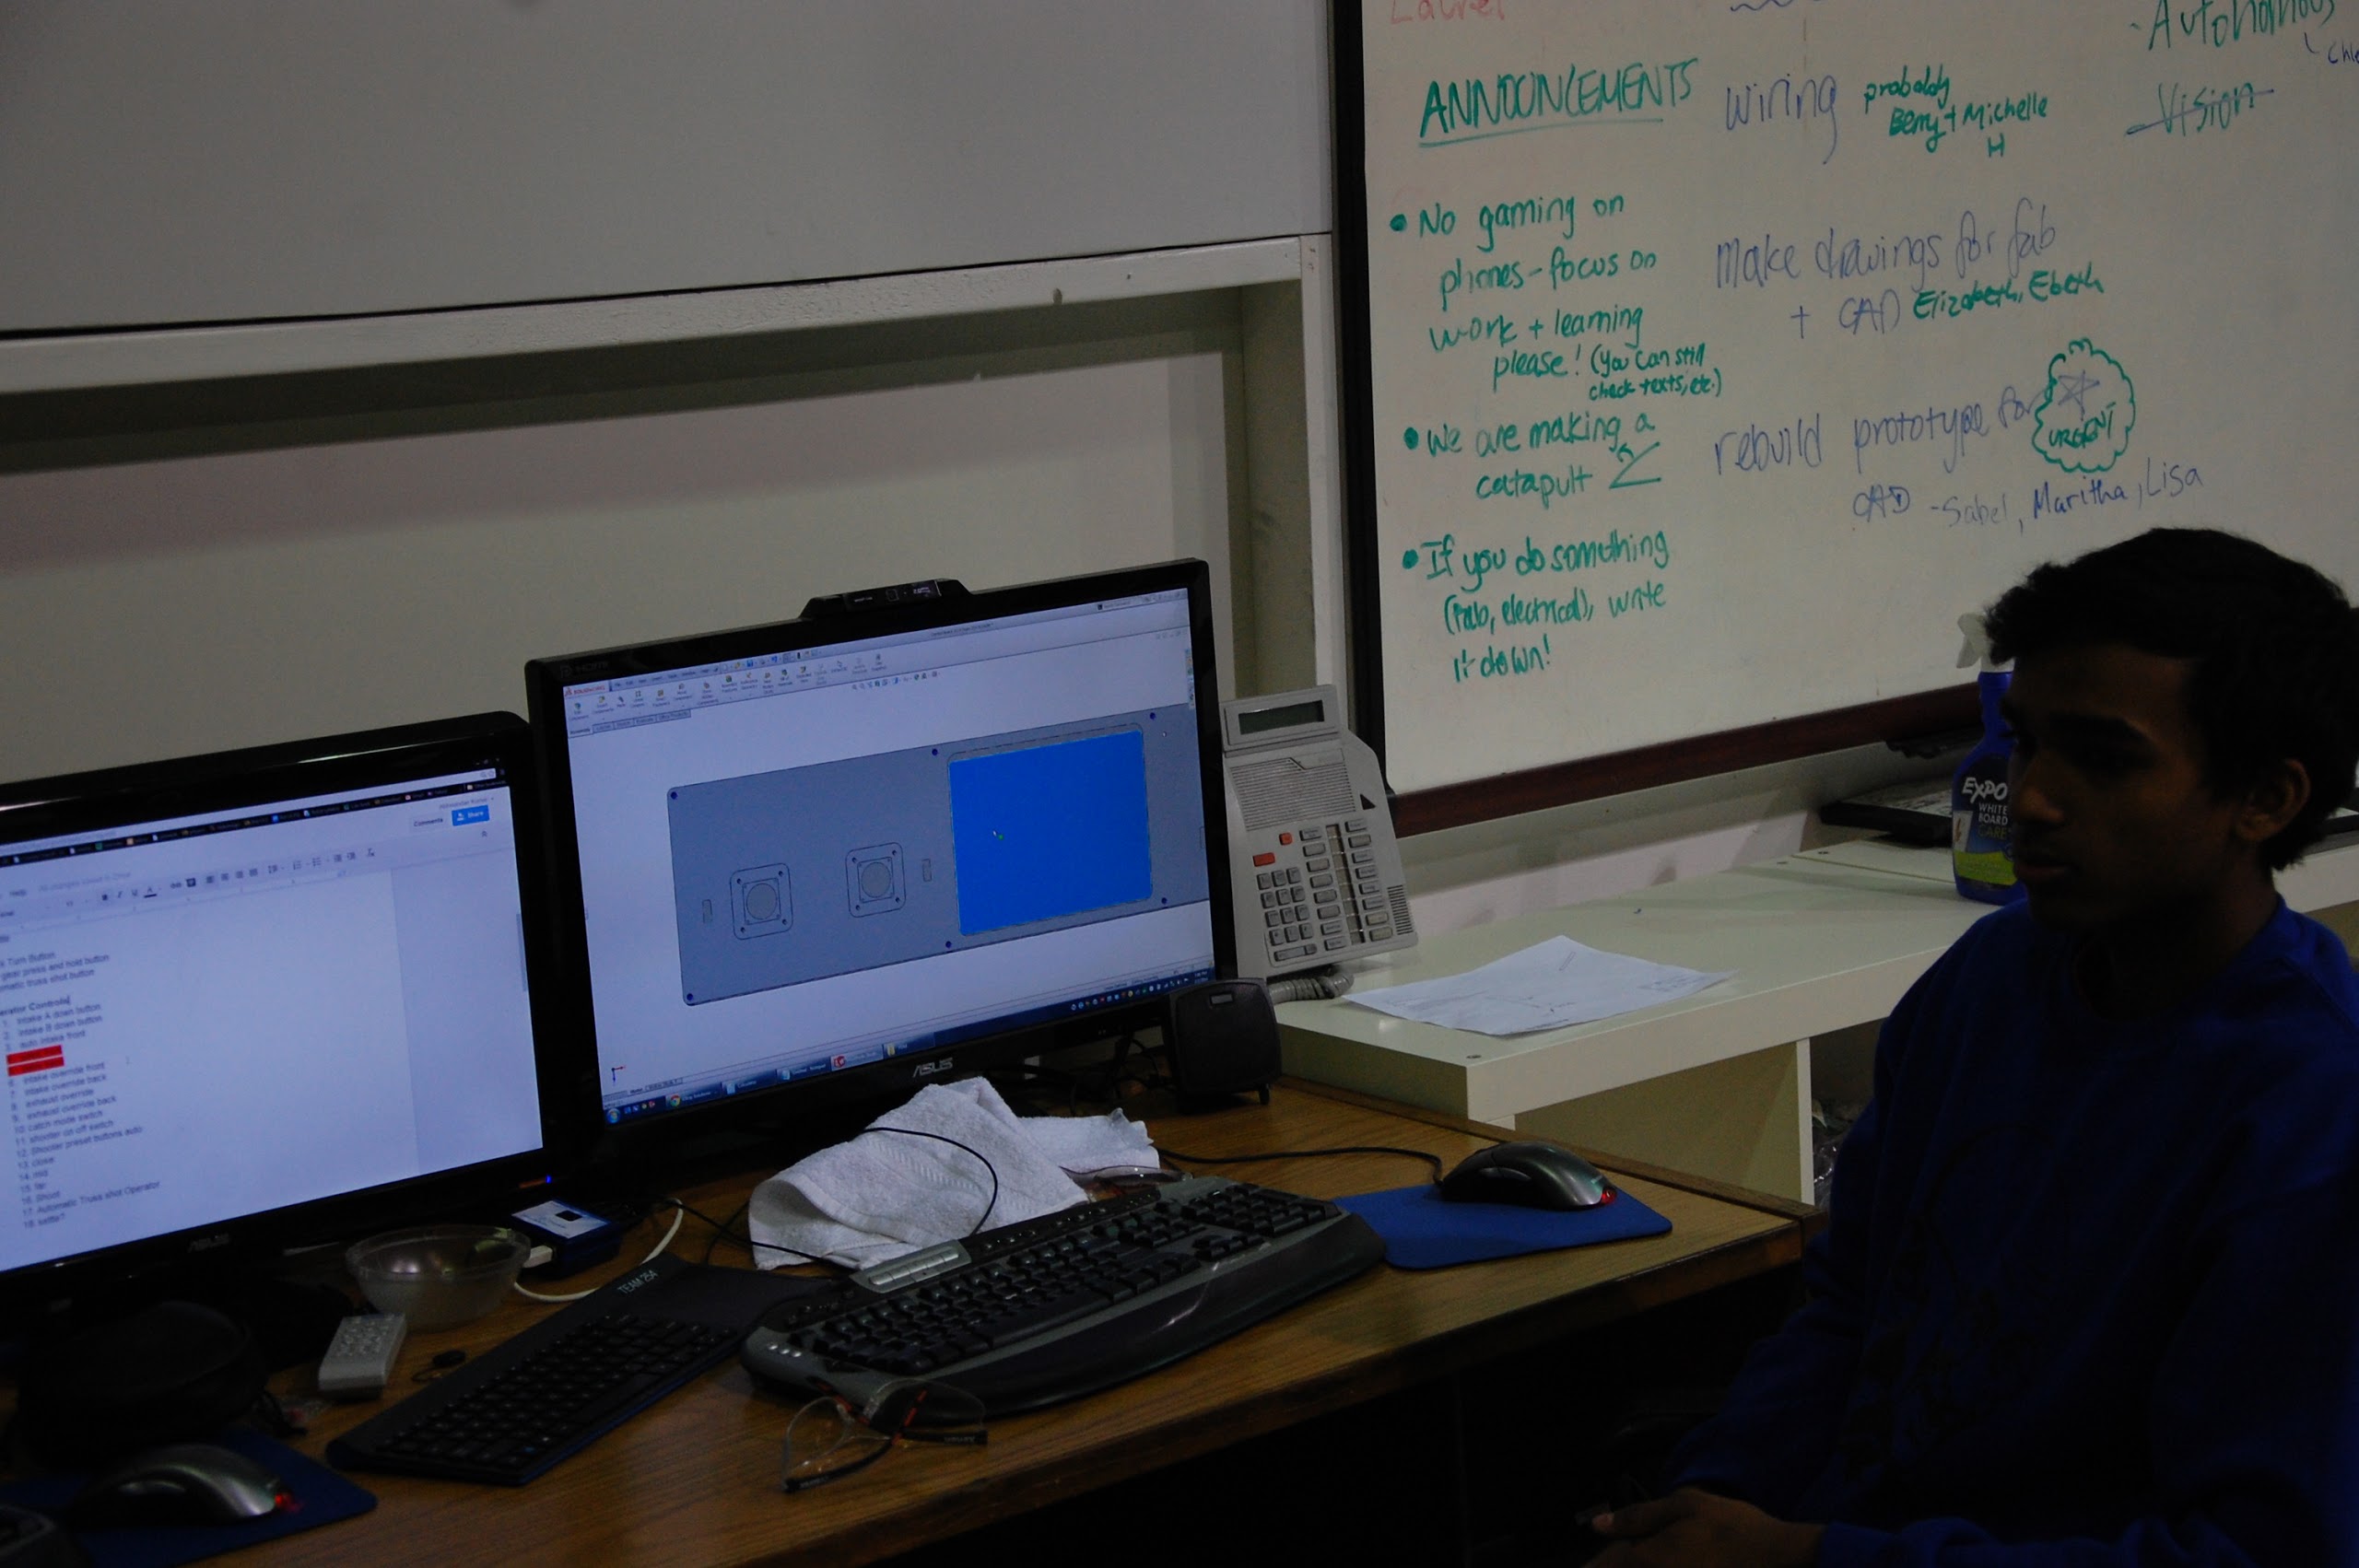
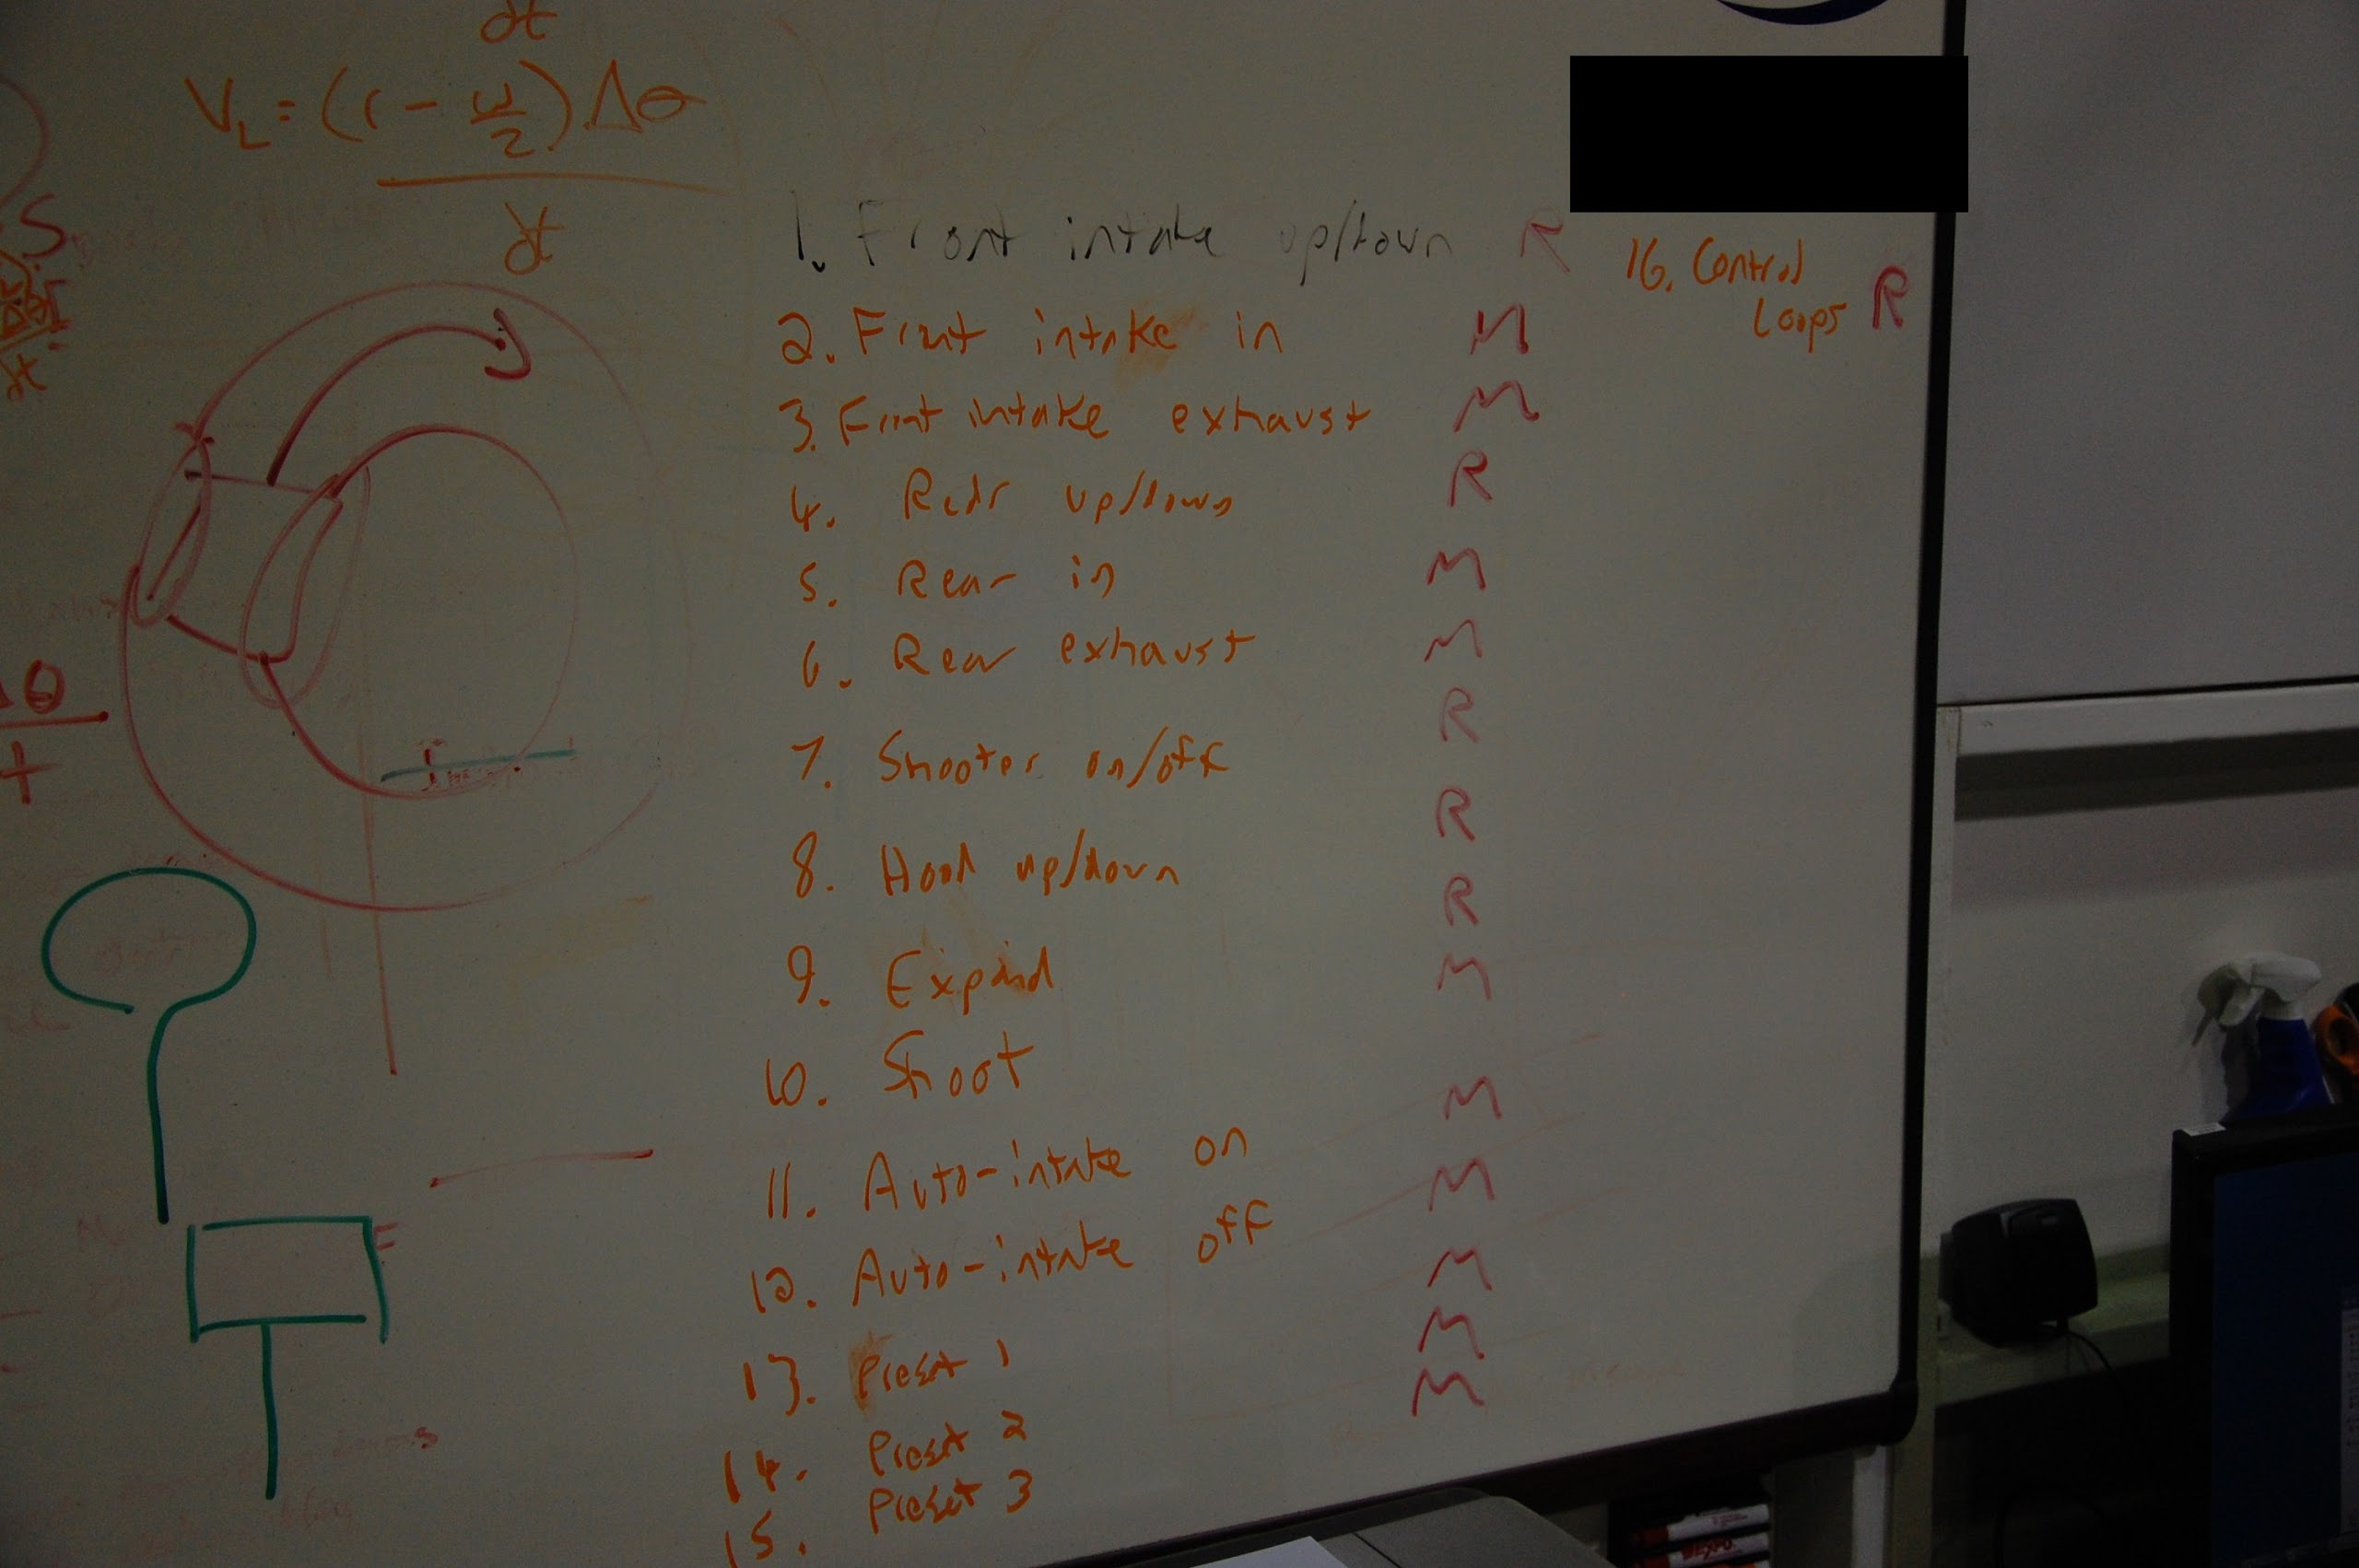
The clapper design was worked on today and is nearing completion. Locking pistons for the hood were also conceptually designed on today. A new control board with sixteen buttons is being designed. The buttons are described below \(‘R’ stands for rotational, or a switch, and ‘M’ is for momentary, or a button\).
Game Elements
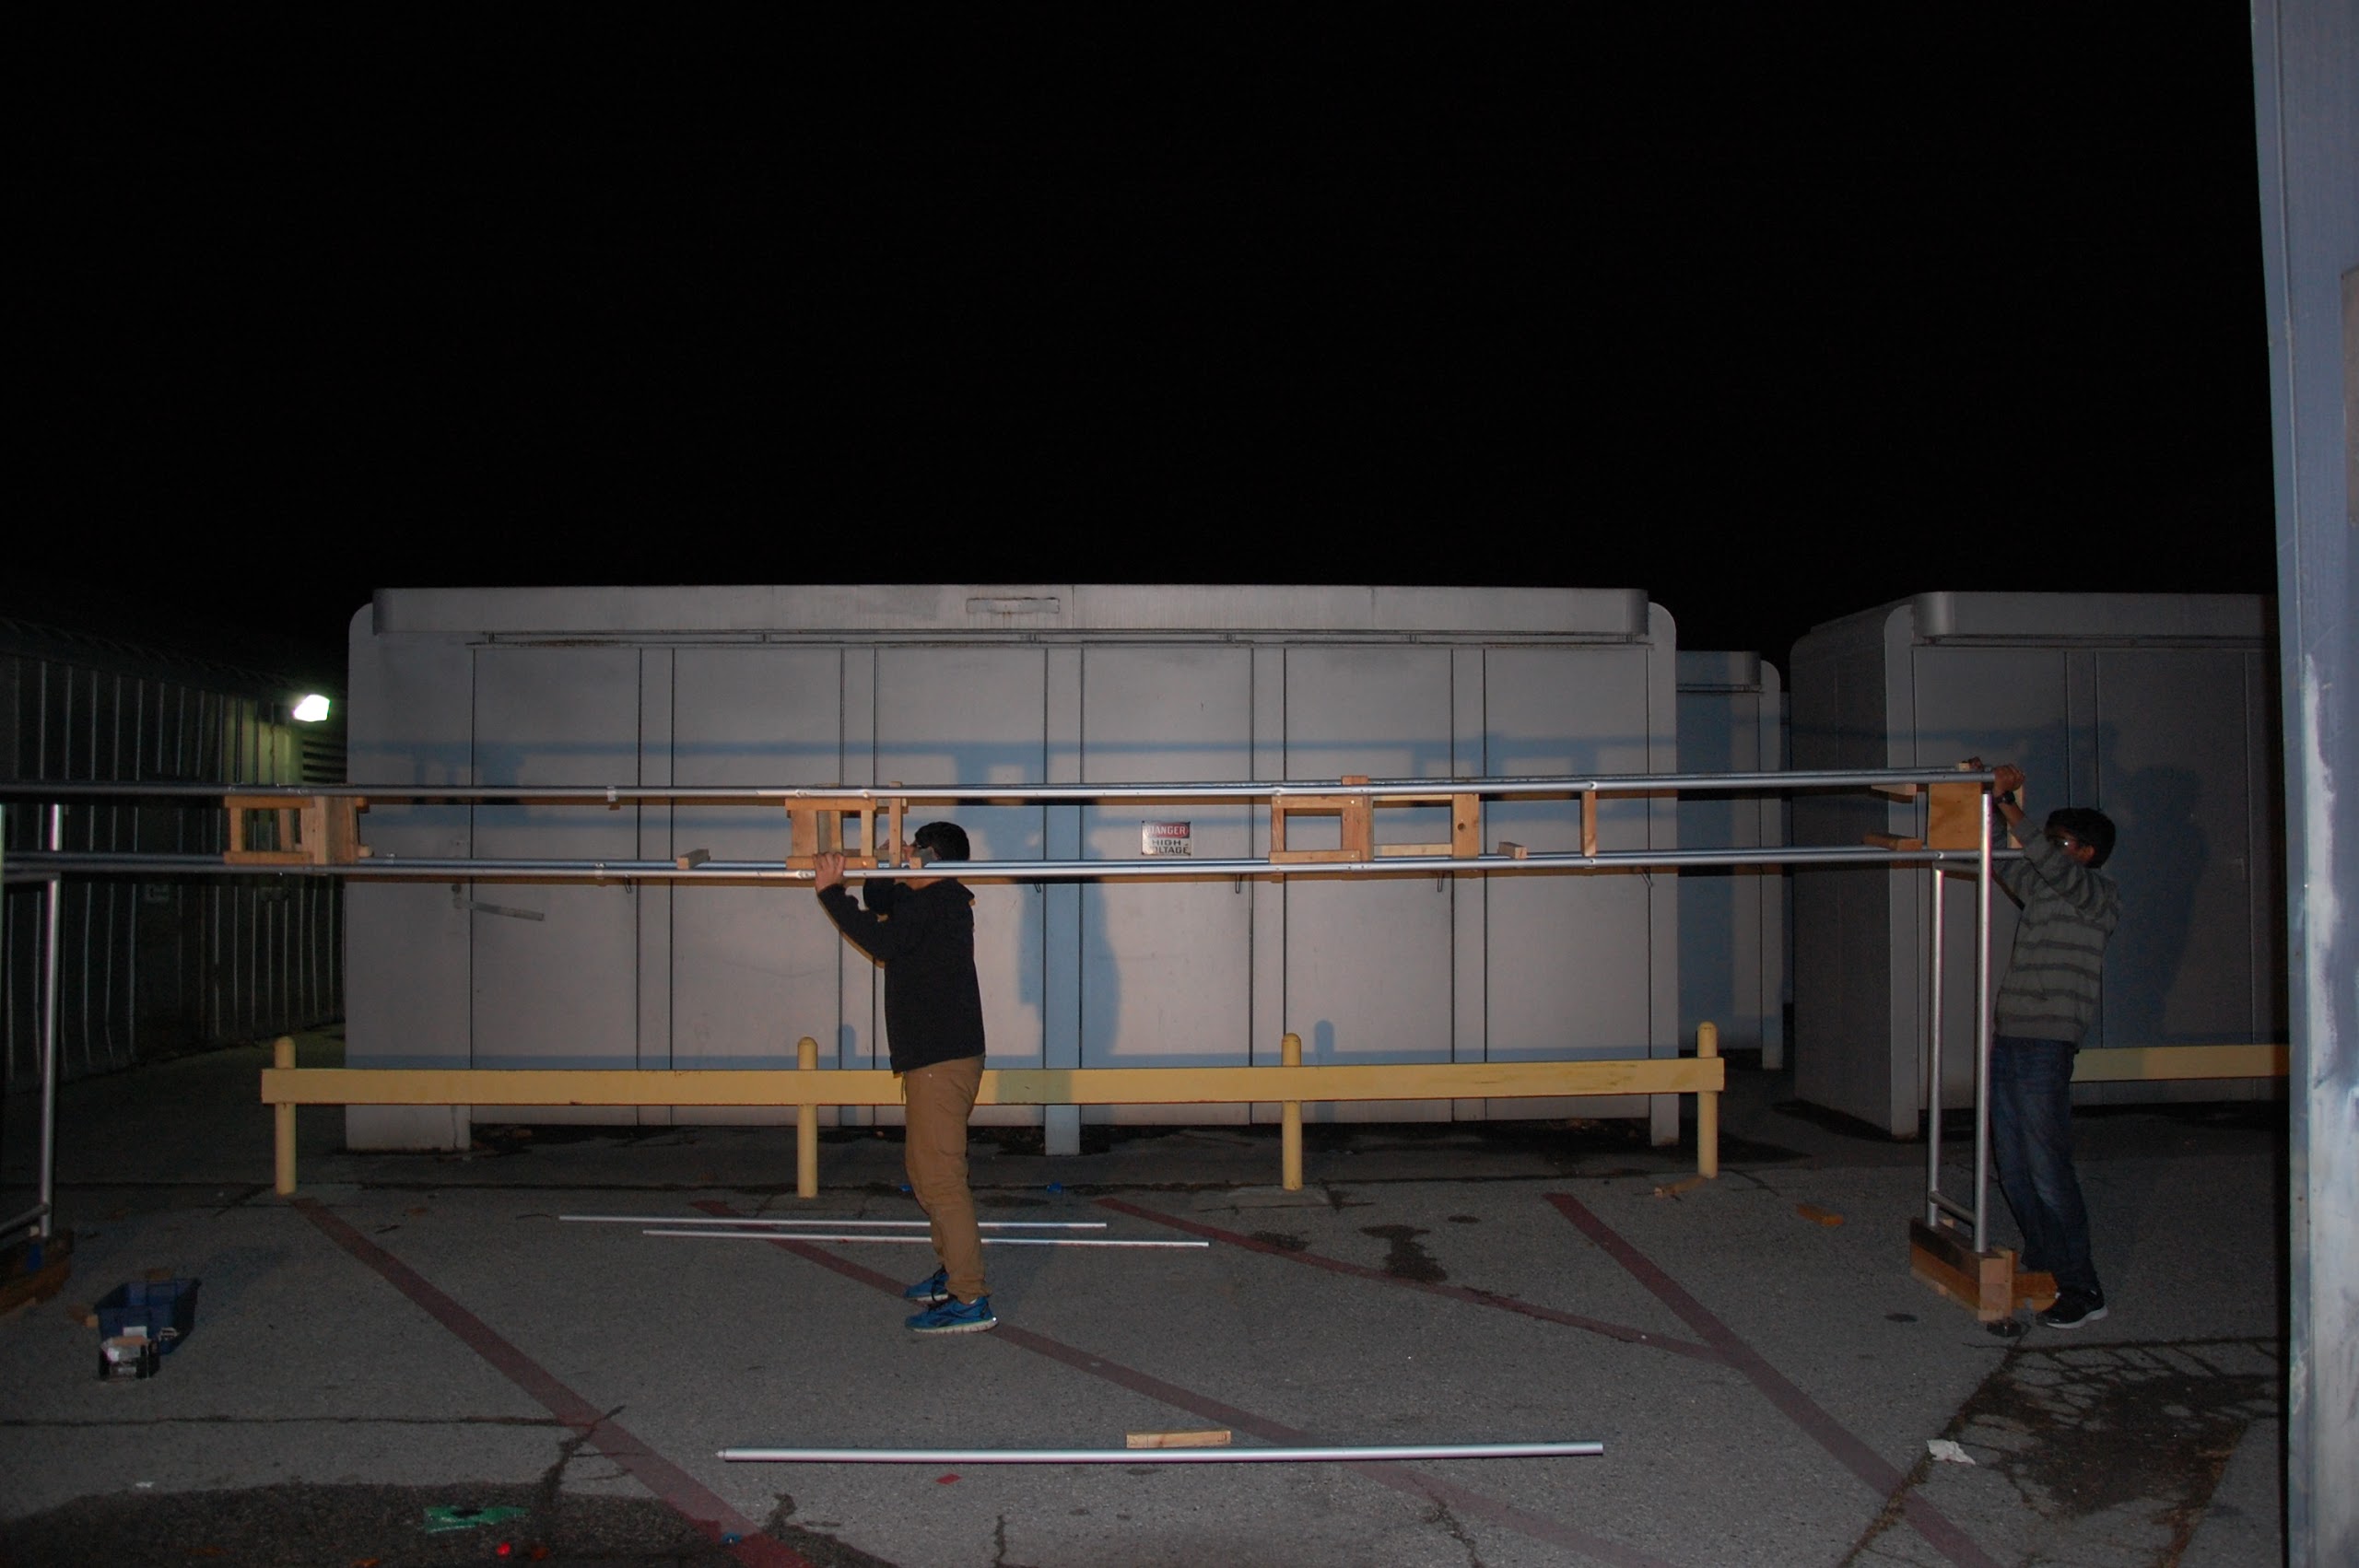
The truss was worked on more today and is nearing completion. It is standing tall but still bending. The two halves from yesterday were attached together. It hasn’t been hung over the field yet and is still being completed outside.
Drive Base
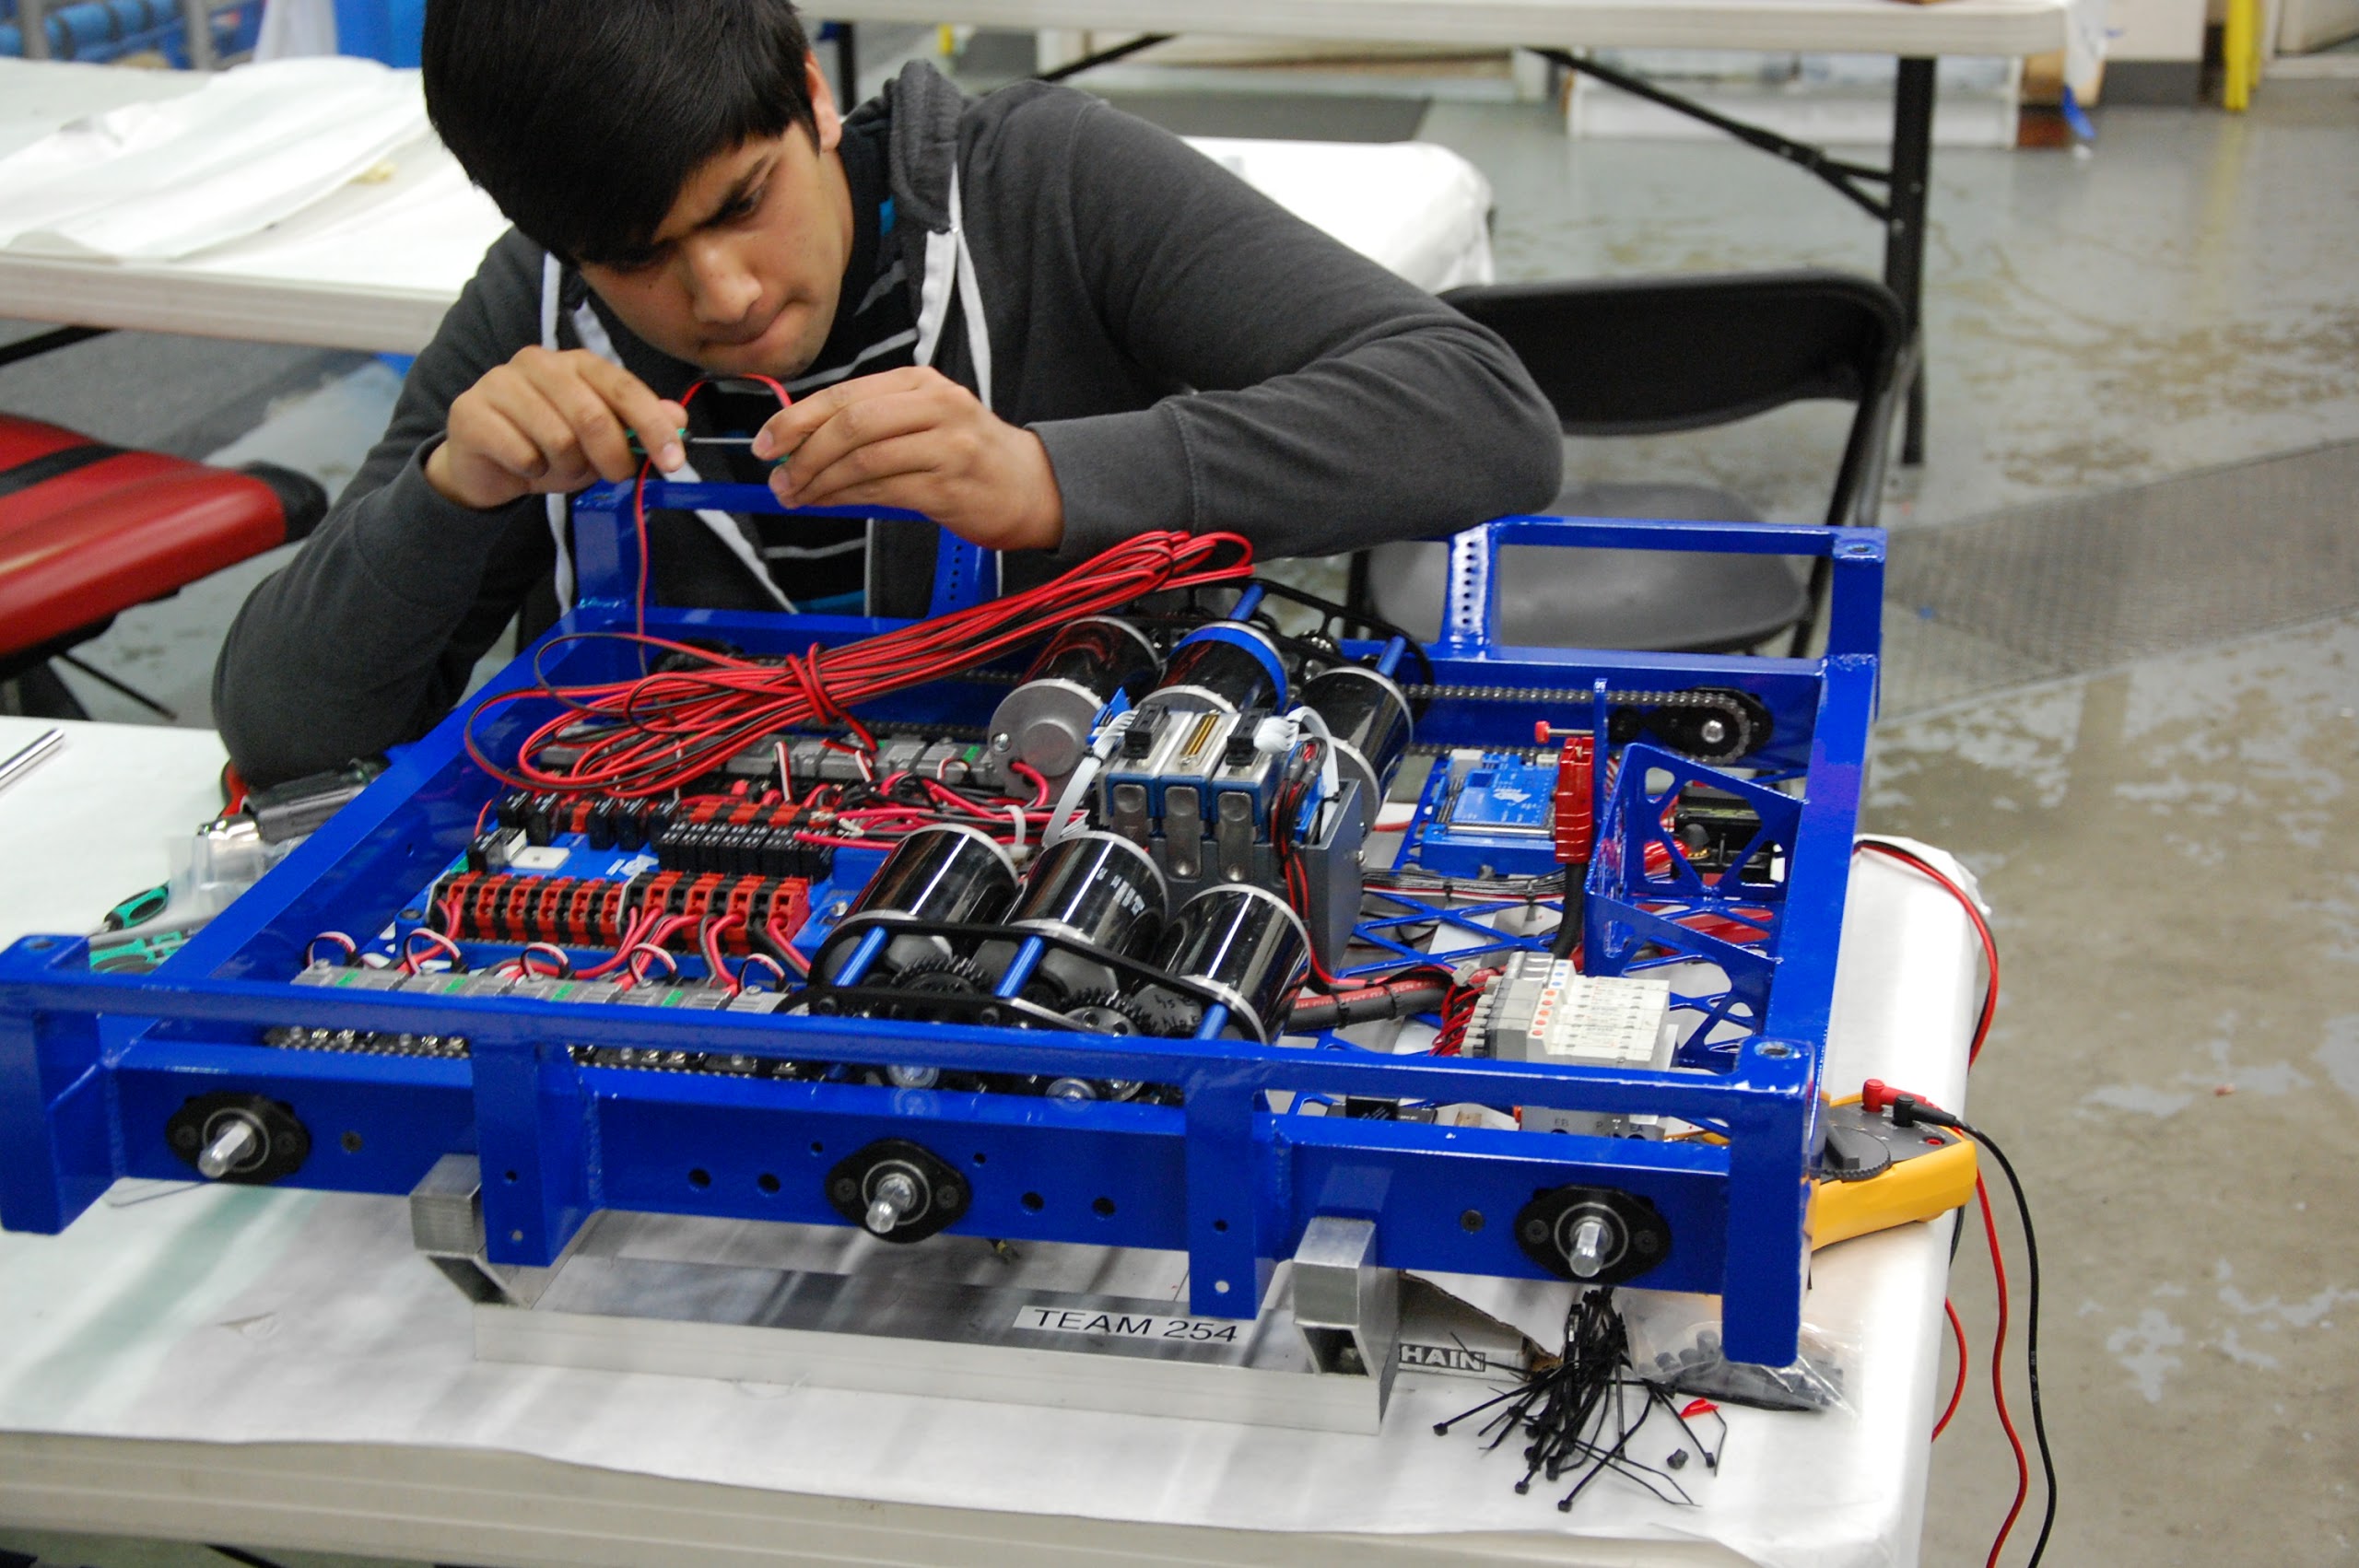
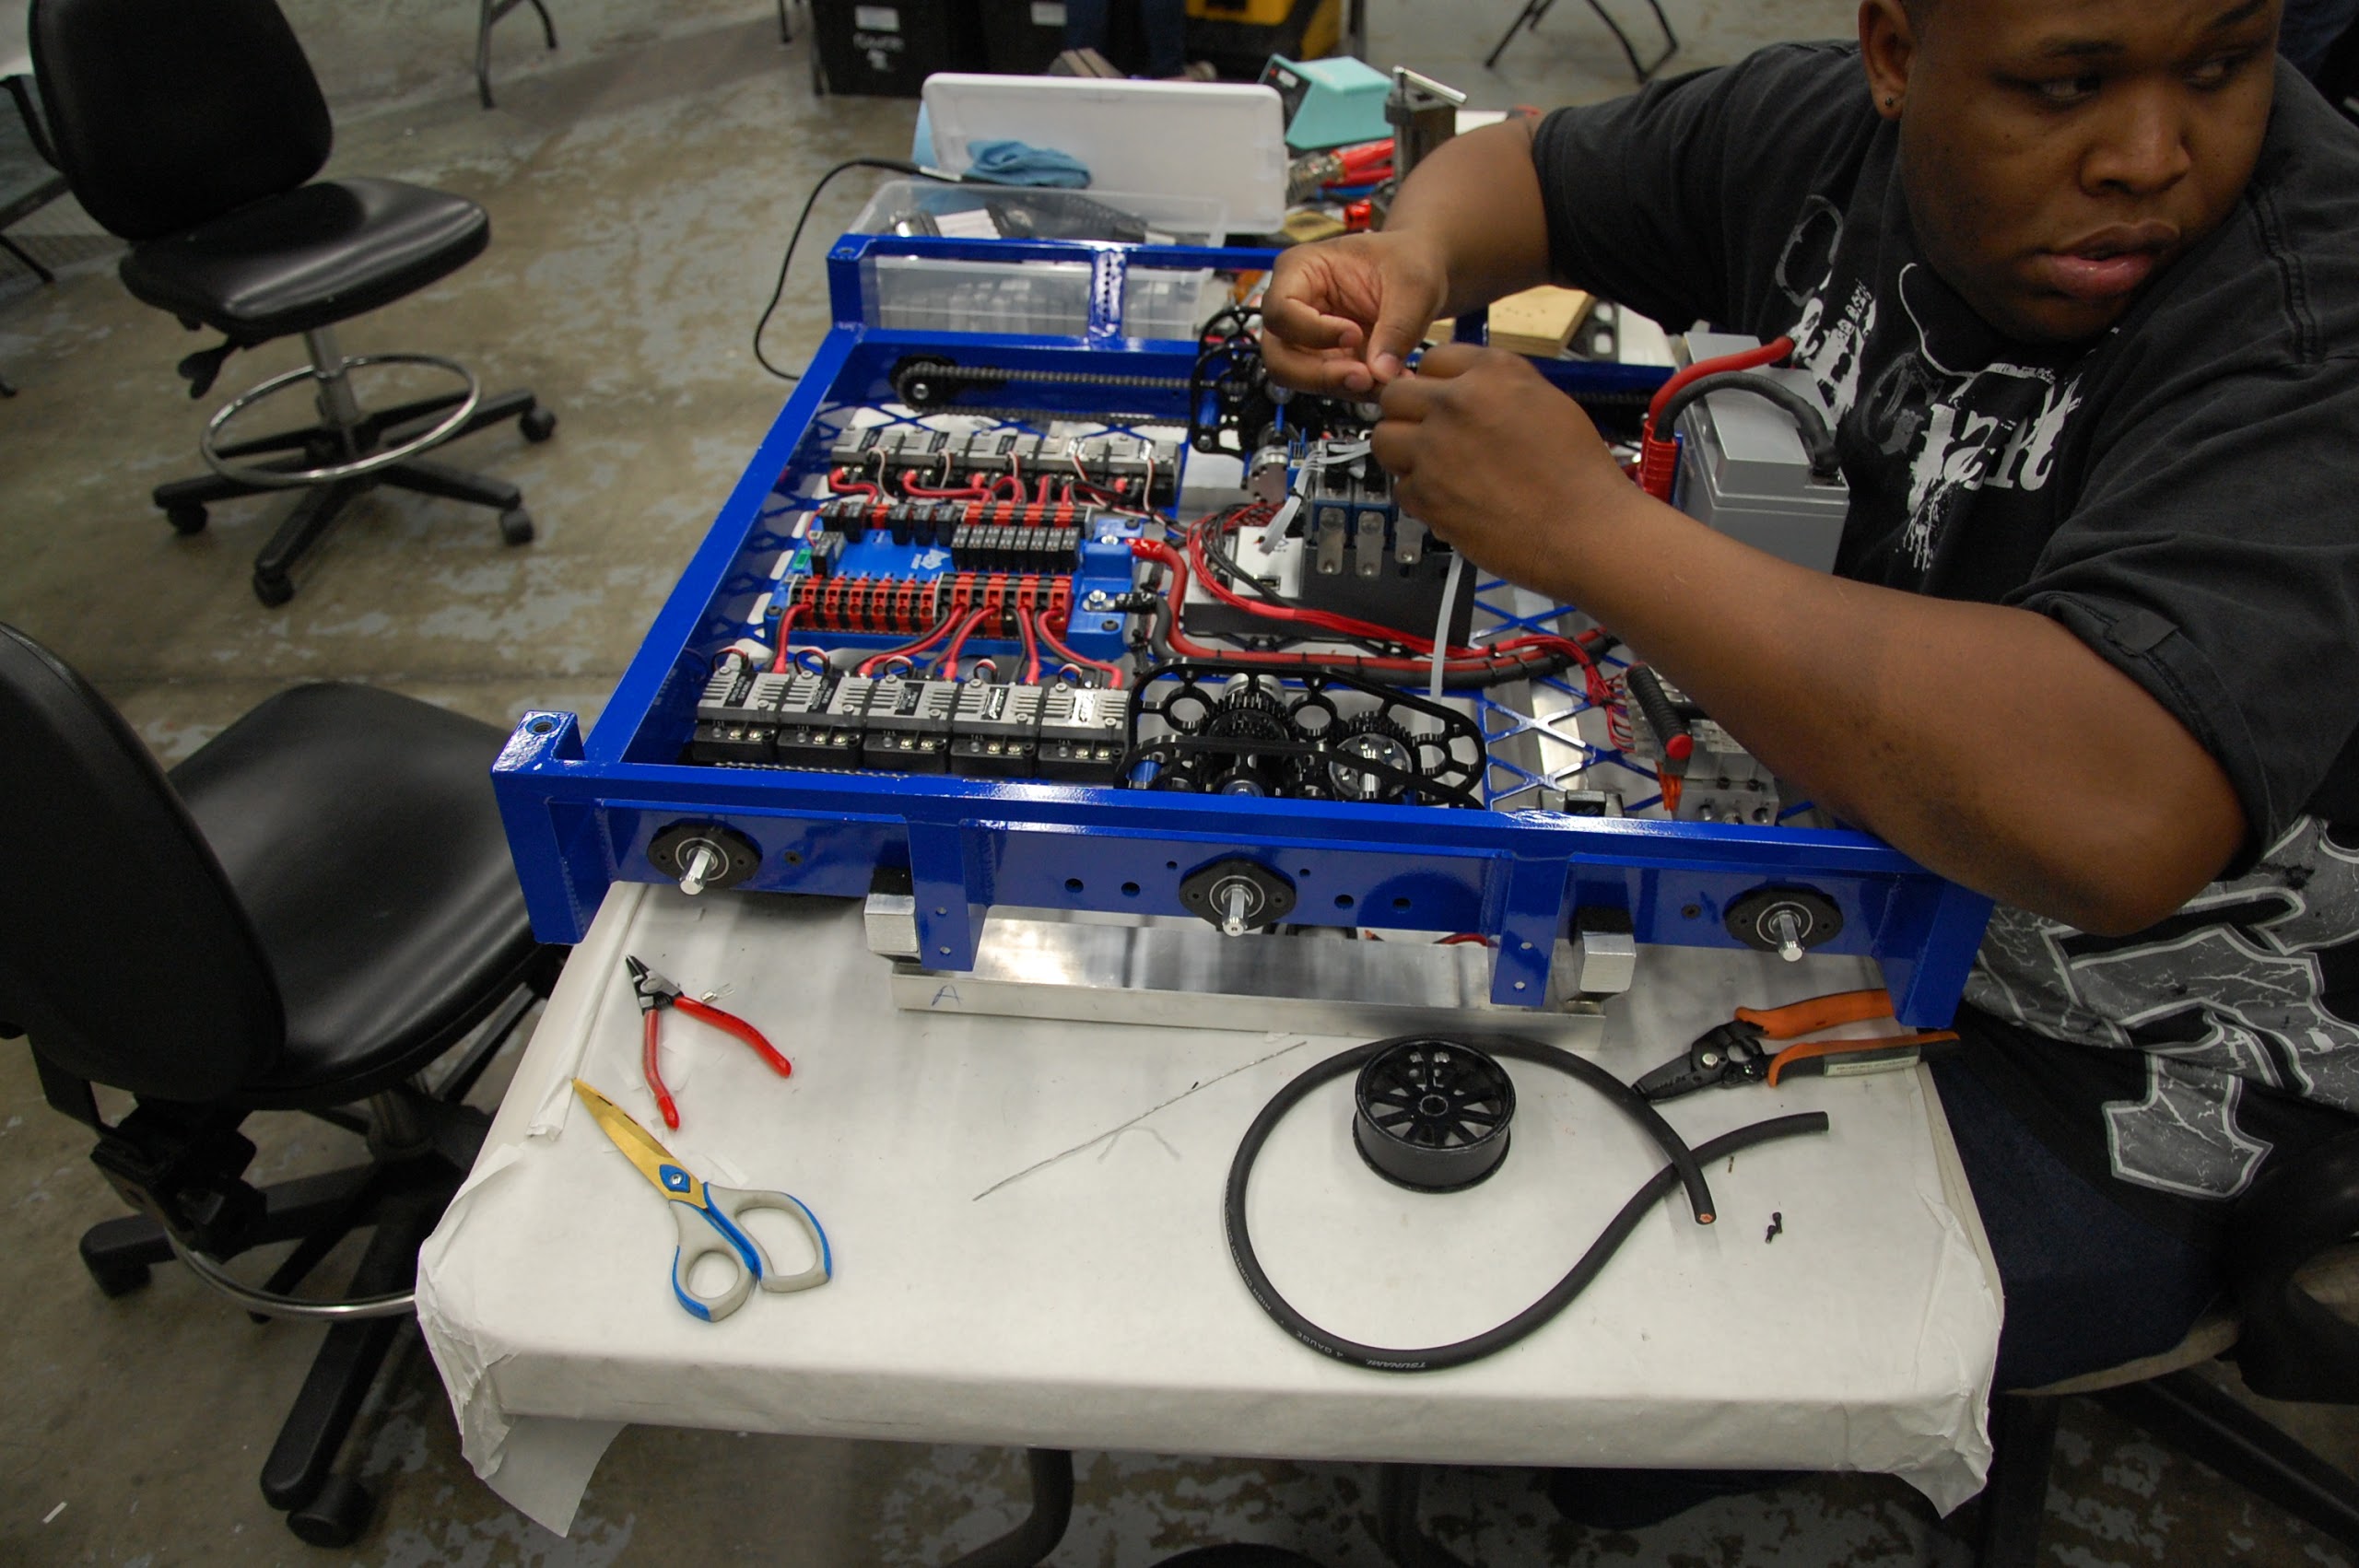
The competition drive base was wired and is pretty much ready for driving. The practice drive base is not far behind. The wheel axles now have chains attaching them to the gearboxes and the gearboxes on the practice drive base have CIM’s on them. New CIM’s have been ordered and will be put on when they arrive.
Action Items
- Wire andersons and drive gearboxes, Ask Mani
- Wire practice robot, Ask Mani
- Get everything ready to be welded
- Machine parts for hood, shooter, and intake gearboxes, ask Pat
- Finalize design for clapper, ask Colin
- Finish parts for shooter, hood
- Machine gearbox plates and piston mountsWire andersons and drive gearboxes. Ask Mani
- Wire practice robot. Ask Mani
- Get everything ready to be welded
- Machine parts for hood, shooter, and intake gearboxes, ask Pat
- Finalize design for clapper, ask Colin
- Finish parts for shooter, hood
- Machine intake gearbox plates and piston mounts
Day 28: Coming Together
by Brandon Wui '16, Christian Jimenez '16, and Joncarlo Avila '16
Machining
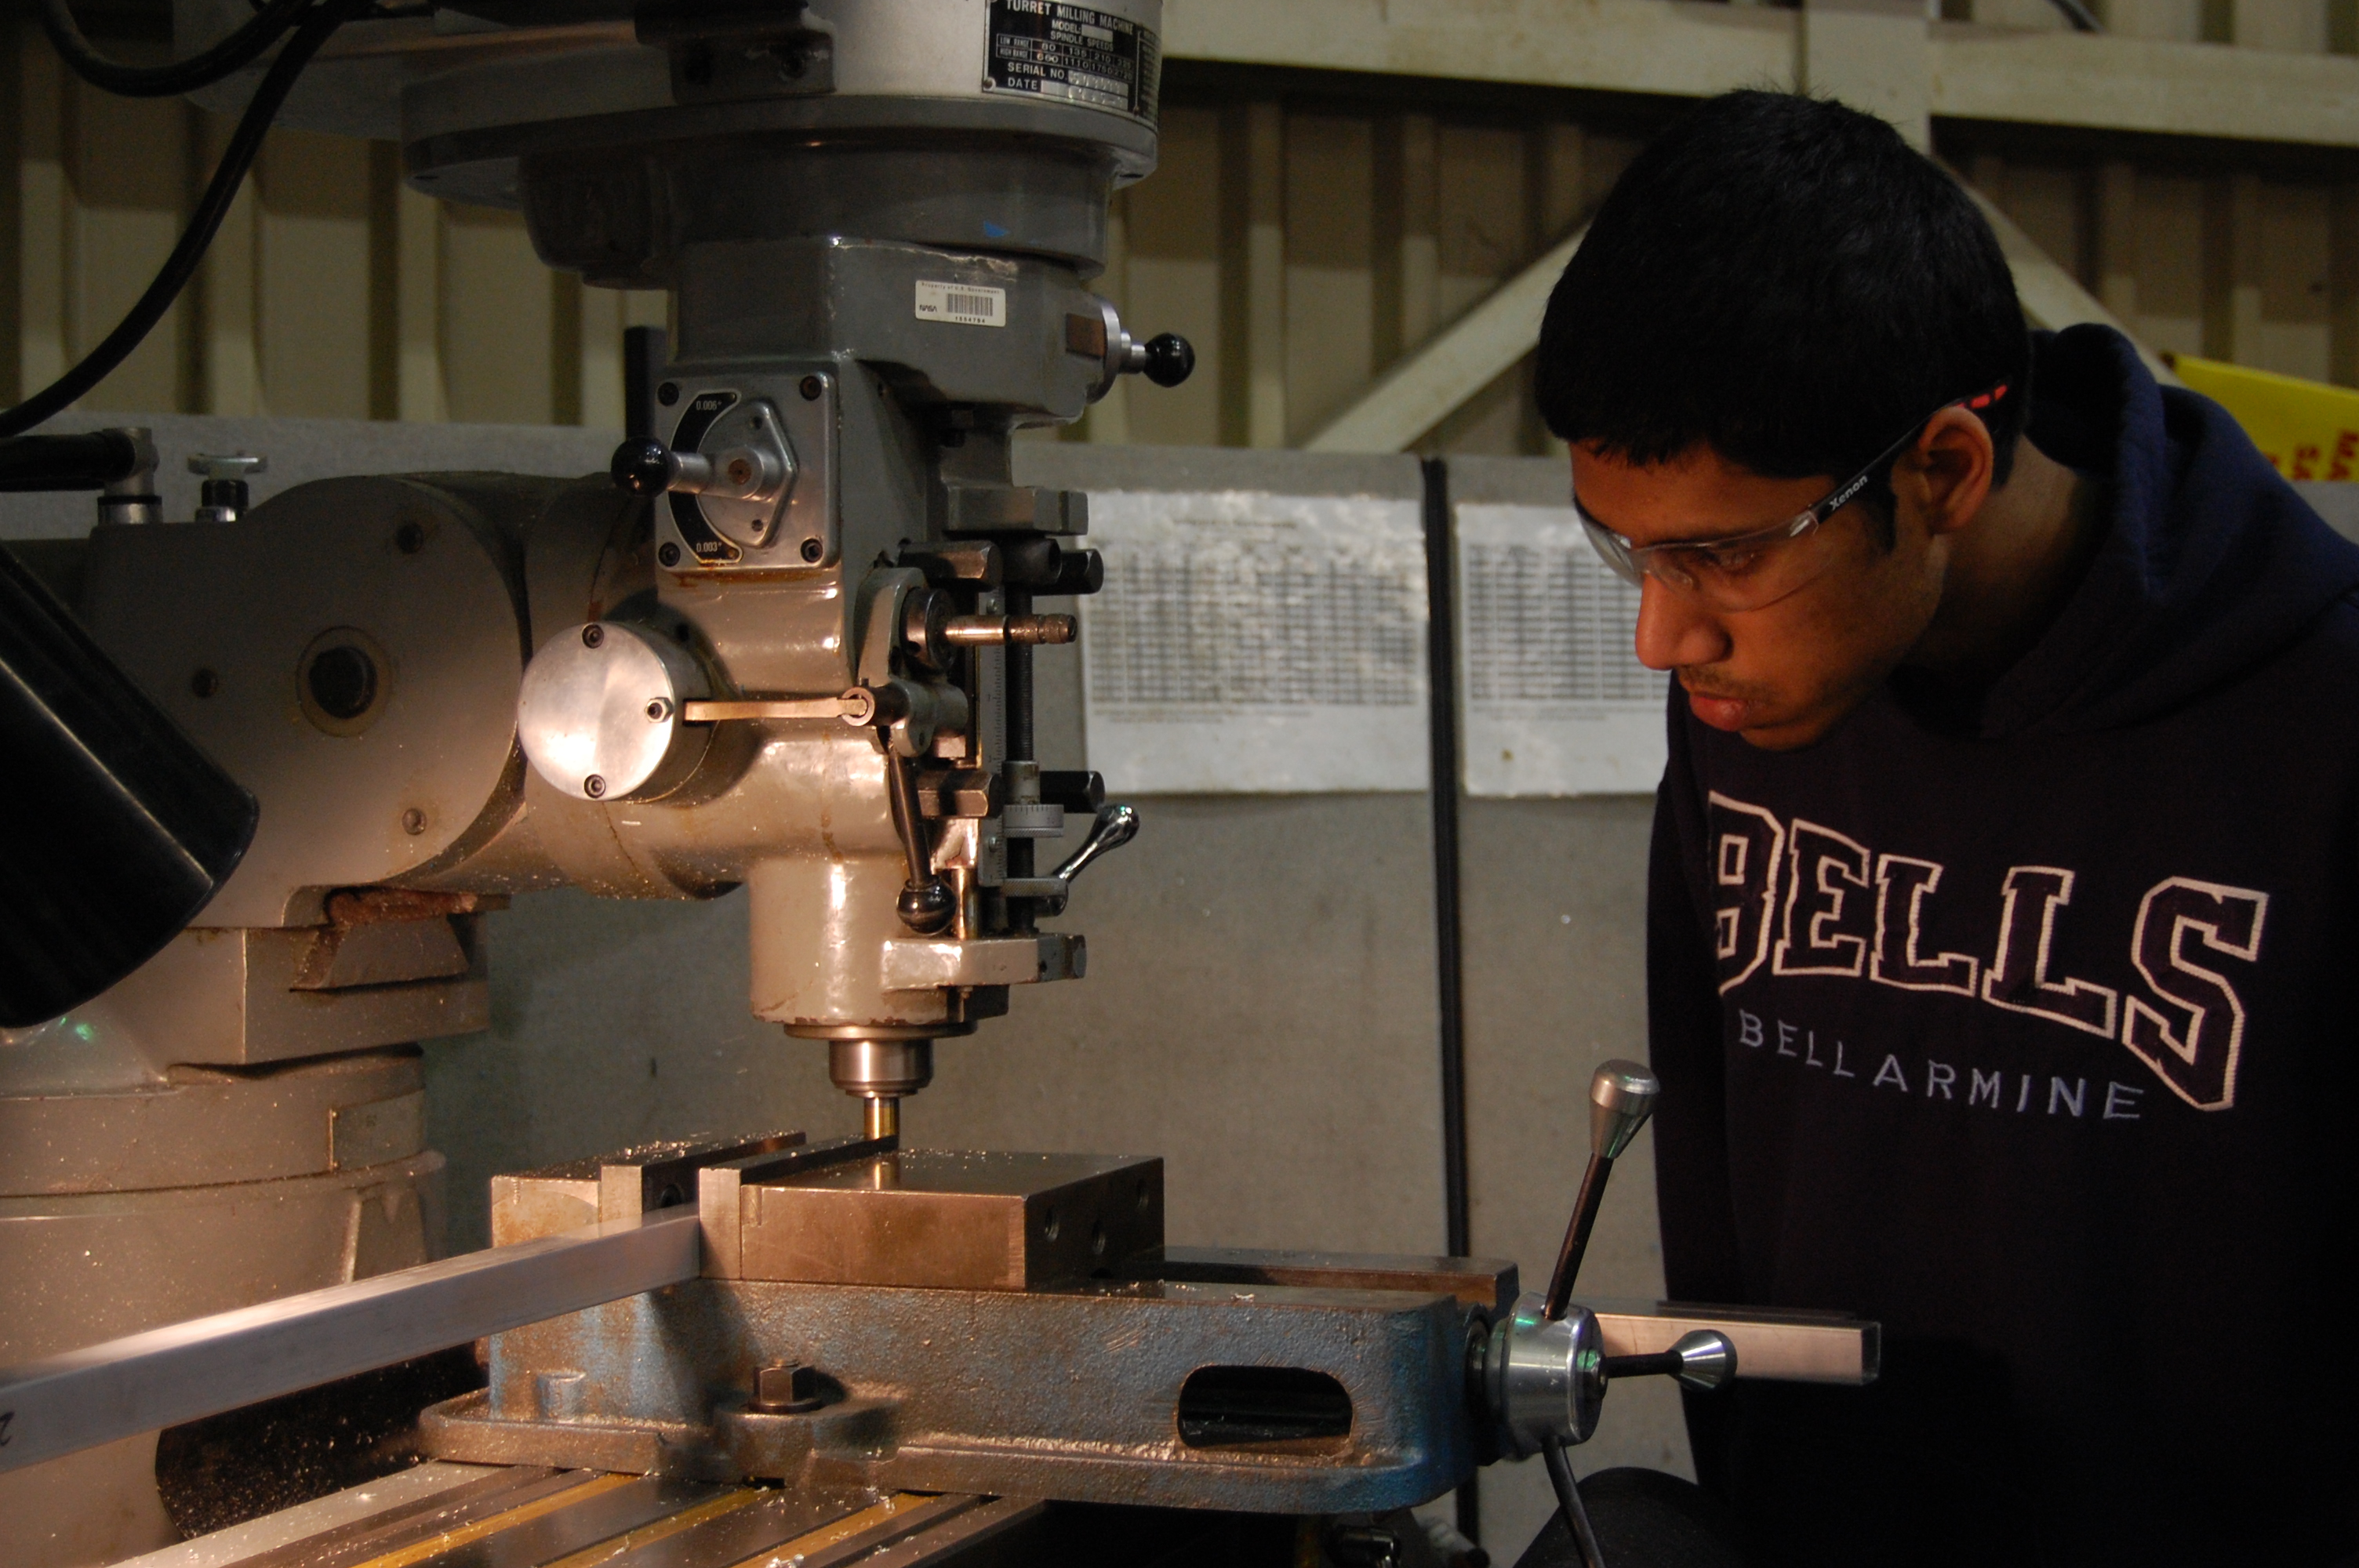
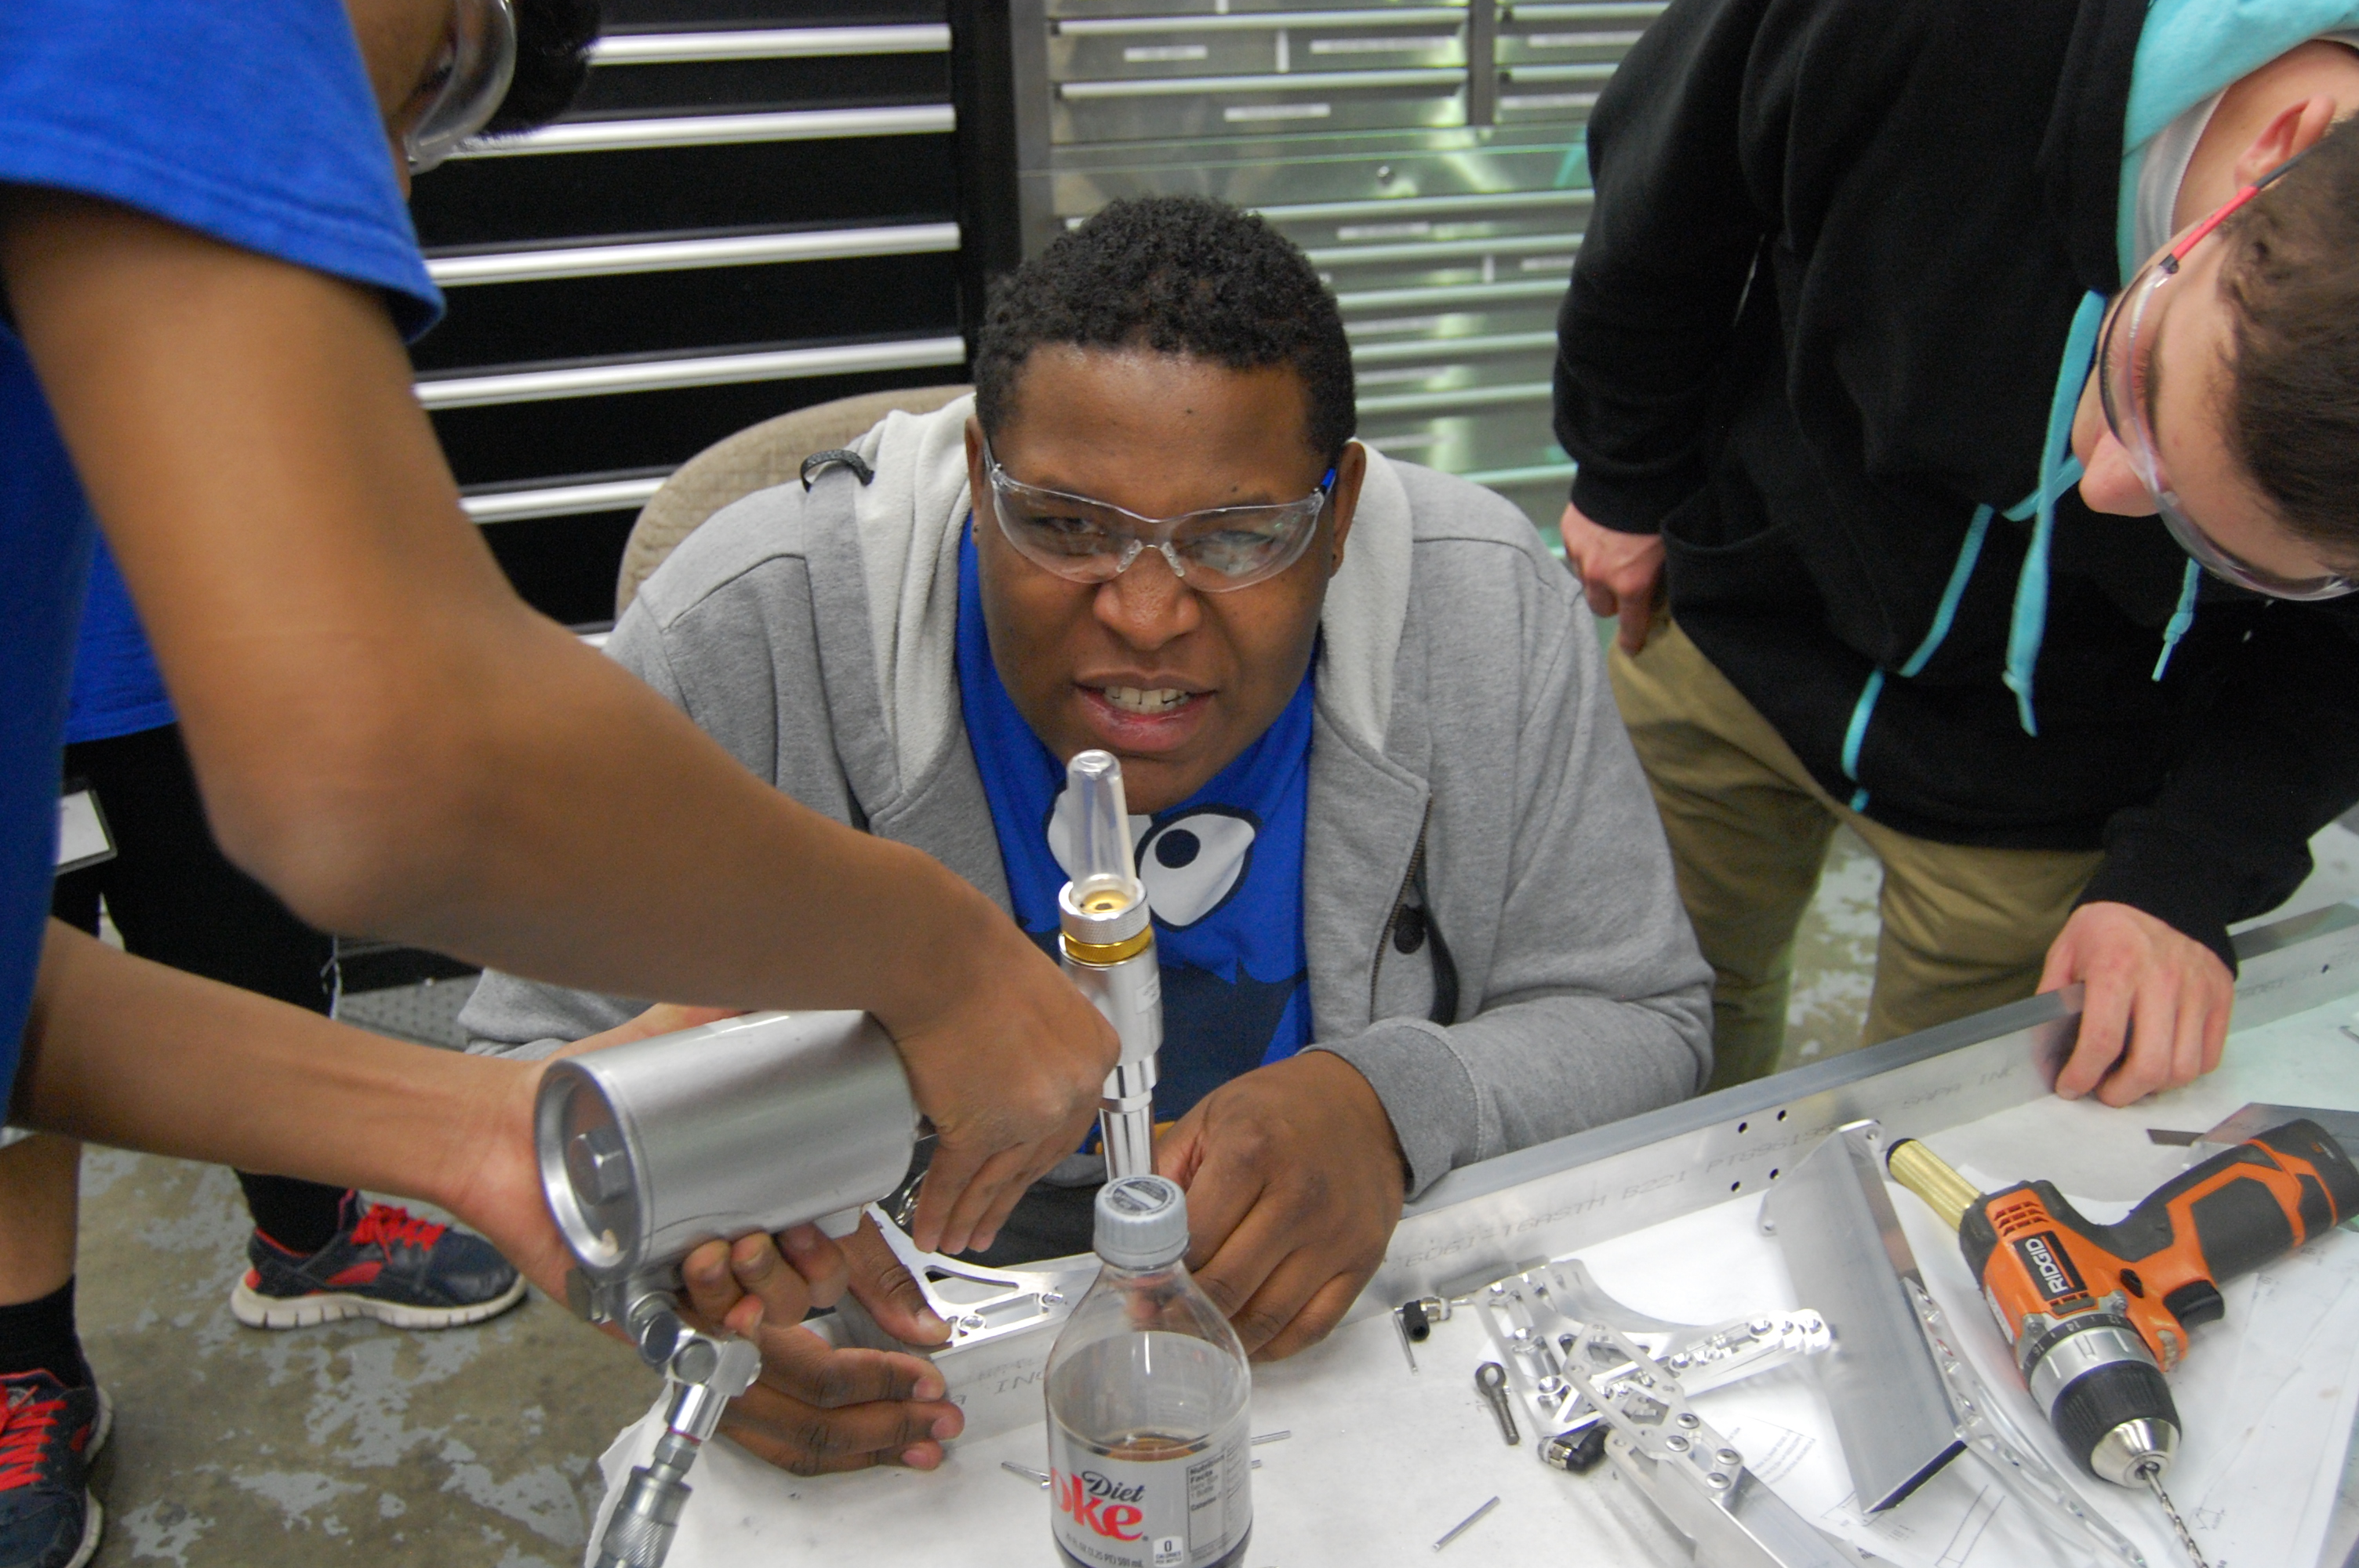
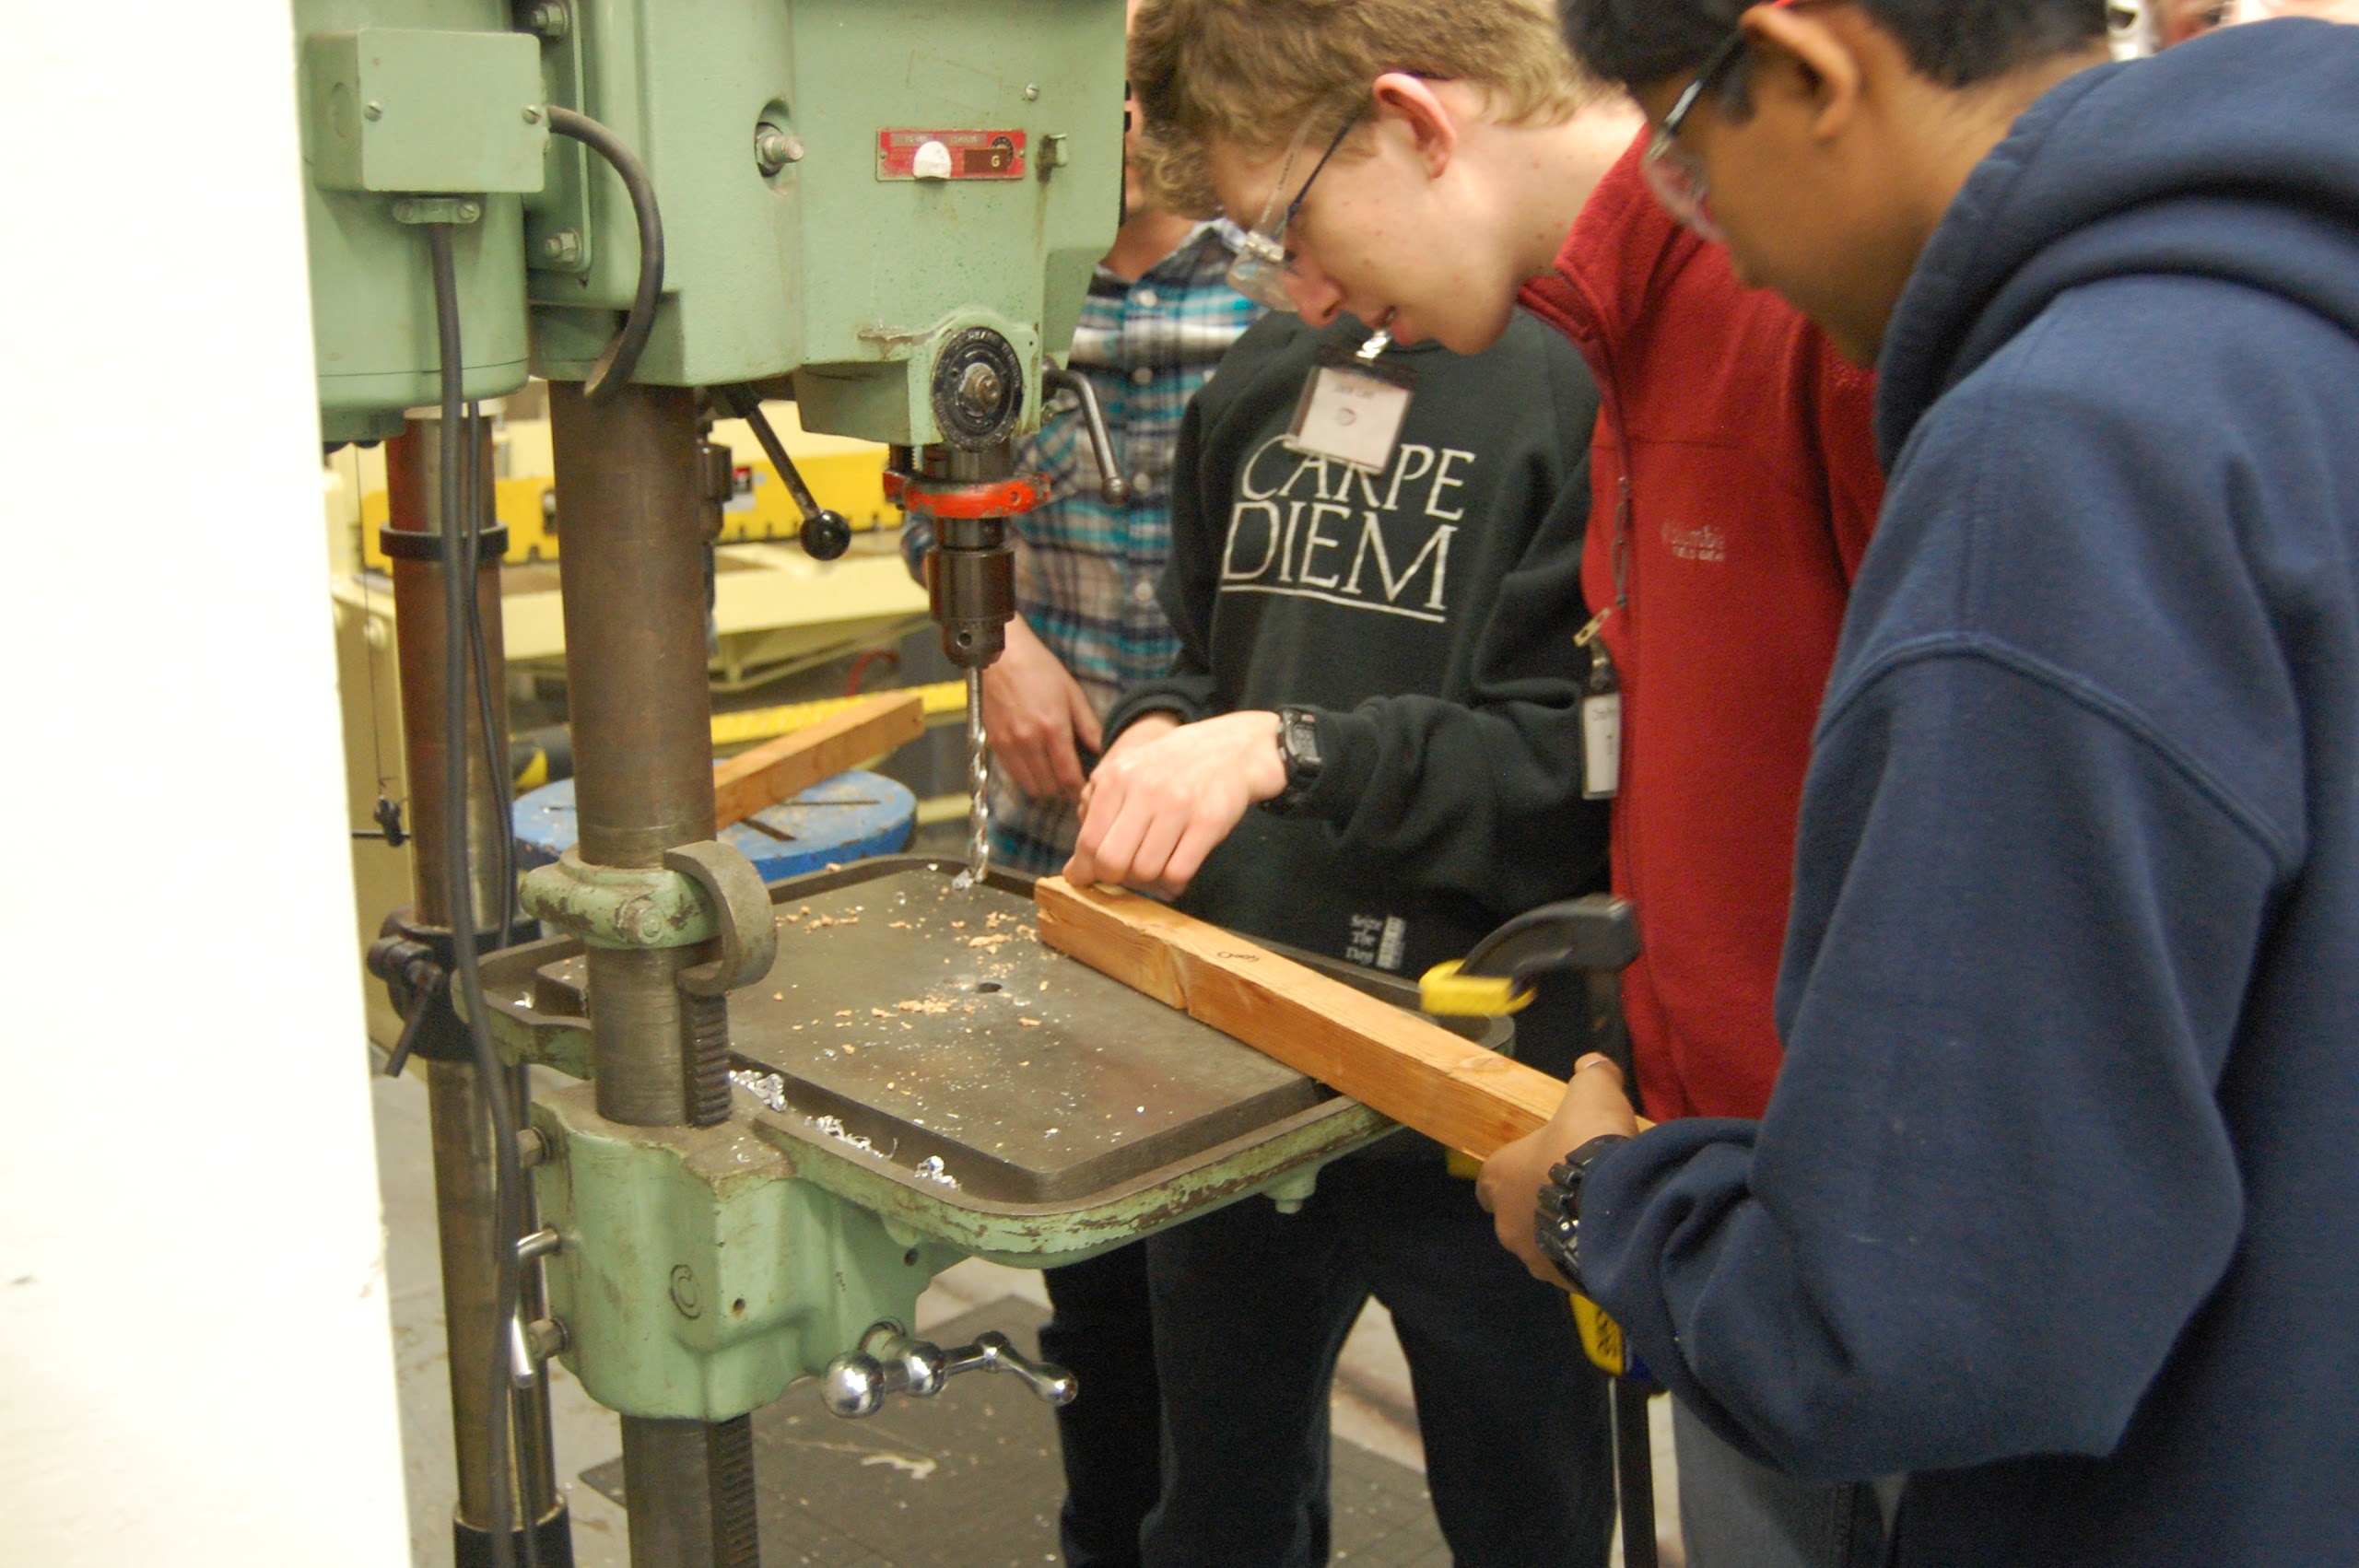
Today students machined parts for the intake and frame. They also worked on the lathe and band saw to cut pieces and face them for the superstructure. Finally, they drilled all of the holes based on the CAD model.
CAD
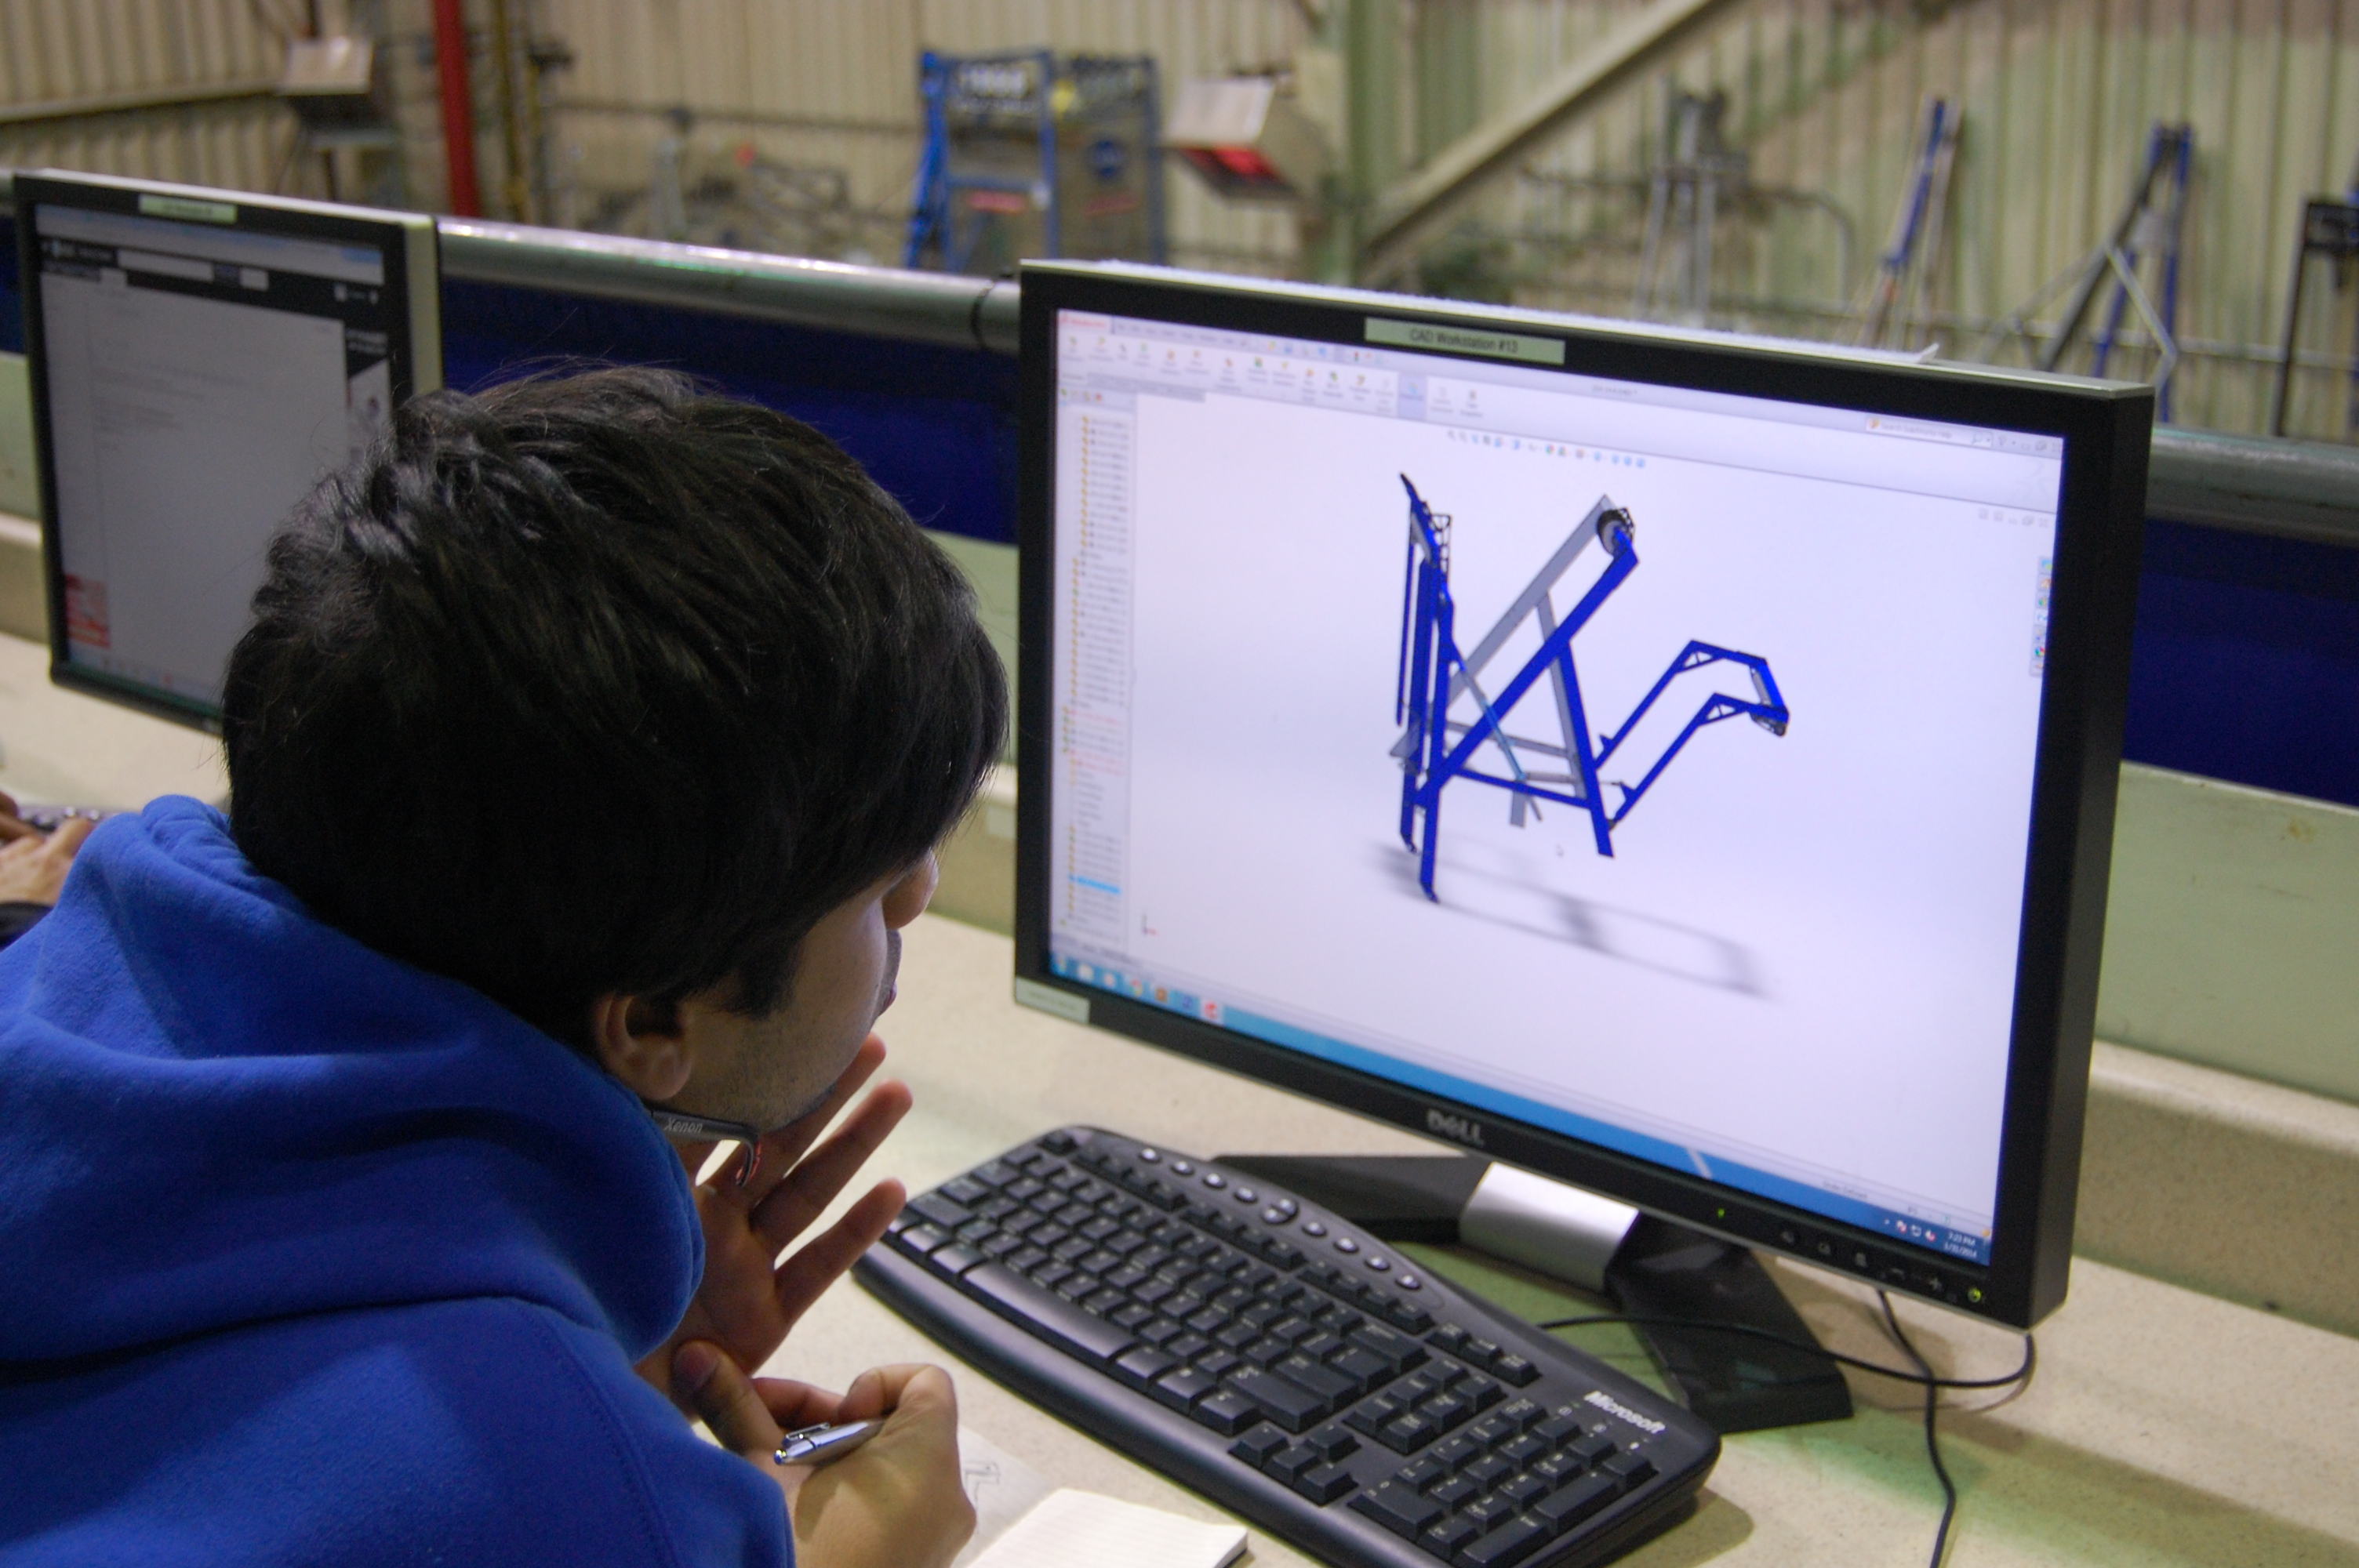
Today students attempted to add the hot goal sensor to the robot but could not find a good mounting spot. In addition, they updated the shooter design.
Awards Submissions
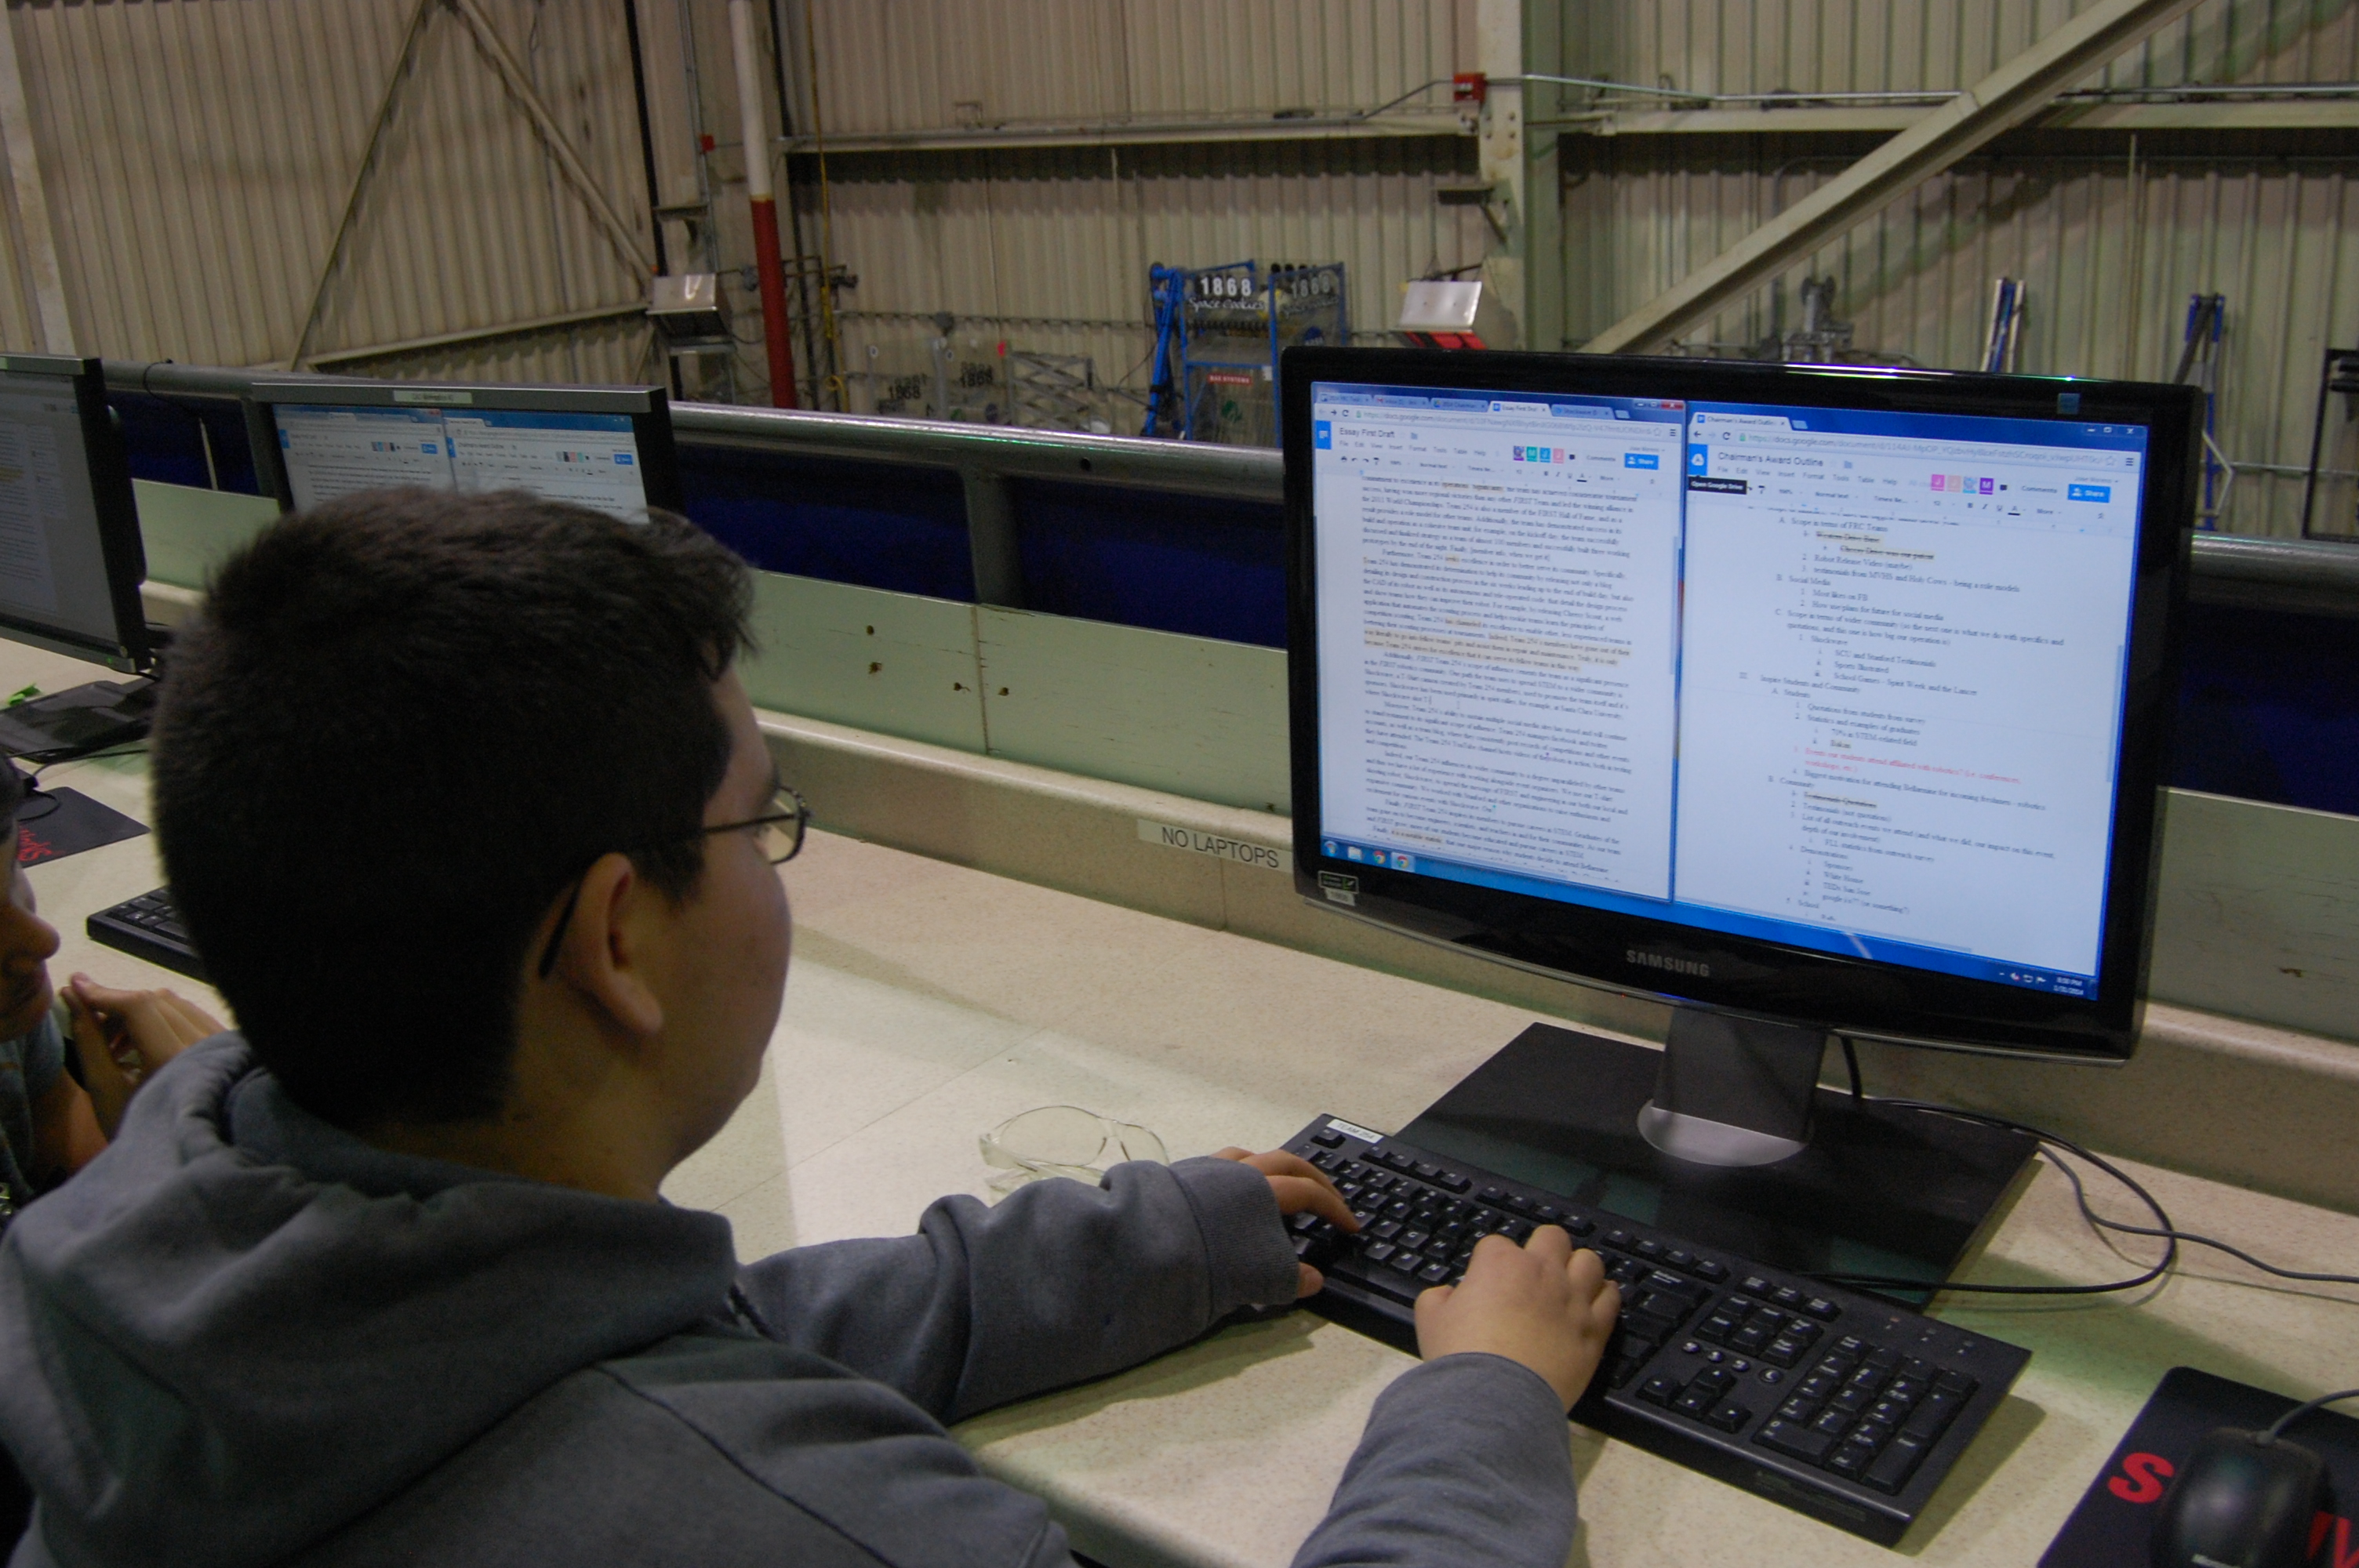
A group of students worked on the Chairman’s Award Essay. The outline is complete, and the first draft of the essay was finished tonight as well.
Graphic Design
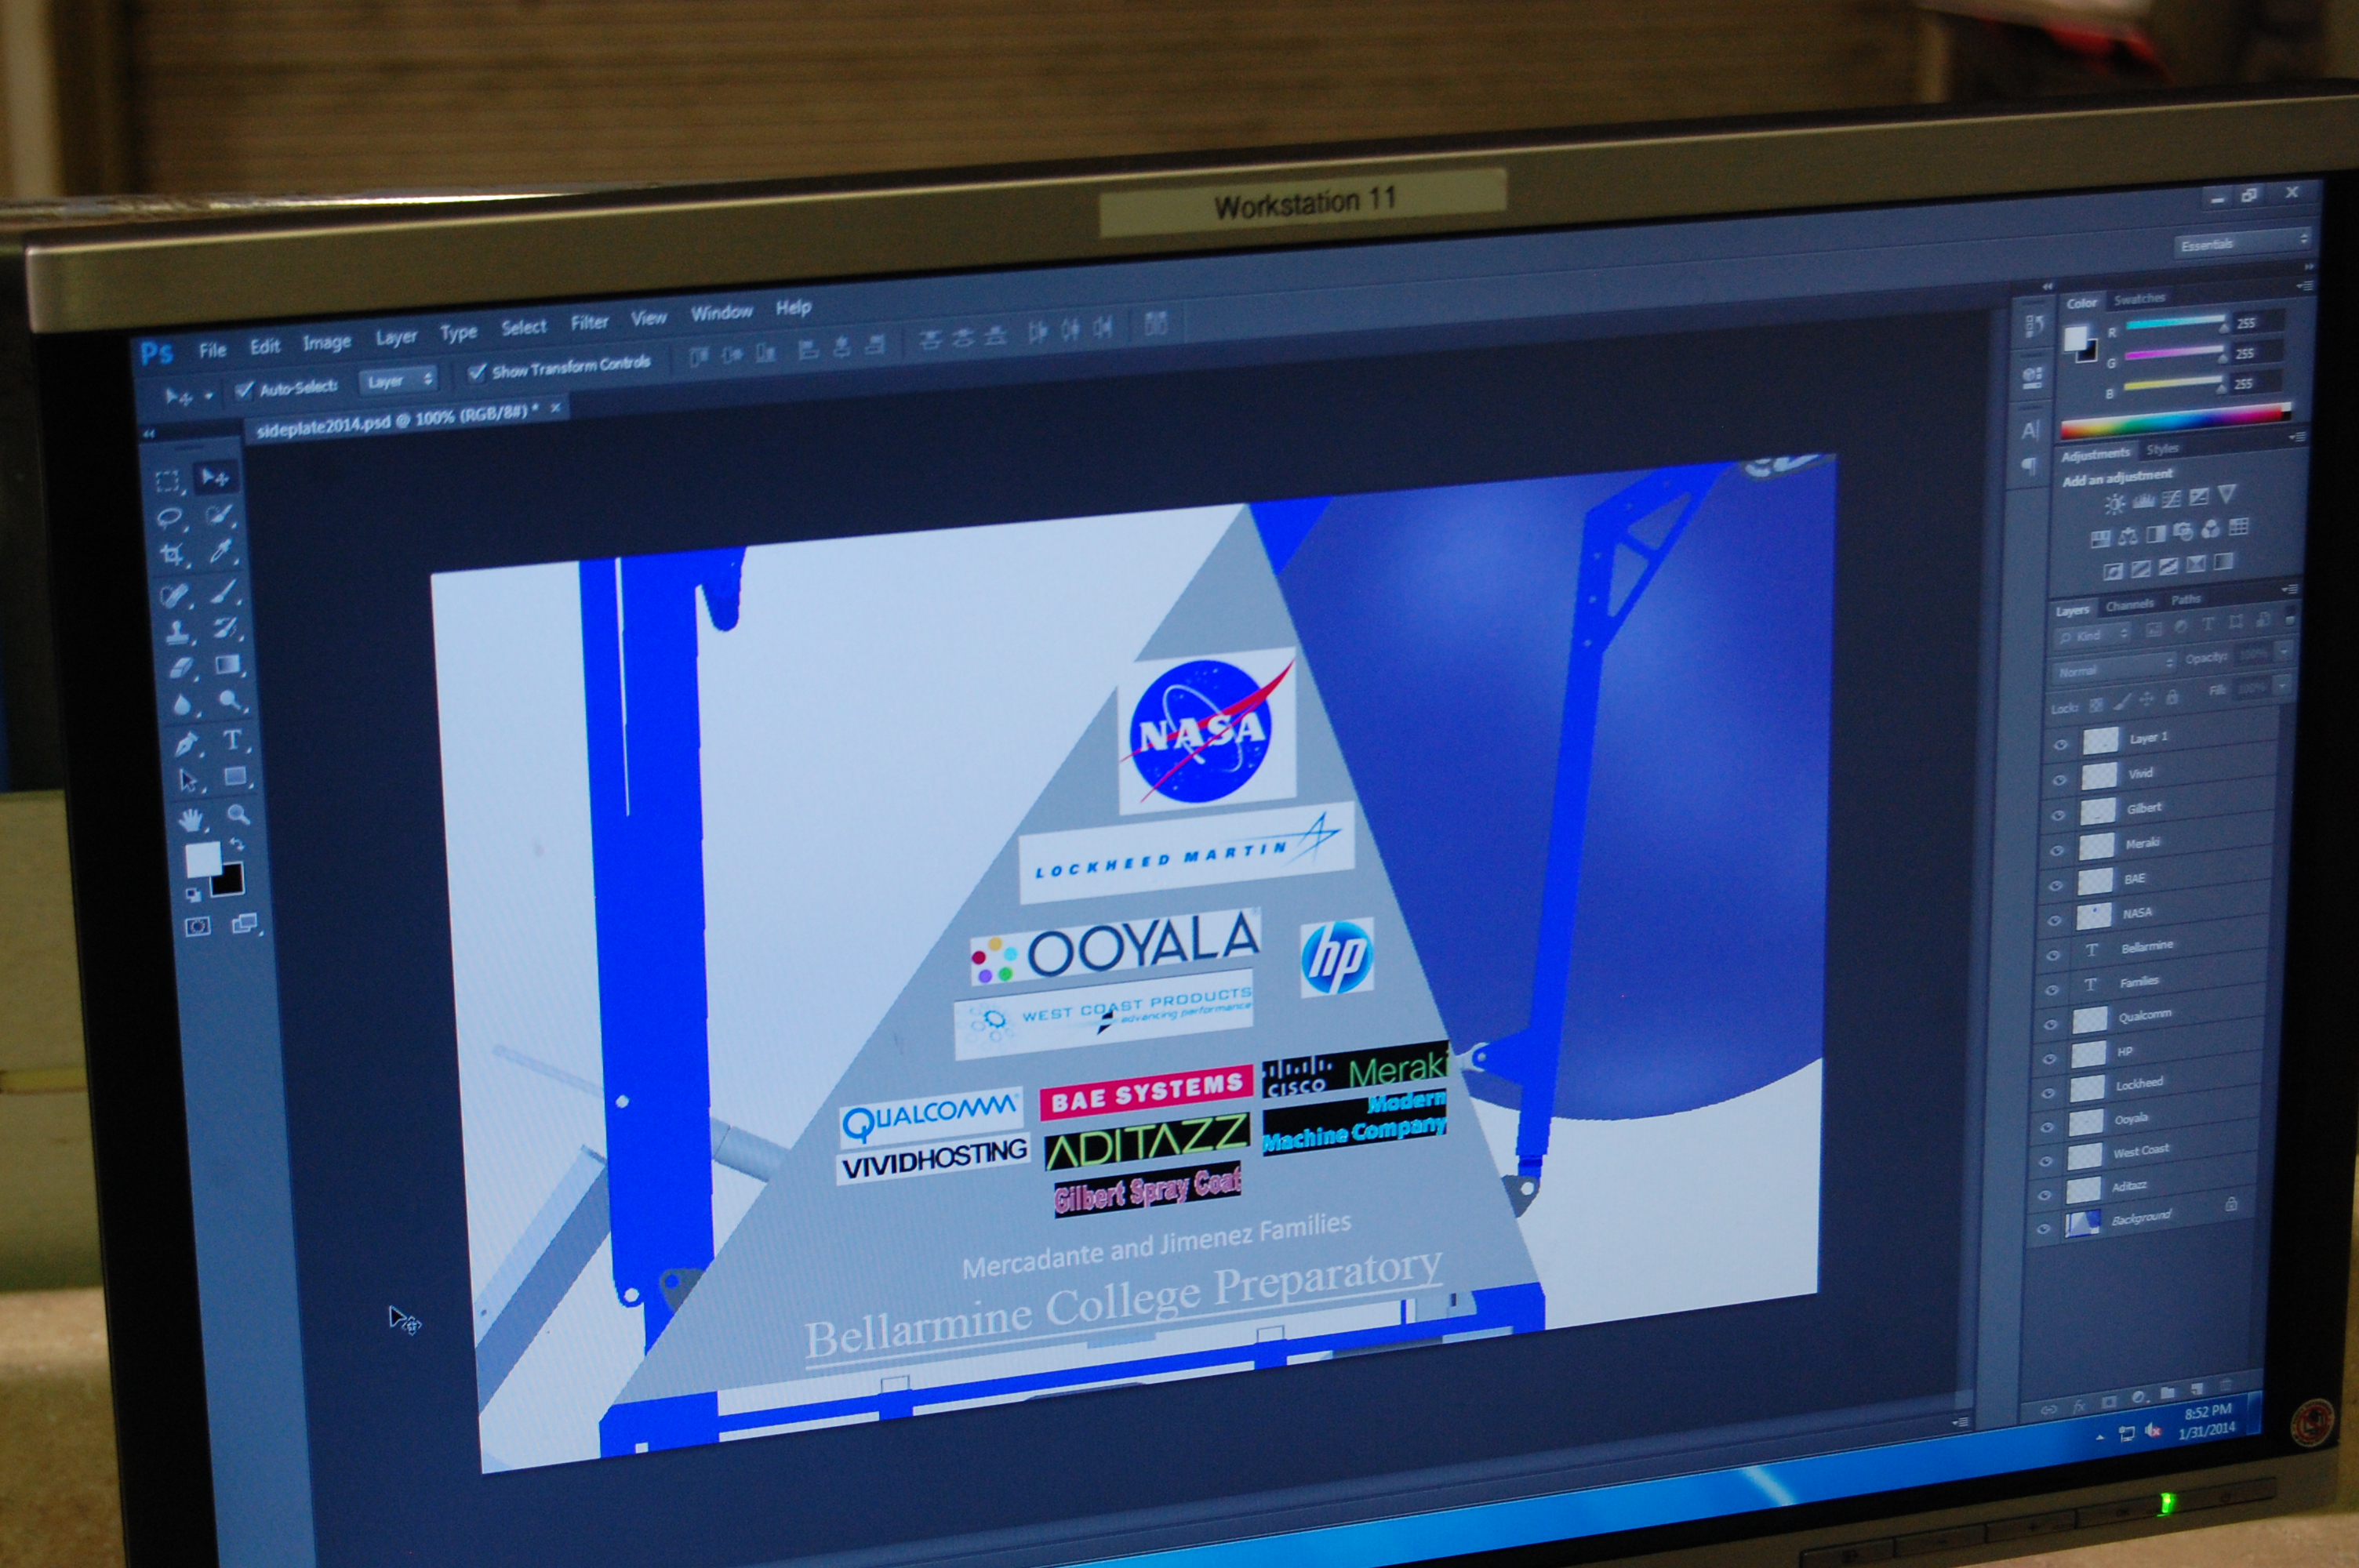
Today, several people worked on graphic design projects for our team such as this semester’s shirt, the side panels for the robot, and the "Silicon Valley Invasion" T\-shirt for Waterloo \(in the spirit of 148 and 118’s "Texas Invasion"T\-shirt at last year’s Silicon Valley Regional\). A student also searched for good fonts for "The Cheesy Poofs."
Action Items
- Check Trello
- Help Gregorio Magarelli to put together the "Silicon Valley Invasion" shirt on Illustrator
- Help Mani and EJ wire the drivebases tomorrow
- Happy Chinese New Year!
Day 25: Waiting
By Dan Ngo '17 and Eric Wang '17
Disclaimer
The WiFi was down in the lab, and the shipment of anodized parts was delayed until tomorrow \(1/29\). As a result, not much work was done.
Programming
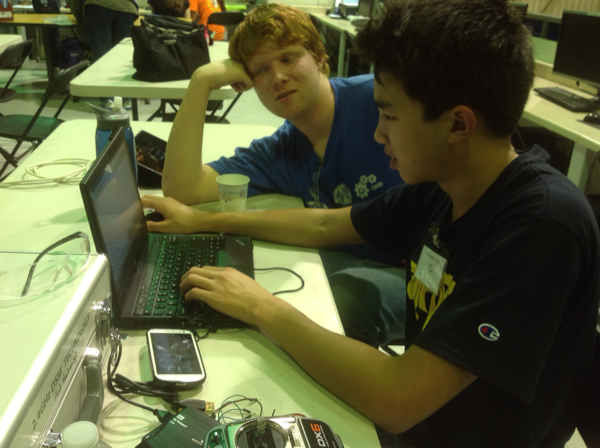
Today, the programmers tested a new \(Maxbotix MB1010\) ultrasonic sensor on the robot. This sensor will be used to determine distance to the player station wall in autonomous mode. The sensor was determined to be an improvement over the Vex ultrasonic sensor and two more were ordered. The programmers also continued programming Shockwave's firing system.
Machining
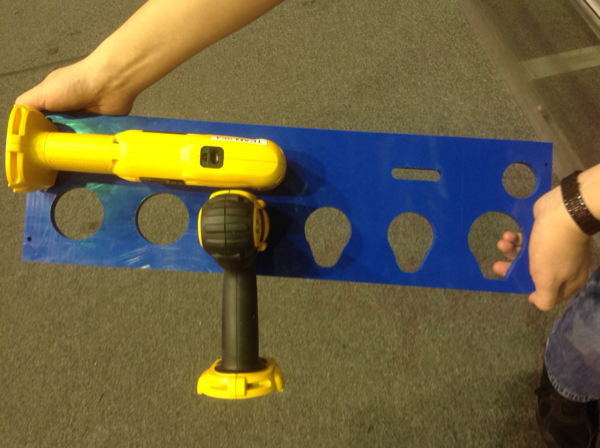
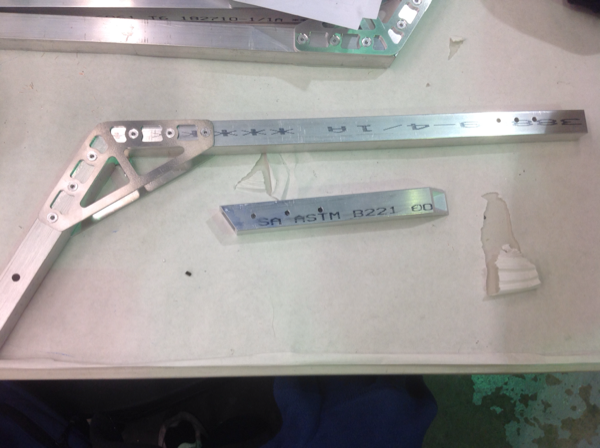
Also, members riveted the angled 1/8" brackets to 1x1 tubes to begin constructing the final intake. Eventually, this part will be welded and powder coated. Additionally, students finished the first piece of the drill charger holder, and two more will be machined tomorrow.
Media
Students brainstormed ideas for the robot release video. If anyone wants to help, please ask Maxwell Yun.
Chairman's Award Submission
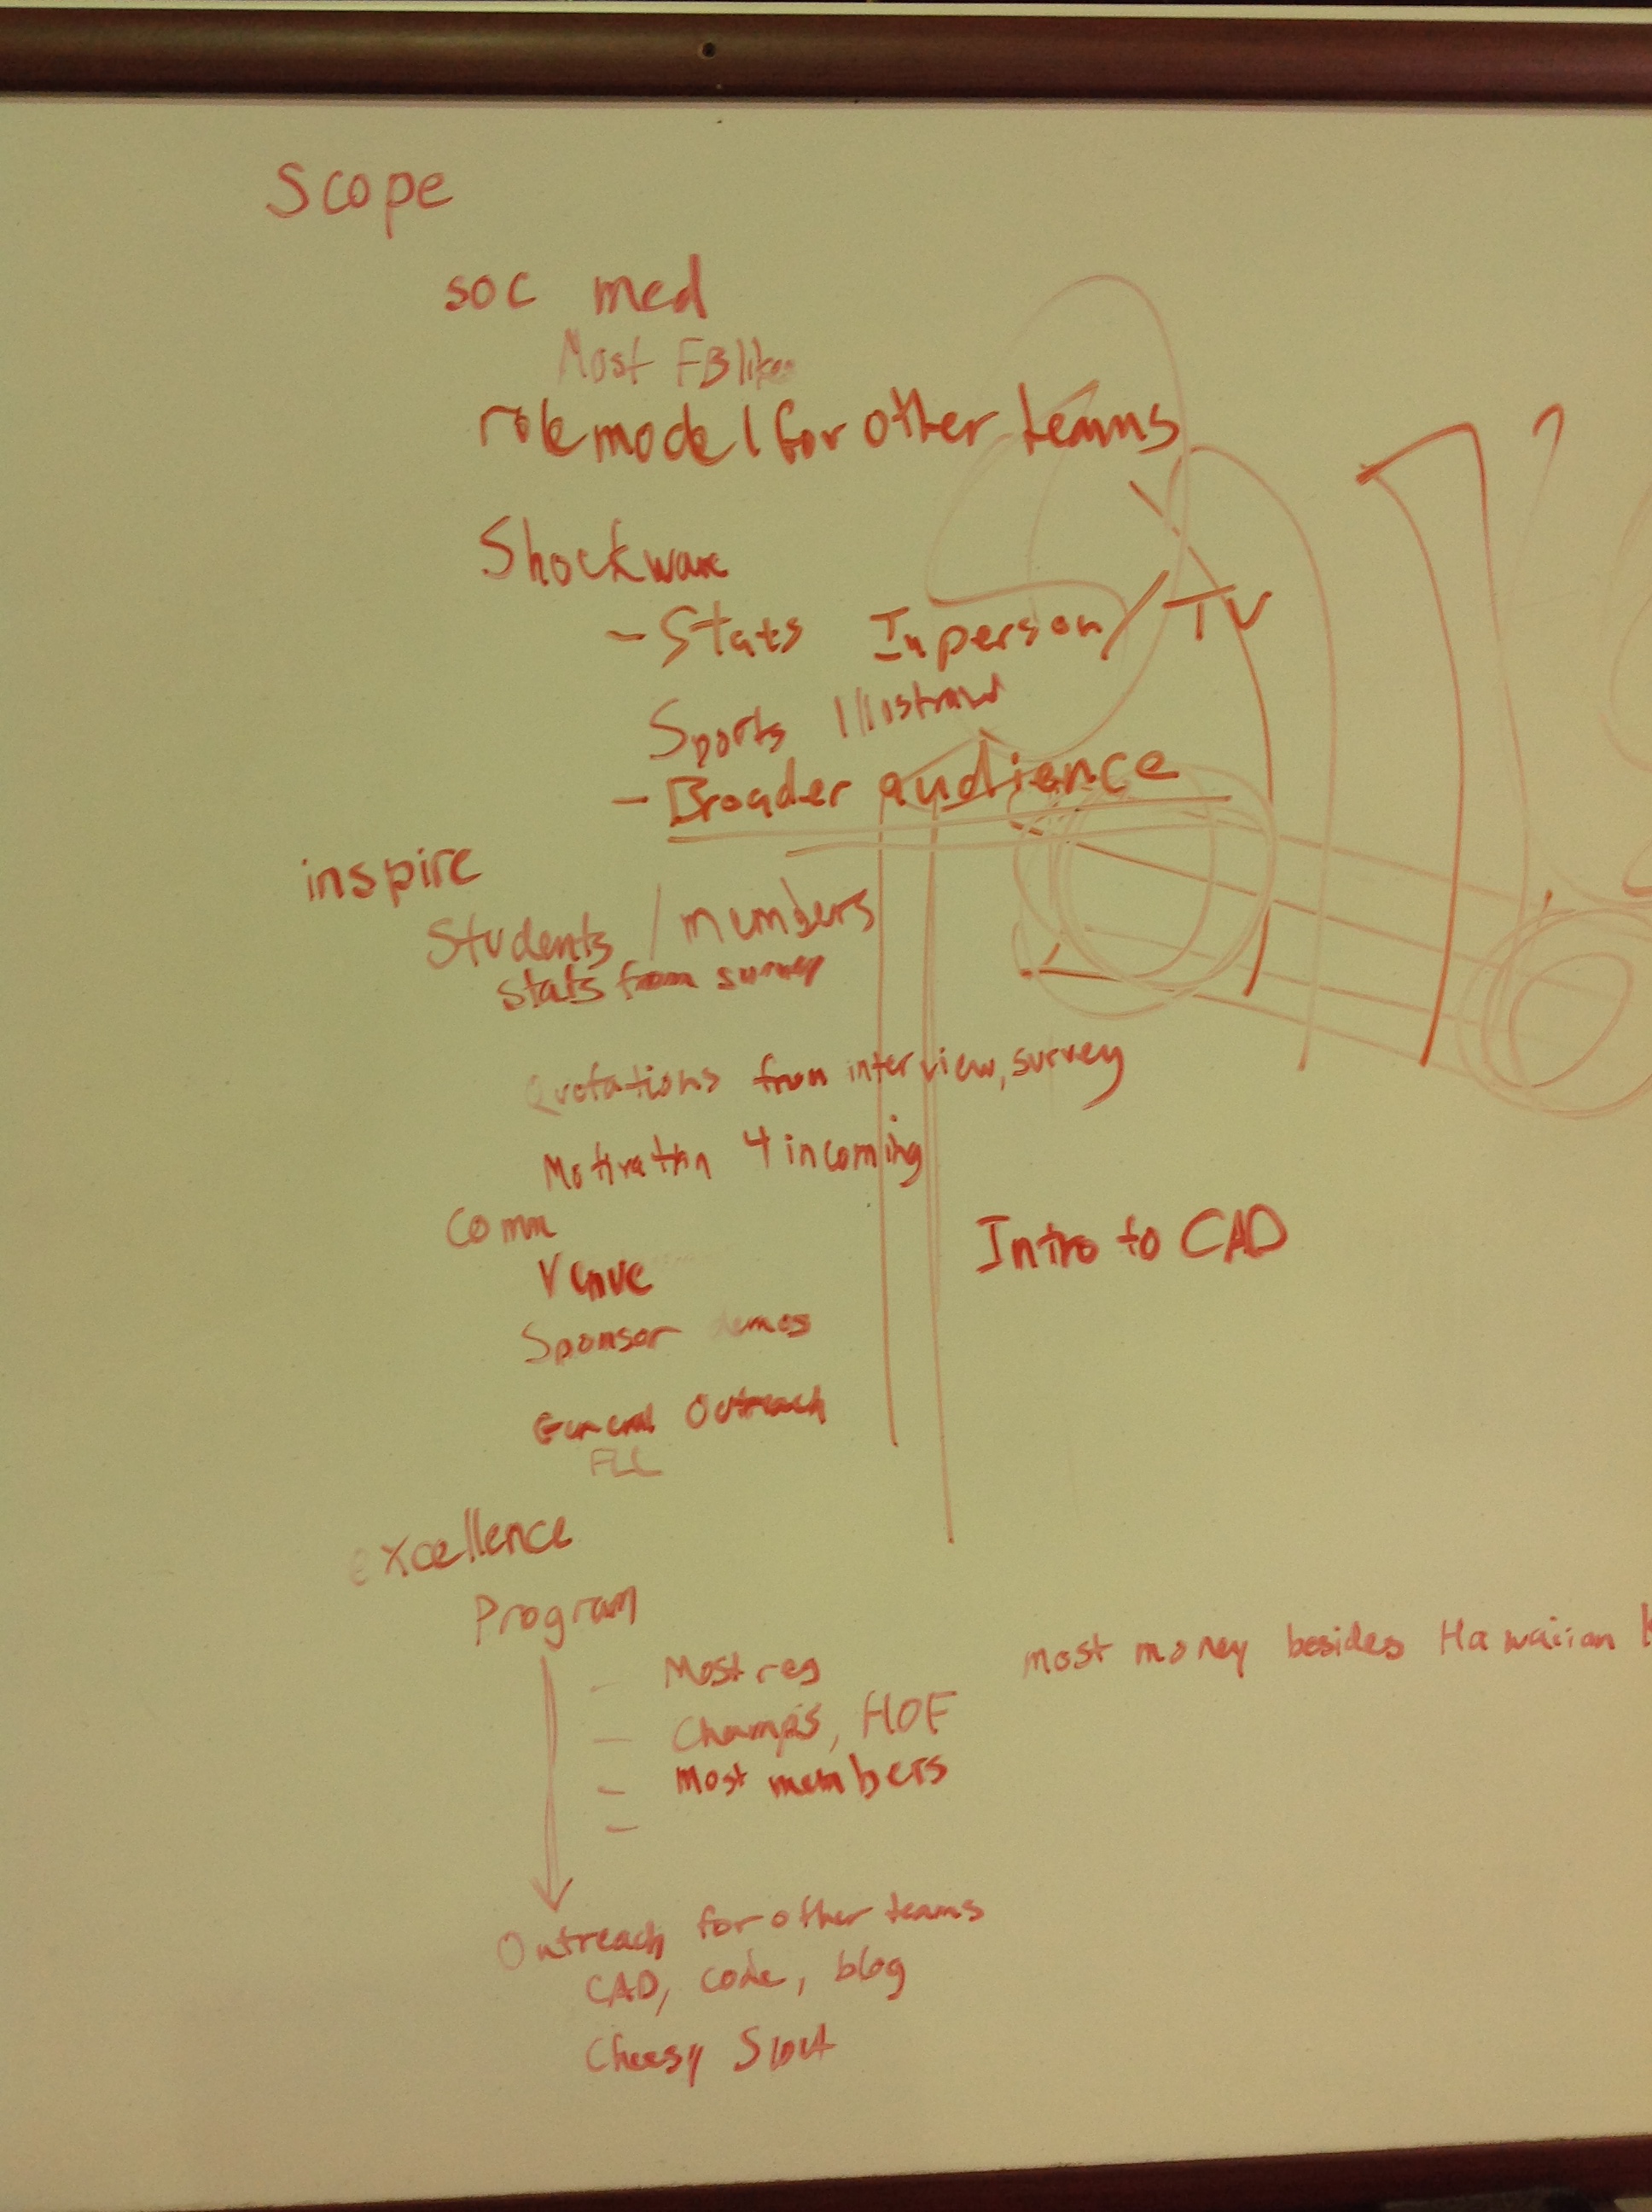
Jeremy led a few students with the Chairman's Award outline offline, and plan to finalize writing by the end of the week.
Action Items
- Continue brainstorming and developing video ideas with Maxwell
- Keep machining and assembling parts for back intake and superstructure
- See Trello
Day 24 - Rest Day
Today was our third day of not meeting at the lab. Instead, here's a couple snapshots of the last week at the lab.
First, here's a video of Travis flying his hexacopter in the lab. This thing will come in handy when it comes time to make a robot reveal video.
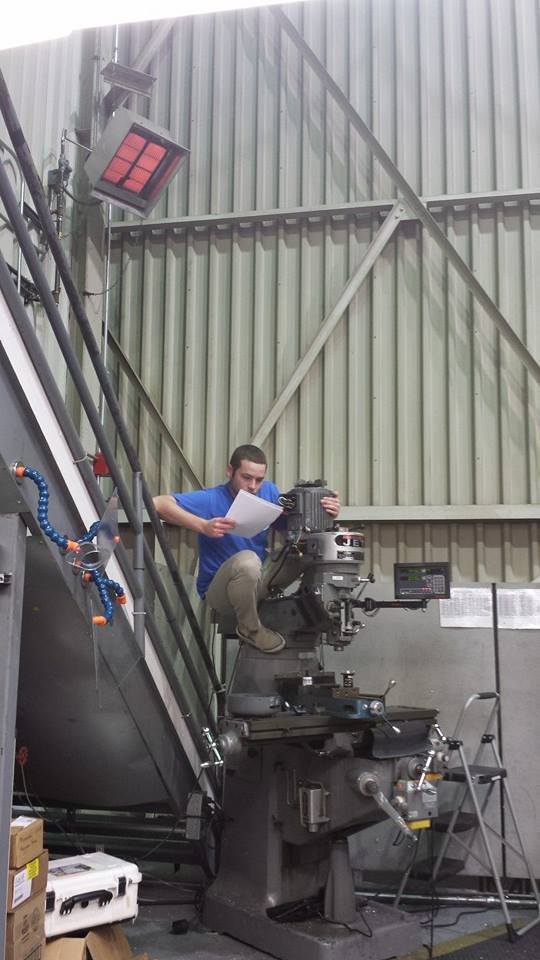
And here's an image of Mentor Colin using the mill as a jungle gym while trying to repair it.
Day 23: Manufacturing, Ordering, Goal Construction, Lab stuff, CAD
By Clay Rosenthal
Manufacturing:
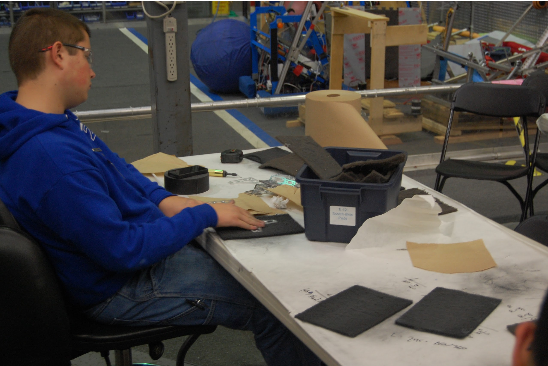
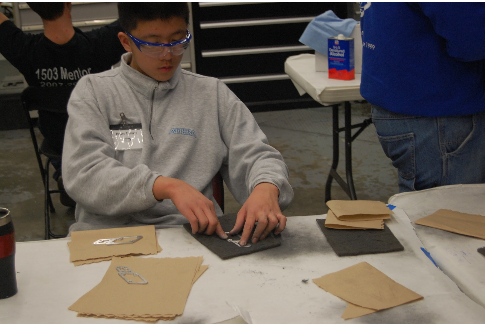
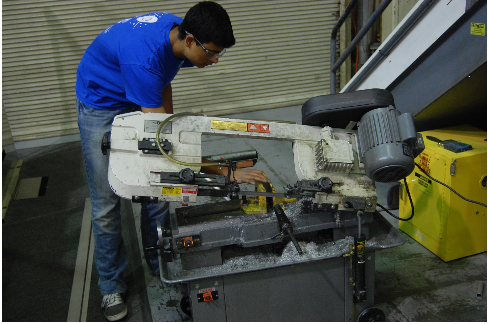
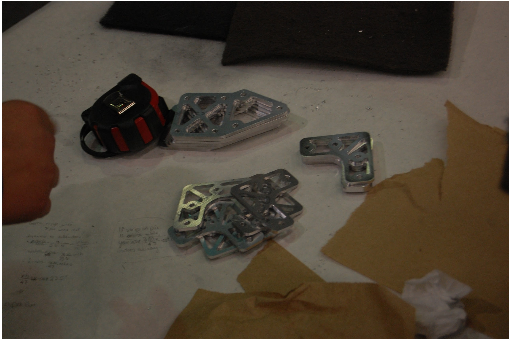
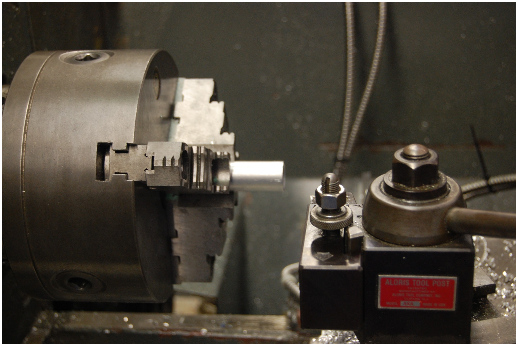
Lots of parts were manufactured today. The gussets for the superstructure were machined on the CNC and scotch brited by hand. Axle plugs were turned on the lathe. Pieces to be CNC milled later for the intake and the hood were cut on the horizontal band saw. Axles for the rollers were cut on the horizontal band saw as well. We also began programming the CNC to make the plugs that hold the superstructure subassemblies together.
Lab Maintenence
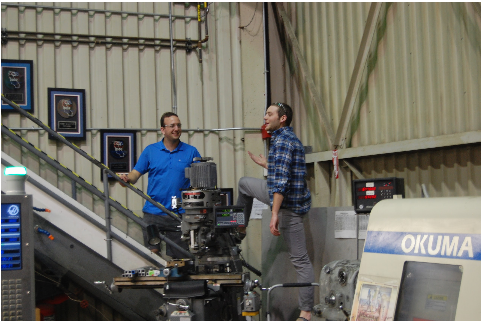
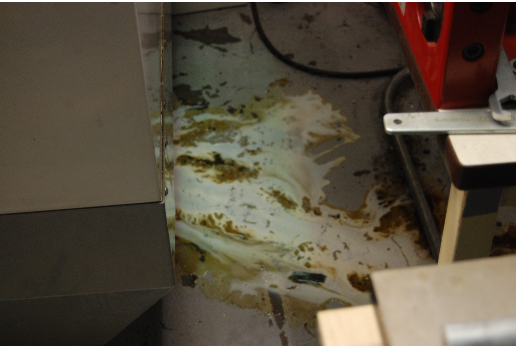
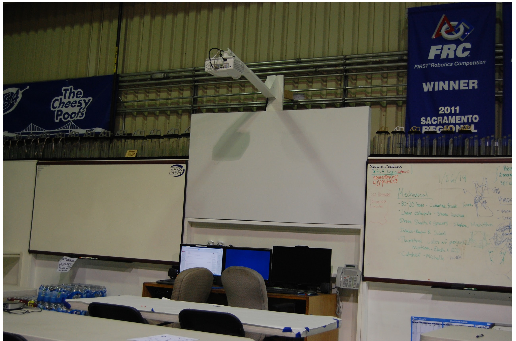
The manual mill's starting motor is burnt out so it won’t work for now. Repairs were made throughout the day but it still doesn't work. New parts need to be ordered for it. The CNC mill was leaking coolant today for an unknown reason. It will be looked into later in the week and fixed. The projector upstairs was mounted above the screen so it is no longer on the table.
Ordering:
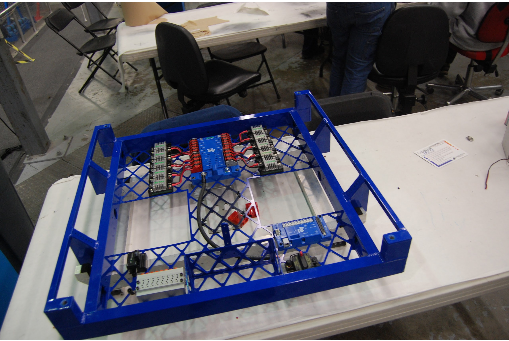
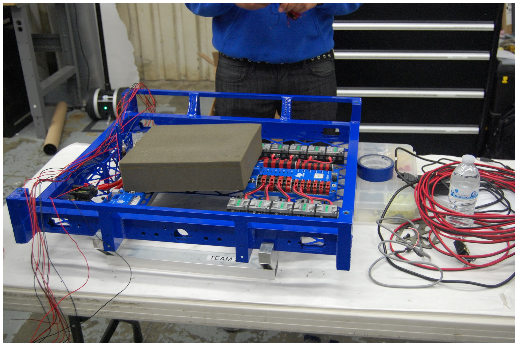
Today we ordered many parts. Specifically we ordered the wiring supplies and the electronics to **finish the robot drive by Friday.**
Field Construction
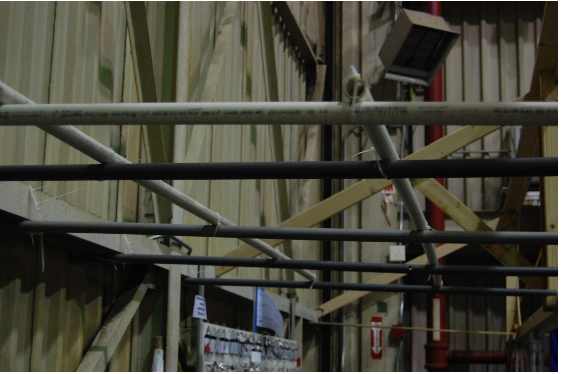
The wood covering the driver station finally broke after the repeated impact of balls landing in the goal. Modeled after the official field, PVC pipes were laid across other pipes to provide the same protection with less material. The PVC was attached to the goal and the I\-beam on the front wall of the lab. The zip ties may be replaced by something more sturdy.
Action Items
- Check trello
- When the electronics arrive, wire robot. Ask Mani or Torrance.
- CAD needs to be worked on and finalized, ask Mani or EJ.
- Manufacture more parts for robot.
- Make gearboxes to have the robot base drive by Friday.
Day 22: Trussing and Wiring
Trussing
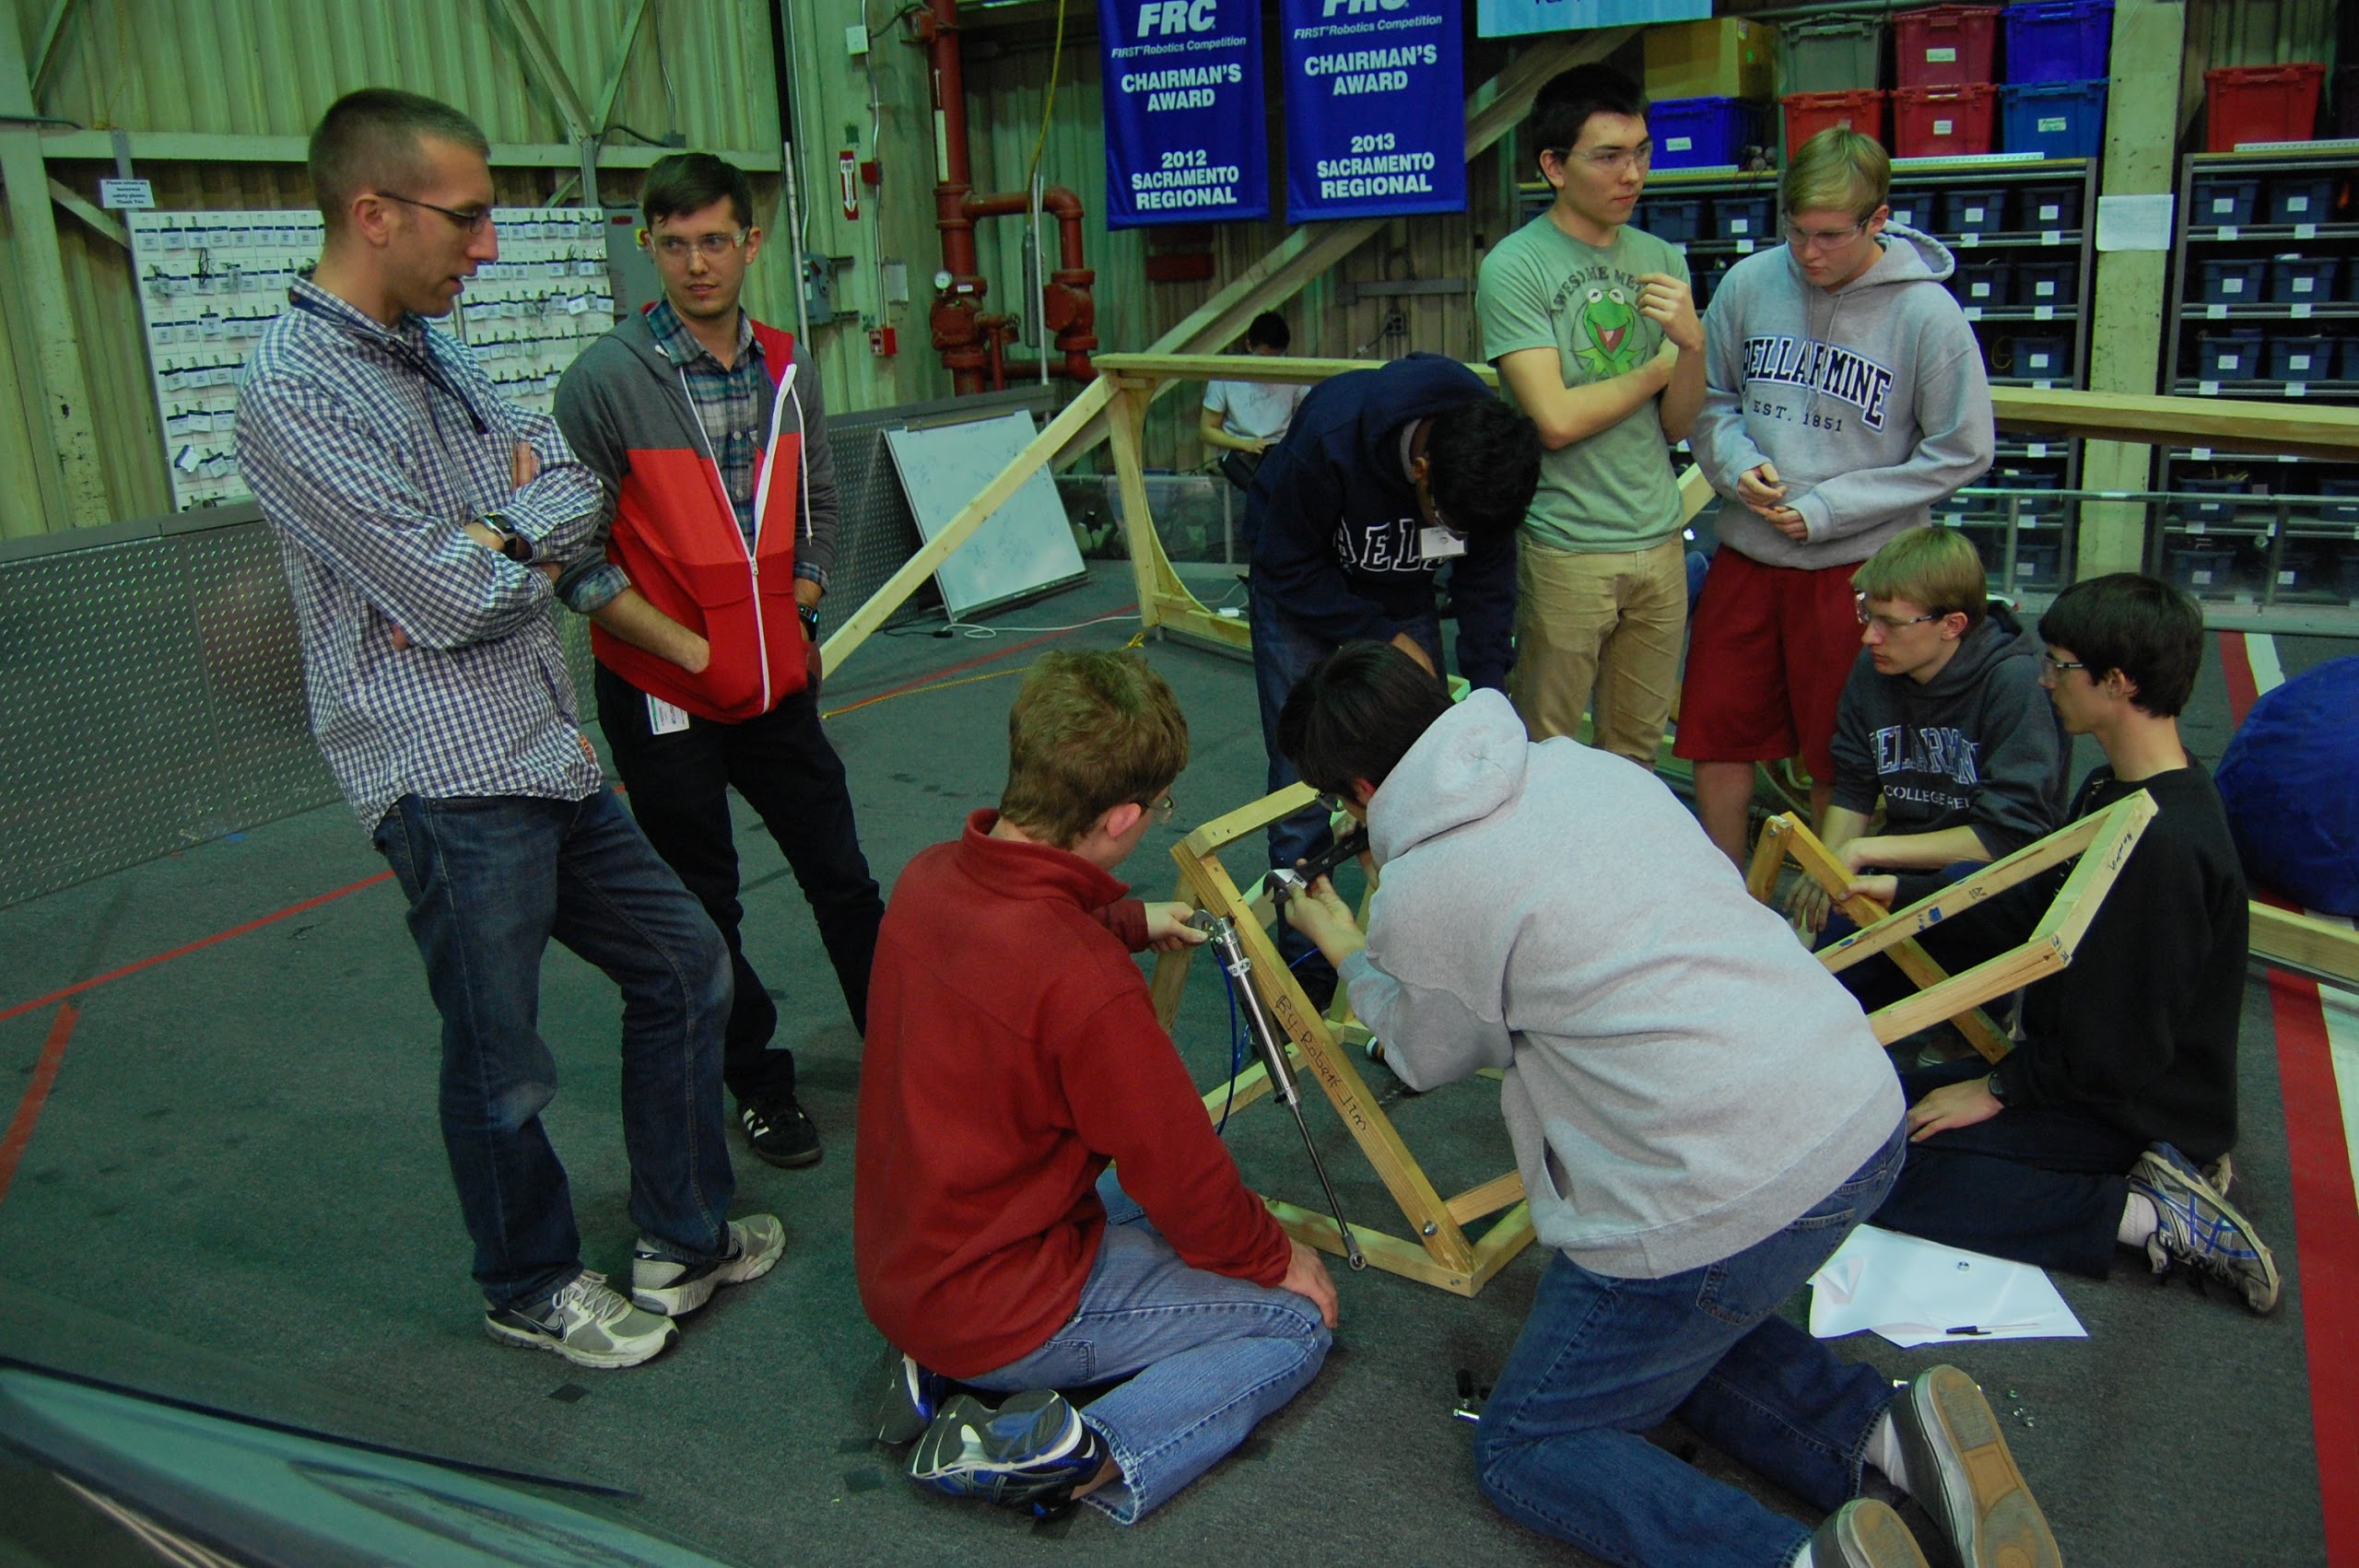
Several students worked on building the trussing for the field. They started with 1.5 x 1.5 inch wood struts and spent all day constructing the various portions of the truss. They are on track to complete the main trussing framework tomorrow.
Wiring
A couple of students began working on wiring the robot. Specifically they worked on wiring the Talon speed controllers to the Power Distribution Board \(PDB\). They cut, crimped and soldered wires and have completed most of the wiring for the speed controllers
Clapper Popper
The "Clapper Popper" is the prototype indexer for the ball. It uses a scissor lift mechanism to push the ball up into the flywheel in order to shoot. Students retrofitted the old popper with four pistons instead of two. This helped improve the stability by evenly distributing the force of the pistons across each side. This led to less skew when the pistons were fully extended.
Brogramming
The brogrammers worked on the following:
- Getting the drive controller to turn arcs
- Add heading and scaling to the trajectory
- Fix the distance controller
- Fixing bugs and cleaning up the Drive Controller
- Adding the Hold Position Controller
- Finalizing the Data Logger
Design
We are continuing detailed design on the robot. For example, today we worked to finalizing the superstructure in addition to working on the front intake. We created part drawings for the front intake so machining can begin on these parts. Furthermore, we worked on cleaning up the rough edges of the CAD model and inserting details such as holes and other parts.
Graphic Design
The Media team worked on designing new t shirts, hats, sweatshirts, phone cases, and sunglasses for this next year.
Students came up with 3 early drafts incorporating the elements of Aerial Assist into the design elements. The phone case design is completed and students are continuing work on both the t shirt and the sweatshirt tomorrow
Day 21: Powdercoat, Programming, and Drive base Progress
by James "Mikey" Carroll ’15
Prototyping
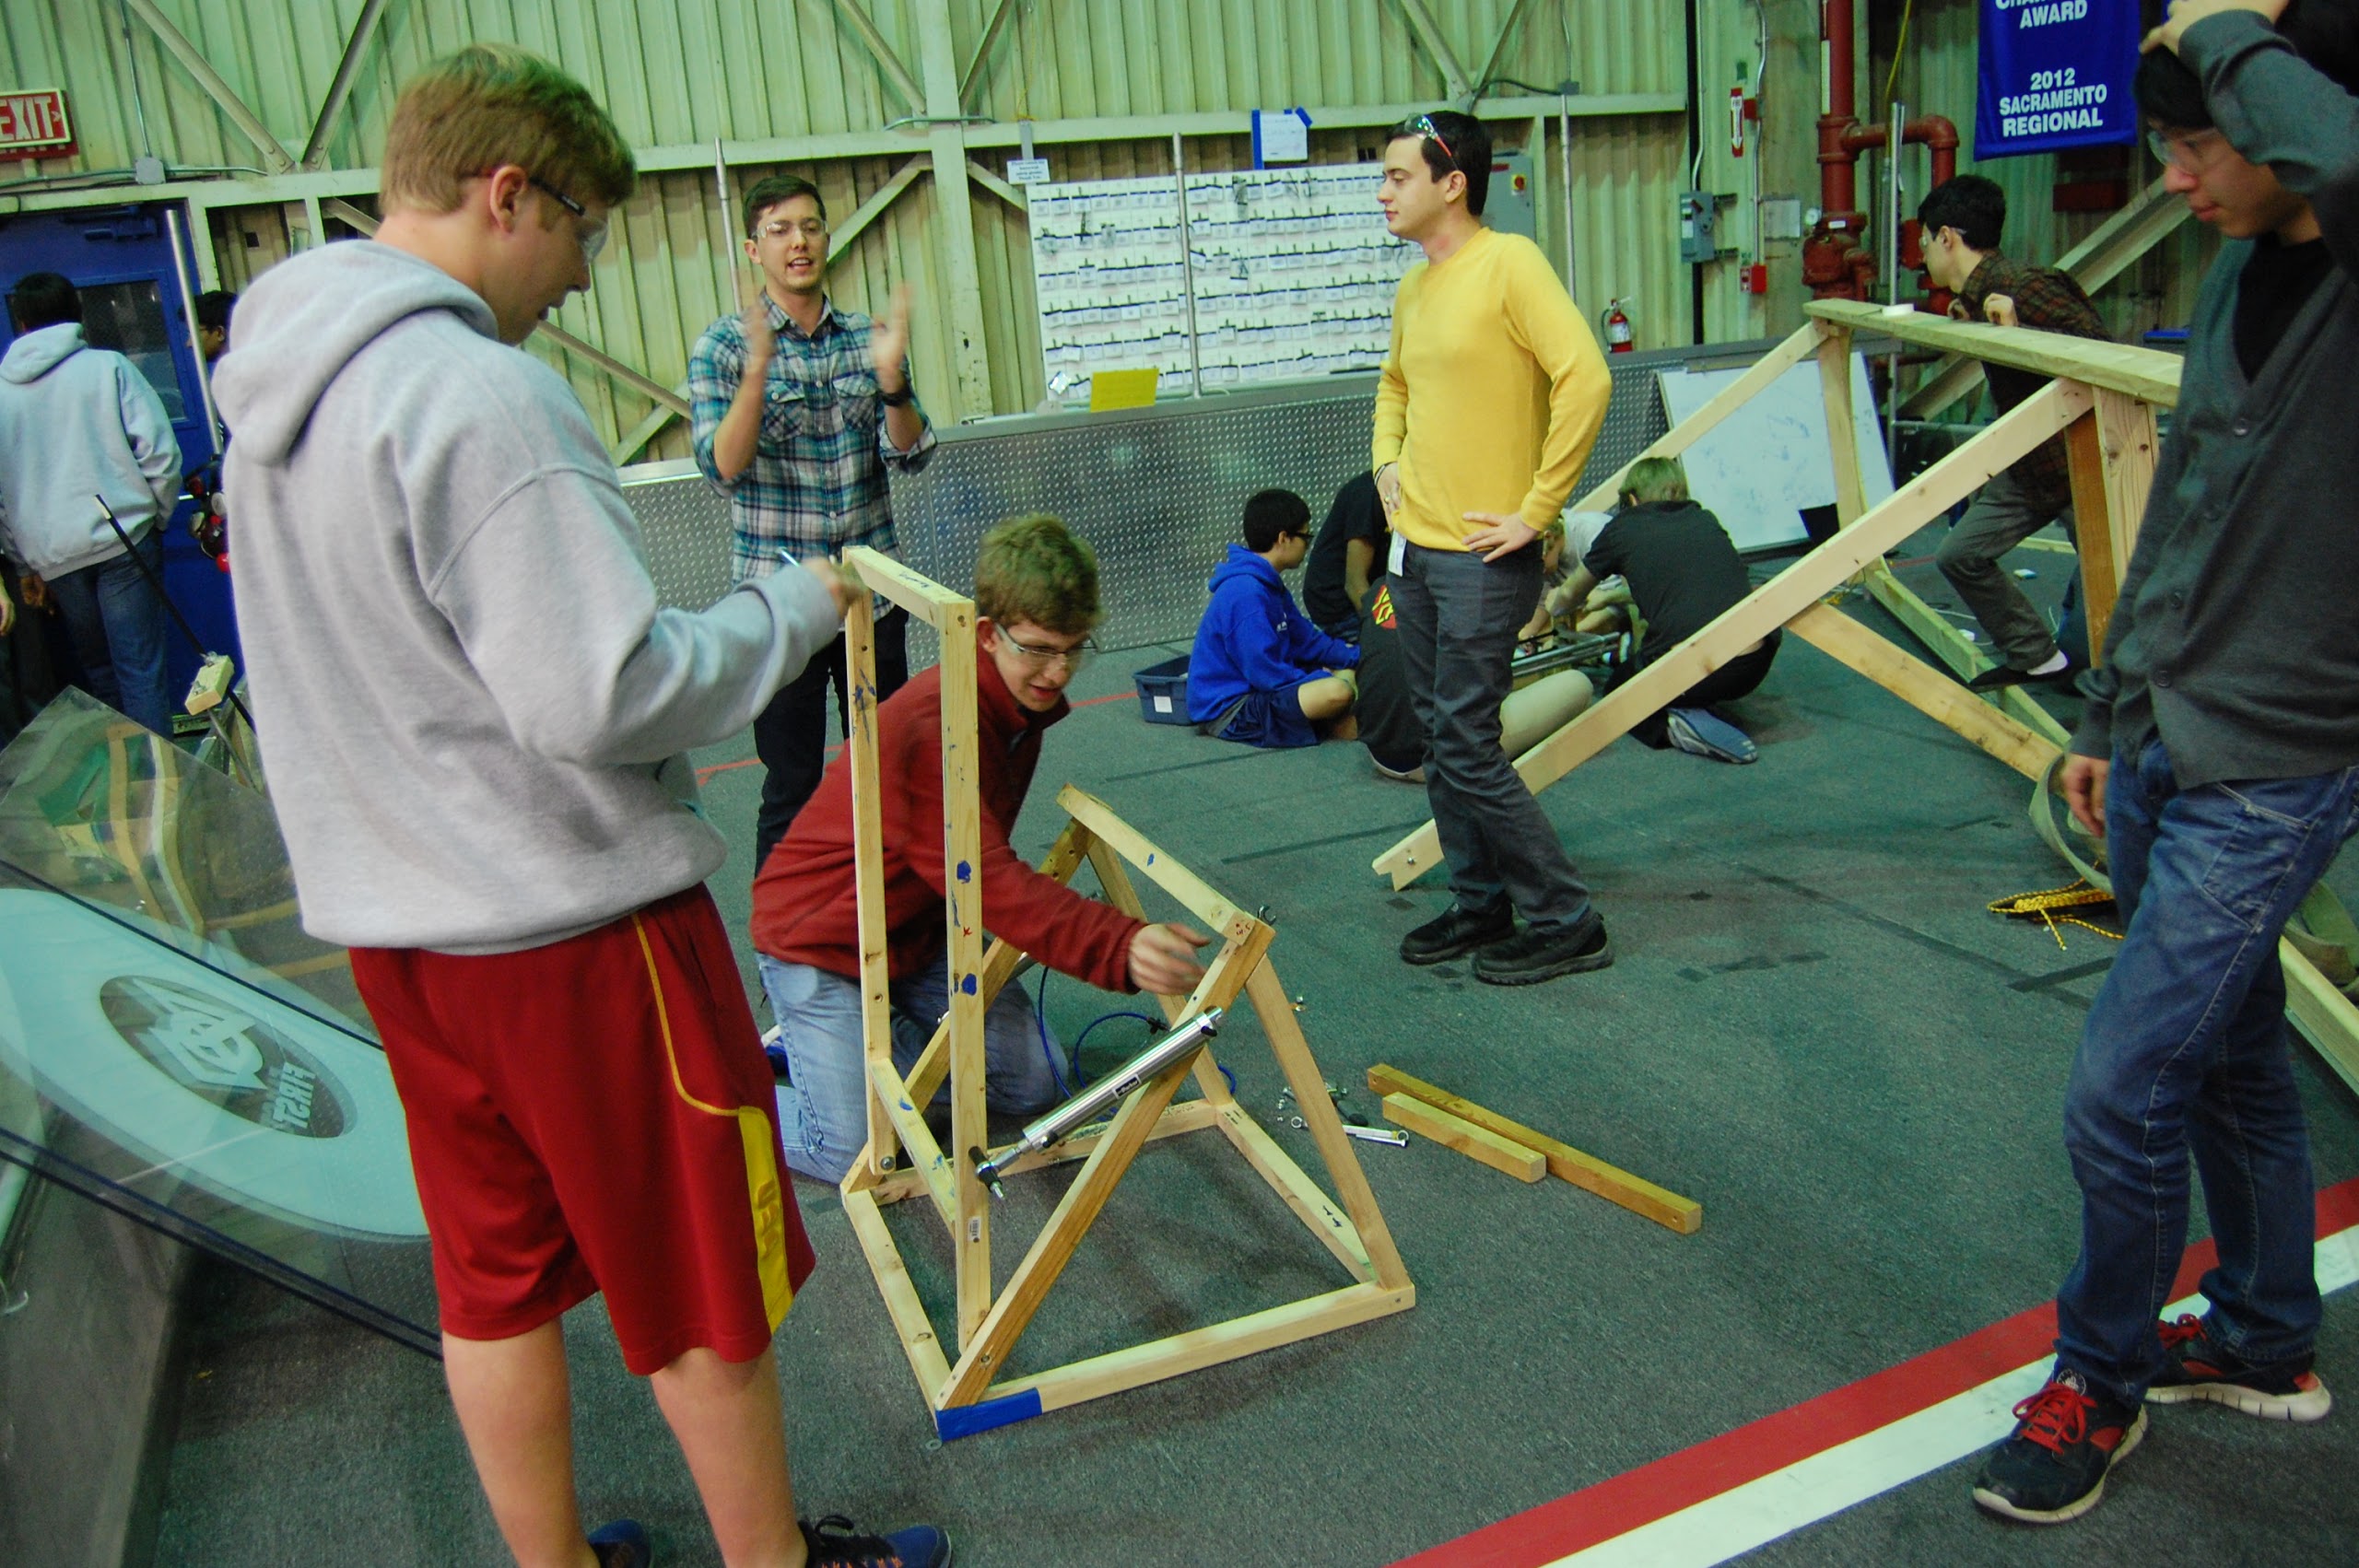
Today, a group of students continued to work on and improve the indexer prototype. The indexer, the mechanism used to raise balls into the flywheel shooter, features a claw-like design that lifts the ball as the two arms segments of the claw come together. Furthermore, students improved upon the previous indexer design, which included one piston and two gears, by adding a second piston (one for each claw arm). The intentions of this design are to improve strength and allow each arm to move independently, thereby increasing ball stability and raising accuracy.
Manufacturing
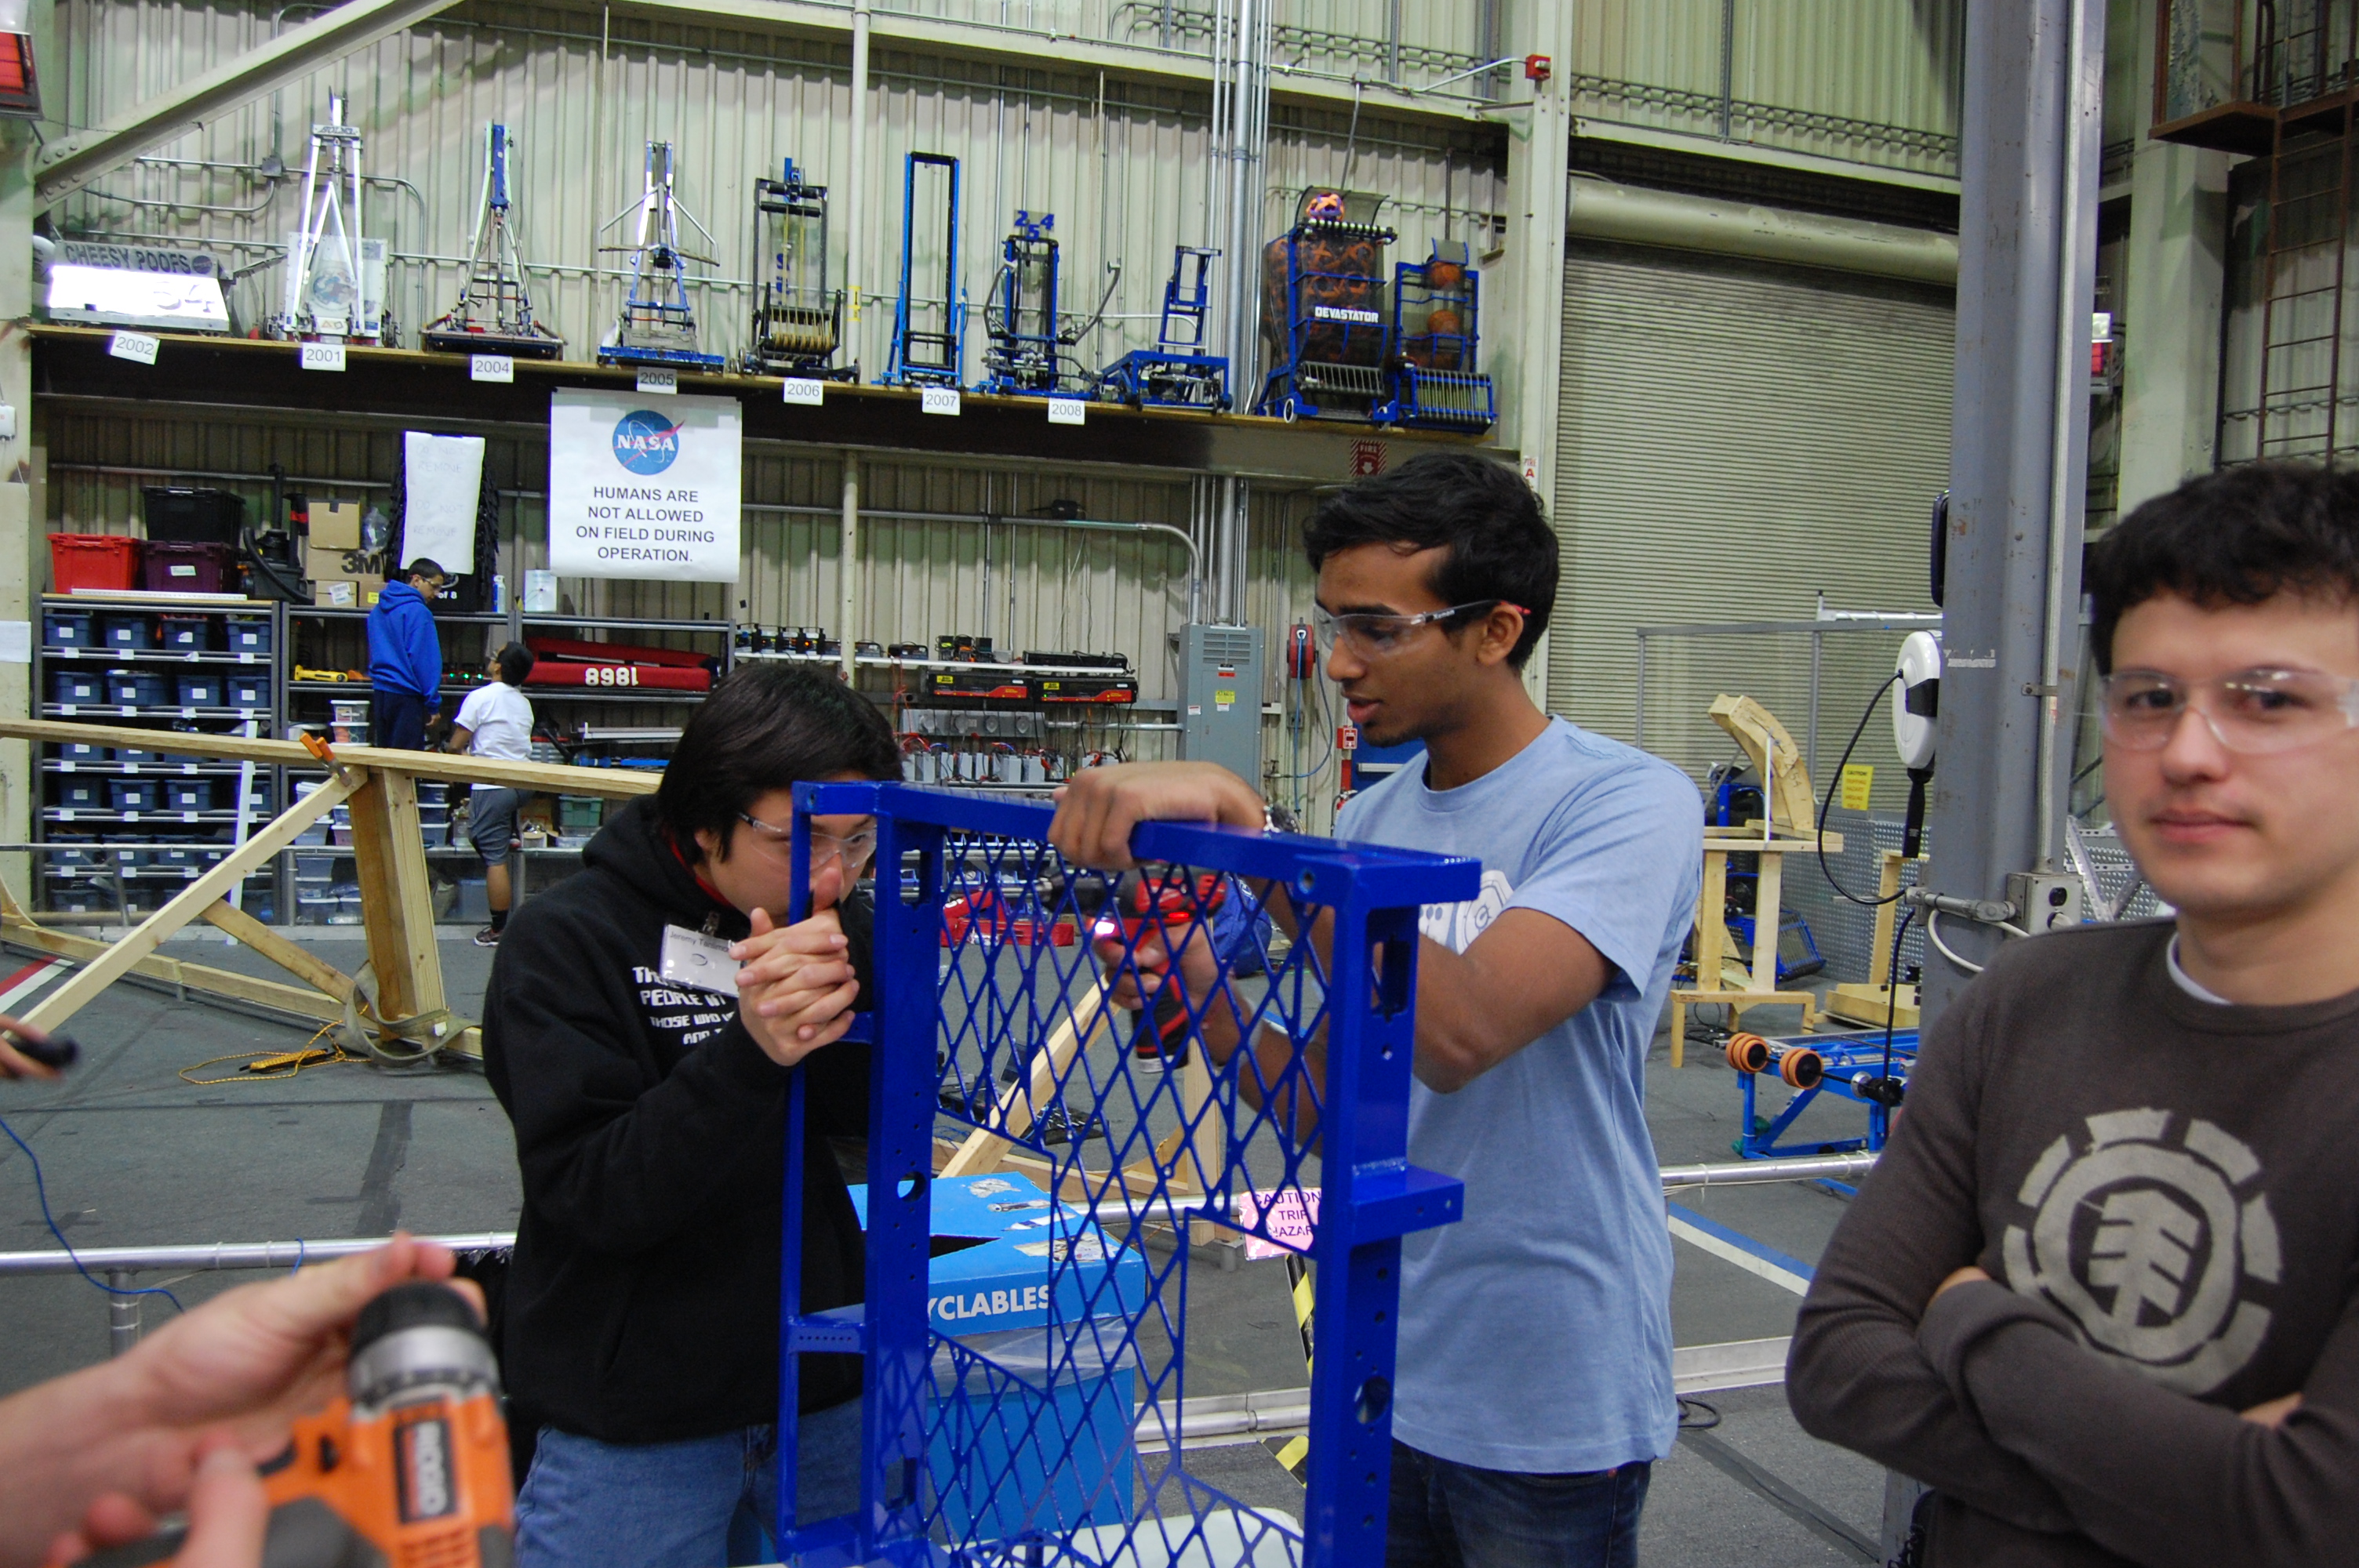
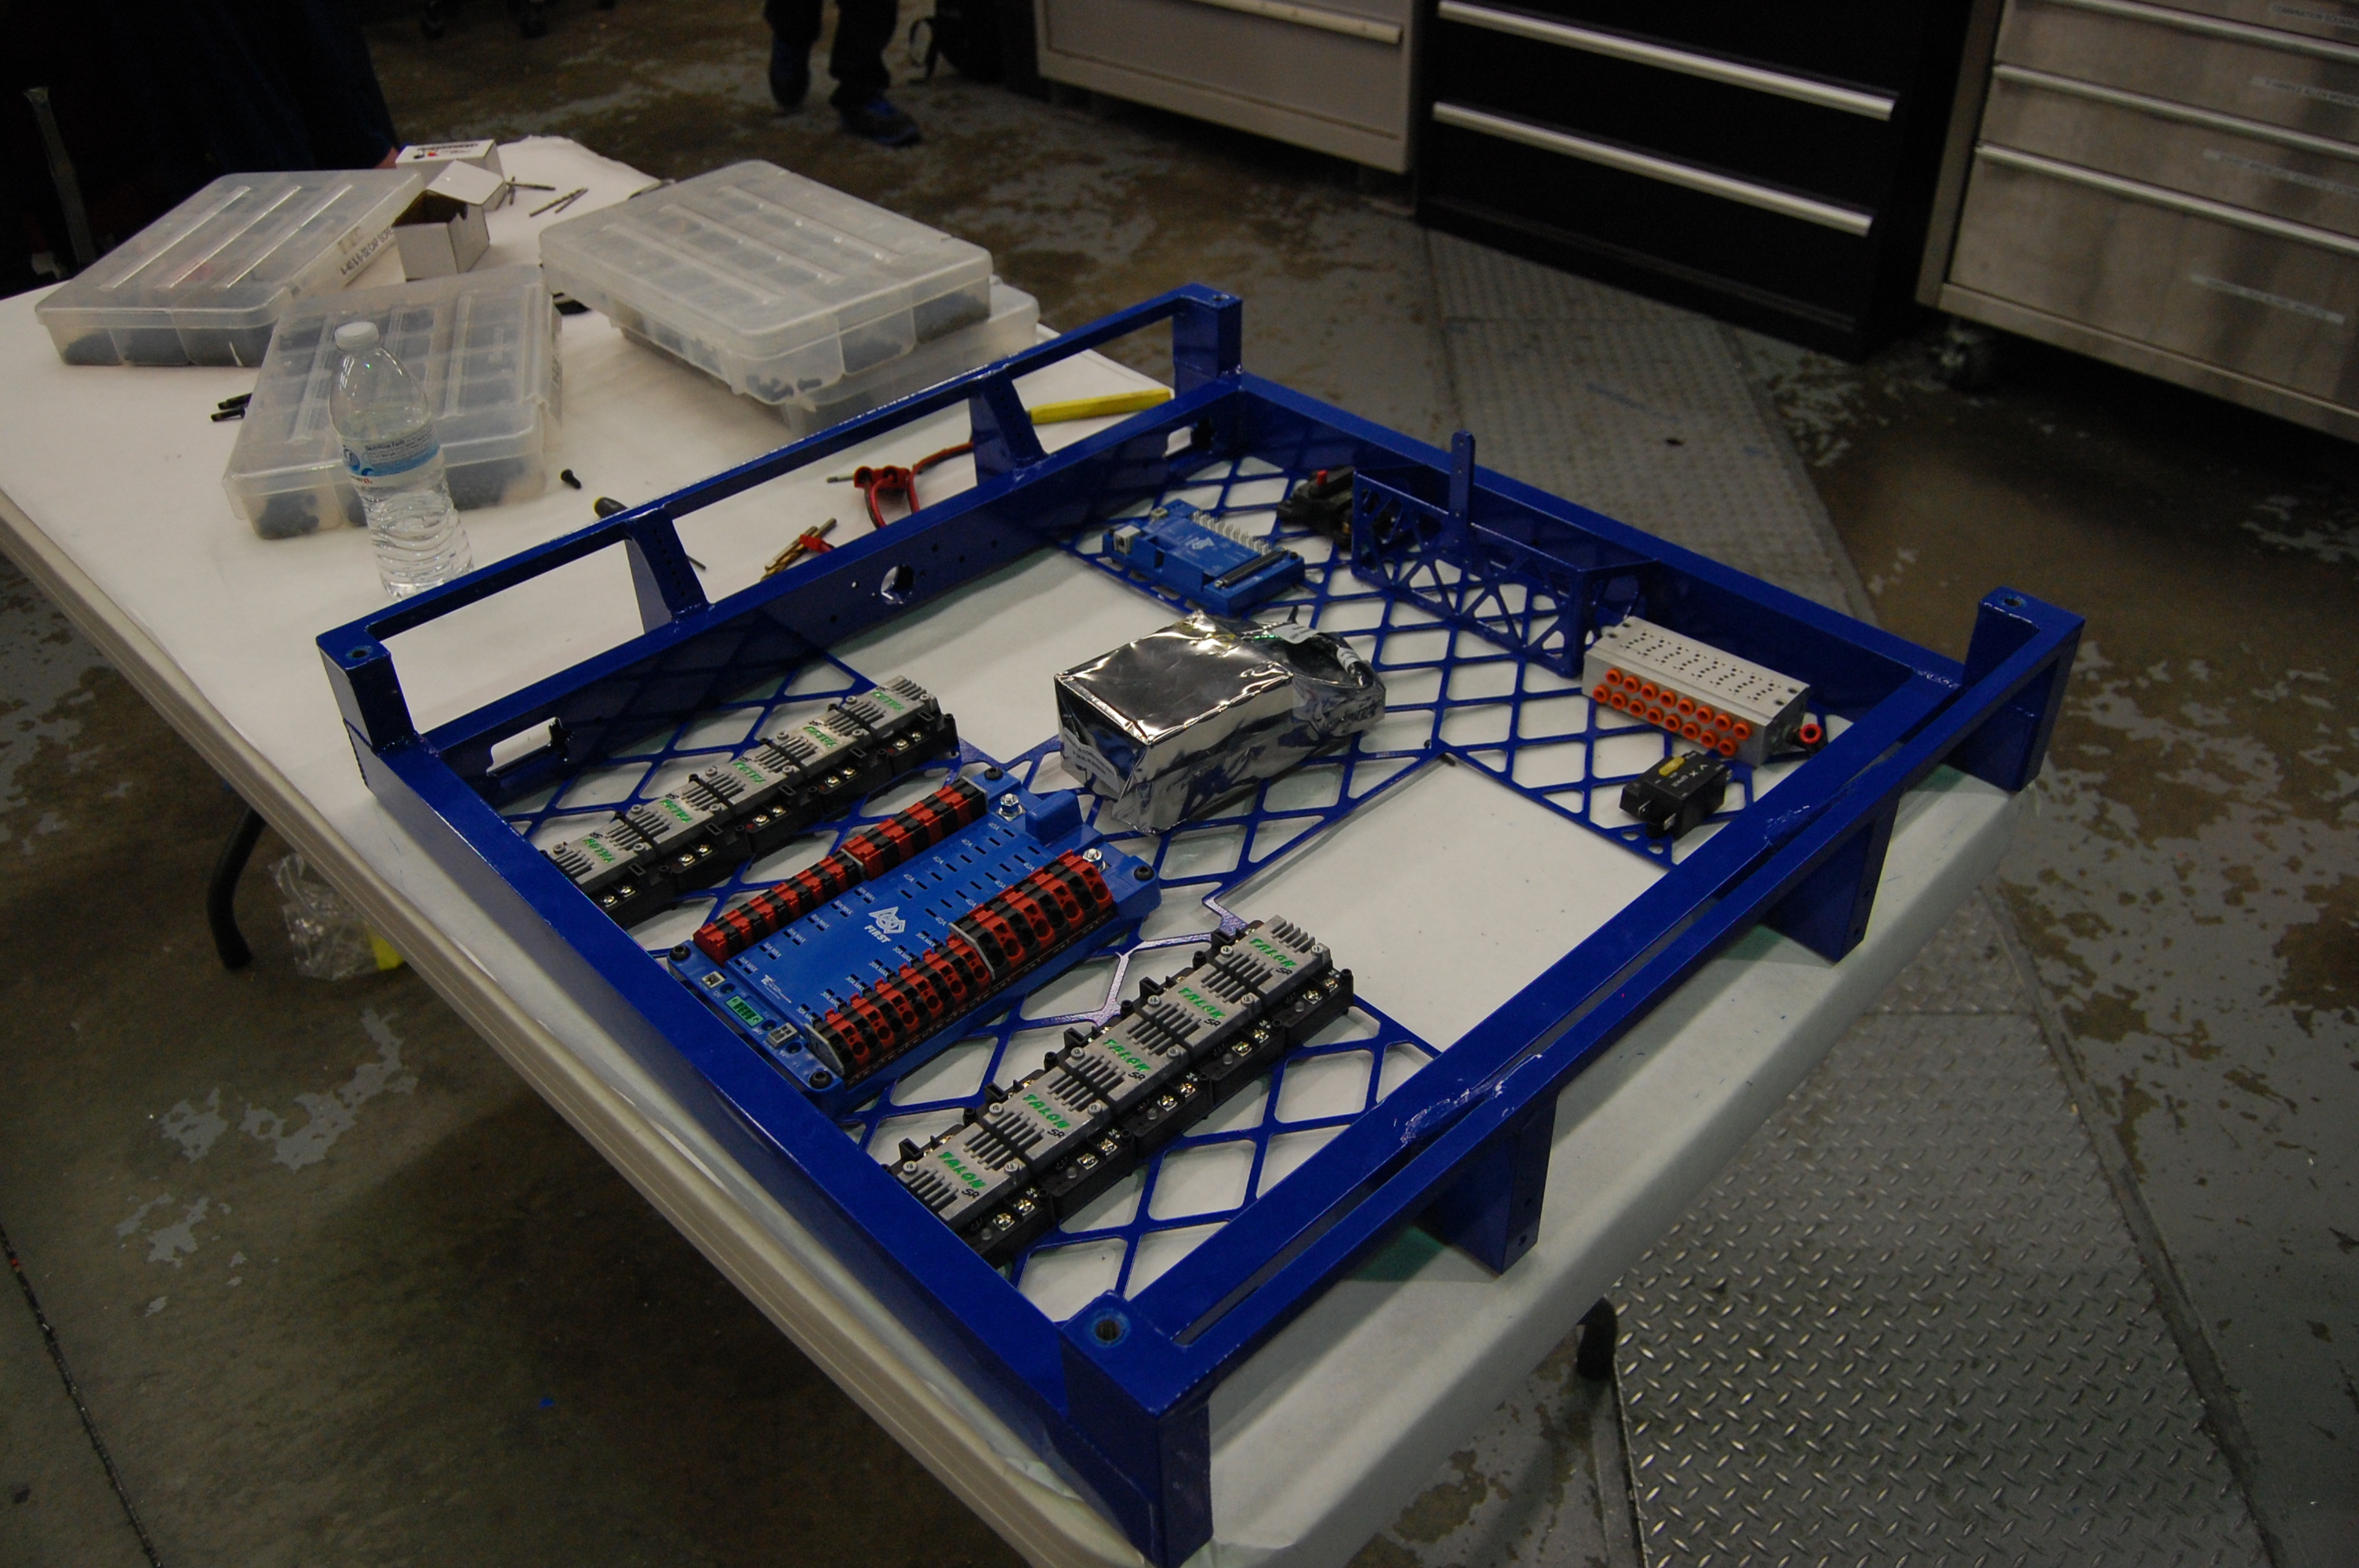
Students began to construct the drive base chassis for the finalized robot. First, students drilled and tapped holes in the chassis, then installed hardware and electronics into the base plate, in particular the main switch, the power distribution board, the digital sidecar, and the Talon motor controllers. Students are beginning wiring.
Programming
Work continued on designing and fine tuning the code for the robot data logger. This log includes information directly from the robot’s sensors, such as drive speed or intake speed. The log also provides easy visualization of all movements of the robot and quickly reveals issues with the robot, such as one motor running faster than another, in real time. Students will also use the information from this program to tune PID.
Field Construction
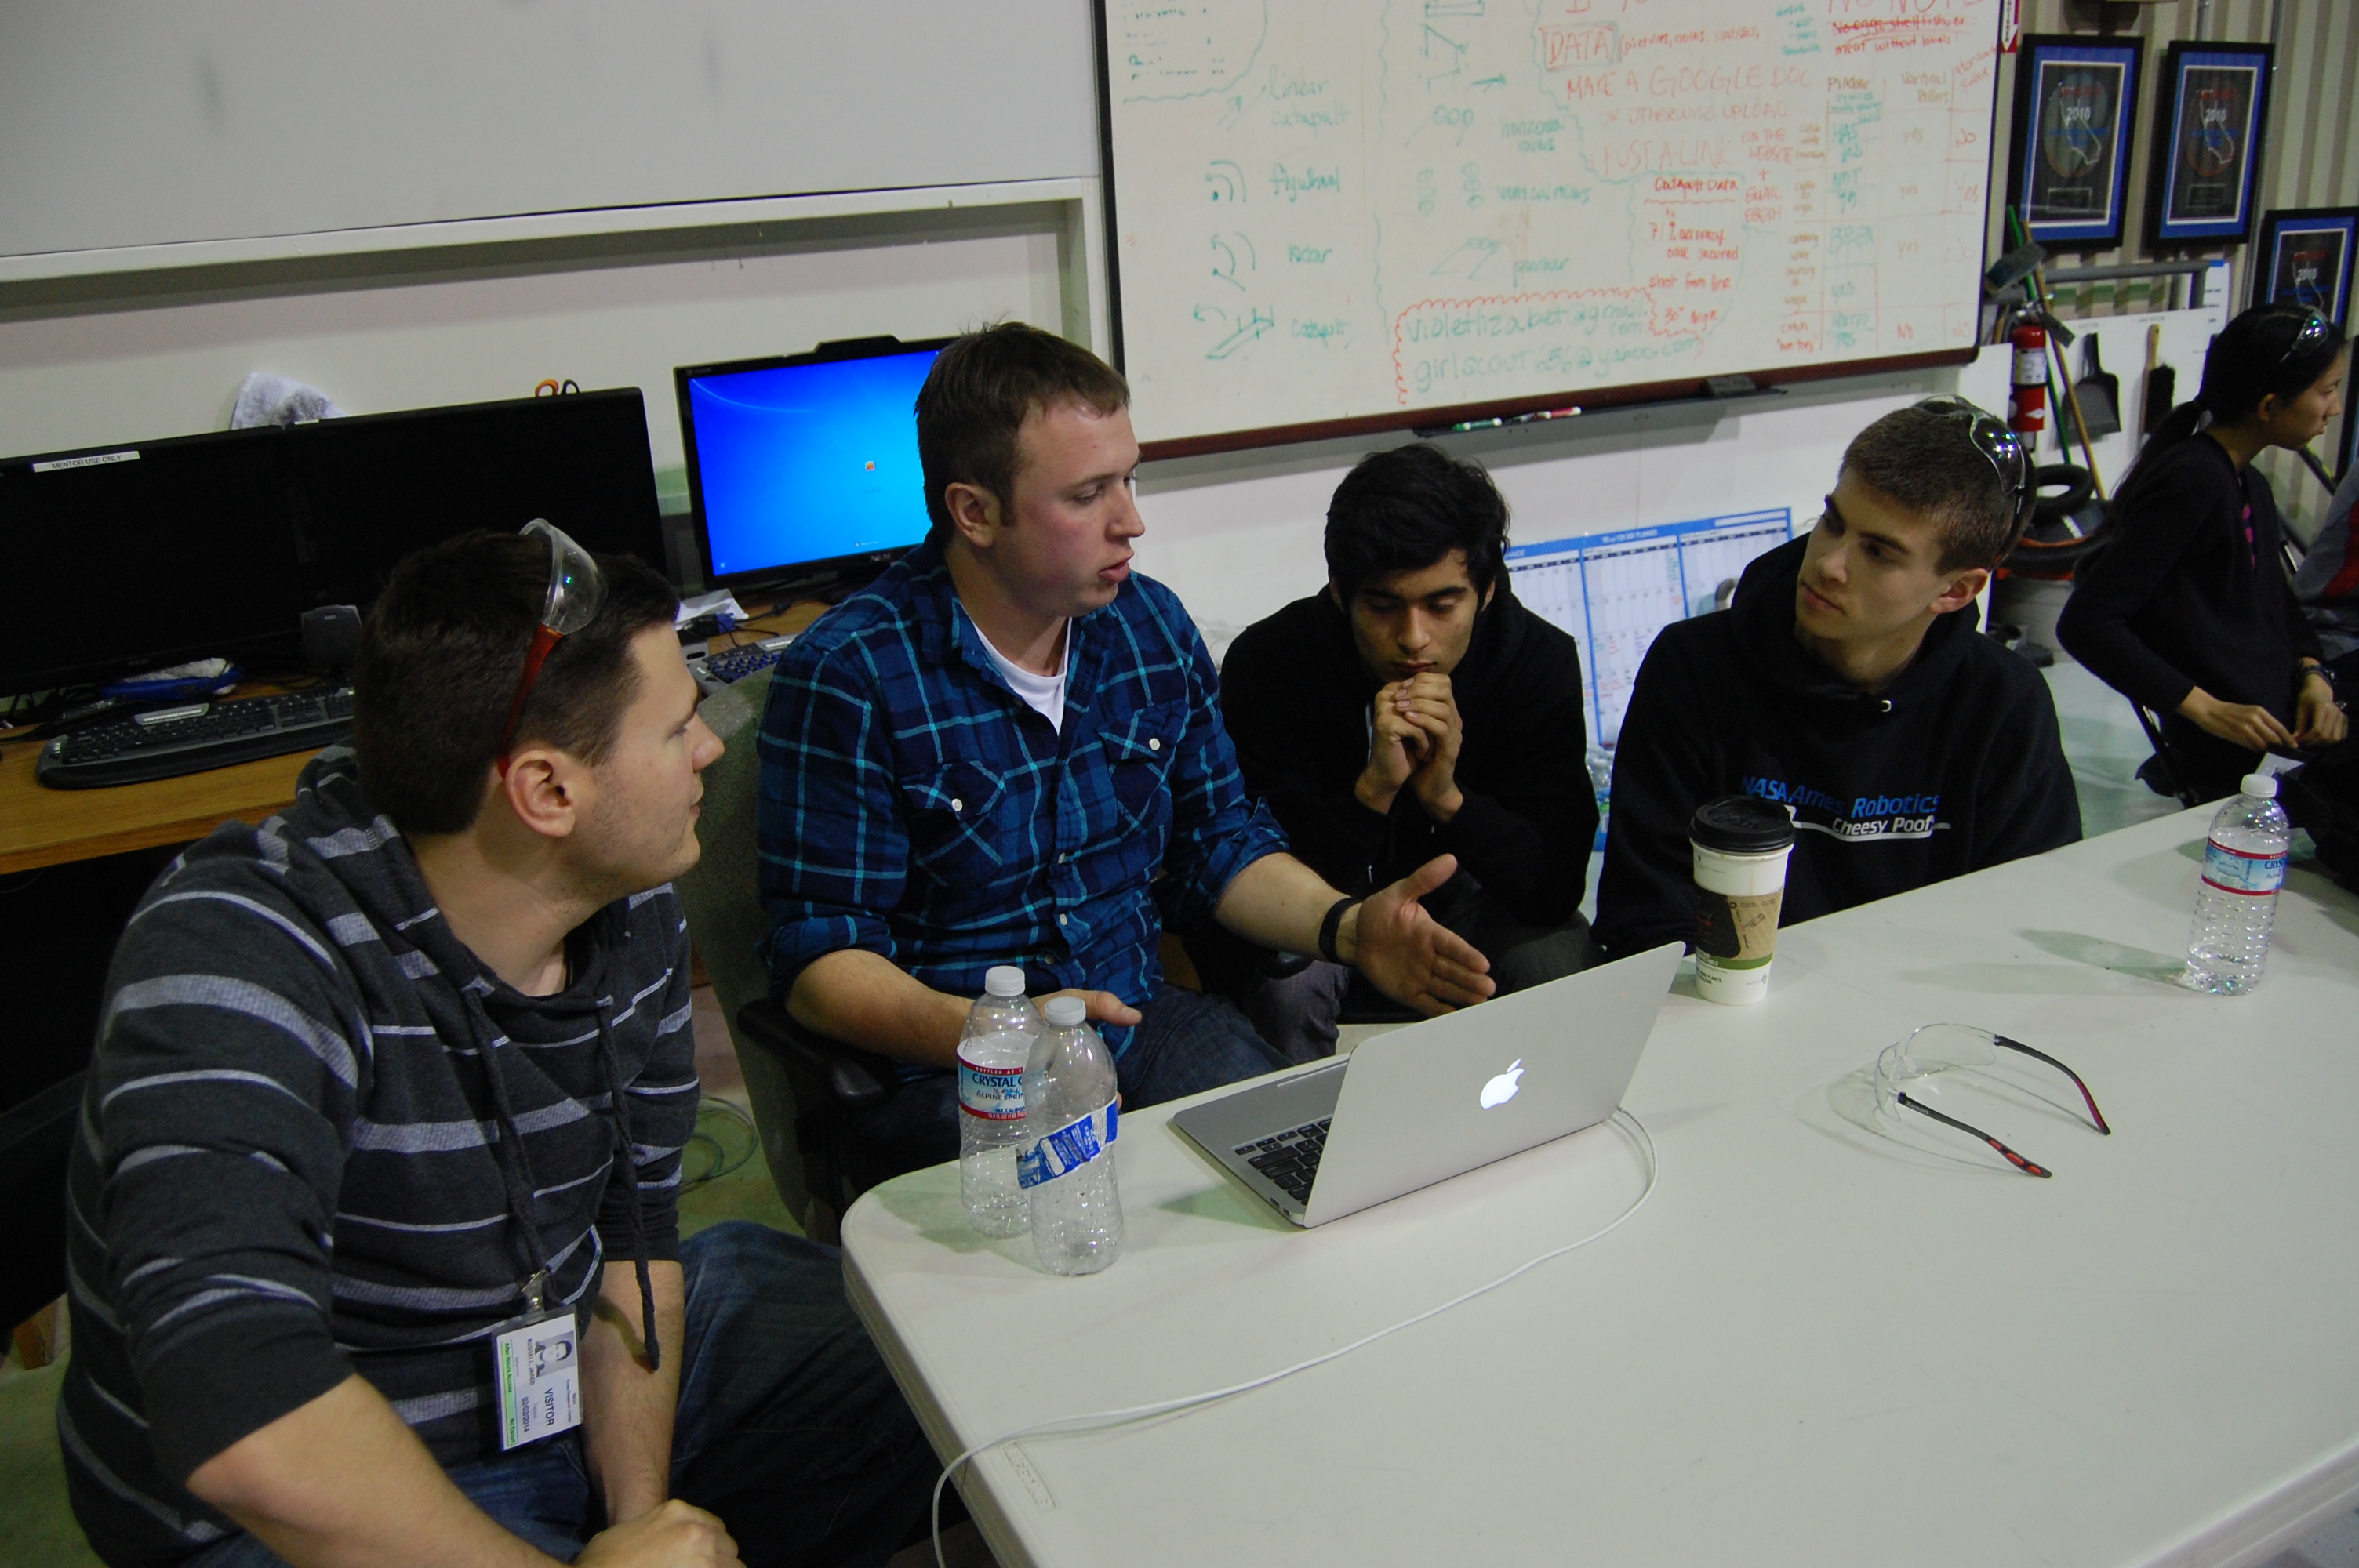
Work continued on the construction of the truss for the field. Students completed a CAD design for the truss.
Chairman’s Award Submission
Students resumed work on Team 254’s Chairman’s Award submission, making lots of progress on the executive summary portion and the essay portion of the entry. Work continued toward a finalized thesis for the essay portion
Action Items
- Add 4 gauge wire to both robots (Contact Mani Gnanavisam if interested)
- Connect Talon motors to PDB and digital side car (Contact Mani Gnanavisam if interested)
- Finish construction of the truss (Contact Mani Gnanavisam if interested)
- Put a backing on the shelf (Contact Mani Gnanavisam if interested)
- Check the Trello (Contact Abhi Kumar if interested)
Day 19: Advancing Prototypes, Prepping for Welding
by Joncarlo Avila and Brandon Wui
Prototyping
Today, we worked on prototyping an improved catcher and ball indexer. Our new catcher consists of 2 pistons that open and close the catching mechanism. We also removed the intake and shooter from the Overkill practice drivetrain for easier testing.
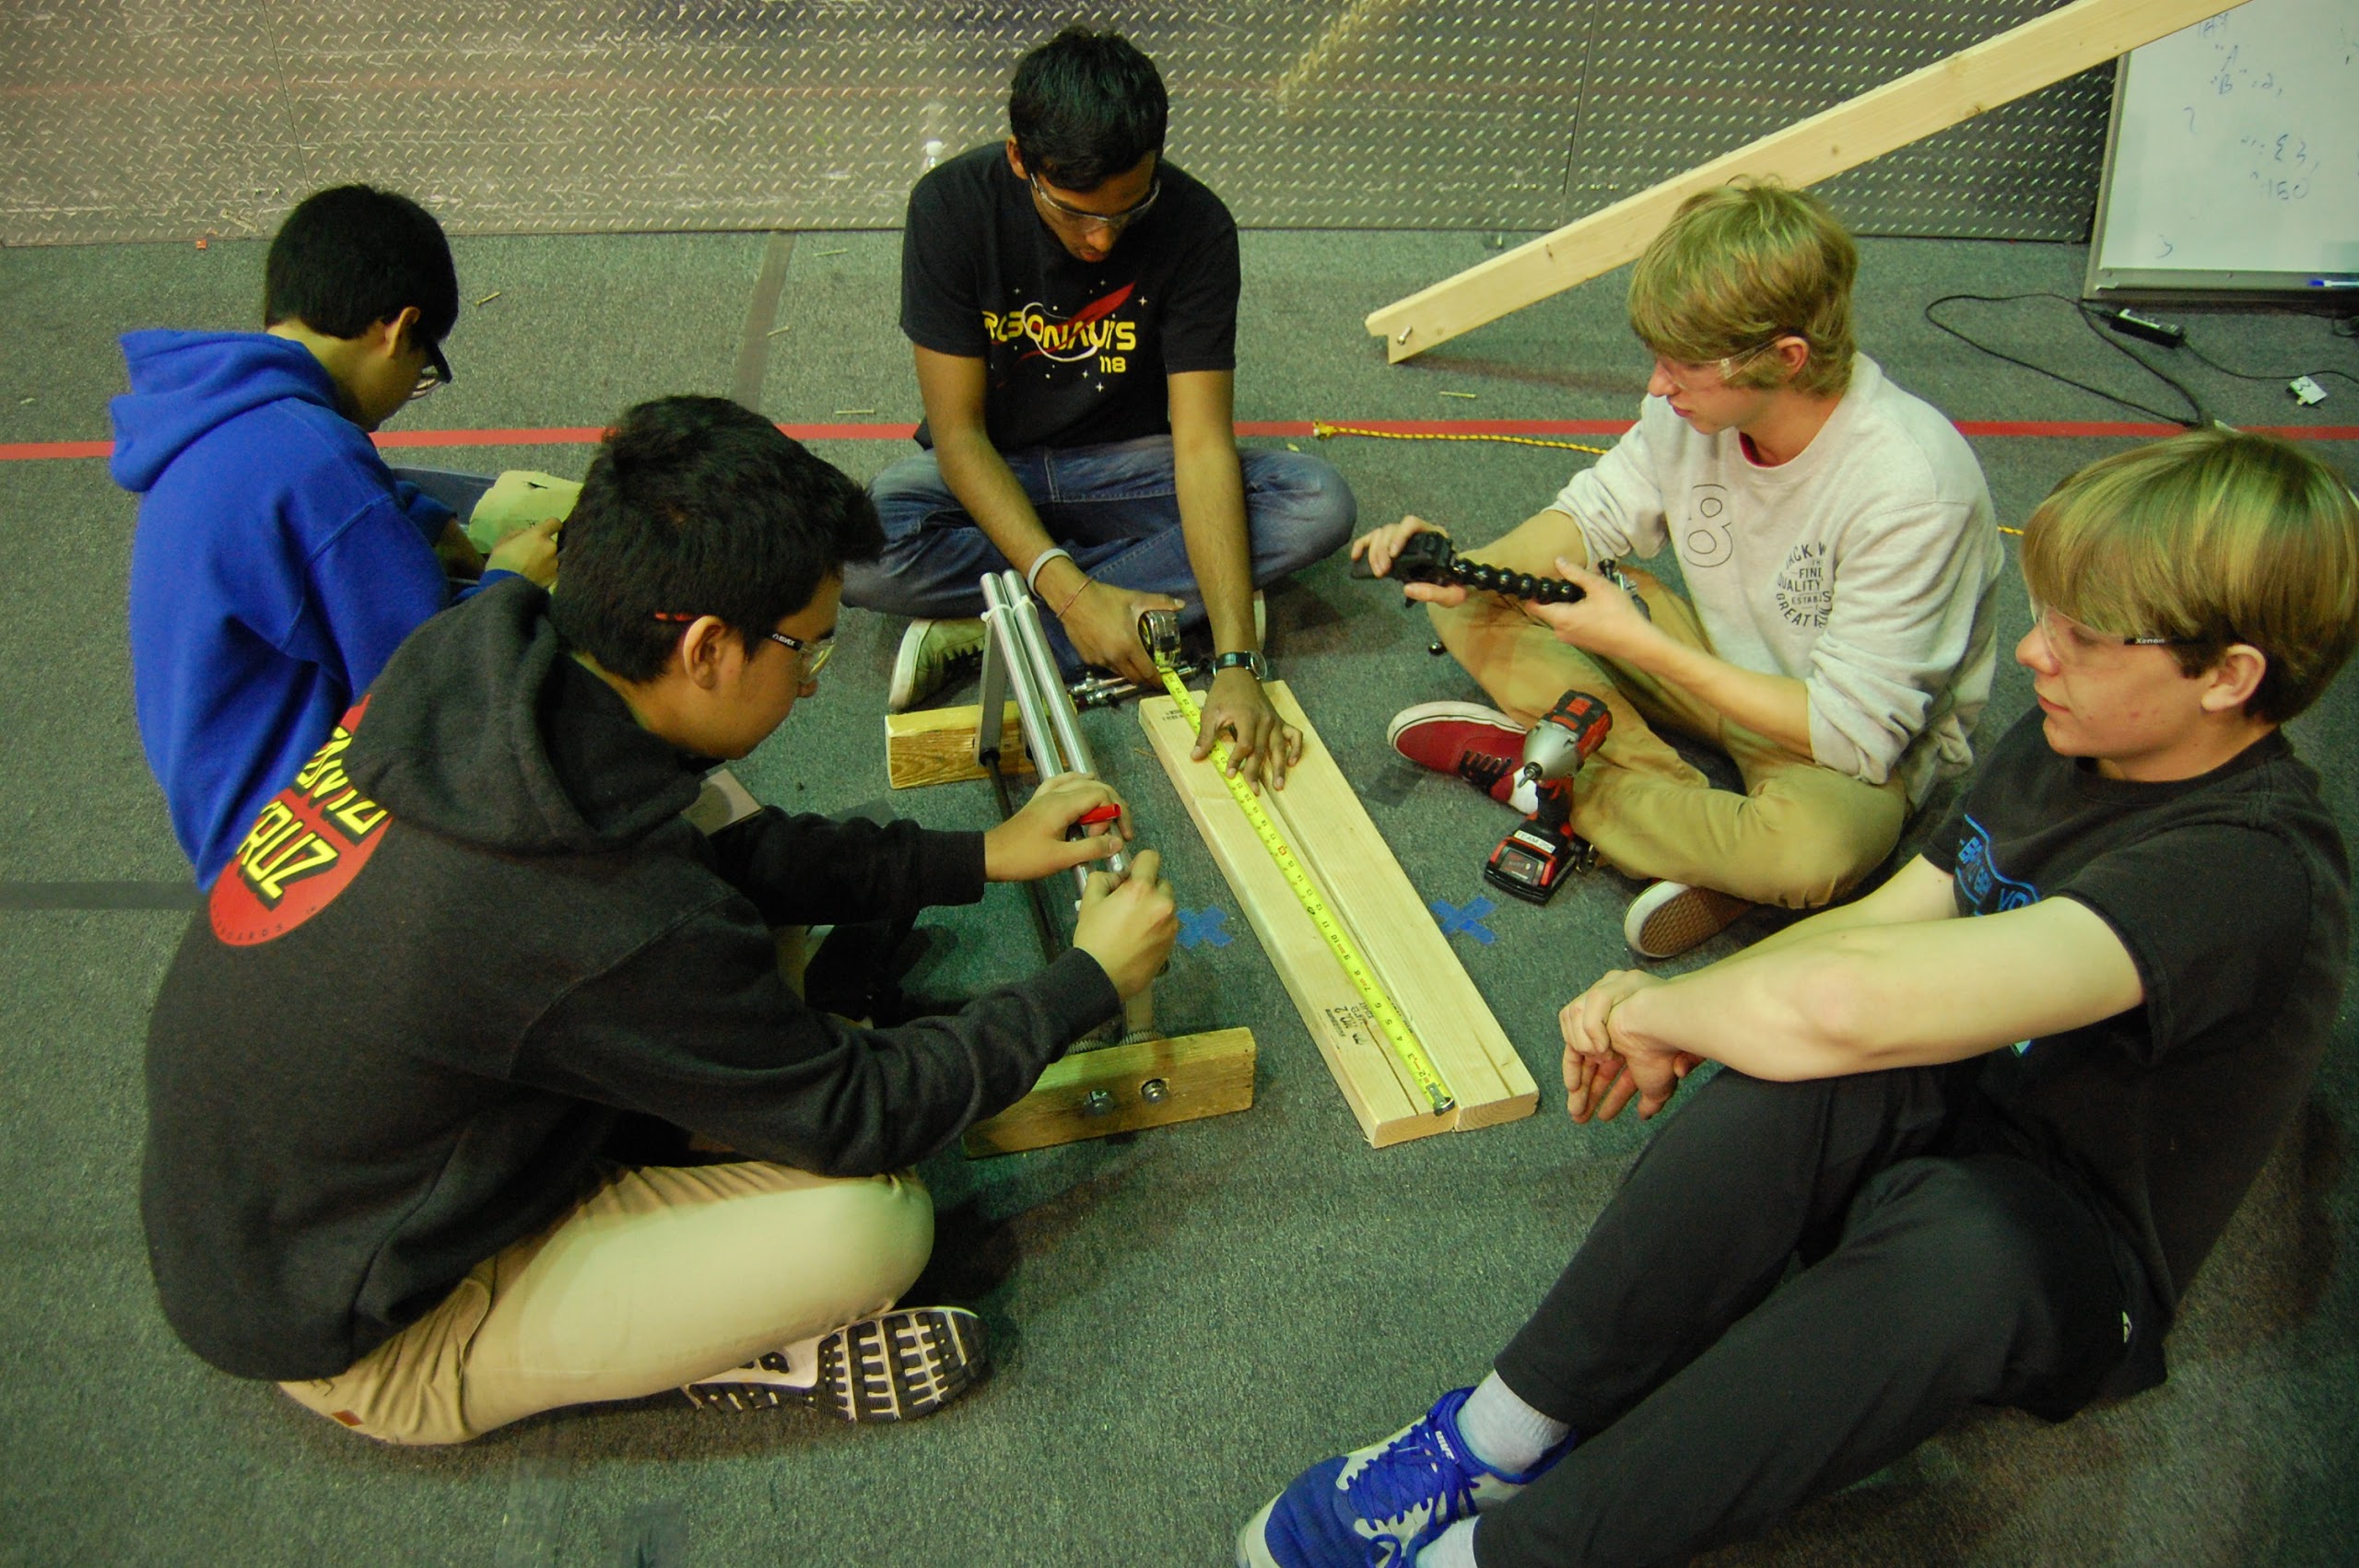
We made two new indexer prototypes with the goal of minimizing piston use to save air and weight. One group built a prototype that used a 6" stroke piston to simply push the ball into the flywheels. Another group finished another variant of an indexer. This one features a 3" stroke piston that pushes a linkage together so that it "claps" to move the ball up. The clapping indexer worked slightly better than the linear one and also uses a smaller piston. Late at night both of these prototypes were tested with the shooter and both showed consistent shots and improved accuracy over the former indexer.
Programming
Machining: Drive base
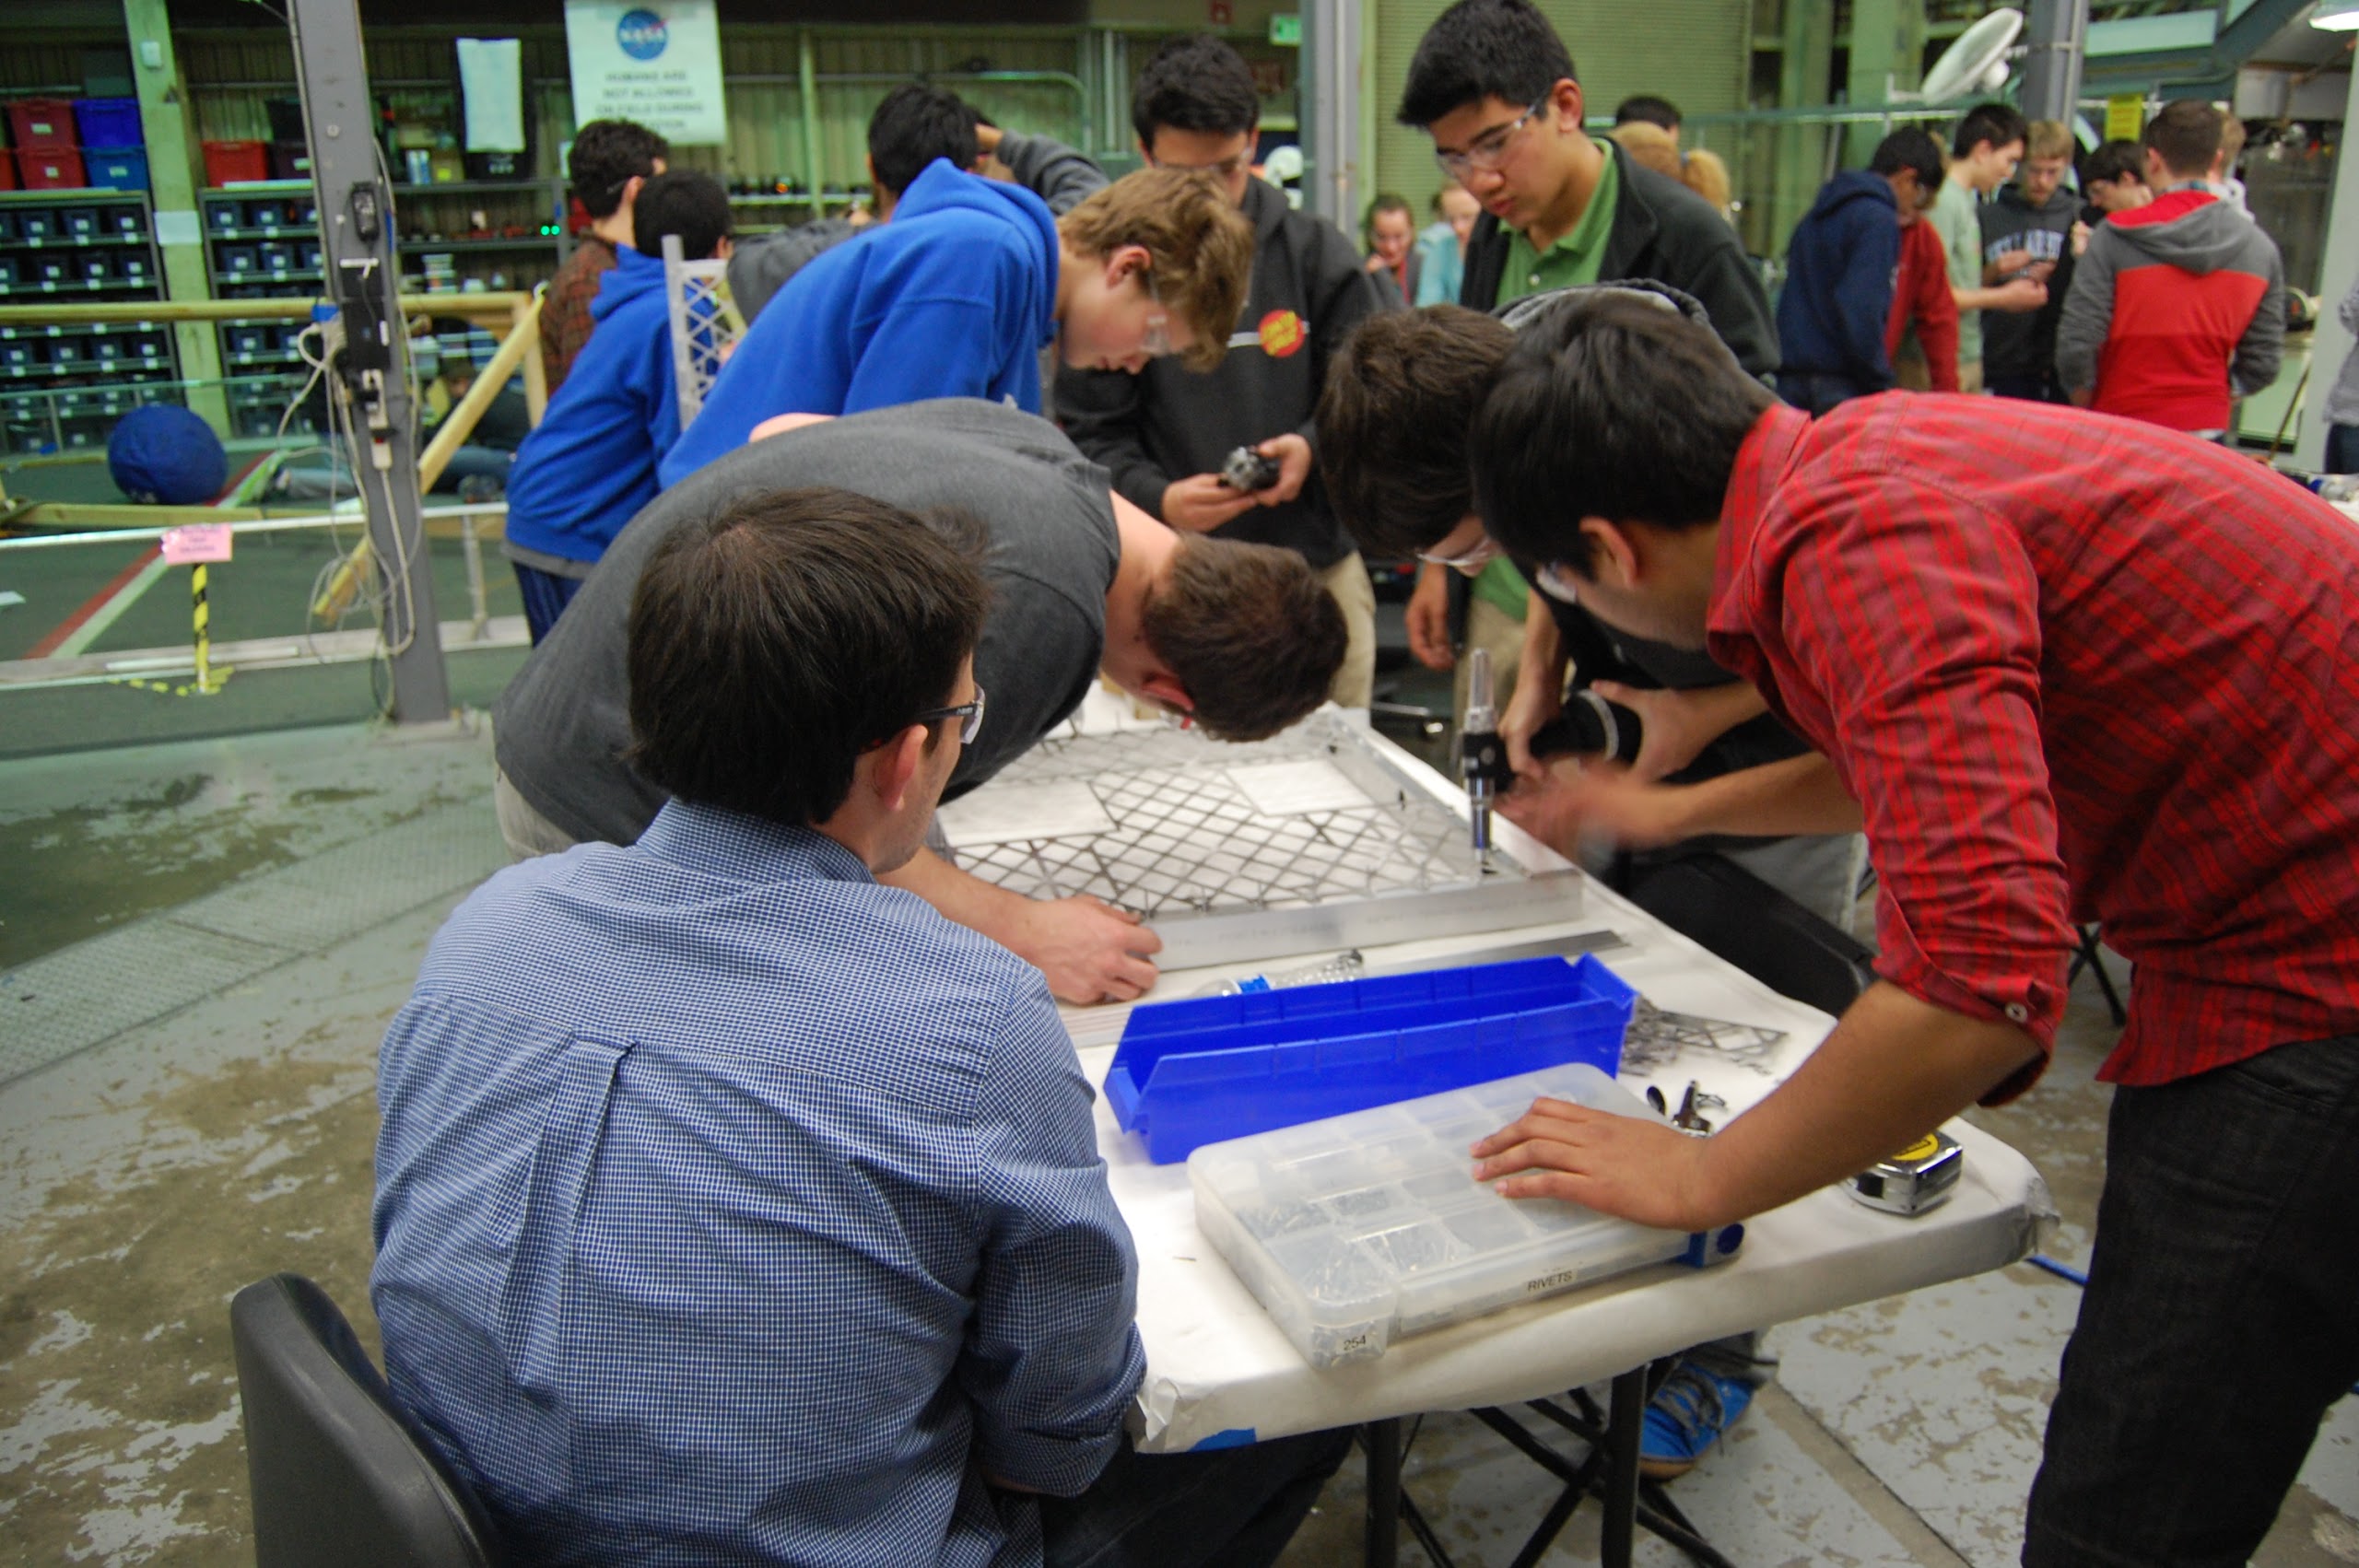
Today, we received our waterjet base plates from sponsor BAE Systems. We riveted the plates to the chassis rails which were machined over the weekend and jigged the weldment for welding. Students also worked with wire brushes to clean the aluminum oxide off of the parts to help with welding prep. The drive base is now ready to be sent out to be welded by sponsor Applied Welding Technology and will hopefully be received tomorrow so that we can prep it for power coating.
Action Items
Check the Trello!
If drive base is back from welding, prep it for powder coating.
Continue working on the indexer prototypes, testing with variable ball sizes and PSI for consistency.
Day 18: Prototyping, Testing, and Programming
by Chris Powers and Jack Lee
Prototyping
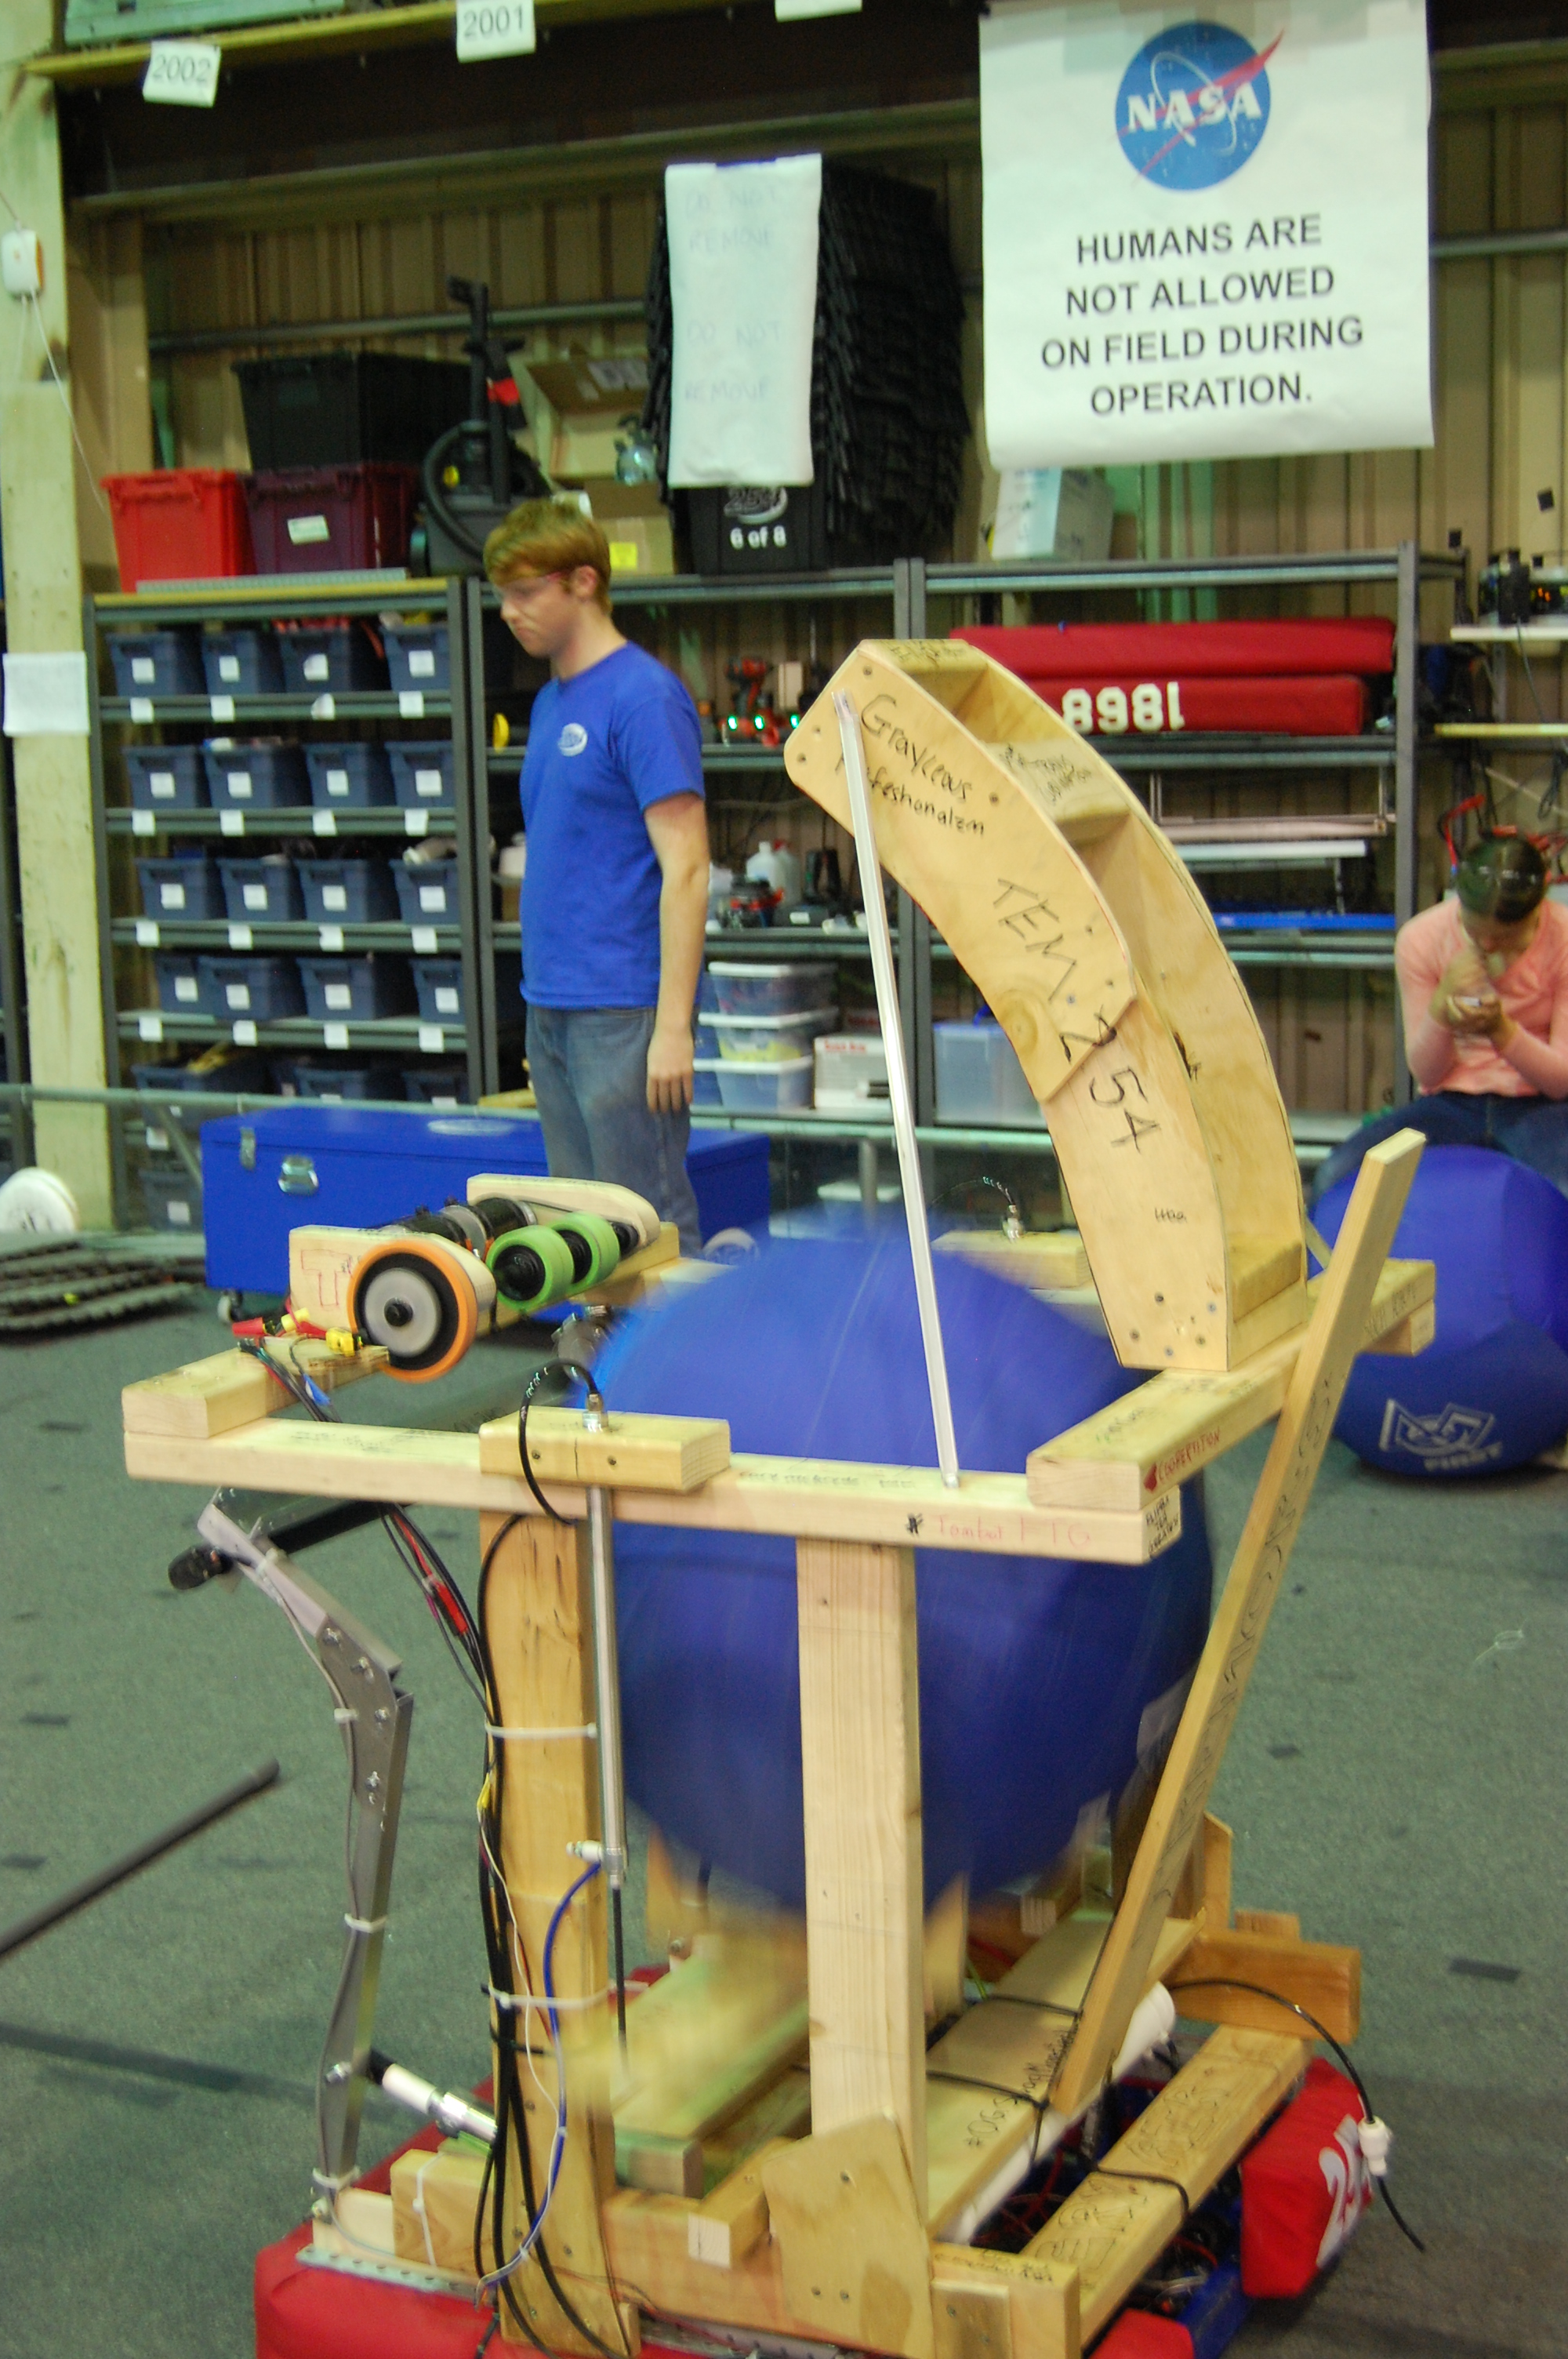
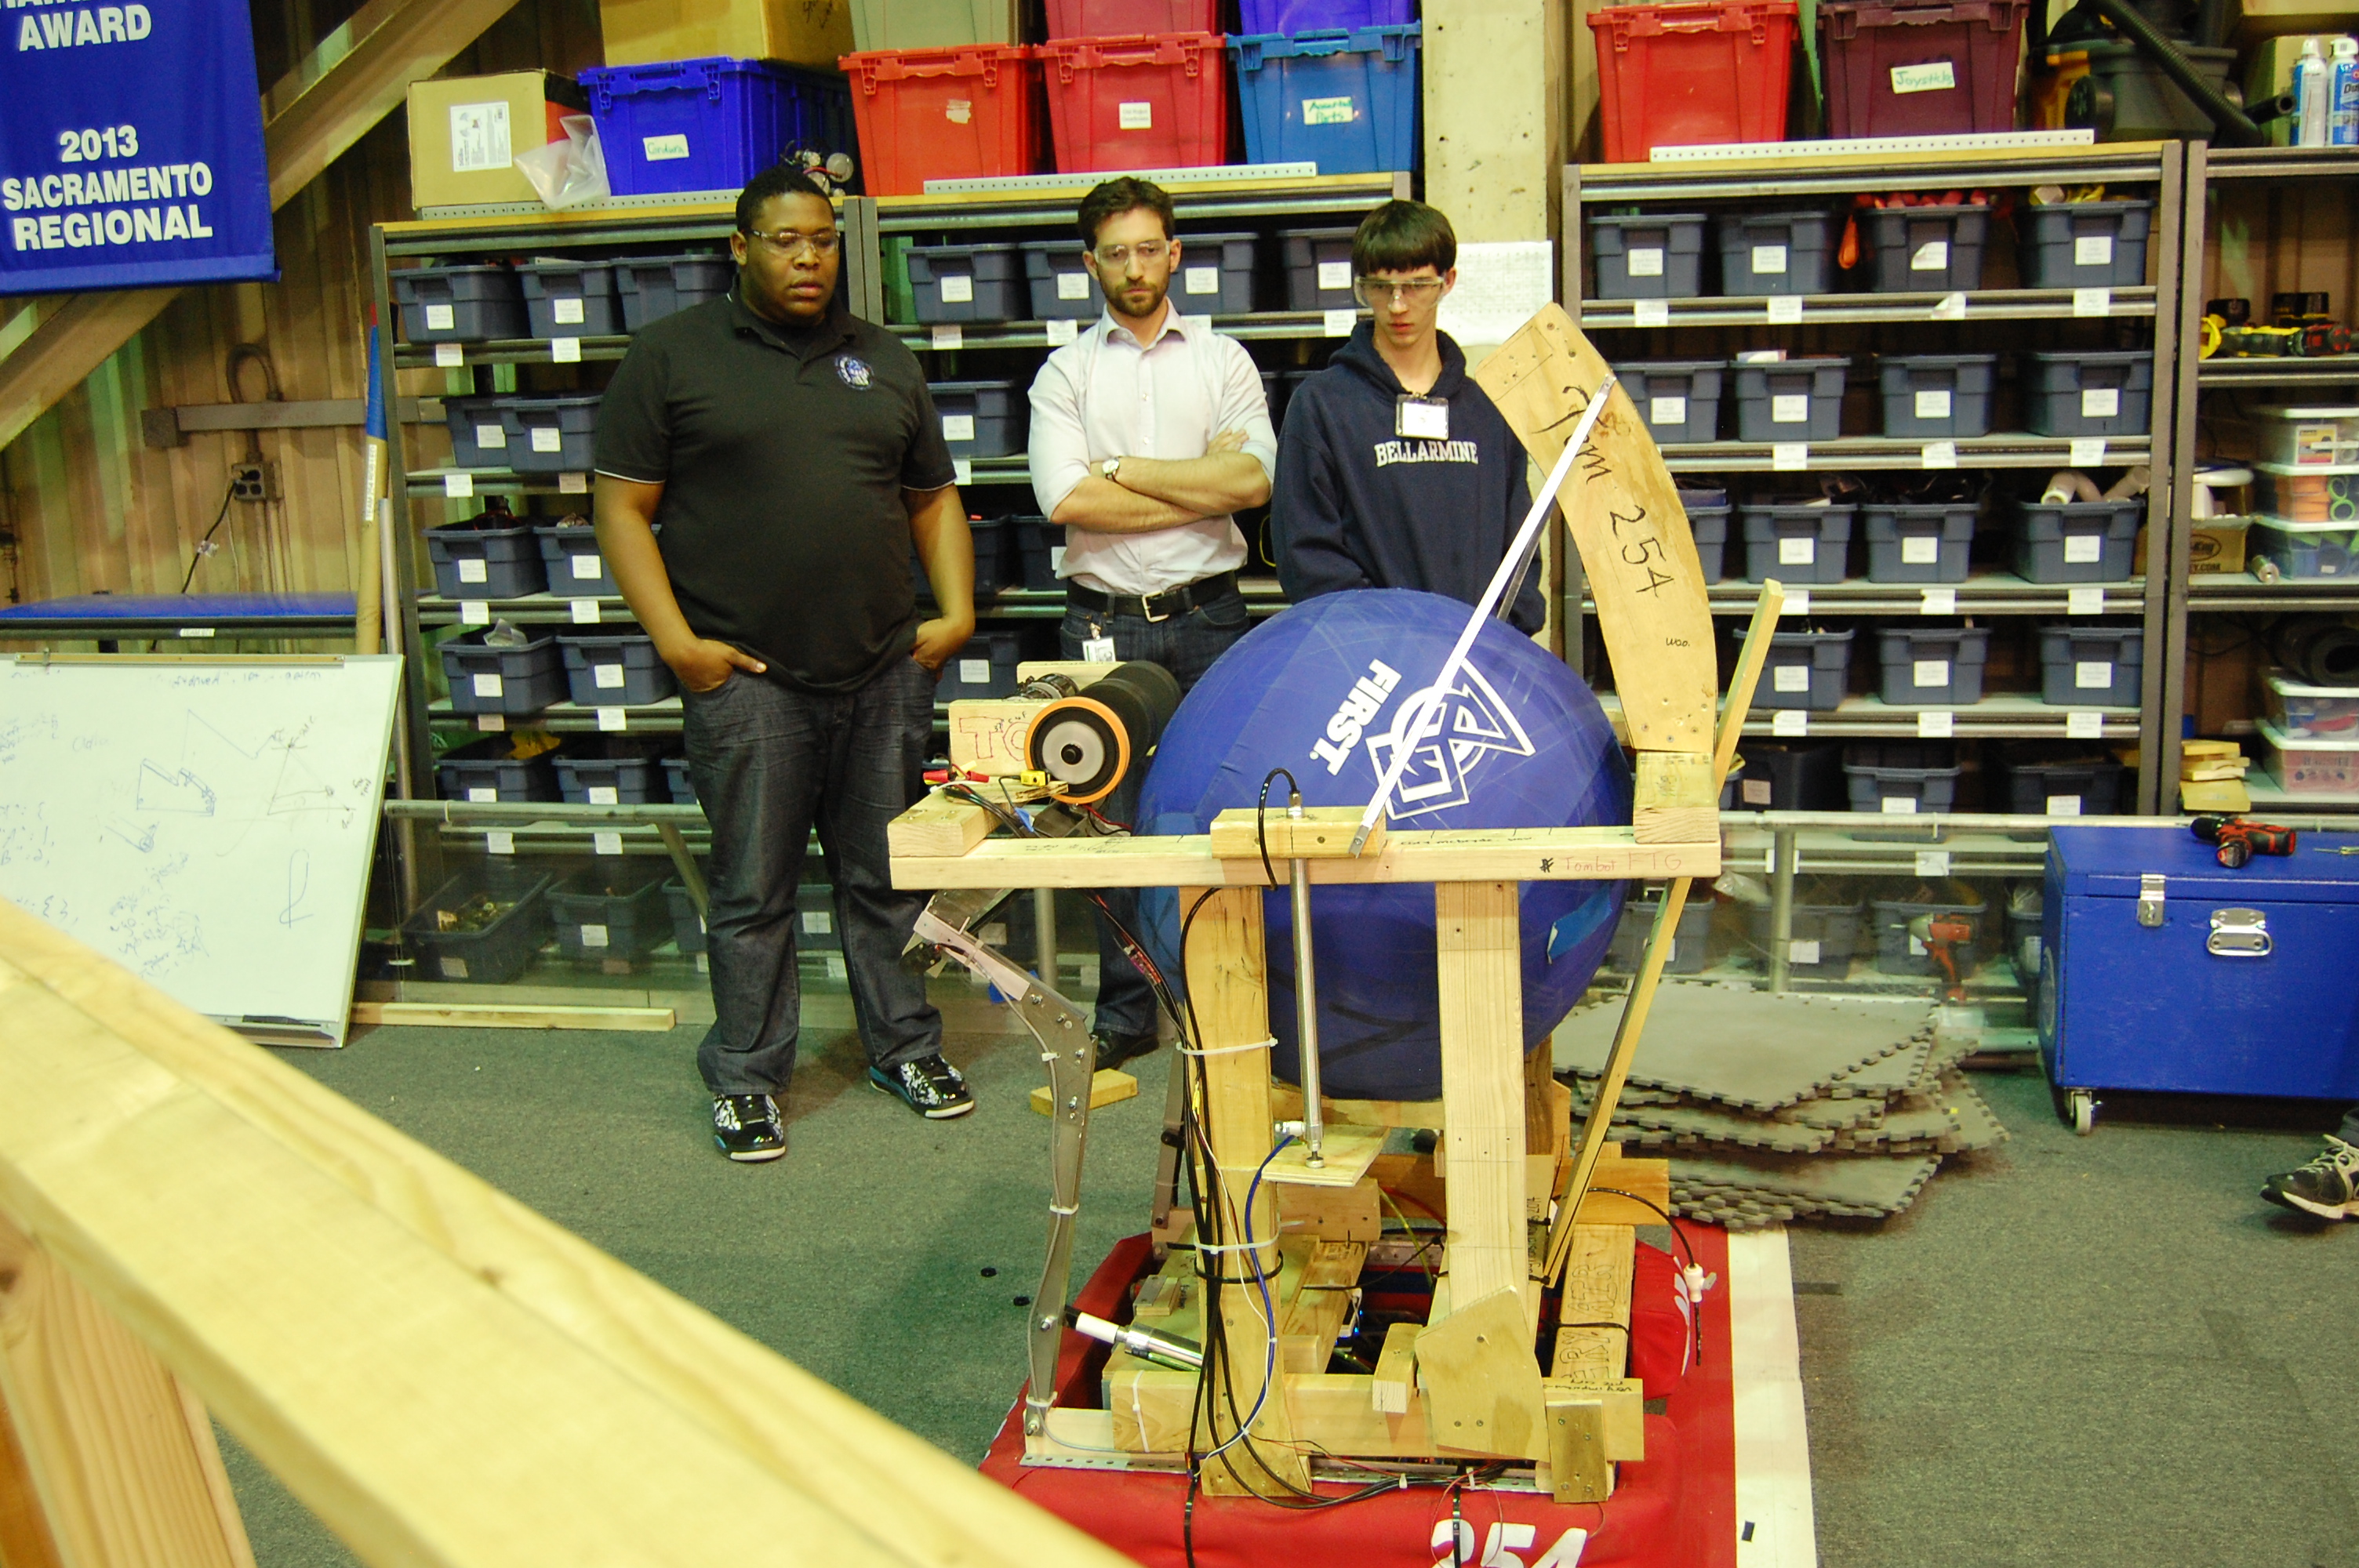
Today, work continued on testing the prototype robot’s lift mechanism, which uses pneumatic pistons to lift the ball from the intake of the robot to the flywheel shooter. This lift worked successfully during most of the tests. The hopper prototype uses a V-shaped mechanism to lift the ball.
Machining
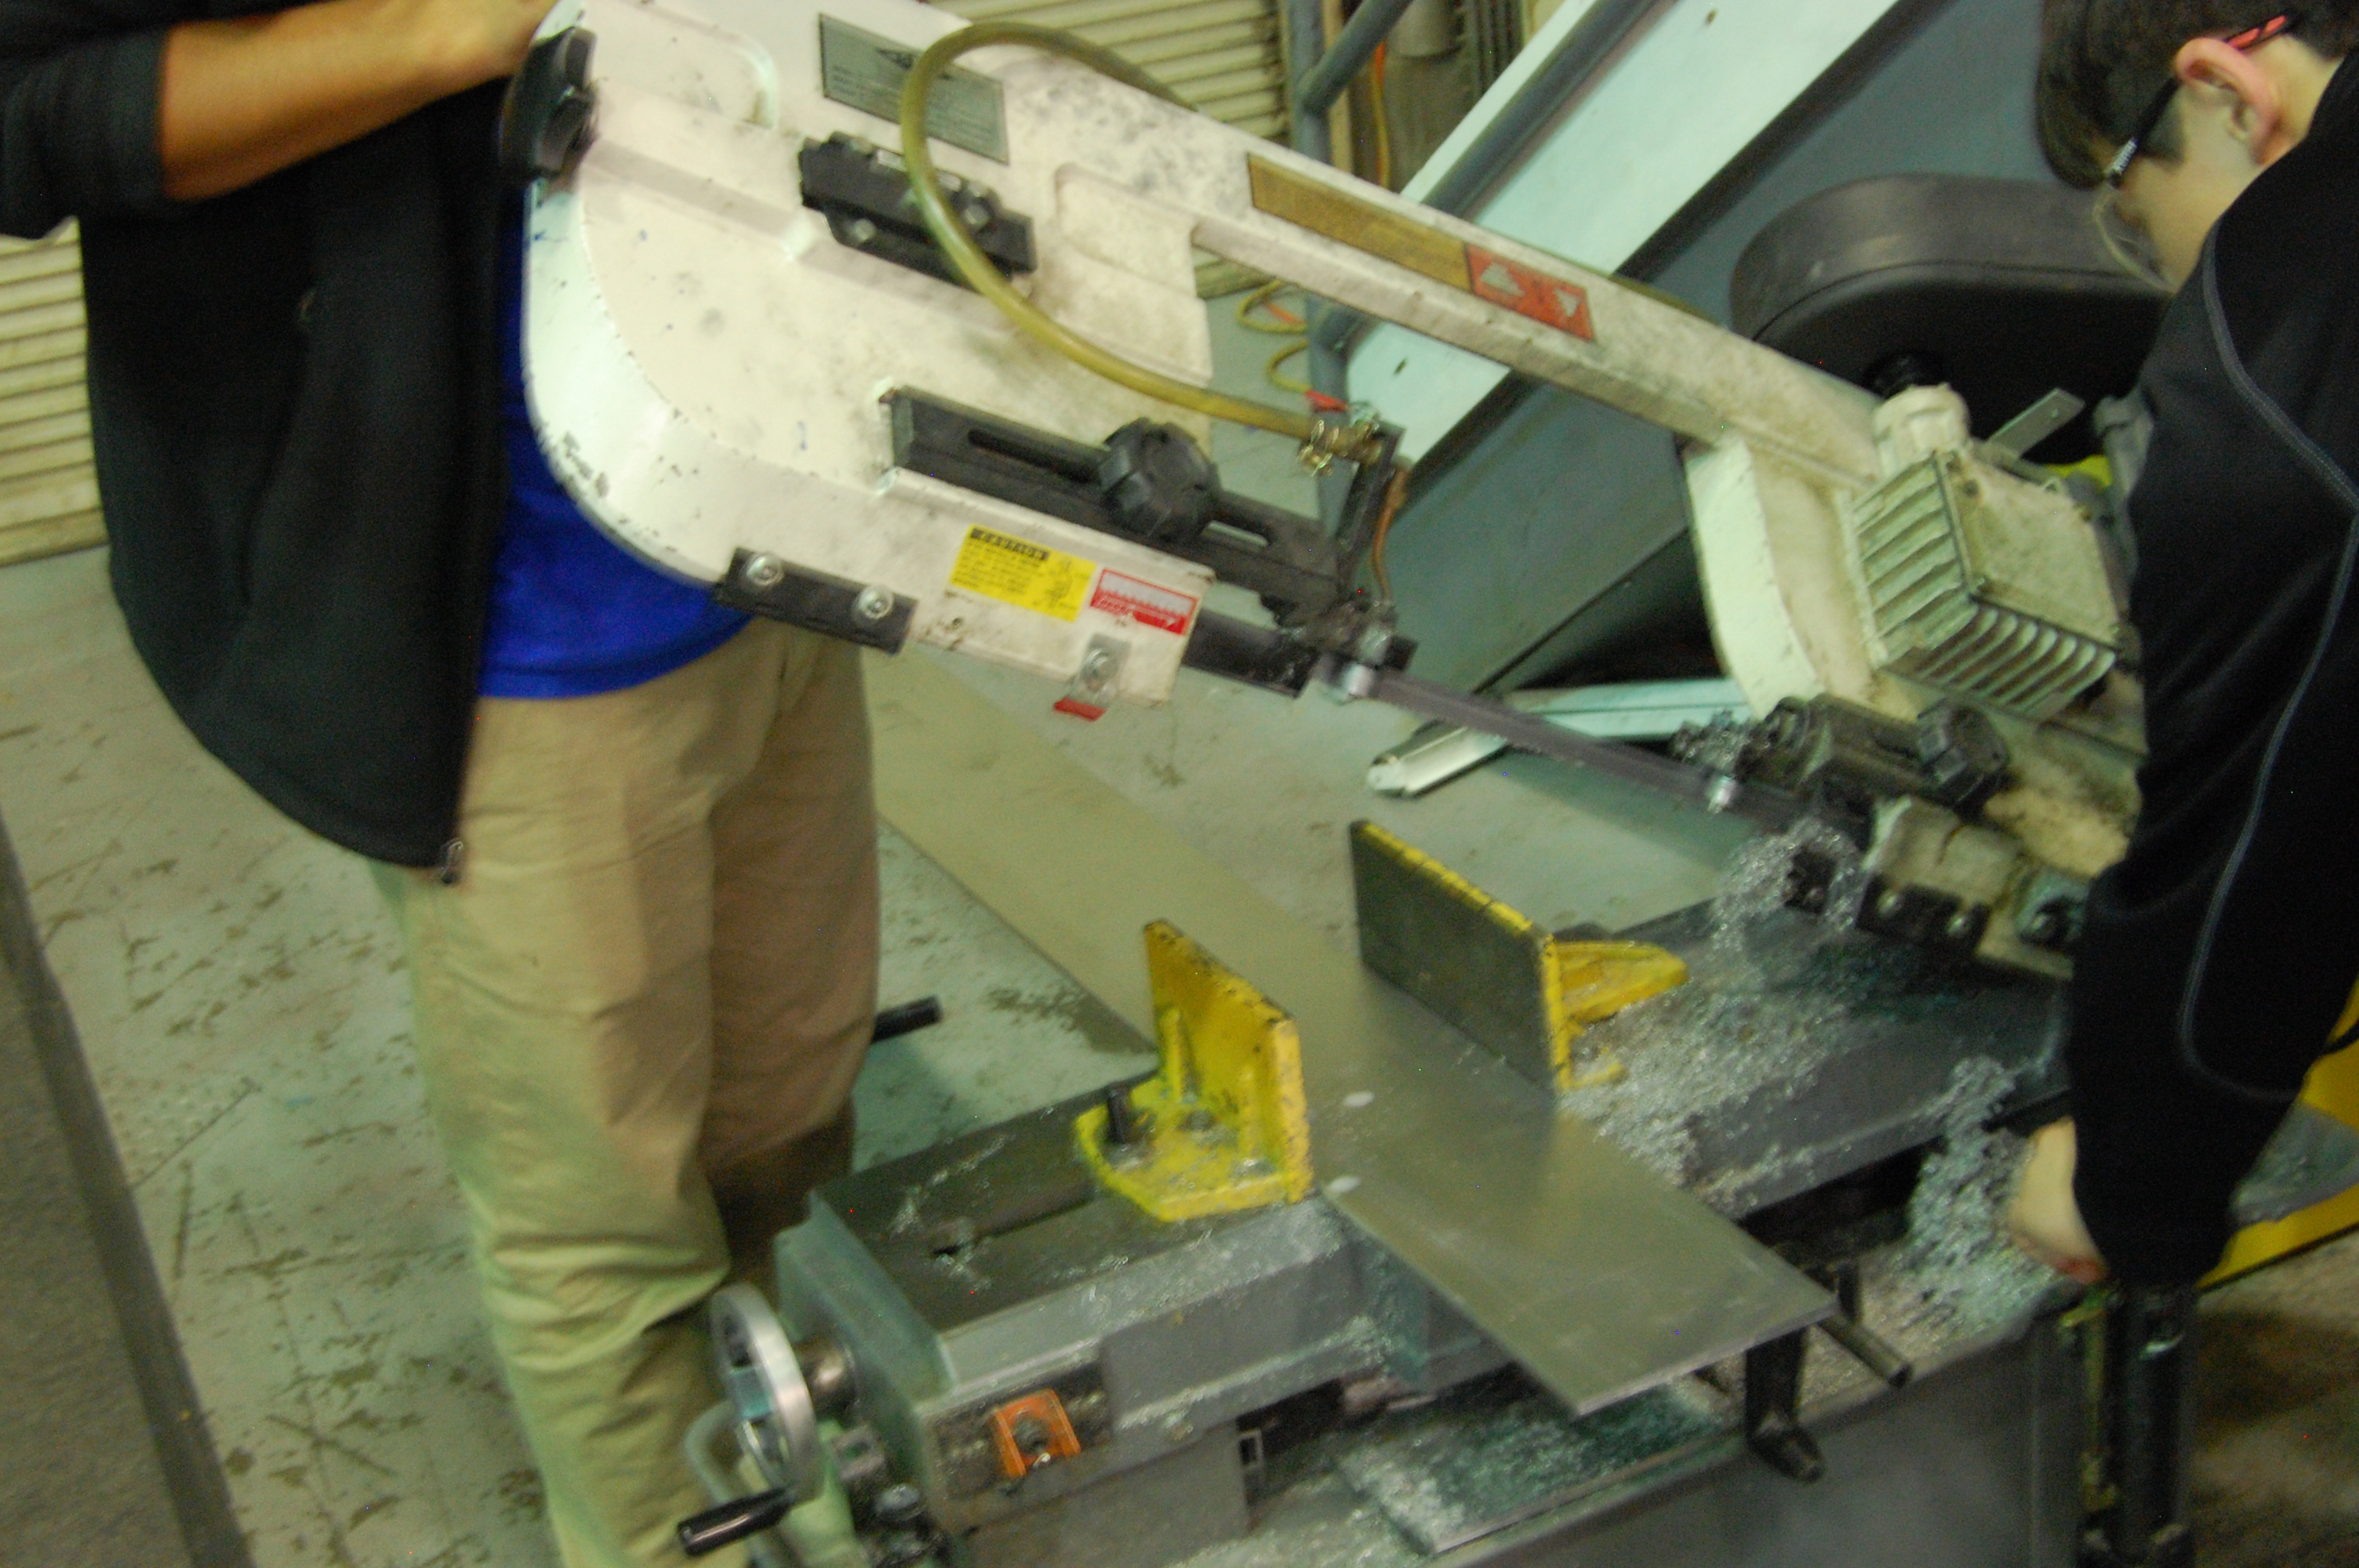
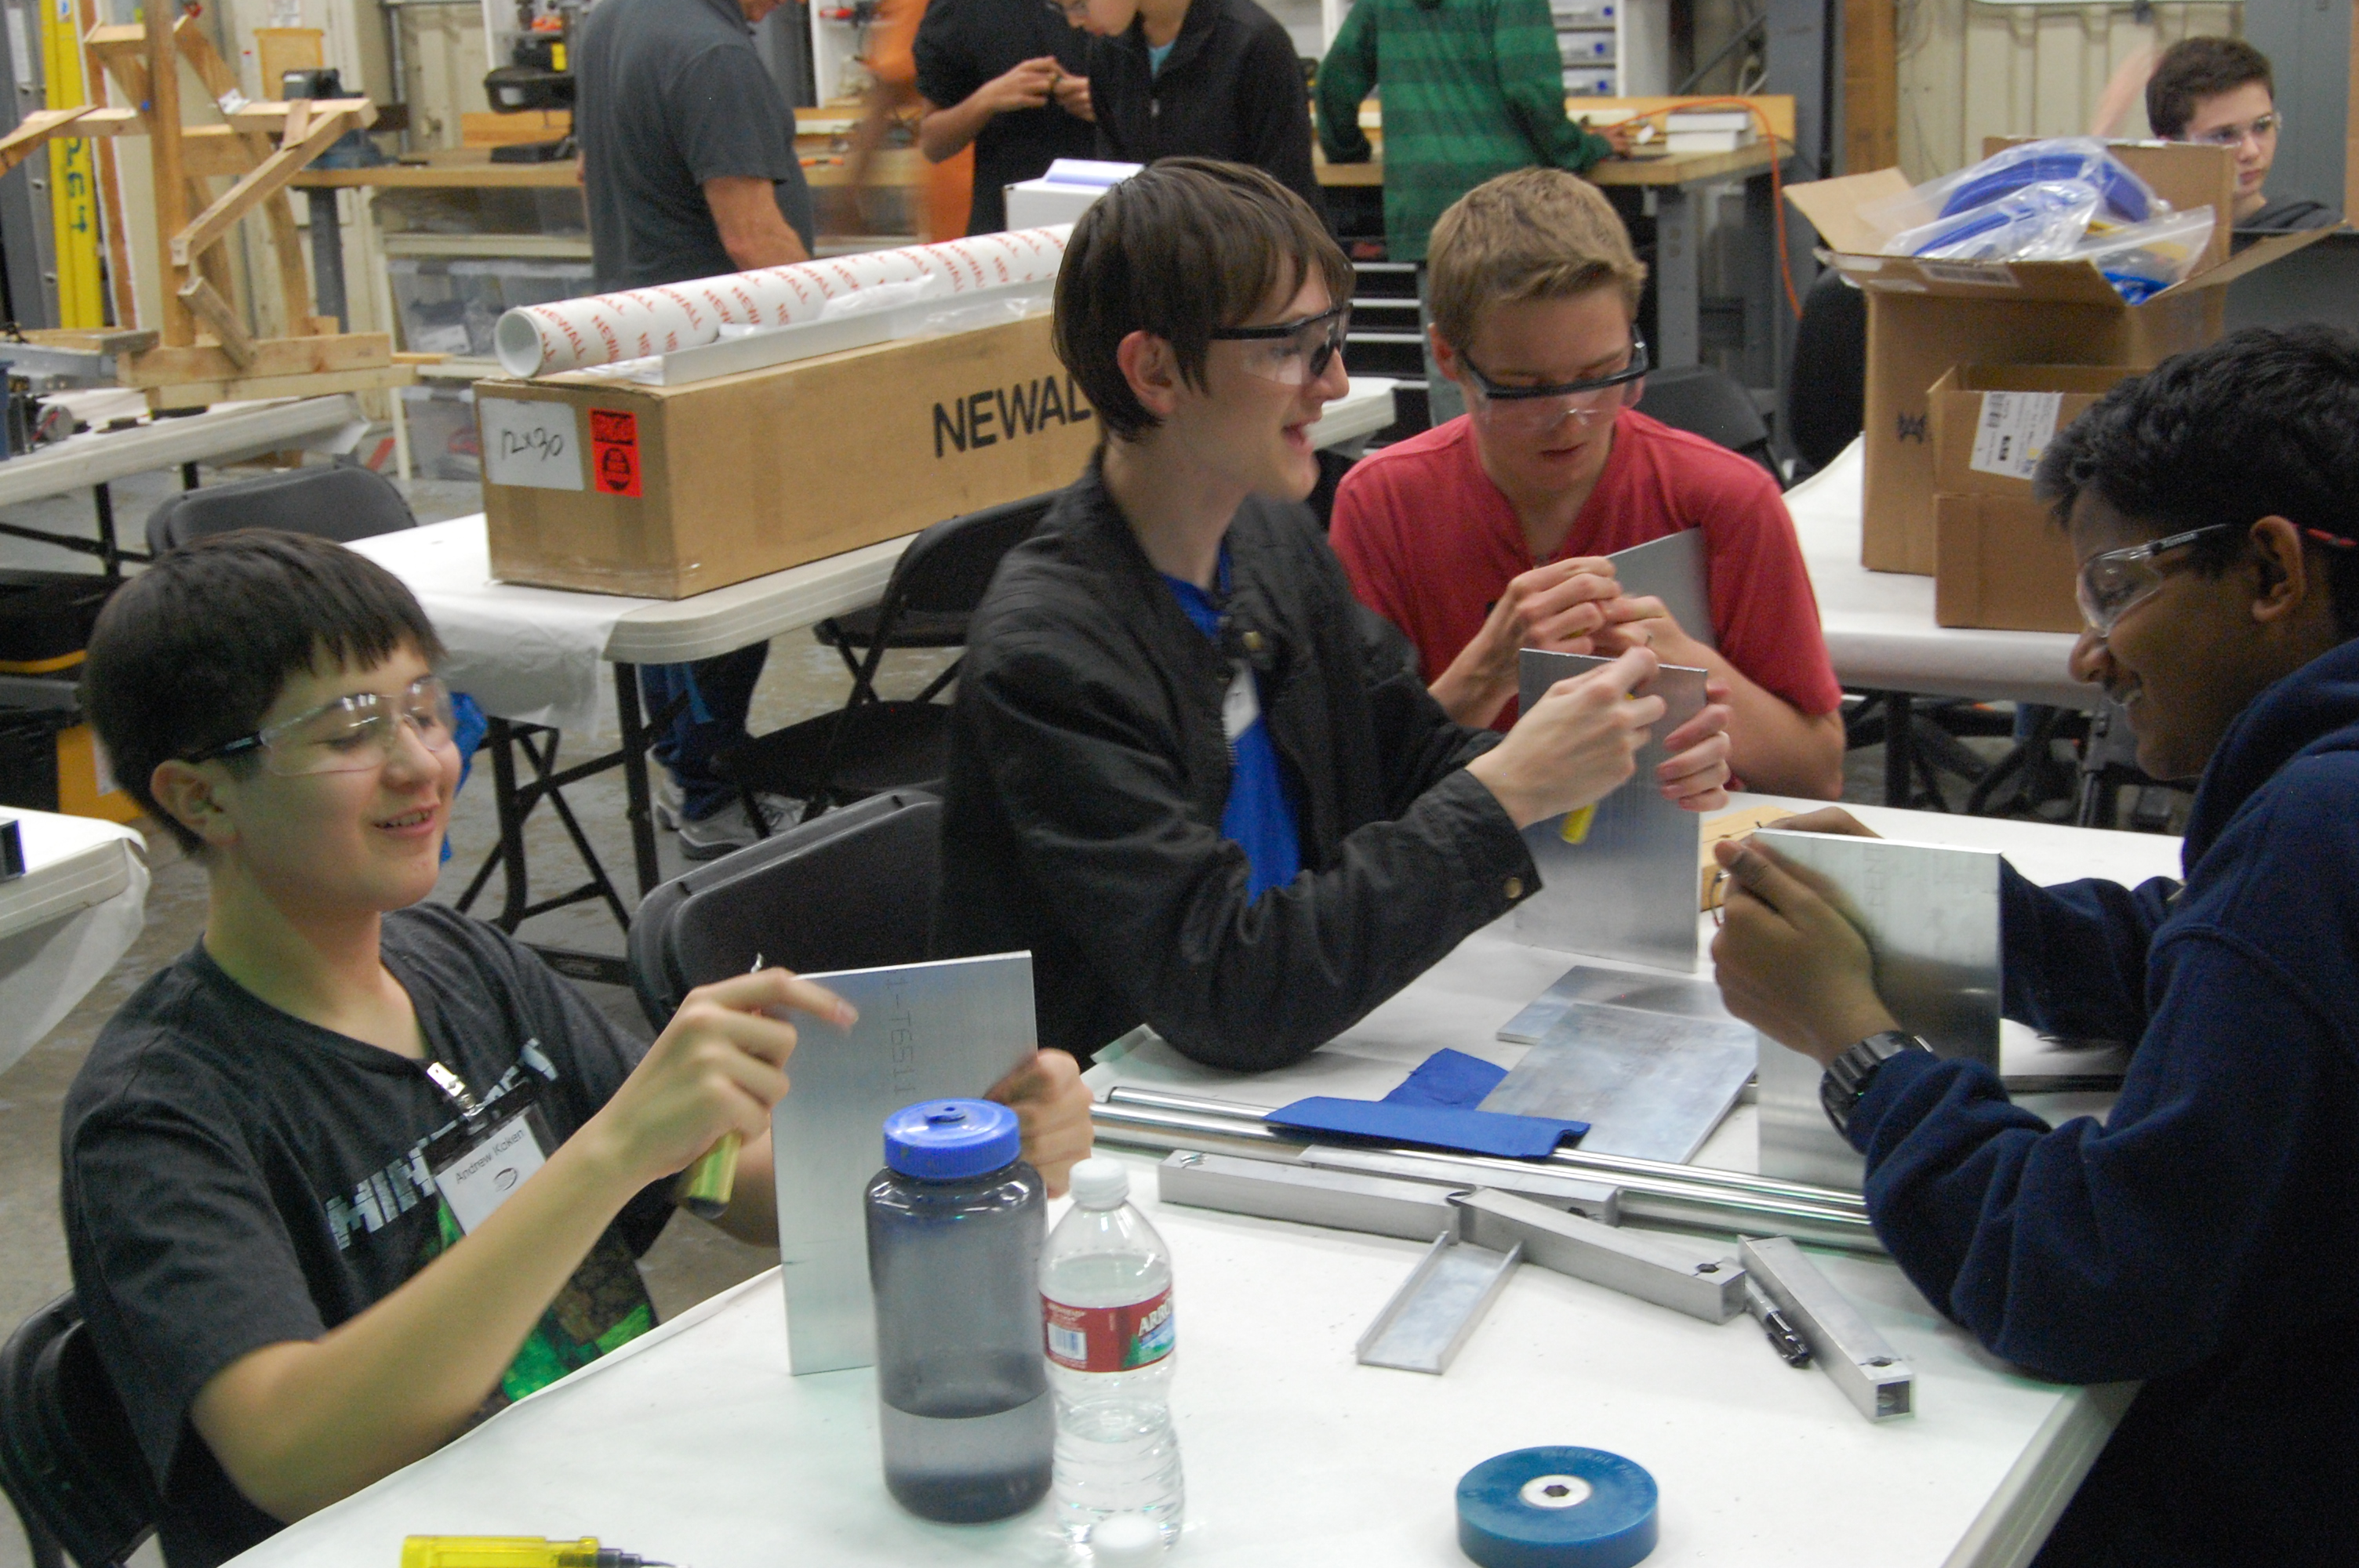
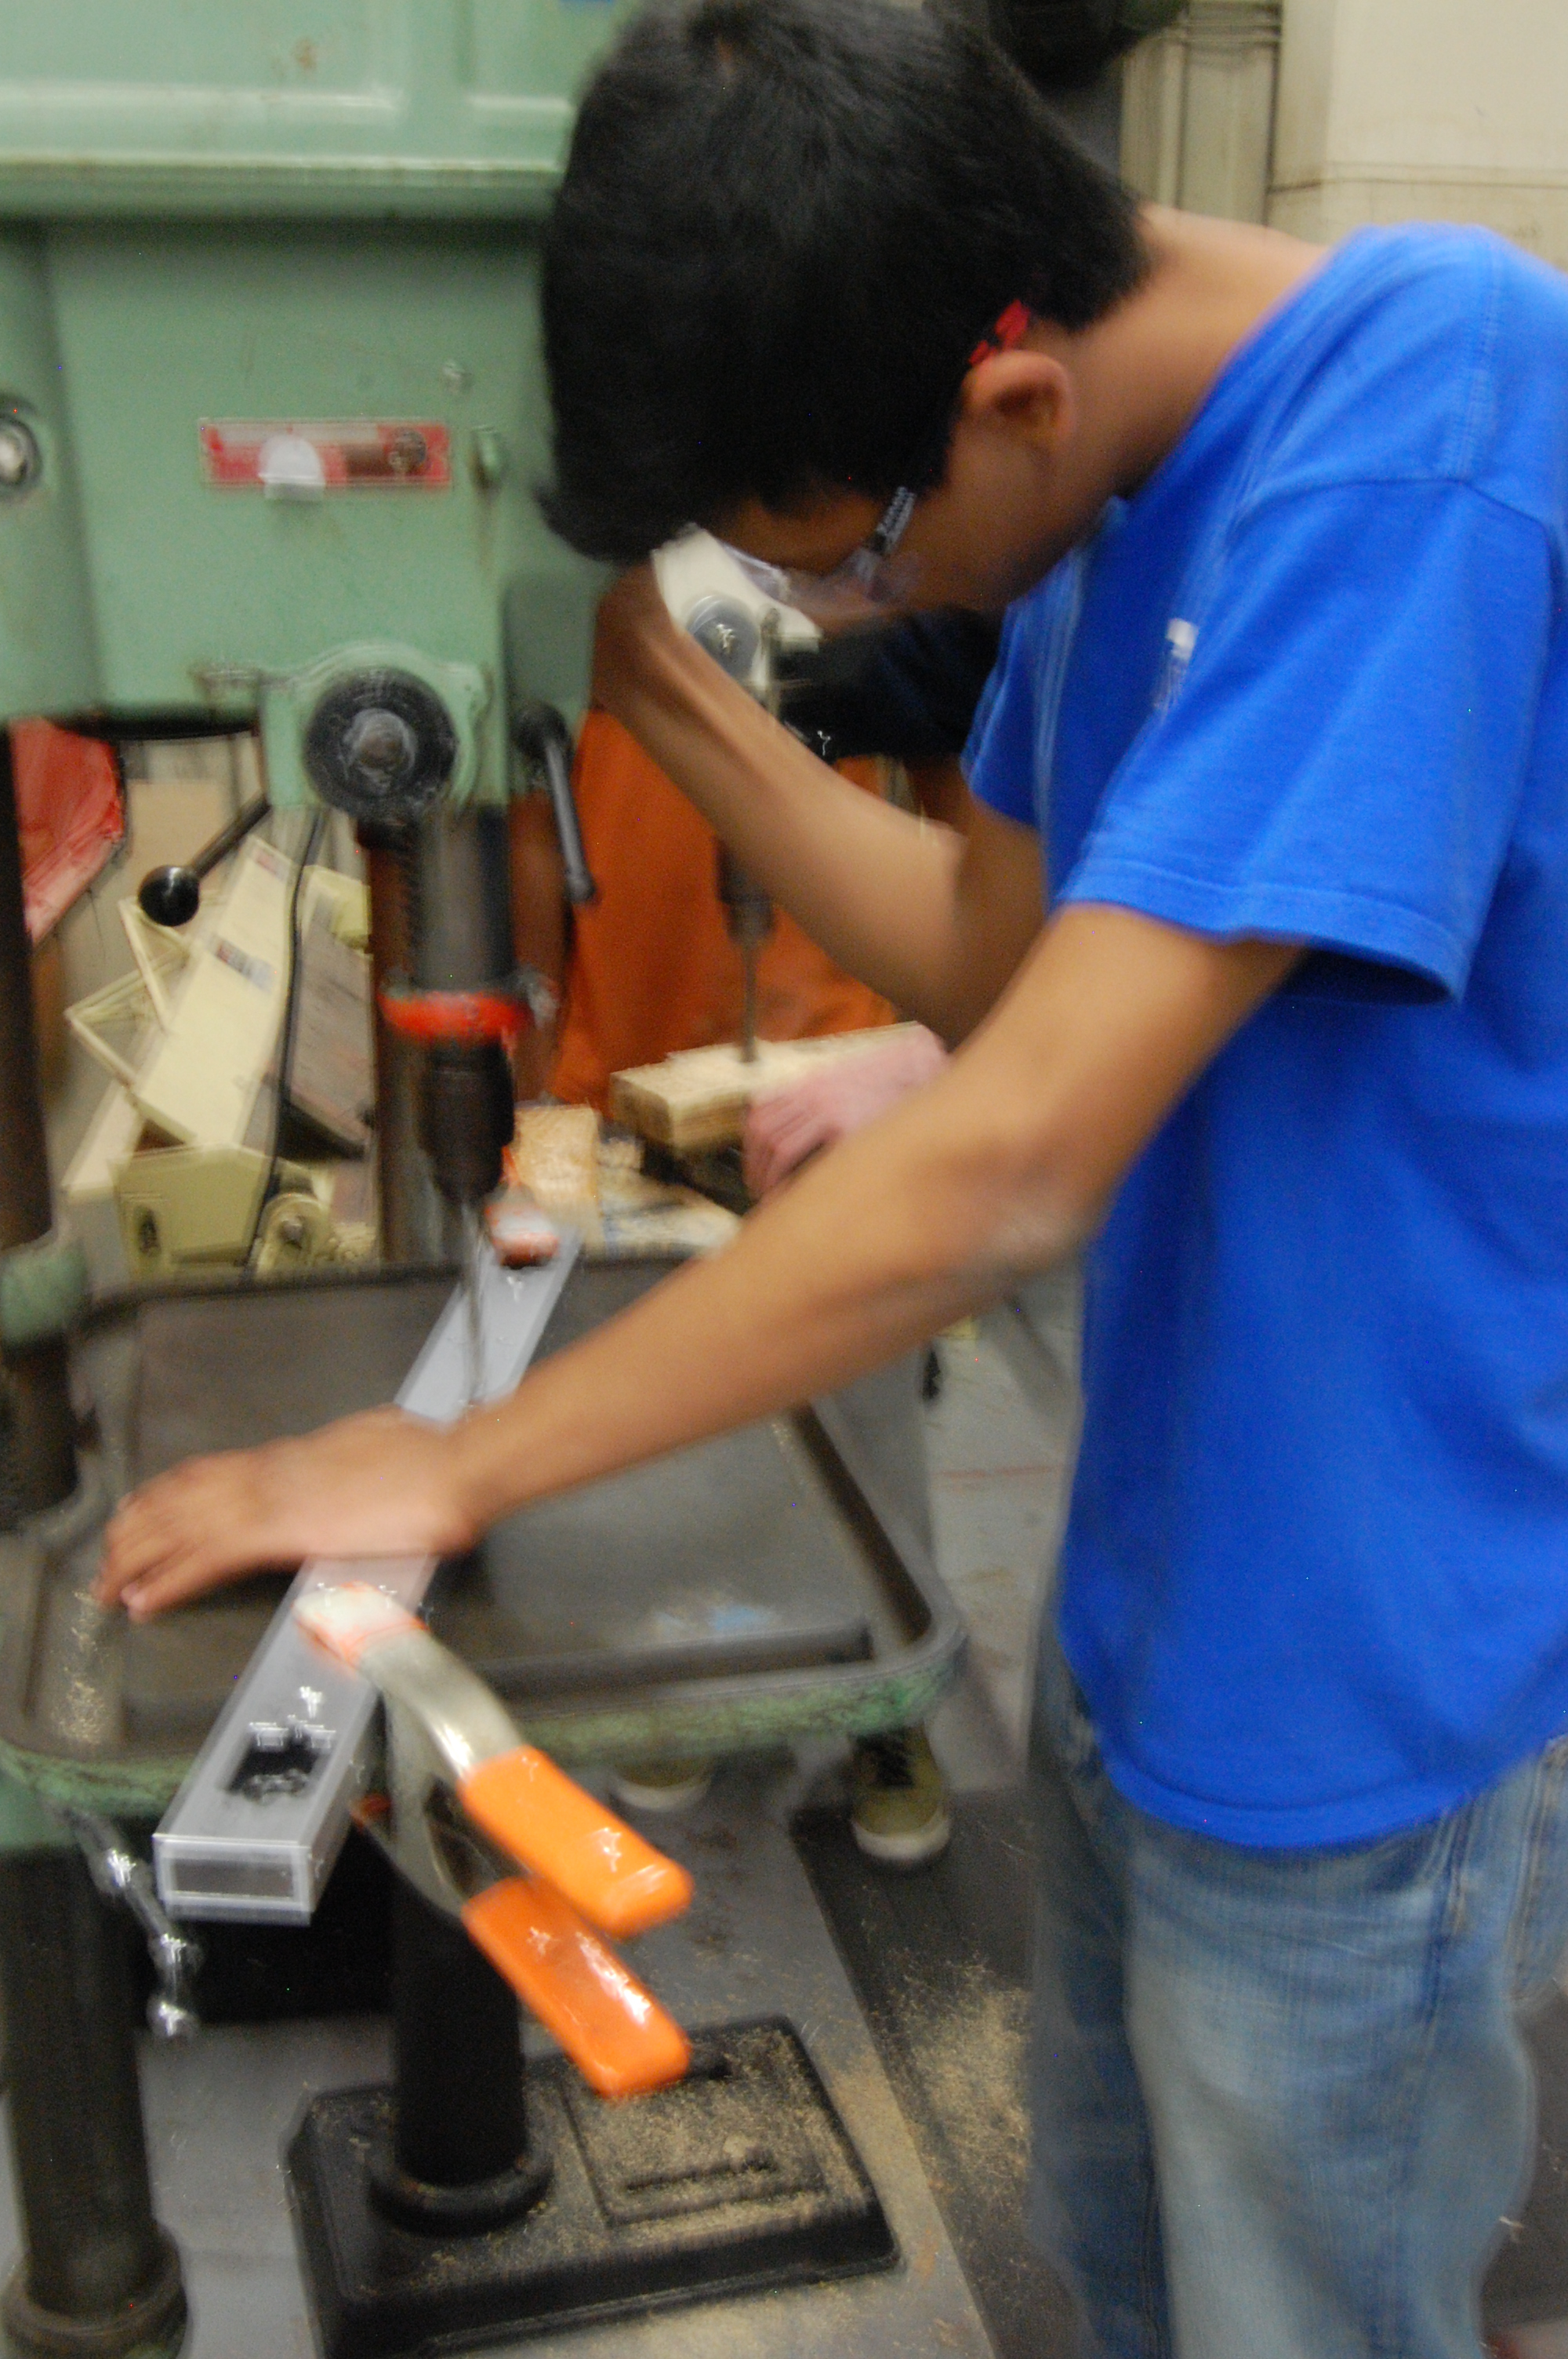
A group of students created side plates for the gearbox. After the plates were cut and deburred, they were machined on the CNC mill. All pieces for the drive base have been manufactured except for side plates.
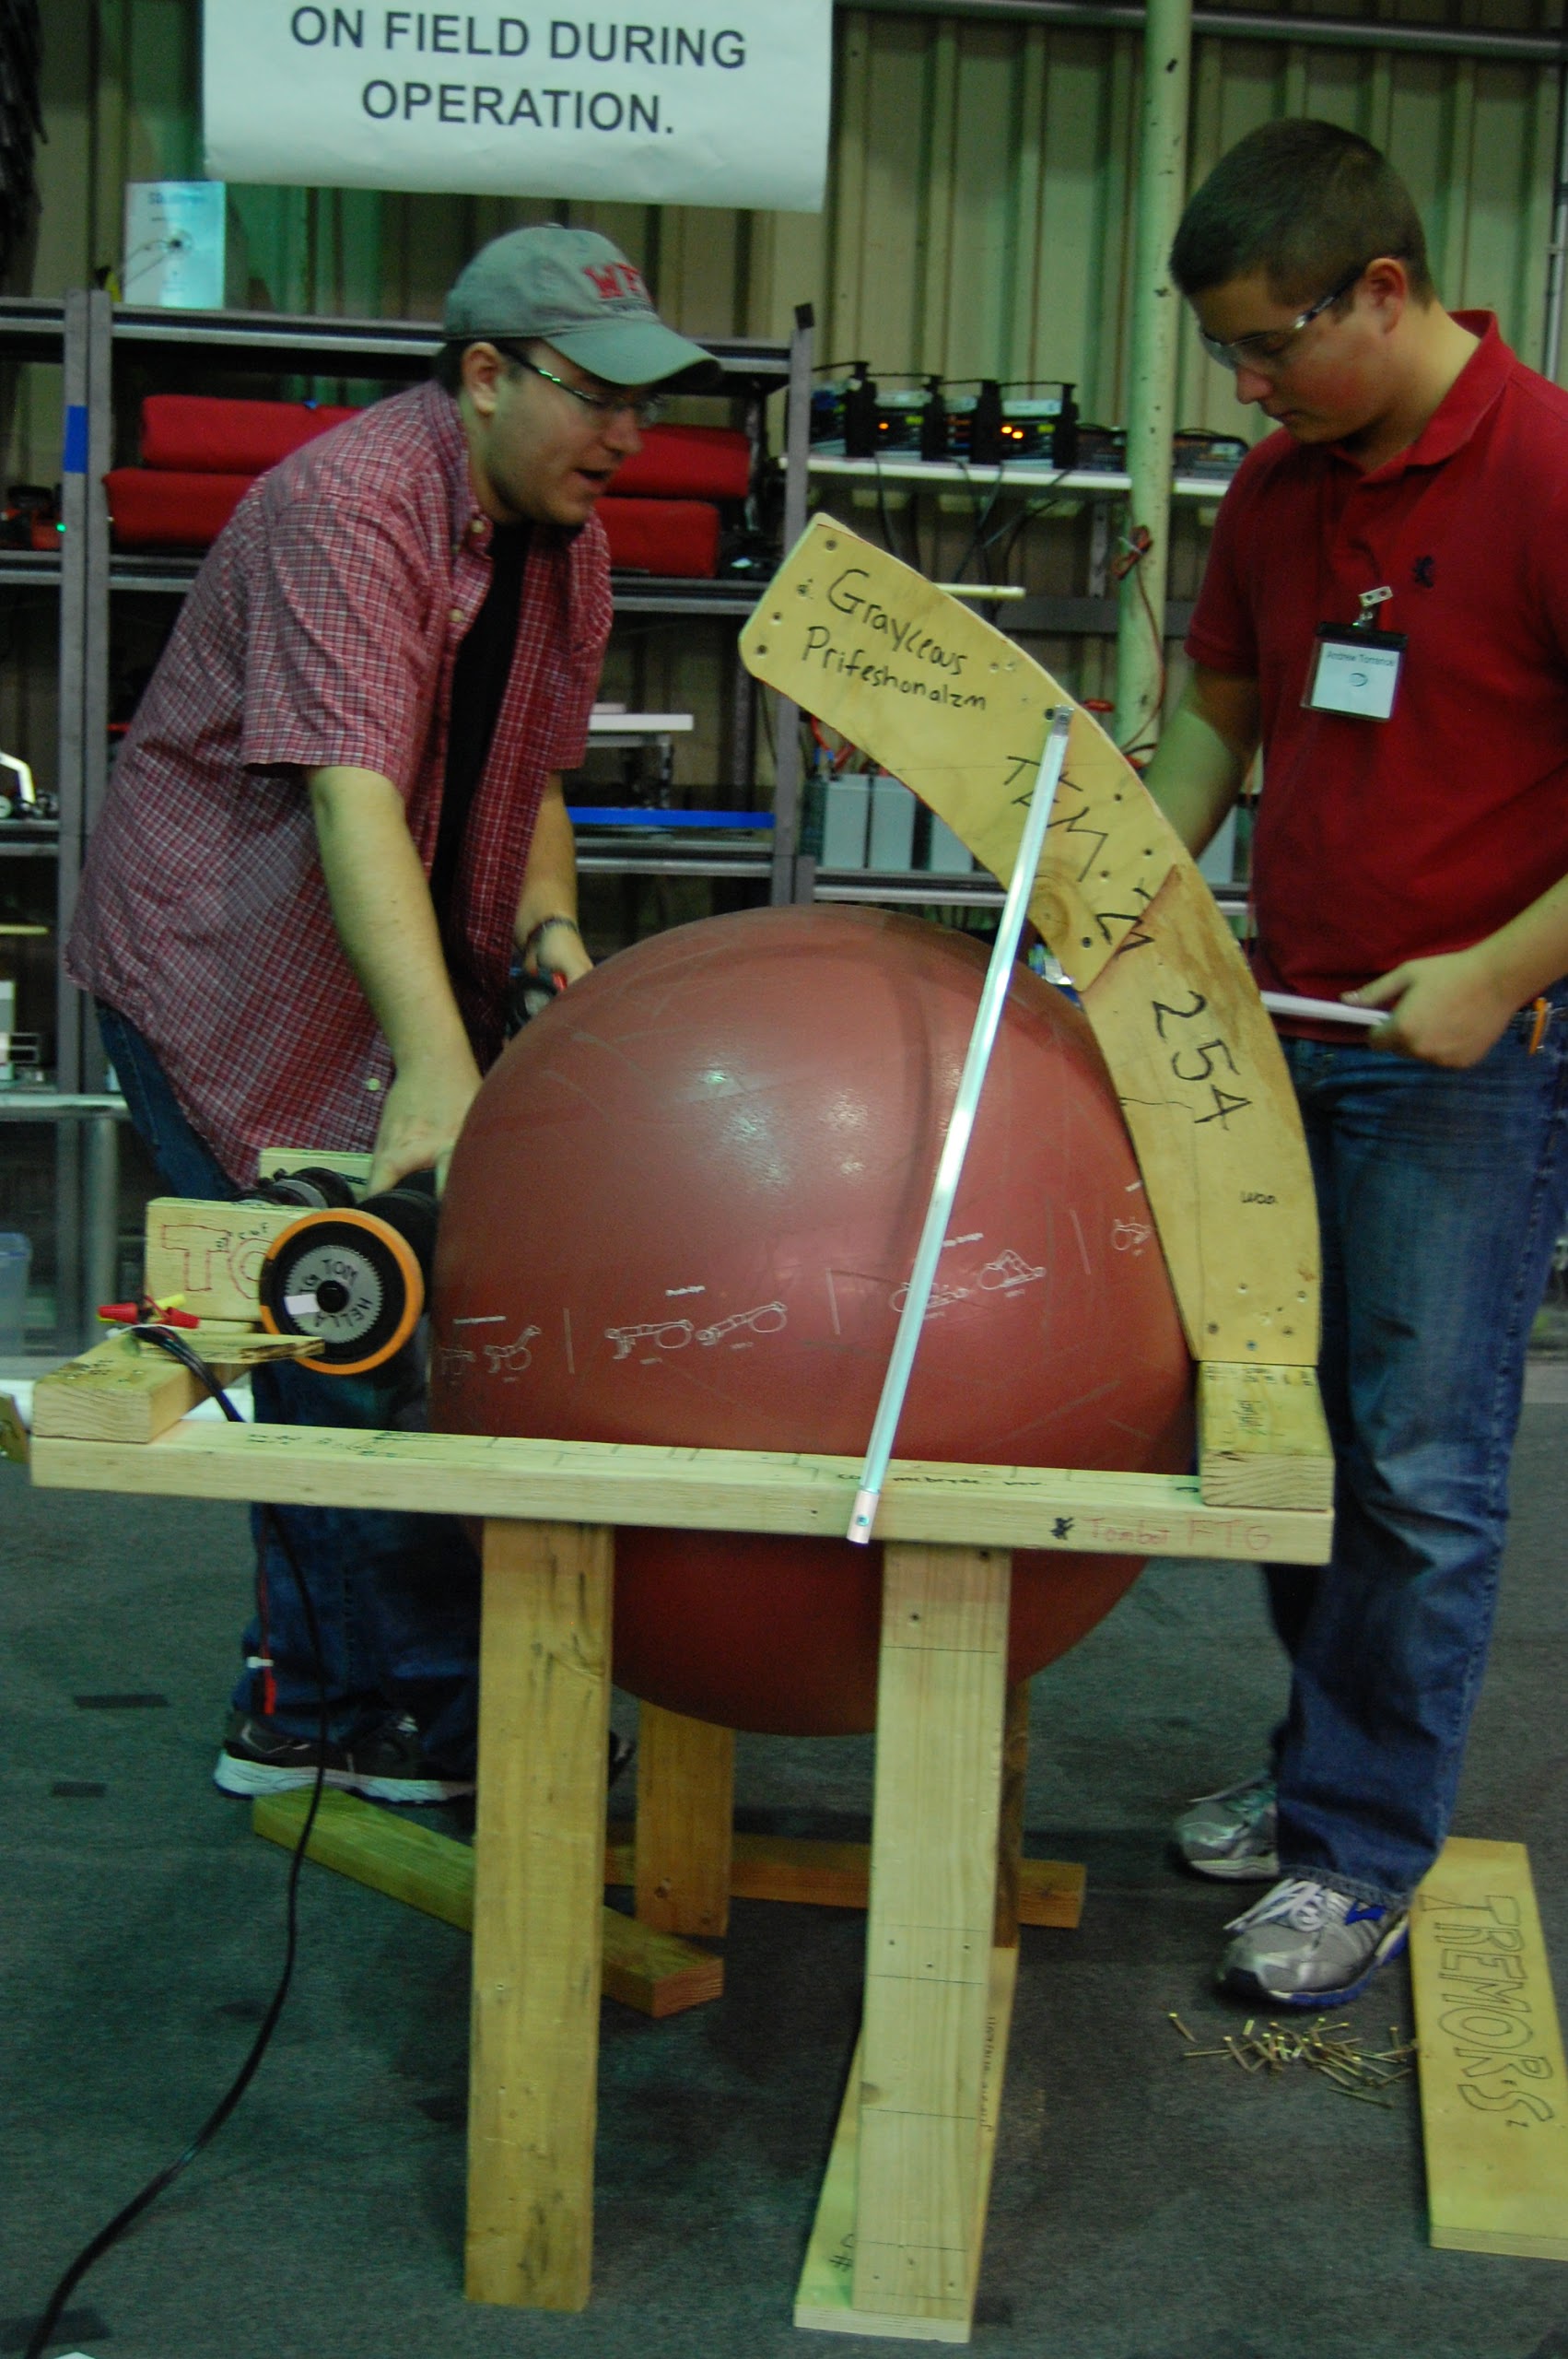
Work began on constructing a truss for the field. Also, the wooden goal was disassembled and the official goal will soon be set up.
Programming
The programmers worked to fine tune the shooter mechanism. They created a graph of the model voltage for the shooter and compared it to the actual data with equations. This will allow compensation for the variable factors that affect the input voltage, and will increase shot accuracy.
Testing
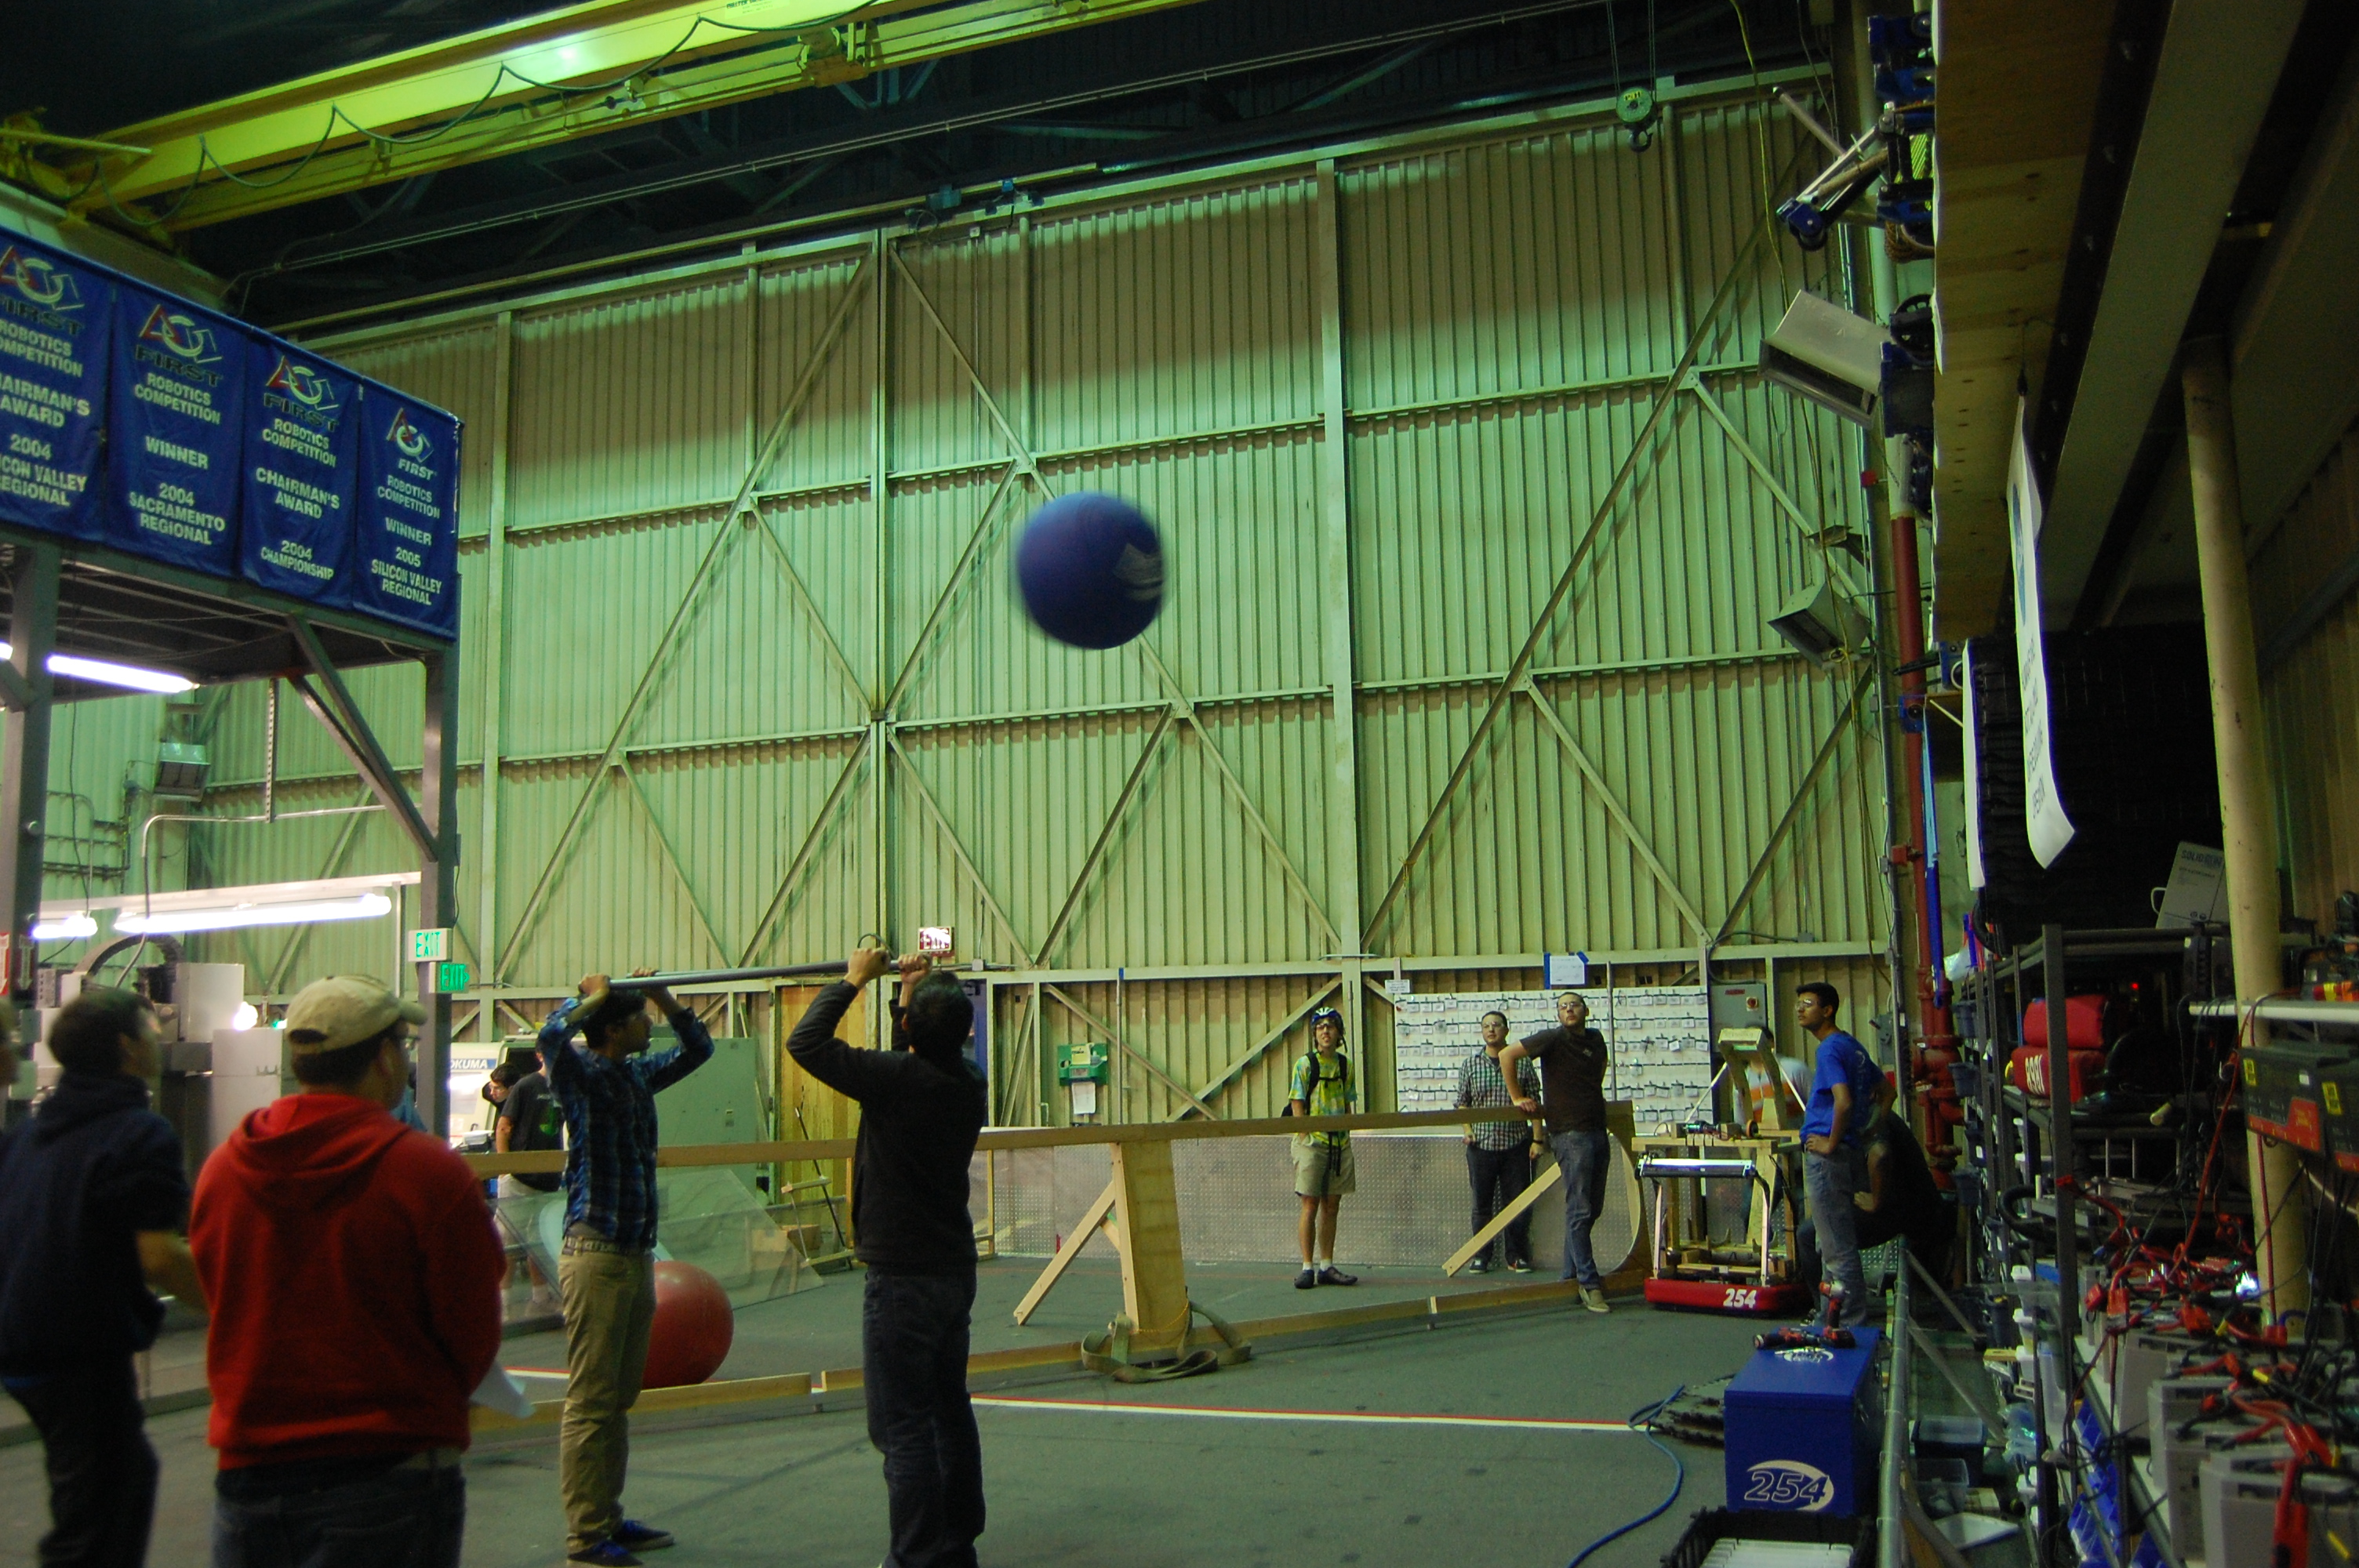
Many students contributed to testing and refining the shooter mechanism. Many different variables were adjusted to determine the best conditions for accurate and powerful shooting. The shooter speed was varied between 4000 and 5000 rpm and the wheels for the shooter were replaced with slightly larger ones to increase flywheel energy. A banner sensor was added to measure flywheel rotational speed using retroreflective tape. The new flywheels shoot 12 vertical feet, high enough to clear the truss.
CAD
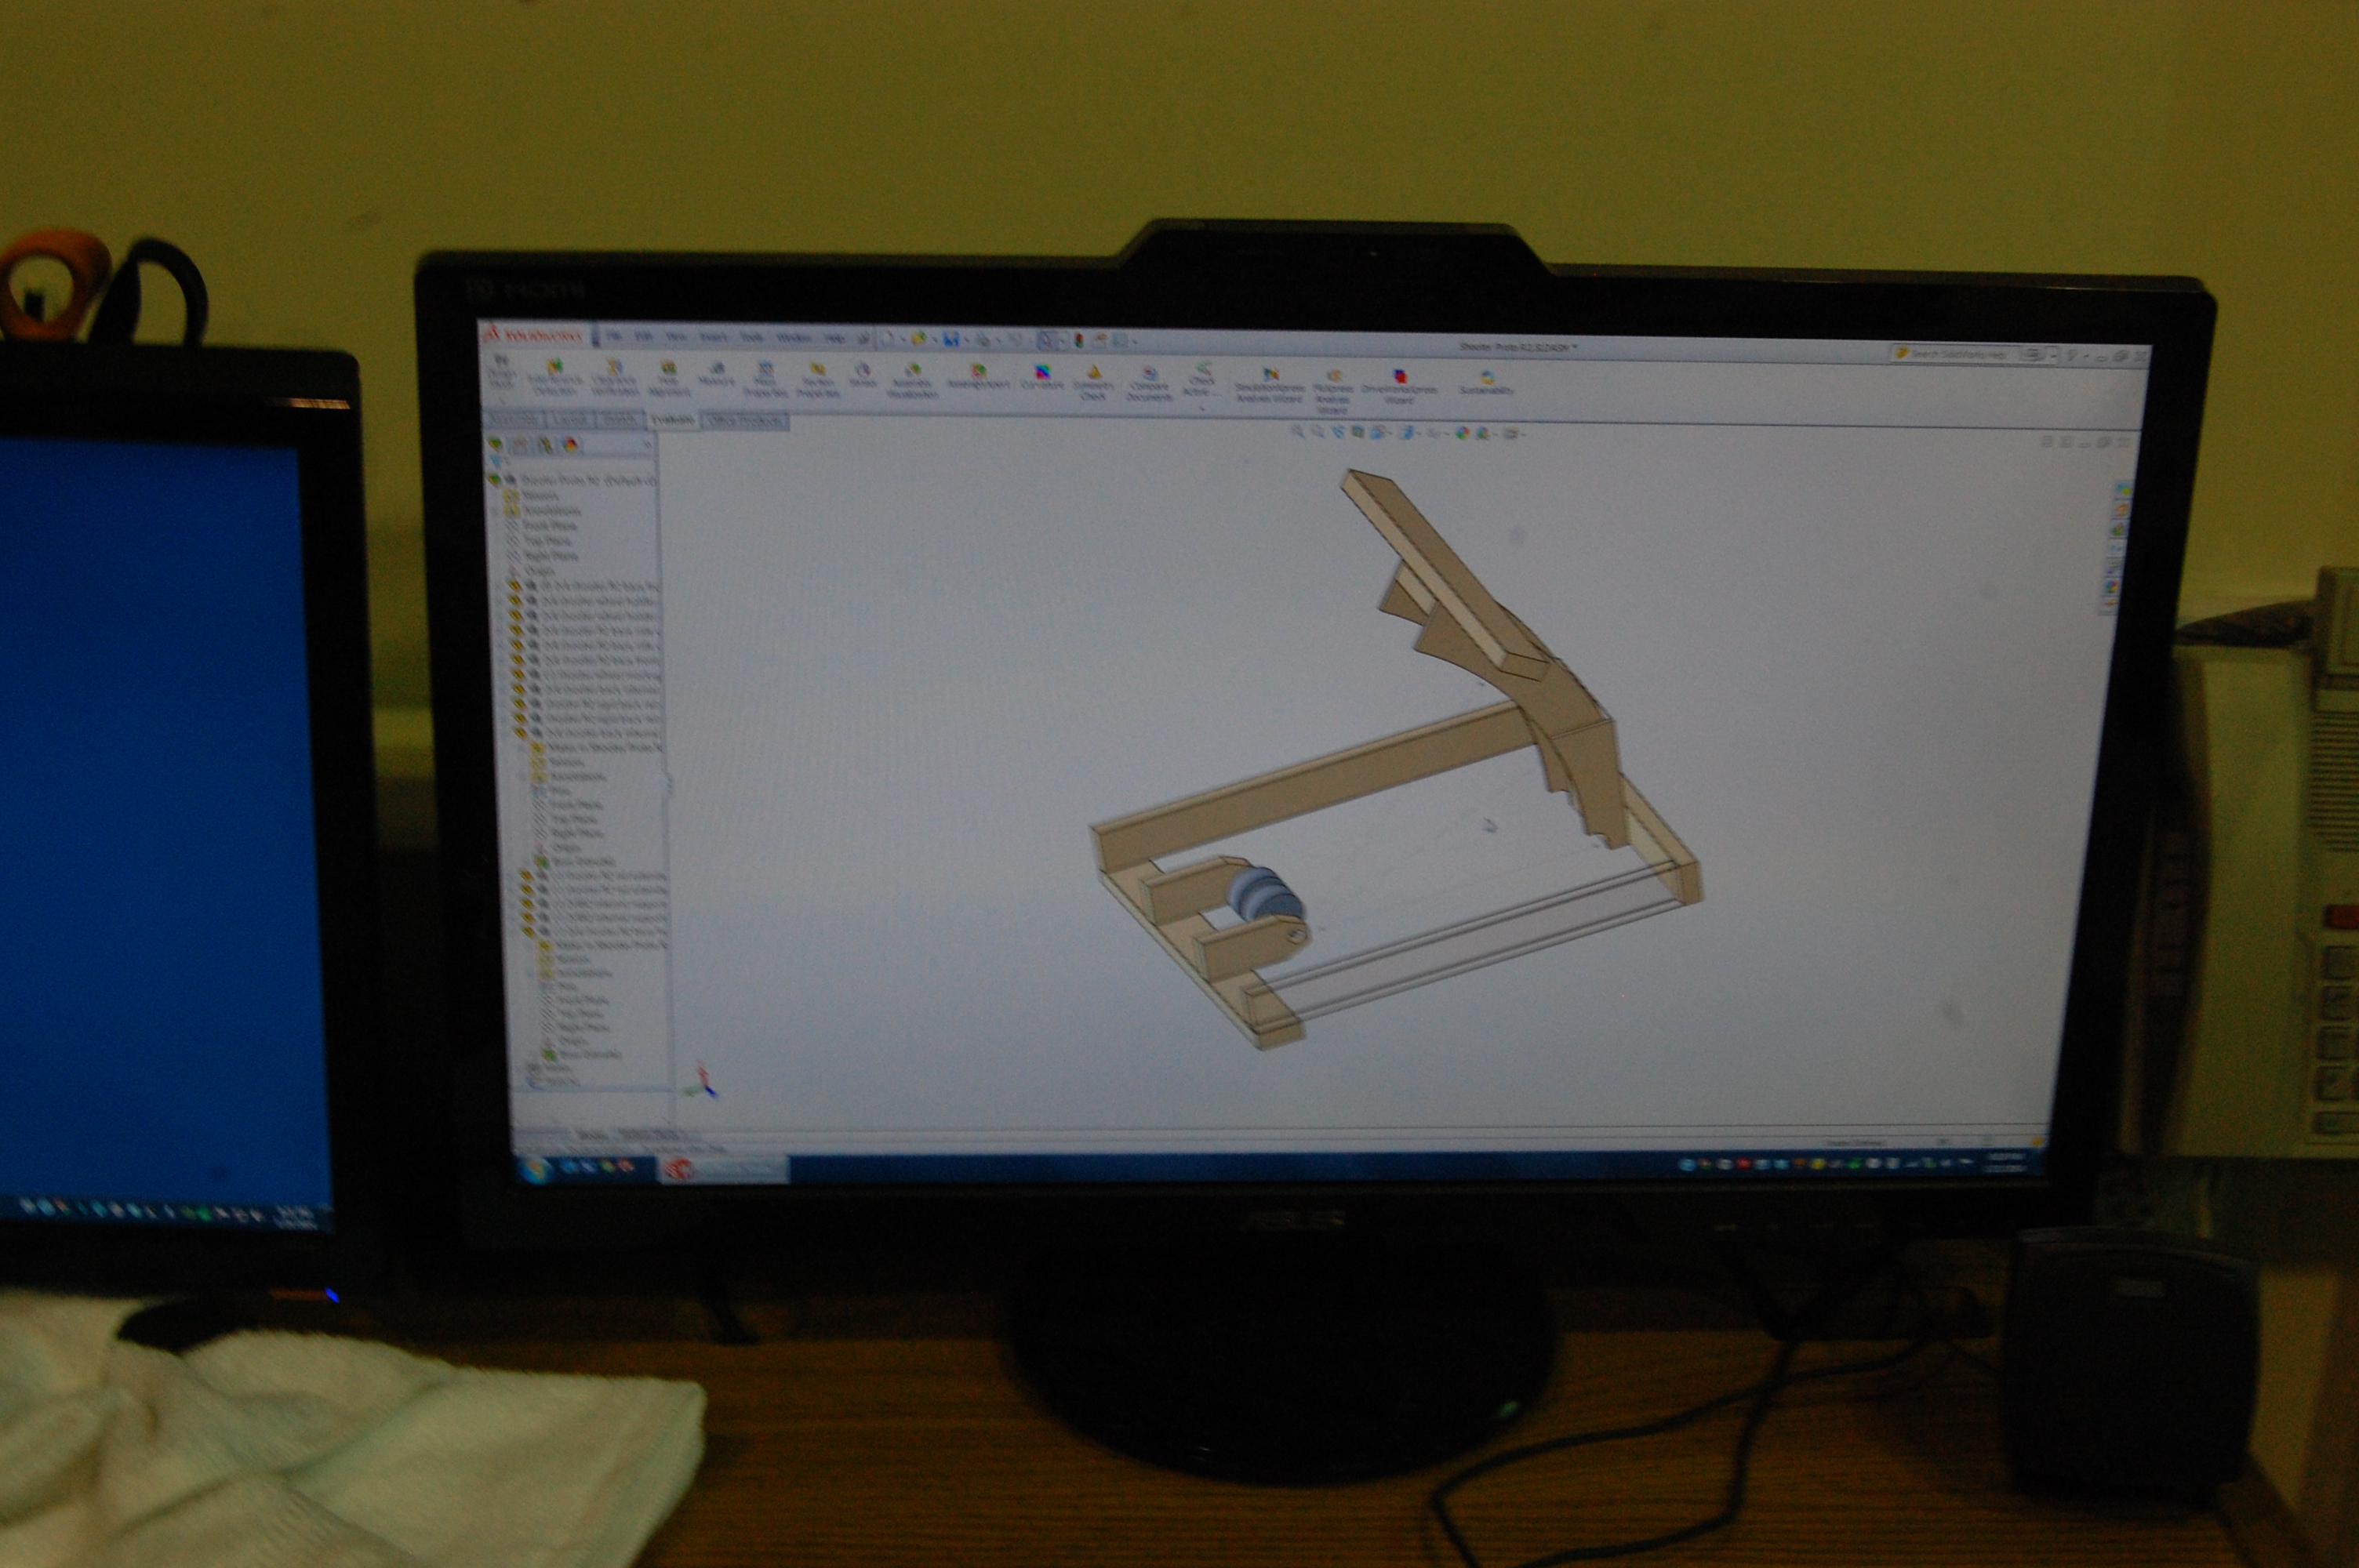
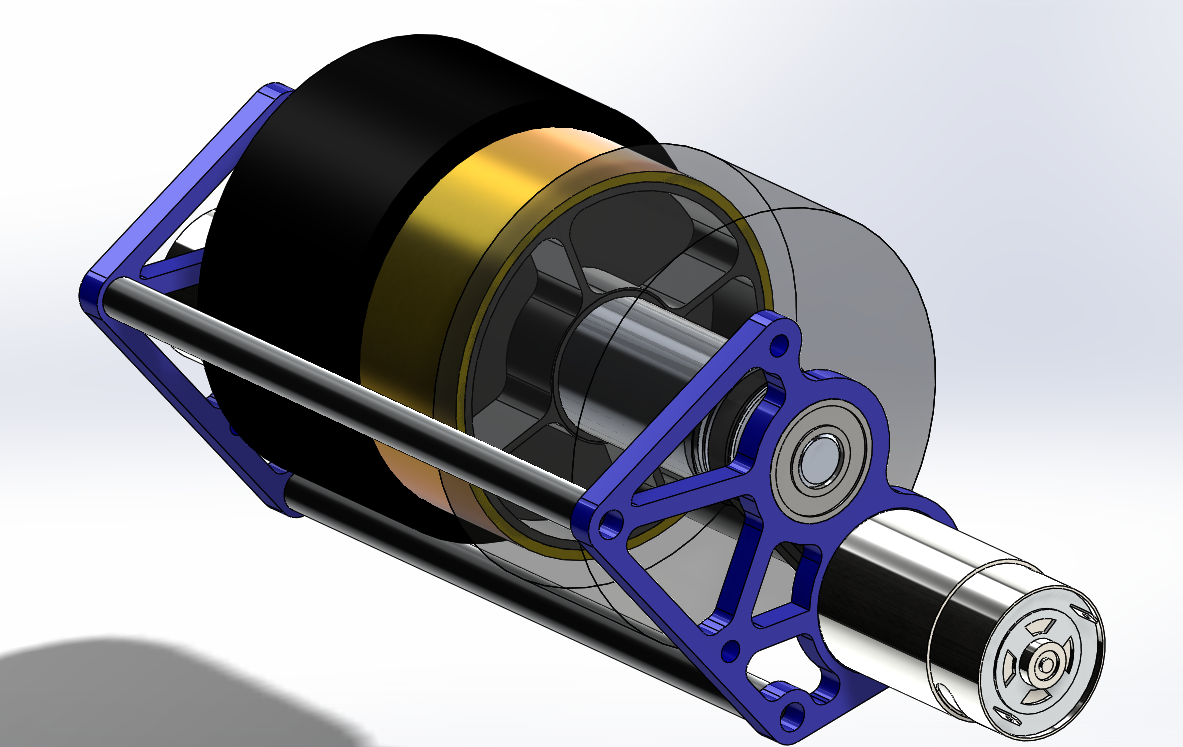
We began work on the design of a new prototype shooter. This shooter will have a sturdier hood and a lighter wheel. The hood will also have a hood extension that can be attached to replicate the two-position hood on the actual robot.
To design the shooter, students learned about moment of inertia and used SolidWorks to roughly estimate the mass and moment of inertia of the current extra weights on the shooter prototype. We used those numbers to estimate the mass and moment of inertia that we can add to the flywheel in place of the metal gears currently in place on the shooter. These numbers allowed us to model a copper tube with less mass and a similar moment of inertia which will be pressed around an aluminum hub and installed on the robot. More information on moment of inertia is available online.
Action Items
- Check the Trello
- Assemble the weldment
- Start on catcher prototype with Colin
- Test the new shooter wheel and new prototypes thoroughly with Abhi: build adjustable hood for testing shooting angles: test for shot distance for hood angles and ball pressure
- Complete CAD of bumpers, superstructure, and battery cart with Andrew and Mani
- Possibly build new flywheel weight.