88 posts

Day #36: Intake & Conveyor Assembly

2013 FRC Build SeasonFIRST Robotics

Author: Andrew Torrance

Machining & Assembly

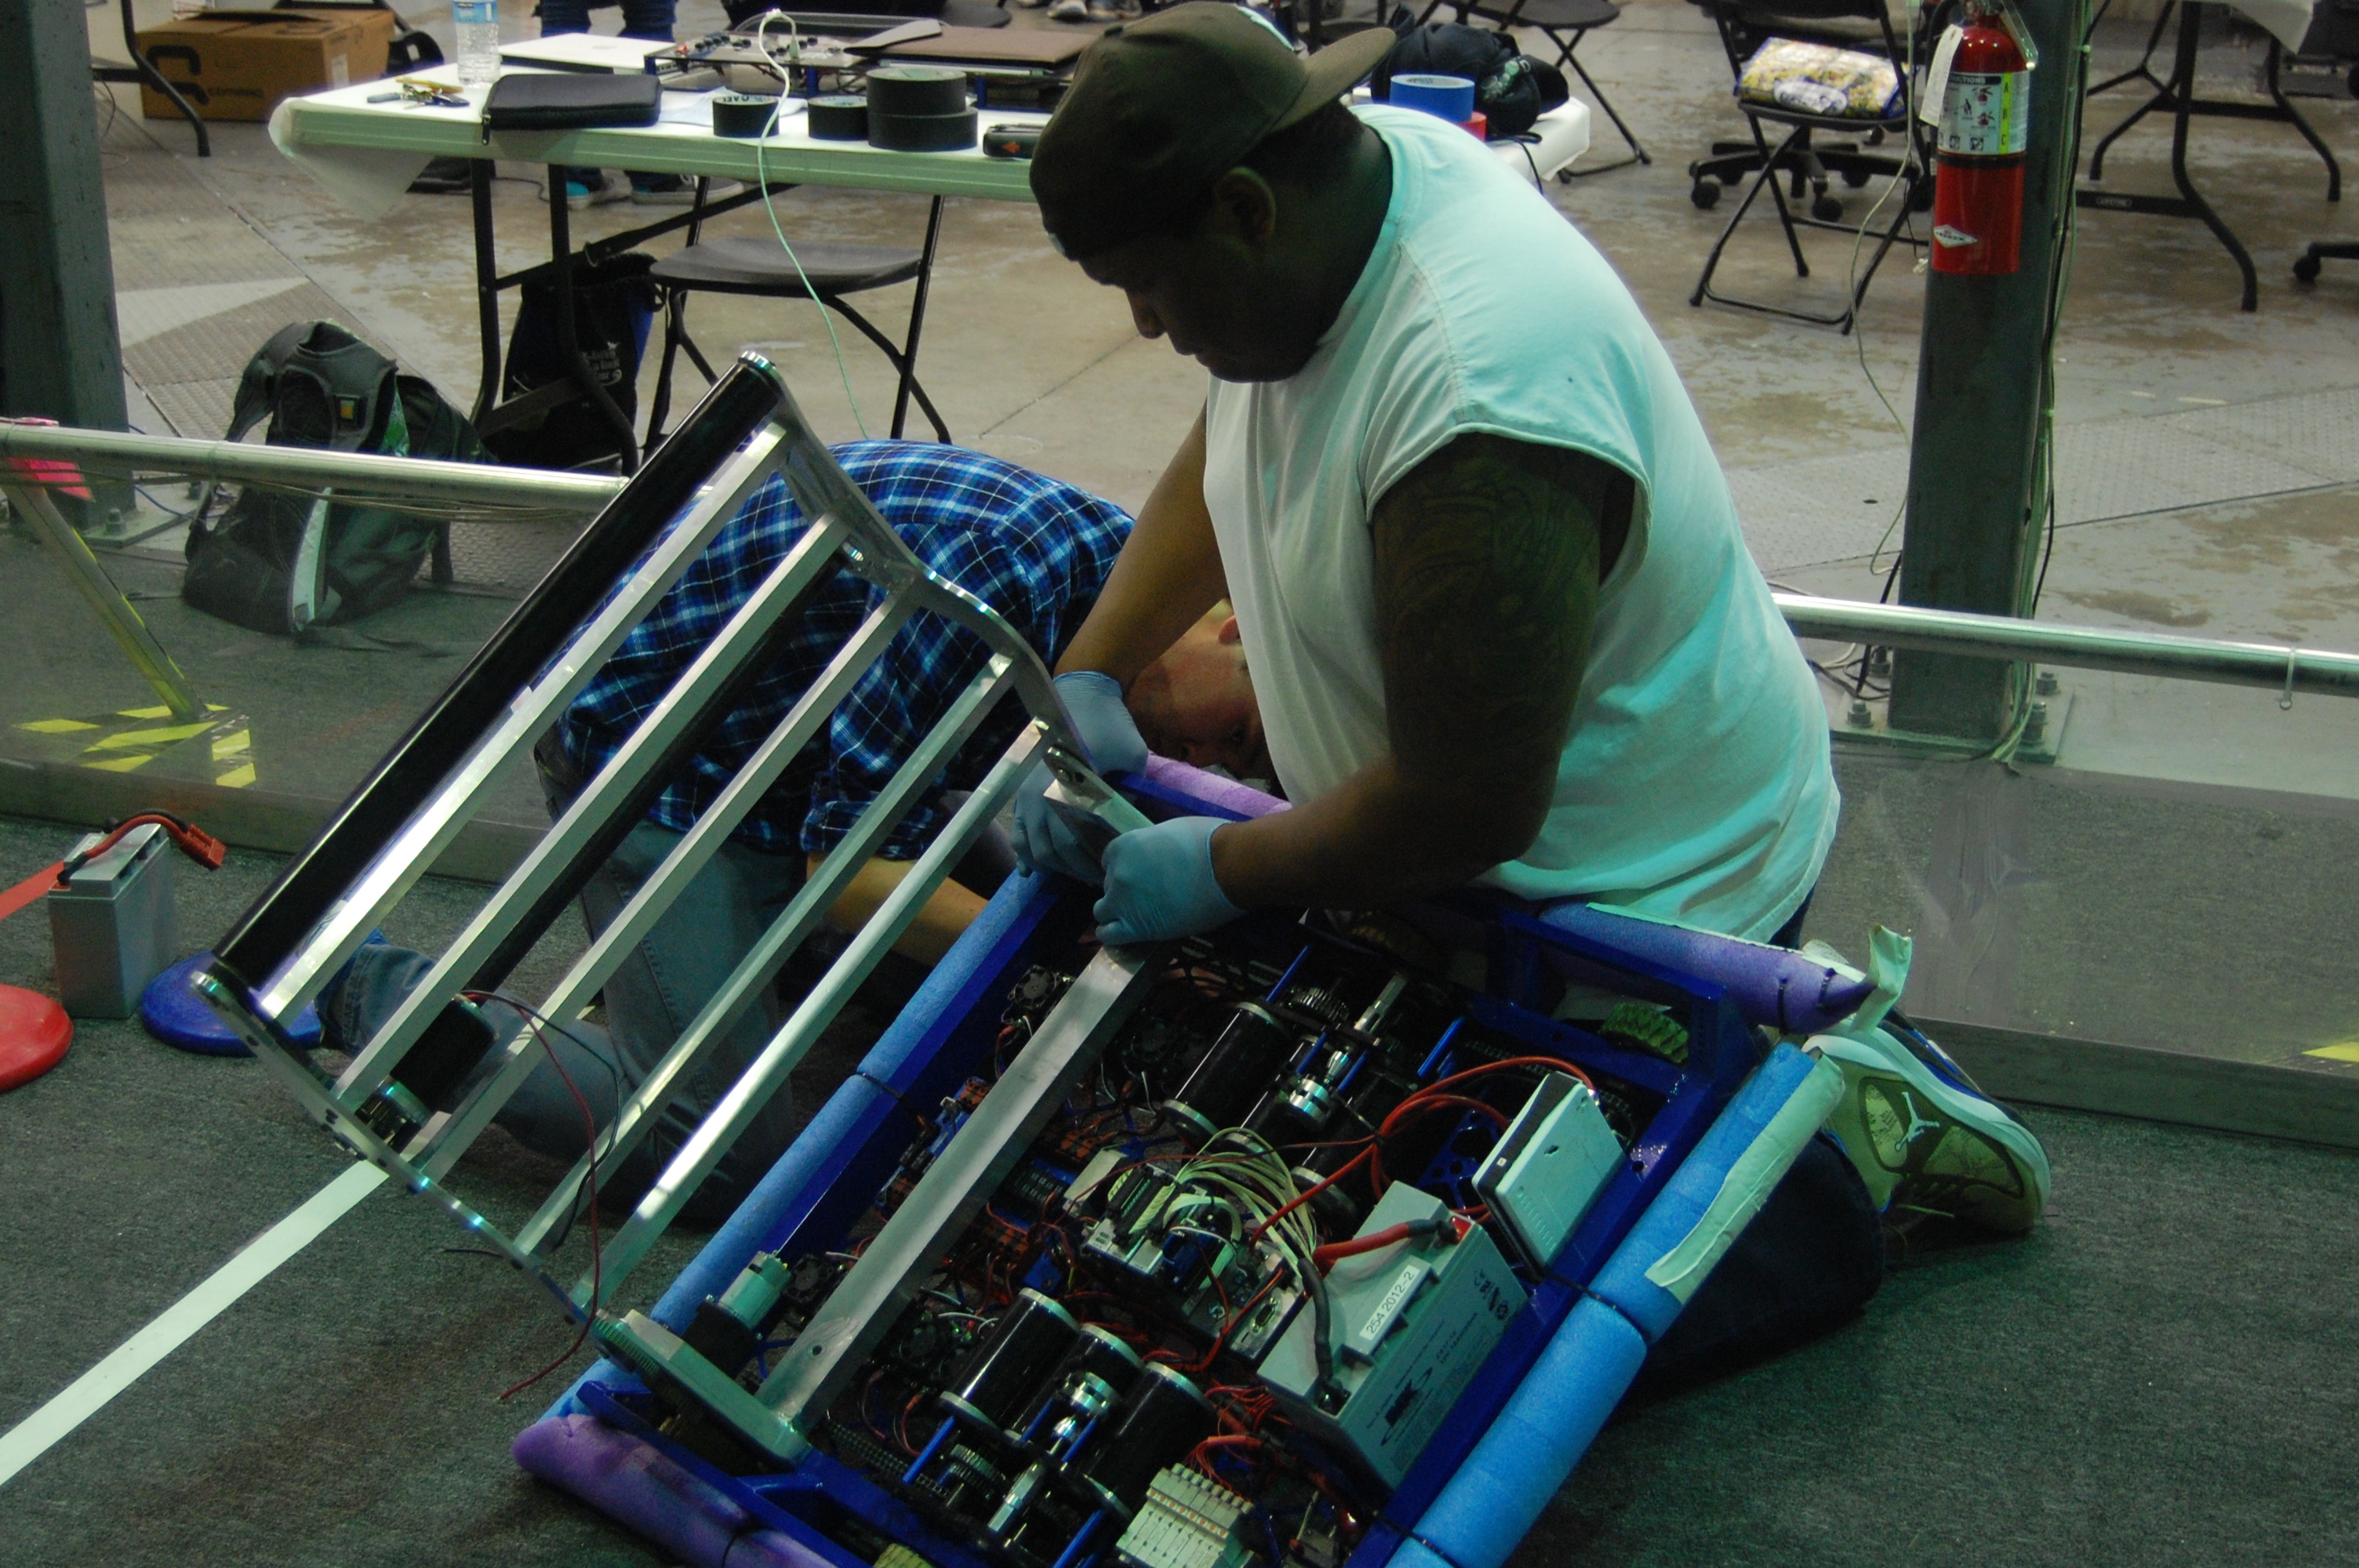
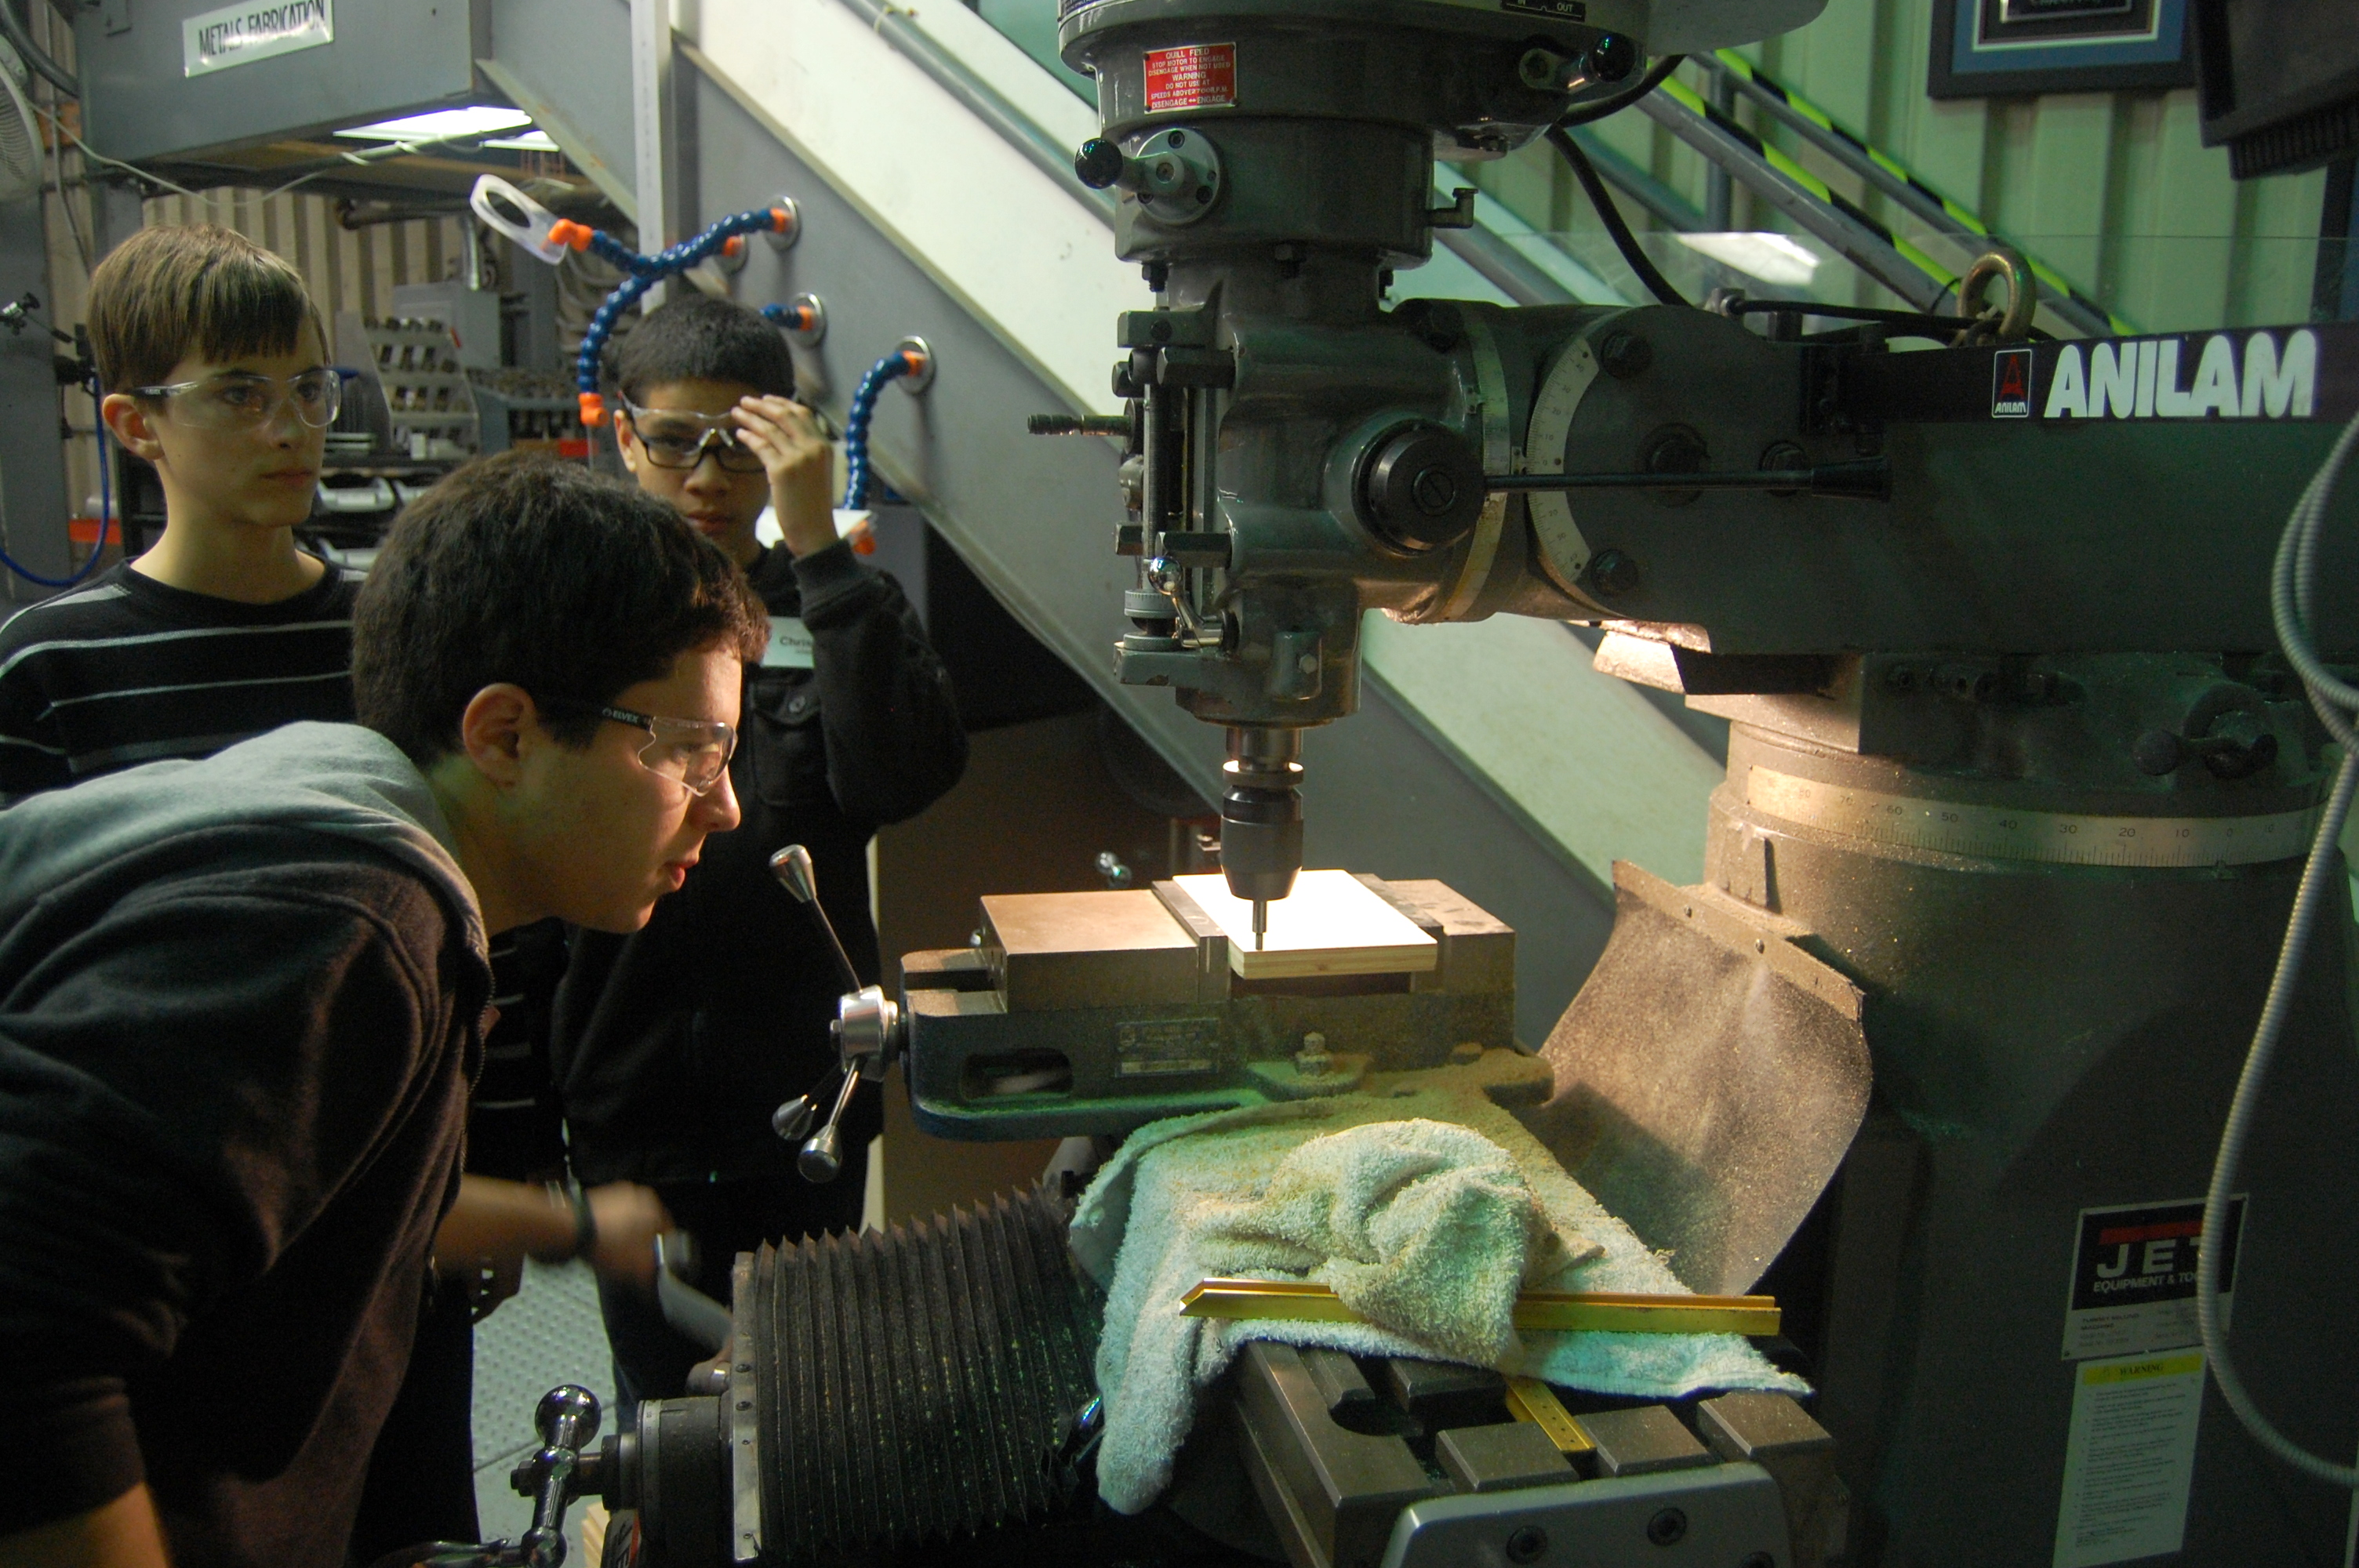
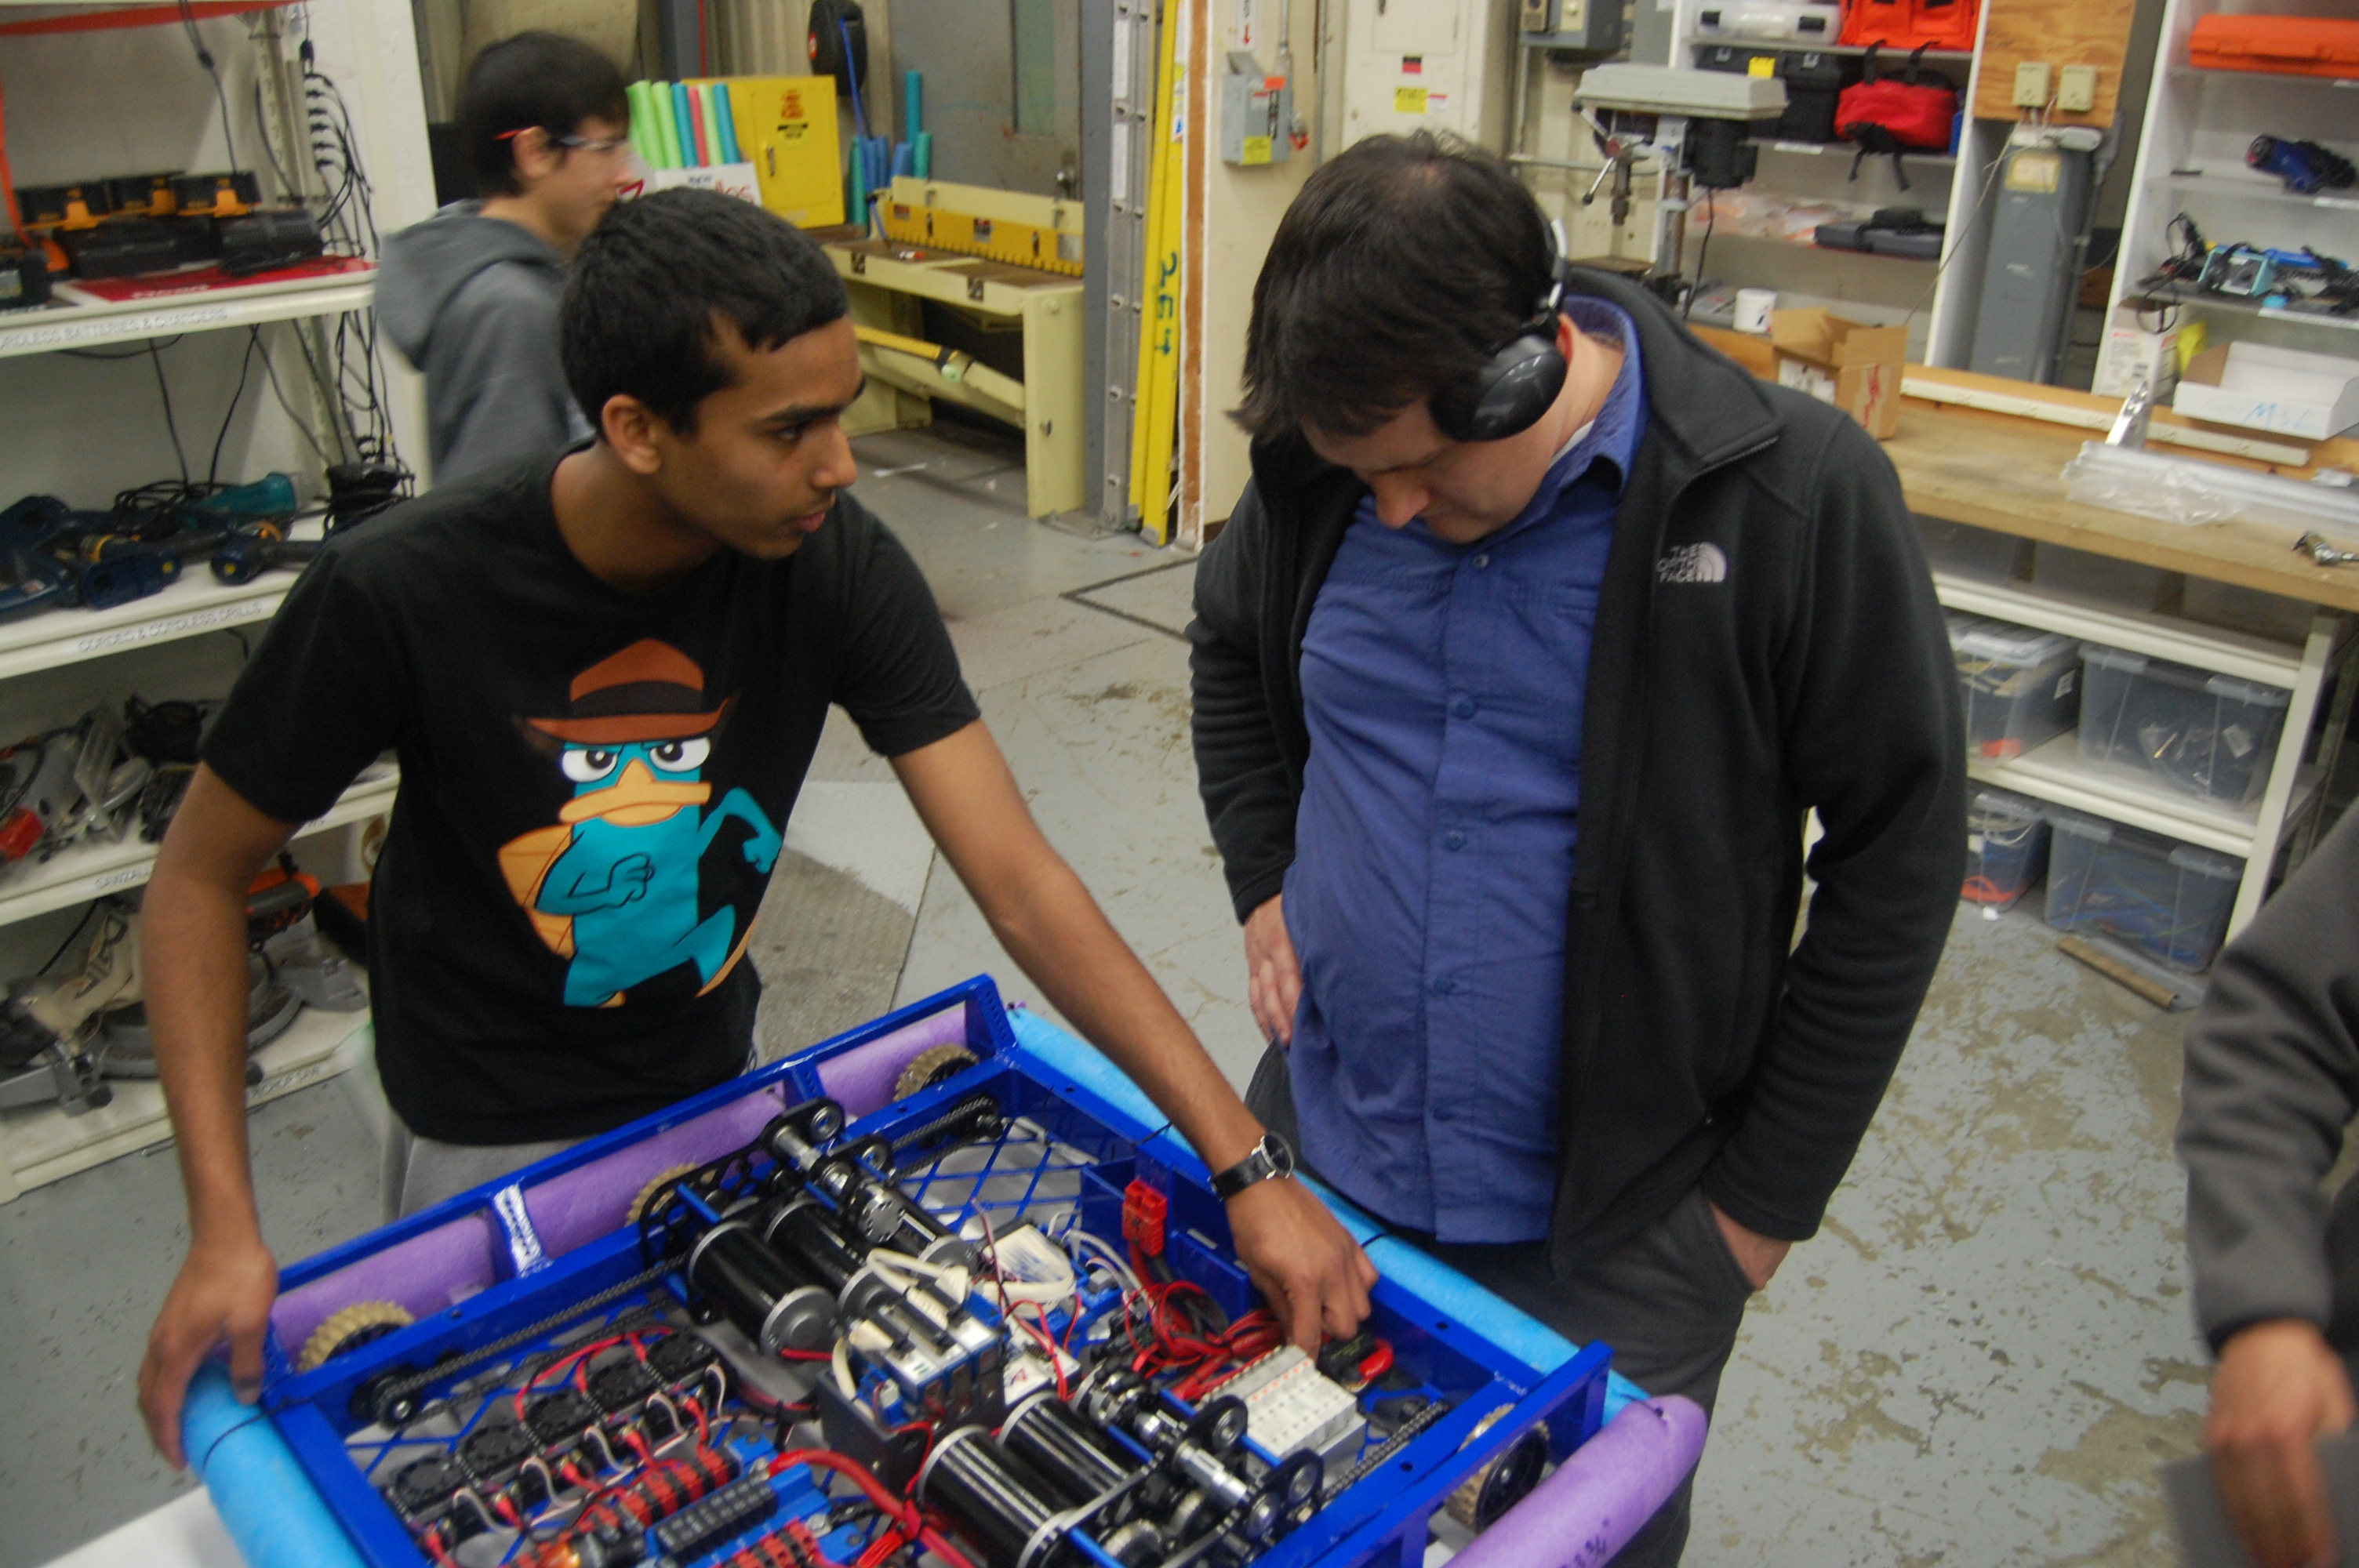
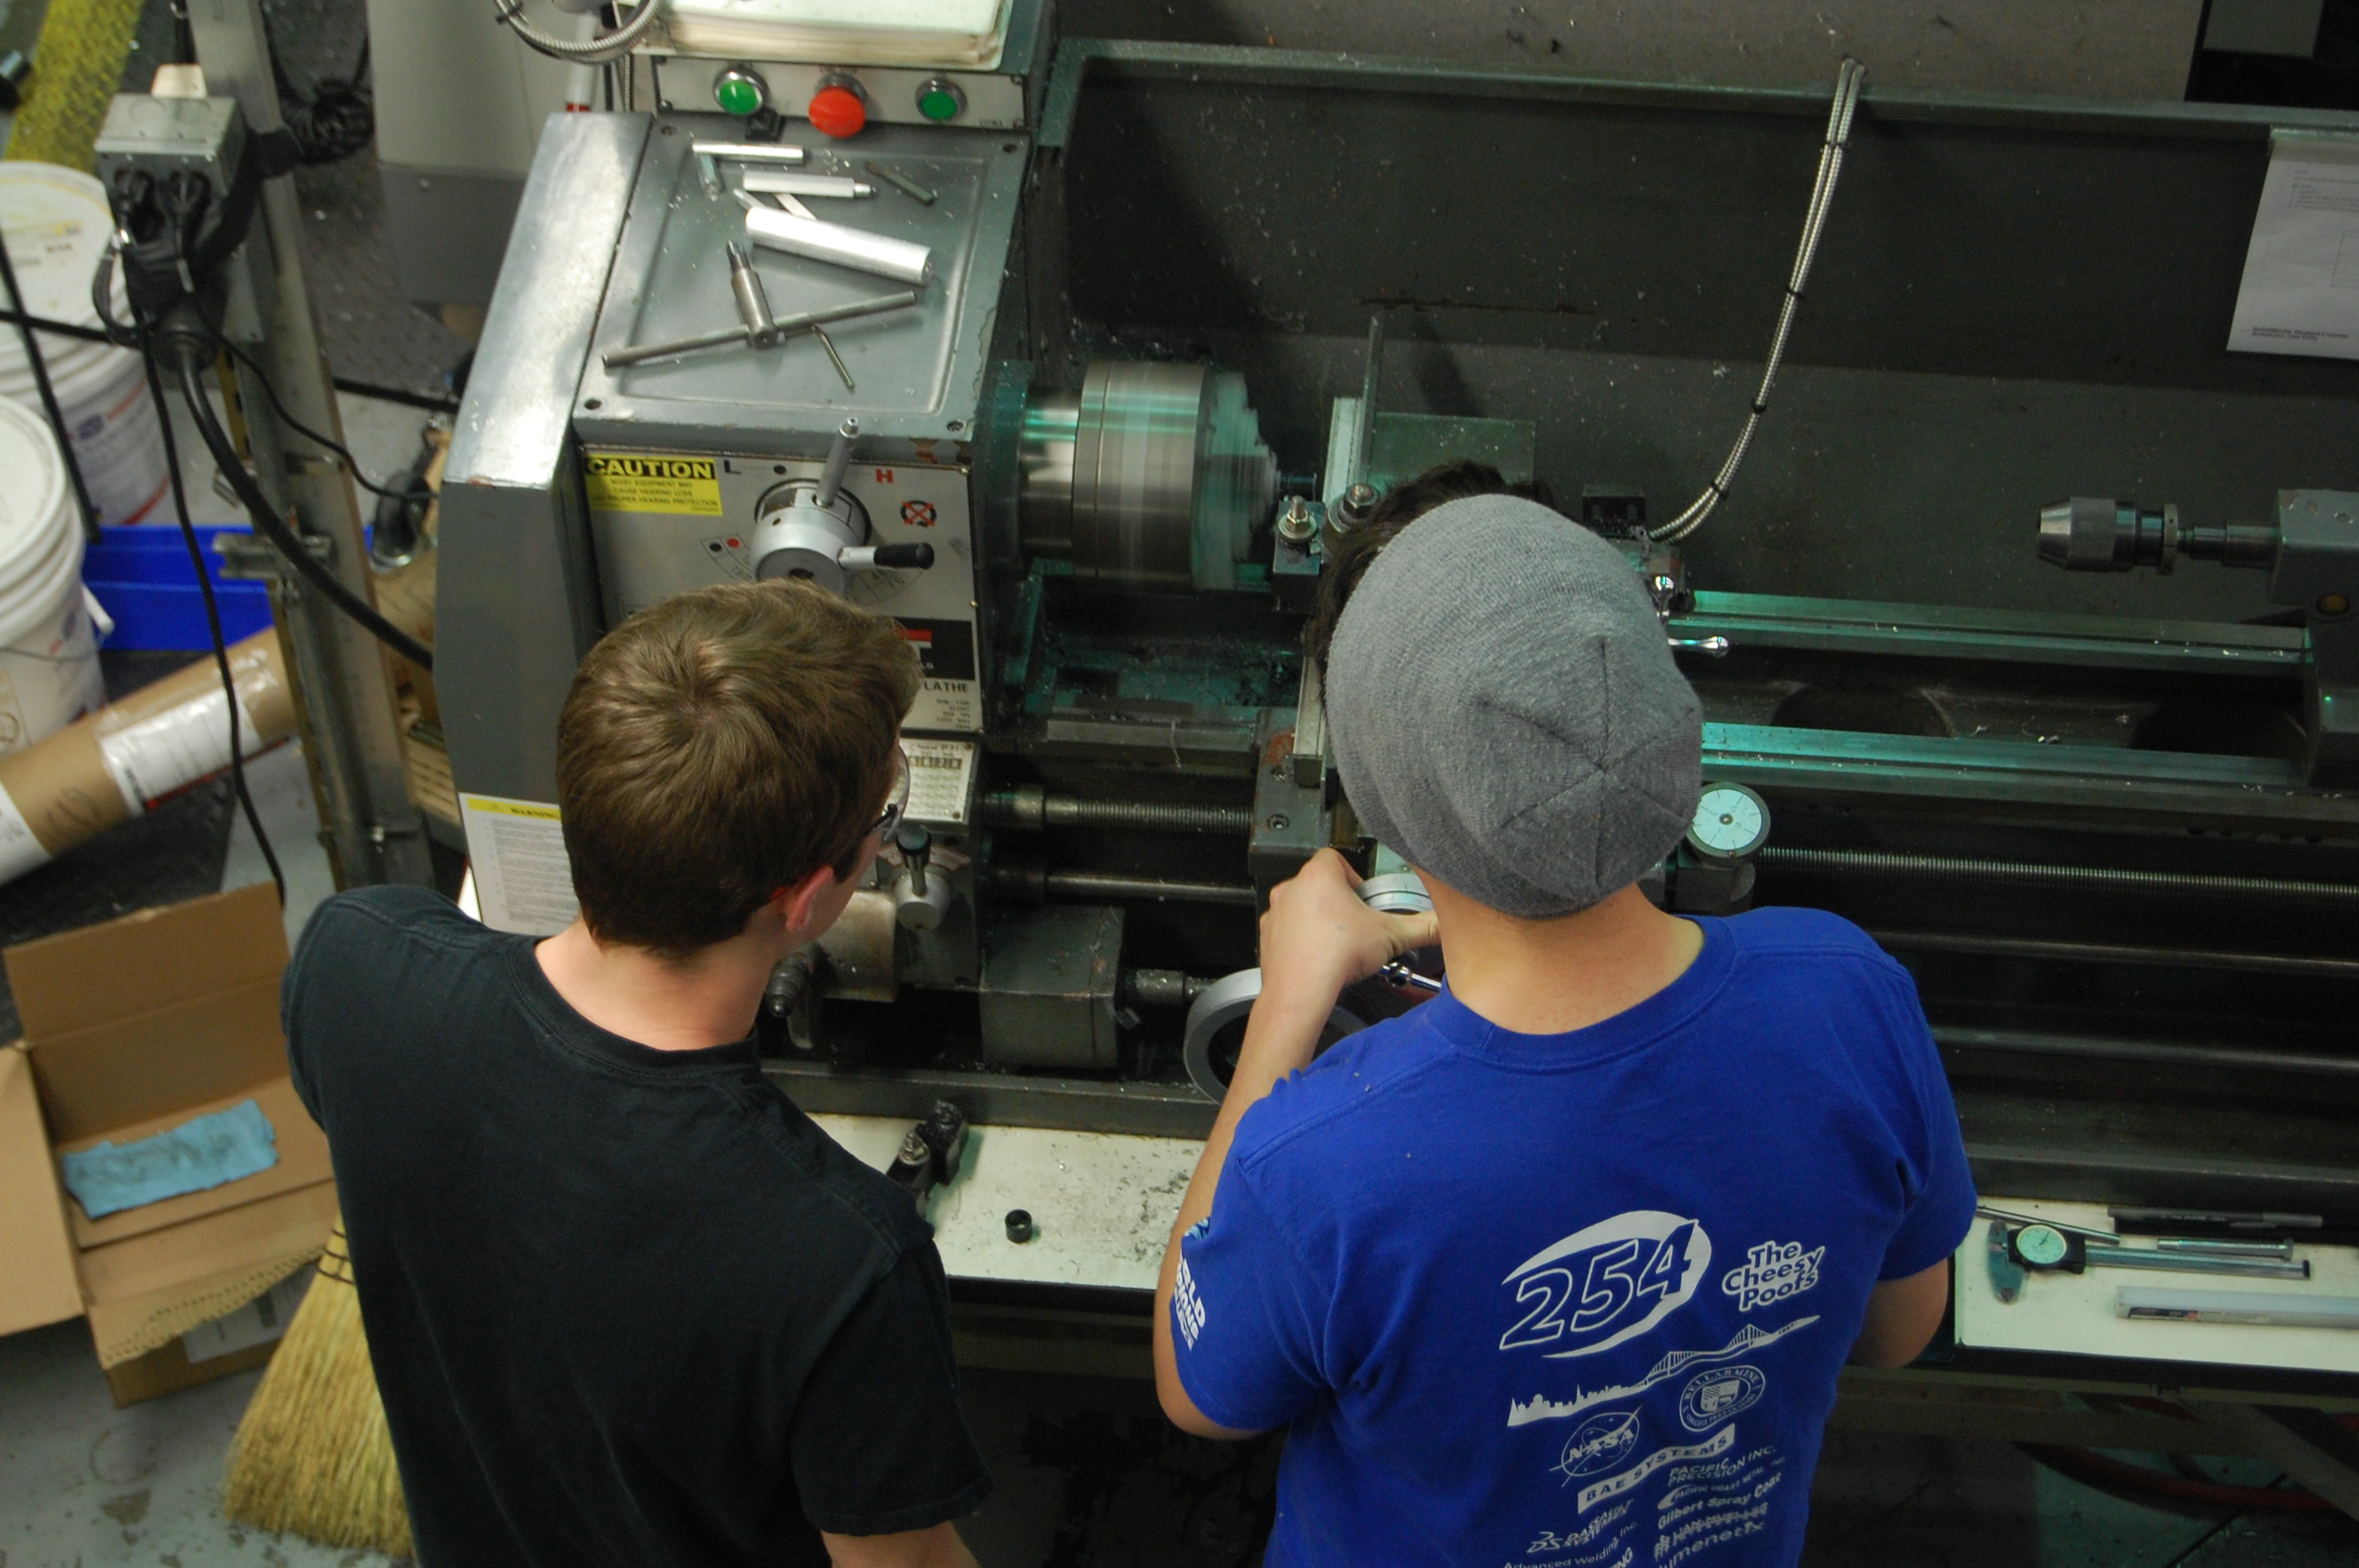
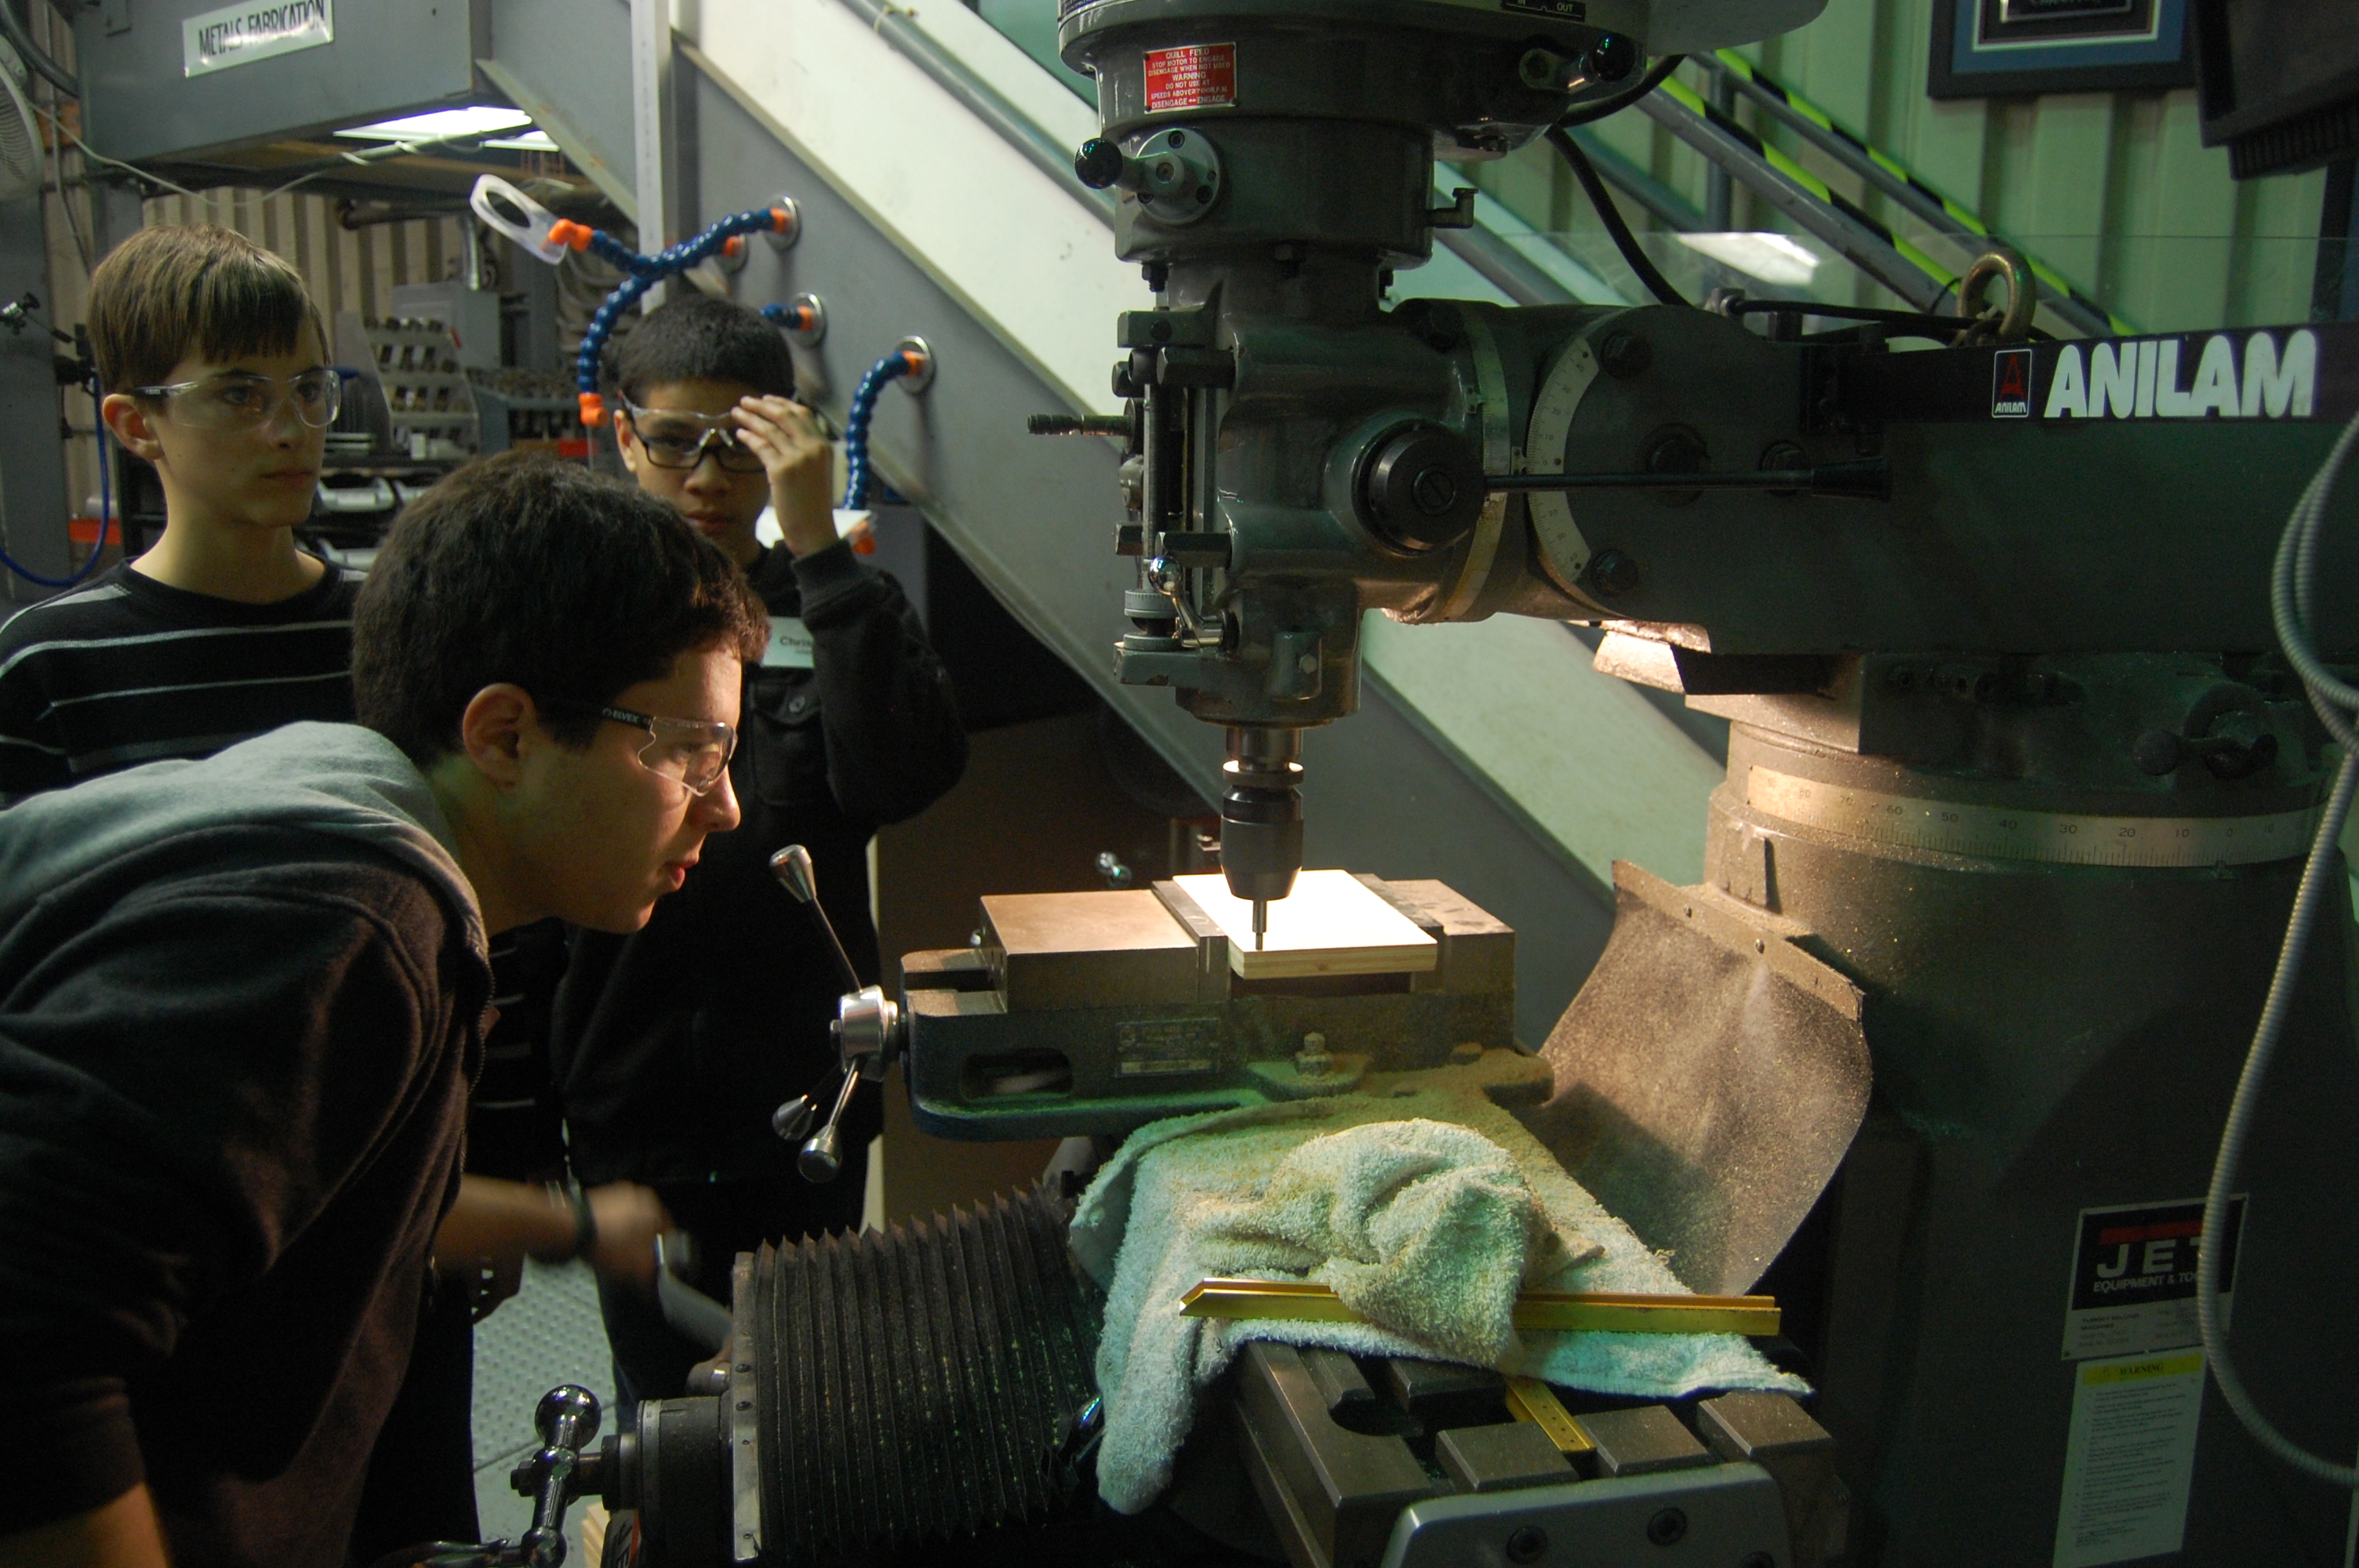
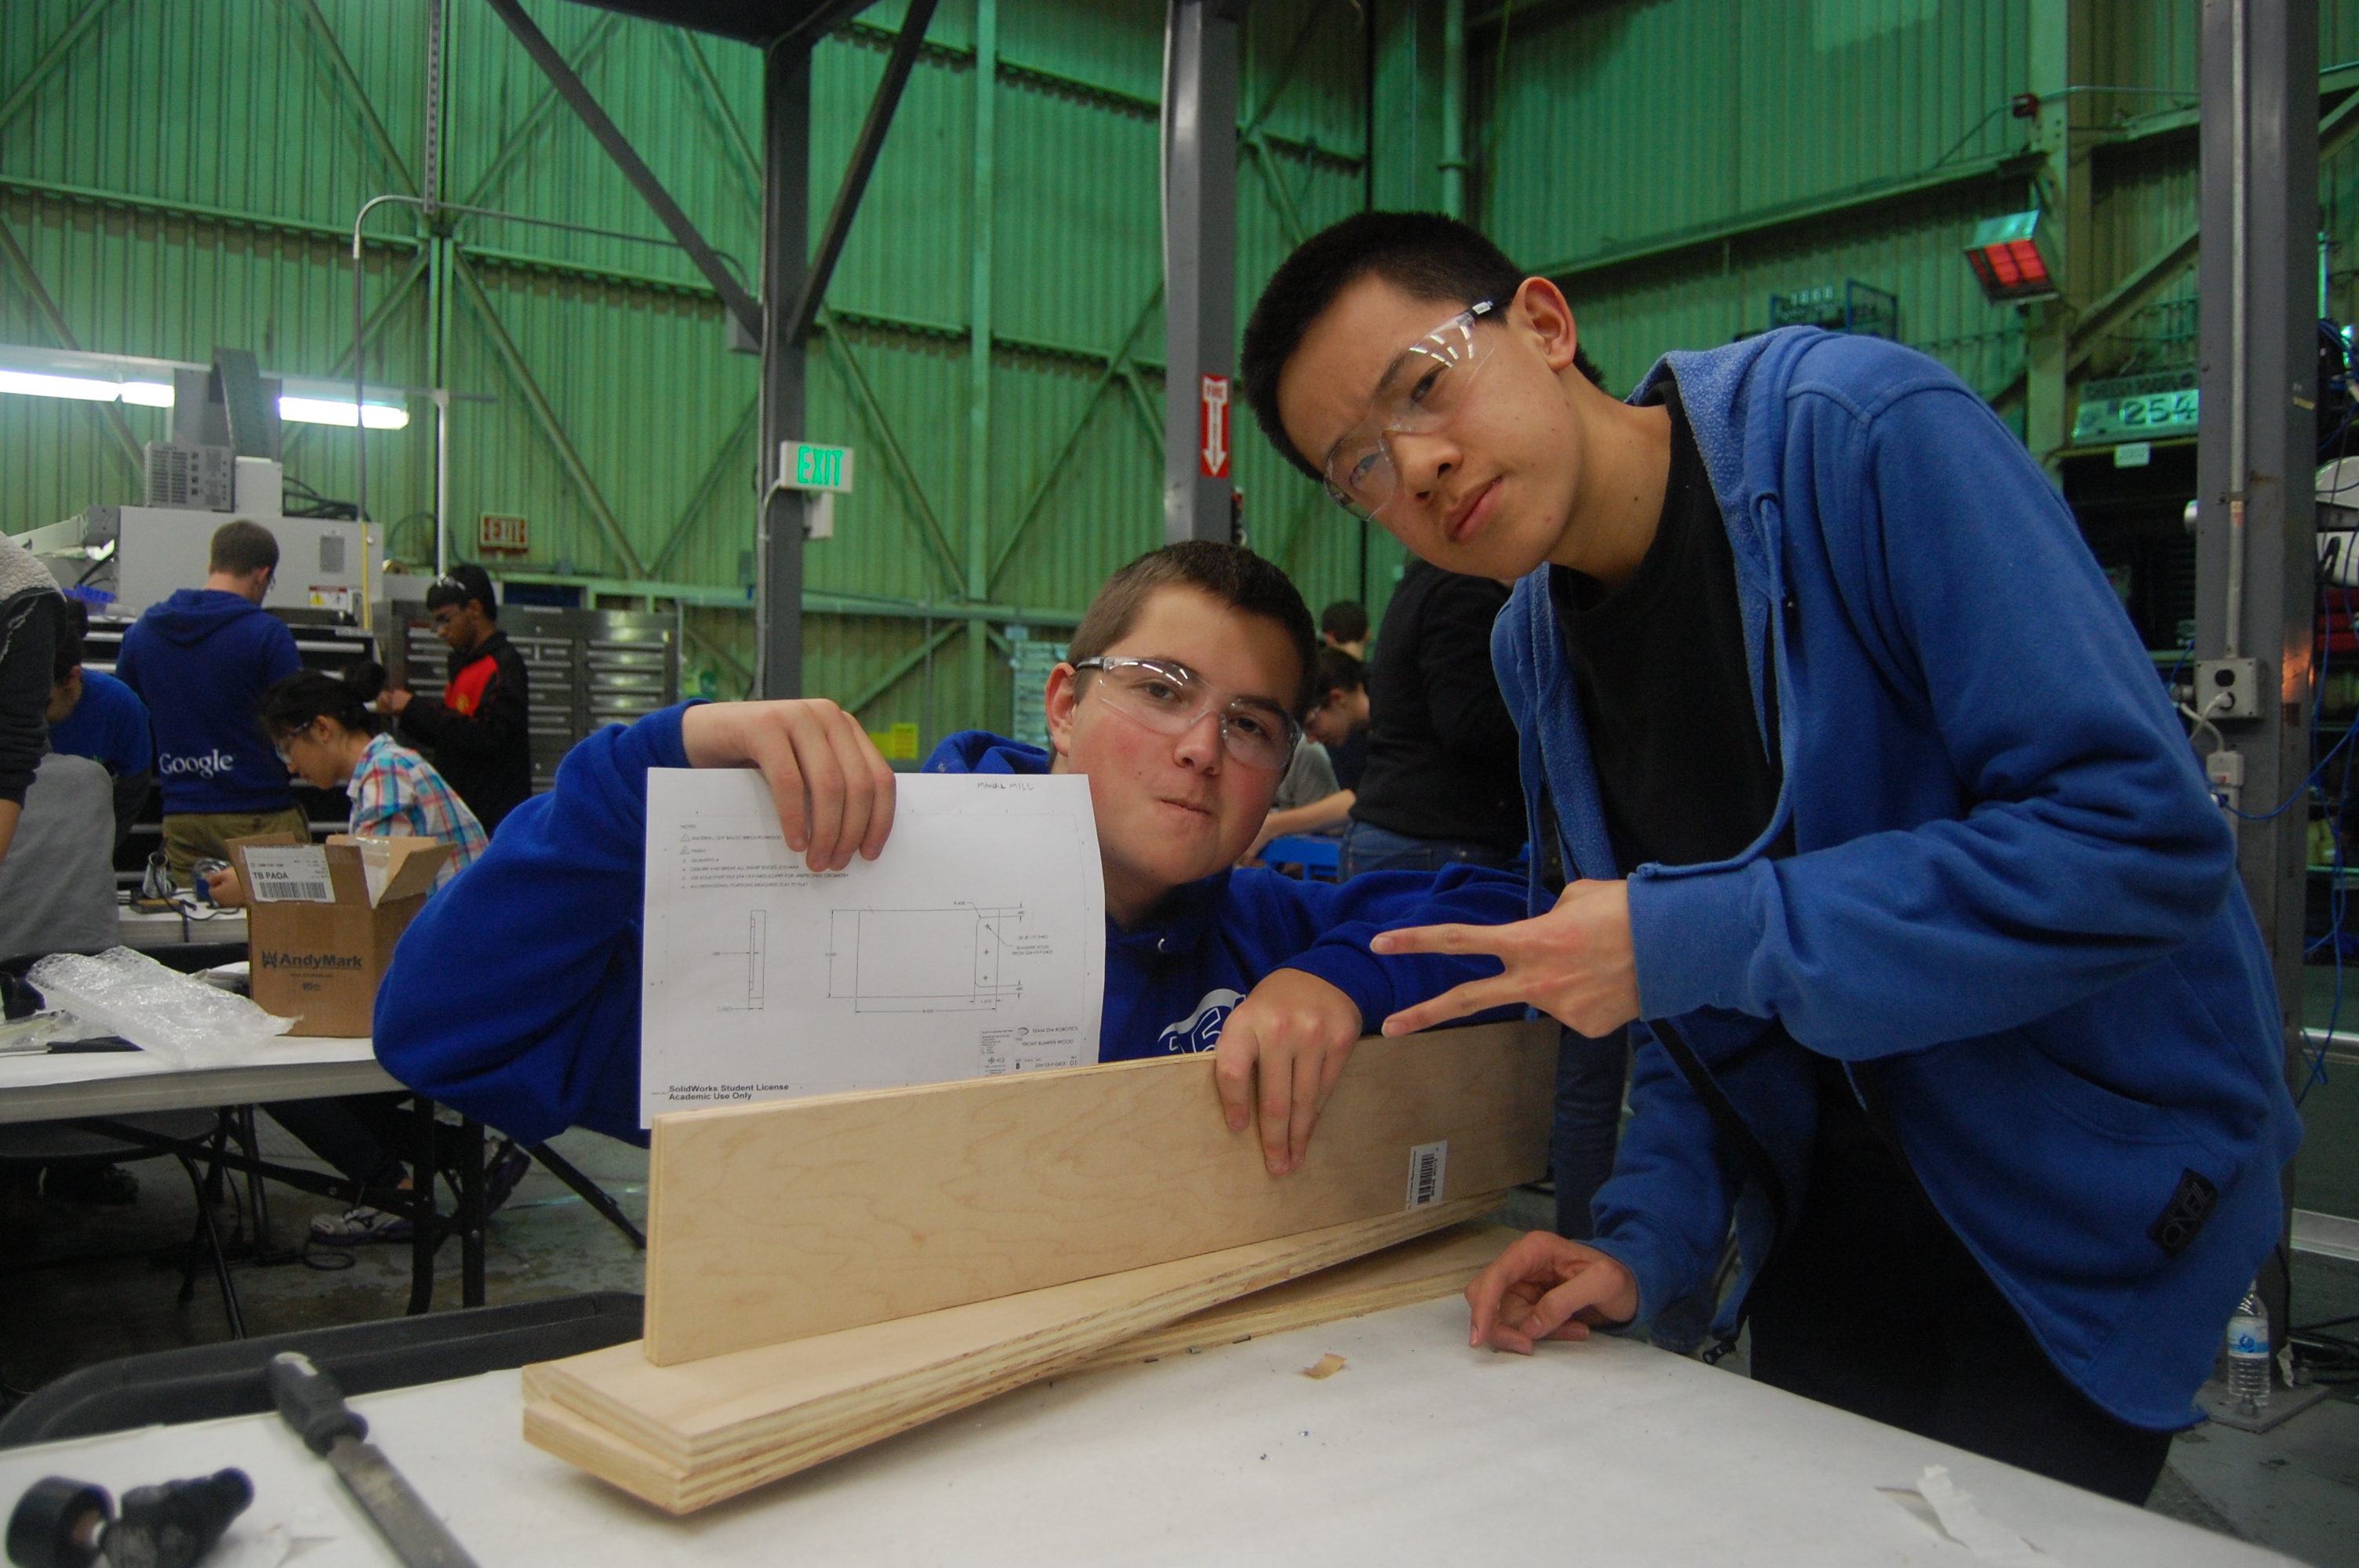
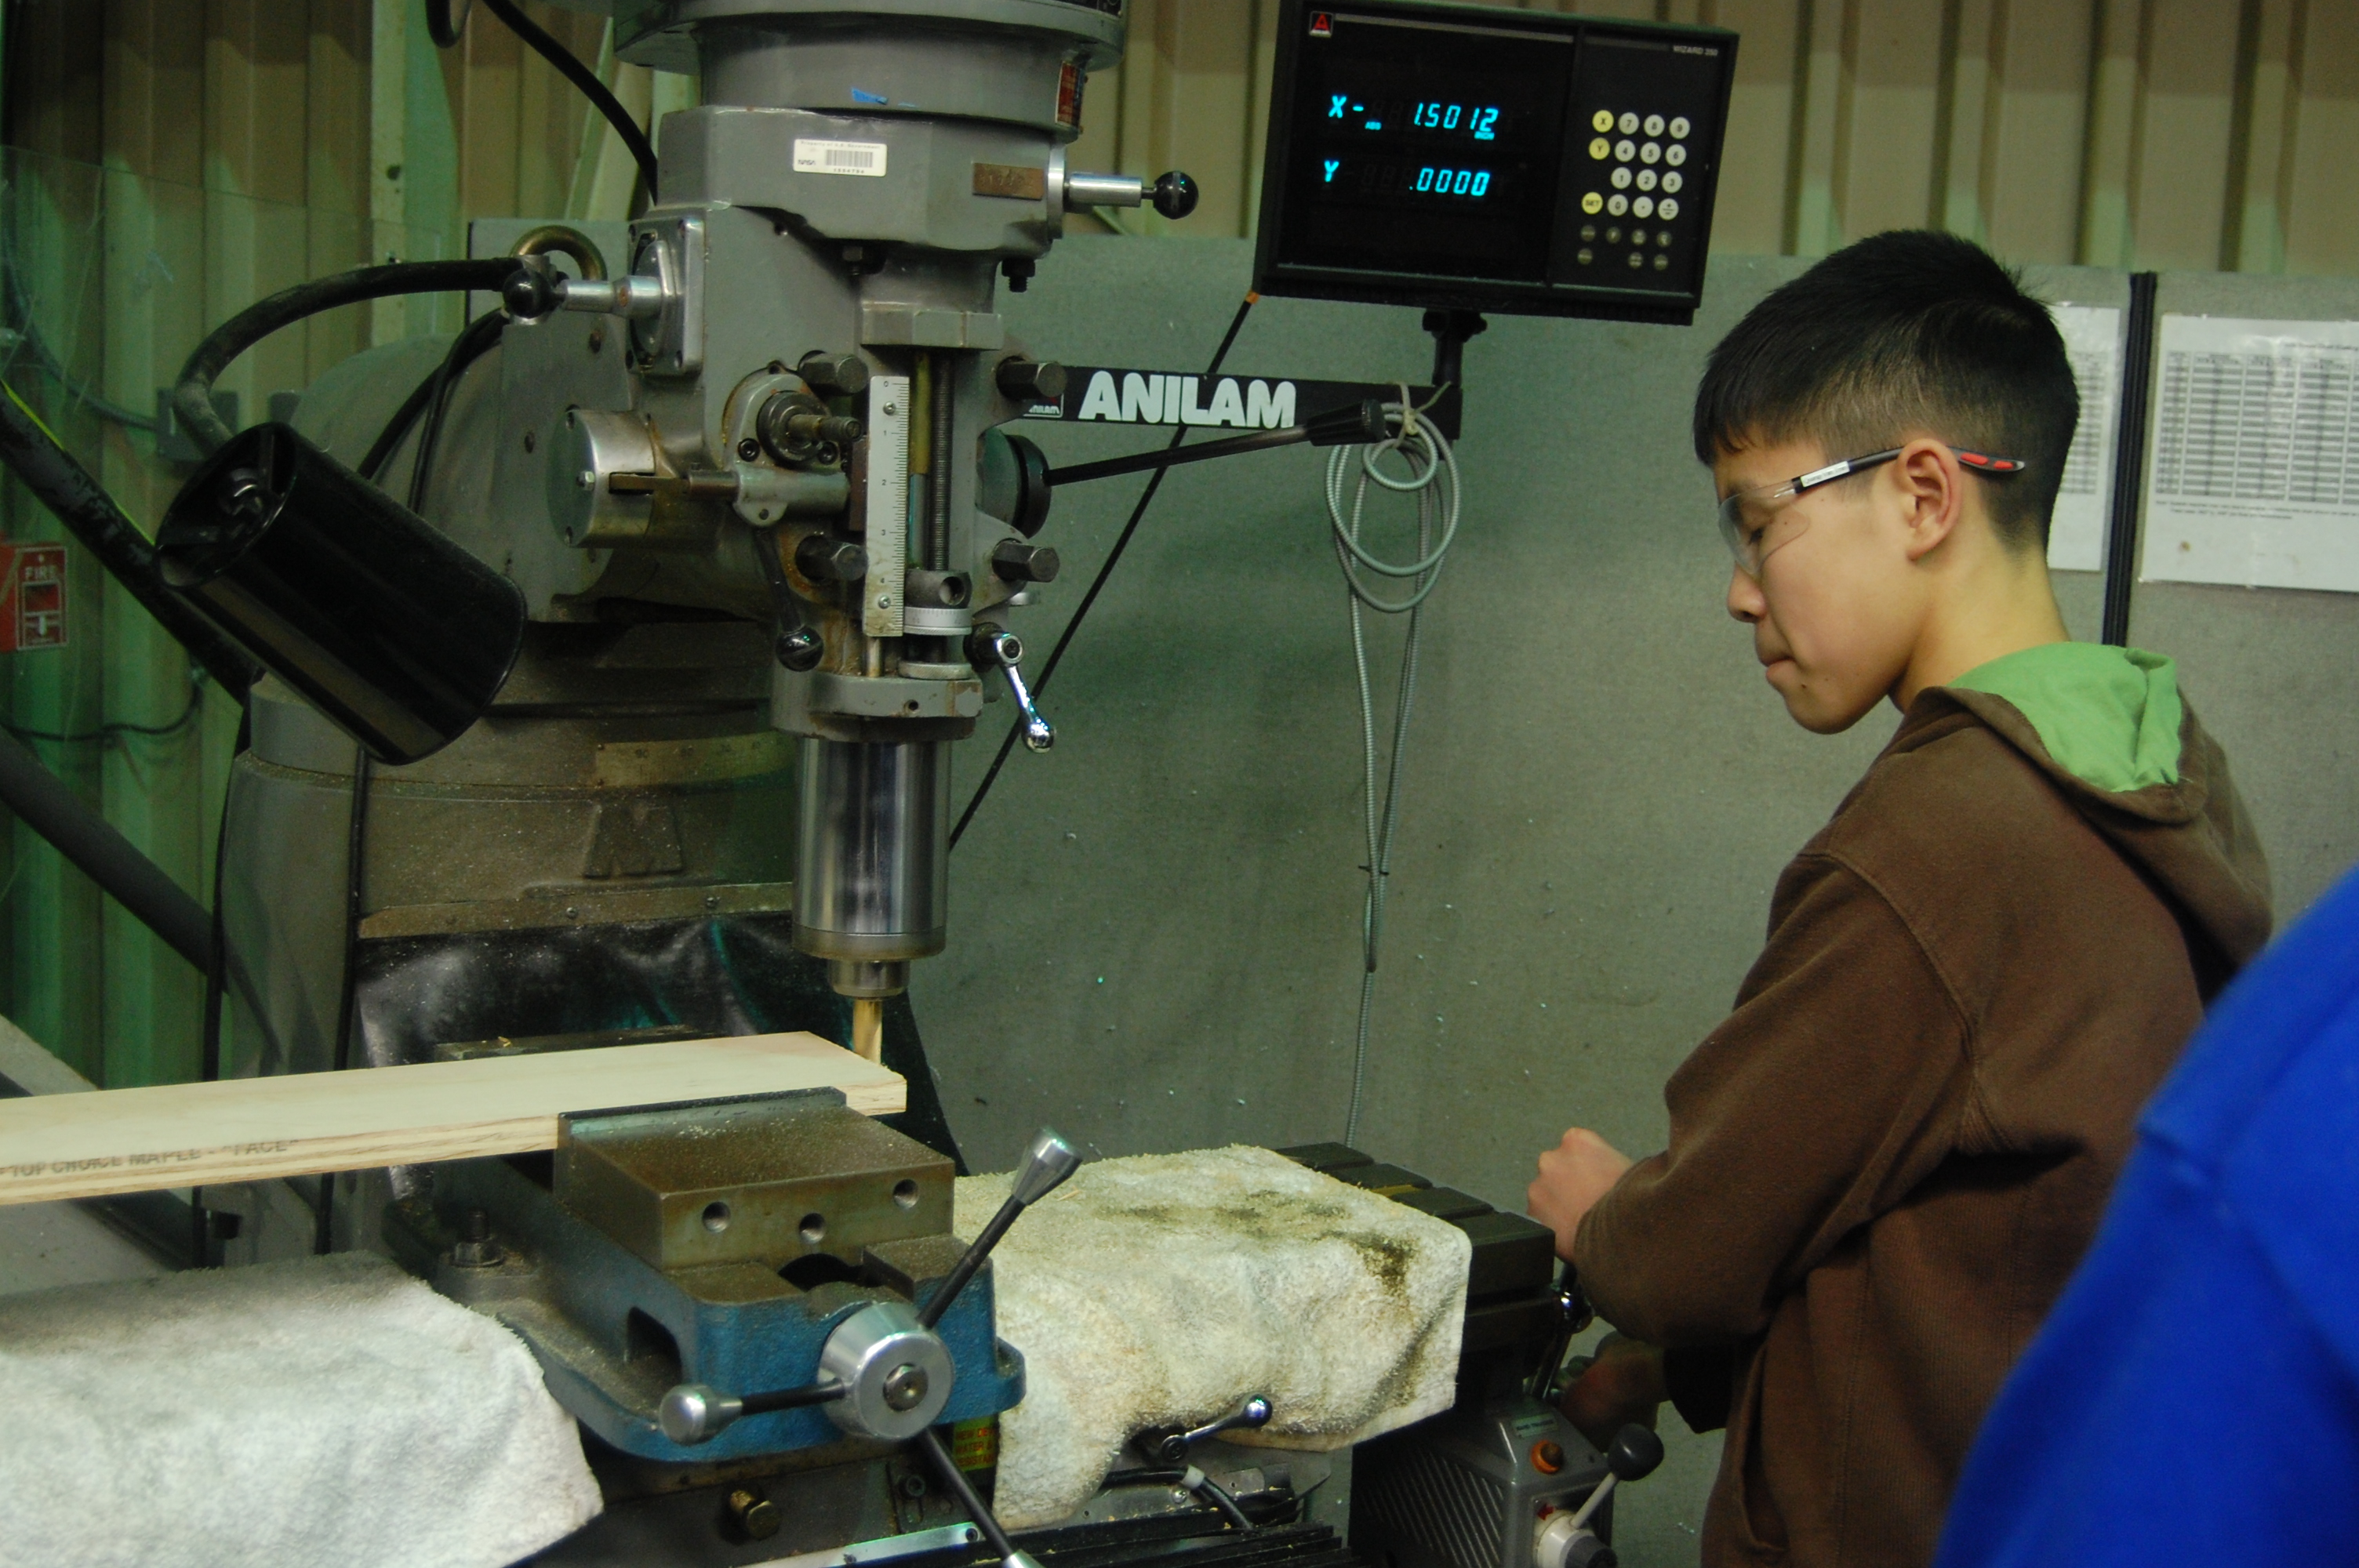
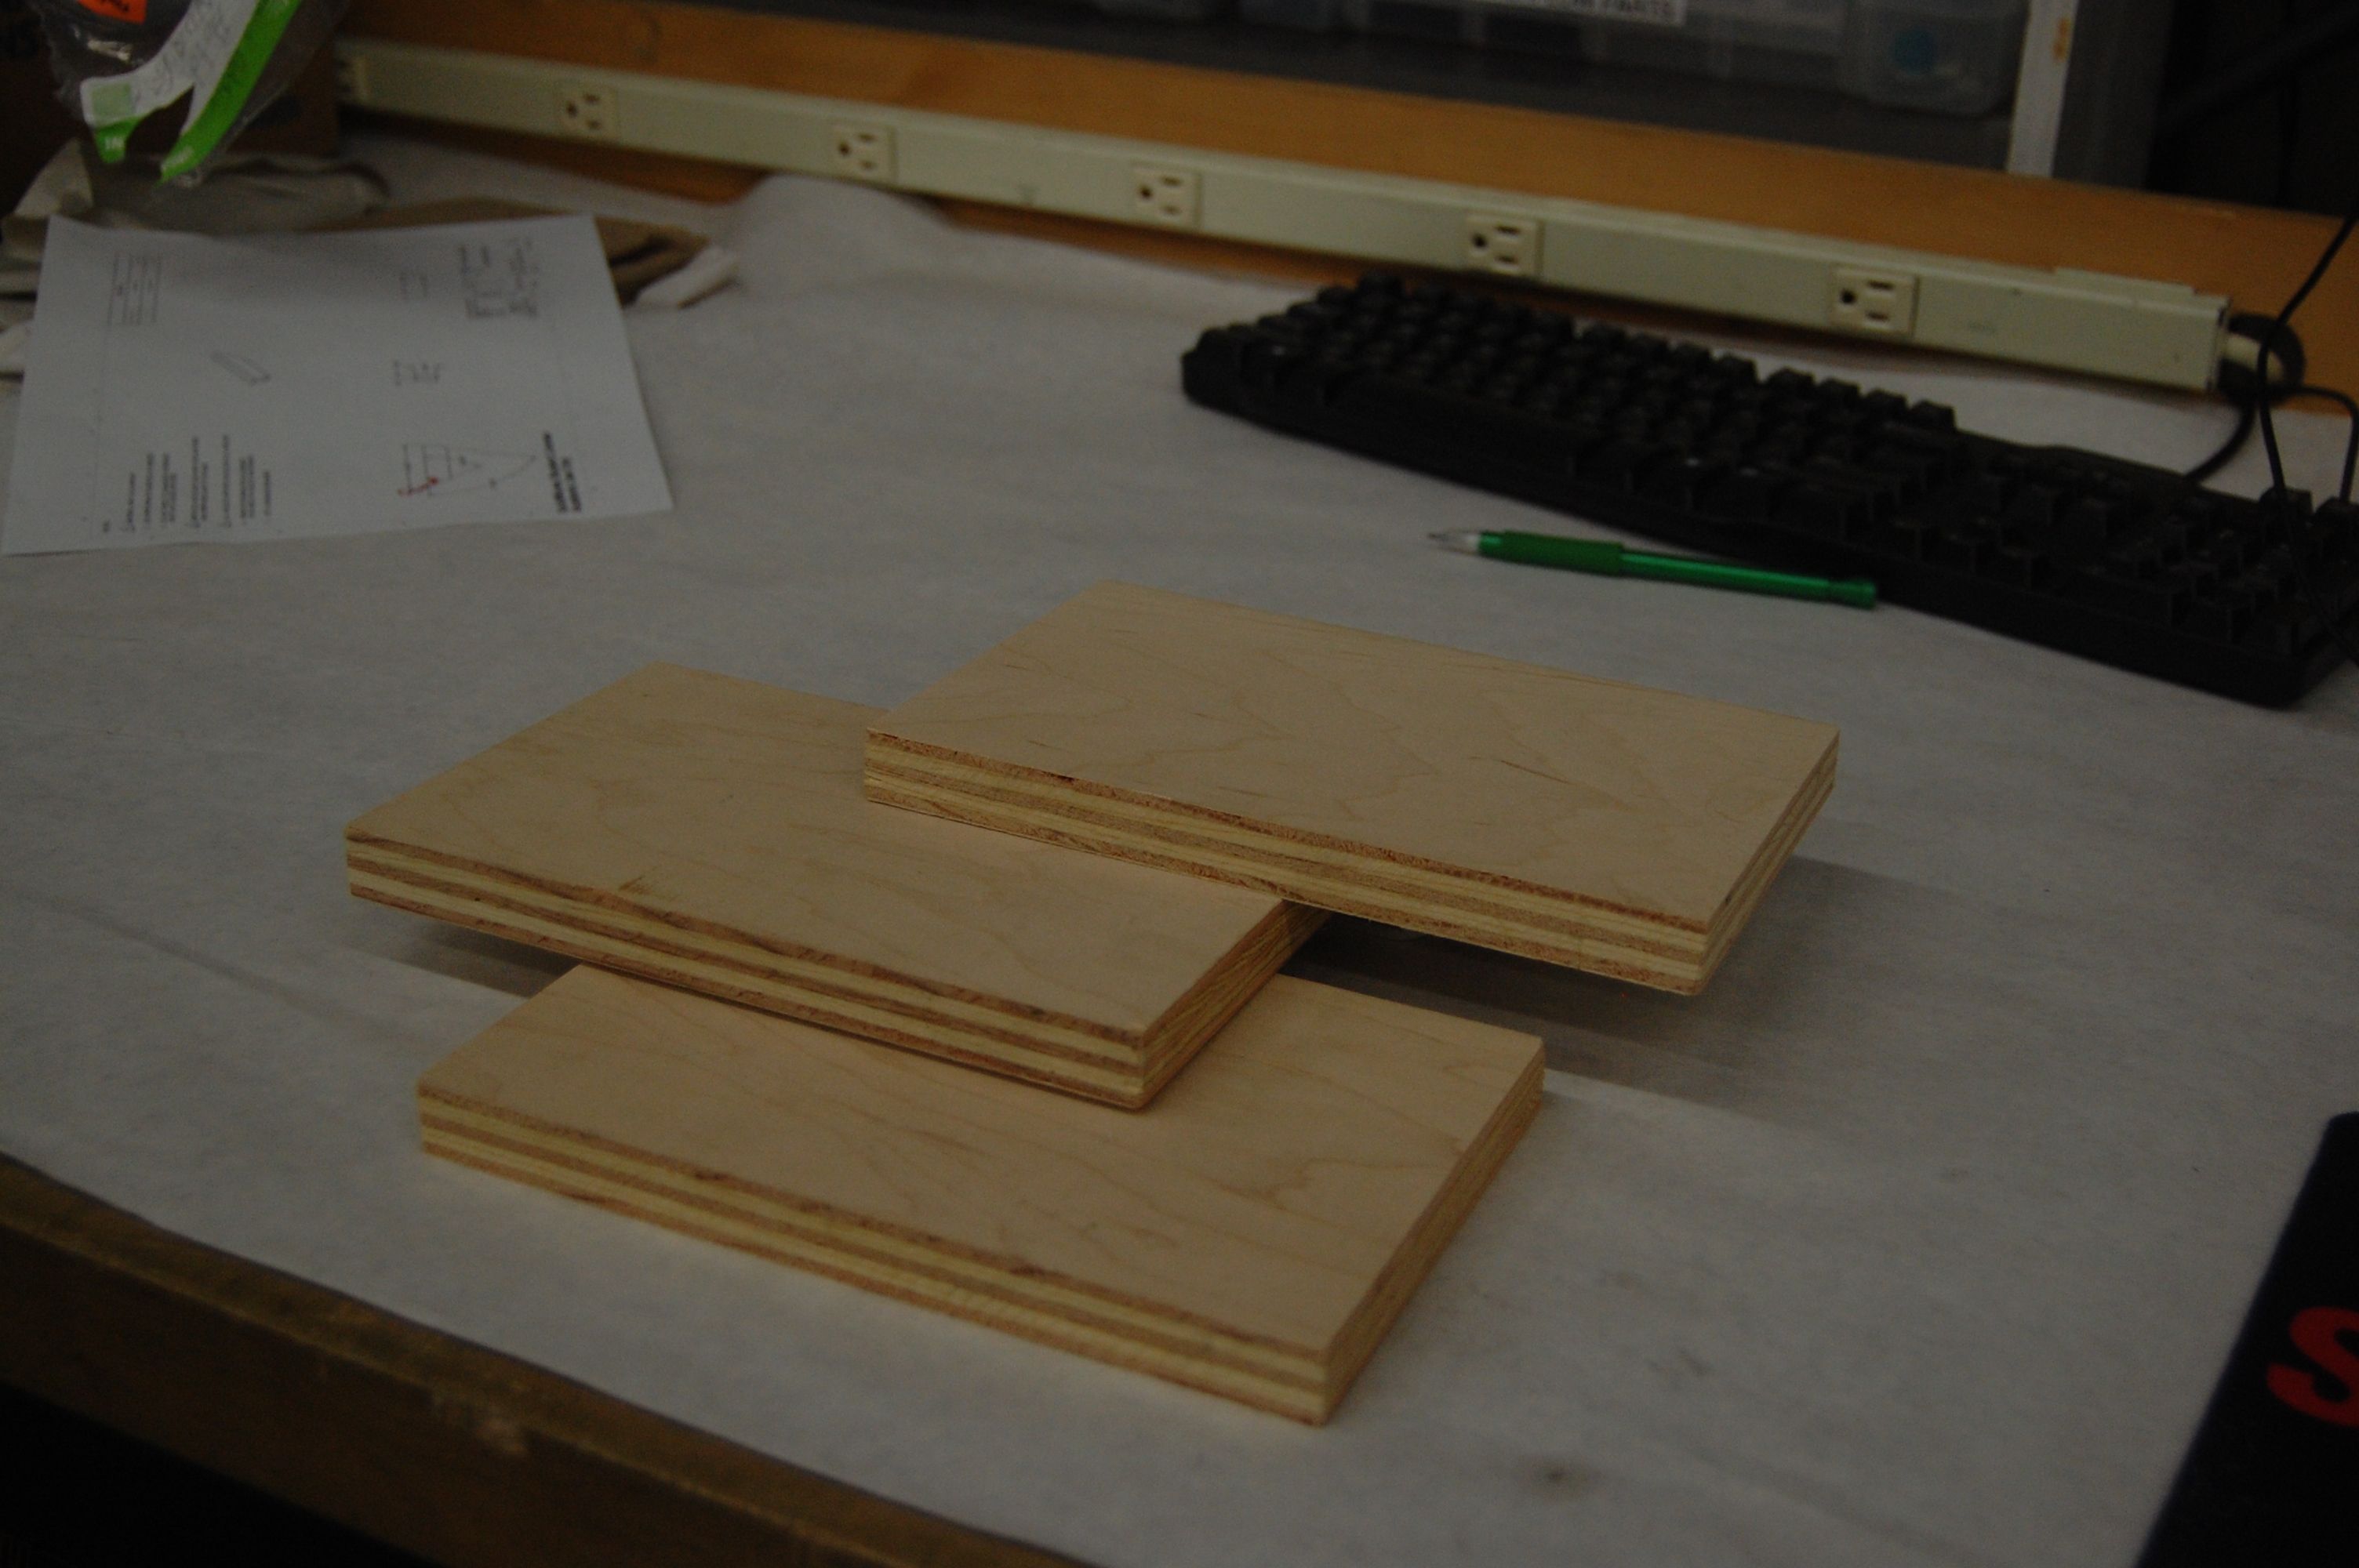
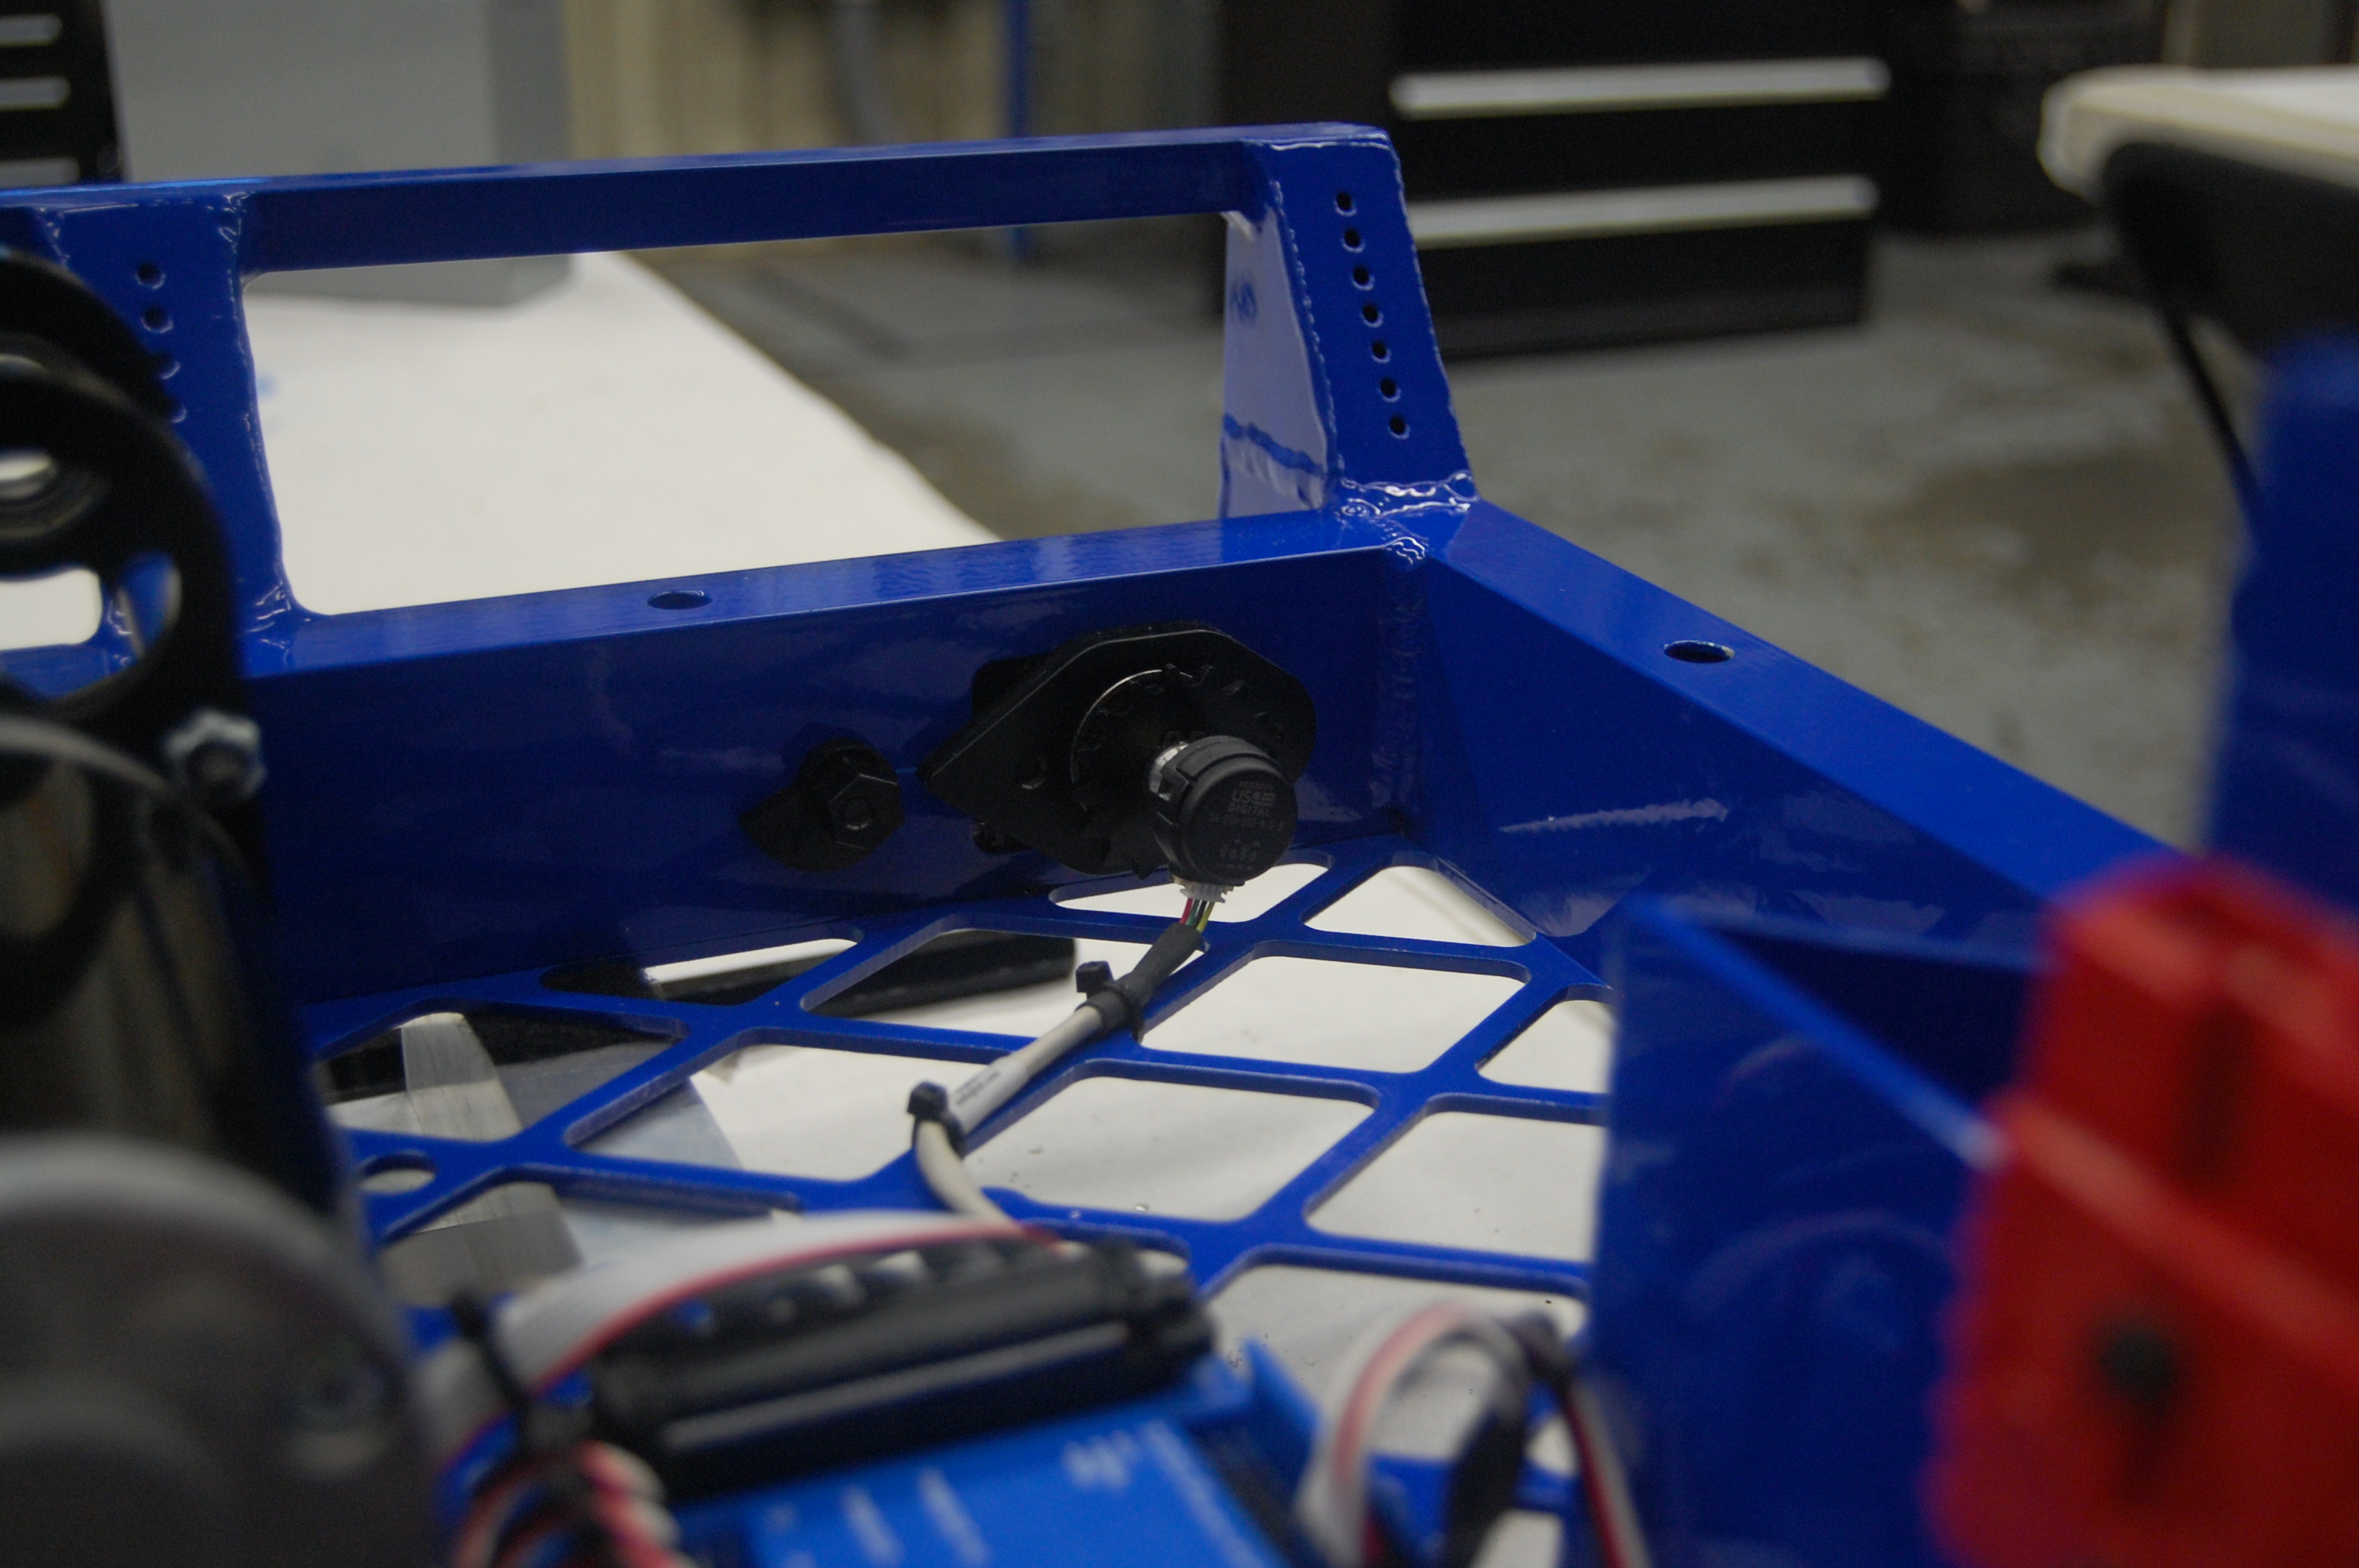
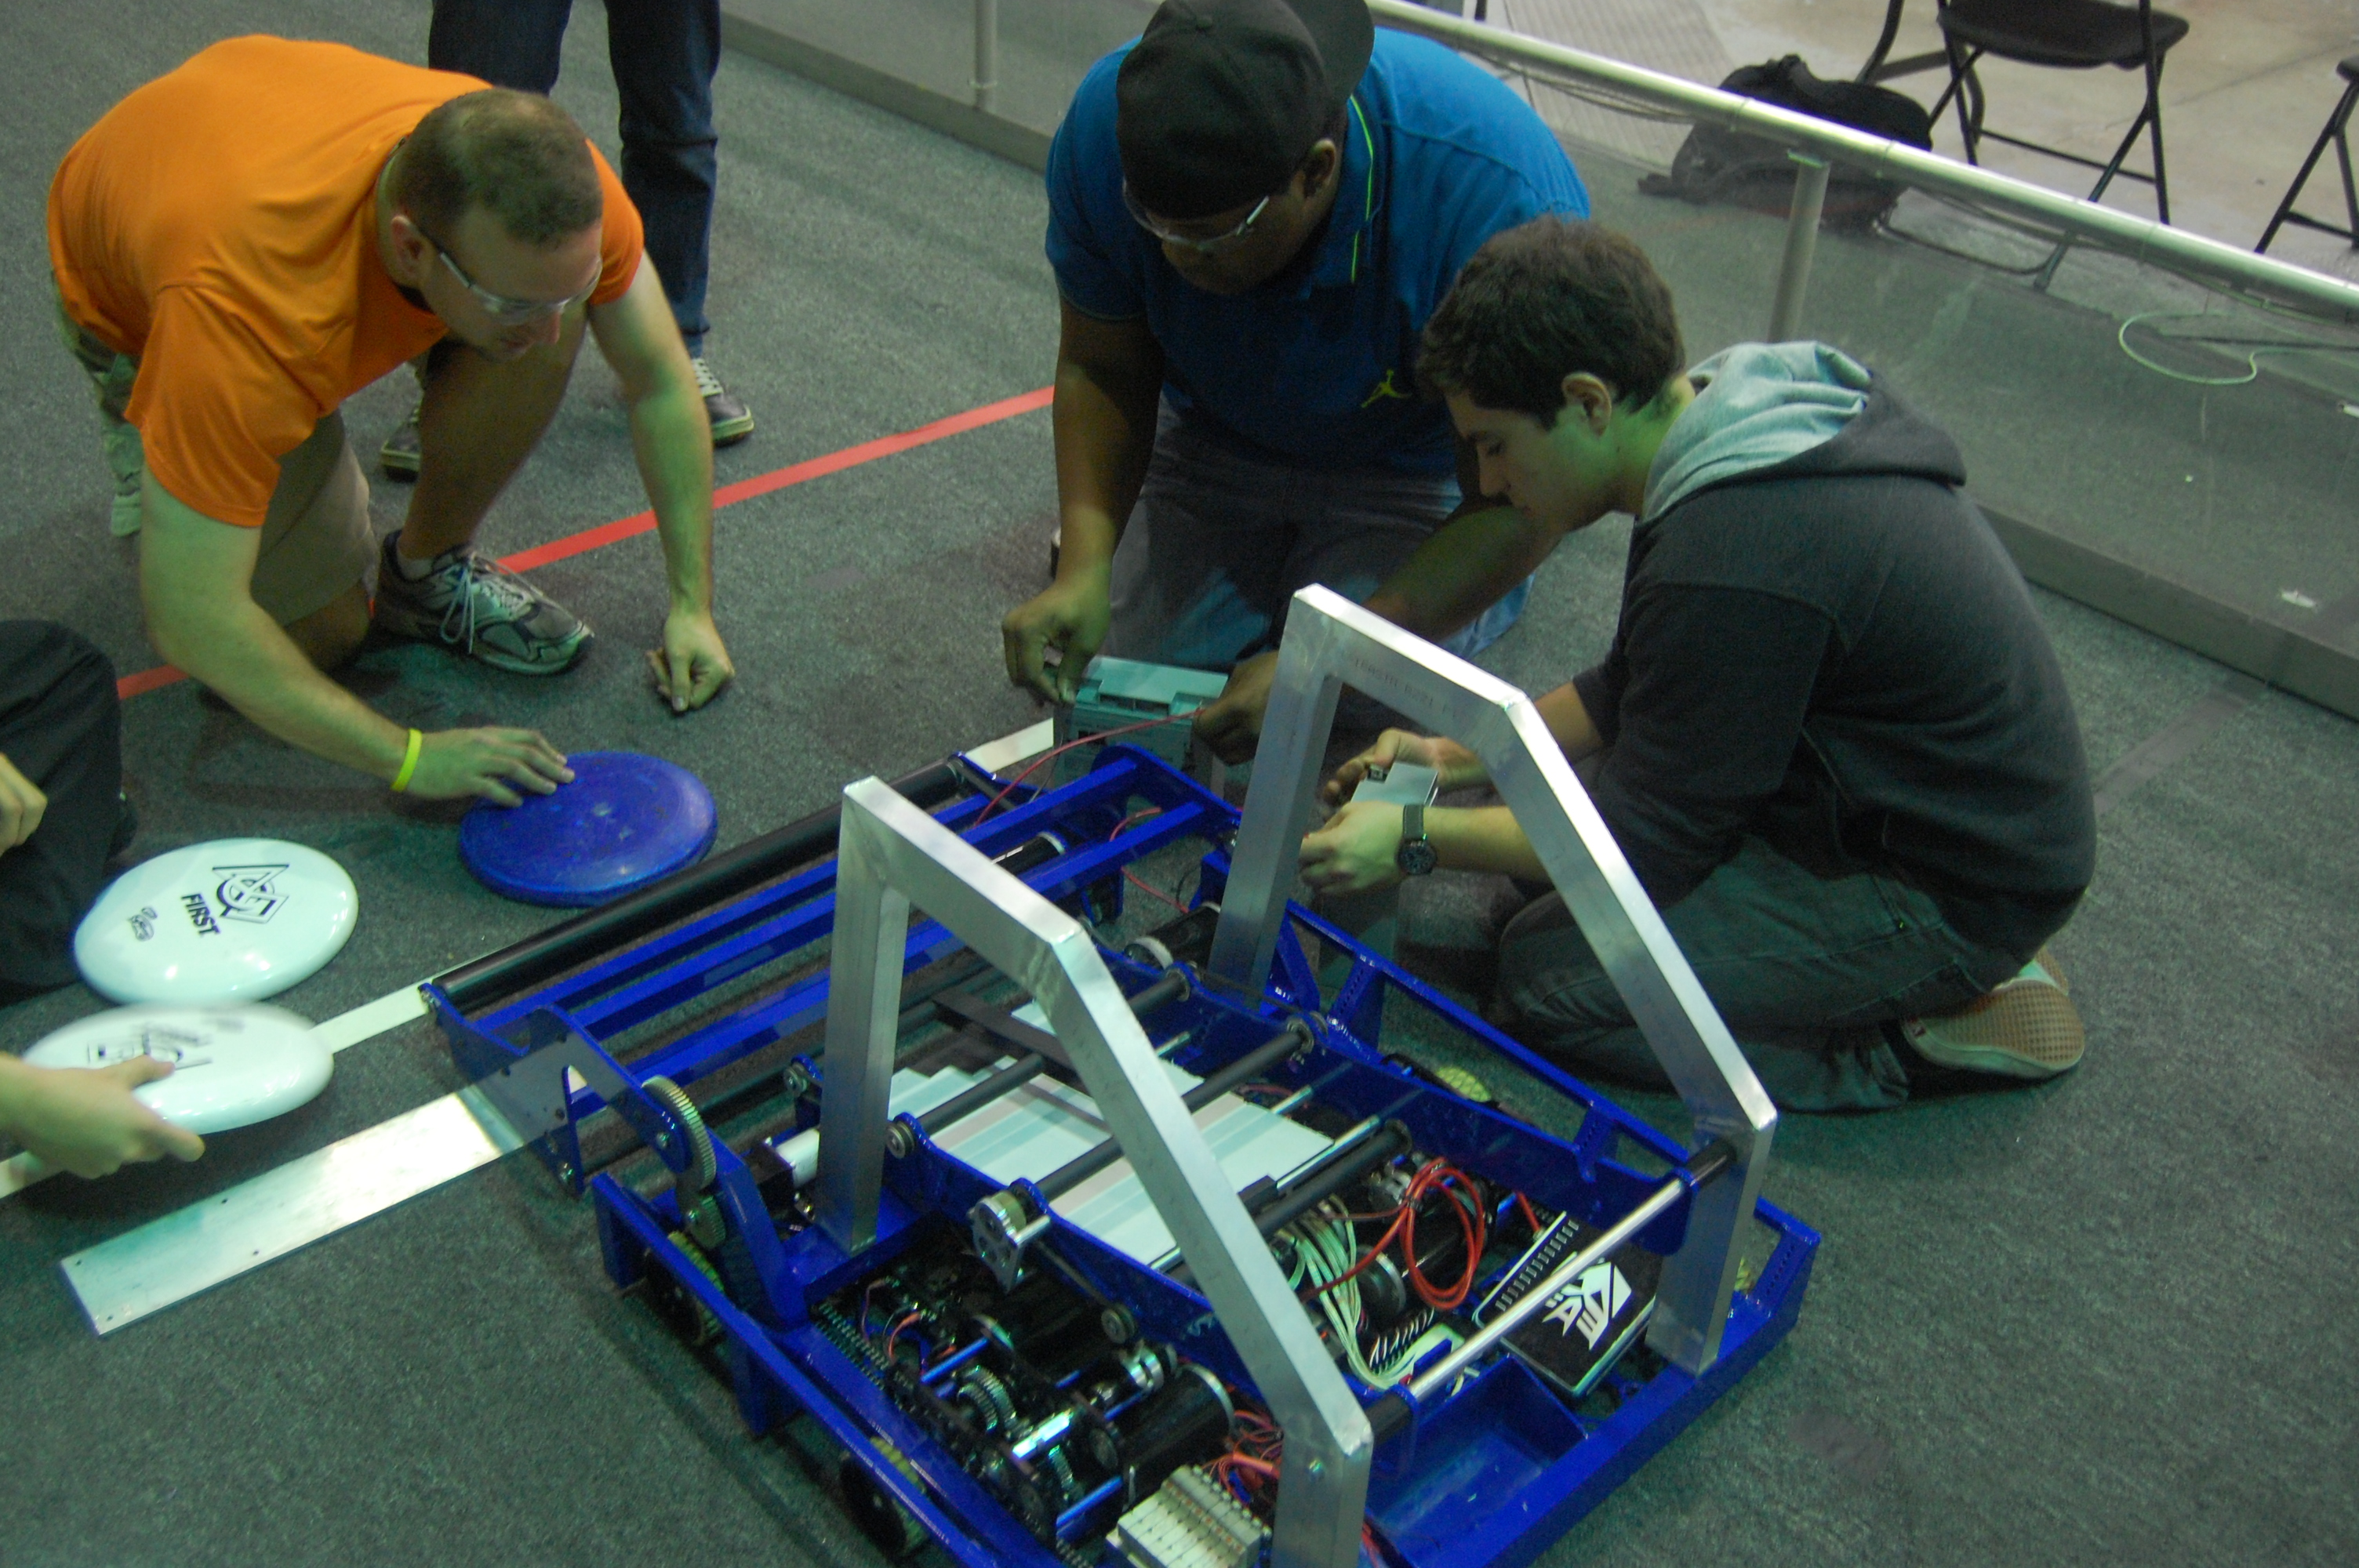
Students and mentors finished assembly of the intake and attached the superstructure frame. With the intake mounted to both the practice and competition robots, students and mentors plan to continue testing and tweaking the intake tonight.  Students also put together the conveyor system and attached it to the superstructure of the practice robot.  After some quick adjustments and temporary Gaffers tape, the conveyor worked fairly well.  However, it was discovered that the side plate of the intake needed to be redesigned to allow for more spacing.  In addition, one of the top crossbars of the intake was removed after students discovered that frisbees were getting stuck at a certain spot in the intake.  Removing the bar greatly improved the results.
    DSC_0545

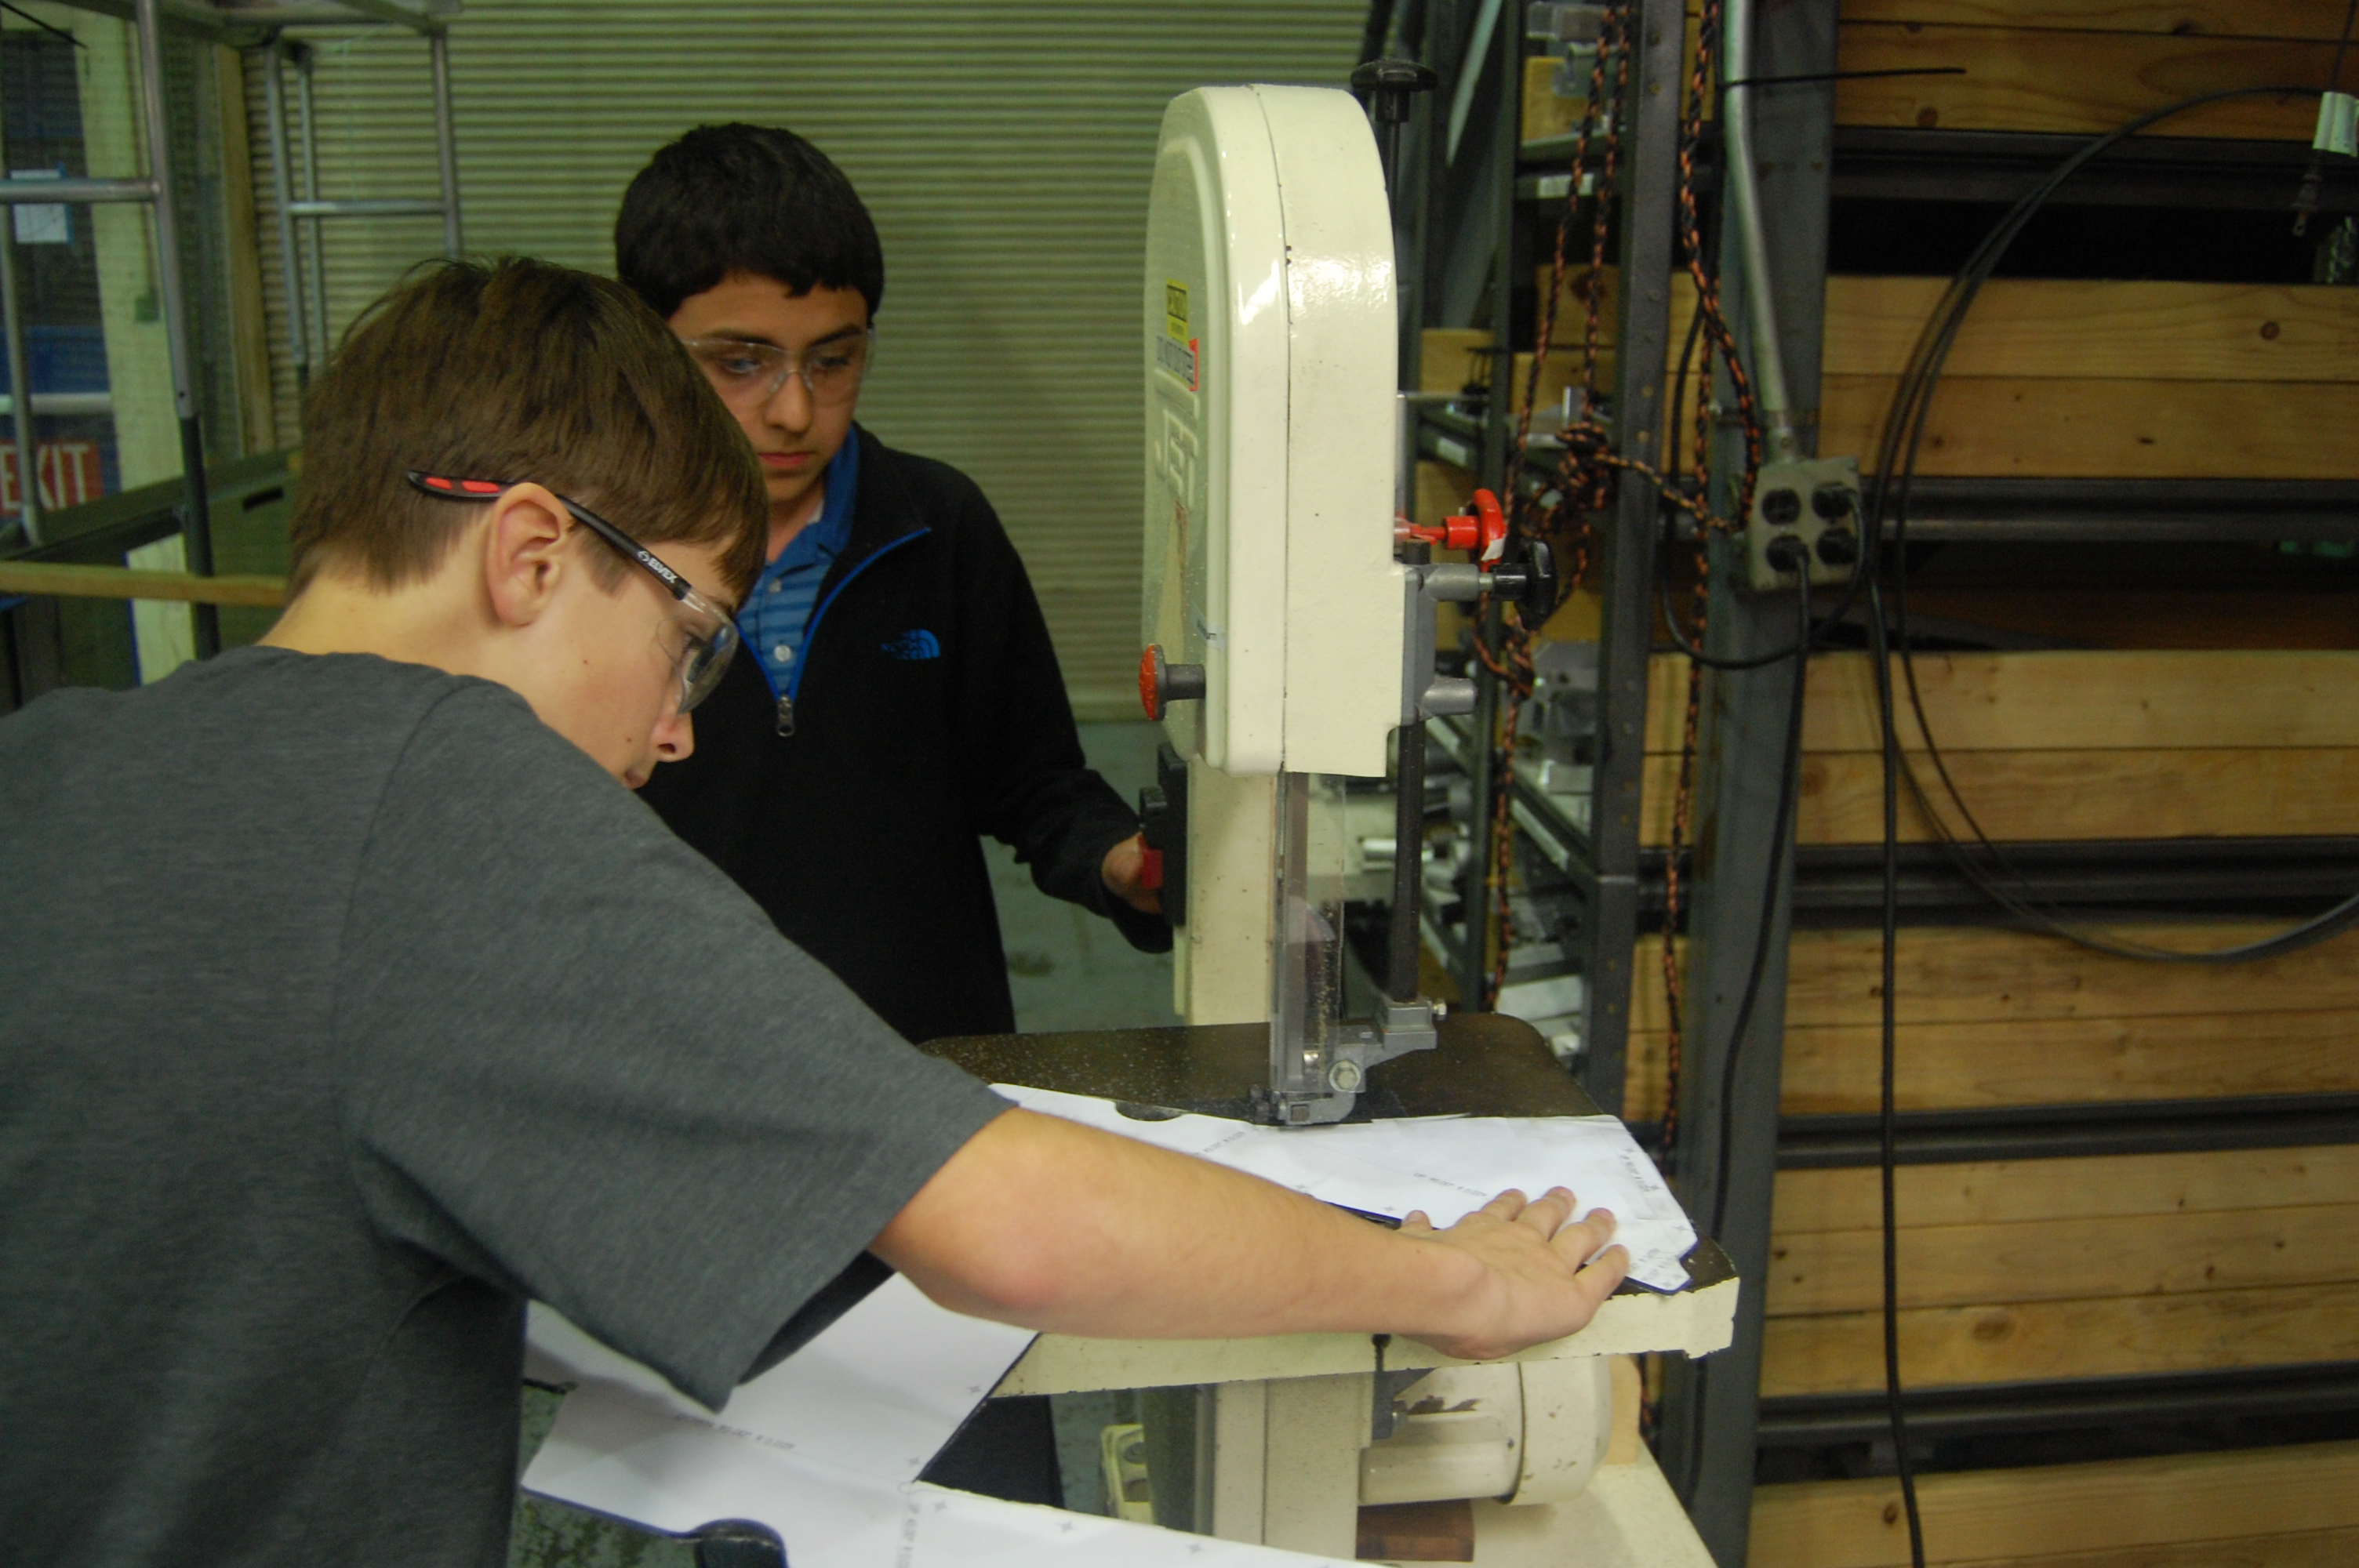
Students machining a polycarbonate plate for the intake
 

DSC_0551

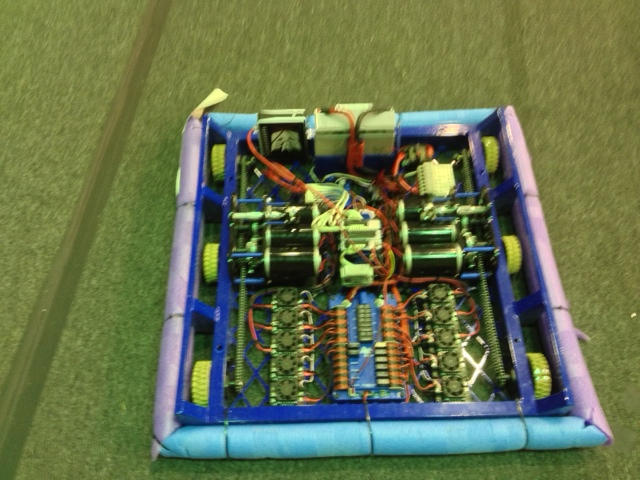
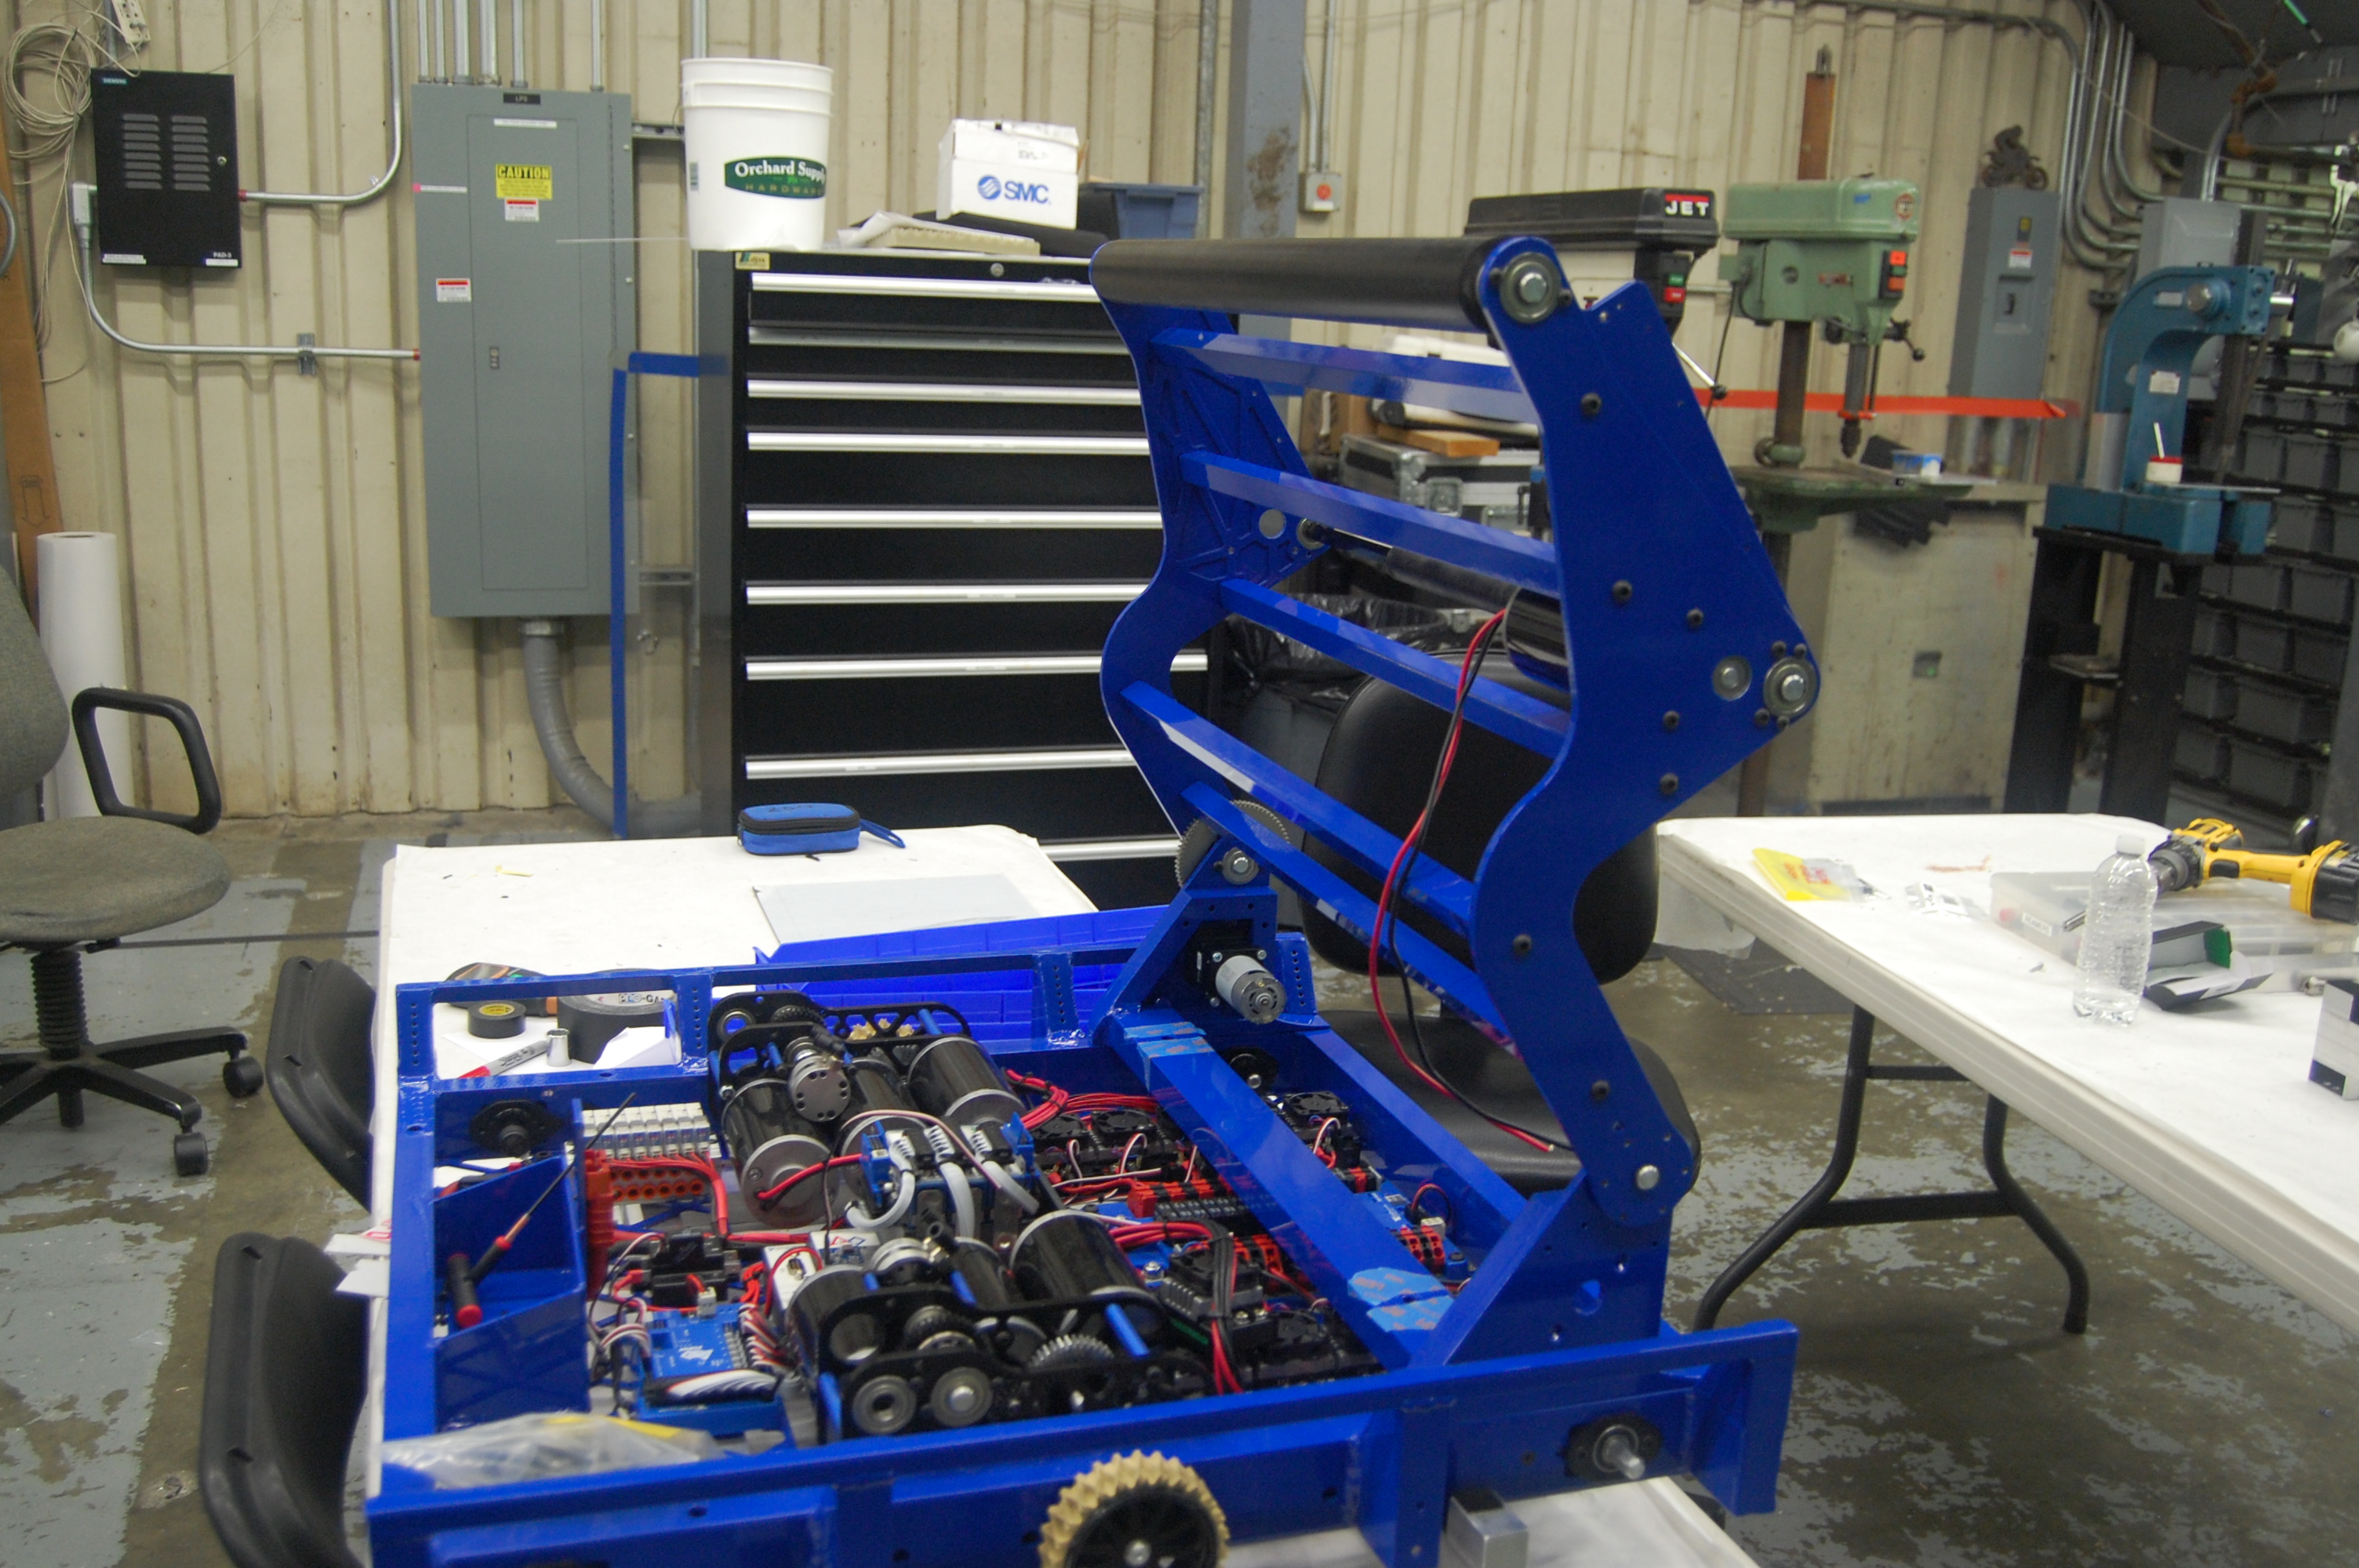
The competition robot in its current form
 

DSC_0547

Testing the mounted intake and conveyor on the practice robot

CAD

Team members continued working on the CAD for the hangar, and are now close to being finalized. With 4 hooks, we plan to be able to climb and hang extremely quickly.


Programming

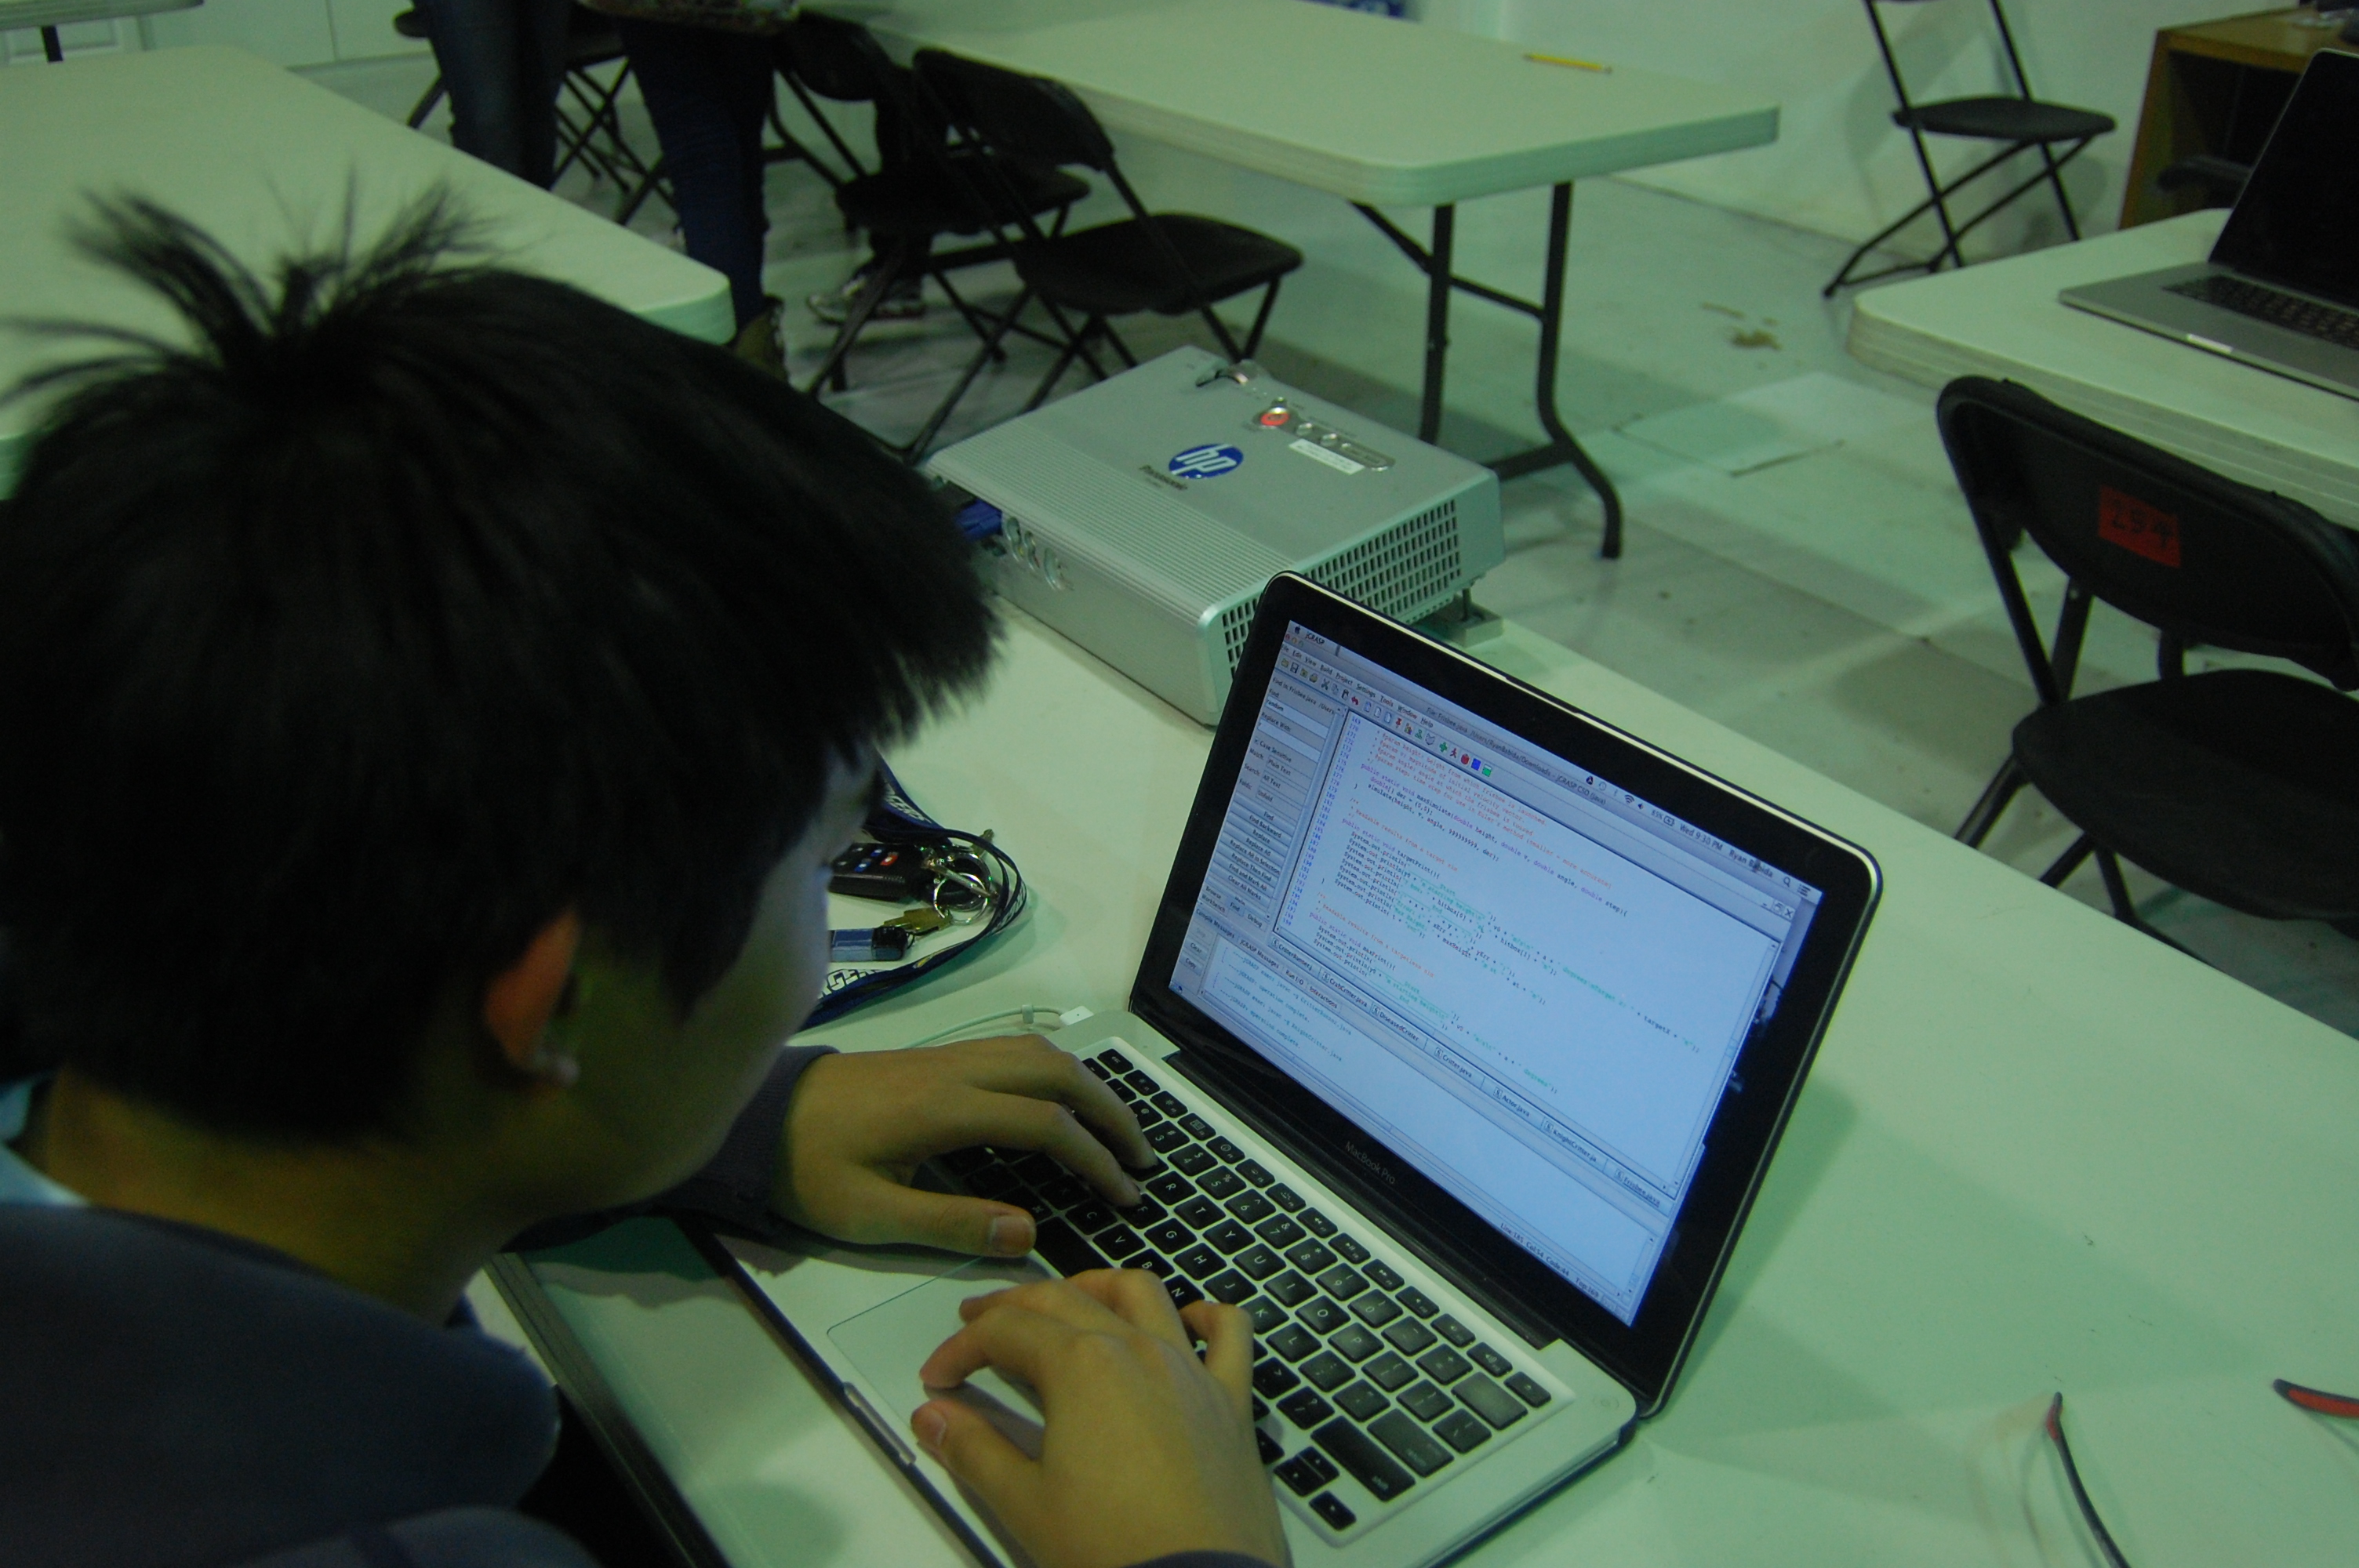
Students continued work on their Frisbee Thrower Simulator. This will calculate all the possible throws the robot can make from various positions on the field. We then use this data to determine an optimal shooting angle and speed.  After approval from the programming mentors, the programmers plan on posting the source code and their results to ChiefDelphi forums to help out other teams.
 

DSC_0550

Programming the simulator, written in Java

Field

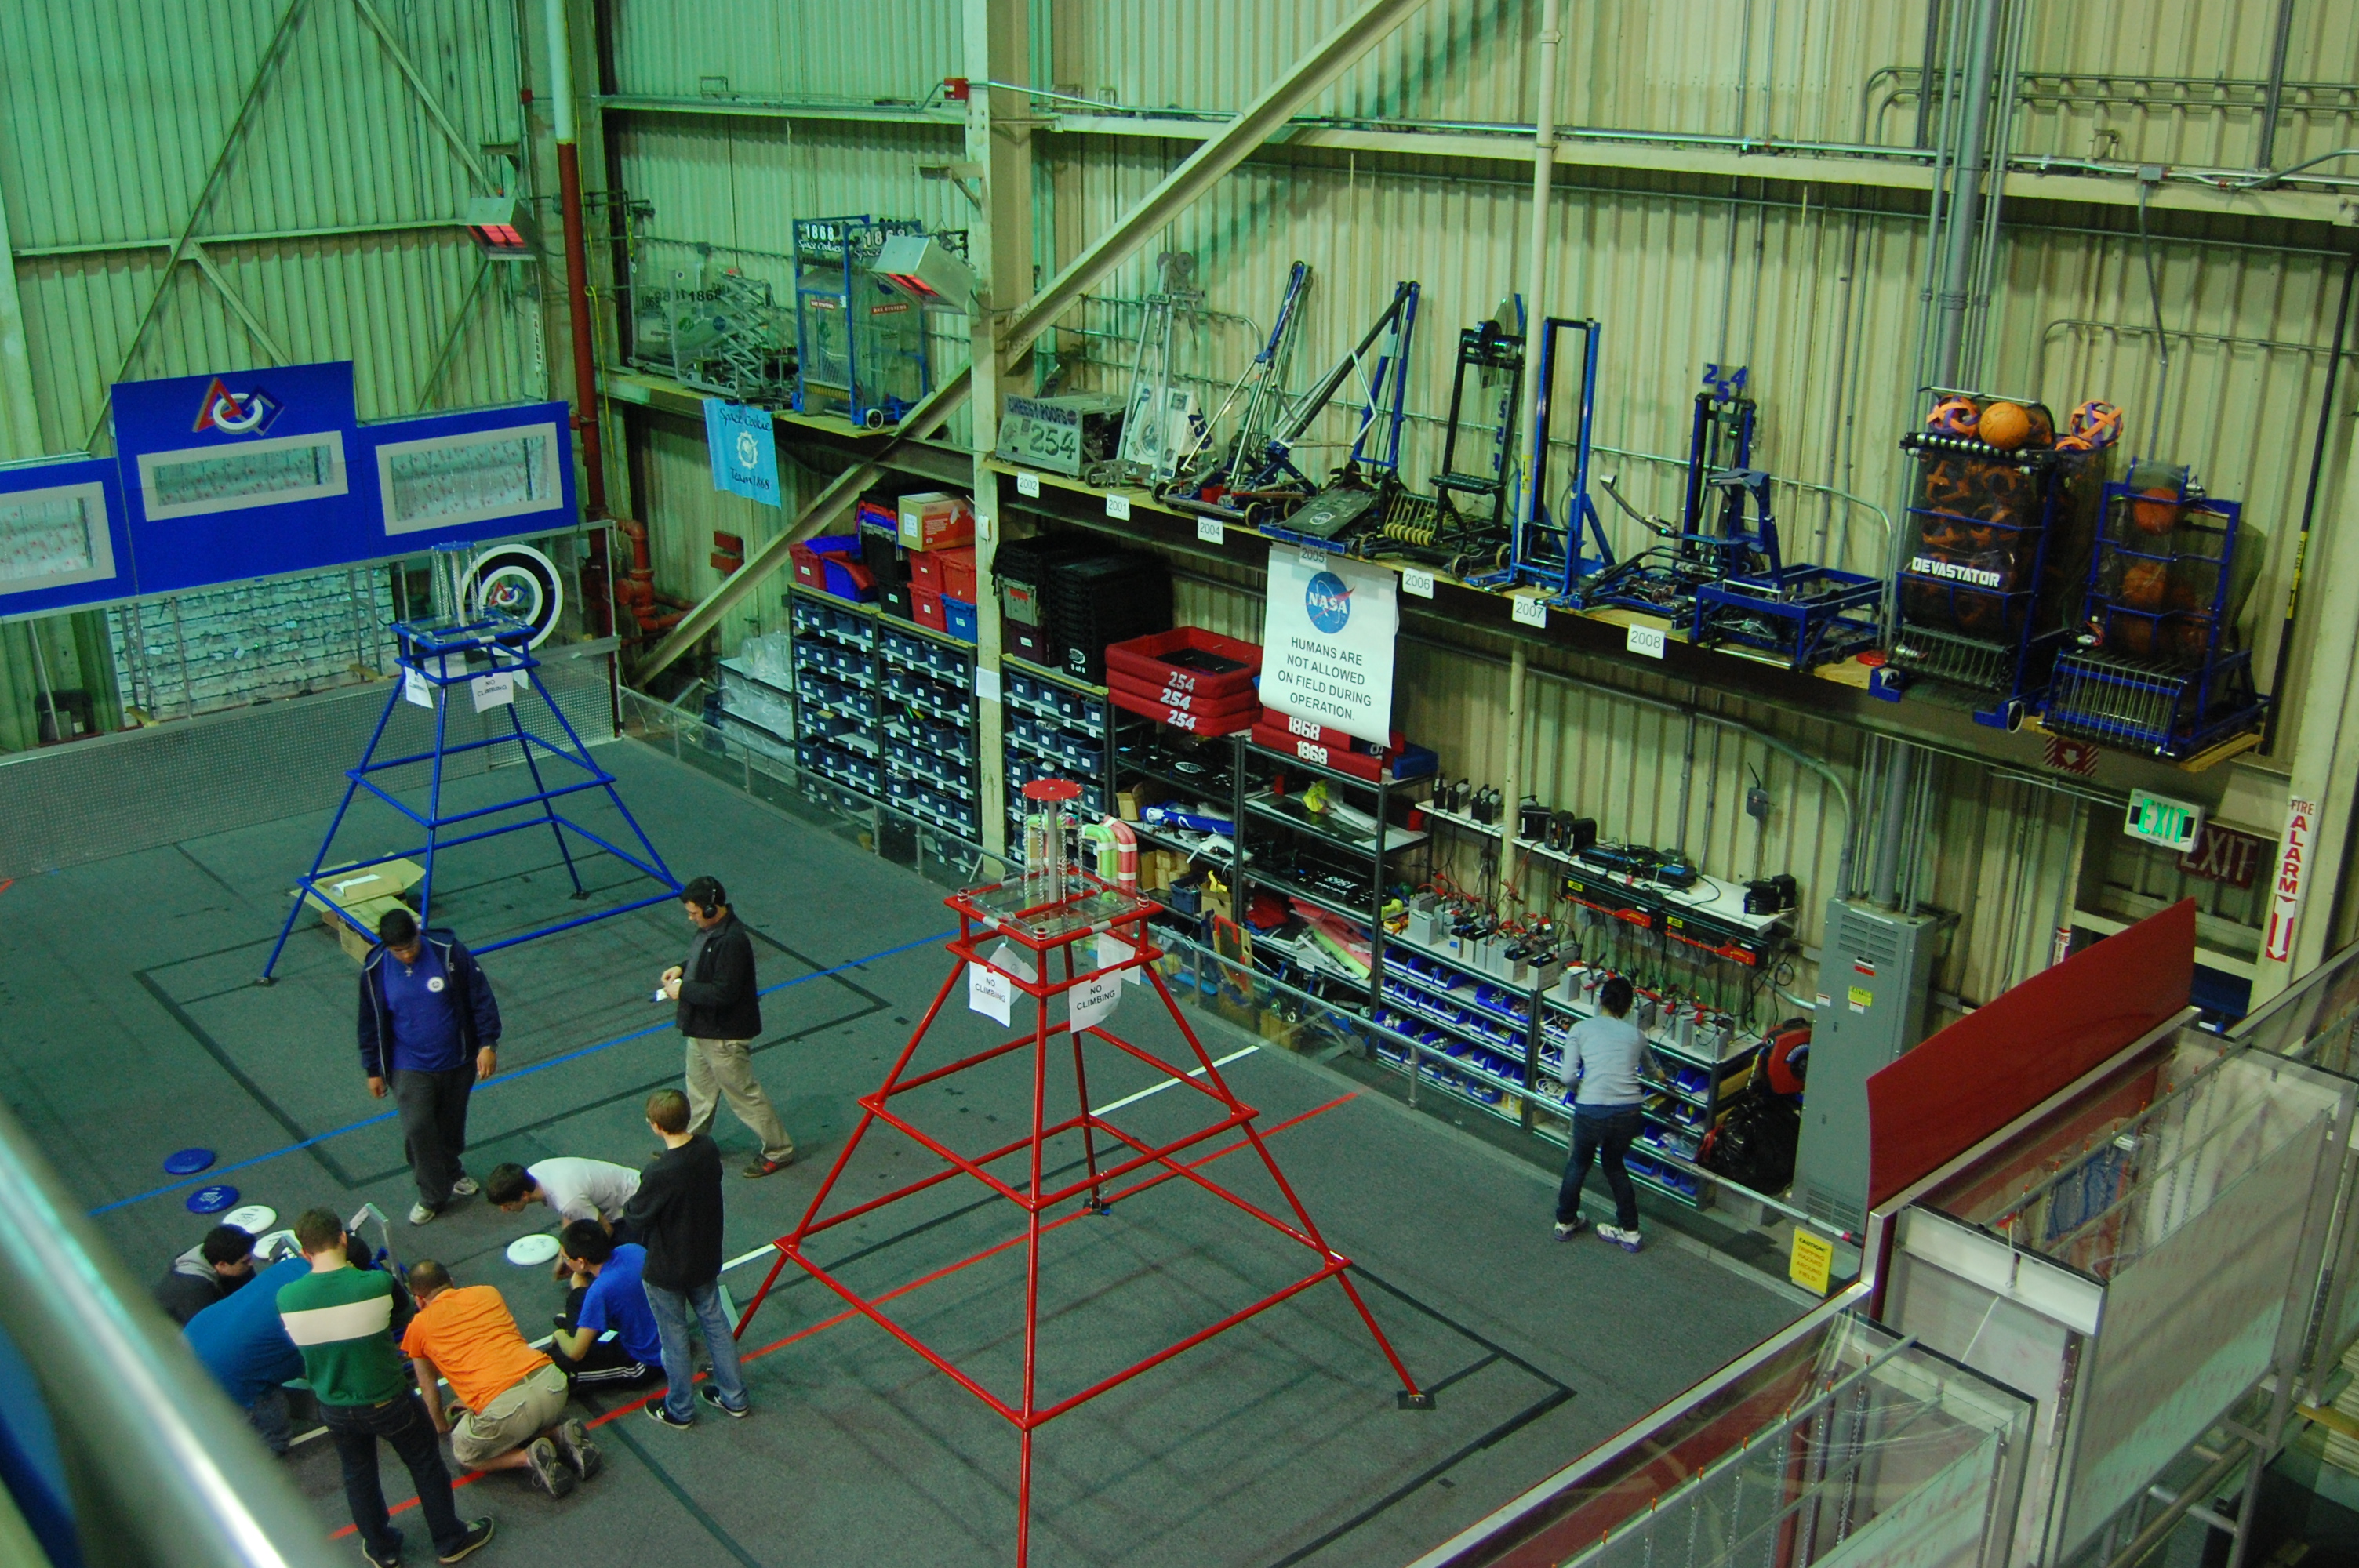
Students finished mounting the blue-side Goals, vaccumed the field, and cleaned up miscellaneous parts and tools.
 

DSC_0548

The finished and mostly-cleaned field!

Action Items

  • Continue cleaning field and lab for Scrimmage

  • Continue machining parts and assembling the robot

Lab Closing Time: 6:00 AM
Day #35: Field & Intake Assembly; Manufacturing

2013 FRC Build SeasonFIRST Robotics

Manufacturing

Today, students and mentors continued work on manufacturing parts which will be anodized. These parts must be finished by Wednesday night in order to be sent to anodization Thursday, with a return on Friday. Many new materials were received for the intake and shooter. These were also cut and CNC'd for the conveyor, shooter, as well as the hanger.

Intake

We received powdercoated intake parts, and the intake mount was attached to the competition robot.

Field

The upper blue goal was mounted onto the structure that supports it, after much work on the support structure to ensure that the field wall and structure were leveled.

Action Items

  • Finish Practice Bumpers
  • Ensure field is complete for scrimmage
  • Finish parts which will be anodized

Lab Closing Time: 4:40 AM

Day #34: Intake and Field Assembly

2013 FRC Build SeasonFIRST Robotics

CAD

Today students went through the entire CAD and made sure that all of the necessary parts and materials to complete the robot have been purchased. To do this, he used a special feature in Solidworks that automatically created a bill of materials for the entire robot. He then cross-referenced this with our existing bill of materials to make sure that all the parts have been ordered. As of now, most of the parts have been ordered, however we still need to complete one more order with McMaster to obtain everything we need.

DSC_0435

Nagy Hakim checking the Bill of Materials

Manufacturing

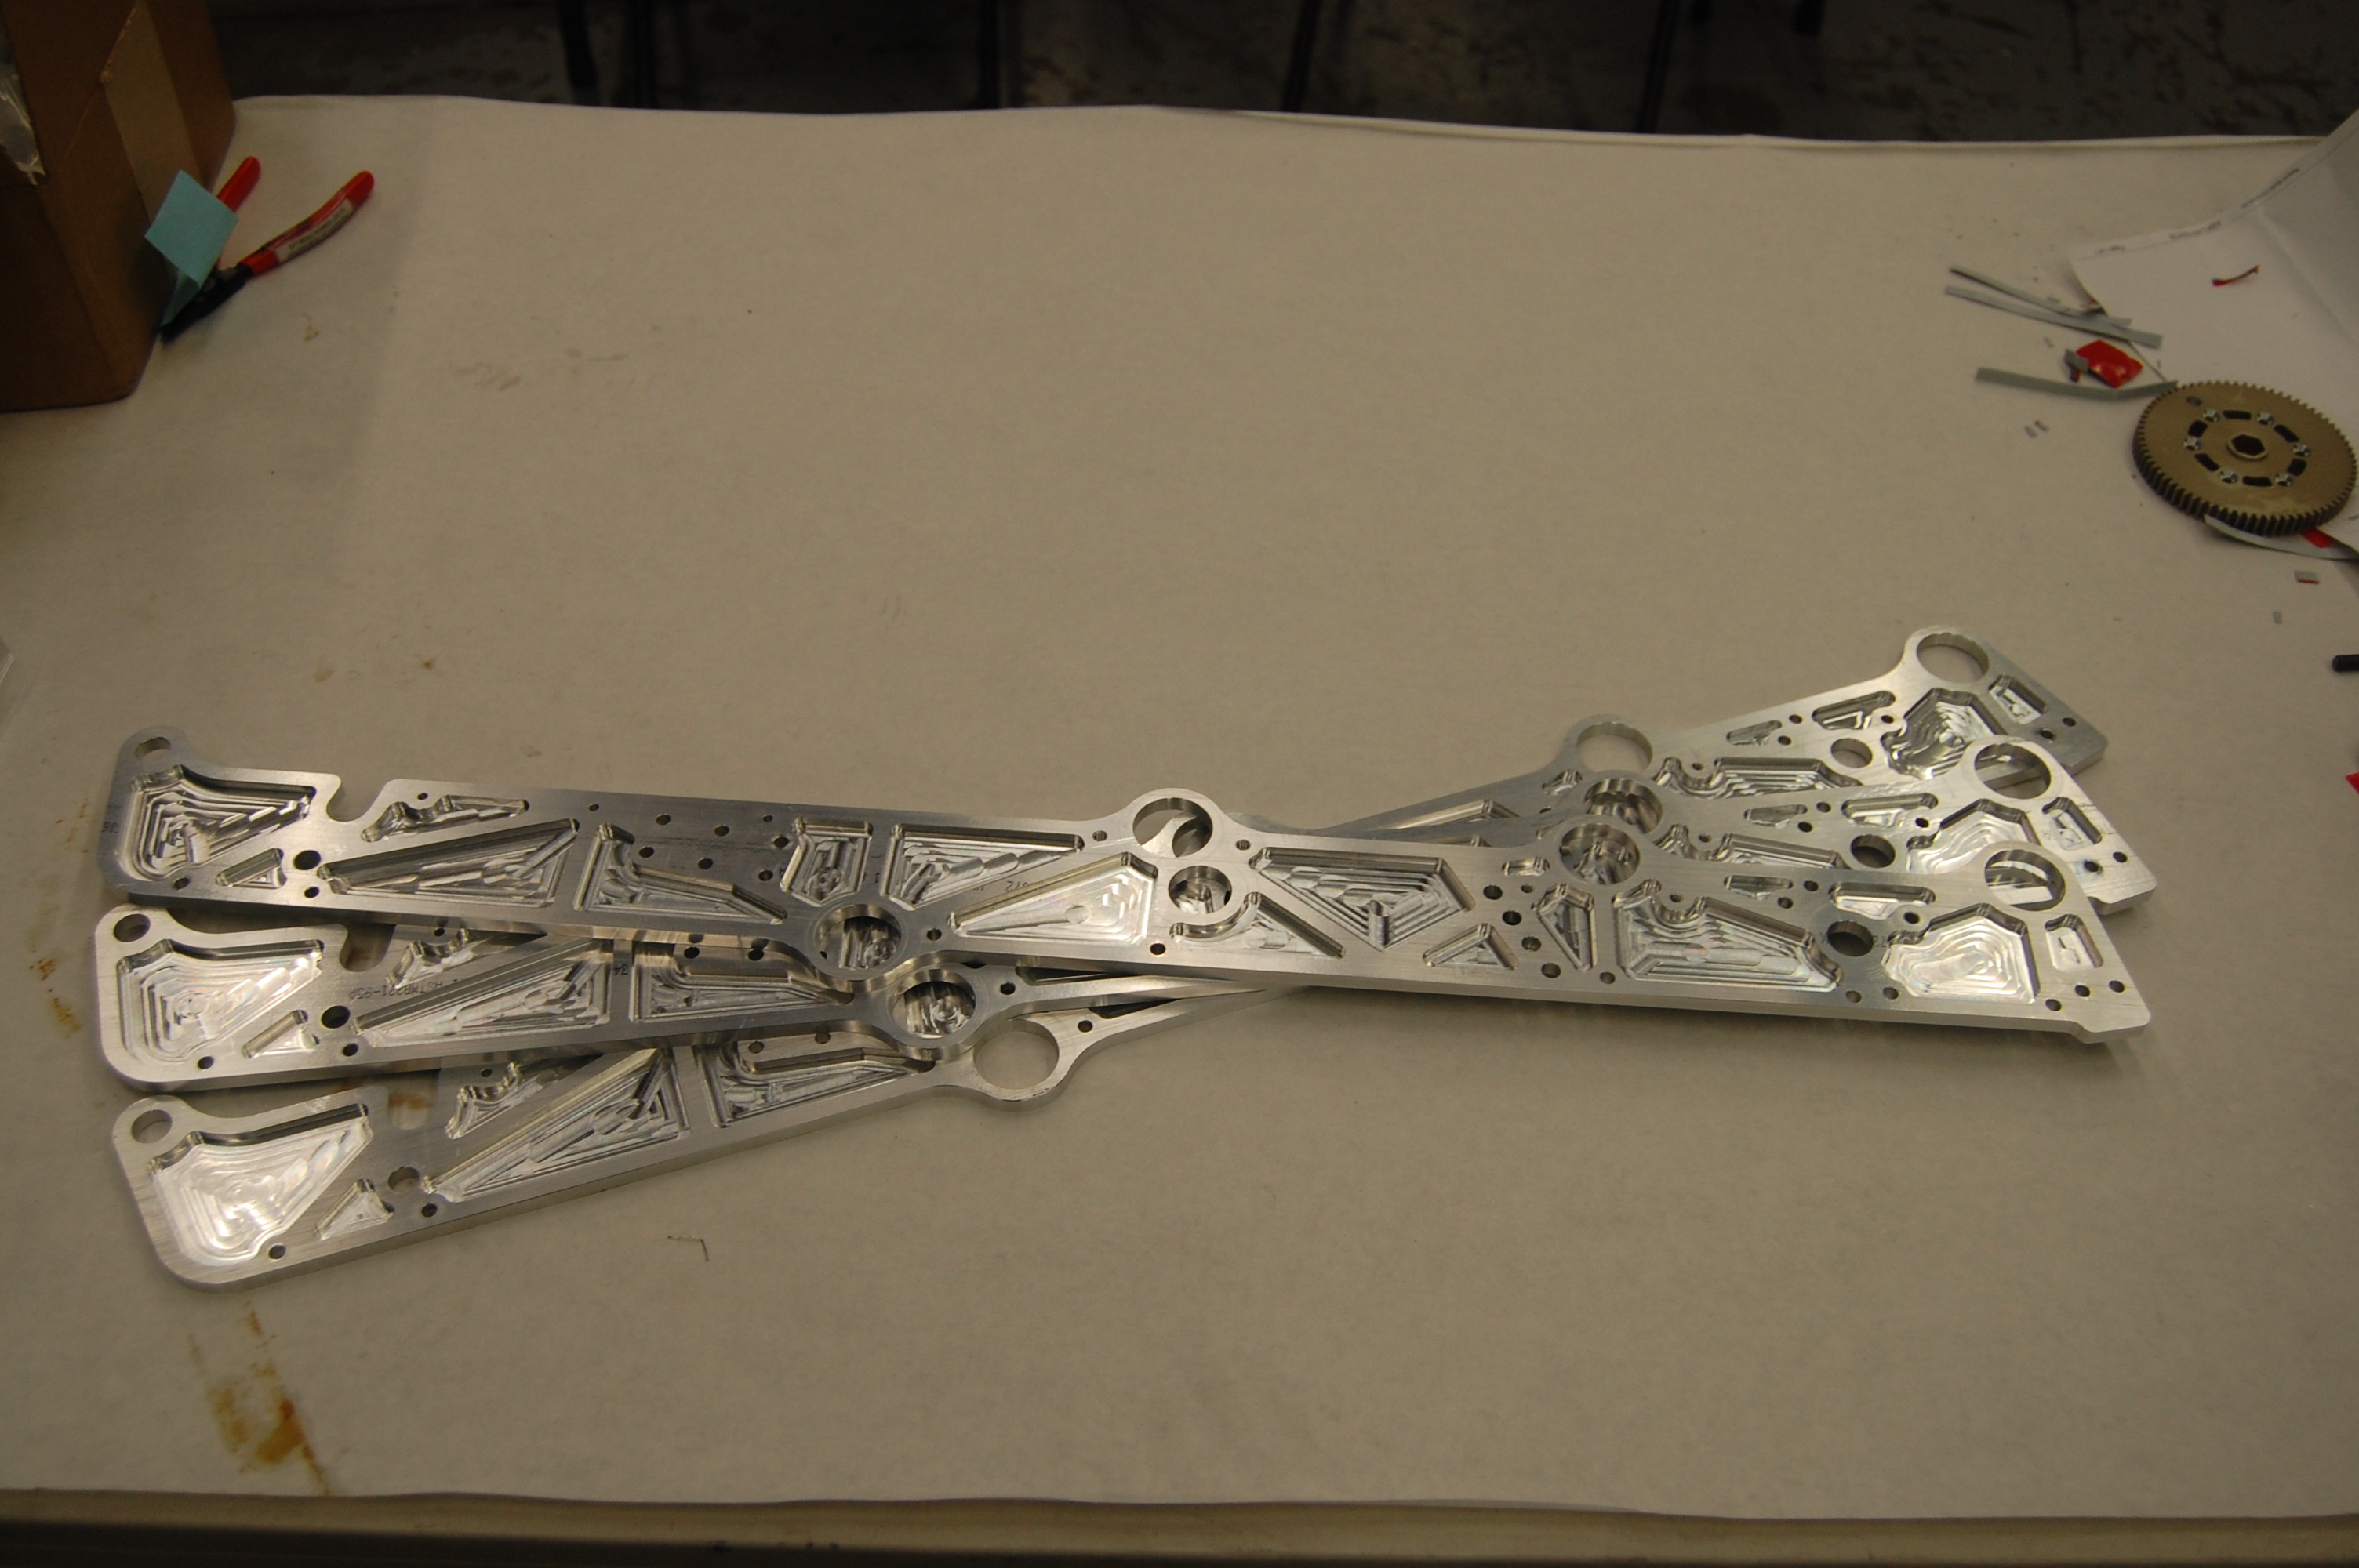
A lot of work was completed on the CNC today. Machining for the conveyor side plates is complete and ready for powdercoat. Machining for additional parts on the CNC, such as a structural gusset for the shooter, has begun.

DSC_0448

Finished Conveyor Side Plates

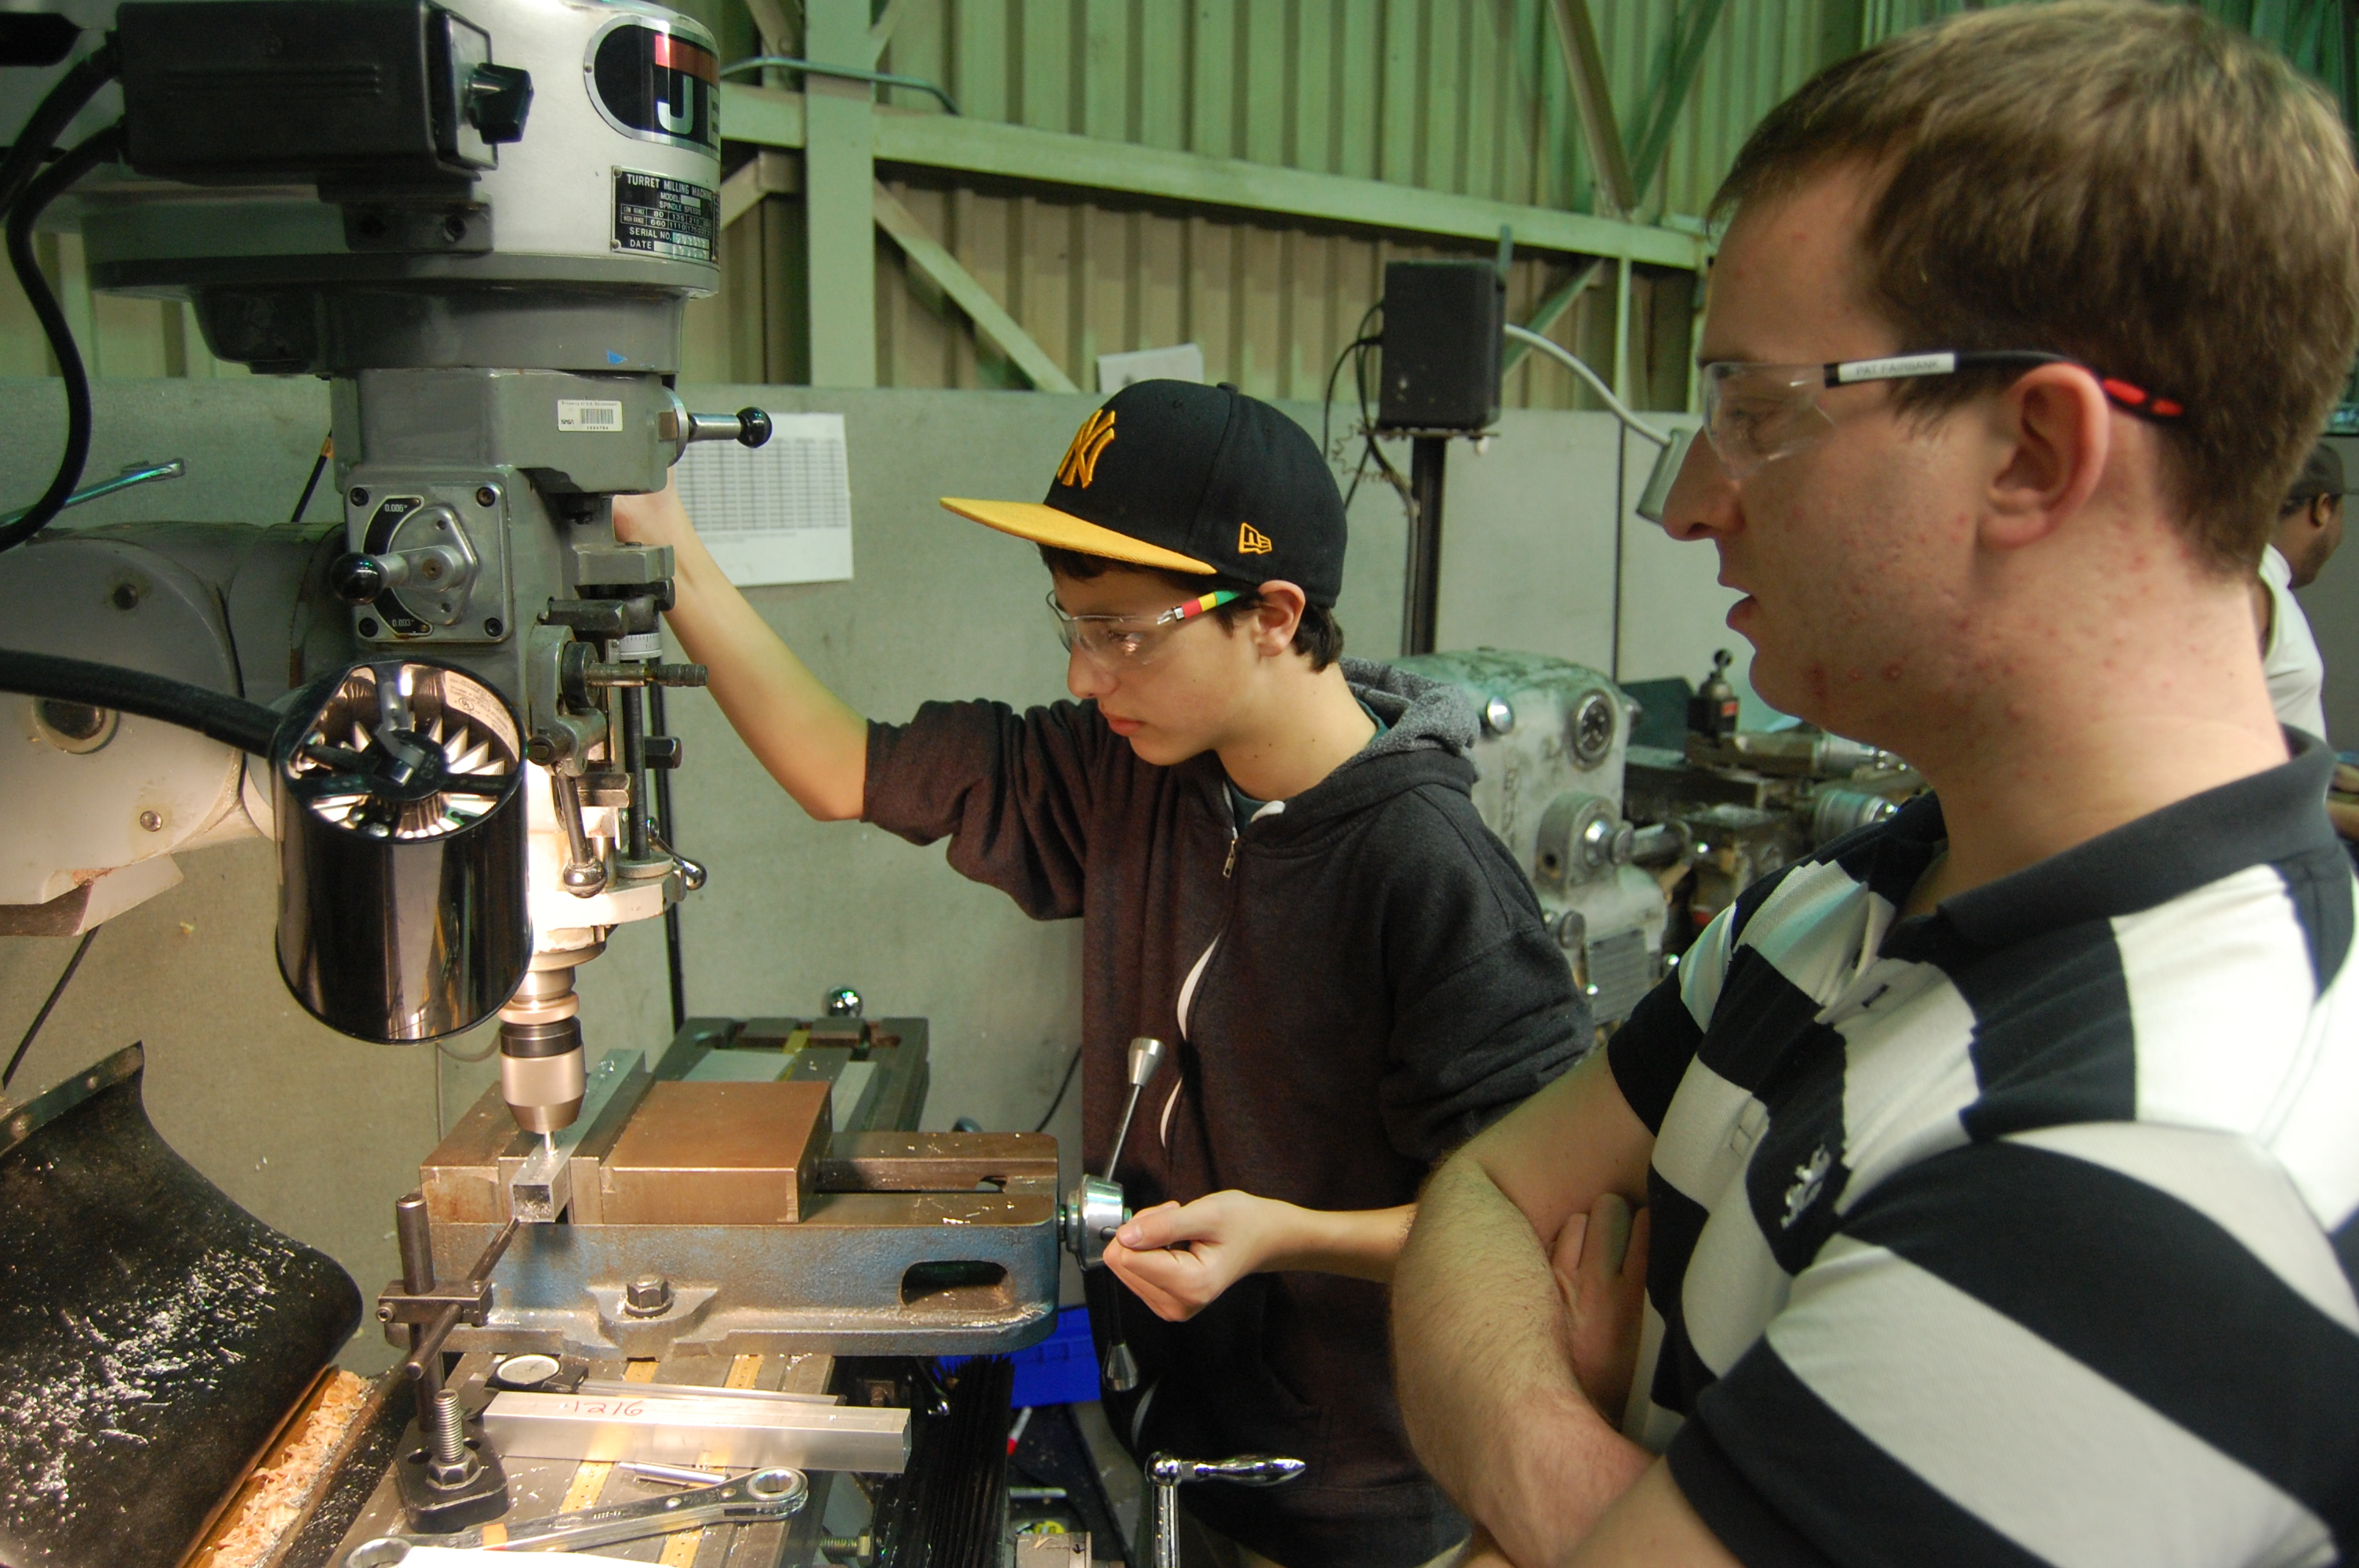
Additionaly, manufacturing for more shooter parts have begun. Students with the help of mentors finished machining the cross-pieces for the shooter assembly. These pieces will act as spacers for the shooter side plates and provide support for the entire assembly.

DSC_0455

Precision Milling with Pat and Nick

Intake

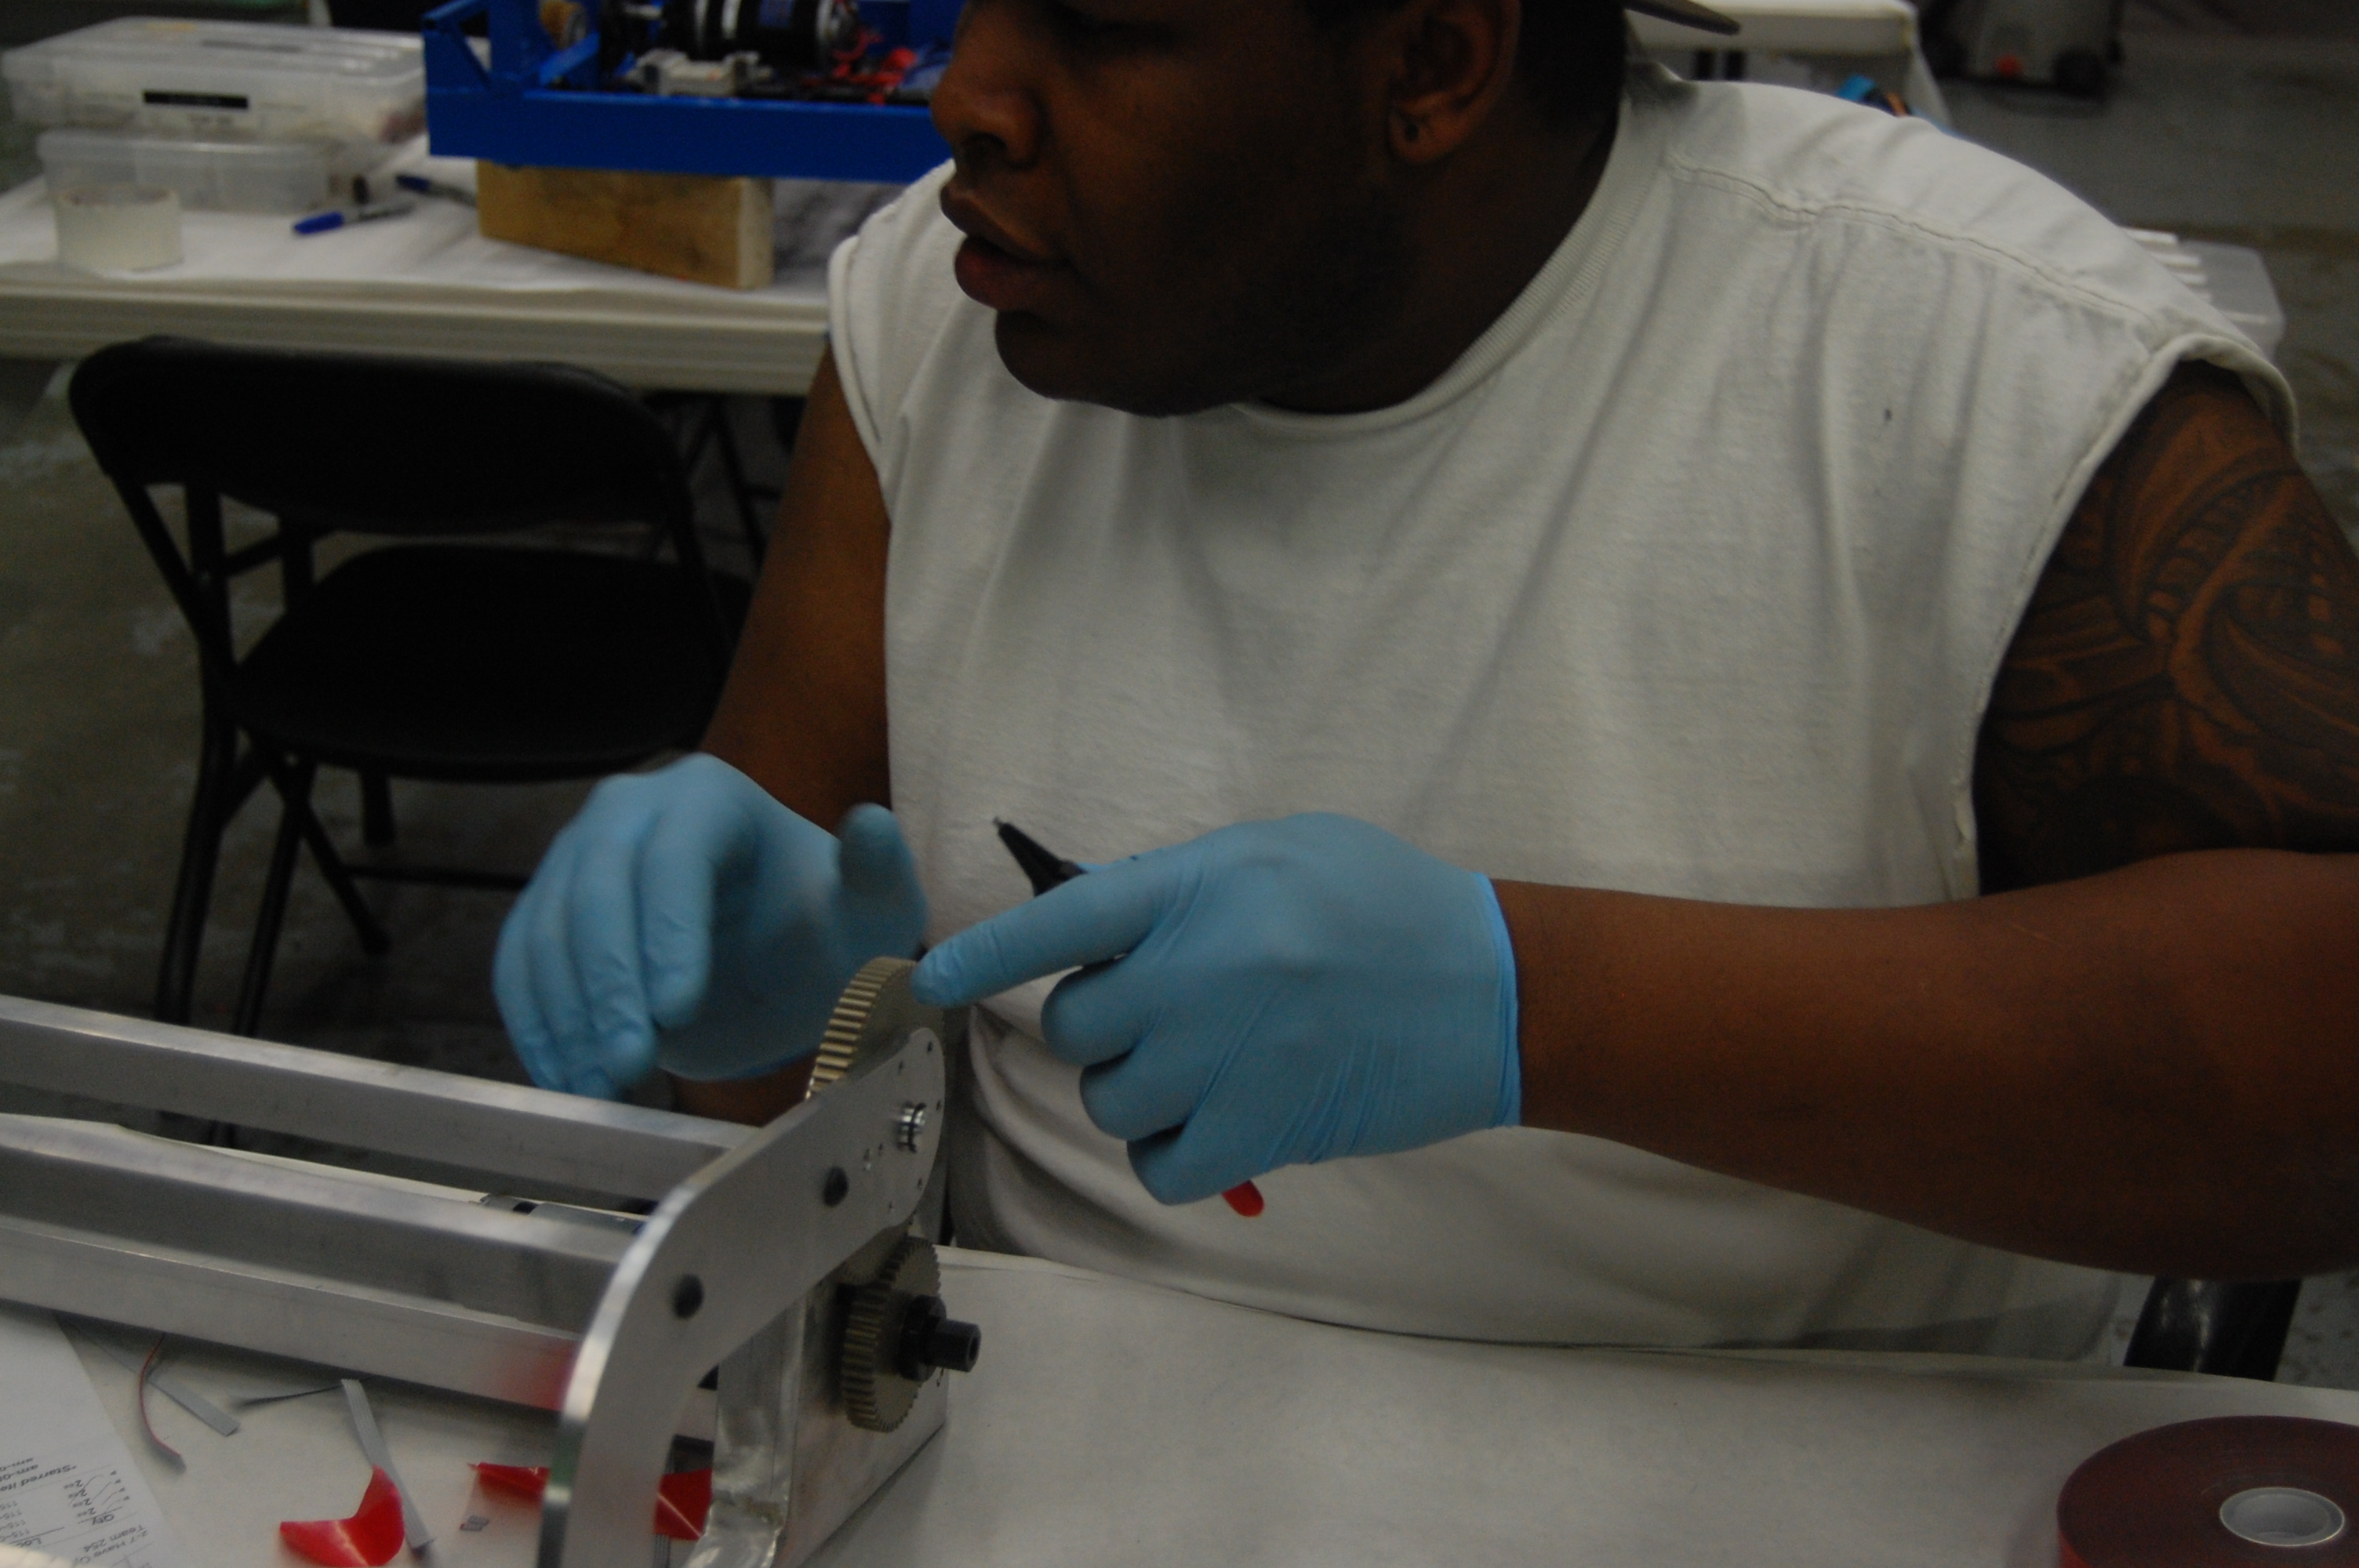
Students with the help of mentors assembled the intake today. First, bearings were pressed into the intake side plates, and some were attached using bearing retaining screws. Then the rollers were fitted with BBD to help grip the frisbees. Team 254 debuted the use of a new BBD for the front intake roller, which is twice as large as the previous BBD used. Next, the intake gearbox was assembled and lubricated, and the was attached to a mini-CIM motor. This entire assembly was then mounted to one of the intake side plates.

DSC_0419

Assembling the Intake

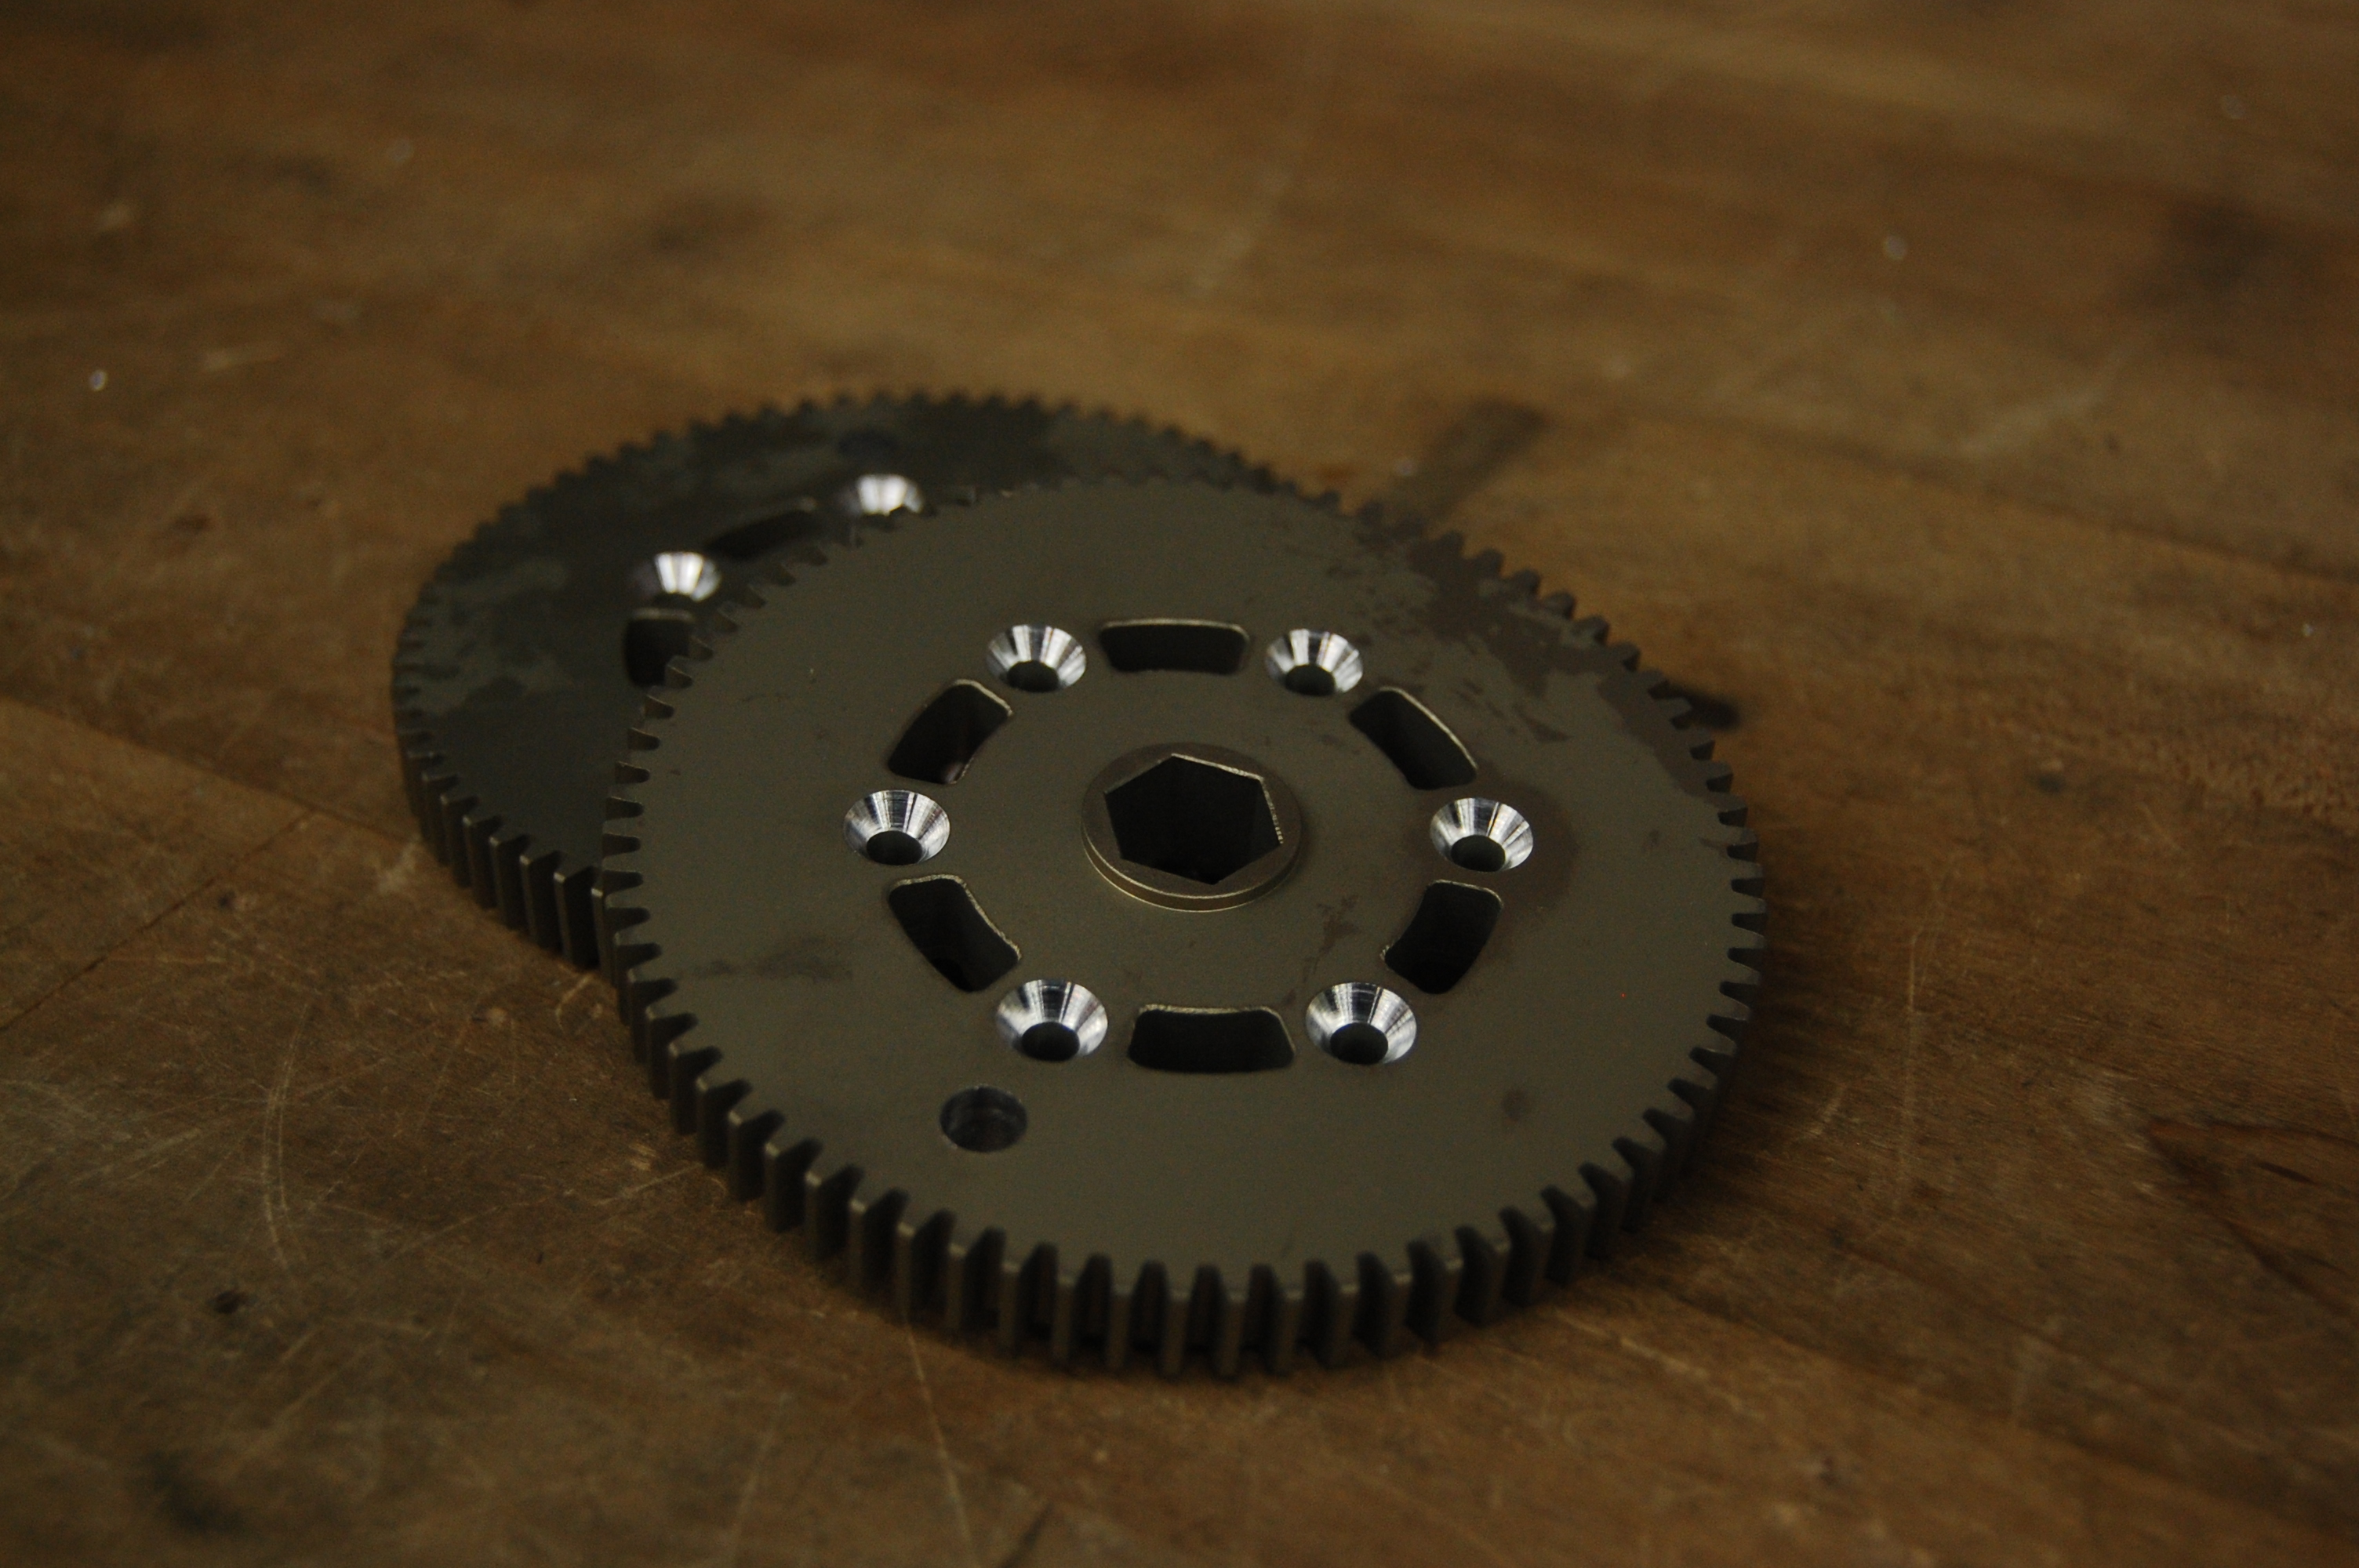
Addionaly, the intake was mounted to the practice robot for testing. Students along with the help of mentors assembled and lubricated the VEX pro planetary gearbox powering the mechanism lifting the intake. This is a special gearbox which will allow for a 100:1 gear reduction in a small volume, which increases torque. It also transfers energy coaxially, or along the axis of a shaft. A BaneBots 550 motor was attached to the gearbox, and this assembly was attached to the intake mount. At the same time, students countersunk VEXpro gears for the intake, and mounted them on the intake and the intake mount.

DSC_0454

Counter-sunk Gears

DSC_0431EJ and Jonathan mount the Intake

Field

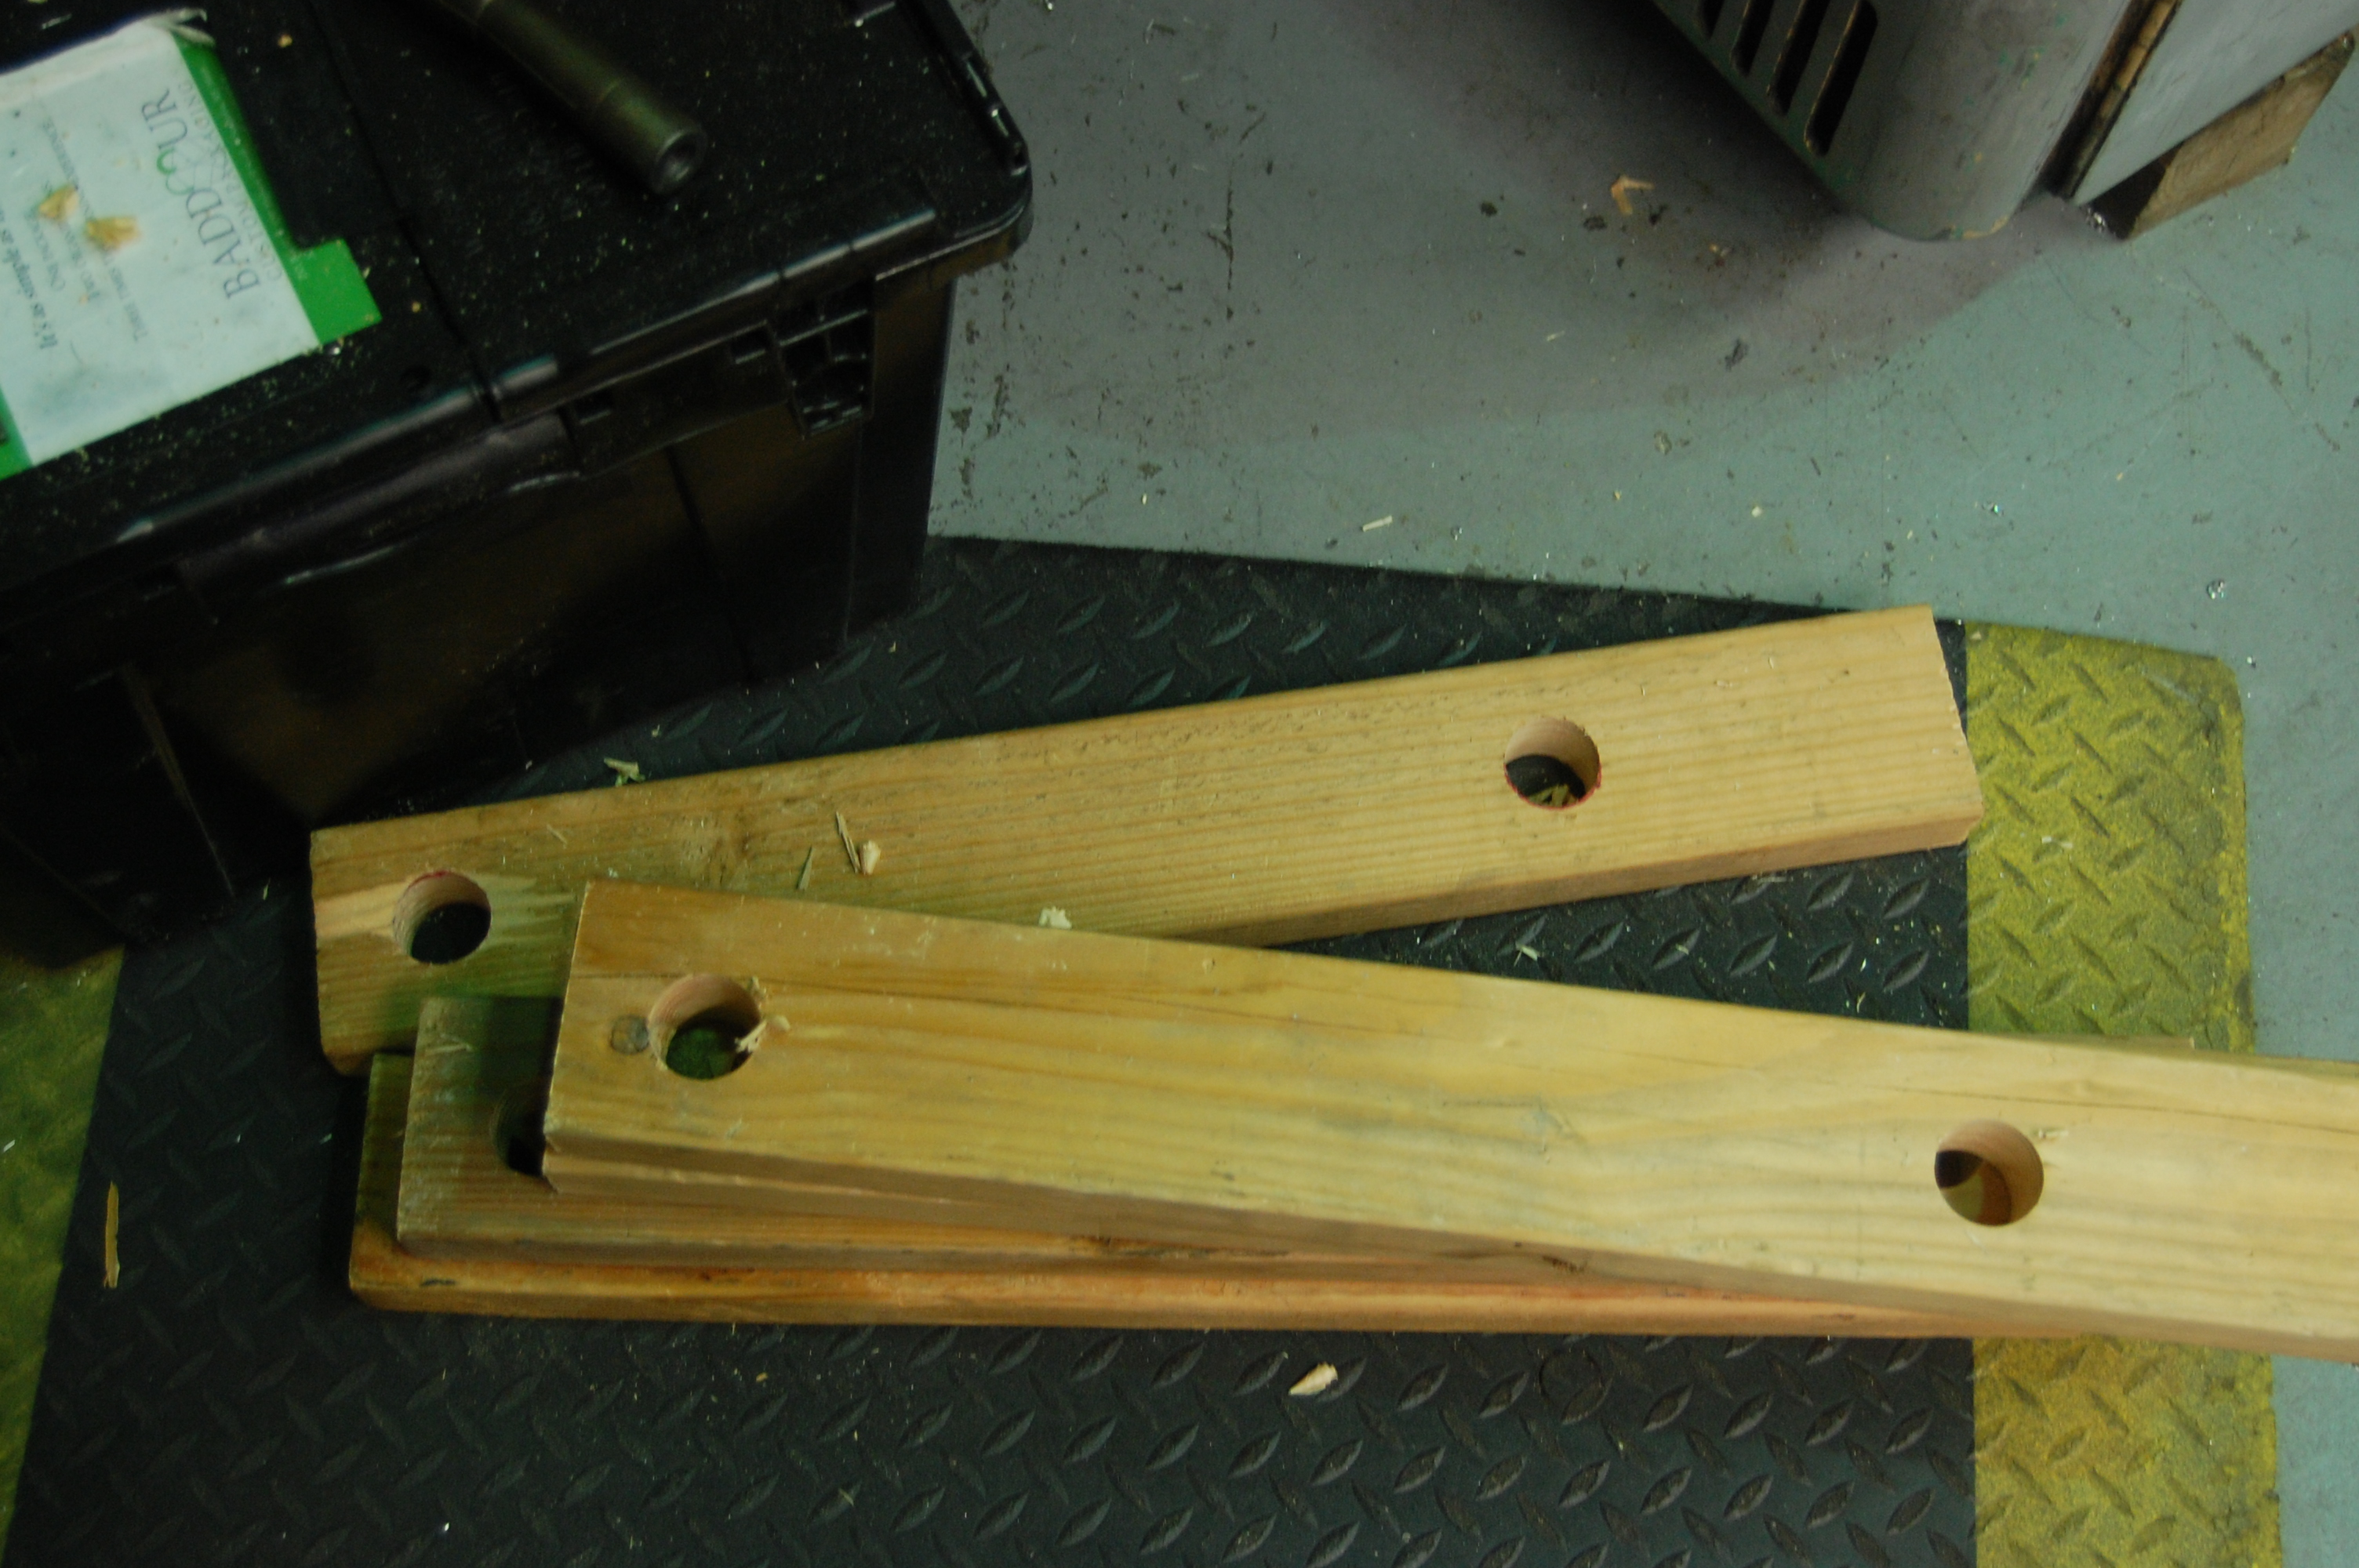
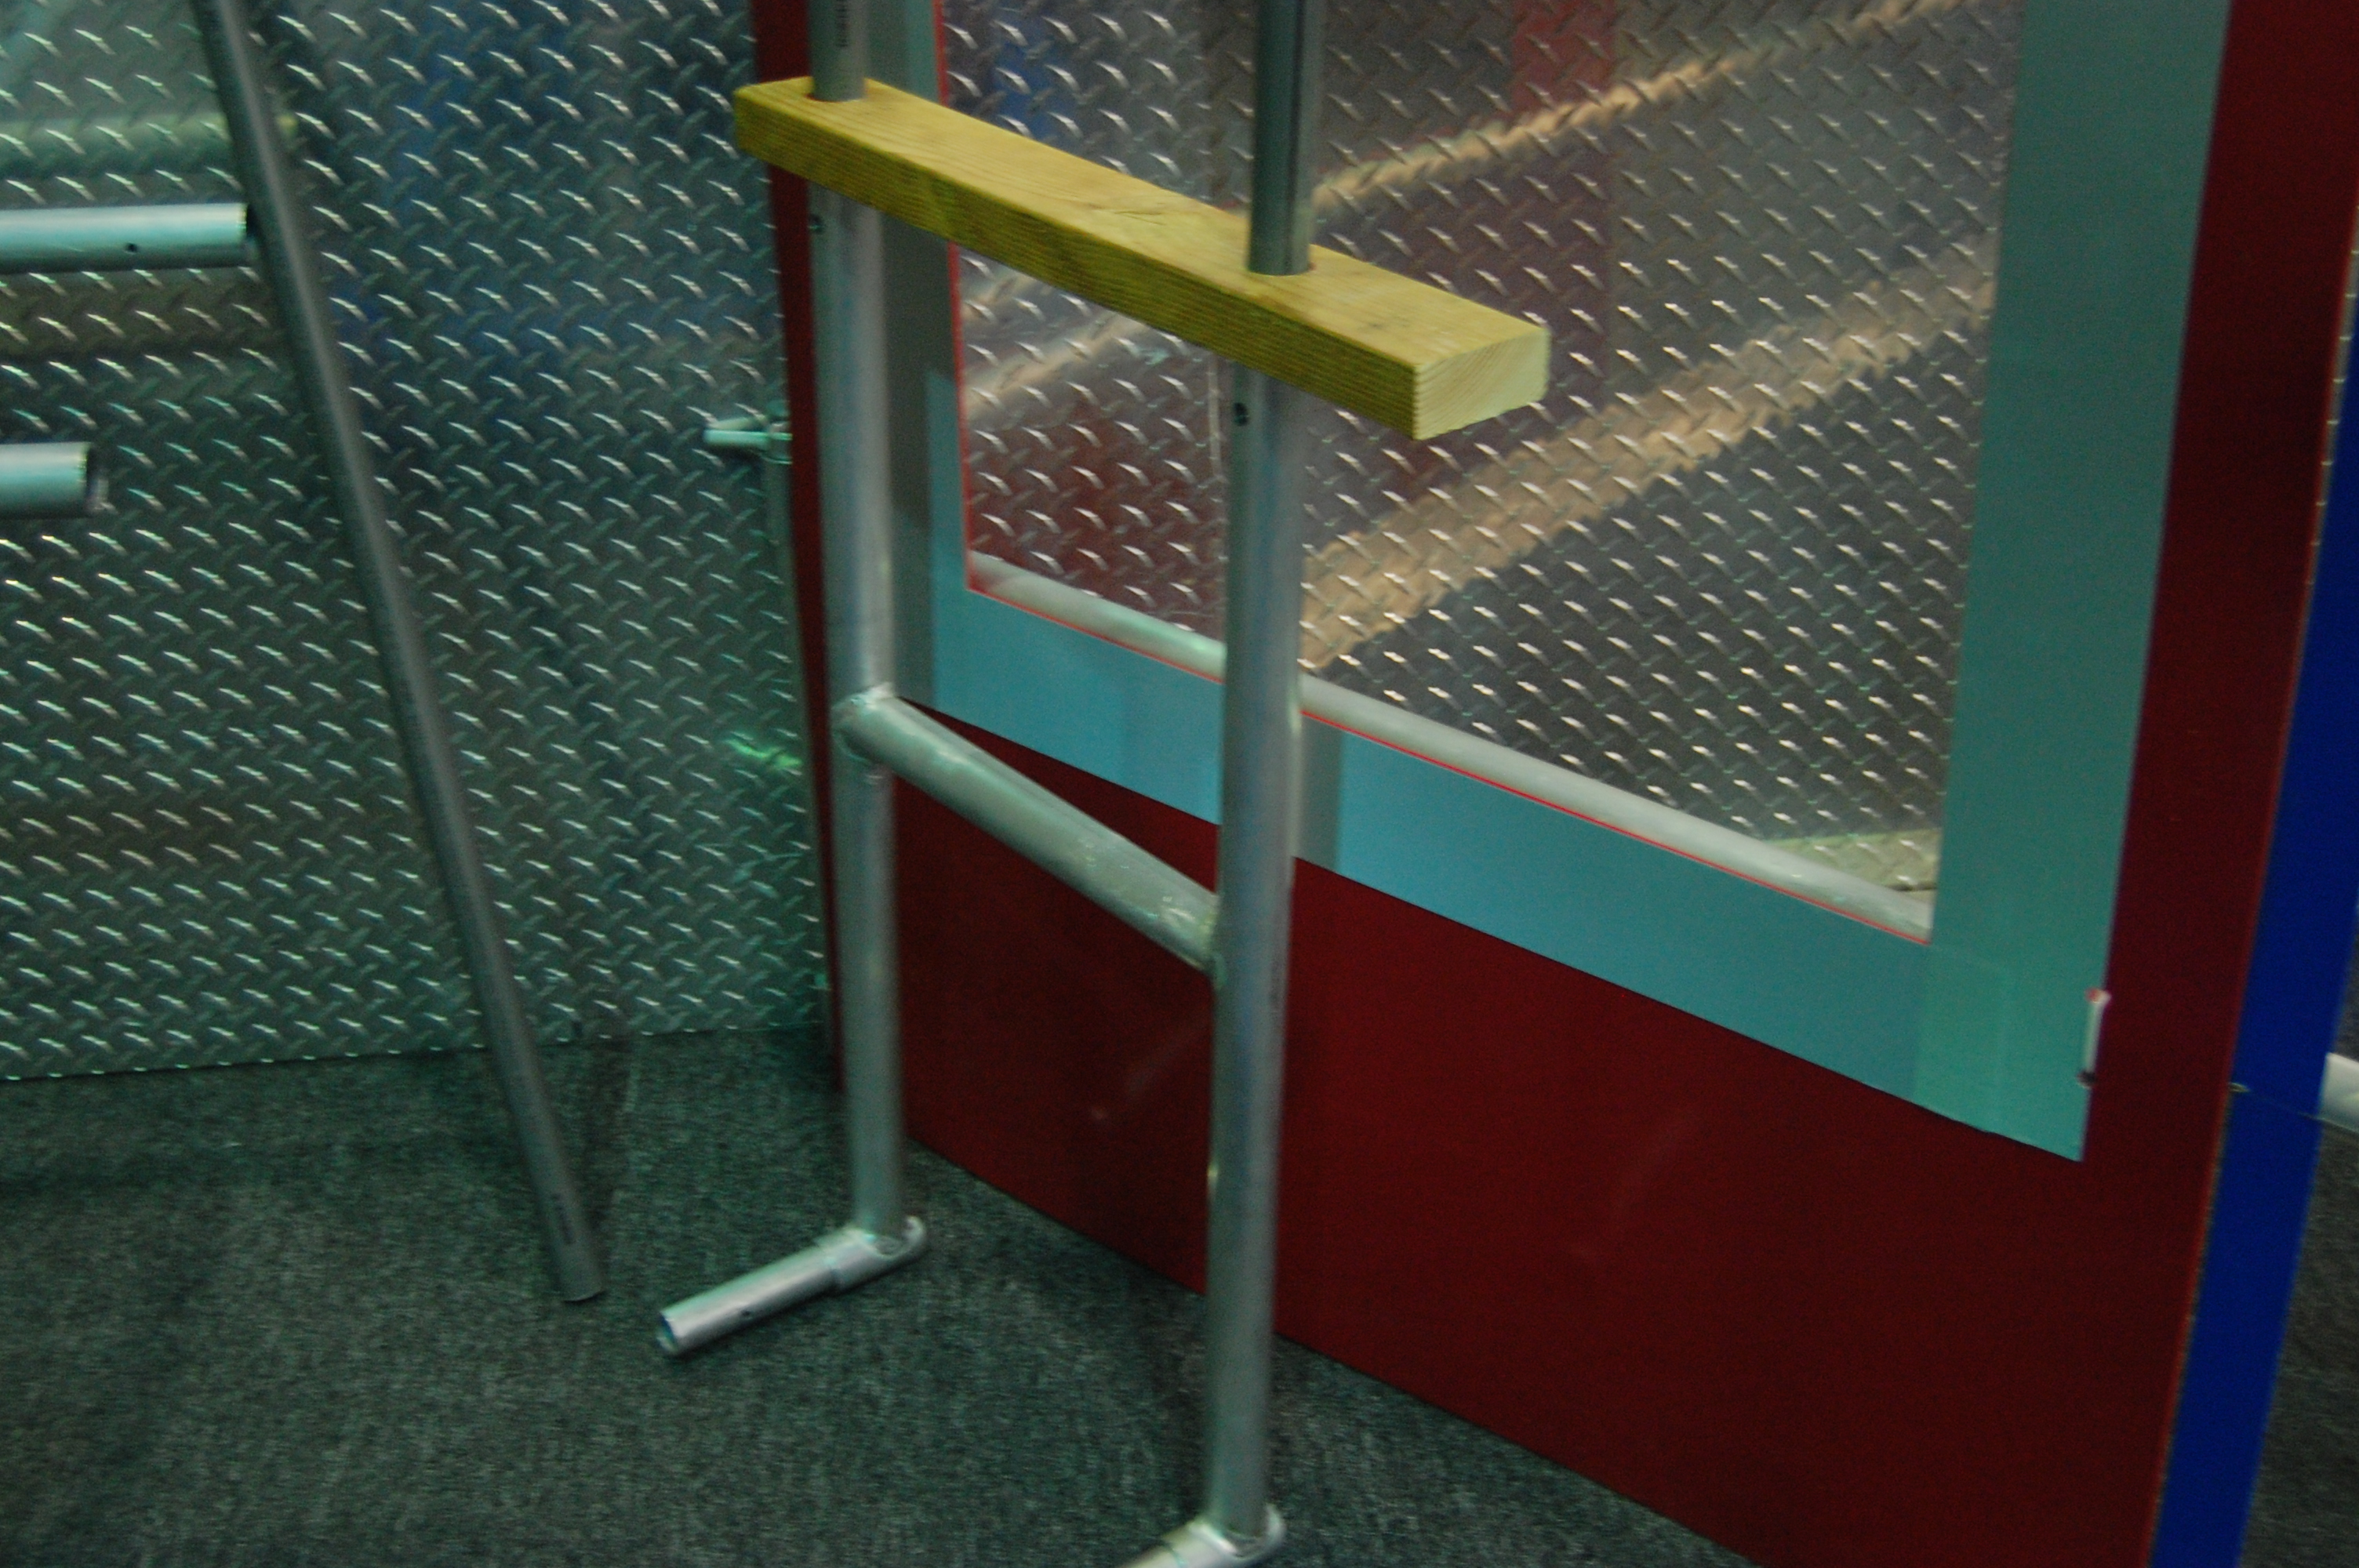
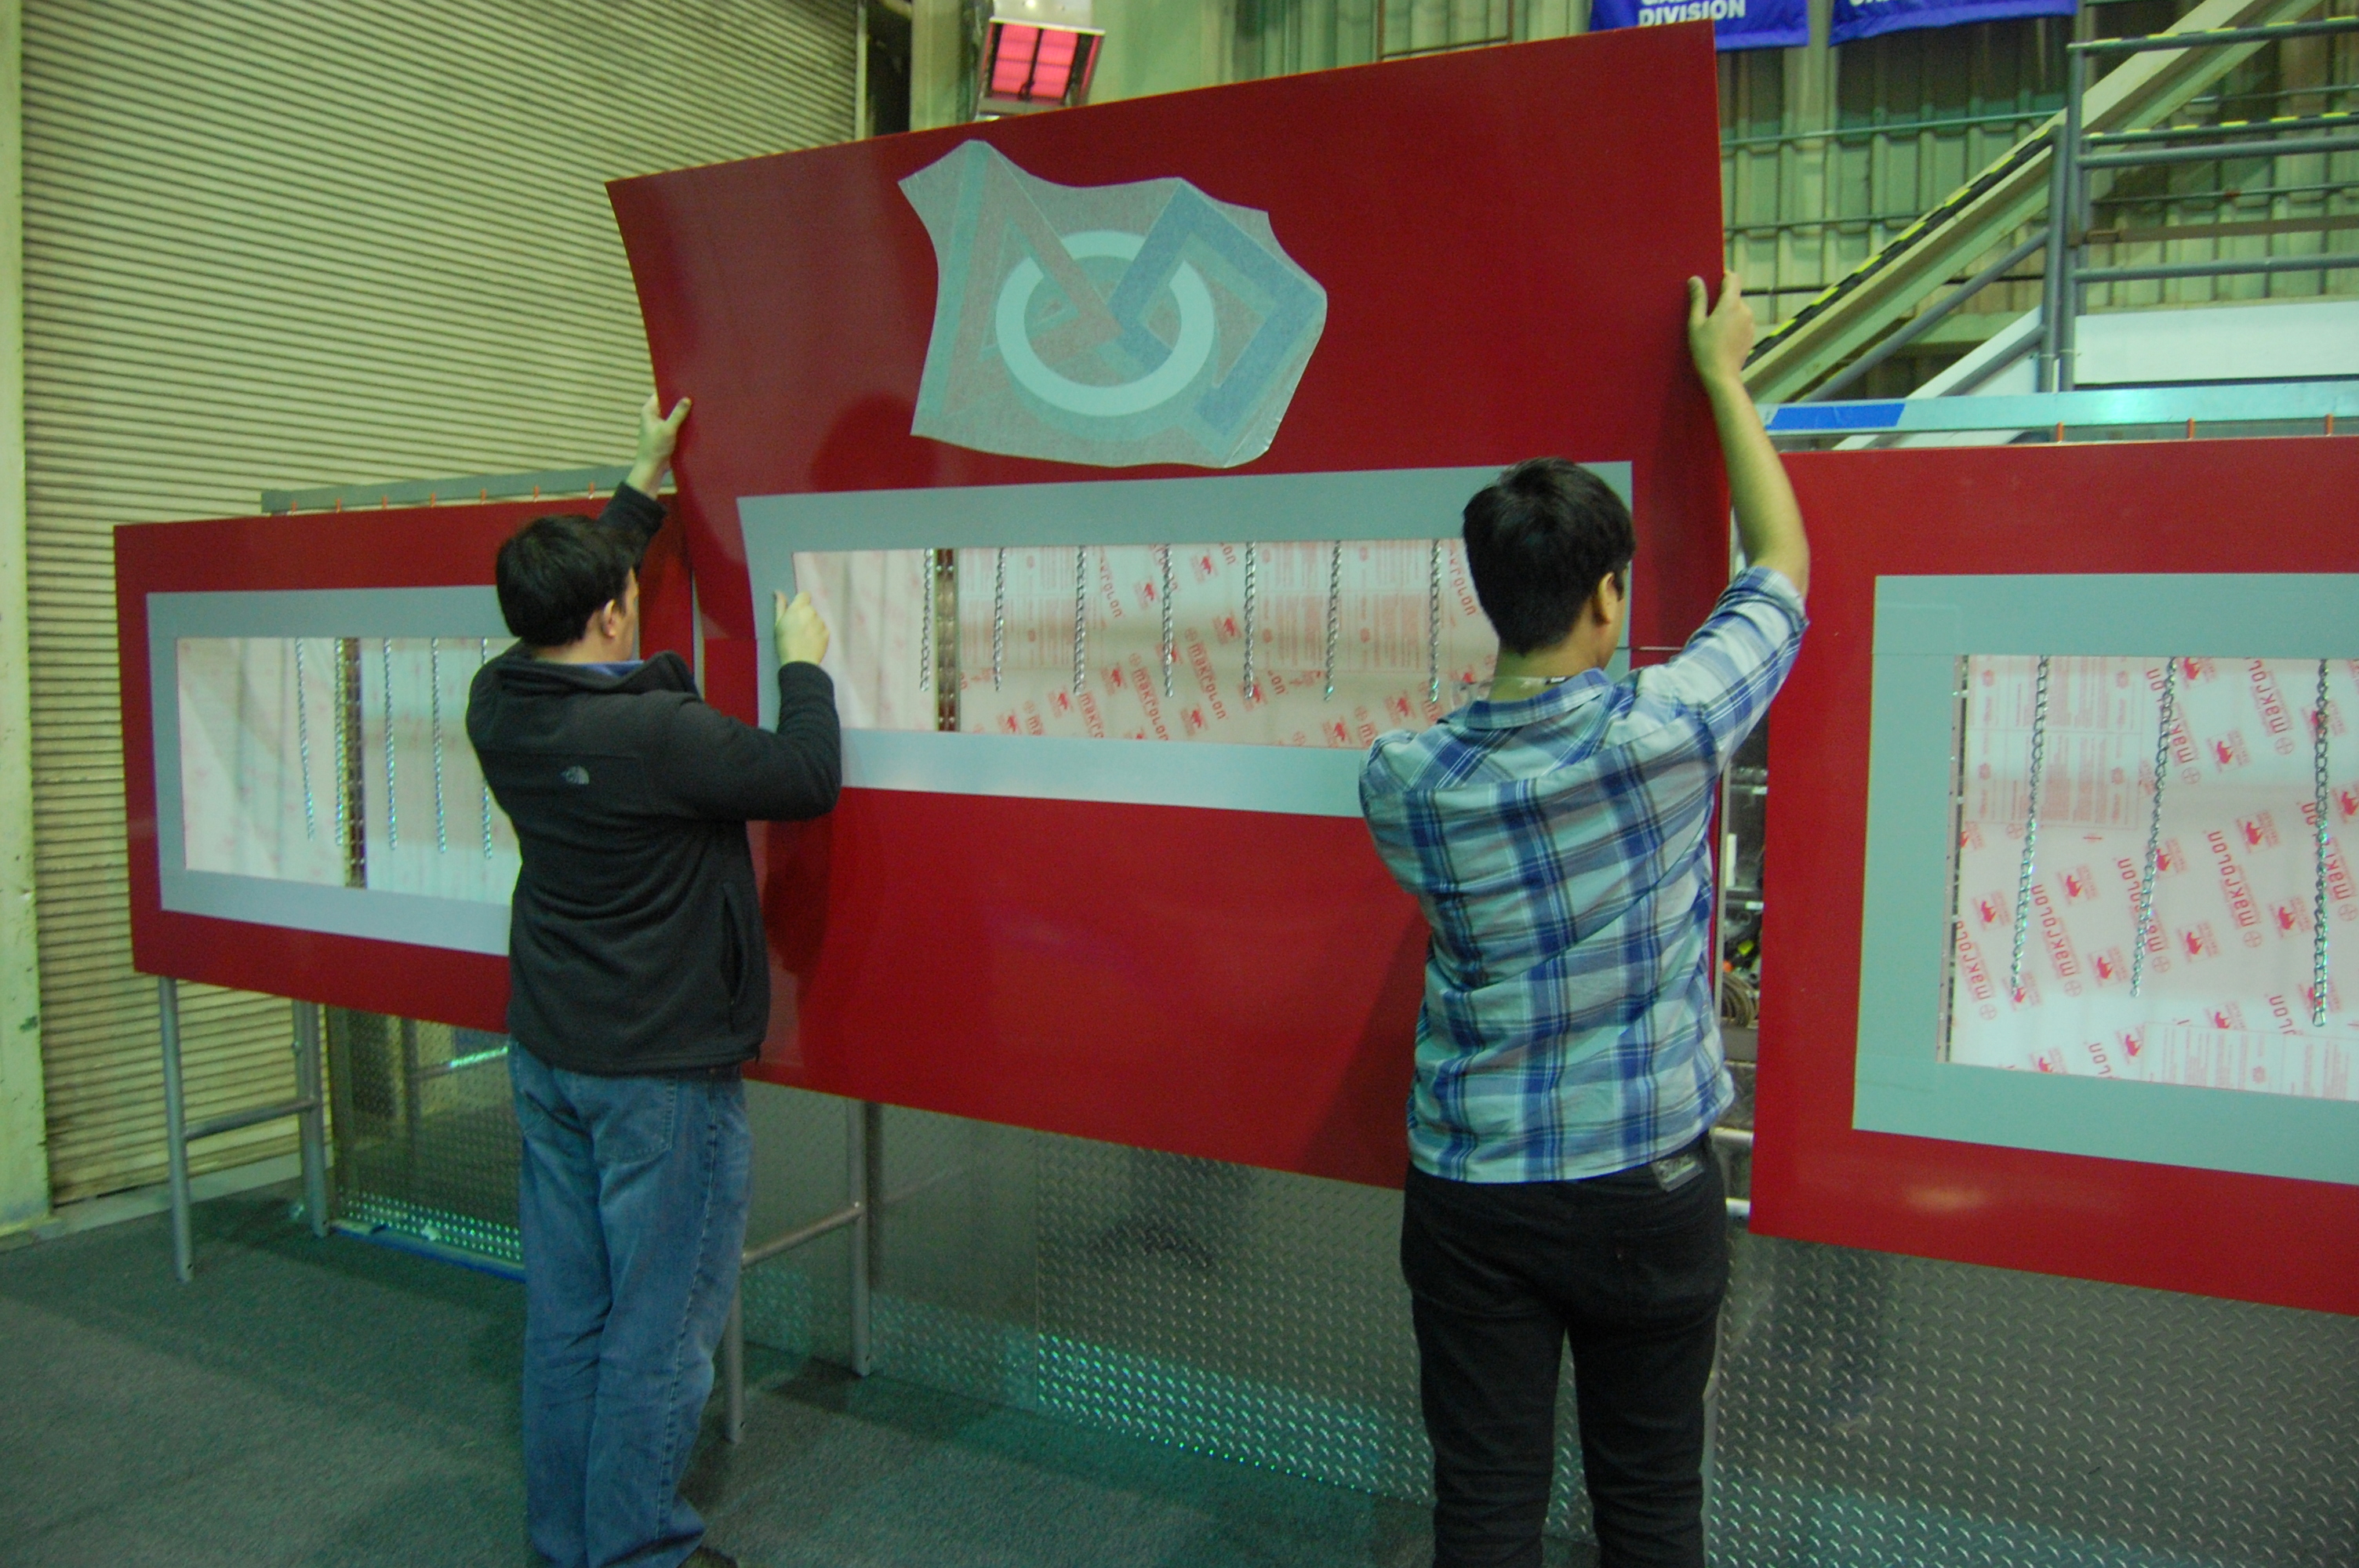
Several students and mentors worked on fixing the structural supports for the goals that were created yesterday. Students first worked on creating new wooden shims to keep the vertical supports in the right place. They then worked on getting the structures on both sides of the field attached and aligned on the driver station wall. With Travis's help, students also leveled the top of the driver station walls using a sawzall tool. This allows for the goals to lie flush on the supports. Students then worked on getting the goals mounted on the structures by first mounting the frames onto the structure, then placing the goals inside the frames. As of today, the red side of the field has been completed.

DSC_0437

Art Kalb machining the wooden shims

DSC_0422Students and Mentors align and mount the goals

DSC_0458The Red Side is Done

Action Items

  • Finish attaching Blue Goals
  • Finish machining shooter parts

Lab Closing Time: 3:30 AM

Day #33: Field Assembly and Programming

2013 FRC Build SeasonFIRST Robotics

Field Assembly

Today, students set up the support structures at the two ends of the field to mount the high and medium goals.  They finished milling holes into the wooden support blocks and attached them to the metal and PVC pipe frame.  The "blue" side of the field's goal frame has been set up and aligned with the center of the blue pyramid on the field.  The "red" side's goal frame is almost completely built, but requires alignment.

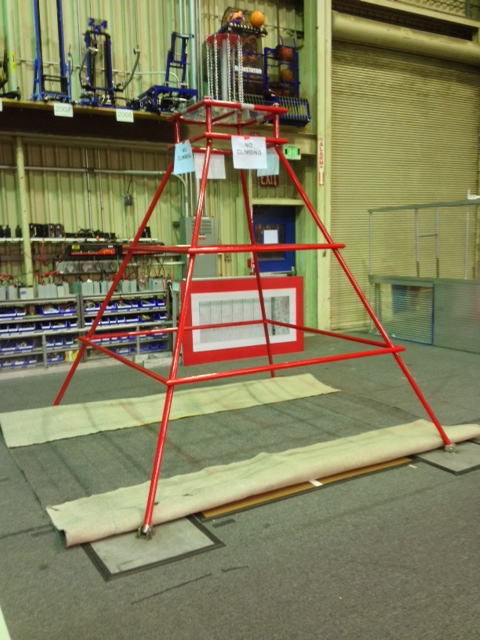
The red pyramid was positioned on the field today as well.  The metal leg plates and the wooden floor plates have been set, but the carpet has not yet been cut and laid down over the pyramid base.

photo (2)

The goal support frames


photo

The aligned red pyramid

Manufacturing

Students continued work on manufacturing the conveyor by cutting shafts to length.

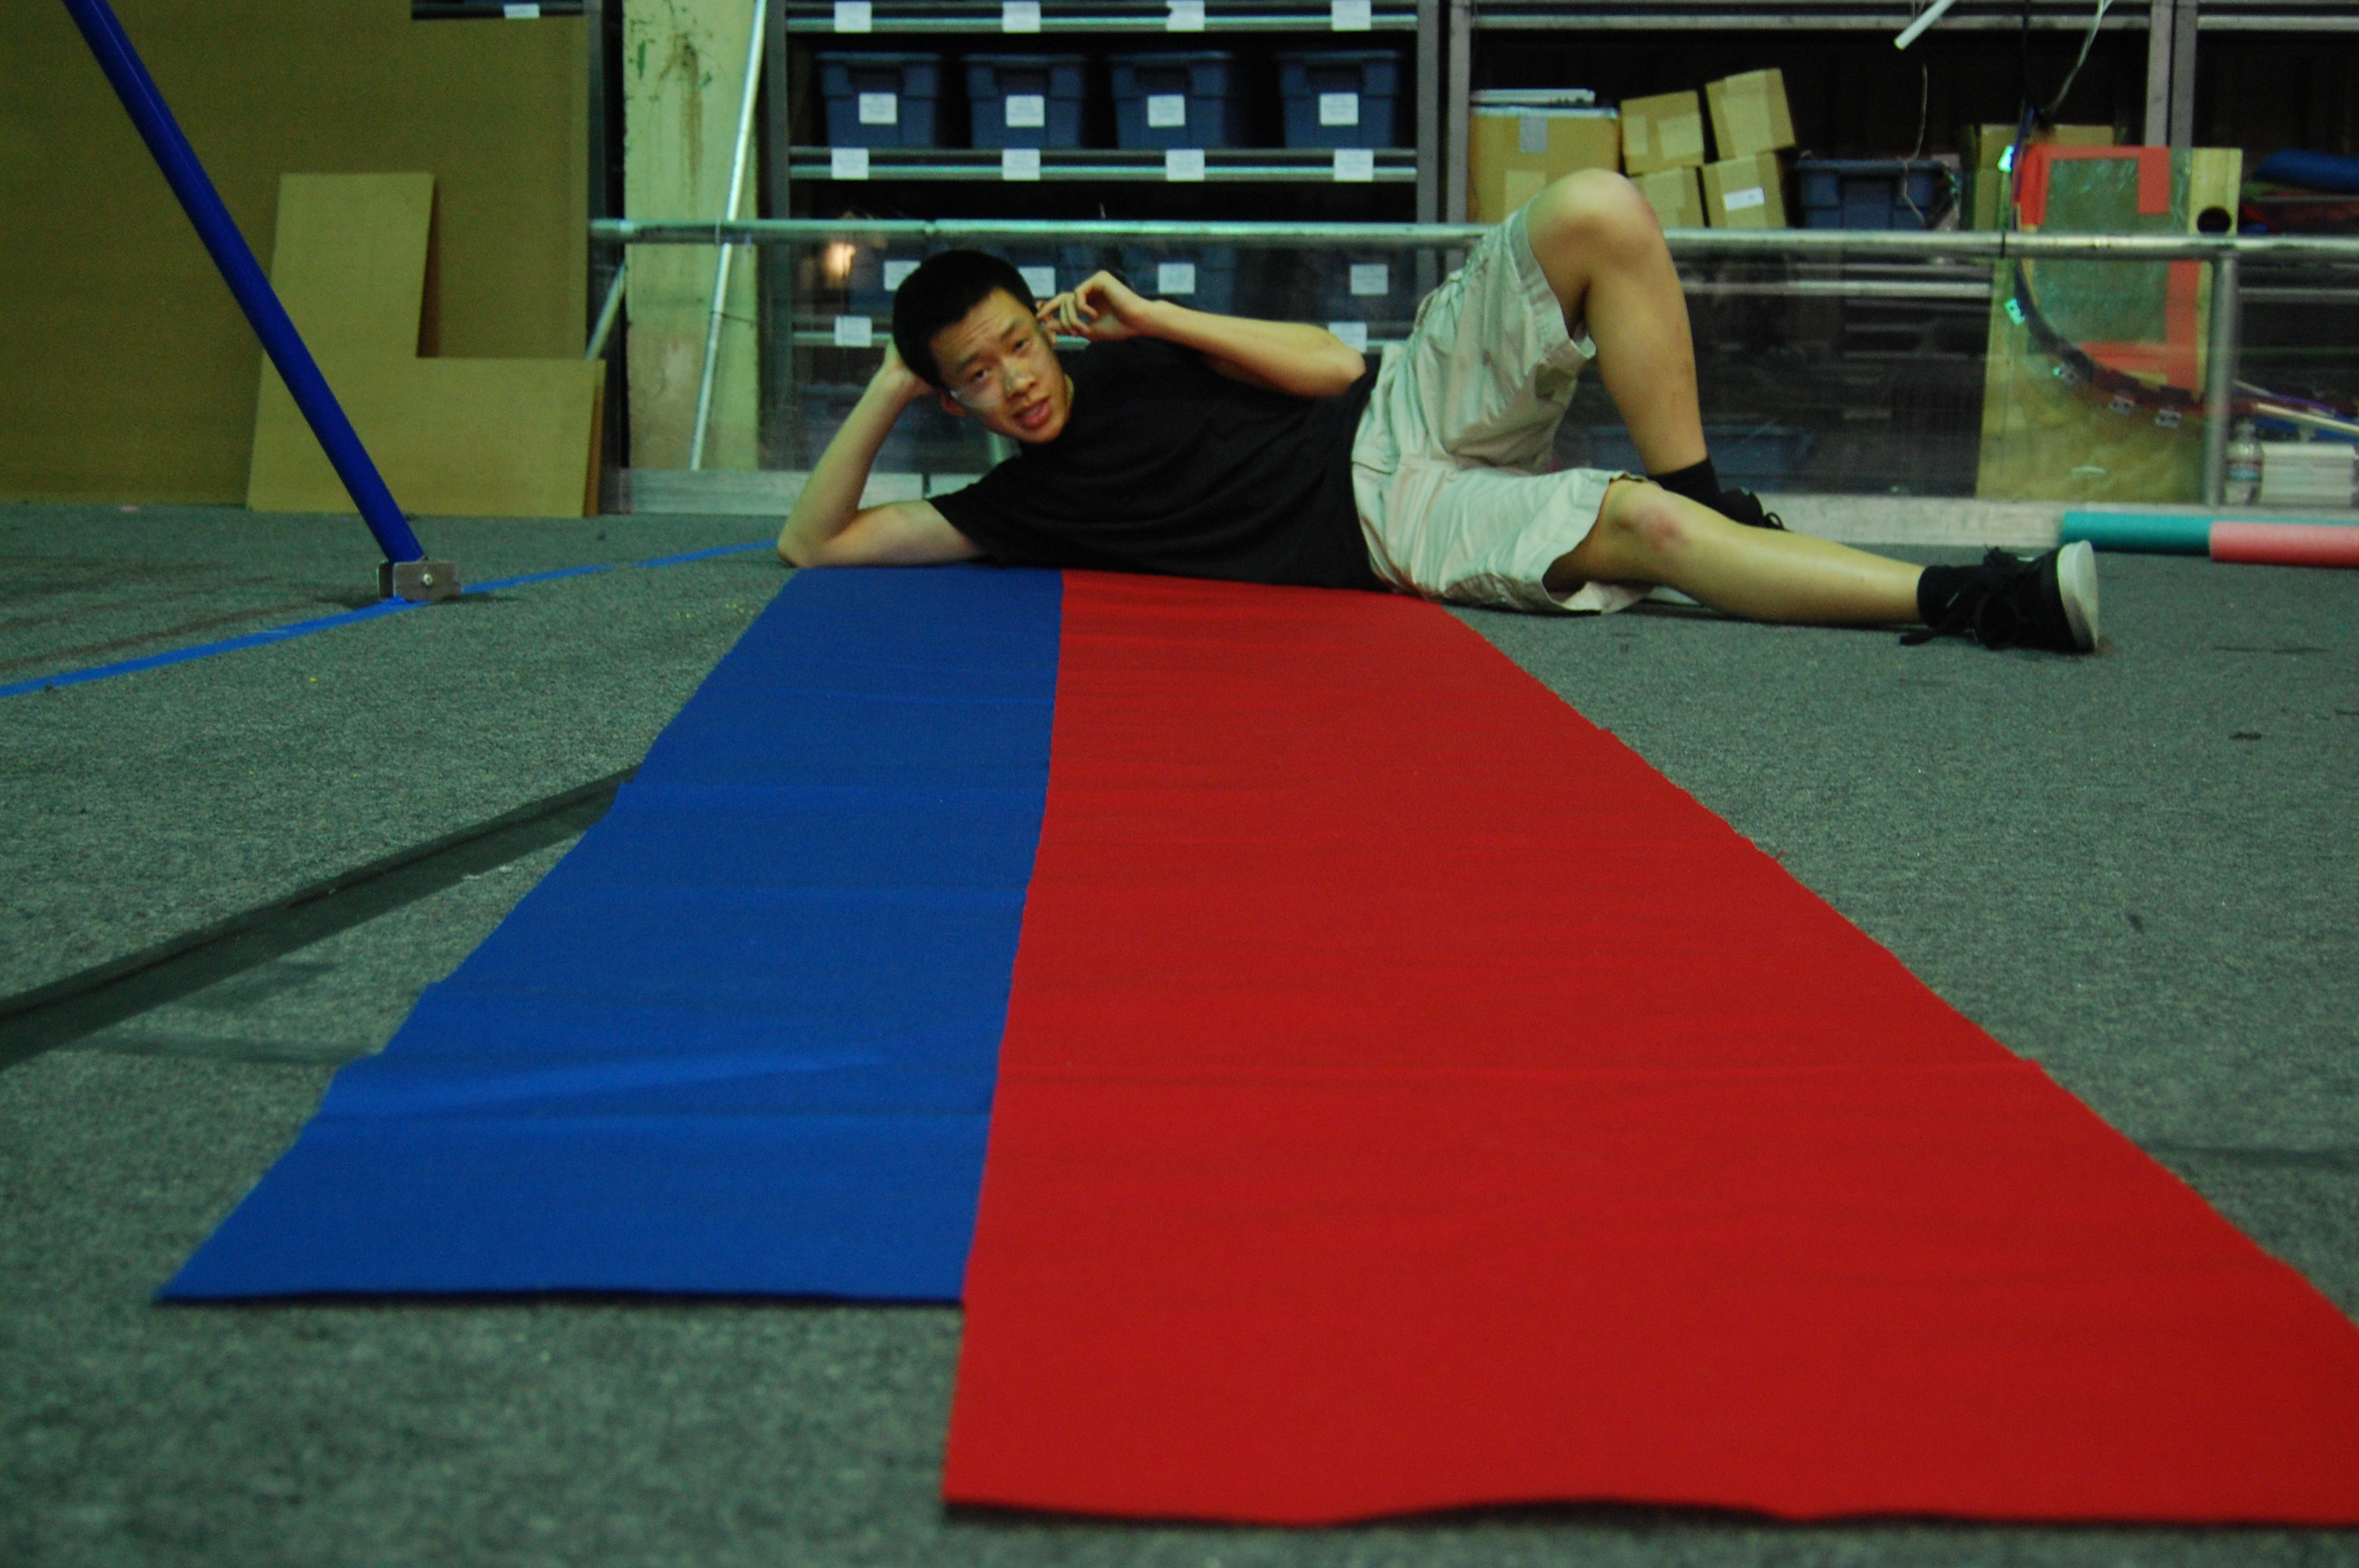
Meanwhile, students stapled and stretched the cordura over the bumper skeleton to make the edges and corners thinner, as well as to place markings on it with tape.  They measured and positioned the "254" logo on the bumper fabric by printing out a real-life size of the logo, which will help for embroidering the logo later.  Afterwards, the red and blue bumper fabrics were brought to Mrs. DePalmo (a parent of a Team 254 alumnus) for embroidering the numbers onto the cordura.

Conveyor plates began being machined and are half complete.


Programming

Today, the programmers implemented a profiled PID controller for the drive train.  Essentially, this lets the robot accelerate at a constant acceleration to a set "peak velocity", then drive at that velocity for a while, then decelerate at that same acceleration.  When graphing velocity versus time, the graph looks like a trapezoid.  This is useful for driving a set distance without too much overshooting.


In addition, the programmers wrote up a PID tuner that would send data from the robot via TCP (instead of UDP).  As discovered before, UDP is not supported by the cRIO's JVM, so the students rewrote the code accordingly.  When completed, the robot can send values such as current distance, target distance, etc. to a web browser, which can then graph the values.  This would be useful later for PID tuning the drive, turn, shooter, and other subsystems.  The sending method has not yet been tested.


photo (3)

Testing the profiled PID controller on the drive

Driver Practice

The team's driver got a bit of practice time today.  Abhi Kumar, this year's primary driver, practiced navigating around the legs of the assembled pyramids.  At first, the robot was in "low gear" and was making turns with a substantially large radius.  However, with a flip of a switch on the turning joystick, the robot switched over to high gear, which was more sensitive and offered a much lower turn radius.


Action Items

  • Lay carpet over red pyramid base

  • Continue manufacturing of conveyor

Lab closing time for the night was: 4:30 AM

Day #32: Bumpers and Machining

2013 FRC Build SeasonFIRST Robotics

Bumpers

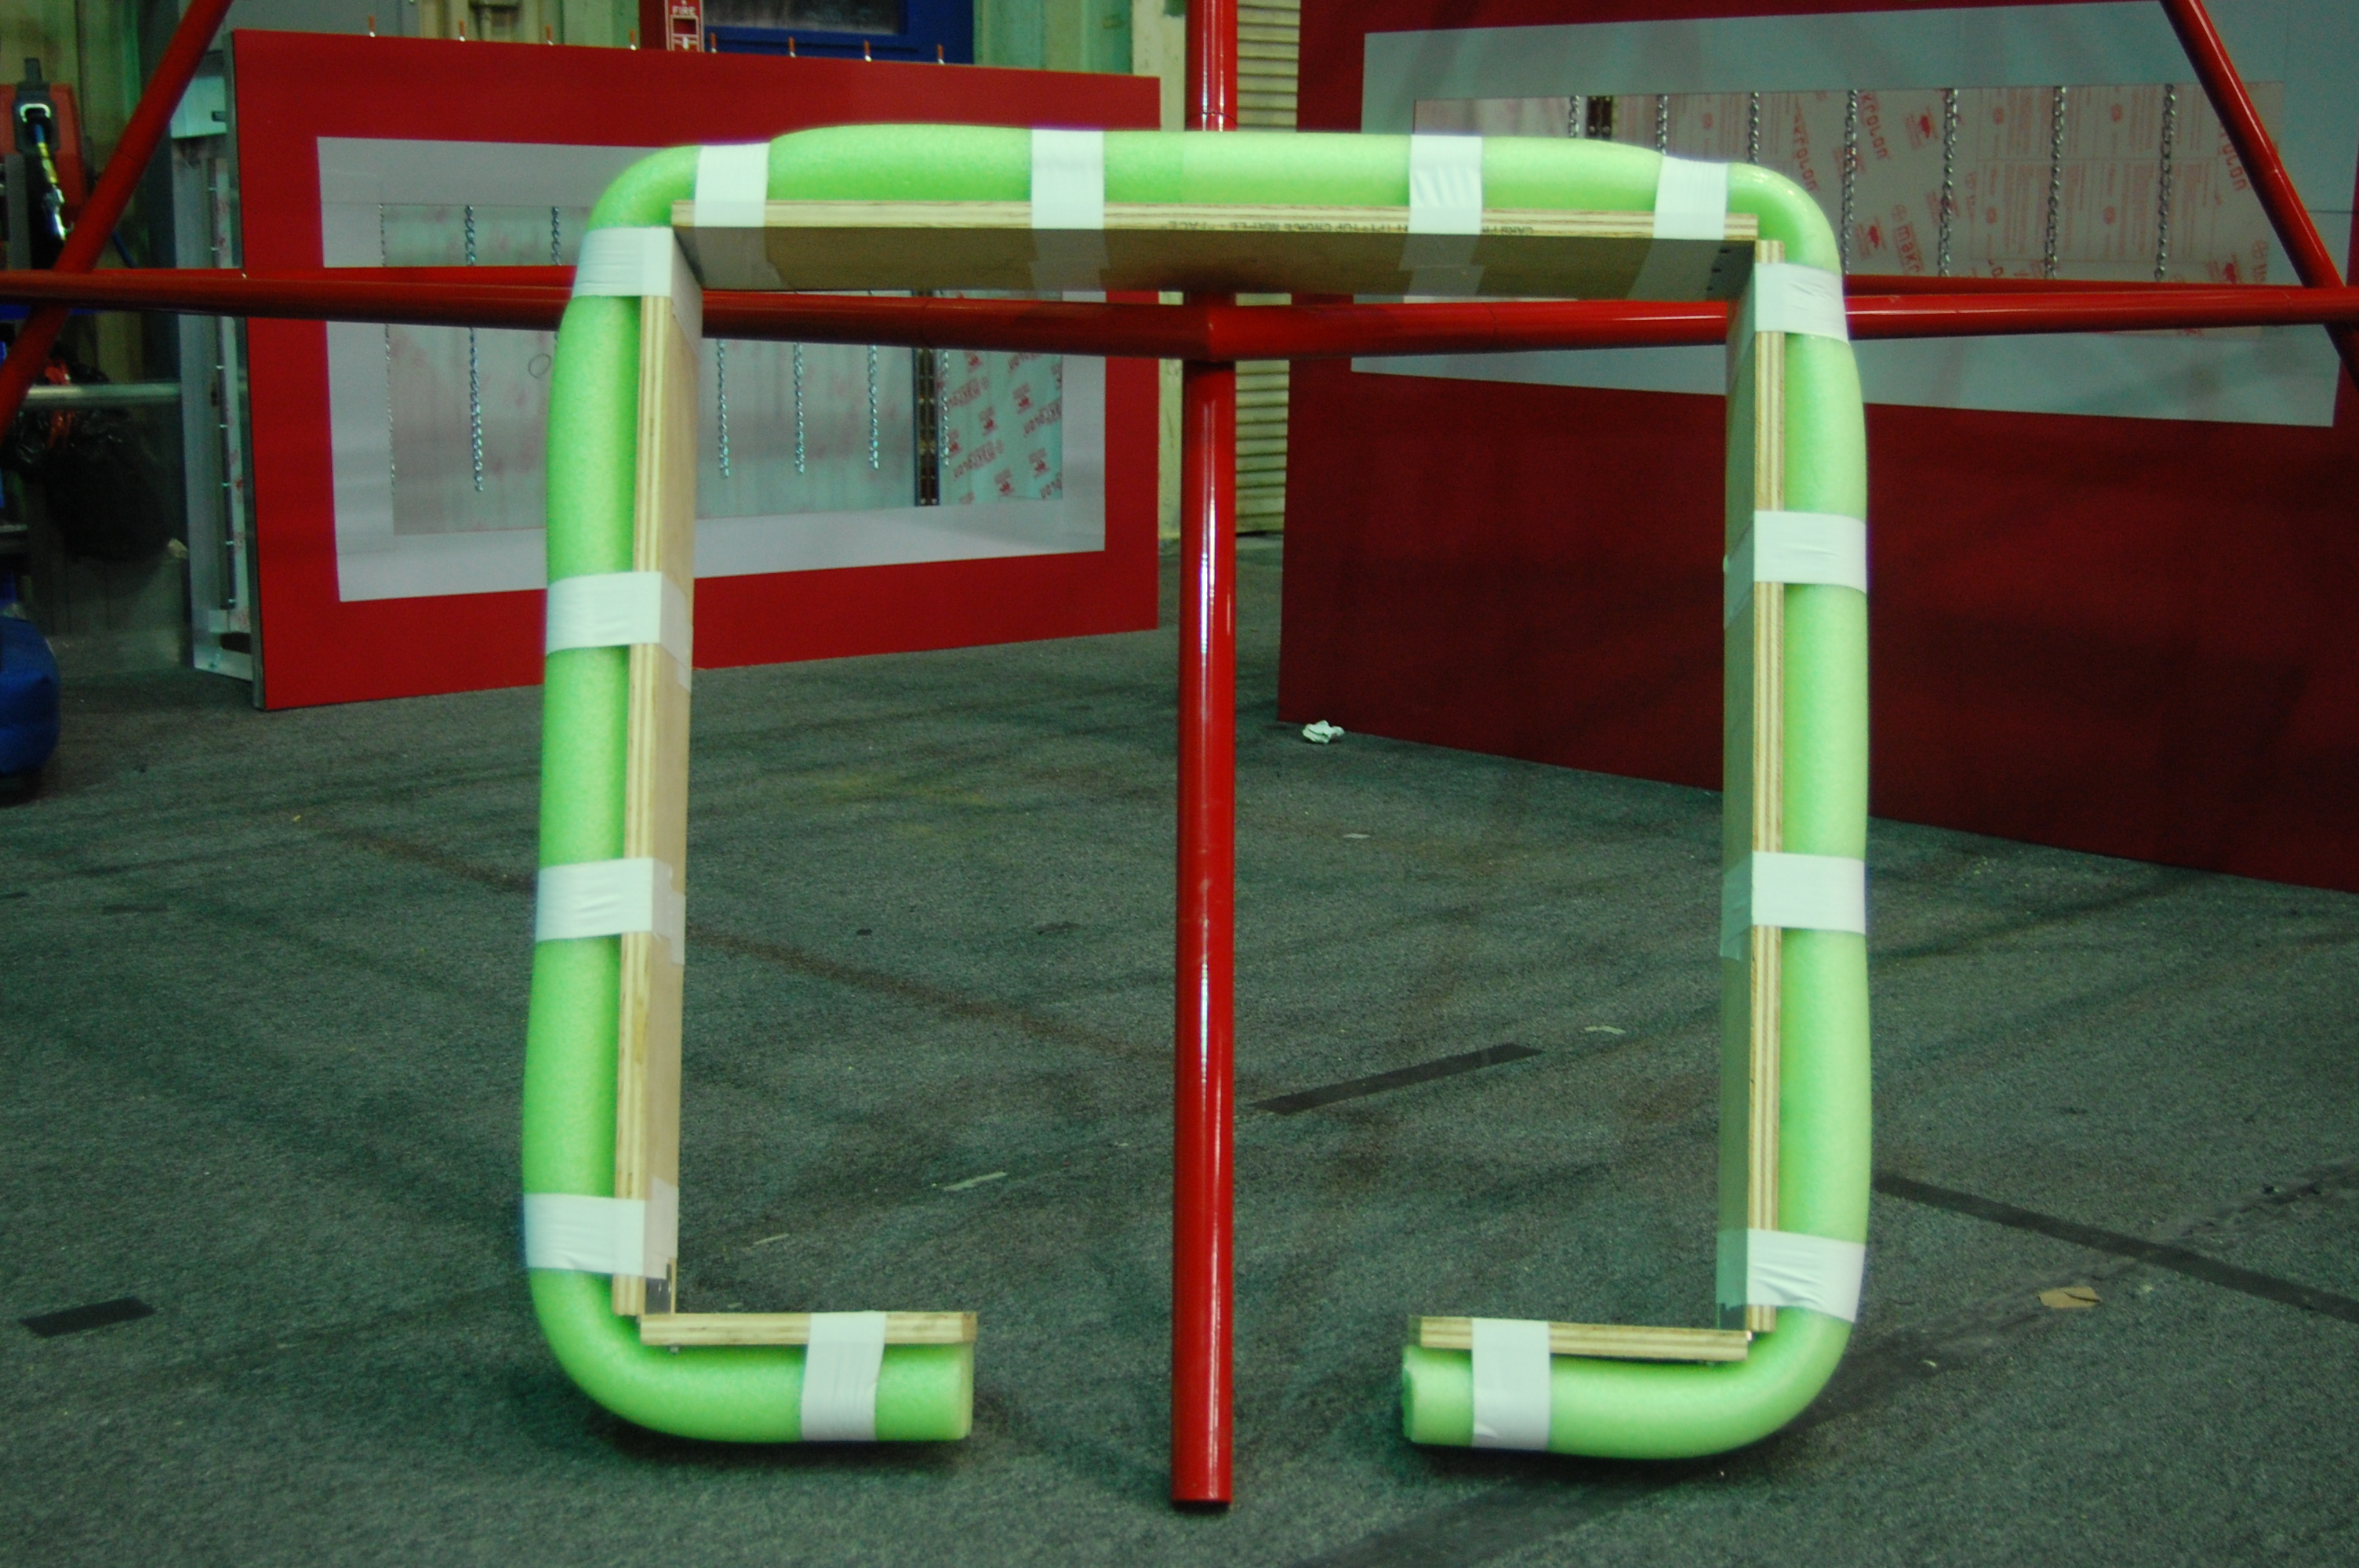
The wood and end-brackets for the bumpers were finished and assembled today. Afterwards some students worked on taping pool noodles to the sides of them (pool noodles are required by FRC as the official compressant in bumper assemblies). With the pool noodles on, the students worked on cutting cordura (fabric) to length and marking spots that the 254 logo would go.


DSC_0406

Cutting the bumper fabric to length


DSC_0405

Bumper skeleton

Manufacturing

The team worked on making shafts for the intake and conveyor. Meanwhile, Cory worked on CNC'ing the intake side plates.  Students also used the mill to create wooden supports for field assembly.  They are currently working on a way to mount the frisbee goals on the field walls.


DSC_0408

Manufactured wooden supports


DSC_0410

The wooden pieces attached

Programming

The programmers worked on fixing/tuning drive code to be more responsive both at lower and higher speeds.  Later, the programmers also tested autonomous commands.  The robot was able to drive for a certain distance and stop; the drive was controlled by a new PID controller.  In addition, students implemented a second PID controller for turning.


DSC_0407

Robot driving under the pyramid


The programmers also started tinkering with sending values over the internet to graph on a web browser.  Some students worked on the web side, which dealt with getting the graph to display and plot points in a browser.  They based their program off of last year's code.  Meanwhile, other students were working on getting the robot to send the data via UDP.  However, it was discovered that the JVM the cRIO is running doesn't support the 'datagram' protocol.  The programmers will look into TCP to accomplish this goal.

DSC_0401

Programming and researching the web grapher


Driver Practice

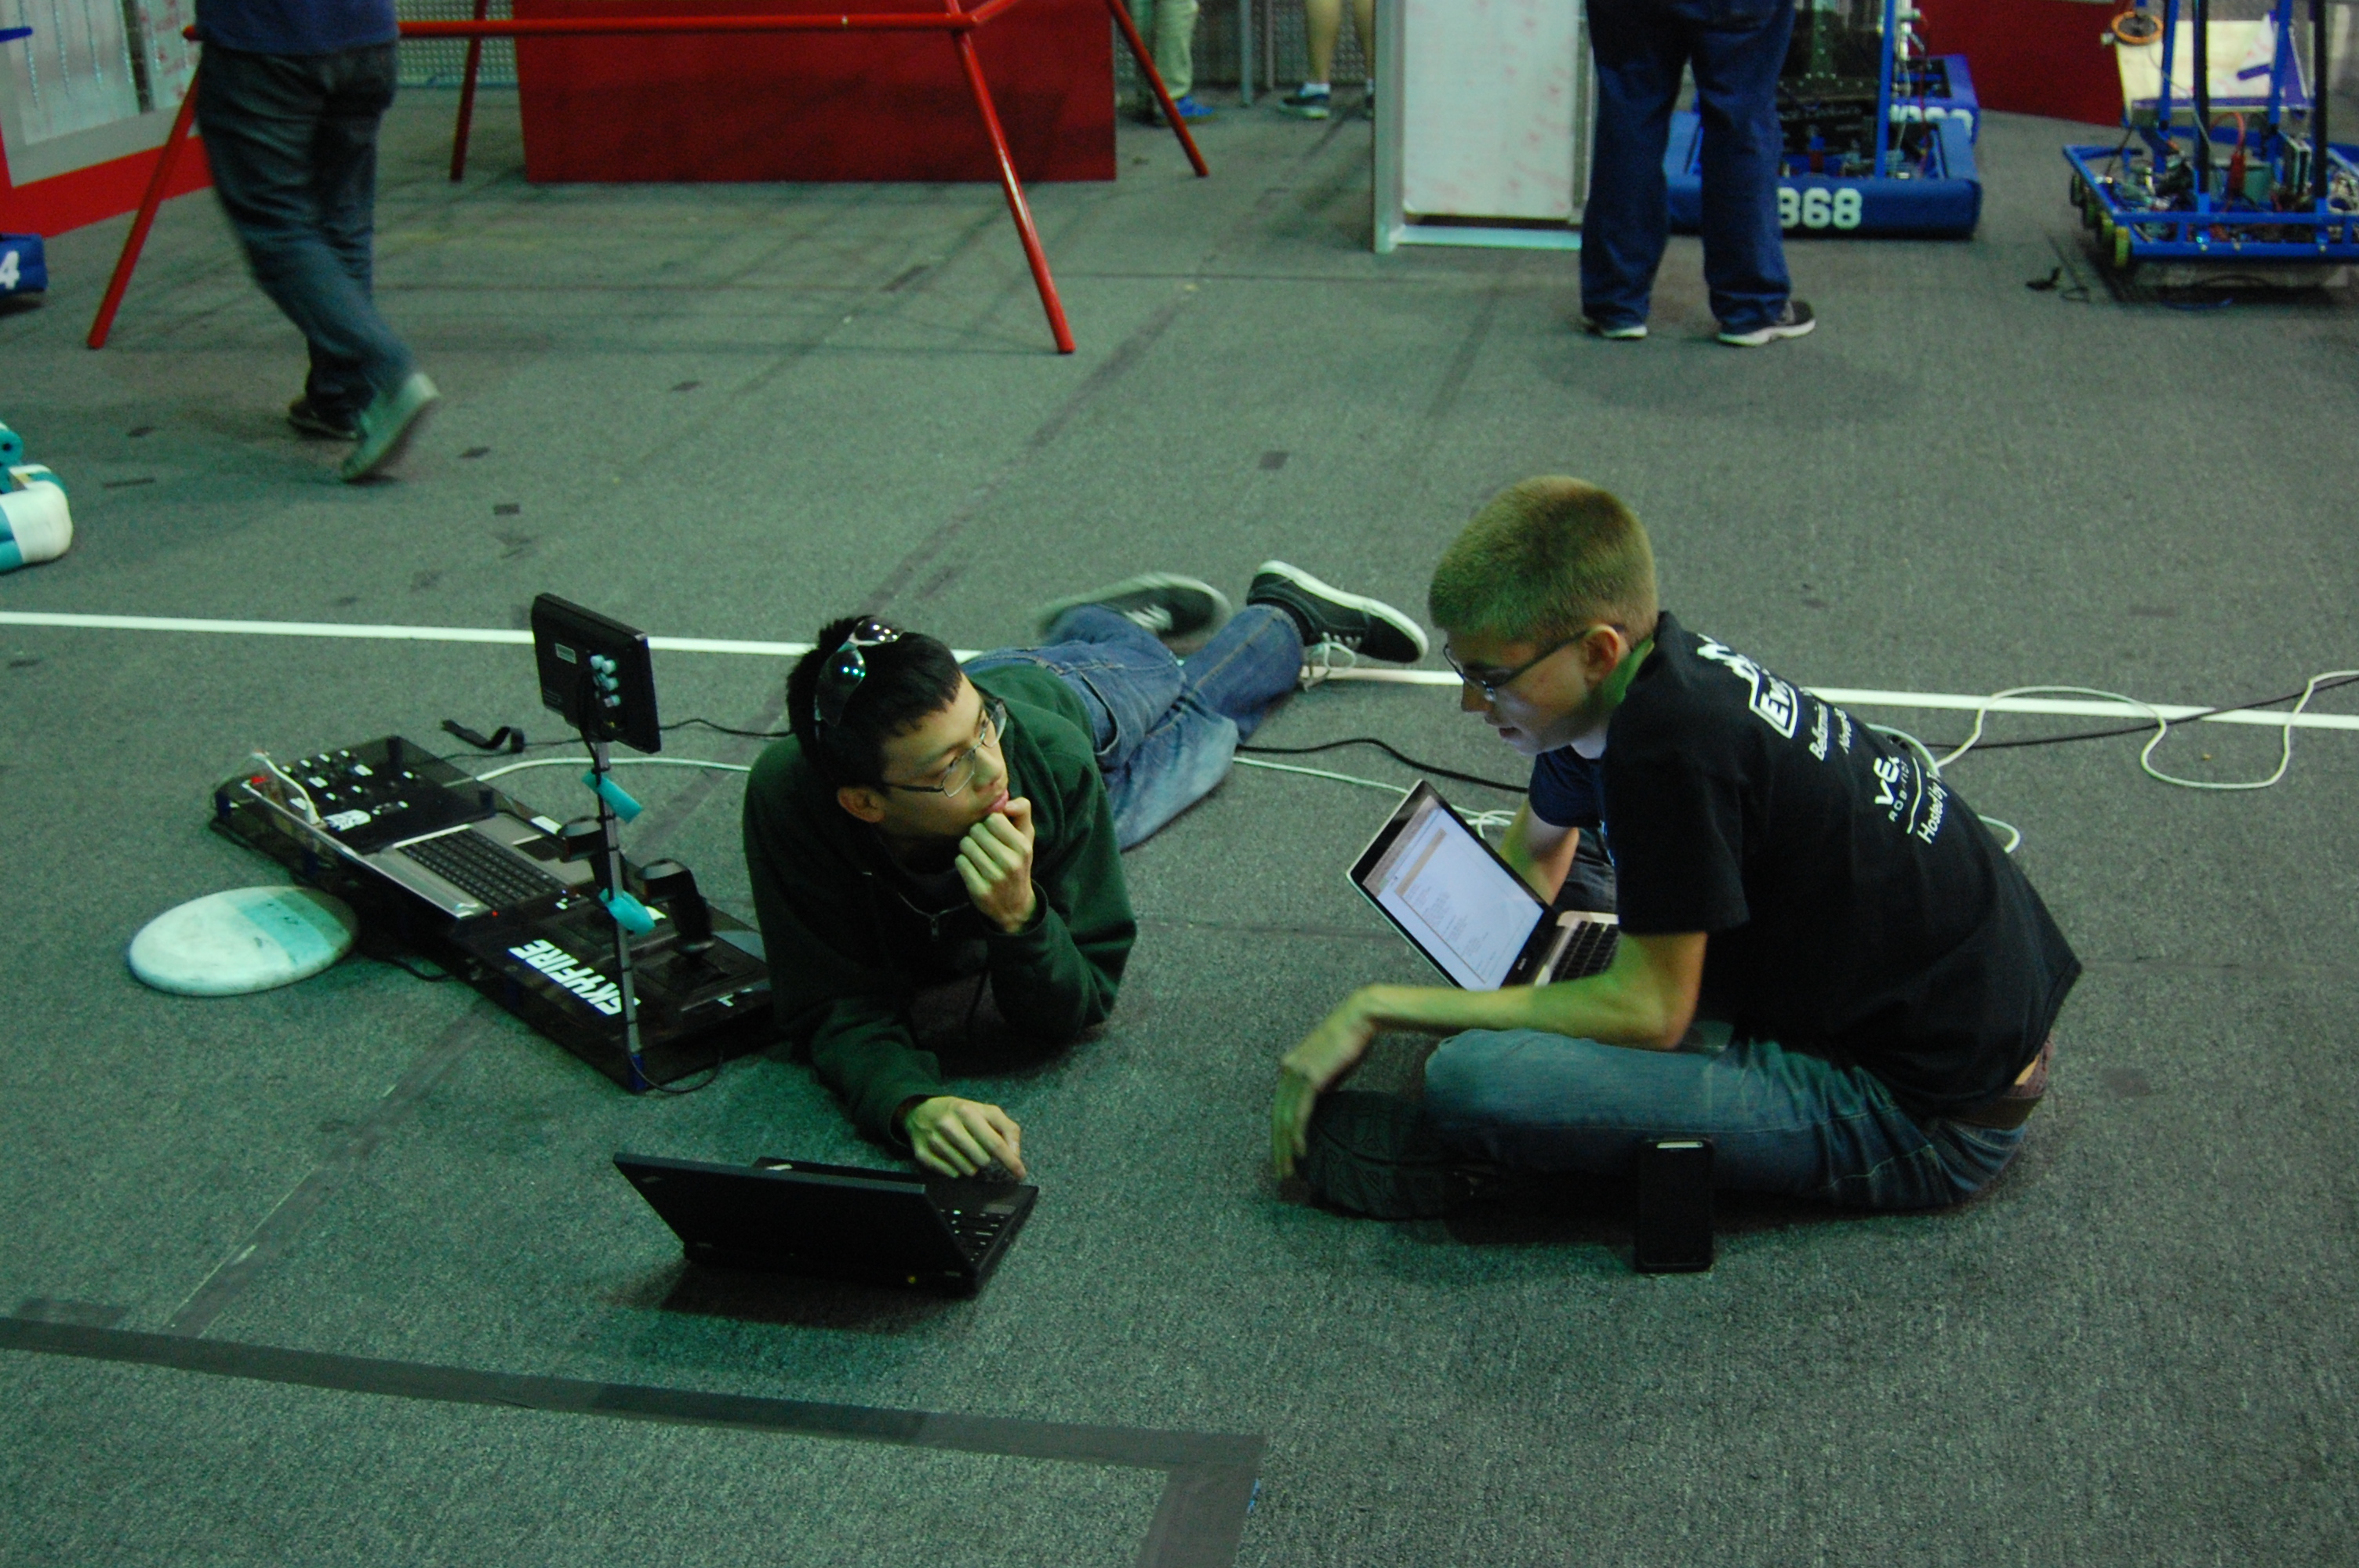
Towards the end of the day, the team's primary driver, Abhi Kumar, continued driver practice.  He practiced navigating the robot around frisbees on the floor, as well as making 180-degree turns after driving forward.


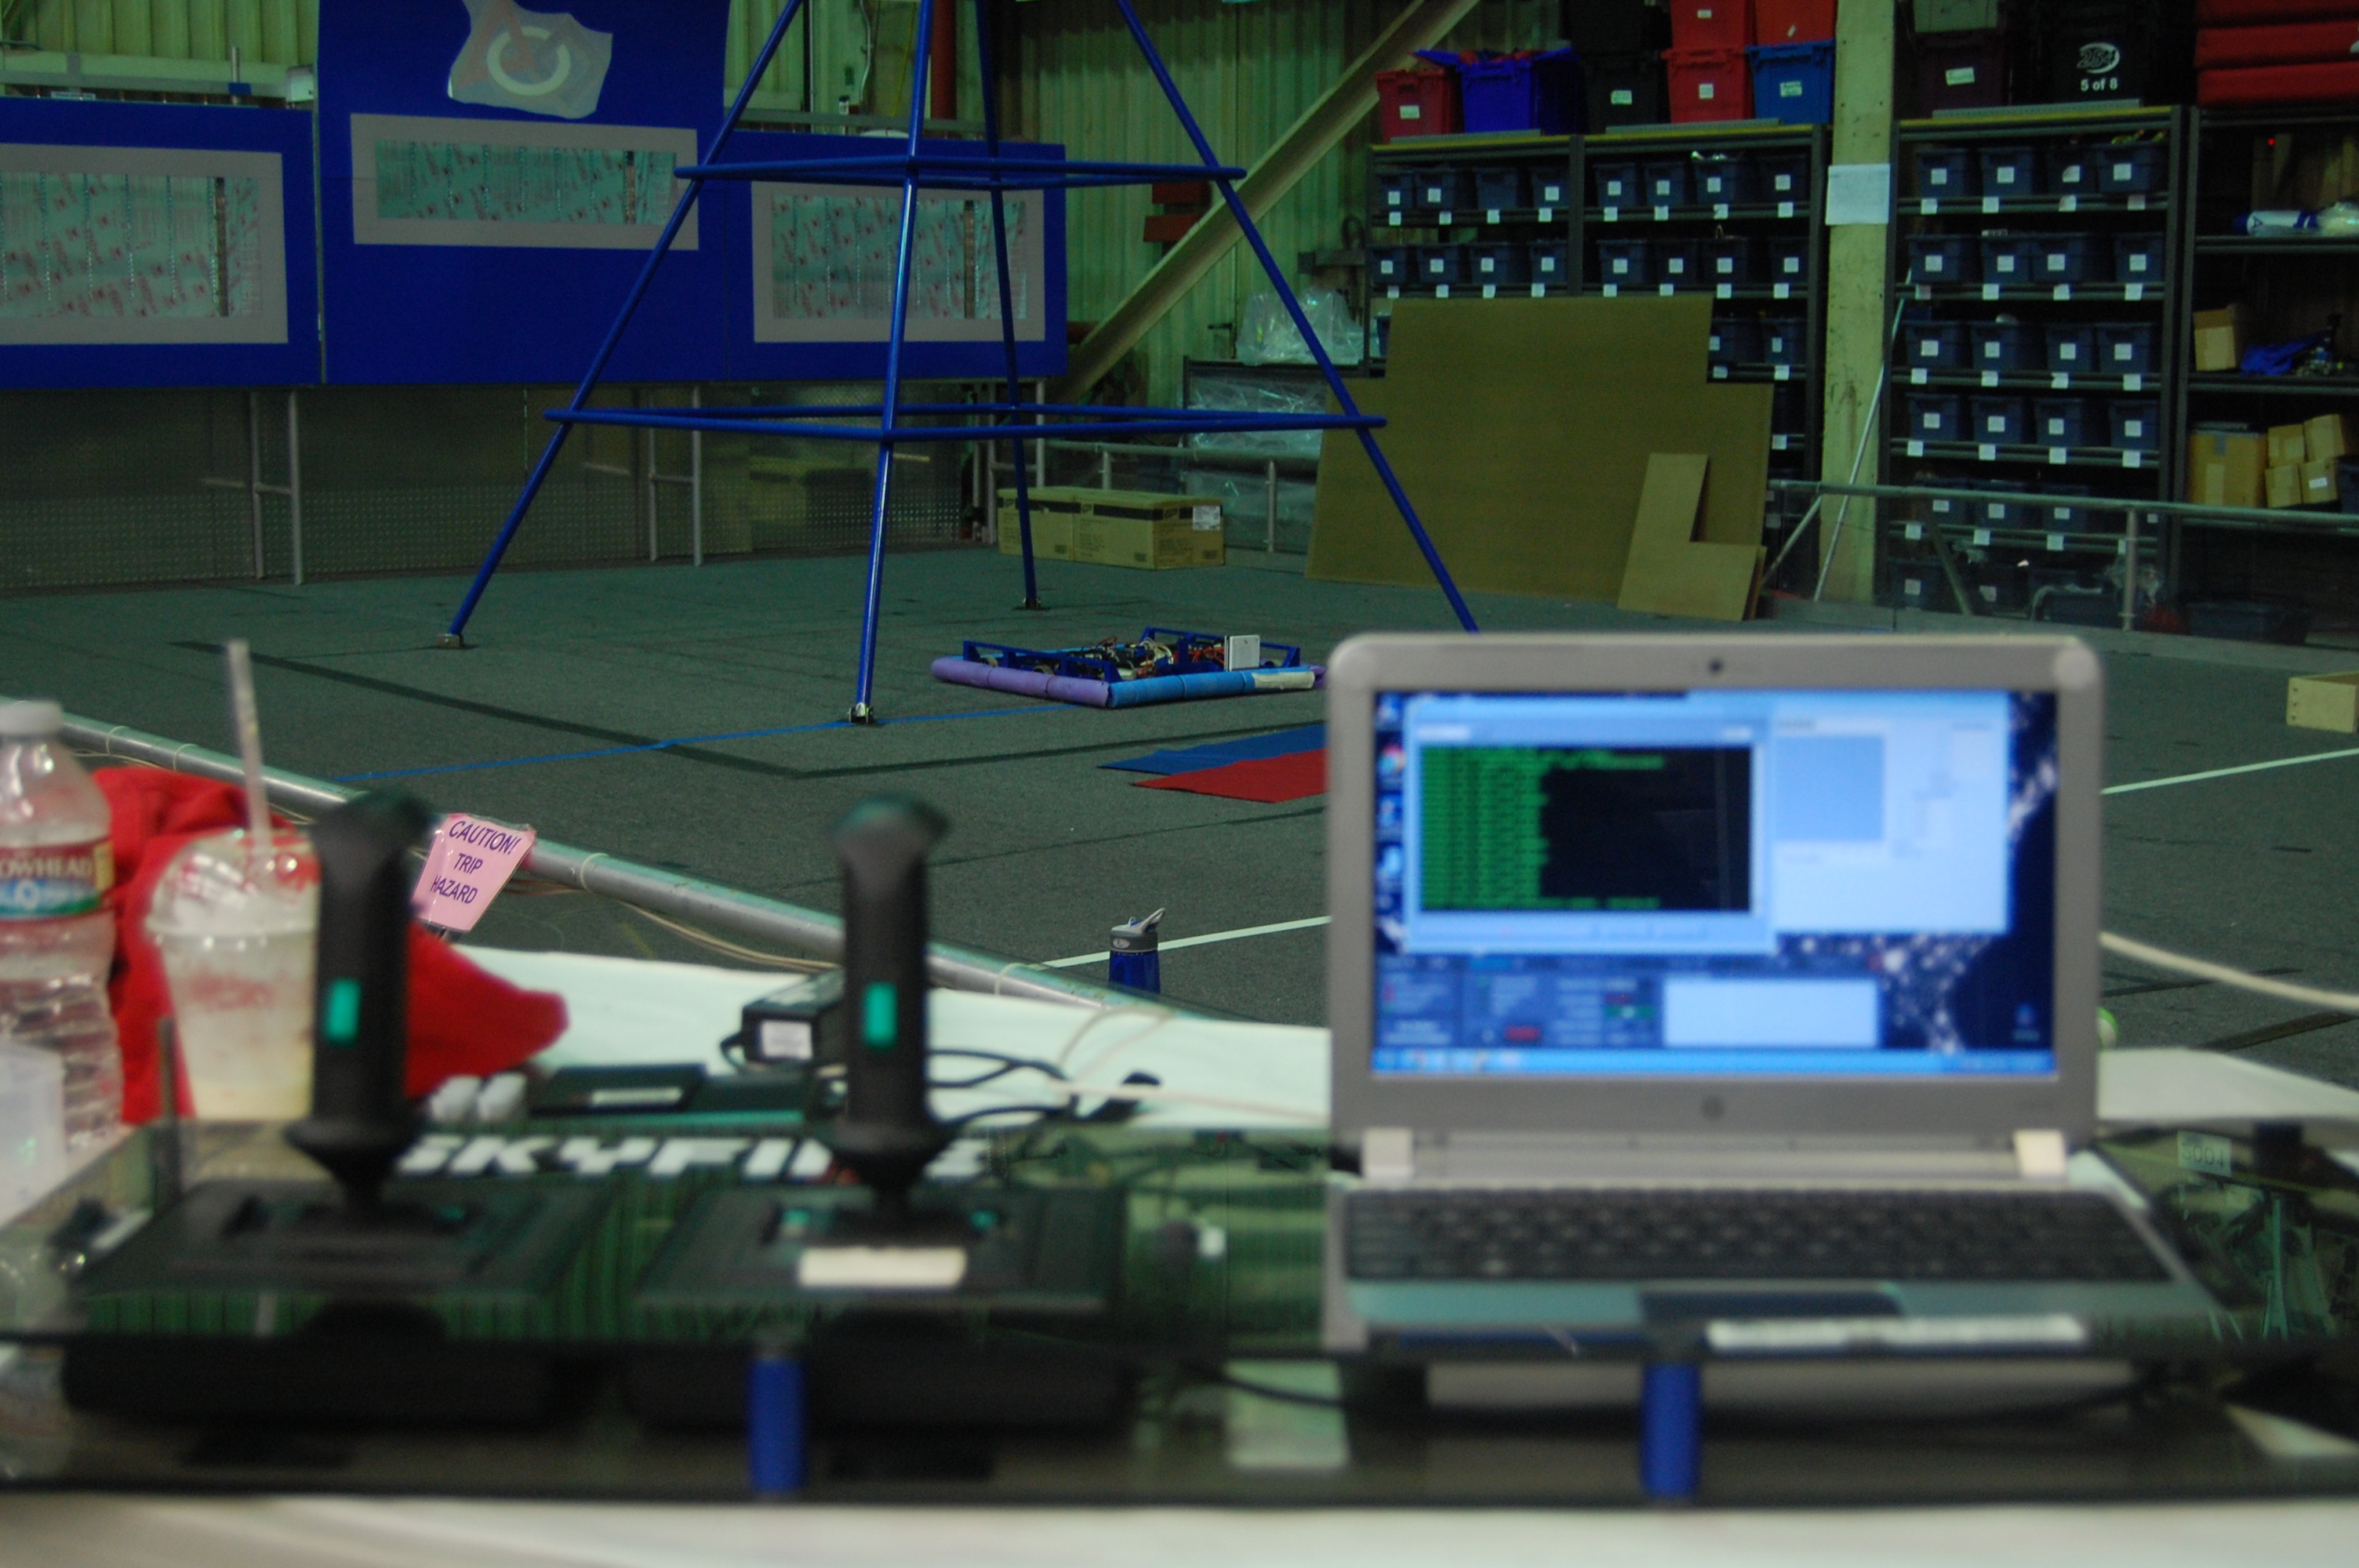
DSC_0409

The view from the control board

Action Items​

  • Continue driver practice

  • Continue manufacturing for intake and conveyor

  • Continue bumper assembly

  • Fix/tune drive code

Lab closing time for the night was: 4:20 am

Day #31: Field Assembly

2013 FRC Build SeasonFIRST Robotics#field#FRC#FRC Build Blog

Practice Field Assembly

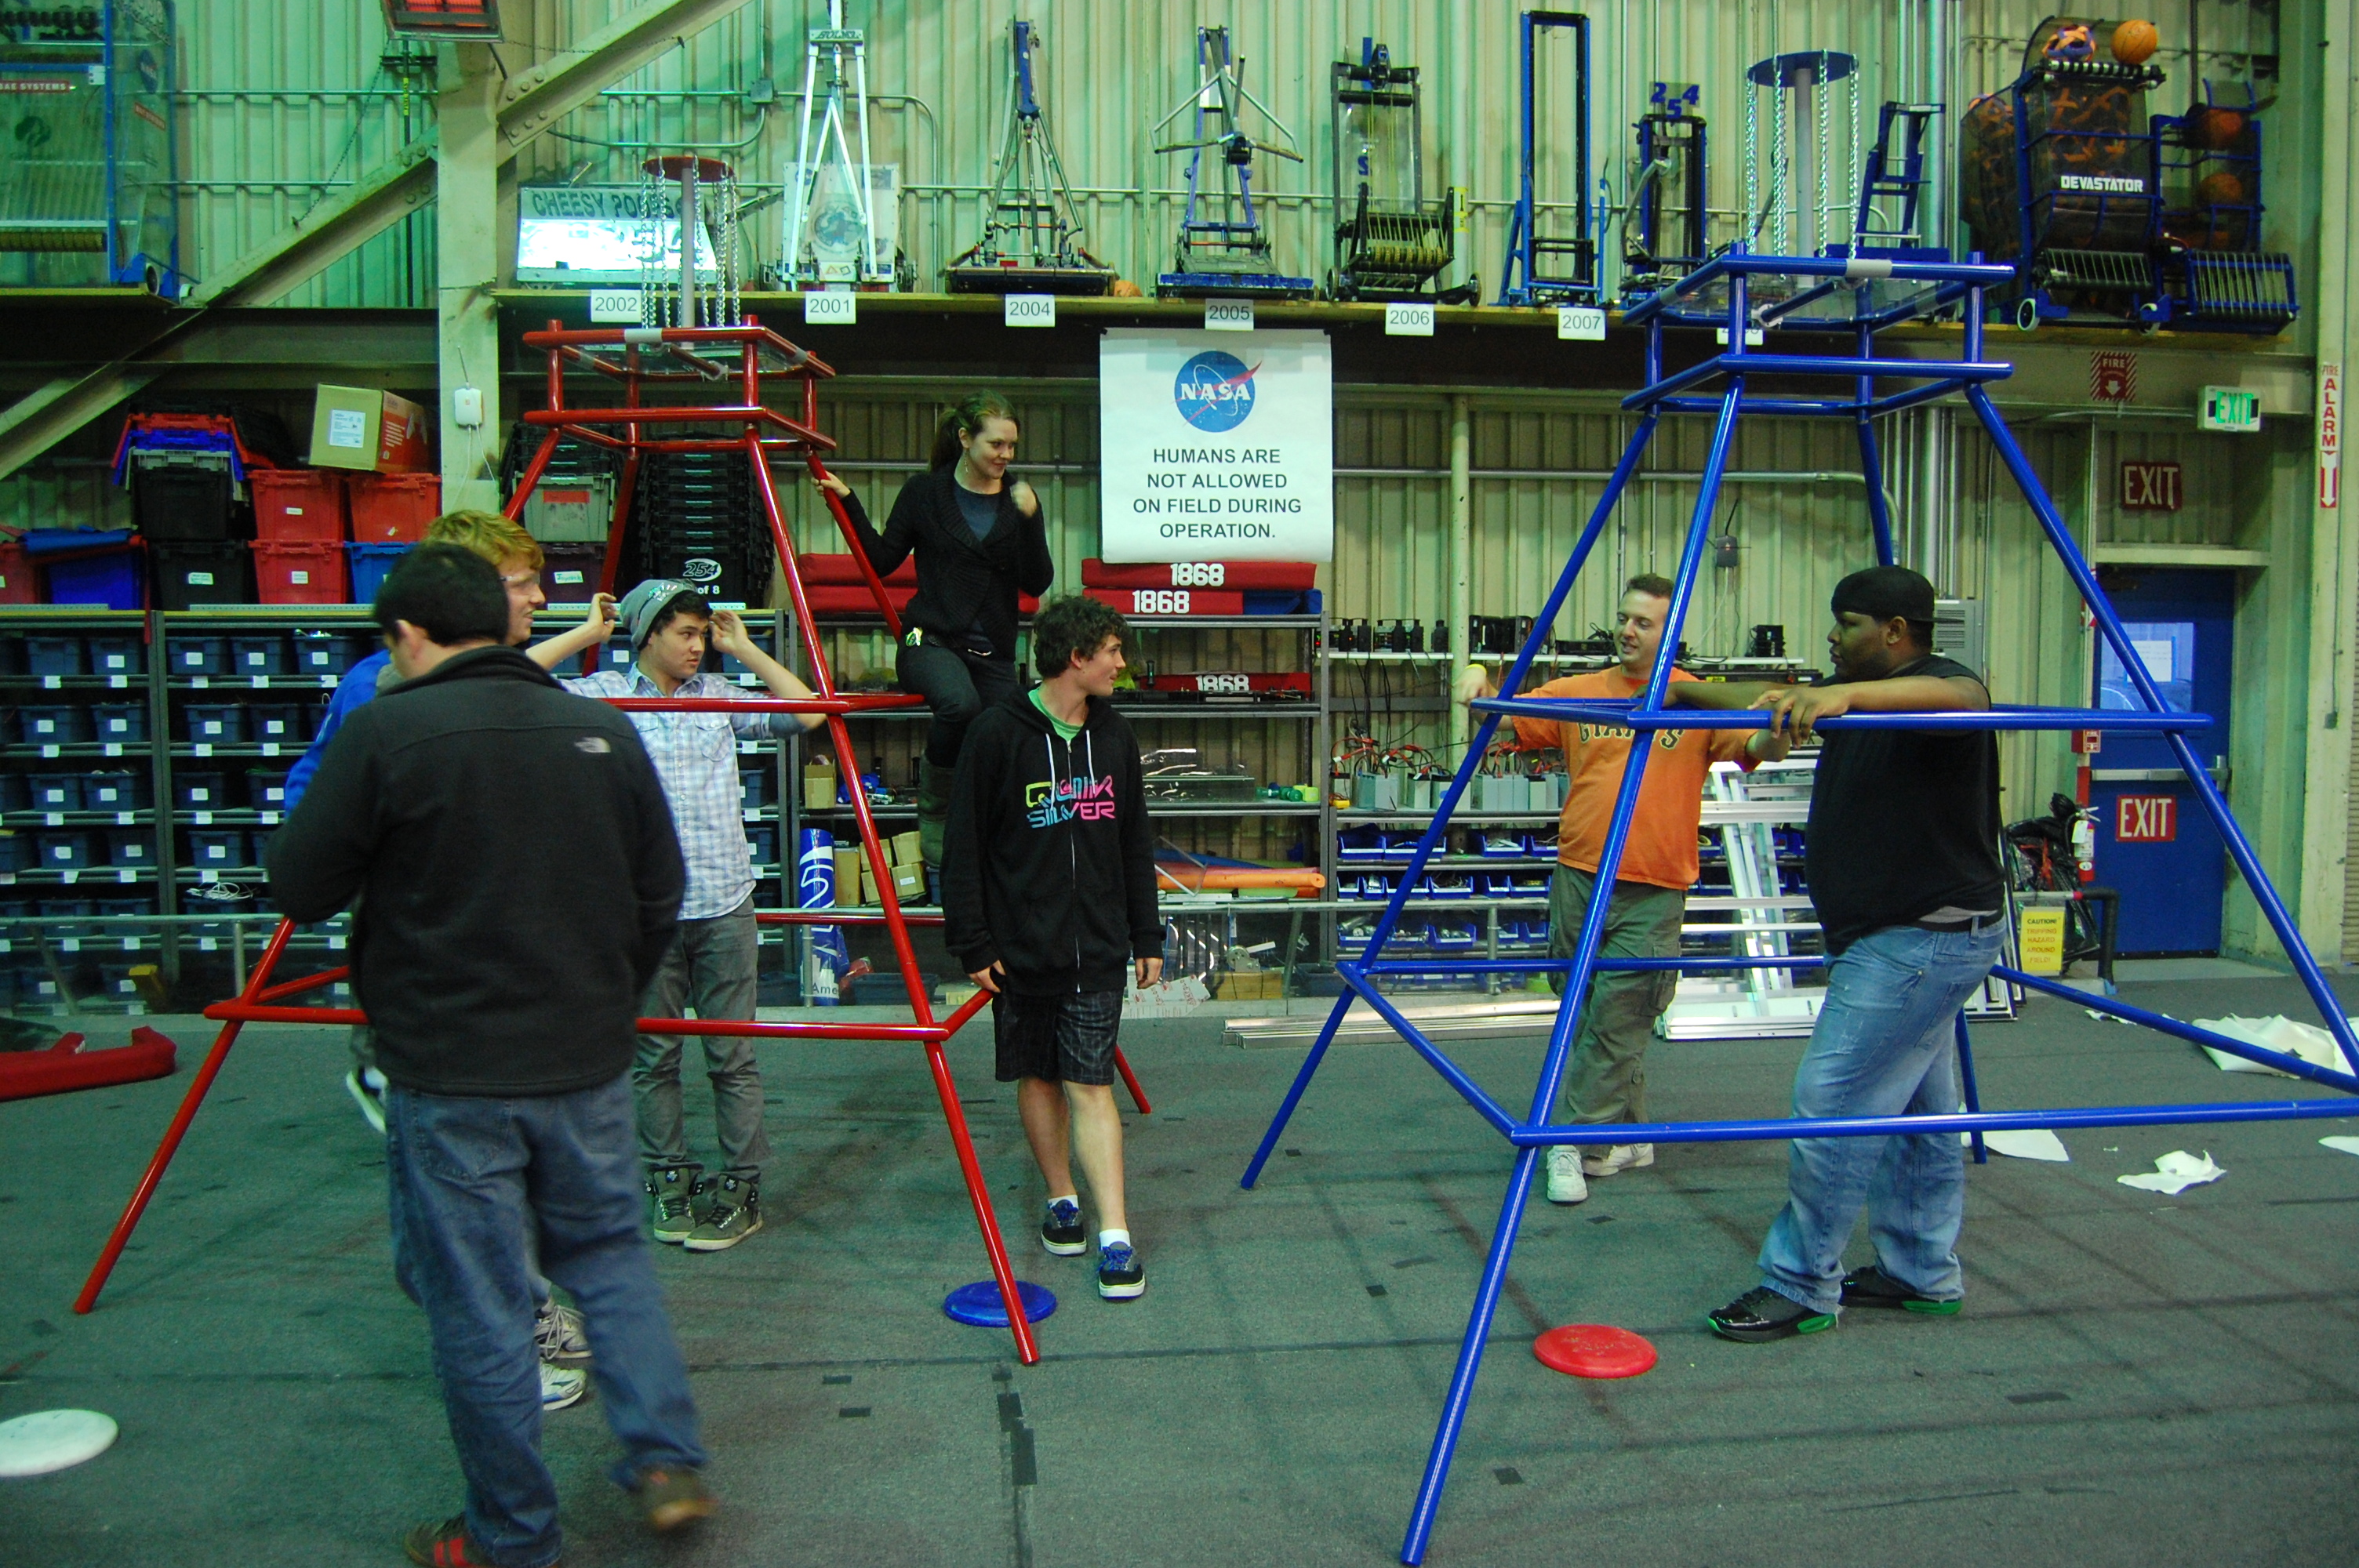
Without a doubt, the highlight of the day was the arrival of the official field pieces. Students spent much of the night organizing the many parts that arrived at the lab today and assembling the field elements themselves. The pyramids were the first objects completed, with both pyramids being fully assembled by around 6 pm. Between completion of the pyramids and dinnertime, students worked together to unpack and sort various field components, as well as cleaning up miscellaneous parts lying around in the lab to make way for the new arrivals. After dinner, the whole team got right back to work putting together the goals, the trusses they rest on, and the corner feeder stations and low goals. Due to size constraints, we will have only 2 of the 4 corner feeder stations, and the goals will need to be mounted in a unique way. The netting will be assembled at a later date. The field is very large, but also really unique and cool. We are excited to have the official setup and will begin practicing as soon our robot's shooter and climber are functional.

DSC_0351

DSC_0384


DSC_0359

Programming

Though the field assembly was the main job of the night, other tasks were being worked on as well. The programming team began the night by working on fixing the Cheesy Drive code to address the issues that had been discovered the night before. The deadband value of 0.1 was found to be too high, so it was reduced to 0.02, a value judged to be more reasonable given deadband values from prior years. An investigation is currently ongoing into what is causing a strange drive bug where rapidly switching from full forward throttle to full backward throttle causes the robot to exhibit unusual "jumpiness" while on low battery. Finally, work continued on finishing a graphing system for the Smart Dashboard.

CAD

Students and mentors continued work on finalizing the CAD. Currently the intake has been finalized, and the conveyer and shooter are close to being complete. The climbing mechanism position has been determined, but mounting is still being finalized.

Machining

Students used the mill to make aluminum angles to mount the wooden bumper segments together. Once the wood segments are complete we can assemble the bumpers.

Students also used the lathe to make shafts with snap ring grooves for the conveyer. These will be used with the Polyurethane Tubes and mounted once we finish machining the rest of the superstructure.

DSC_0328

Action Items

  • Complete field assembly
  • Contnue investigation on Cheesy Drive
  • Finish grapher for Smart Dashboard
  • Continue machining parts for the superstructure
  • Finalize the CAD of the converyer, shooter, and climber

Day #30: Driver Practice and Field Teardown

2013 FRC Build SeasonFIRST Robotics

Field Teardown

Today, students helped to tear down the team-built game elements on the field in anticipation of the arrival of official game elements.  The high goal, pyramid, its top goal, the feeder station, and all prototypes (shooter, intake, indexer, conveyor) were taken apart.  The wood has been taken to the outside shed area, and the metal and other pieces have been stored away.  In addition, the field was cleaned and vacuumed, and the robots on the field were moved to one corner to allow for sufficient space for the driver to practice.

Meanwhile, students also removed vital electronics from the 2010 robot.  The team helped remove its power distribution board, digital sidecar, spike relay, and compressor to store for (possible) future use.  PWM wires, encoder wires, and miscellaneous screws and nuts were returned to their appropriate bin.


Driver Practice

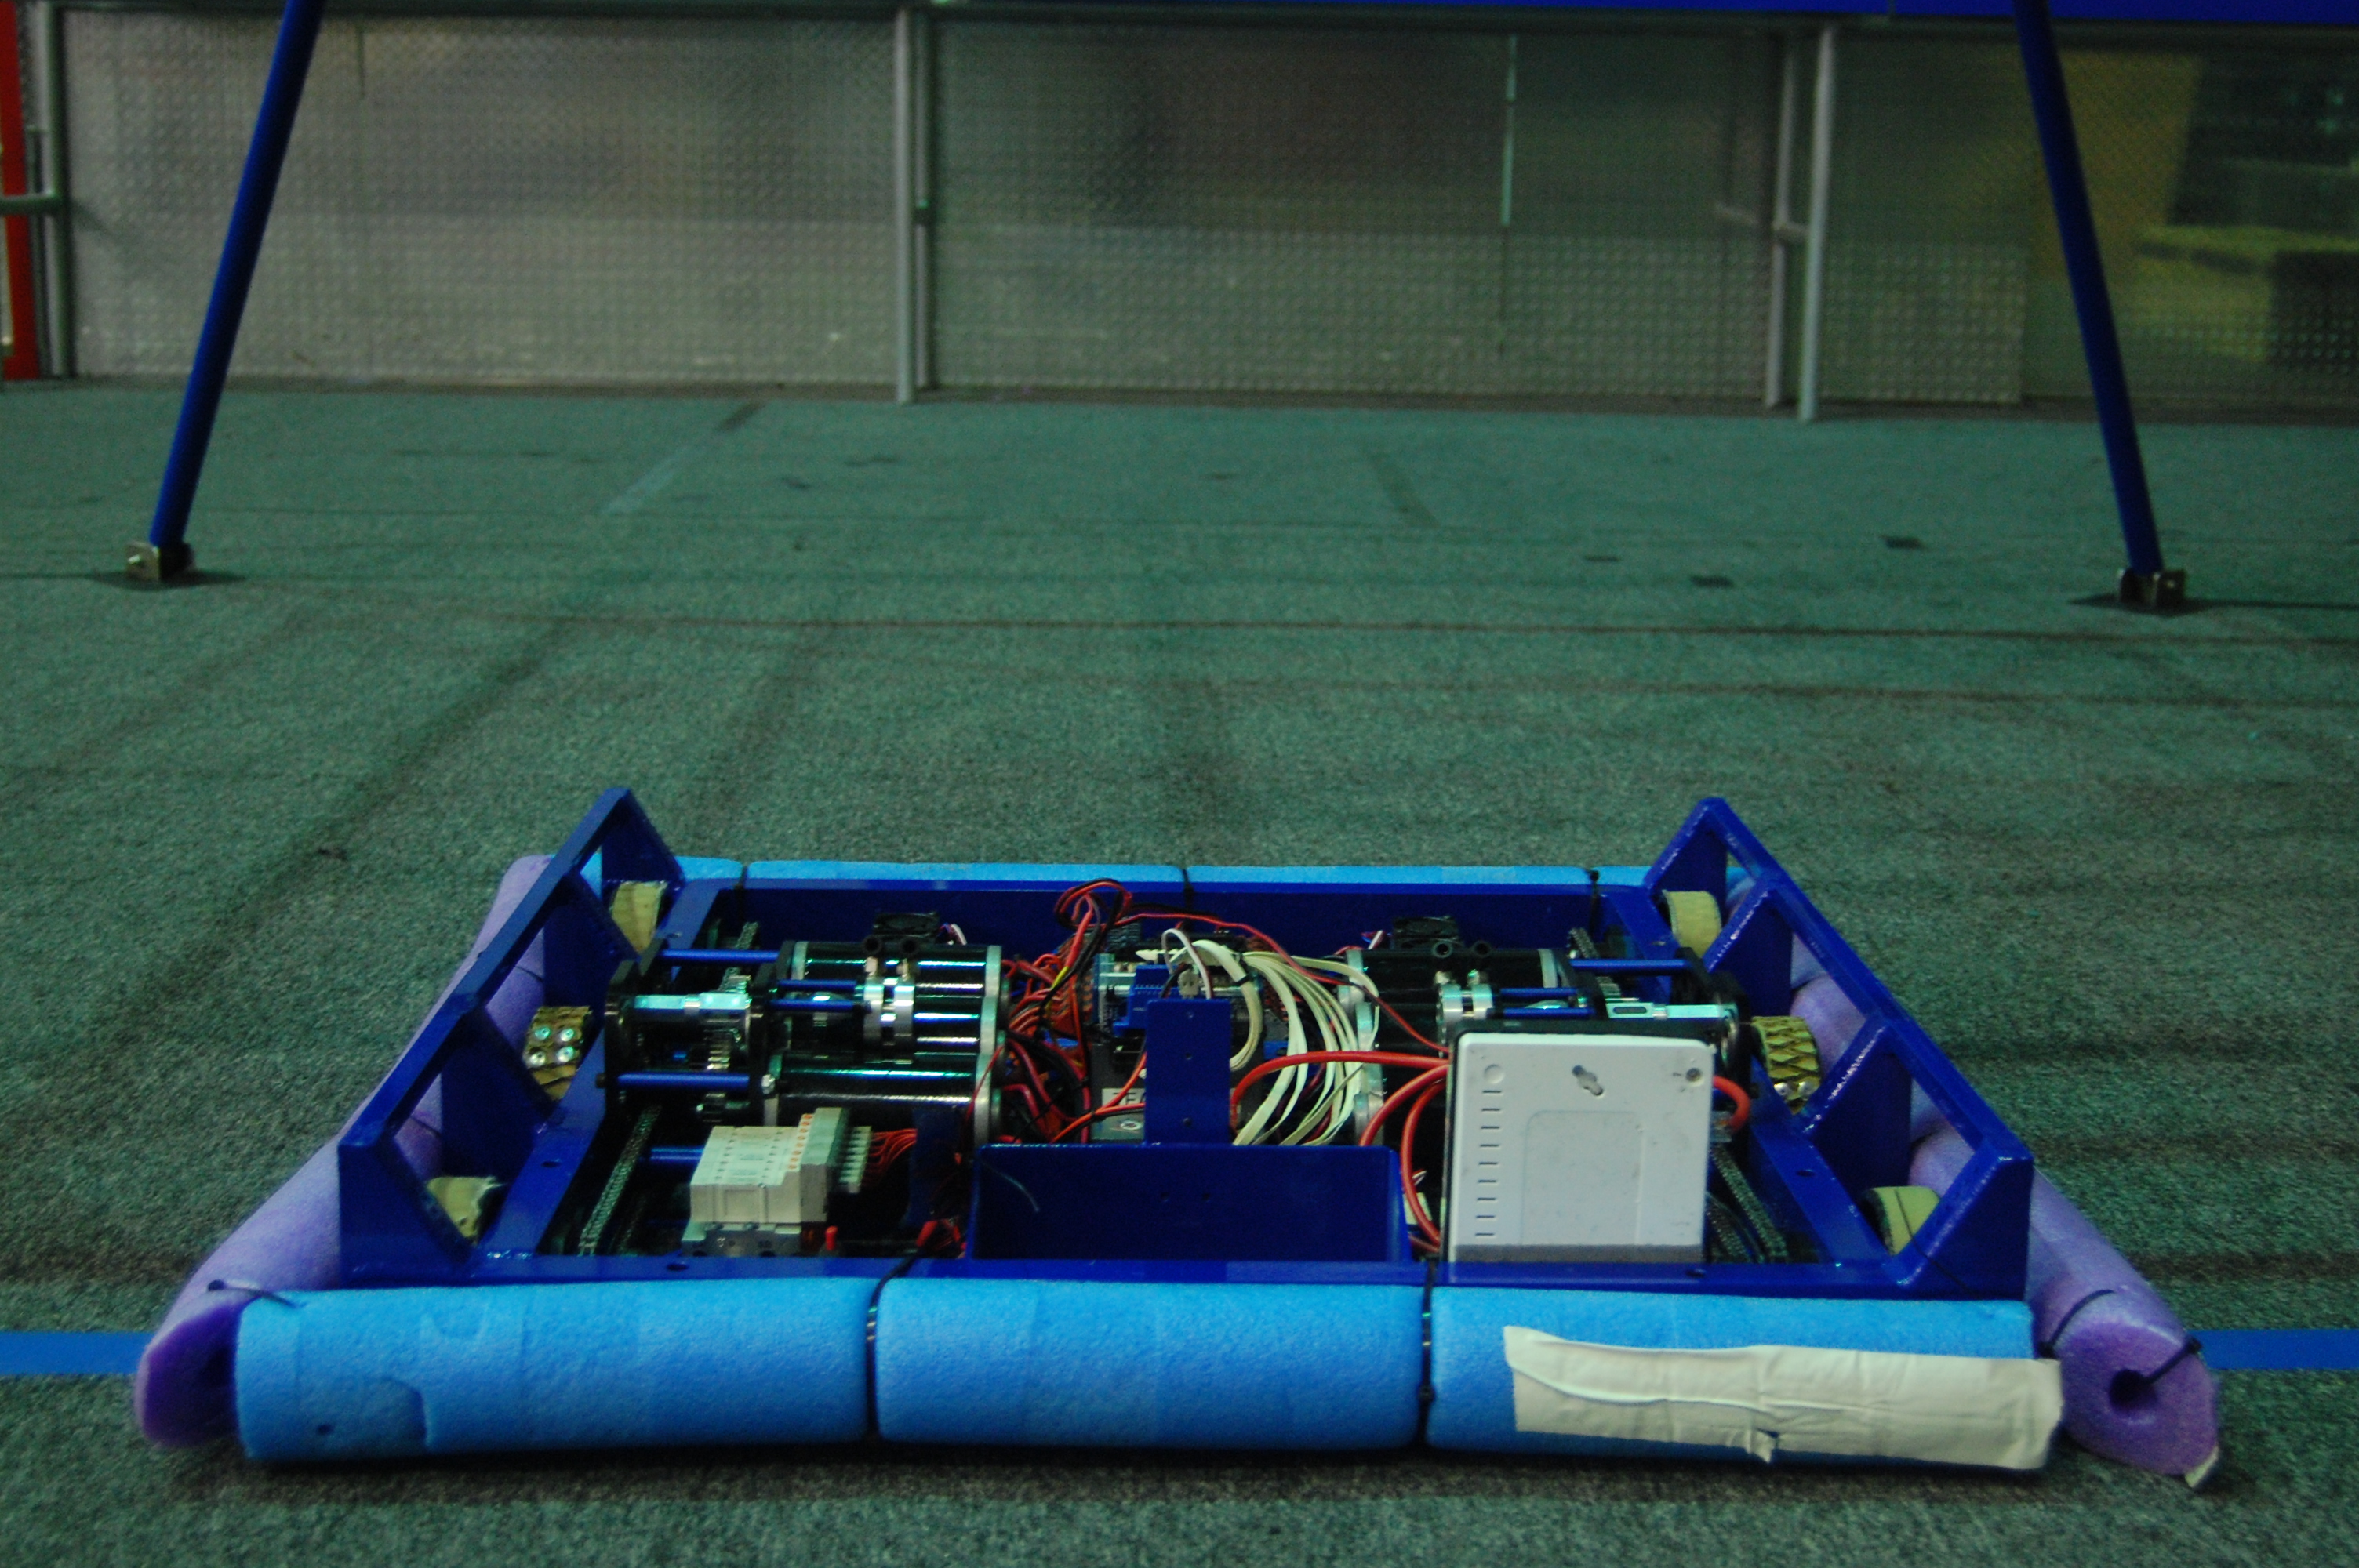
The team's primary driver, Abhi Kumar, practiced driving around on the field.  A circle was made on the field with tape for the driver to practice driving in circles.  In addition, three frisbees were placed on the field as obstacles to practice driving around.  The 2013 practice robot was used to drive around the field.  For more security and safety, students attached pool noodles to the four sides of the robot to prevent scratches and damage in the case of collisions.


DSC_0311

Practice robot with bumpers


Manufacturing

The team also continued manfacturing parts on the lathe and the mill.  Students made two different kinds of spacers for the gearbox using the lathe.  Additionally, the front roller tubes for the intake were manufactured on the lathe.  The students plan to have these two tasks finished tonight.


DSC_0337

Manufacturing the gearbox spacers on the lathe


Meanwhile, other students used the mill to create "pockets" in the wooden bumper frames.  These indents in the wood would later be used to attach the metal hinges.


DSC_0328

Milling pockets in the bumper wood

DSC_0281

The bumper frame wood and the CAD drawing


Programming

The programmers worked on implementing the shooter loader solenoid in the Shooter subsystem class.  They also got the code for the 2013 robot ready for driver practice.  They found that the deadband for the right joystick's x-axis was too high (0.1).  Also, there seems to be some odd and jumpy turning behaviors, which the programmers believe is caused by the cheesy drive command.  The current deadband simply ignores joystick input if its value is less than the deadband value, so there is a jump in power when the joystick is moved above the threshold.  Ideally, the programmers want to modify the drive code so that the power builds up after the joystick has been moved past the deadband.

Tomorrow, the programmers will investigate these problems in greater detail.


Action Items

  • Investigate problems in cheesy drive code​
  • Continue driver practice
  • Continue bumper assembly and manufacturing

Day #29: Bumper Construction

2013 FRC Build SeasonFIRST Robotics

Bumper 

Over twenty students and two mentors collaborated on measuring and cutting the wood for the bumper. Students measured the bumpers to be 5" in height and lengths of 28.25", 28", and 8" for all of the sides  of the perimeter. They then went outside to cut it with a miter saw. Students later brought the pieces to the mill to fine-tune the lengths to be precise. They will be assembled together next.

DSC_0265

Milling wood frame to length

DSC_0255

8" wood

Wiring

EJ and Jonathan Lee led other students to continue wiring on the drivebase. They then stripped, crimped, and soldered the encoder wires to the digital sidecar through PWM cables.

DSC_0257

Encoders

DSC_0256Hella clean wiring


Programming

Today, the programmers conducted more tests with the autonomous scripting command parsing.  The team had a discussion at the whiteboard and talked about the sequence of excecutions of a mix of parallel and sequential commands in a CommandGroup.  One topic that came up was the ability to treat a group of commands as one group that runs parallel to each other, and will not move on to the next command until all the grouped parallel commands were completed.  However, it was decided that this logic should be used in the writing of the autonomous script, using a clever mix of parallel, sequential, and wait commands.

Meanwhile, students also implemented the Indexer class, which represents the system that grabs a frisbee from the intake and prepares it to load into the shooter.  The indexer has two Solenoids as instance variables, and has getter and setter methods for the states of the two pistons.


Action Items:

  • Finish wiring the competition robot

  • Release more parts for manufacture

  • Mill pockets in bumper wood

  • Wire Pneumatics

Lab Closing Time: 12:30

Day #28: Auto Scripting and Bumpers

2013 FRC Build SeasonFIRST Robotics

Bumper fabric

A few members measured fabric for the bumpers and measured where to properly place the team logo on them. They were careful with measurements because the ideal bumpers are more compressed than actual ones that will be.

DSC_0238

Measuring the cordura

Wiring

Members starting wiring the cRIO on the competition robot. They also started wiring the encoders on the practice robot.

CAD

Members and mentors looked through all parts in the CAD and placed the rest of the part orders.

Parts

The team received the welded intake mounts and crossbars from sponsor Central Concrete. The welding left some rough edges, so some members and mentors used the pneumatic grinder to smoothen sections on the intake mounts. Overall, the welds turned out great and the assembies seem to be extremely strong. The team was a little disappointed in the welding on the intake mounts. It was very "globby" and had a lot of excess metal that didn't seem necessary. After a bit of cleanup, it looked better. Hopefully the intake mounts will maintain their structural integrity throughout the competitions.

DSC_0253

Crossbars


DSC_0252

Intake mounts 


Programming

The programmers worked more on the autonomous scripting. They added a feature to the auto command file reader that allows the user to denote whether commands should be executed sequentially or in parallel.

They also began work on a testing system that cycles through and briefly runs each of the six drive CIMs of the robot. The purpose of this is to test these motors of the robot and isolate problems before competing, allowing the team to diagnose and act on the problem. For example, the pit crew could activate this to verify that the drive motors function properly before matches.

cropped

Action items

  • Finish wiring the competition robot
  • Finish wiring encoders on the practice robot
  • Cut bumper fabric
  • Document auto script file format
  • Finish code to cycle through subsystems

Build Season Recipes: Week 4

2013 FRC Build SeasonFIRST Robotics

Our robot this year is looking like it will be very short -- much like these shortbread cookies we snacked on while assembling the drivetrain and manufacturing parts for the intake.

Chocolate Chip Shortbread Cookies

  • 1 cup butter, at room temperature

  • 2/3 cup icing sugar

  • 1/2 tsp. vanilla extract

  • 2 cups flour

  • 3/4 cup mini chocolate chips

Beat butter, icing sugar and vanilla until very smooth. Slowly add flour, mixing only until it disappears into the dough. Stir in chocolate chips by hand. Roll out dough between two sheets of parchment paper into a 1/4" thick rectangle. Refrigerate until solidified (about 2 hours). Cut dough into 1 1/2" squares and place on cookie sheet. Bake at 325°F for 18-20 minutes until golden brown around the edges.