522 posts

On the third day...

2010 Teams 254/968 Collaborative Build Blog

After calling many fabrication shops in Southern California within a radius of 45 miles, we ended up at the California Polytechnic University, Pomona shop. Our metal forming division was lucky enough to find the proper die to create the 45 degree bends on a 100 ton press brake.  Setting up the machinery and completing the bends took 6 hours.

Our newly acquired sponsor, TOMCO Products in Azusa, was able to perform the 90 degree bends with a very quick turn around.

Below are our newly trained press brake operators holding the first bent plate

Here's one of our highly skilled operators hard at work(or hardly working)

Here's a plate being formed

Here's another photo of a plate being formed

Here's our assembly and inspection division test fitting the formed pieces

Here's where Jesus joins metal with all his might


Oh, for your enjoyment

Original video unavailable.

Oh, and uhh.. here's the current status of the parts:

We currently have one fully welded base, two tacked bases, and one base waiting to be welded.

Jesus needs to take a break, so, he'll be back on Friday to complete joining metal.

Finally, below is an artist depiction of our team's weekly activities courtesy of our comic division:

The work of Jesus

2010 Teams 254/968 Collaborative Build Blog

Today, the battery boxes and superstructure sides were welded. We're attempting to bend the base plates before we go ahead and begin to weld the drive base.

In the meanwhile, here's some photos of Jesus and his special touch.

Jesus welding a battery box

The completed welds on the superstructure sides

 Here's another shot of the superstructure sides

Here's the battery box plates before they're welded.

Attempting to center the battery connector tabs

Here's the jig that we used

Here are two almost-complete battery boxes(tack welds need to be filled in)

In the hands of Jesus

2010 Teams 254/968 Collaborative Build Blog

The events portrayed in this post are from 10:30 PM to 6:47  PM. Events occur in real time. (Que 24 music)

10:30 PM: Kiet and Richard leave West Covina to meet Kirk in Kettleman, CA.

1:40 AM: Goods are exchanged (as pictured)

Loading the goods to the Prius

All the goods are accounted for

8:00 AM: Arrive at Ride and Show with robot parts.  Assemble  the superstructure sides and Jesus tack welds all 8 pieces.

Three superstructure sides that were just tack welded  

These superstructure sides cleaned up and ready to be welded

Jesus welding a superstructure piece

3:00PM: Shafts are picked up from Pacific Precision

3:30PM: Jesus welds 4 superstructure sides and the other 4 are ready for tomorrow morning.

Four fully welded superstructure sides

Four fully welded superstructure sides and the other four are ready to be welded

3:40 PM: Picked material to make the back tube for the robot chassis and will be machined later today.

4:00 PM: Shafts from Pacific Precision are picked up.

5:20 PM: Battery Box Side Plates are finished and prepped for welding tomorrow.

Battery Box Side Plates

Battery Box Parts

5:40 PM: The Battery Tabs are prepped to be drilled and tapped at Ride & Show tomorrow

Battery Tabs Queued For Machining

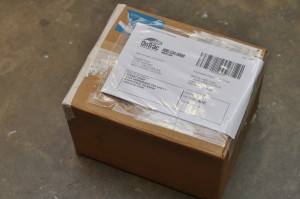
6:47 PM: Shafts are packaged and shipped to 254

Kiet will be escorting the box to shipment location

Zero to Robot Parts in 6 Hours (or so)

2010 Teams 254/968 Collaborative Build Blog

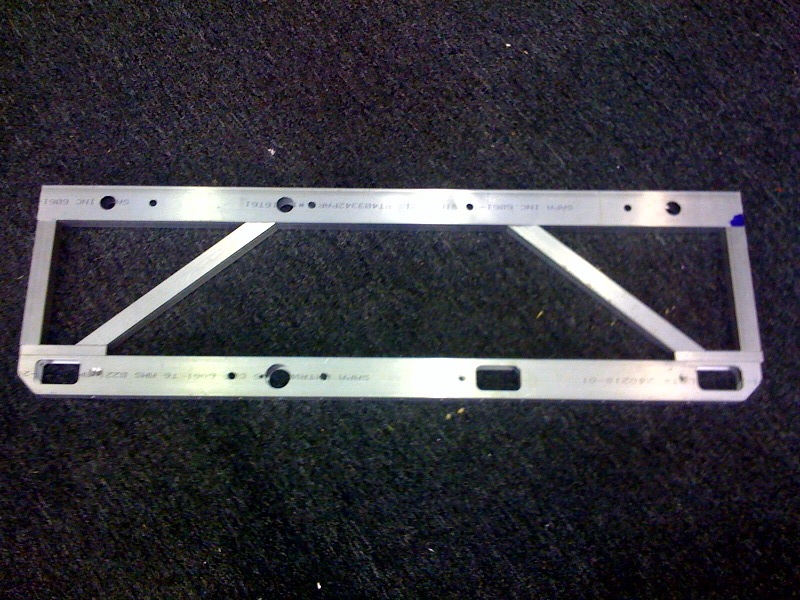
All of the robot chassis and super structure parts were completed today and are on their way to West Covina to be welded and then powercoated.  The front plugs will be machined tomorrow and will be mailed down to arrive on Tuesday at the same time that the base plates that Mike D from team 233 made for us.

Here is a picture of the 12 different sets of pieces that are on their way down.

Here is a picture of the pieces set next to each other to give you an idea of what it will look like completed.

Lifting Arm Calculations

2010 Teams 254/968 Collaborative Build Blog

Review the PDF linked below for calculations for the lifting arm.  If the PTO is driven on the low gear side (14 to 64), then an additional reduction of approximately 8:1 will be required to drive the arm.  This is easily achievable in two stages.  If the PTO is driven from the high gear side (30 to 48), then an additional reduction of about 23:1 is required - still achievable in two stages, but requires rather large and small sprockets. With 4 CIMS, the lift can occur in about 1/2 second.  With only 2 CIMS, it could still work if geared properly (twice the reduction), but it would take twice as long.

The calculations below are presented in a fashion that should be understandable by the astute high-school student who has completed a Physics class.

Lifting_Arm_Calcs.pdf

Vertical Rollers Testing

2010 Teams 254/968 Collaborative Build Blog

During the previous two days, we attempted to design and prototype different roller orientations with minimal success. Before we were able to record a video of the horizontal roller setup, we determined that the setup held the ball well(going forward). While attempting to move the prototype backward, the ball would not stay in contact with the roller.

Oy. We determined that his was definately a problem. Horizontal roller utilizing a 1/2" diameter round shaft will not meet our required specifications.

We moved onto an idea that our student design group envisioned... dual vertical rollers.

The vertical roller test(s) utilized the following parameters:

1. One roller spinning at half speed, one at full

2. One roller with rotational resistance, one roller at half speed(This test demonstrated the best results)

3. Both rollers spinning at full speed

We determined that the vertical roller setup requires that the ball is only pulled into the prototype under a specific set of conditions. (It doesn't really work.....)

Please note that this is a proof of concept test.

Original video unavailable.

The artist depiction below displays the team hard at work on new prototypes.

Today's Progress

2010 Teams 254/968 Collaborative Build Blog

Today we began to manufacture the robot frame. Currently the CNC is turning them out after a laborious 3 passes in order to bore all the holes. Hopefully we will have them done and ready to ship out by tomorrow afternoon.

We also furthered our progress on the vacuum prototype, unfortunately with little success. Increasing the size of the hose running to the suction cup did not yield any positive results. We should continue to explore the benefits of the vacuum as it seems the most promising ball-manipulation system.

Manufacturing and Prototyping Progress

2010 Teams 254/968 Collaborative Build Blog

MANUFACTURING

Today, construction on the tensioner cams was completed.

PROTOTYPING

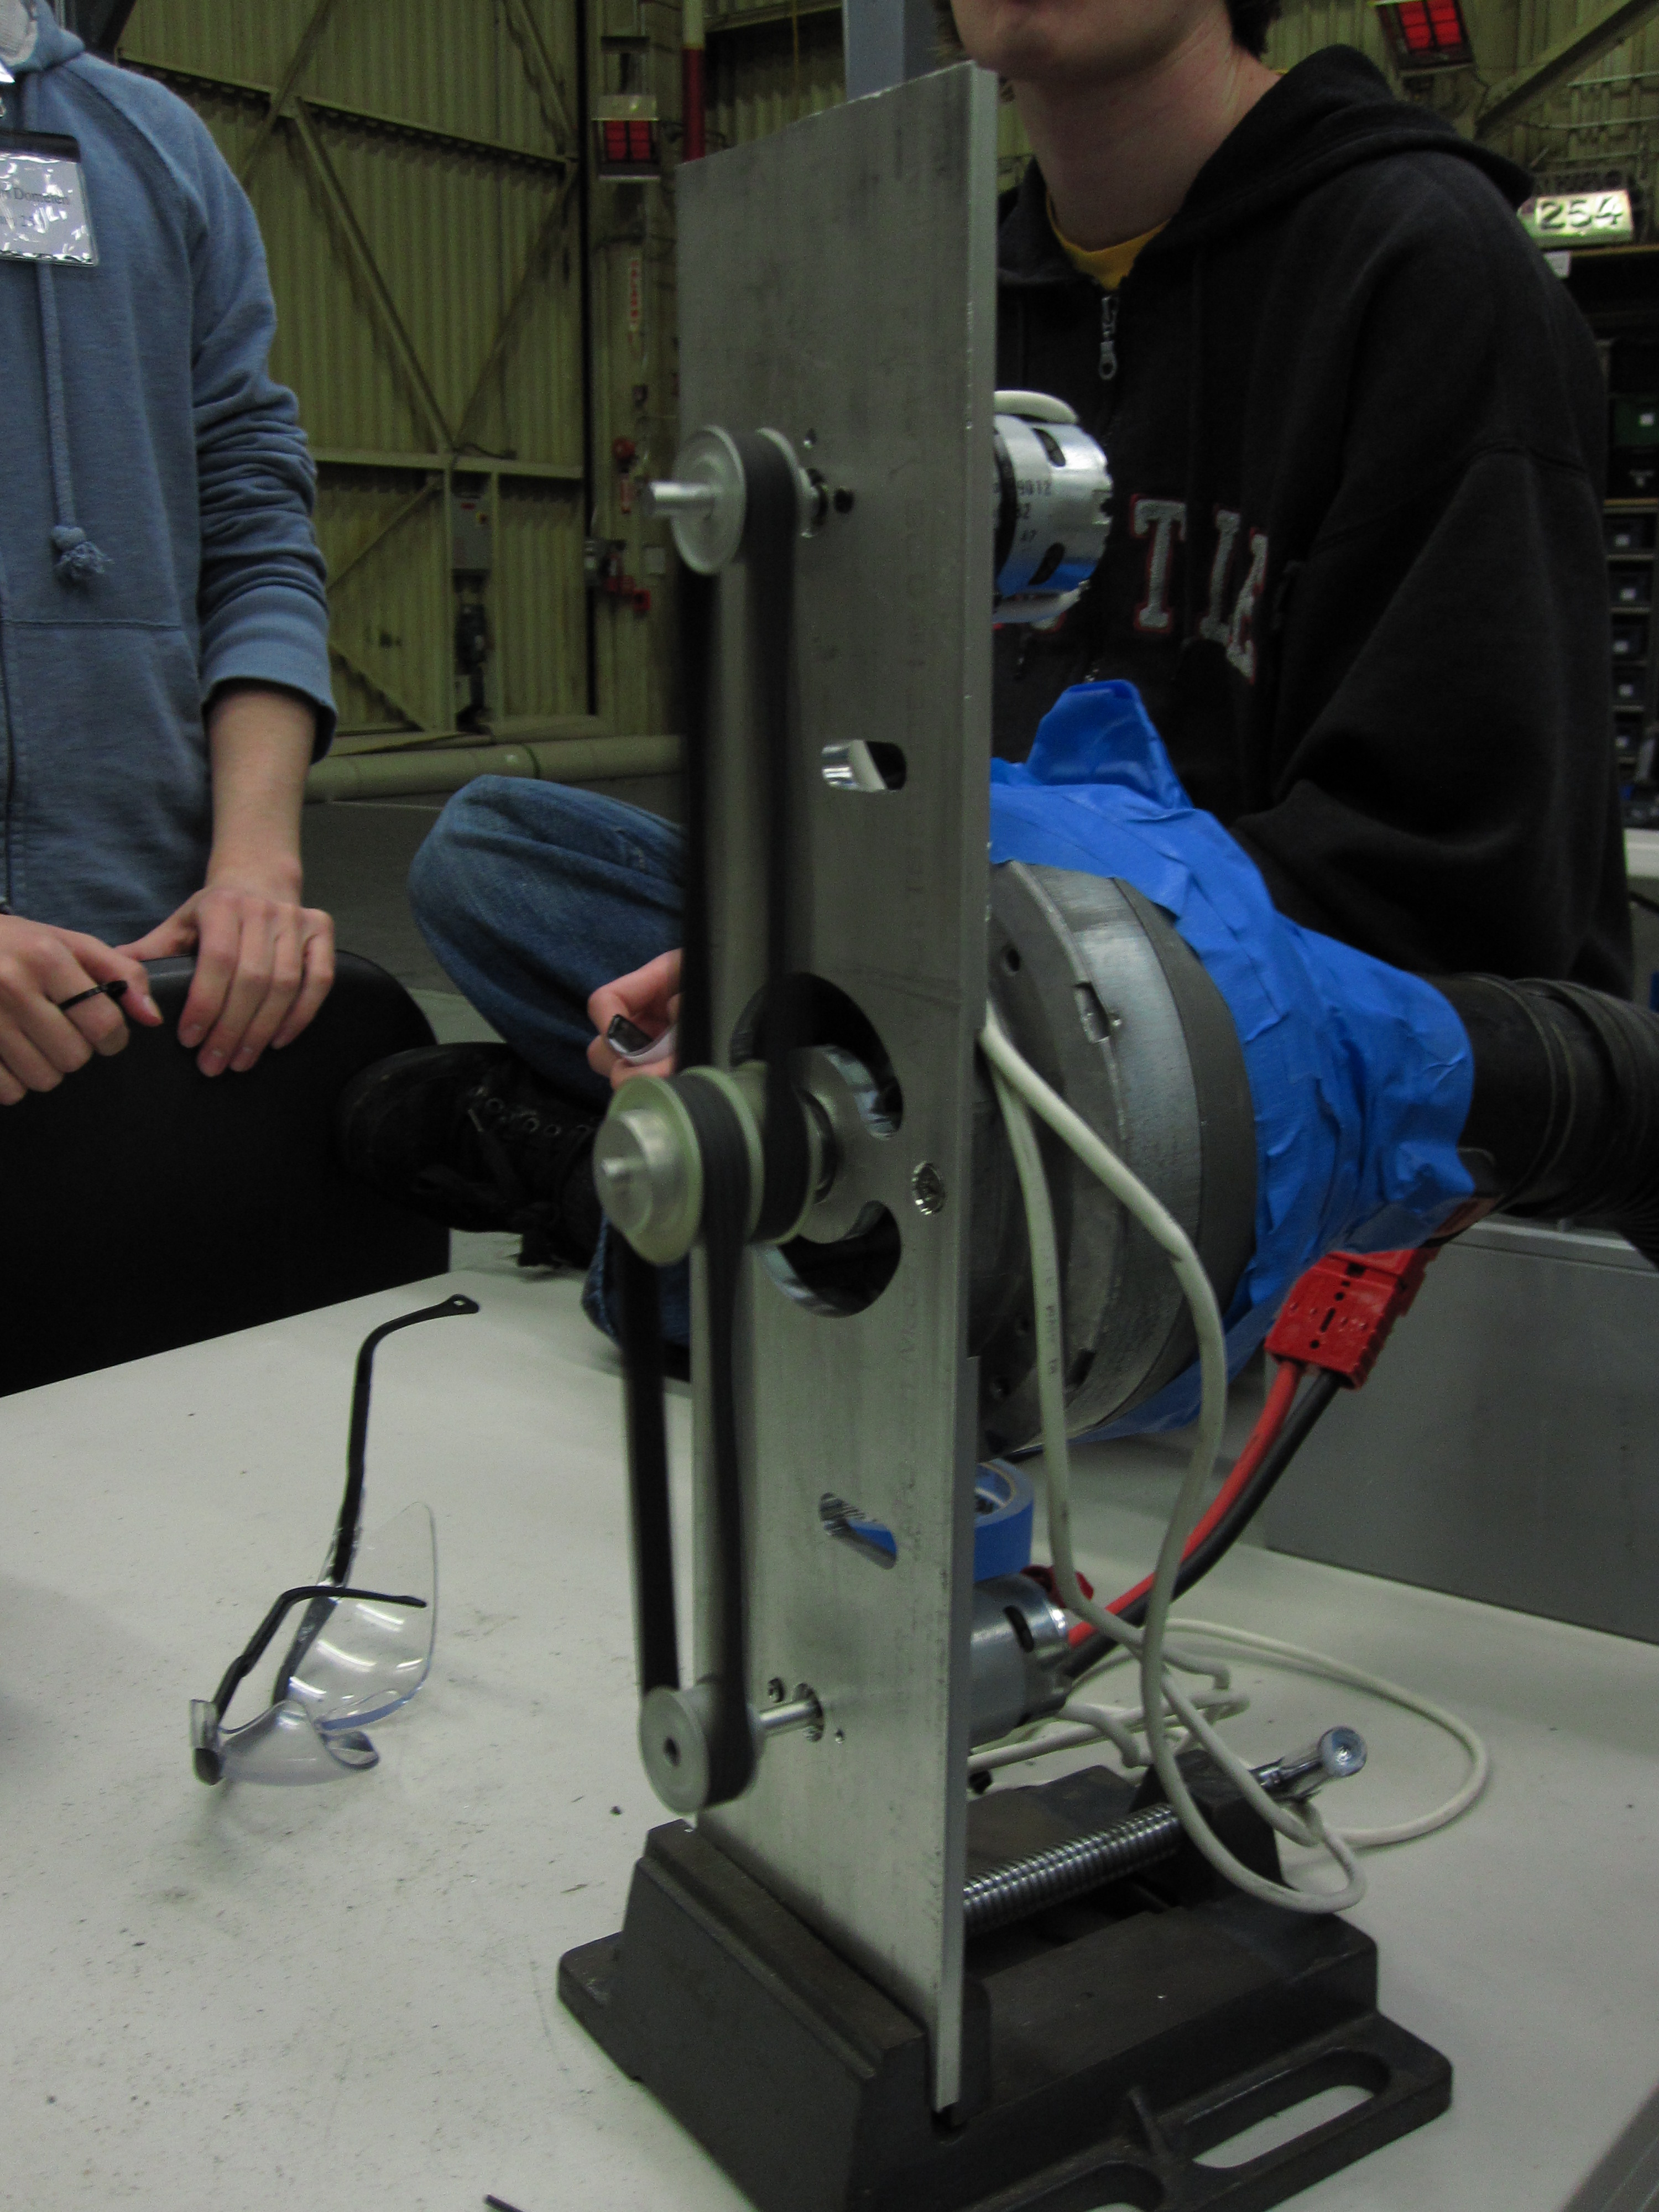
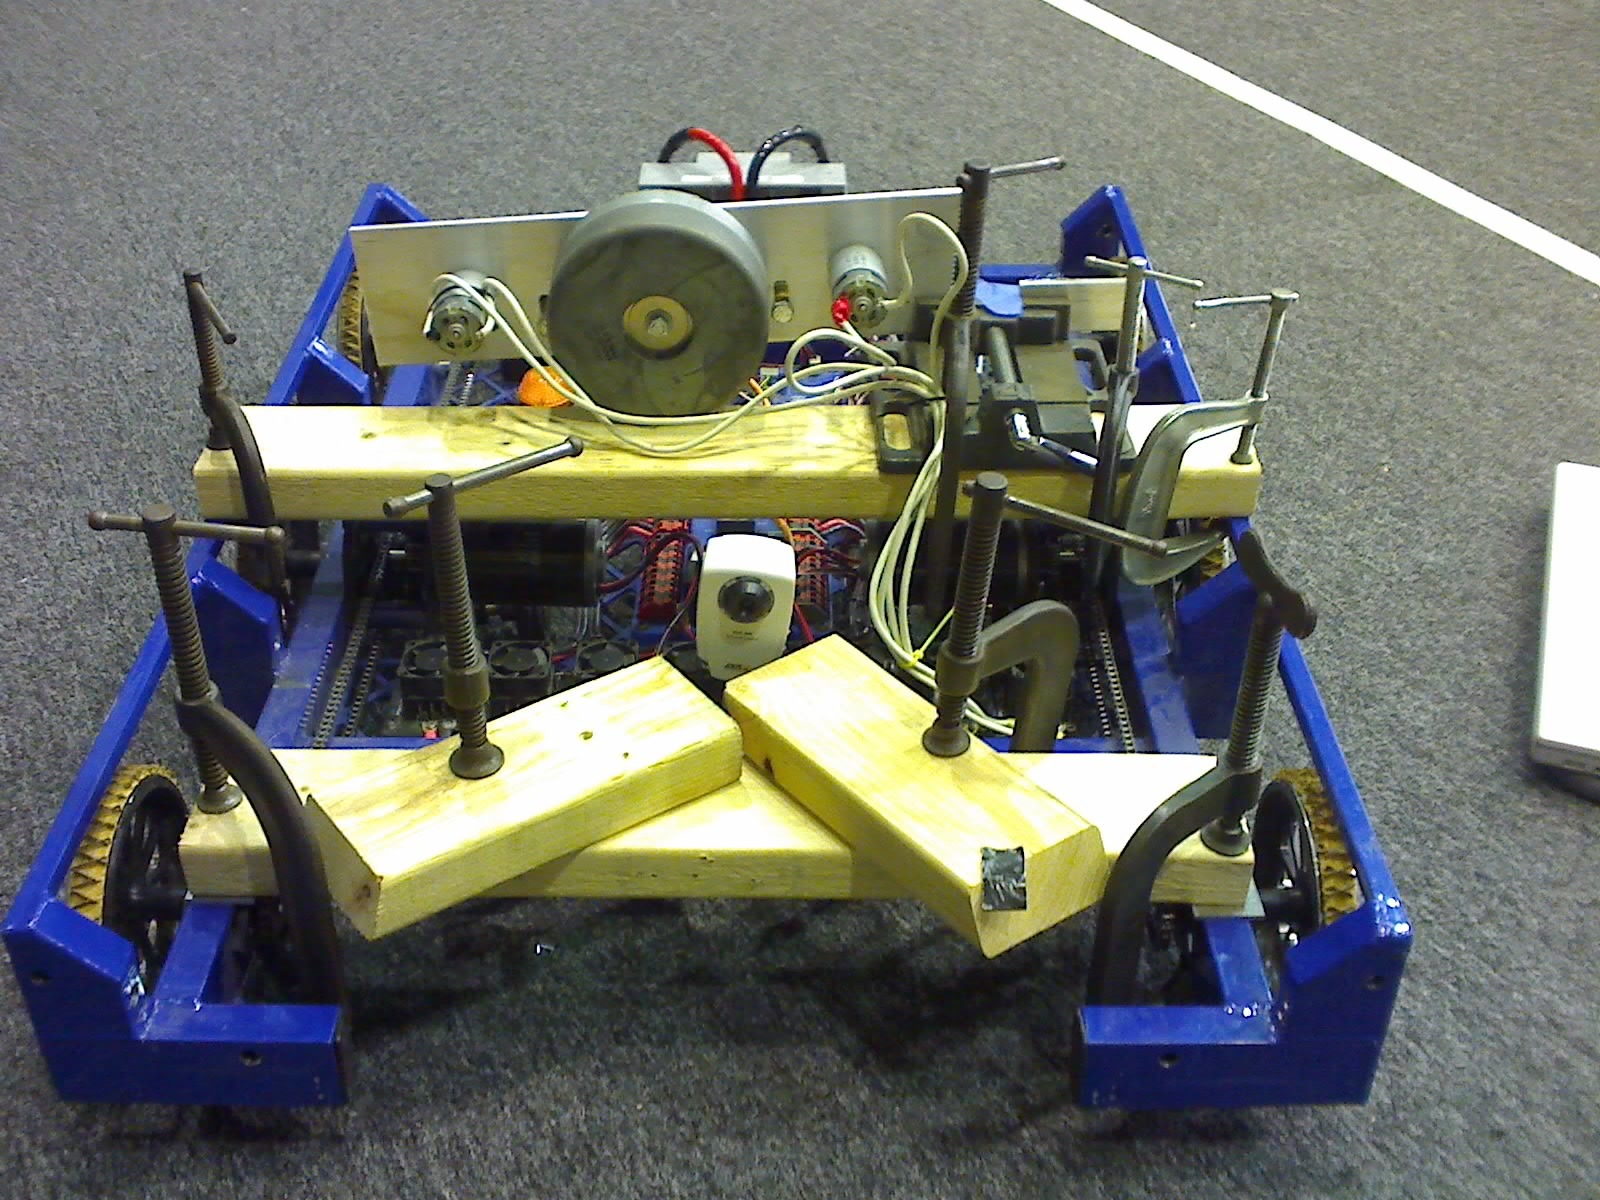
Today we did extensive prototyping with vacuums.  We continued to work with the two-stage impeller assembly hooked up to 2 fisher price motors.  The impellers are currently running with a 1:1 reduction off of the fisher price motors.  We hooked it up to a 4" funnel which we mounted on the front of the 2009 drivebase.

The vaccum seems to work much better than any roller systems we have found.  It maintains good suction on the ball.  The only potential issue is getting the ball, which may be able to be solved with adequate driver practice.

2-Stage Vaccum Impeller Assembly

Original video unavailable.

Original video unavailable.

Original video unavailable.

Original video unavailable.